10.1” HMI Intelligent TFT LCD Module, Display Panel, & Touchscreen
Table of Contents
Description:
The 10.1” HMI Intelligent TFT LCD Module used in this video is sponsored by Stone Technologies. Stone Technologies is a professional Manufacturer of HMI Intelligent TFT LCD modules. Depending on the application the Stone Technology offers Industrial Type, Advanced type, and Civil Type Intelligent TFT LCD modules available in different sizes. The one I will be using today is the Civil Type 10.1 inch HMI Intelligent TFT LCD Display Module. For more information visit stoneitech.com.
In this getting started tutorial, you will learn how to design a graphical user interface using the images designed in Photoshop. How to use the button function, how to use the Drag adjustment, and Slider Scale functions for controlling the screen brightness. In this project, you will also learn how to use the data variable function for displaying the Brightness value and how to use the hardware parameter configuration. While in my upcoming projects I will explain how to use this LCD with the Arduino for monitoring different types of sensors and for controlling different types of electrical loads.
Without any further delay, let’s get started!!!!
The purchase links of the HMI TFT LCD Module and other components used in this video are given below.
Other Tools and Components:
Super Starter kit for Beginners
PCB small portable drill machines
*Please Note: These are affiliate links. I may make a commission if you buy the components through these links. I would appreciate your support in this way!

The HMI intelligent TFT LCD Module is provided with all the necessary documents explaining the basic connection, Development Software, GUI individual Design, and operation.

The product manual gives you an overview of the Communication and Operation, Basic functions, working principle, GUI Design Software, Information about the Industrial type, Advanced Type, and Civil Type HMI TFT LCD Modules. You will also find information about the Product parts and the typical applications.

The HMI Intelligent TFT LCD Module was also provided a 8GB USB drive, a USB cable for downloading the program, UART to USB converter, a bunch of wires for connecting the microcontroller using the DB9 which is also provided with the dc female power jack, and finally, the 10.1 inch HMI Intelligent TFT LCD Module such a beautiful piece of hardware.

This is the civil type HMI TFT LCD module and its model number is STVC101WT-01.
STV is the Company Code.
C stands for the Civil Type
101 means it’s a 10.1 inch LCD
W is for the Wide range voltage. This particular LCD can be powered up using 6 to 35 Volts Dc.
0 means it is RS232 supported, and
1 is the hardware code.
The CPU used in this LCD is 32bit Cortex-M4. The same type of CPU is also used in the advanced type and Industrial type HMI Intelligent TFT LCD Modules. The internal Flash Memory is 128MB which can be extended up to 1GB. The operation temperature is -20 to +70 centigrade.

J3 is the UART Port and this is where we connect a microcontroller and a power supply. As you can see the Port has a total of 8 pins which are clearly labeled. The first two pins are the GND pins. pin number 3 is not connected, Pin number 4 is data-in which is also known as the RX pin, Pin number 5 is the data-out pin, which is also known as the TX pin, pin number 6 is not connected, while the last two pins are the supply voltage pins.
J9 is the Download Board, J10 is the U storage Disk, J2 is the Mini USB Line Download Port, this is used for uploading the programming. While J13 is the Audio Port for connecting an external speaker.
In this particular project, I will only use the USB cable and the strip of wires which has the DB9 and the DC female power jack. I will only use the DC female power jack for powering up the LCD Module and the USB cable. You can use a 12 Volt adaptor to power up the HMI Intelligent TFT LCD Module.

The USB drive provided with the HMI TFT LCD module has the datasheets, International Certification, Product Manual, Software & Driver, some video Tutorials, and Testing Projects.
Driver Installation:
Before, you start designing or downloading the program, first install the driver, which is explained in the video given below.
GUI Designing for the HMI TFT LCD Touchscreen:
I started off by downloading an image that I am going to use in this project. I recommend you should design your own jpg images using Adobe Photoshop or any other photo editing software. In my case, I have used Adobe Photoshop, and I downloaded an image that I modified.
Steps:
- Open Adobe Photoshop.
- Click on the file and select New.
- Make sure you select the width as 1024 and Height 600 pixels.
After I was done with the basics settings, then I started creating the buttons, which you can see in the video available at the end of this article.
So, below are the final images that I will be using in this project.
This is the main image

This image will be used as the button click effect.

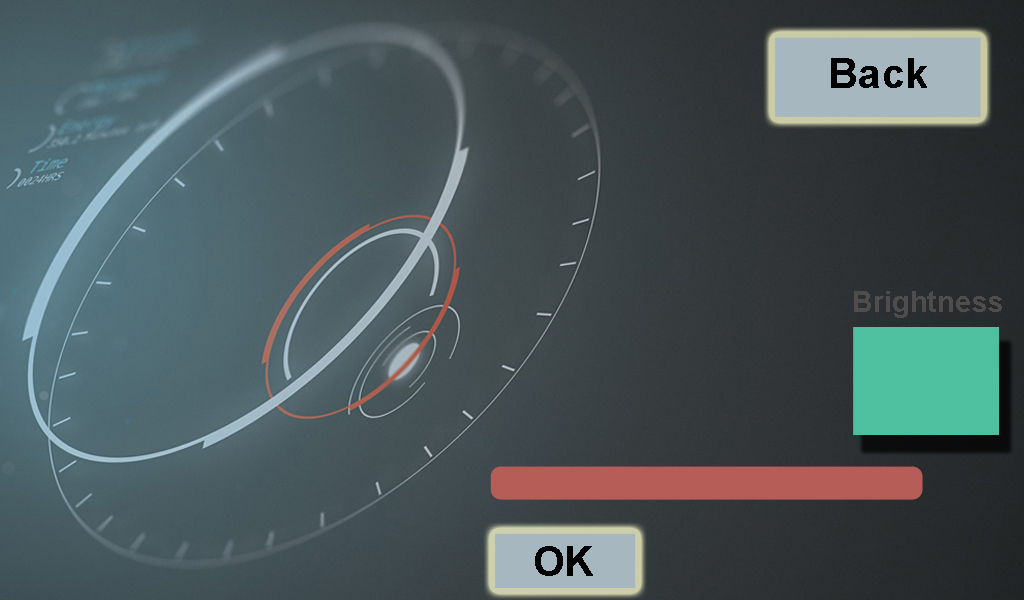
This image will be used for controlling the LCD brightness.
This image will be used as the button click effect.

This image will be used as the welcome screen.

While this image will be used as the button click effect.

Finally, this dot will be used as the slider. Make sure you save this image as the BMP format.
Now, it’s time to start working on the graphical user interface.
GUI designing for the HMI Intelligent TFT LCD Module using Tool 2019:
The step by step designing and setup of the GUI application is explained in the video tutorial which you can find at the end of this article. If you have any questions, let me know in a comment.
In upcoming videos and articles, you will see the real power of this HMI Intelligent TFT LCD Module; I will use this LCD Touchscreen in monitoring and control system projects, Security systems and so on. So, don’t forget to subscribe to my Website and YouTube channel, so that you never miss any of my upcoming tutorials.
Watch Video Tutorial:
Related Projects:
https://www.electroniclinic.com/android-hmi-development-control-hmi-touch-screen-using-bluetooth-tft-touch-screen/
https://www.electroniclinic.com/arduino-mega-gui-touch-screen-arduino-mega-lcd-touch-screen-mega-hmi-tft-5-inch-lcd/
https://www.electroniclinic.com/best-arduino-projects-2020-advanced-intermediate-level-top-10/