Arduino Biometric Fingerprint Sensor Interface and Programming
Table of Contents
Arduino Biometric Fingerprint Project Description:
Arduino Biometric Fingerprint Sensor Interface and Programming- This tutorial is about the Arduino Biometric Fingerprint scanner/Sensor. You can also call this a biometric scanner or fingerprint reader or fingerprint sensor. In this tutorial, we will be covering the extreme basics before we use this fingerprint module in some complex projects. In my upcoming tutorial, I will use this fingerprint module in a wireless student’s attendance system; I will also be using this fingerprint module in a biometric access control system and much more. In this tutorial, we will cover
- Biometric Fingerprint module interfacing with Arduino
- How to enroll a finger?
- And how to control an LED?
Amazon Purchase Links:
Arduino Nano USB-C Type (Recommended)
Other Tools and Components:
ESP32 WiFi + Bluetooth Module (Recommended)
Super Starter kit for Beginners
PCB small portable drill machines
DISCLAIMER:
Please Note: these are affiliate links. I may make a commission if you buy the components through these links. I would appreciate your support in this way!
About the Biometric Fingerprint Module:
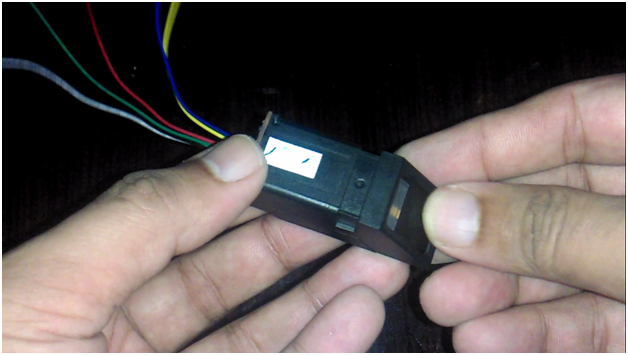
This is the fingerprint module that we will be using today with the Arduino. It has a total of six wires. While some fingerprint modules has 4 wires, but their use is exactly the same. As you can see this module has six wires, but we will be using only 4 wires, Red, green, white and black.
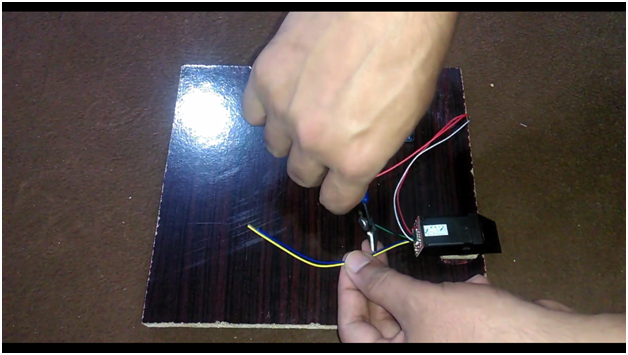
We don’t need the yellow and blue wires. So simply cut these wires using a Wire Cutter.
Connections:
- Connect the red wire with the Arduino’s 5v.
- Connect the black wire of the fingerprint module with the Arduino’s ground.
- Connect the green wire with pin 4 of the Arduino. Finally
- Connect the white wire with pin5 of the Arduino. so now our interfacing is completed.
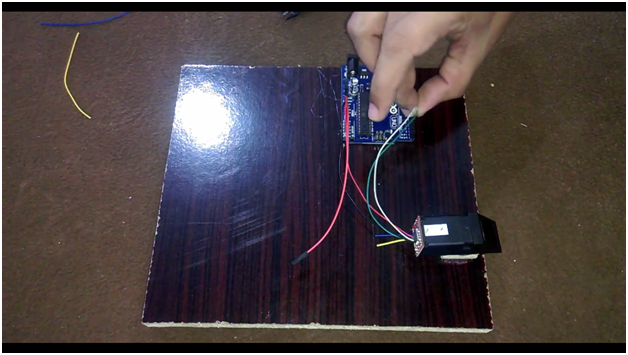
Now it’s time to enroll fingers.
How to Enroll a Finger?
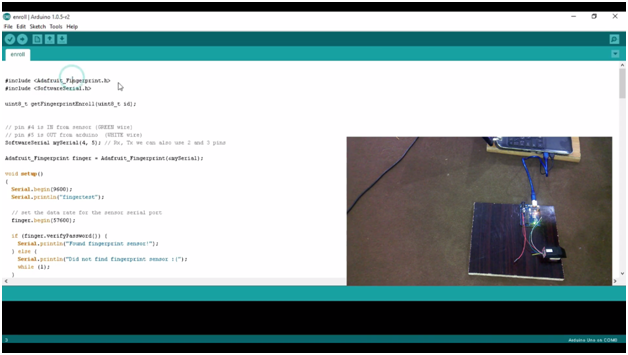
First of all connect Arduino with your laptop and Open the Enroll sketch.
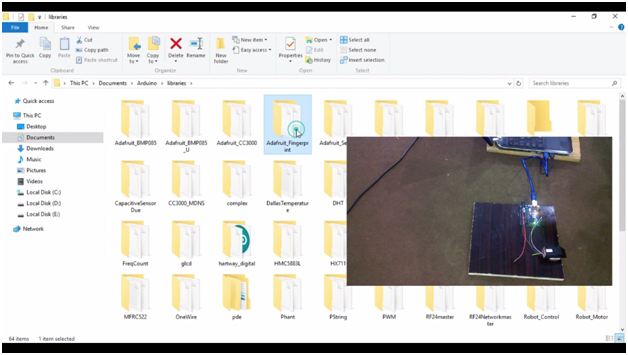
Before you upload this program, first of all make sure that you download the Adafruit fingerprint library. After you download the library just copy and paste it into the documents…Arduino..Libraries and over here you can see the Adafruit finger print folder.
Download the Adafruit fingerprint library: Adafruit_Fingerprint
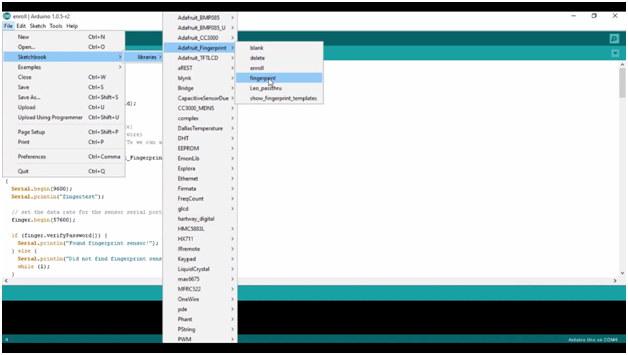
You can find the enroll sketch in file…sketchbook…libraries…adafruit fingerprint and enroll….
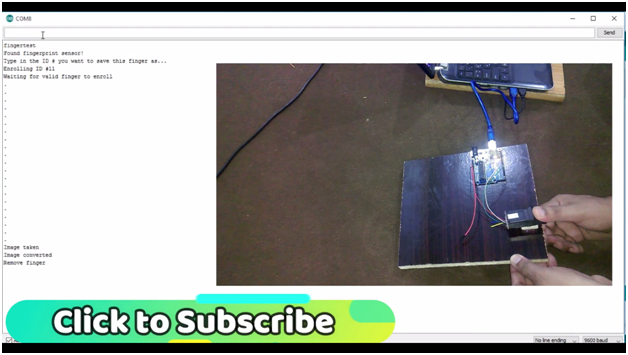
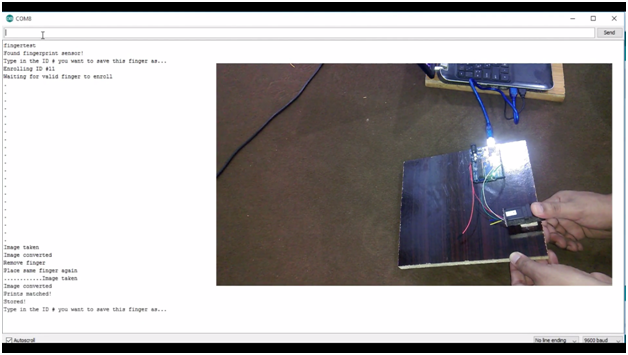
Simply upload this program…After you are done with the Program Uploading. The next step is to start enrolling fingers. For this now click on the serial monitor and follow my instructions.
- type a number then followed by # and press enter now place any finger which you want to enroll…remove finger and place the same finger again….it’s done…now repeat the same process of the remaining fingers…
So this is how you enroll fingers. If you find it difficult to understand then you can watch a video Tutorial given at the End of this Article.
After you are done with the fingers enrolling, the next step is to open another program which will be used to control anything you want using the fingers which you have already enrolled. So basically we use two programs, one program is used for the fingers enrolling and another program is used for reading the enrolled fingers and then controlling something.
Arduino Biometric Fingerprint Scanner Programming:
You can find program in file…sketchbook…libraries…adafruit fingerprint and fingerprint….
I simply defined an LED.
as you know for the fore finger I entered 2 and for the middle finger I entered 3…if the finger id is 2 then simply turn on the led…and if the finger id is 3, then simply turn off the led…
For the Step by Step explanation watch the following video tutorial.
Watch Video Tutorial:
related Tutorial:
Fingerprint Based Biometric Attendance System using Arduino & VB.net
