How to make Arduino Laser Turret using Servo motors and Joystick
Table of Contents
Arduino Laser Turret, Overview:
How to make Arduino Laser Turret using Servo motors and Joystick- Hi, In this Project, I will show how to make a laser turret using Arduino, Servos, and two axis Joystick. I have given codes and circuit diagram with in-depth explanation of the project so that anybody can try this to make without facing any problems.
Before starting to build this we should know why or what is the ideology behind this project.
Amazon Links:
Arduino Nano USB-C Type (Recommended)
Servo Motor
Other Tools and Components:
ESP32 WiFi + Bluetooth Module (Recommended)
Super Starter kit for Beginners
PCB small portable drill machines
*Please Note: These are affiliate links. I may make a commission if you buy the components through these links. I would appreciate your support in this way!
What is Arduino Laser Turret?
It is a simple gadget that has laser module attached to bidirectional servo mechanism and is controlled by a ps2 mode joystick, Now you may think where exactly this project is helpful.
To answer those questions I can say there are hundreds of practical application for this but it depends on the application. I will explain this giving some examples.
Imagine you have a Bluetooth controlled robot with 4WD option, despite its power to crawl on off-road we can add a camera to its head so that we can not only see the front view but also the side view and top view, Here this concept is same but the modules can be interchanged.
Apart from this one more application of this is adding a water sprinkler that can be useful in fire fighter Arduino robot, With the controllable direction of the water pipe we can sprinkle the water accordingly, Like these there are different kind of applications.
So these were the examples to give you an idea showing this project is not limited to single area!
Now as you are aware of this project we can start to build this, I will be explaining this via stages with which you can follow easily.
Stage 1
Designing
I have made the servo mechanism part from 3d printer, if you are a beginner to creating designs don’t worry here is the stl files for this project.
Once you have your stl files we can go for printing, but before we need to slice the design, to slice I will be using the most popular cura slicer.
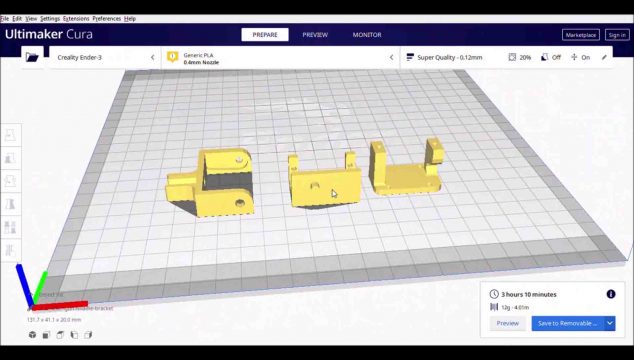
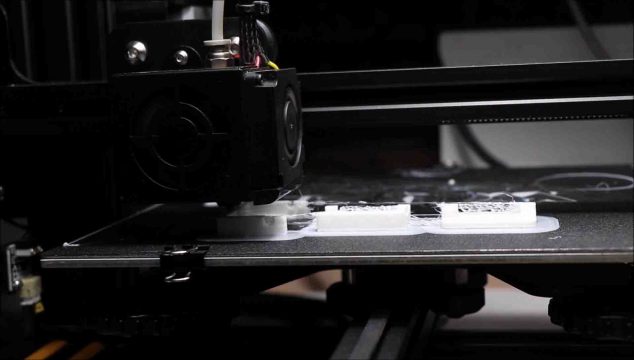
It took me more than 3 hours to get the printed parts, I preferred white pla filament to make this, you can use color of your choice, make sure you have selected adhesion because as we are printing 3 parts at once even if one face issues we should deal with issues of other 2.
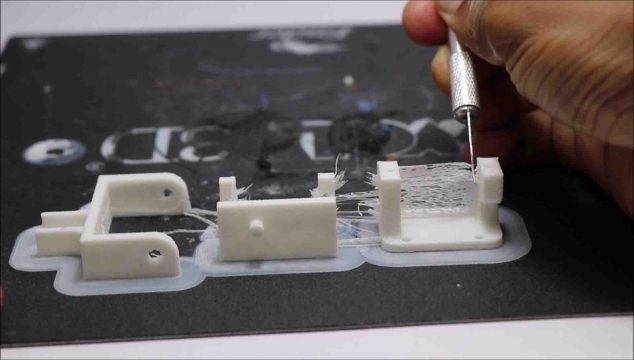
Once you have your print ready it needs some basic cleaning, this web like structure appears because we are not using direct supports, usage of direct supports adds a extra layer of time for the overall printing time.
You can see the web like structure being cleaned using a hobby knife in the image below.
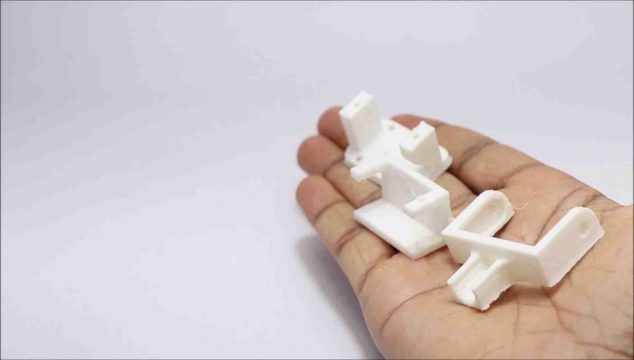
It will take some time as we need to repeat same process all these 3 parts. Once you done removing we will have this parts as shown in below image.
Now the main mechanism is ready and just we need to assemble this, to assemble we need all other components, So now we can start with second stage.
Stage 2
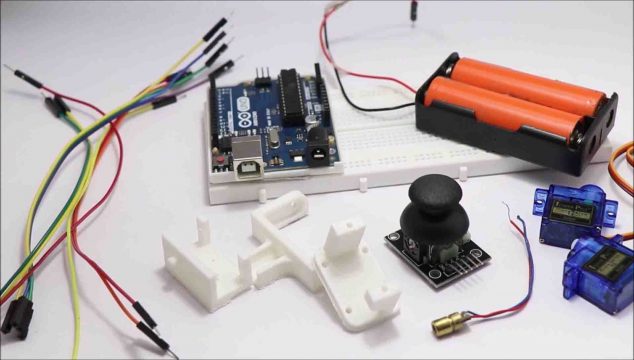
We will gather all the materials as shown in below image.
- Arduino uno
- Jumper wires and breadboard
- Joystick module
- 2 micro servo
- Laser diode
- Arduino IDE
Before assembly we need a circuit diagram that shows the connections between all these components.
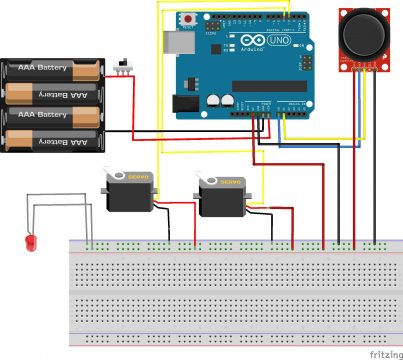
Circuit Diagram For Arduino laser turret:
Building Circuit following Circuit diagram
To make it a lot easier I will explain this component wise.
We have 2 main component here one is micro servo and other is ps2 module.
Micro servo connections
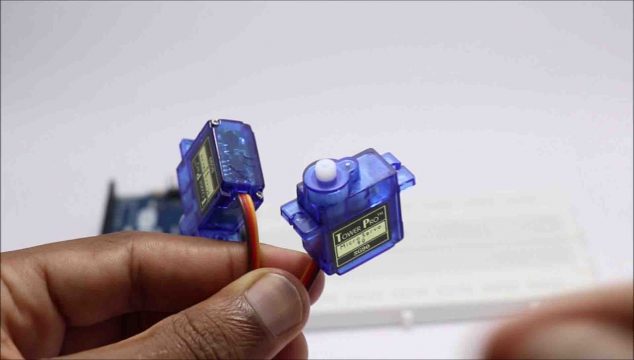
Micro servo comes with 3 different pins, 2 for + and – power supply and one for signal.
From the circuit diagram we can see that positive and negative pins from 2 of the servos are connect to power rails on the breadboard where as signal pins are connected to D3 and D4 pins on Arduino Uno.
Function of servos here: In this project the up down and swing action is taken care of these servos and on the second servo horn we have a holder that holds the laser module.
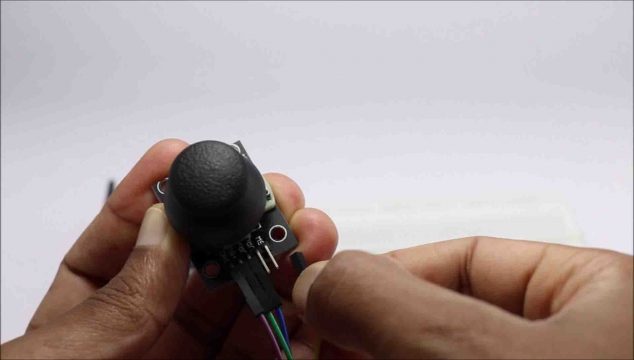
Analog joystick module
Joystick module has 4 different pins out of which 2 are for power supply and the remaining 2 are for vertical and horizontal control.
Connections: we connect + and -ve pins to power rails of the breadboard where as the Vrx and Vry pins are connect to A0 and A1 pins on the uno board.
You can connect Laser diode directly on the breadboard power rails where the +5v and gnd pins fronuno are connected.
This completes our circuit, now we can upload the codes to Uno
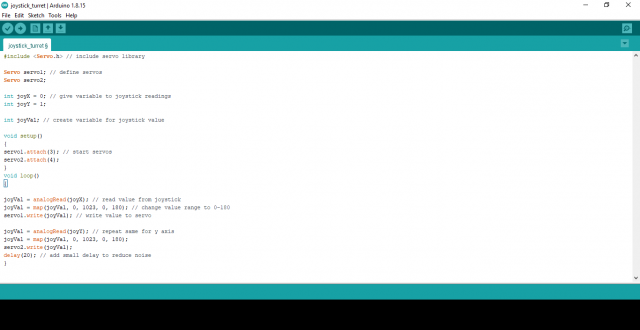
Arduino laser turret code
|
1 2 3 4 5 6 7 8 9 10 11 12 13 14 15 16 17 18 19 20 21 22 23 24 25 26 27 28 29 30 31 |
#include <Servo.h> // include servo library Servo servo1; // define servos Servo servo2; int joyX = 0; // give variable to joystick readings int joyY = 1; int joyVal; // create variable for joystick value void setup() { servo1.attach(3); // start servos servo2.attach(4); } void loop() { joyVal = analogRead(joyX); // read value from joystick joyVal = map(joyVal, 0, 1023, 0, 180); // change value range to 0-180 servo1.write(joyVal); // write value to servo joyVal = analogRead(joyY); // repeat same for y axis joyVal = map(joyVal, 0, 1023, 0, 180); servo2.write(joyVal); delay(20); // add small delay to reduce noise } |
Copy and paste this code to your Arduino ide.
- Connect programming cable to uno
- Check for port number and board type by clicking on tools->board type/ports
- Click on upload
- Once the upload is complete, disconnect the programming cable
Some basics about the code
We start the code by #include <Servo.h> that means we are telling the IDE to include servo library so that it can understand with what module we are trying to communicate
After this we are calling functions for Joystick and then assigning the pin numbers for servos these are called as
|
1 2 3 |
servo1.attach(3); servo2.attach(4); |
and
|
1 2 3 |
int joyX = 0; int joyY = 1; |
Now we should assign the values, in short how the servo should respond when it receives input from the joystick module
|
1 2 3 4 5 6 7 8 9 10 11 12 13 |
joyVal = analogRead(joyX); joyVal = map(joyVal, 0, 1023, 0, 180); servo1.write(joyVal); joyVal = analogRead(joyY); joyVal = map(joyVal, 0, 1023, 0, 180); servo2.write(joyVal); delay(20); |
Delay is the time given to servo more the delay slower will be the response, delay helps to get rid of the noise.
Final assembly
After uploading the code make sure to test all the functions, once these works fine we can assemble everything together
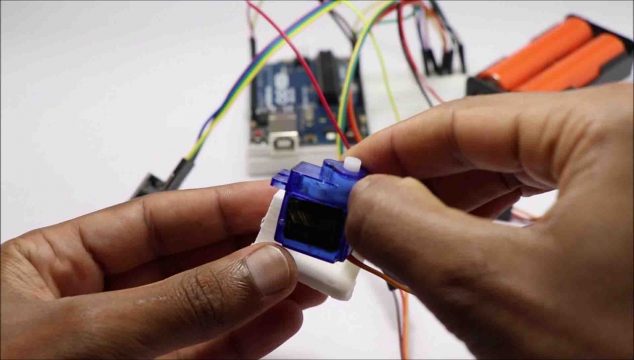
We will start by adding base part of the servo, just slide the servo and attach using screws, or if you are not using this servo in further project you can couple using superglue.
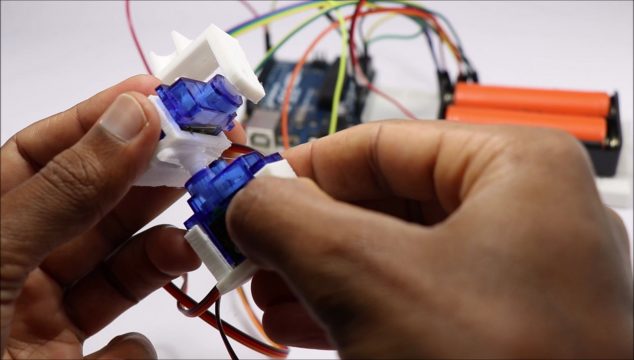
Do the same with second servo and now attach the diode holder to the horns that is glued to 3d printed part
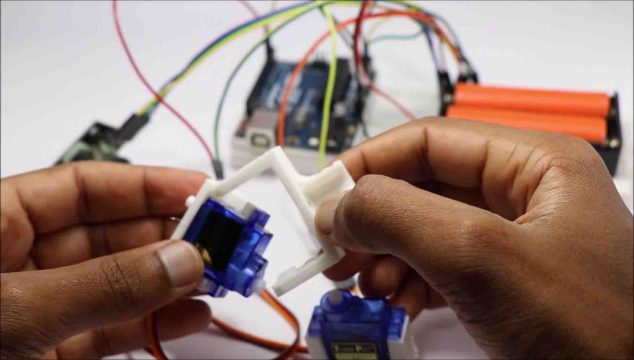
Once you add this, you can couple these using a base servo, that is responsible for swinging action
Now using a piece of double sided adhesive attach all this setup on a Breadboard.
You can use custom 3d print box too, but I wont recommend doing this as it comes with lot of limitations.
Now we can add joystick to the end of breadboad, I will be using a lithium ion battery pack that provides 7.4v of supply for Arduino.
Arduino provides 5v of supply to breadboard and all the other components connected to power rail.
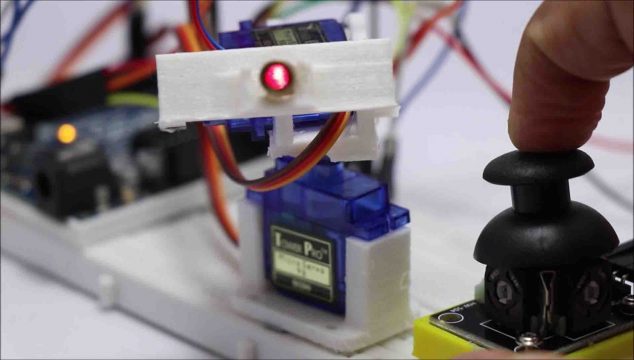
Just connect the power supply and watch your laser in action!
You can change the direction of this laser within the use of analog joystick that gives the feeling of playing video game.
In future we have plans to upgrade this project to a complete wirelessly controlled laser turret and for a ps2 controlled wifi car camera.
Hope you found this project interesting, we will come back with more such projects, Thank you and comment your opinions.
Can you provide links for the specific parts you used?
Does it need to be connected to digital Oscilloscope all the time??
Or it can work by connection with just computer.