Raspberry Pi Oled Display I2C SSD1306 Display Module Interfacing and programming
how to connect SSD1306 I2C lcd with Raspberry Pi
Table of Contents
Raspberry Pi Oled Display, Description:
I have been using this 5.5 inch Oled touchscreen with raspberry Pi for quite a long time. But at times it seems quite impractical to use such an expensive display when working on small projects for displaying the temperature, Humidity values, etc. You can use this small SSD1306 I2C supported Oled display Module for displaying the Sensors values. I have used this Oled display module with Arduino boards, and with ESP32, and Nodemcu ESP8266 Wifi Modules. So, this is going to be a getting started tutorial and I am going to explain each and every step as this is my first time I am using this small Oled display with Raspberry Pi.
We will display some shapes using the program which comes with the library and then we will also write our own program to display the hello electronic clinic text on the Oled display Module. The reason I started with just a simple text is to make things simpler and easy to follow. Moreover, if you can display the text, then you can also display the Sensor values on the Oled display module.
Without any further delay, let’s get started!!!
Amazon Purchase Links:
SSD1306 128×64 Oled i2c display Module
Wireless Keyboard and Mouse for raspberry pi:
Night vision Camera for Raspberry Pi:
Oled HDMI touch display for raspberry pi:
Other Tools and Components:
Super Starter kit for Beginners
PCB small portable drill machines
*Please Note: These are affiliate links. I may make a commission if you buy the components through these links. I would appreciate your support in this way!
Raspberry Pi 3 Pinout:
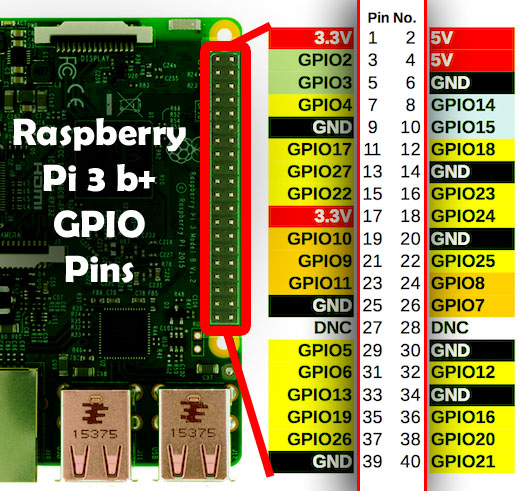
Unlike the Arduino boards the Raspberry Pi also supports I2C communication. In Raspberry Pi the I2C pins are 3 and 5. Pin number 3 is the SDA and Pin number 5 is the SCL. Pin number 1 is the 3.3V and Pin number 6 is the ground. So, we will use 3.3 volts to power up the Oled display module.
SSD1306 Oled Display Connection with Raspberry Pi:
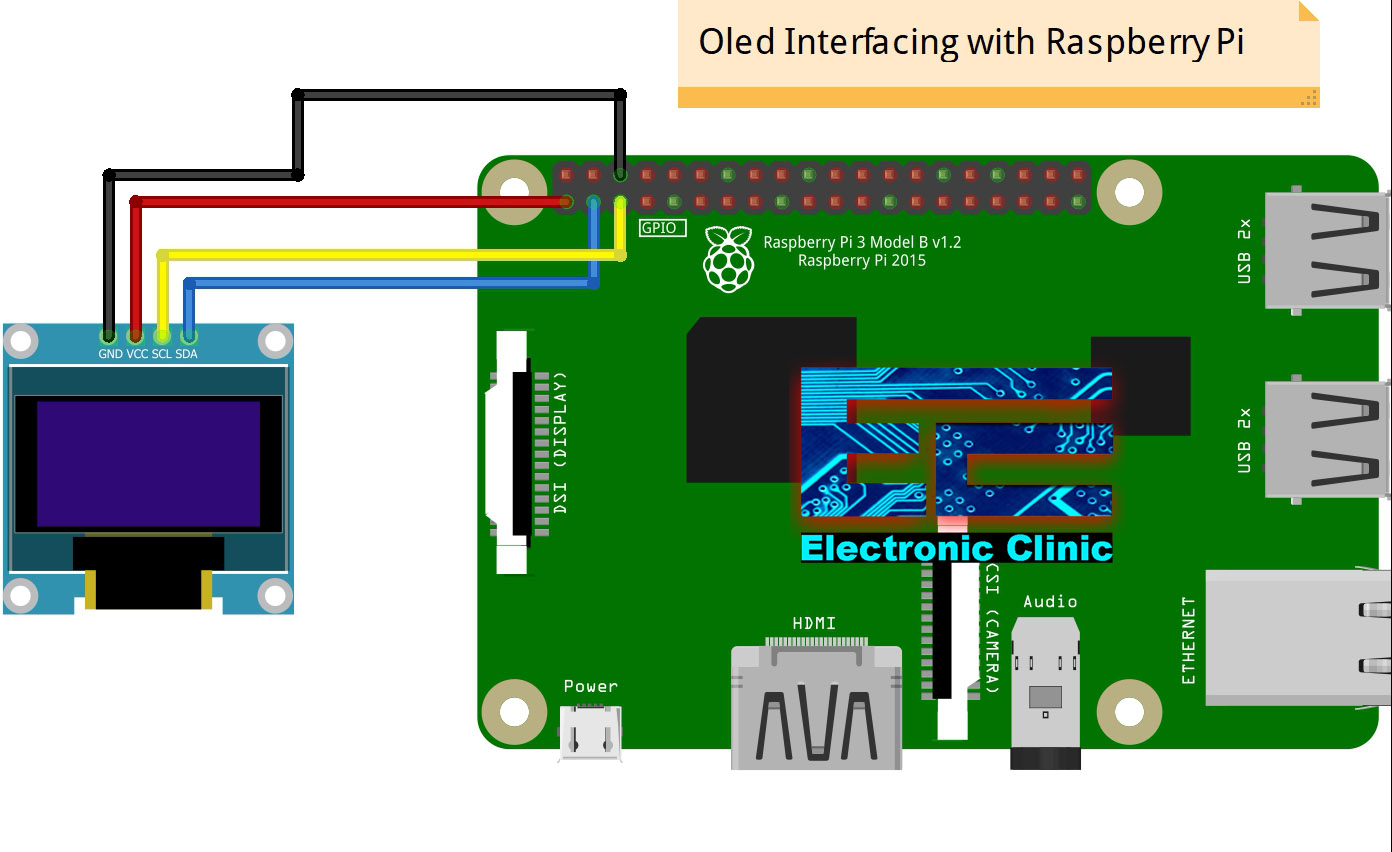
This is the circuit diagram which clearly shows how the SSD1306 I2C supported Oled display is connected with the Raspberry Pi. Pin 1 which is the 3.3V pin is connected with the Oled display Module VCC pin. Pin number 3 is the SDA pin of the Raspberry Pi and is connected with the SDA pin of the Oled display module. Pin number 5 is the SCL pin of the Raspberry Pi and is connected with the SCL pin of the Oled Display Module. Finally, the Gnd pin of the Raspberry Pi which is pin number 6 is connected with the GND pin of the SSD1306 I2C supported Oled Display Module. So, that’s all about the circuit diagram.
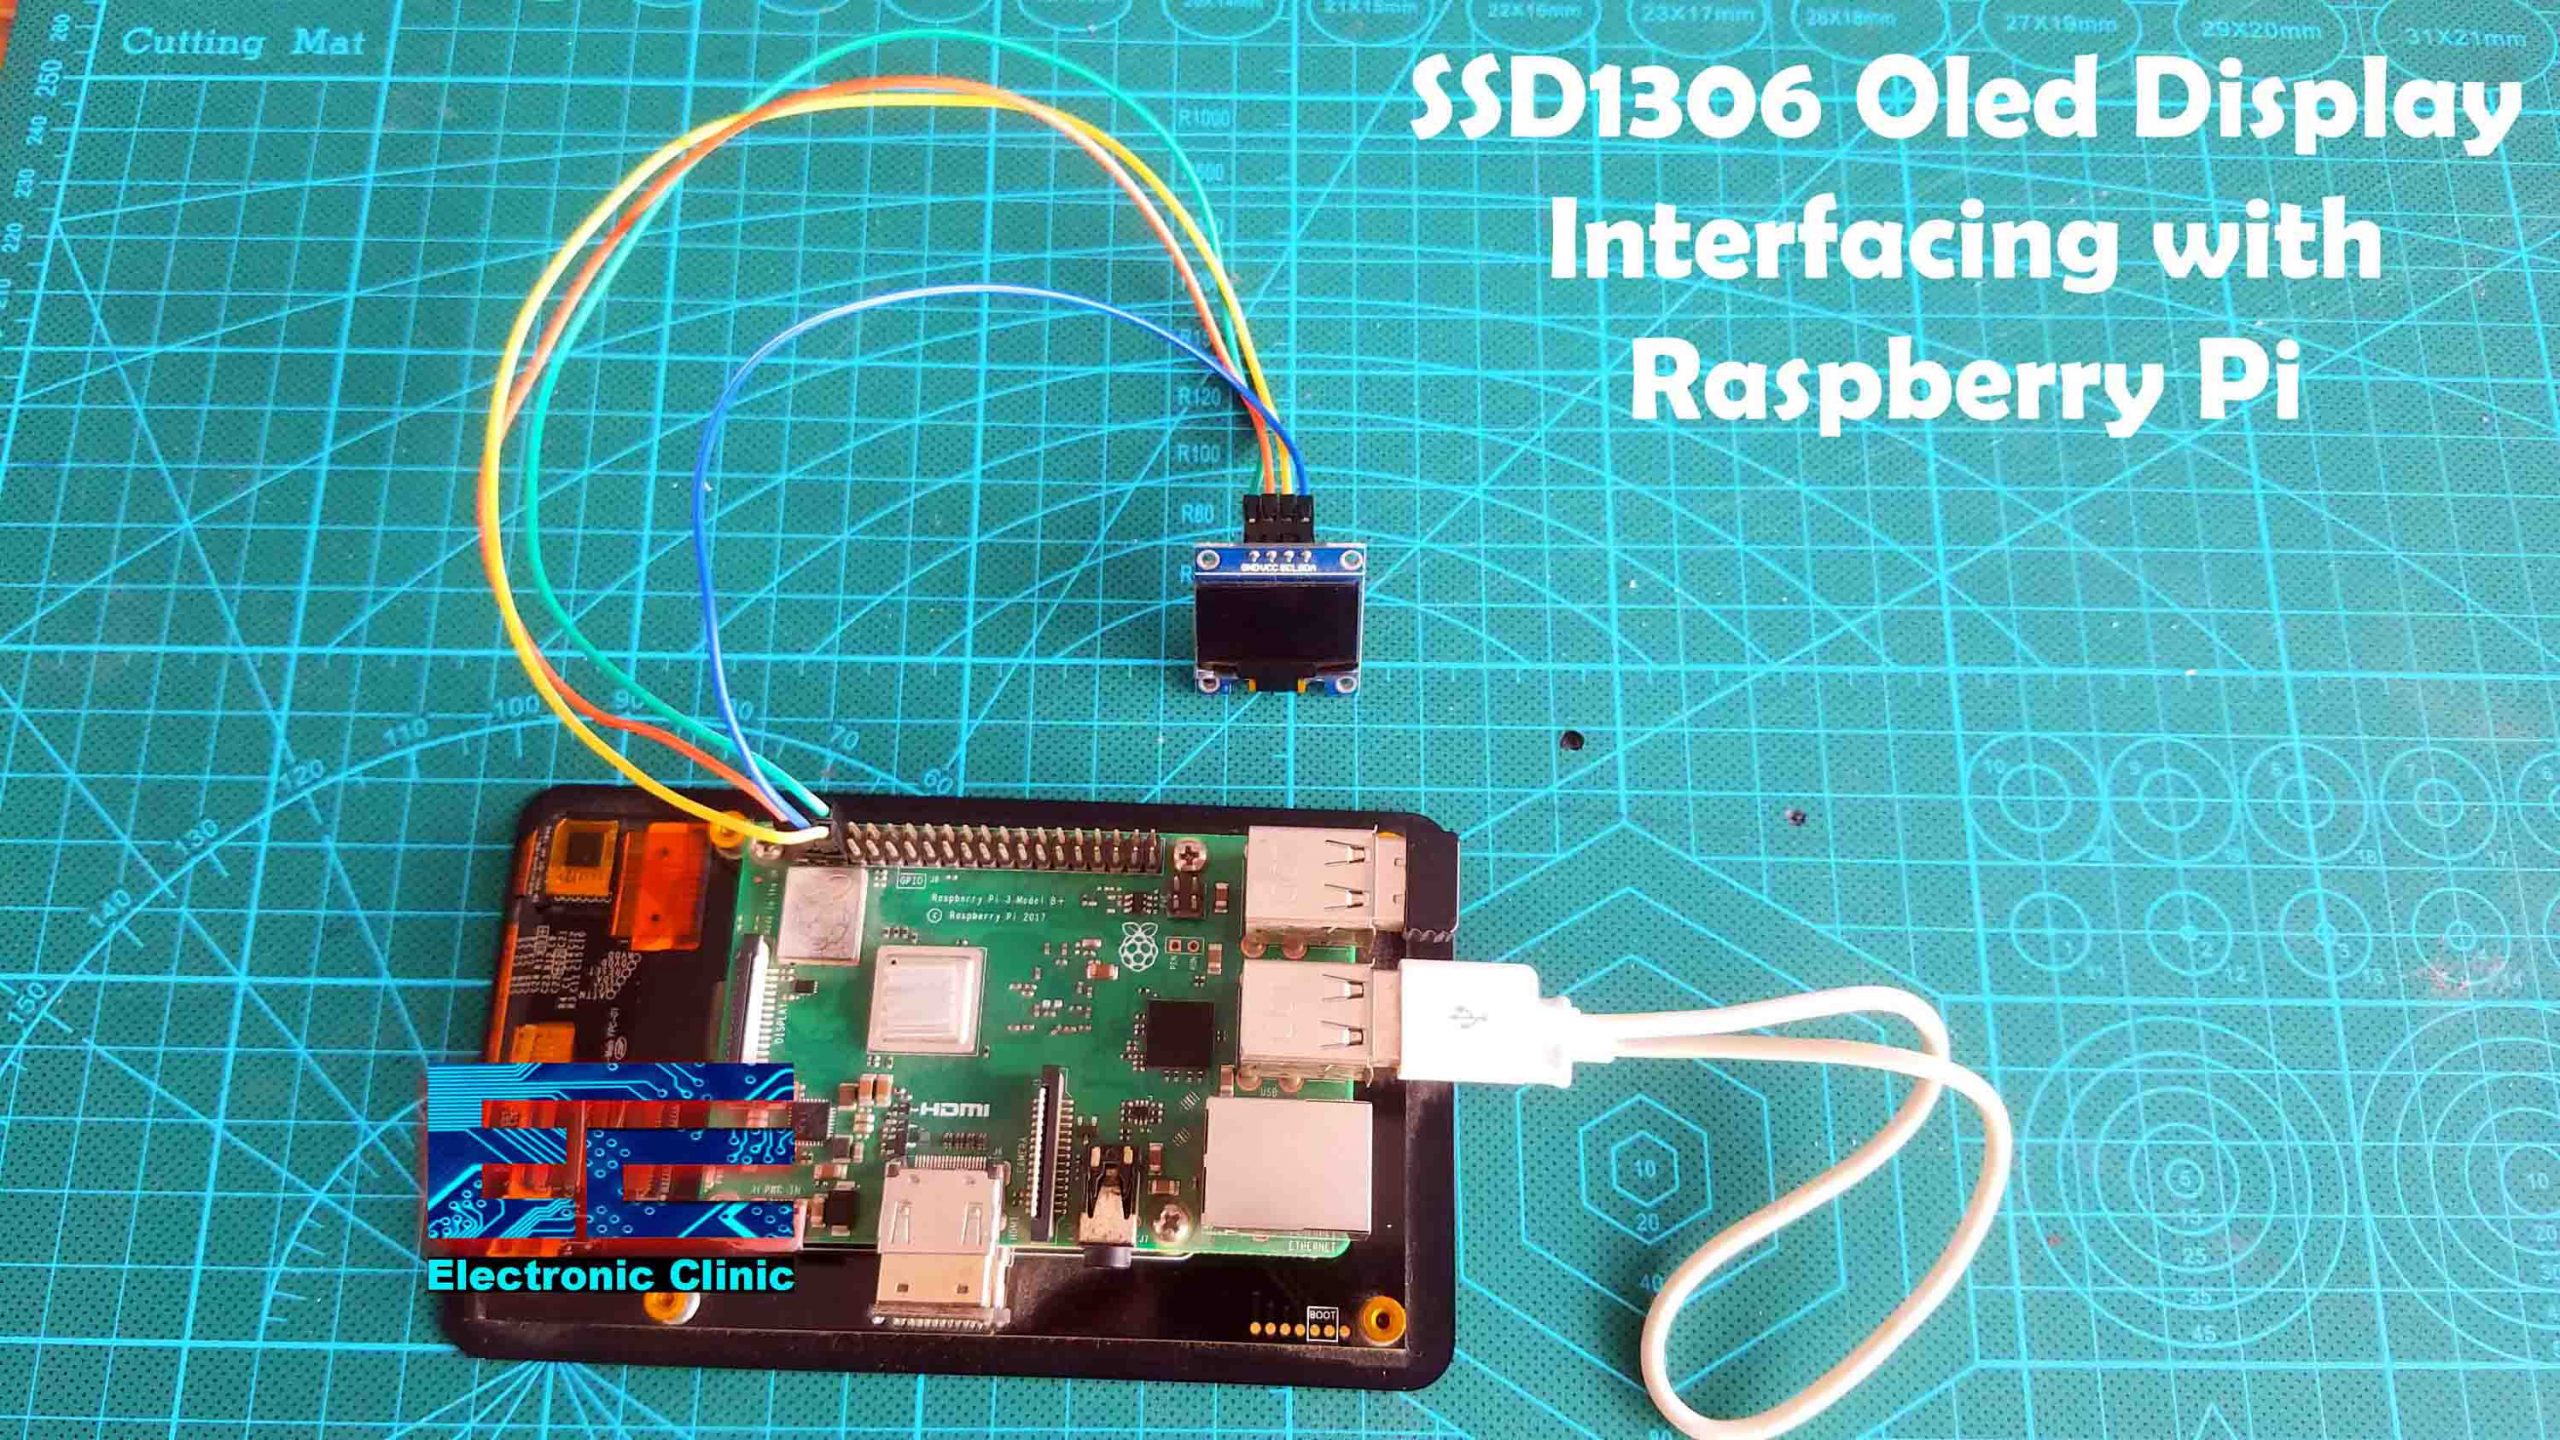
As you can see I have already connected with the Oled display module with the Raspberry Pi as per the circuit diagram which I just explained. Now, we will do some settings on the Raspberry Pi. These settings are really important. I started off by powering up my Raspberry Pi. I am using the VNC “Virtual Network Computing” for the wireless connectivity with my Raspberry Pi this way I don’t need to connect my laptop with the Raspberry Pi using cables. You can also use the SSH Network.
I2C set up on Raspberry Pi:
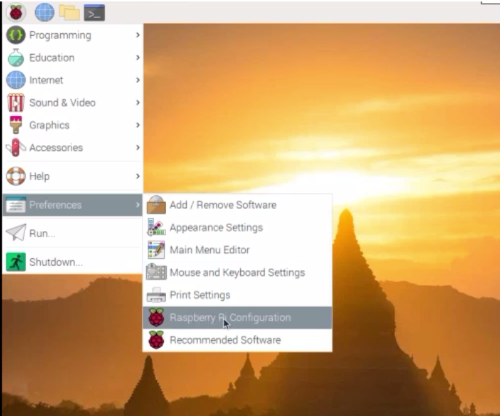
First you will need to check if the I2C bus is activated on your Raspberry Pi. Simply click on raspberry pi icon then preferences and then select the raspberry pi configuration.
This will open the Raspberry Pi Configuration Window which has the System, Display, Interfaces, Performance, and Localisation tabs. You will need to click on the Interfaces tab. In the image given below, you can clearly see my I2C is already enabled.
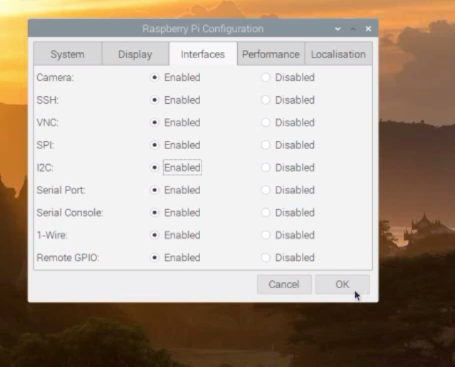
So, go ahead and enable this on your Raspberry Pi as well. On my Raspberry Pi I have also enabled all the other interfaces, as I have been using all of these in different raspberry pi based projects. You can check my other Raspberry Pi based Projects. Anyhow, this was the first method of enabling the I2C interface on the Raspberry Pi using the VNC or Touch Screen. Let’s say if you can’t see the Raspberry Pi desktop and graphics. All you have is the blank screen just in the case of the SSH network. All you can see is the terminal window. So, in the second method I will explain how to enable the I2C interface on Raspberry Pi using the command terminal.
Second method for Enabling the I2C on Raspberry Pi:
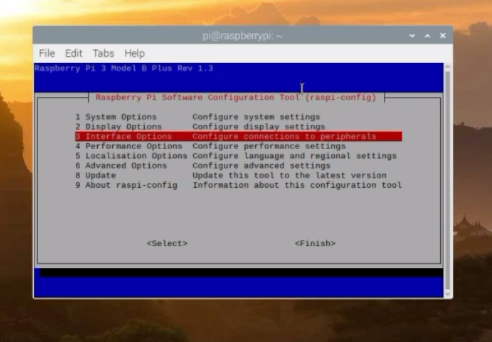
There is also another method to activate your I2C communication on Raspberry Pi, this method is normally used when you are using the SSH Network because while using the SSH network you can’t see the raspberry Pi desktop and graphics. In a case like this we use the command terminal, while the command terminal is opened write the command
sudo rasp-config
This will open the Raspberry pi Software configuration Tool, scroll down and select Interface options. Use arrow keys on your computer or laptop to scroll down.
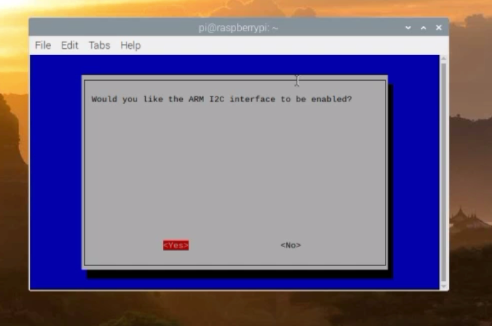
Over here you can see it’s already enabled. On your side if it’s not enabled then go ahead and enable it, and then you are all set.

By pressing enter a confirmation message will show up so press yes.
Now we will run different commands to update the Raspberry Pi and install the required libraries.
Following is the list of commands.
sudo apt update
sudo apt upgrade
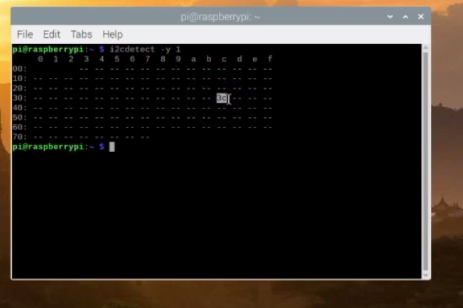
i2cdetect -y 1
Library installation
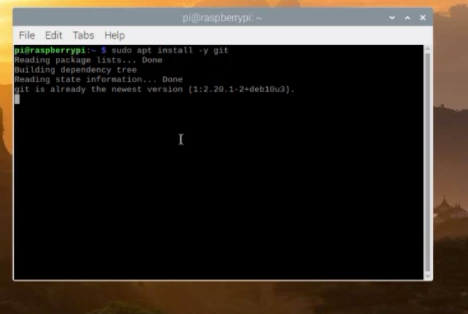
sudo apt install -y git
git clone https://github.com/adafruit/Adafruit_Python_SSD1306.git
cd Adafruit_Python_SSD1306
sudo python setup.py install
or
sudo python3 setup.py install
Raspberry Pi Libraries installation:
Firs to all update and upgrade your raspberry pi with help of this command
sudo apt update
And sudo apt upgrade.
After upgrading the raspberry pi check the oled hex address by using this command
i2cdetect -y 1
Then install the adafruit git repository using this command
sudo apt install -y git
After installing the git repository then clone the repository with the help of this command:
git clone https://github.com/adafruit/Adafruit_Python_SSD1306.git
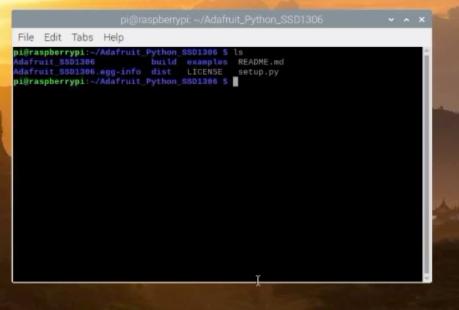
Once the clone process is completed navigate to the library folder:
cd Adafruit_Python_SSD1306
If you are using the python2 simply enter this command:
sudo python setup.py install
Or if you are using the python3 then enter this command:
sudo python3 setup.py install
We are done with the installations, to check if the Oled display module is working we will start with the example code, for this open the folder Adafruit_Python_SSD1306. For this type cd Adafruit_Python_SSD1306
Once you are inside the folder use the ls command to display all the files and folders.
As you can see there is a folder named examples now navigate to this folder by using the command
cd examples and press enter.
Again use the ls command to check all the files and folders.
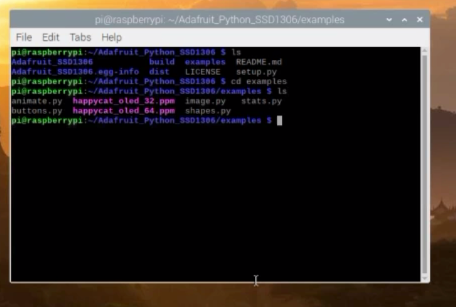
As you can see we have some example files with extension .py
Let’s open the shapes.py file. To run this file simply type
Python shapes.py and then press enter
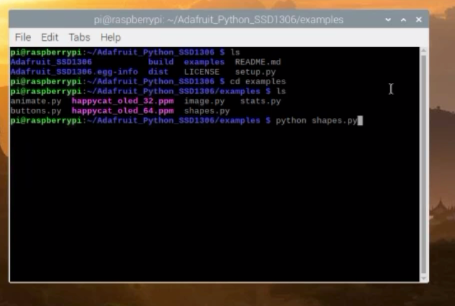
They will draw some shapes and the hello world text on the Oled display module.
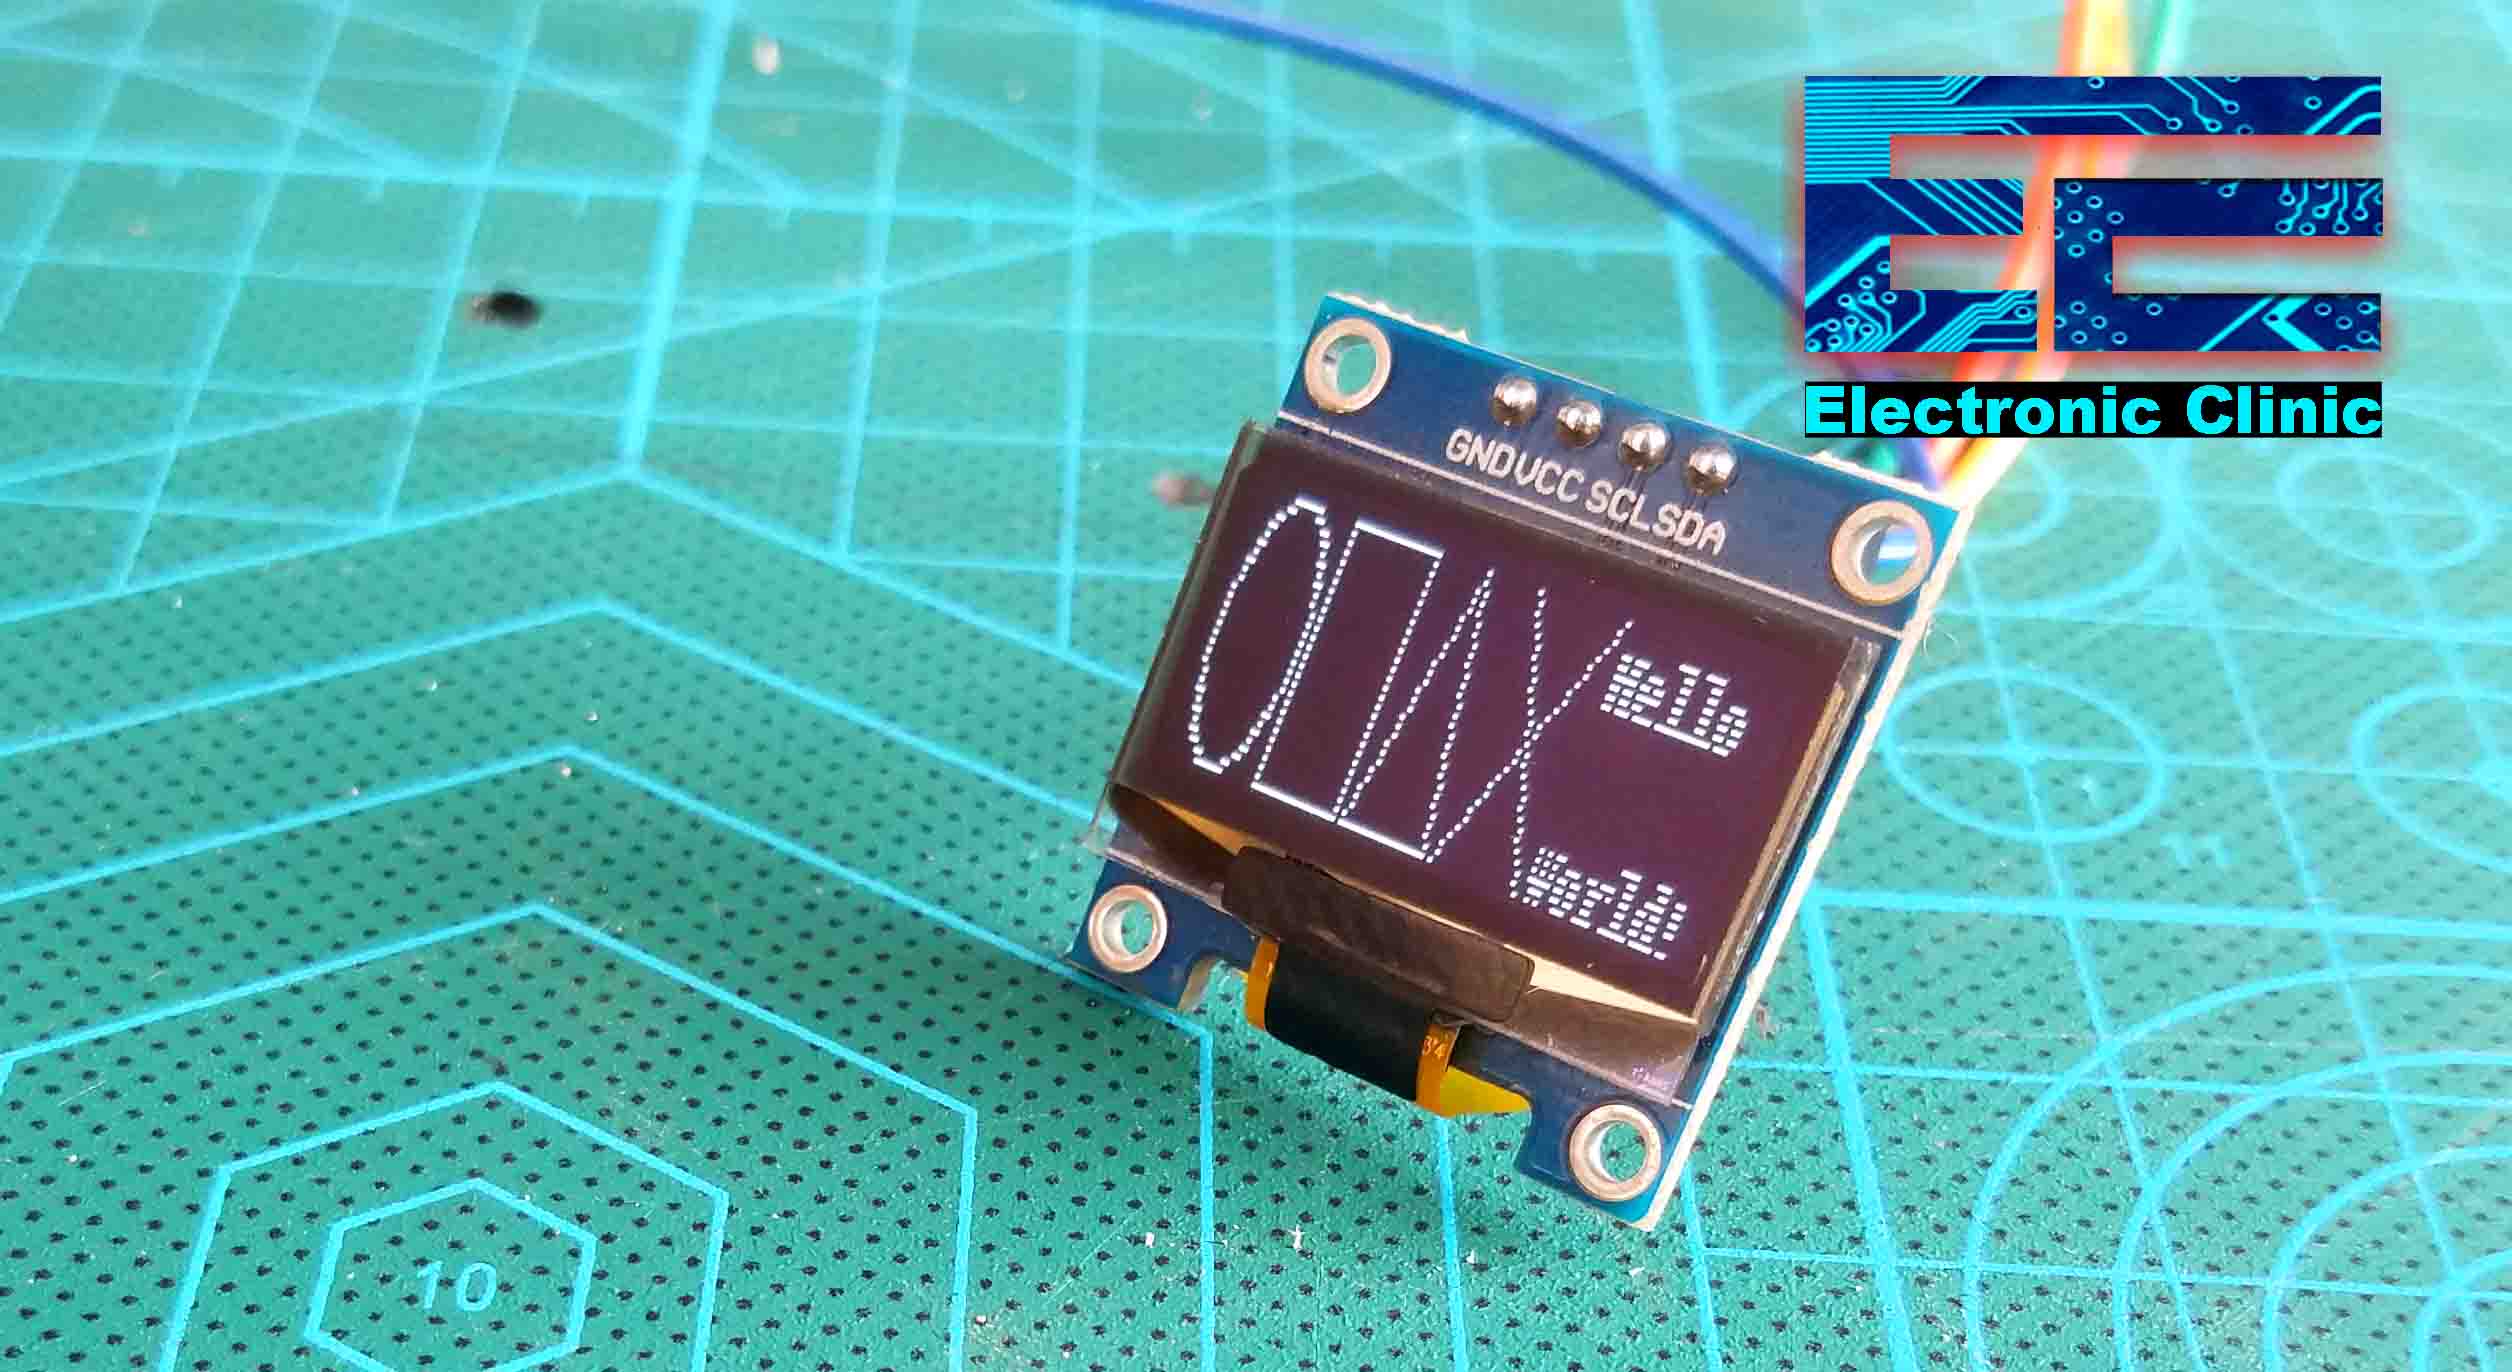
Great our Oled display module is working with the Raspberry Pi. We did everything correctly. Now we can write our own code to display different texts on the Oled display Module.
I used the MU editor for writing the program, it doesn’t matter which editor you use. Use any editor which is currently installed on your Raspberry Pi.
Raspberry Pi Oled Code:
|
1 2 3 4 5 6 7 8 9 10 11 12 13 14 15 16 17 18 19 20 21 22 23 24 25 26 27 28 29 30 31 32 33 34 35 36 37 38 39 40 41 42 43 44 45 46 47 48 49 50 51 52 53 54 55 56 |
import time import Adafruit_GPIO.SPI as SPI import Adafruit_SSD1306 from PIL import Image from PIL import ImageDraw from PIL import ImageFont # Raspberry Pi pin configuration: RST = 24 # Note the following are only used with SPI: DC = 23 SPI_PORT = 0 SPI_DEVICE = 0 # Beaglebone Black pin configuration: # RST = 'P9_12' # Note the following are only used with SPI: # DC = 'P9_15' # SPI_PORT = 1 # SPI_DEVICE = 0 # 128x32 display with hardware I2C: disp = Adafruit_SSD1306.SSD1306_128_32(rst=RST) # Initialize library. disp.begin() # Clear display. disp.clear() disp.display() # Create blank image for drawing. # Make sure to create image with mode '1' for 1-bit color. width = disp.width height = disp.height image = Image.new('1', (width, height)) draw = ImageDraw.Draw(image) padding = 2 shape_width = 20 top = padding bottom = height-padding # Move left to right keeping track of the current x position for drawing shapes. x = padding # Load default font. font = ImageFont.load_default() draw.text((x, top), 'Hello', font=font, fill=255,) draw.text((x, top+10), 'Electronic clinic!', font=font, fill=255) # Display image. disp.image(image) disp.display() |
Oled Display with Raspberry Pi Testing:
This is a simple code which displays the Hello Electronic clinic! text on the Oled display module.
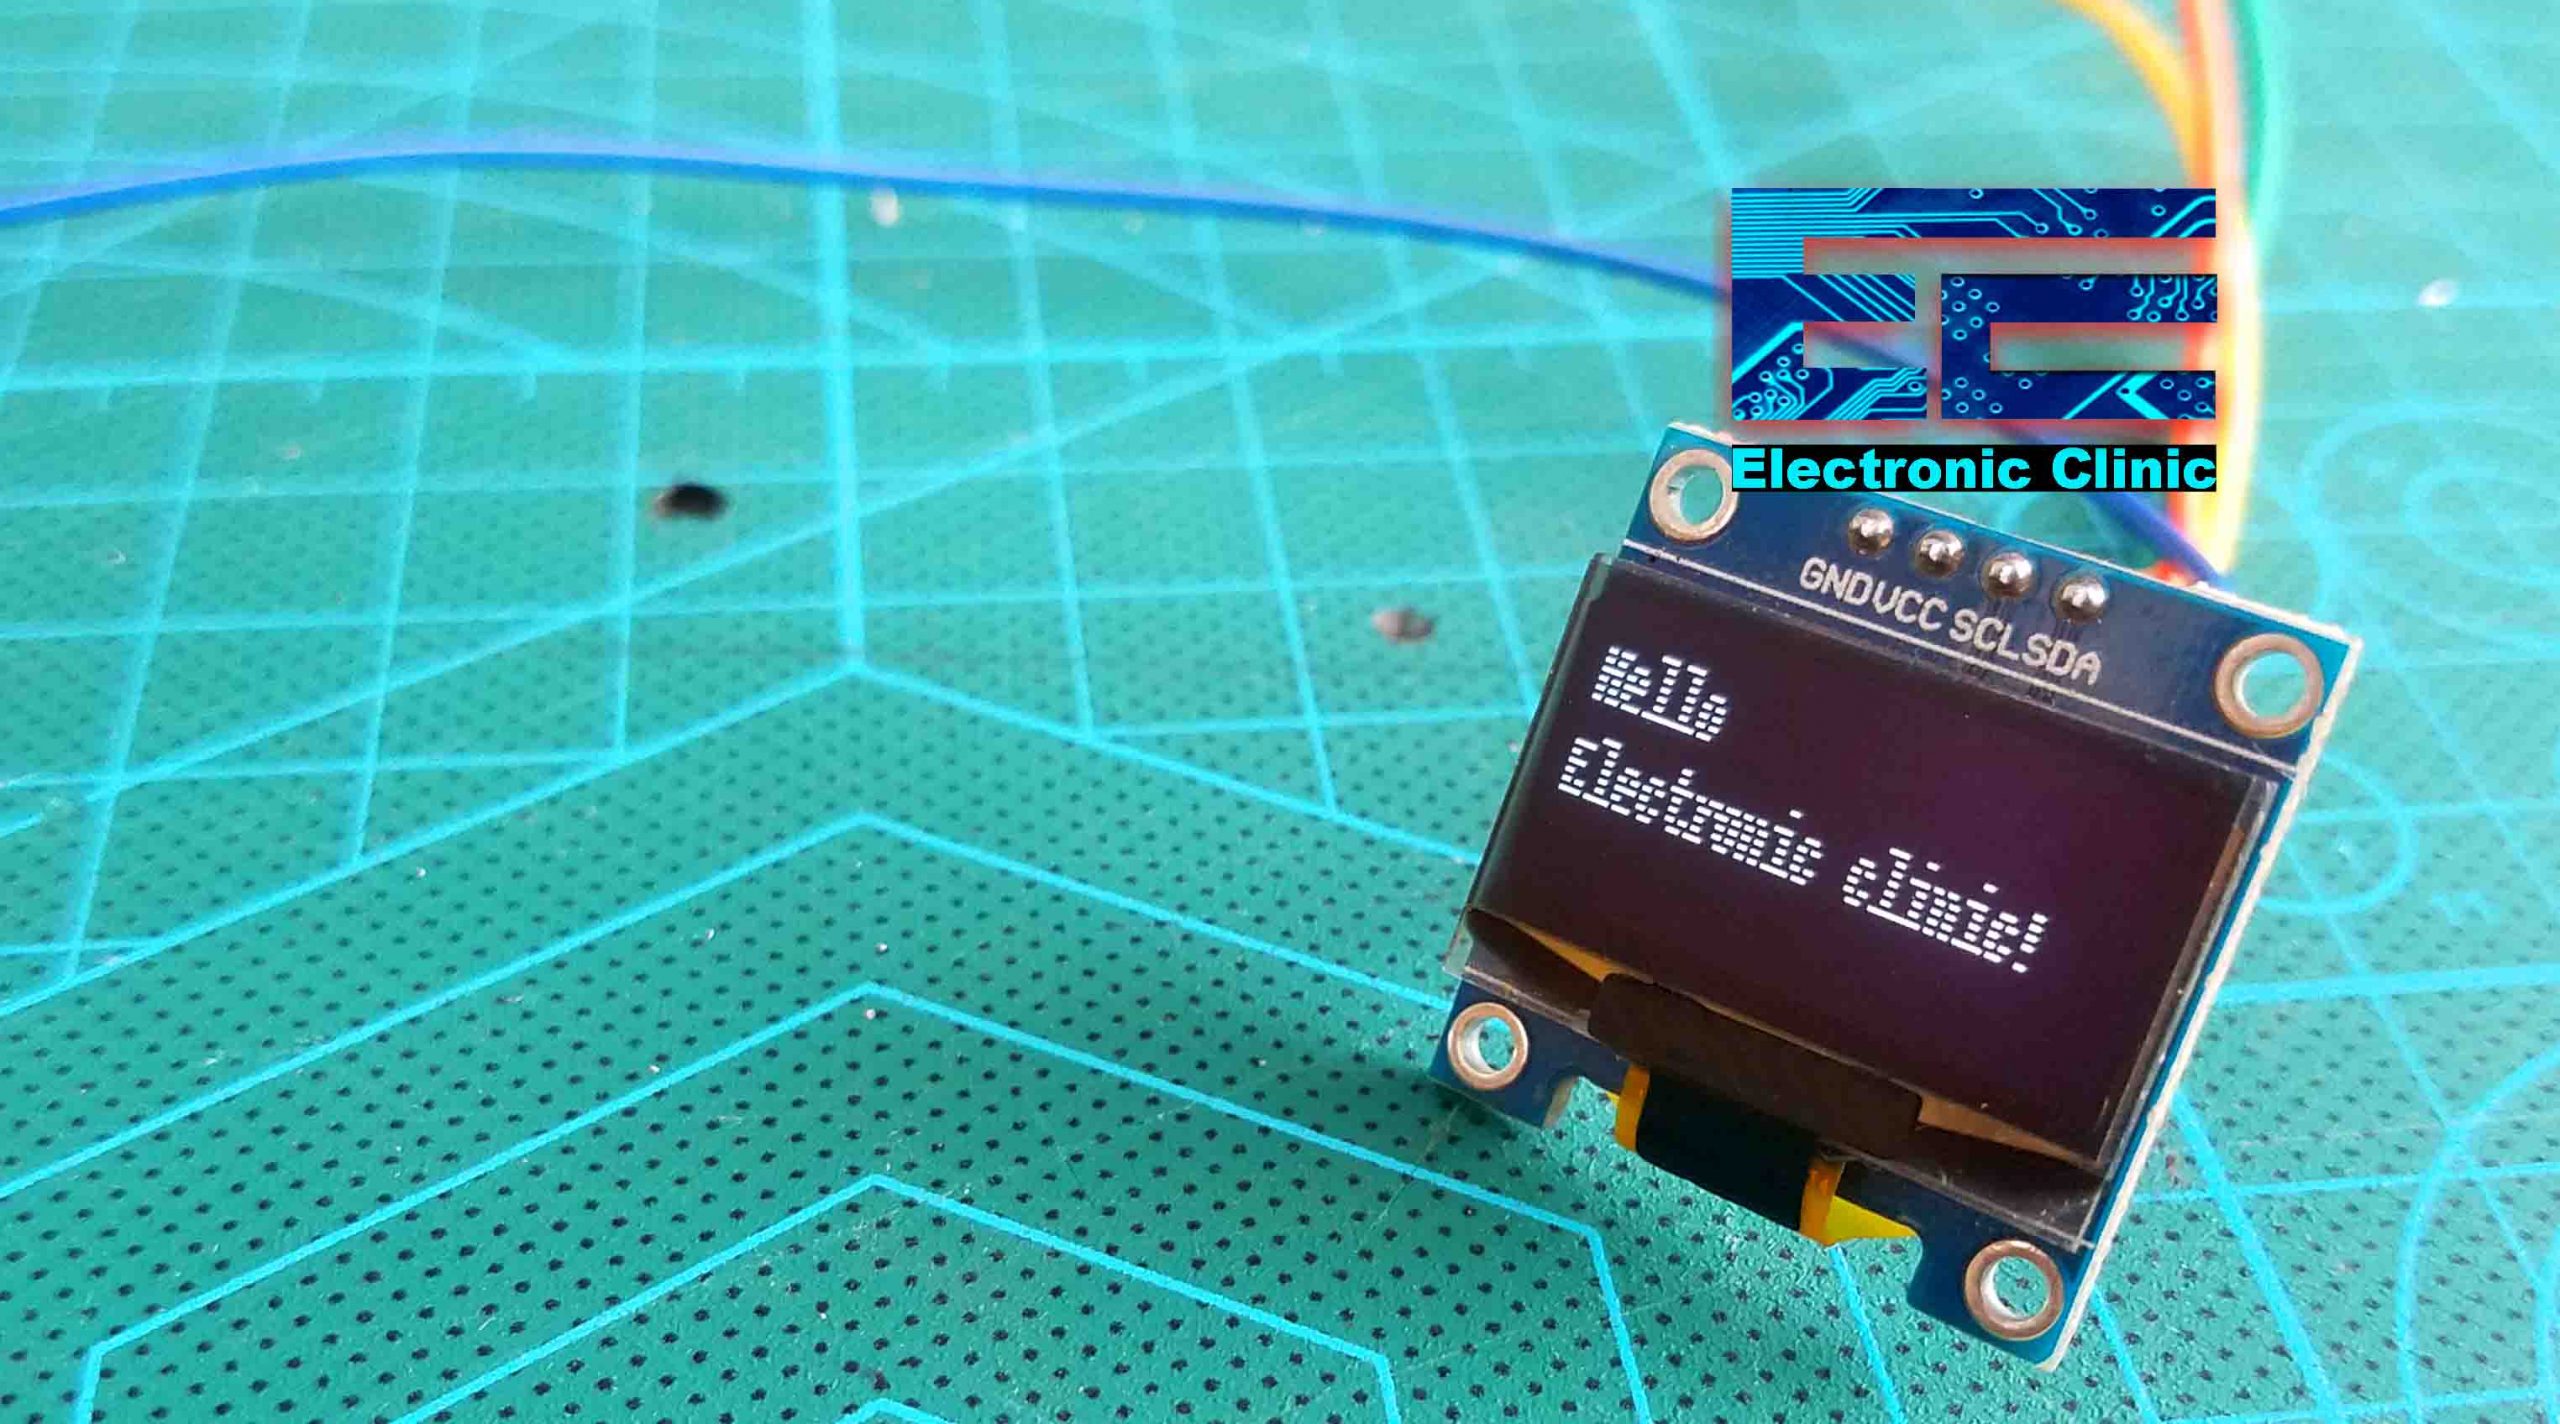
Great!
We did it successfully. This was quite easy don’t you think? Now you can use this Oled display module with Raspberry Pi for displaying temperature, Humidity, speed, light brightness, etc. You can display anything you want. Now, it depends on you for what purpose you are going to use this.
Watch Video Tutorial:
Thank you for posting this!
Very helpful!
It works great with the command terminal but when I try to run your code with the Python 3 (IDLE) it gives me the following error:
======== RESTART: /home/pi/Adafruit_Python_SSD1306/examples/image.py ========
Traceback (most recent call last):
File “/home/pi/Adafruit_Python_SSD1306/examples/image.py”, line 44, in
disp = Adafruit_SSD1306.SSD1306_128_32(rst=RST)
File “/usr/local/lib/python3.5/dist-packages/Adafruit_SSD1306-1.6.2-py3.5.egg/Adafruit_SSD1306/SSD1306.py”, line 288, in init
gpio, spi, i2c_bus, i2c_address, i2c)
File “/usr/local/lib/python3.5/dist-packages/Adafruit_SSD1306-1.6.2-py3.5.egg/Adafruit_SSD1306/SSD1306.py”, line 107, in init
self._i2c = I2C.get_i2c_device(i2c_address)
File “/usr/local/lib/python3.5/dist-packages/Adafruit_GPIO-1.0.4-py3.5.egg/Adafruit_GPIO/I2C.py”, line 66, in get_i2c_device
return Device(address, busnum, i2c_interface, **kwargs)
File “/usr/local/lib/python3.5/dist-packages/Adafruit_GPIO-1.0.4-py3.5.egg/Adafruit_GPIO/I2C.py”, line 98, in __init__
import Adafruit_PureIO.smbus
ImportError: No module named ‘Adafruit_PureIO’
Any suggestions on how I may fix my problem?
Thanks again for your post!