tkinter python clock designing tutorial for beginners
Description:
tkinter python clock designing tutorial for beginners- this is a very basic and detail tutorial about, how to design a clock in python using tkinter widget. If you don’t know how to make a GUI “graphic user interface” in python. Then you should definitely read my previous article “Python GUI, Python Tkinter Canvas tutorial, Python User Interface, Python Tk“ which explains the maximum things you need to know about. Designing a clock in python using tkinter is a beginners level tutorial and I have tried to explain the maximum things.
Without any further delay let’s get started!!!
Amazon Purchase Links:
*Please Note: These are affiliate links. I may make a commission if you buy the components through these links. I would appreciate your support in this way!
tkinter python clock:
|
1 2 3 4 5 |
from tkinter import * import time root = Tk() root.geometry('600x200+350+300') root.mainloop() |
first we import the tkinter module for showing python GUI, and then we import time, then we create the root window root is equal to Tk(), then we are going to set the geometry root.geometry 600 x 200+350+300 now what does this mean this means 600 is the distance from the point on left side to the point on right side. As you can see in the pictures below.


Horizontal distance so the window is 600 units or pixels in width

And 200 pixels in height.
350 is the distance from left border so this is from here


The distance is 350 where the window is created and 300 is the distance from top, after the tkinter pyhon window is created you can move it anywhere and there shouldn’t be any problem.
To set the window title for that we have am attribute title in tkinter python
|
1 2 3 4 5 6 |
from tkinter import * import time root = Tk() root.geometry('600x200+350+300') root.title("python clock designing") root.mainloop() |
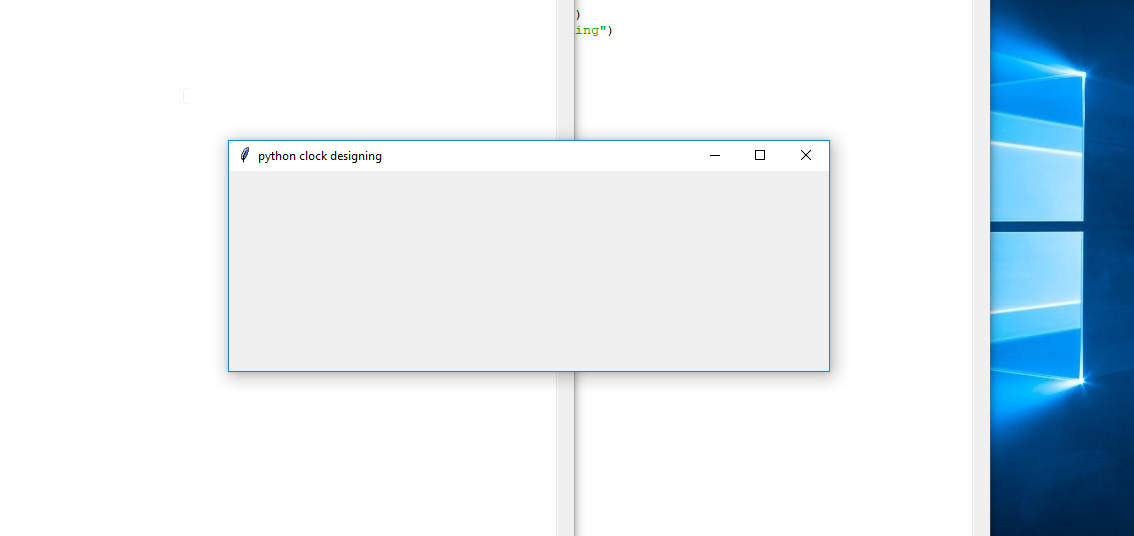
As you can see the title is changed form tk to python clock designing
|
1 2 3 4 |
timenow=' ' timenow is the strength to hold the time cframe =Frame(root, width=200, height=100, bg='green', relief=GROOVE) cframe.pack() |
then we create the clock frame which is a frame in python GUI and we give it the argument root, width is 200, height is 100, background color with green, and relief is groove, and then we pack it with the syntax called cframe.pack().
|
1 2 |
clock=Label(cframe, padx=25, pady=40, bd=3, fg= 'dark green',font=('arial',48,'bold'),text= timenow,bg='light green', relief= SUNKEN) clock.pack() |
then we create a label in tkinter python which is called clock, so clock is a label and we attached this label to cframe and pad X is 25, pad Y is 40, bd is 3, foreground is dark green color, font is Ariel 48, and bold text is timenow which is empty for the time being and background with light green, and relief is sunken. we packed this clock here, pad X is the horizontal padding around the text, pad y is the vertical padding, BD is the border width, FG is foreground color, font Arial 48 bold, background color is light green, and relief is sunken. We pack it with the syntax called clock.pack().
|
1 2 3 4 5 6 7 8 9 |
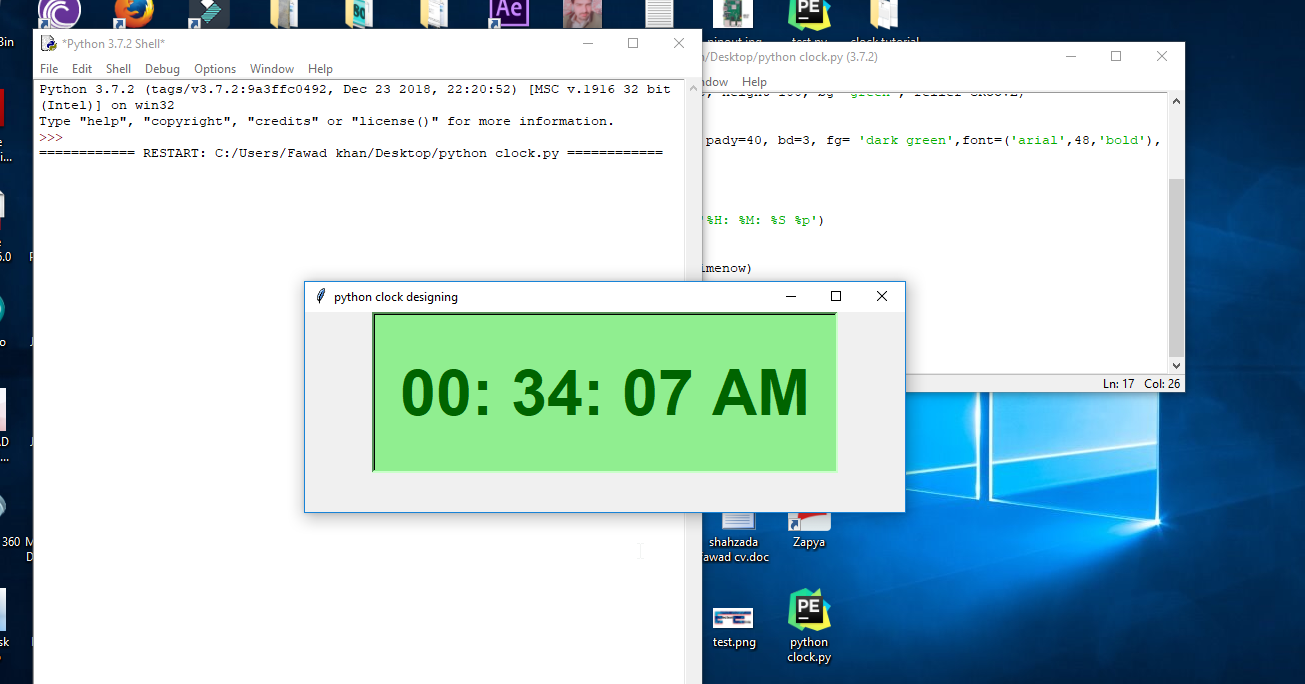
def timer(): global timenow newtime = time.strftime('%H: %M: %S %p') if newtime != timenow: timenow= newtime clock.config(text= timenow) clock.after(200, timer) timer() root.mainloop() |
In the function we initialize the global variable timenow which is already defined in start. then timenow is assigned to the attribute time. strftime(‘%H: %M: %S %p’) and this is the formatting of time. Then if newtime is not timenow. timenow should be new time so this is changing time. Then we configure the clock and text is applied as timenow, so constantly changing the time and updating the time clock. so after 200 milliseconds the timer function is called and root.mainloop.
|
1 2 3 4 5 6 7 8 9 10 11 12 13 14 15 16 17 18 19 20 21 22 23 24 |
from tkinter import * import time root = Tk() root.geometry('600x200+350+300') root.title("python clock designing") timenow='' cframe =Frame(root, width=200, height=100, bg='green', relief=GROOVE) cframe.pack() clock=Label(cframe, padx=25, pady=40, bd=3, fg= 'dark green',font=('arial',48,'bold'),text= timenow,bg='light green', relief= SUNKEN) clock.pack() def timer(): global timenow newtime = time.strftime('%H: %M: %S %p') if newtime != timenow: timenow= newtime clock.config(text= timenow) clock.after(200, timer) timer() root.mainloop() |
now run the code by pressing f5
Please keep in mind in order to understand this piece of code you ought to have basic understanding of Python programming language. If you want to learn the basics things using Python consider reading my other articles on Python.