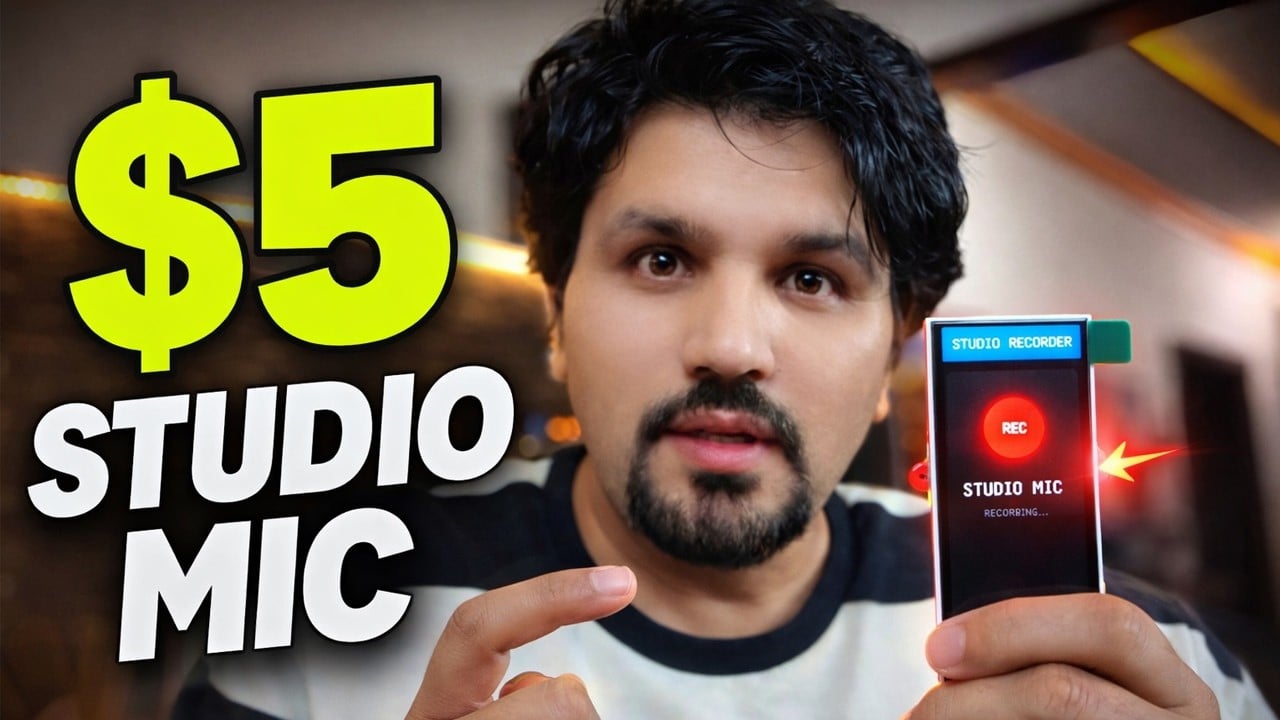
Can a $5 ESP32 Mic Sound Like a Studio Microphone? I Built a $5 Studio Mic
Last Updated on April 2, 2026 by Engr. Shahzada Fahad
Table of Contents
Description:
Tired of weak, noisy audio from cheap mics? What if a $5 ESP32 microcontroller could deliver studio-quality sound for your voiceovers and recordings? Forget expensive hardware upgrades. This project reveals how we transformed a basic ESP32 Studio Microphone into a powerful, clear audio tool, using nothing but clever real-time digital signal processing. You won’t believe the difference the ‘math’ makes.

At first, the audio quality was terrible. Weak signal. No depth. Lots of noise when boosting volume.This wasn’t the ESP32 high quality audio recording we envisioned.
But instead of changing the hardware, I changed the math.
By implementing a real-time DSP engine with software gain and a brick-wall limiter, I turned a $5 ESP32 setup into something that genuinely sounds like a studio microphone.
Let’s break down exactly how it works. This is a complete ESP32 studio microphone tutorial
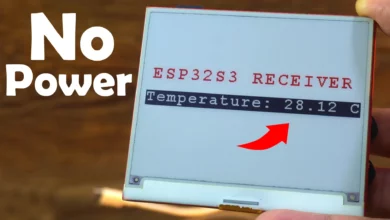
This is not a studio microphone.
This is a $5 ESP32… and yes; you are listening to it right now. “For the practical demo watch the video tutorial”.
Last week, I built this ESP32 sound recorder.
Technically, it worked; it recorded audio and saved proper WAV files; but the sound quality was disappointing. The signal was extremely weak, the highs were missing, and the overall recording felt flat and lifeless. To hear anything clearly, I had to increase the speaker volume significantly, which introduced unwanted hiss and background noise. This was a classic ESP32 microphone clarity improvement challenge
Now here’s the interesting part: the hardware hasn’t changed at all.
It’s still the same ESP32-S3 board. The same MEMS microphone. The same wiring.
The only difference is the signal processing.
After implementing real-time digital signal processing; including a software pre-amp and a brick-wall limiter; the transformation is dramatic. The voice becomes louder, clearer, and much more detailed. High frequencies are preserved, speech sounds more natural, and even louder moments remain controlled without distortion.
In other words, the improvement didn’t come from new components; it came from smarter code.
Today, we are not changing the microphone. We are changing the math.
We are going to take a cheap ESP32-S3 and a MEMS microphone, and using some clever coding, we are going to build a Real-Time Digital Signal Processor (DSP) that includes a Pre-Amp and a Brick-Wall Limiter. This is a truly innovative ESP32 audio capture device.
We are turning this… into a pro voiceover tool.
Let’s build it.
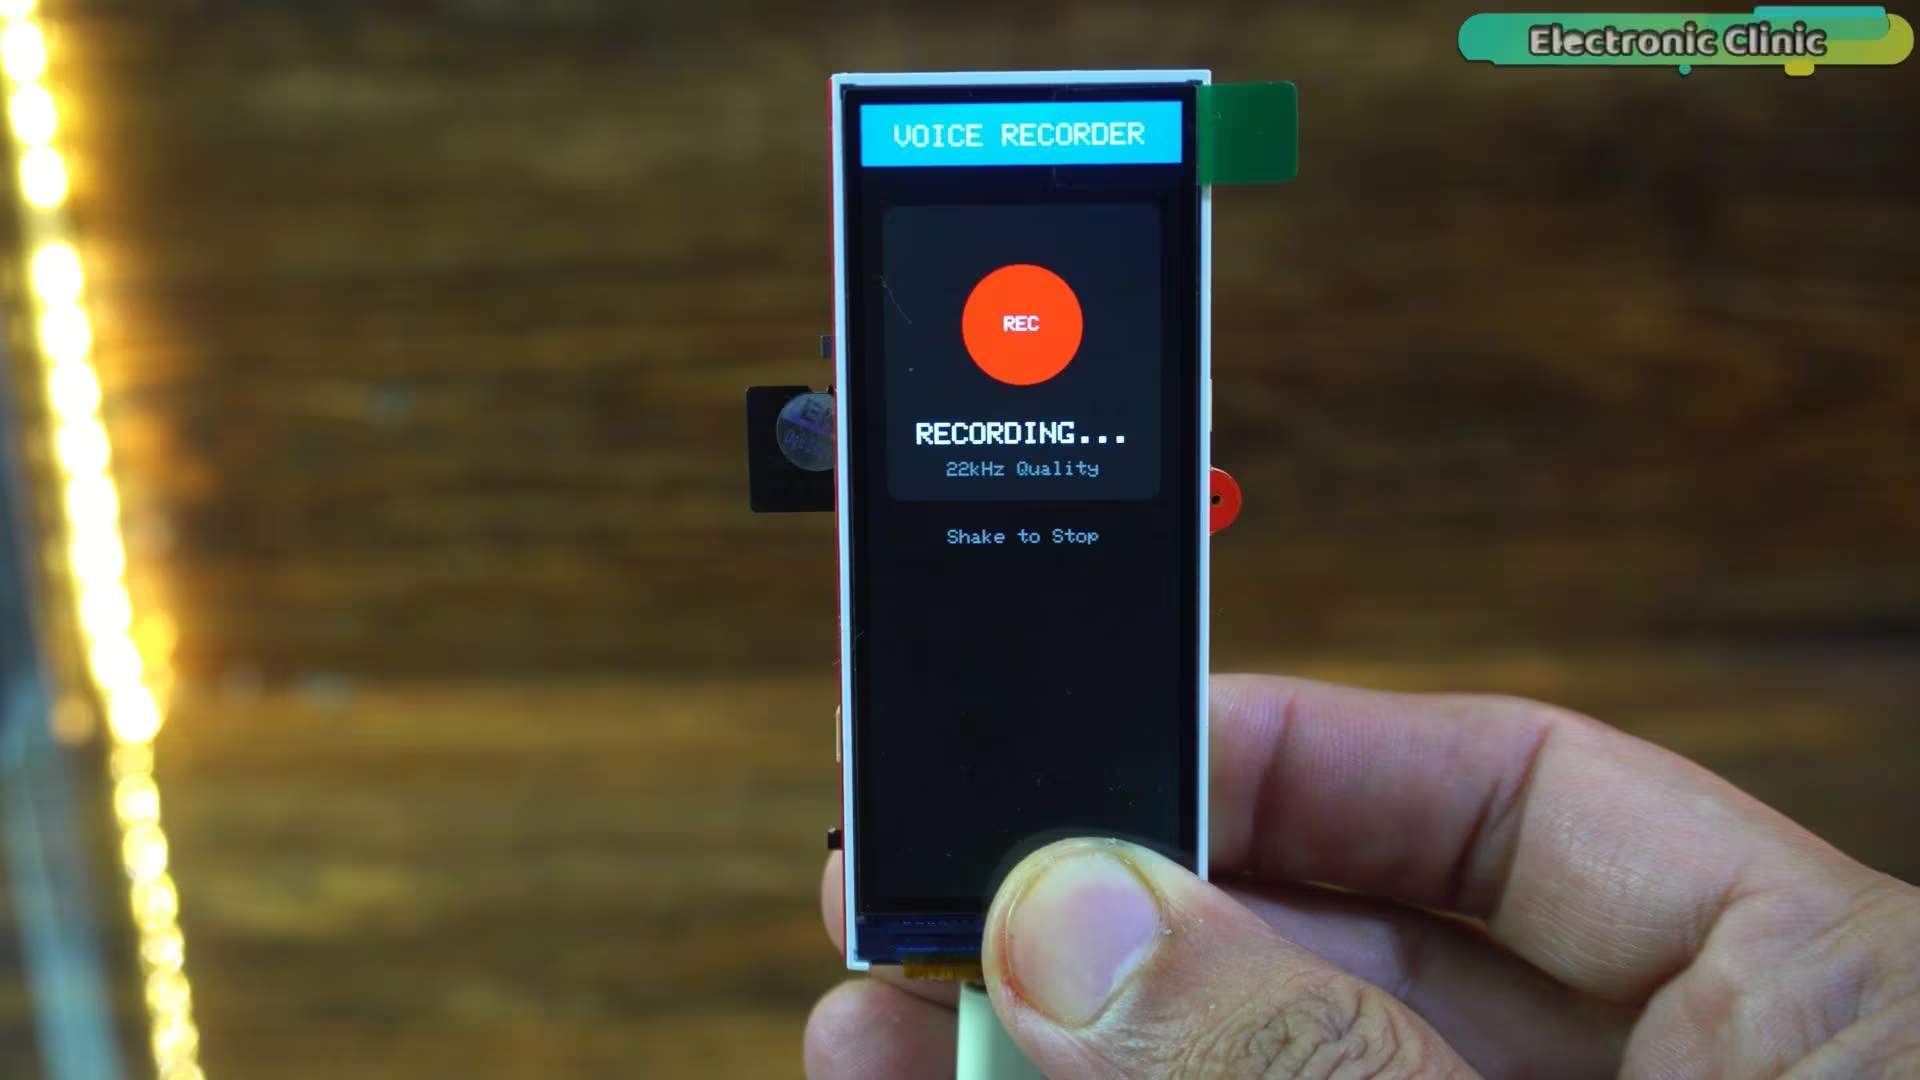
First, let’s look at the brain of this project.
We are using the Makerfabs MaTouch ESP32-S3, with a 3.16-inch parallel TFT.
The full kit costs about sixteen dollars.
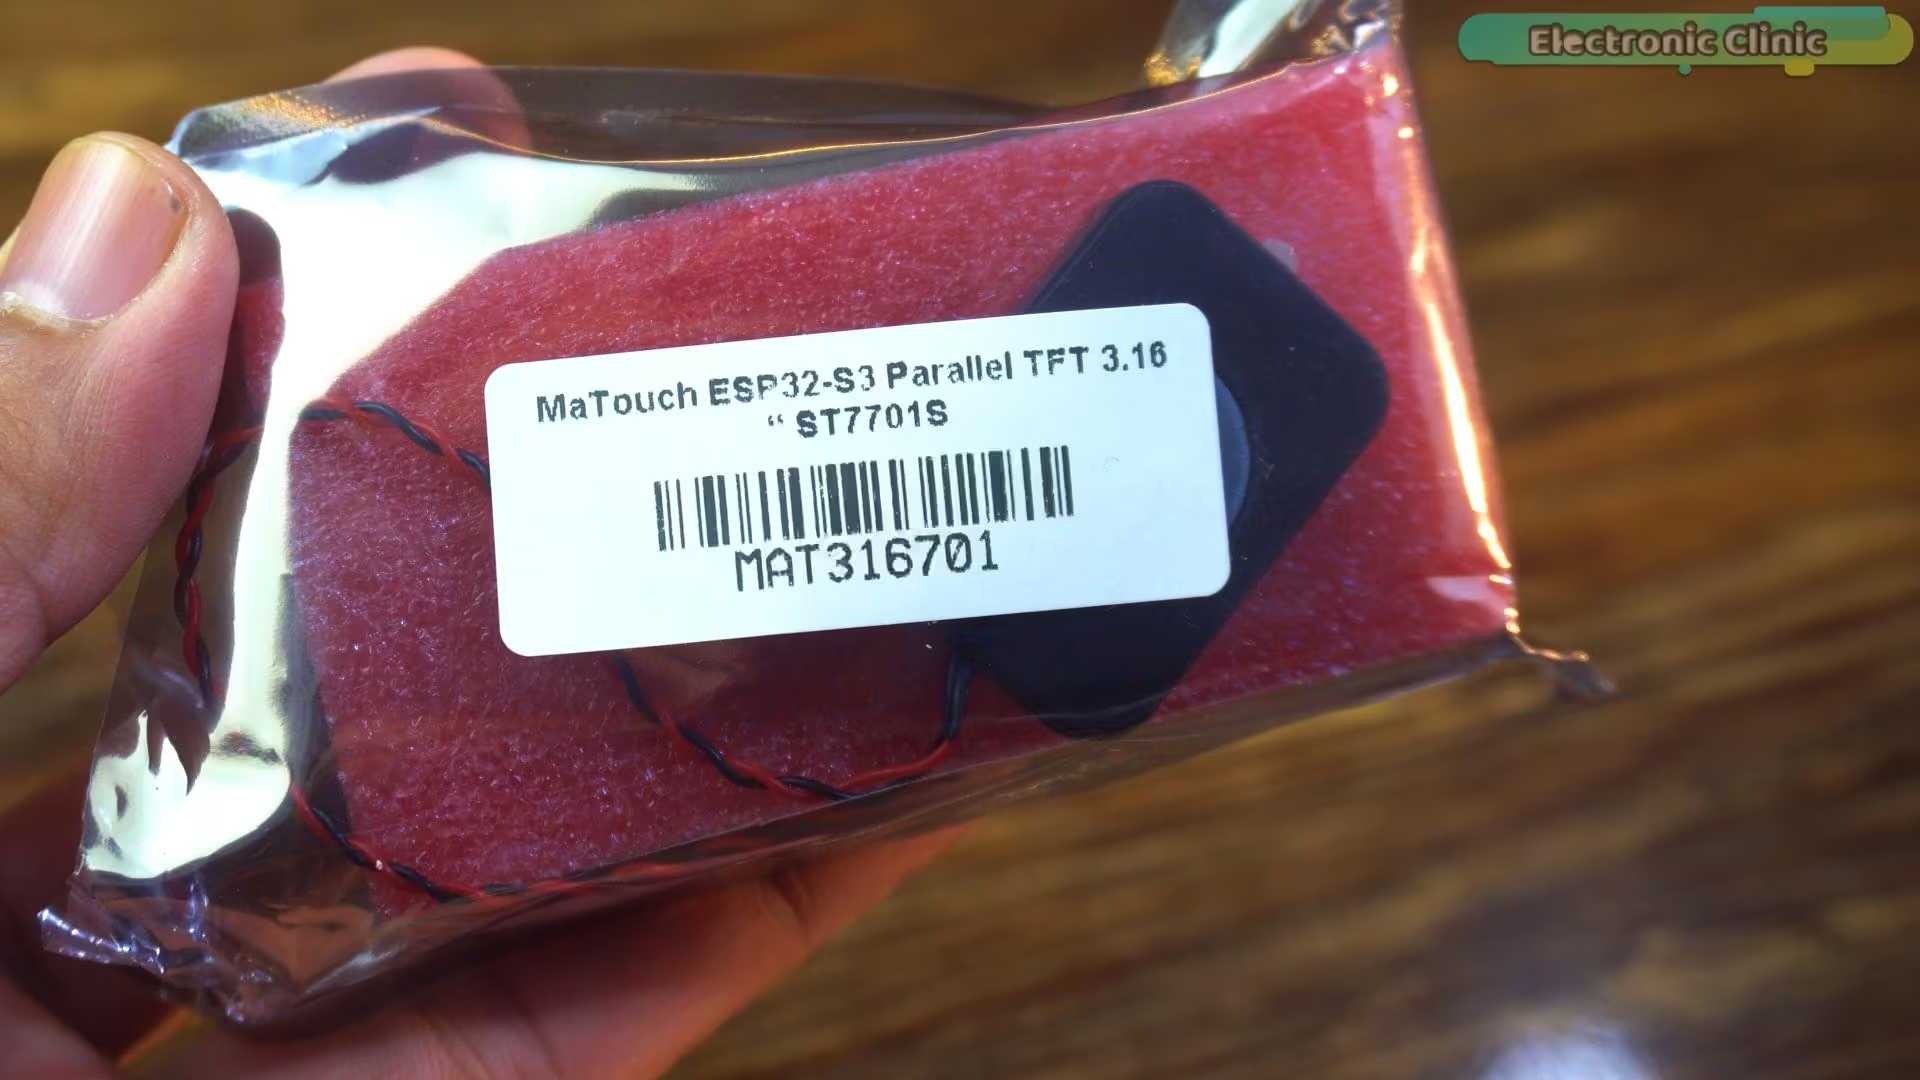
But when you look at the schematic, you will notice a lot of things we don’t actually need.
If we remove all of that and keep only the ESP32, the microphone, and the battery, the total cost drops to around five dollars.

This thing is a beast because it has dual cores; one to handle the display, and one we can dedicate to audio.
We are using the I2S interface. This is key for our I2S microphone ESP32 setup
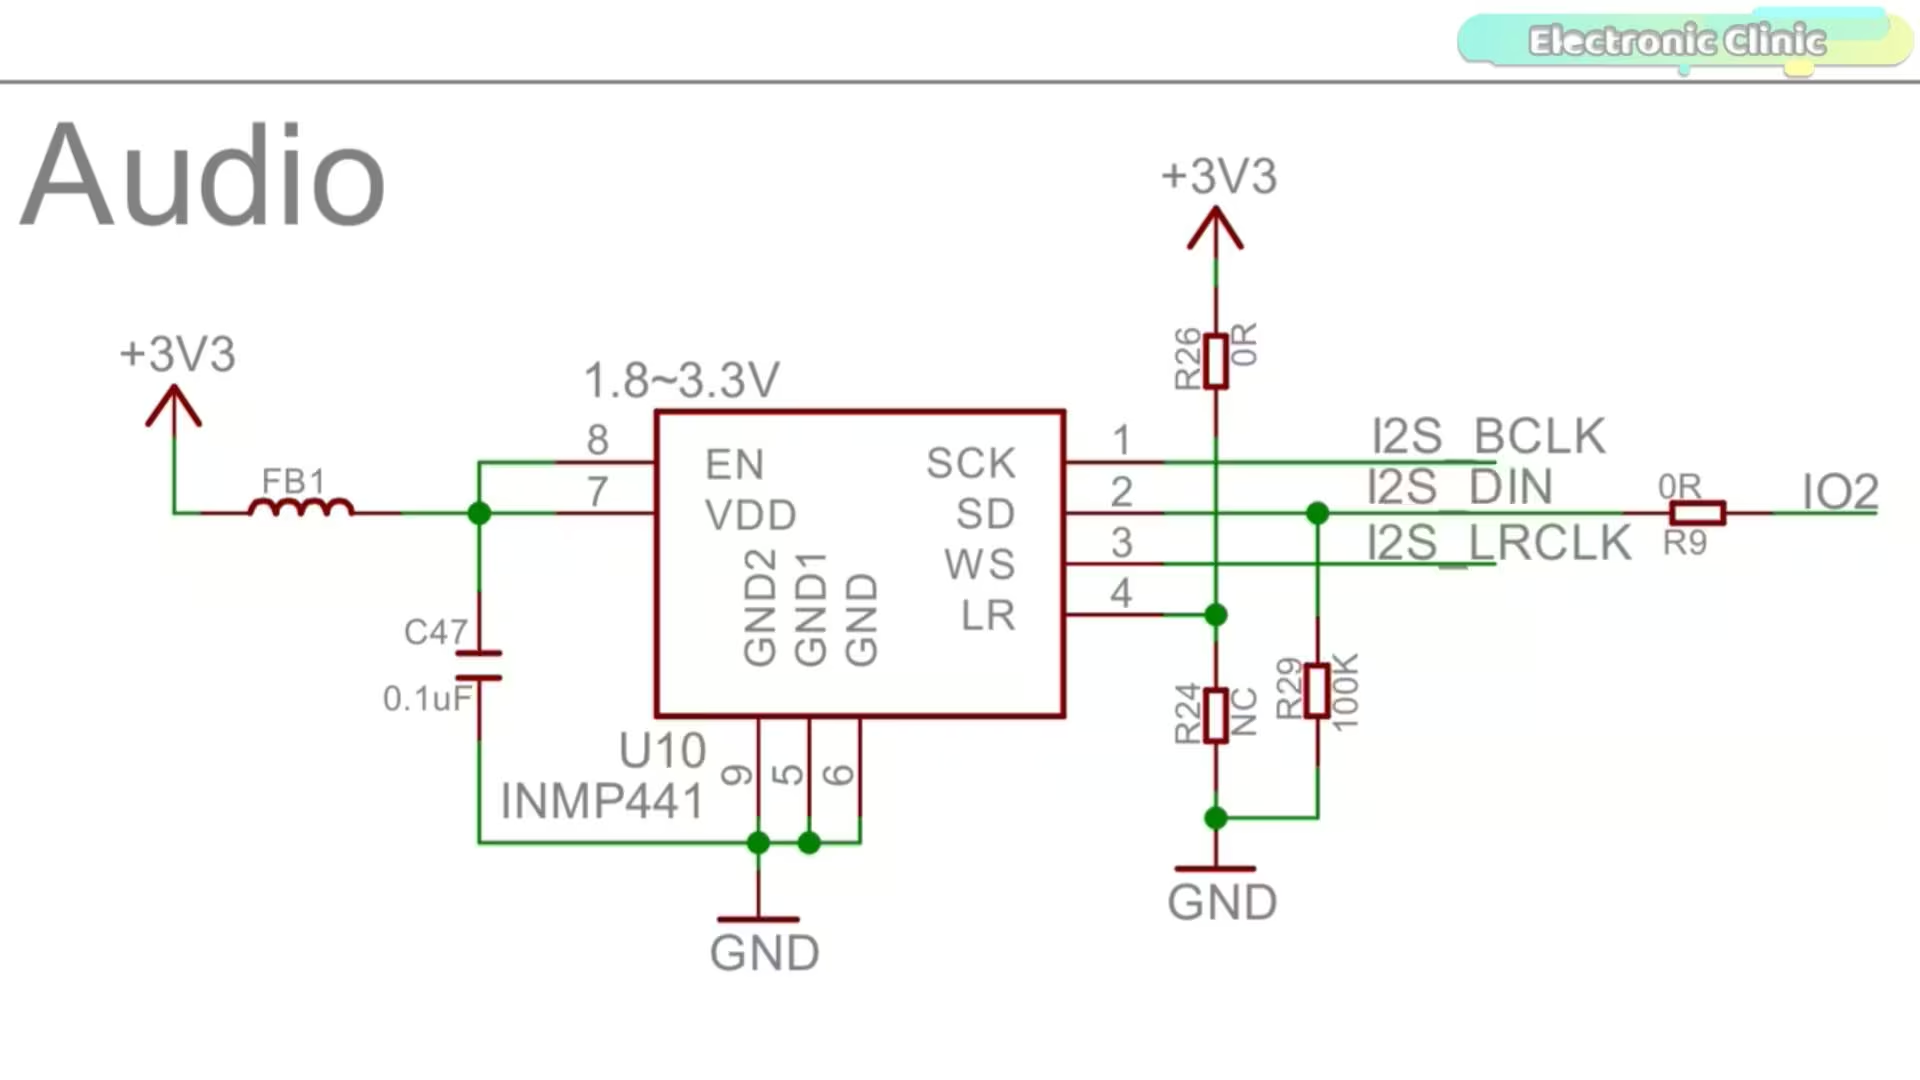
Pin 44 (I2S_BCLK): The Bit Clock.
Pin 43 (I2S_LRC): The Left-Right Clock (Word Select).
Pin 2 (I2S_DIN): The Data In.”
But here’s the challenge. The microphone we are using is a MEMS mic. They are tiny, silicon chips. Because they are so stiff, they are naturally very quiet. If you just record the raw data, you have to crank your computer speakers to 100% to hear it, which introduces hiss.
We need to fix that in the code.
What Makes a Mic “Pro”?
Before we code, you need to understand two things: Sample Rate and Dynamic Range.
Previously, we used 22,000 Hz. That’s fine for a phone call, but it chops off all the high frequencies; the ‘air’ in your voice. Today, we are pushing this to 48,000 Hz. This is the standard for Video DVD and Cinema. It captures everything your ear can hear.
Next, volume. Professional studios use hardware Pre-Amps to boost the mic signal, and Limiters to stop it from distorting when you shout. Since we don’t have a $500 hardware rack, we are going to build a virtual studio rack inside the ESP32’s loop function.
On the hardware side, you don’t really need to do anything, because everything is already available on the board.
About the Arduino IDE, ESP32, and Libraries:
On the software side, you need to be a bit careful to avoid errors.
I strongly recommend reading my Getting Started article for this board first. You can also watch the video tutorial; it’s available on my YouTube Channel “Electronic Clinic”.
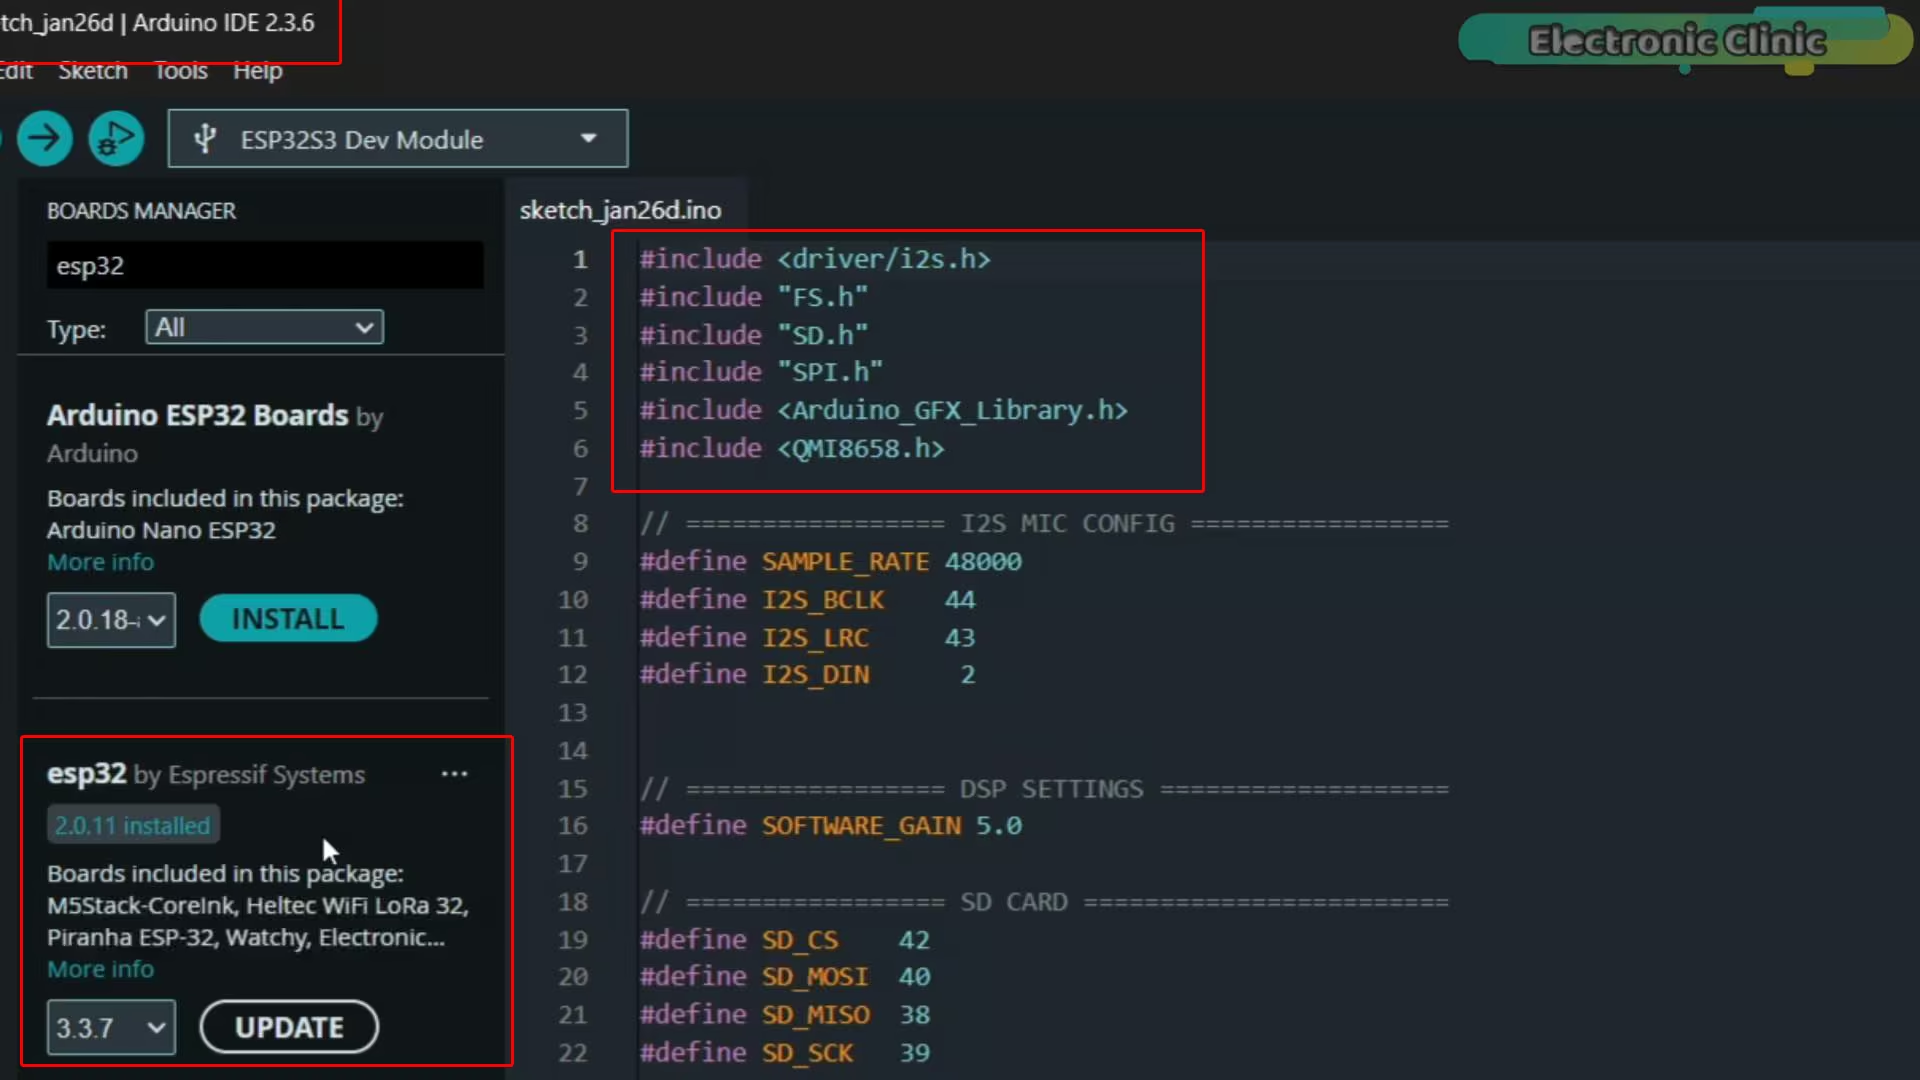
In that article, I cover the correct Arduino IDE version; right now it’s 2.3.6; the required ESP32 board package, and all the necessary libraries.
The versions must match exactly, otherwise you may run into errors.
I will put the link in the description below. Once everything is installed, we are ready to move forward.
Arduino IDE:
Arduino IDE 2.3.6
ESP32 Boards package:
ESP32 V2.0.11 or ESP32 V2.0.16
Libraries:
QMI8658 v1.0.1 library
Install JPEGDecoder v2.0.0 library
The Code Deep Dive:
Let’s look at the firmware. This is where the magic happens. First, the setup.
|
1 2 3 4 |
#define SAMPLE_RATE 48000 #define I2S_BCLK 44 #define I2S_LRC 43 #define I2S_DIN 2 |
We define our Sample Rate at 48000. This creates a much heavier data stream, so we need to prepare the ESP32 to handle it without choking.
|
1 |
#define BUFFER_SIZE 4096 |
This line is critical. BUFFER_SIZE 4096.
SD cards are weird. sometimes they write instantly, sometimes they pause for 50 milliseconds to organize memory. If our audio buffer is too small, the mic keeps recording while the SD card is paused, and the audio overflows. That sounds like a ‘pop’ or a ‘click’. By using a massive 4KB buffer, we create a ‘safety tank’ that holds the audio until the SD card is ready.
Now, the DSP Engine. Inside void loop(), we read the audio into a buffer. But we don’t just save it. We process it.
|
1 2 |
// 1. Boost Volume int32_t boosted = samples[i] * SOFTWARE_GAIN; |
I have set SOFTWARE_GAIN to 5.0. We are taking the tiny signal from the MEMS mic and mathematically multiplying it by 500%. This acts exactly like a Gain knob on an audio interface.
But there is a danger. If I laugh or shout, that 5x boost will make the number bigger than 32,767 (the 16-bit limit). That causes digital clipping—a horrible crackling noise. So, we add the Brick Wall Limiter.
|
1 2 3 |
// 2. Hard Limiter (Brick Wall) if (boosted > 32767) boosted = 32767; else if (boosted < -32767) boosted = -32767; |
This logic says: ‘If the sound is too loud, don’t distort it. Just hold it at the maximum safe volume.’ This allows us to have a super loud, clear voice, but never worry about ruining the recording.
I created a drawRecordingUI function. When the device triggers, we clear the screen and draw a pulsing Red Circle with ‘REC’ text. When we stop, it switches to a Green ‘SAVED’ screen. This isn’t just vanity—when you are doing voiceovers, you need to know instantly, out of the corner of your eye, if the red light is on.
And of course, we kept the Shake-to-Record feature using the QMI8658 IMU, so there are no button clicks ruining the start of your audio file.
I have uploaded the full project code; UI, gain settings, and limiter logic; to my Patreon for anyone who wants to build this.
Uploading the program into ESP32S3:
To upload the program, here is what you need to do:
First, go to the Tools menu > Board > ESP32, and select ESP32S3 Dev Module.
Go back to the Tools Menu > Port, and choose the correct communication port.
Again to the tools menu > Flash Size, and select 16MB.
Again go to the Tools menu > Partition Scheme and select 16M Flash
And one last time, go to Tools Menu > PSRAM, and select OPI PSRAM.
Once these settings are done, you can simply click the Upload button.
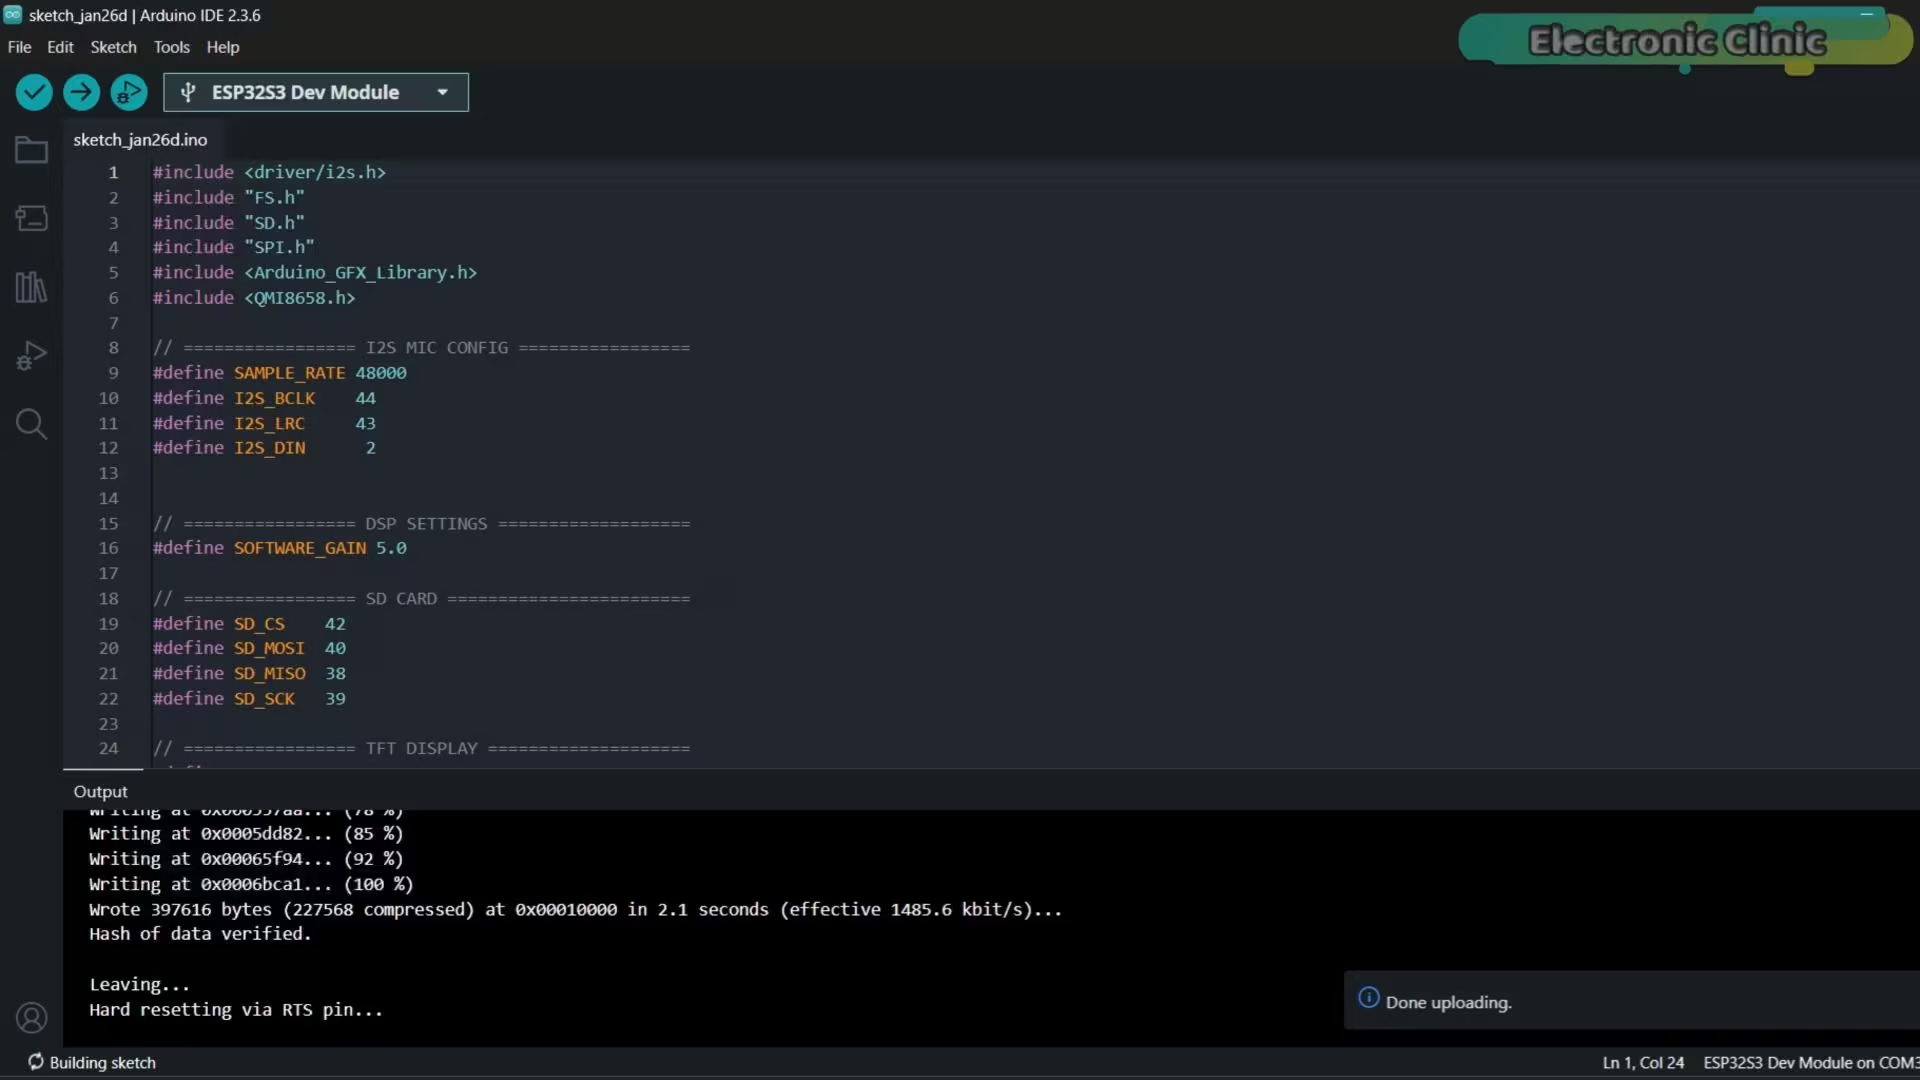
As you can see, the program has been successfully uploaded.
Practical Demo:
Alright, the code is flashed. Let’s see this thing in action. Watch closely.
When we first flip the switch, the system needs about two seconds. It’s zeroing out the accelerometer.
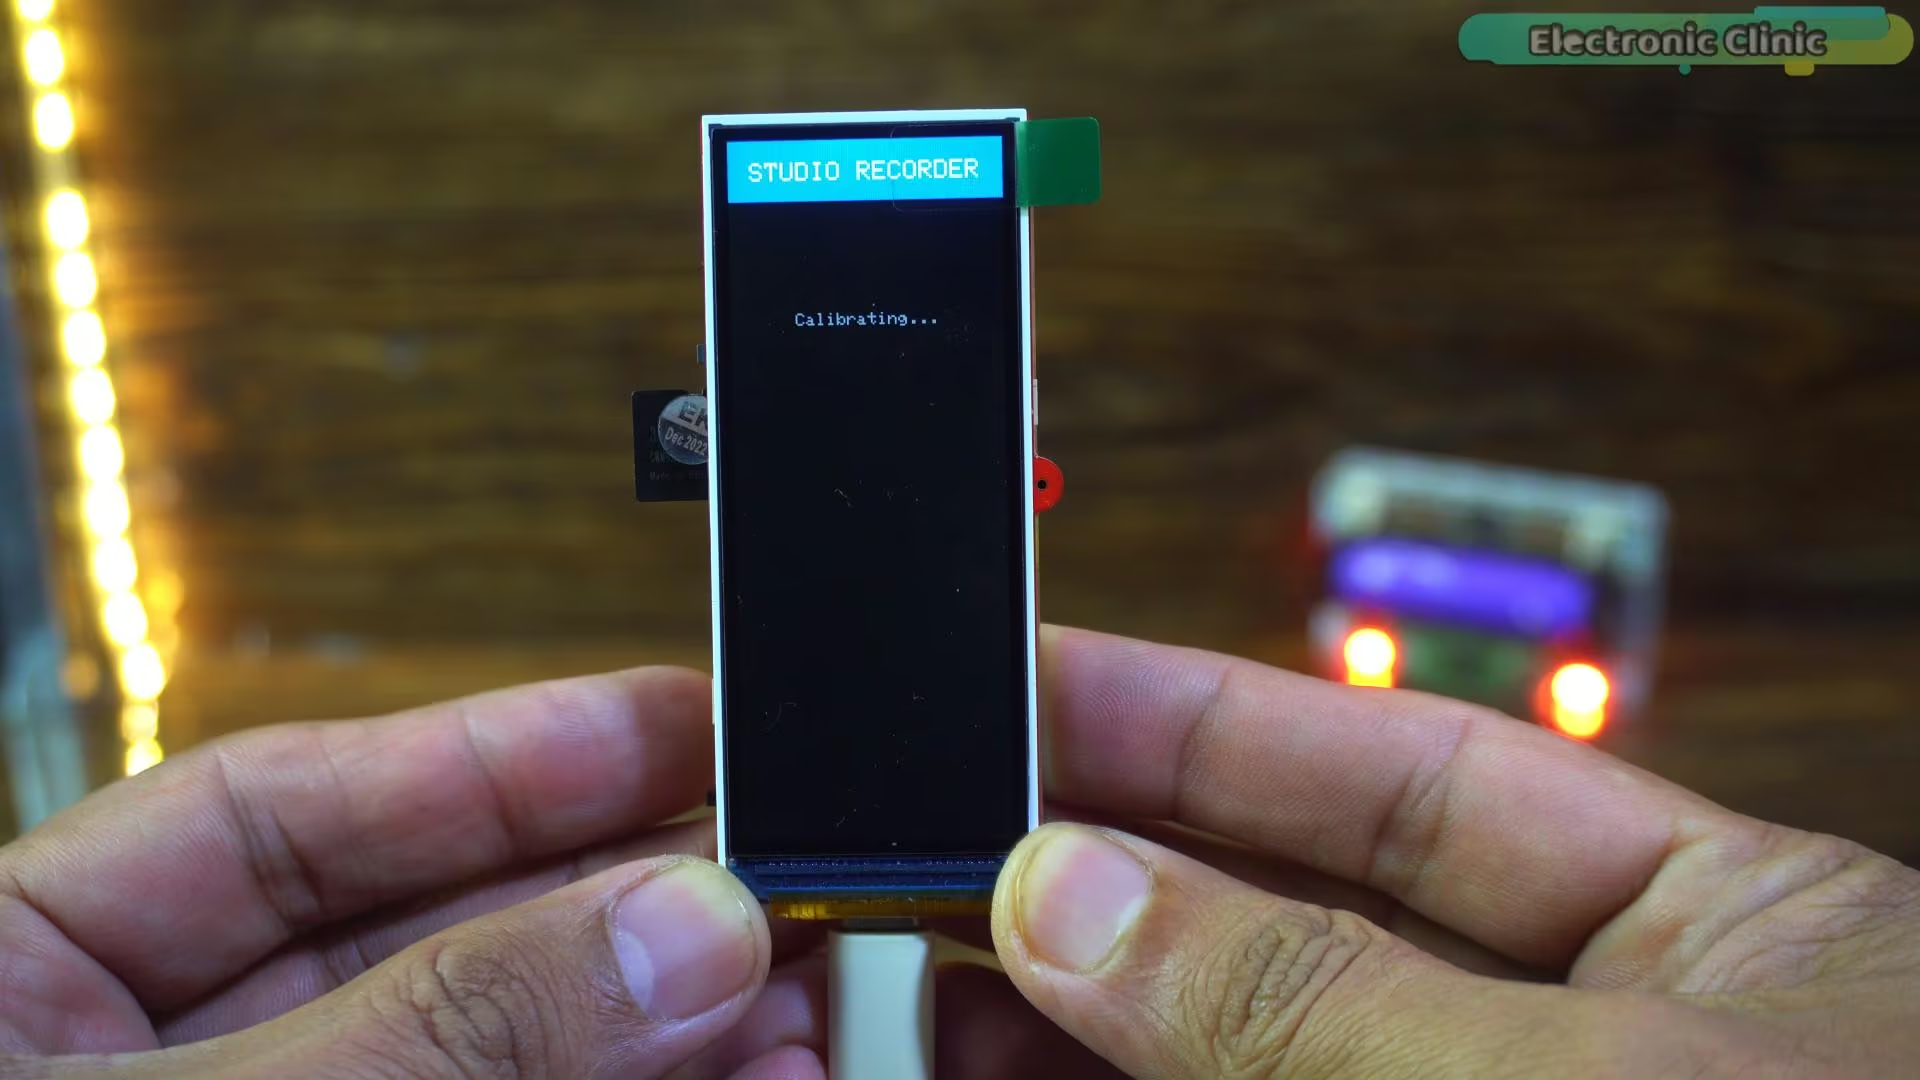
Pro tip: Keep it totally still during this part. If you wobble it here, the shake detection might get twitchy later.
Once it enters STANDBY mode, you are ready to go.
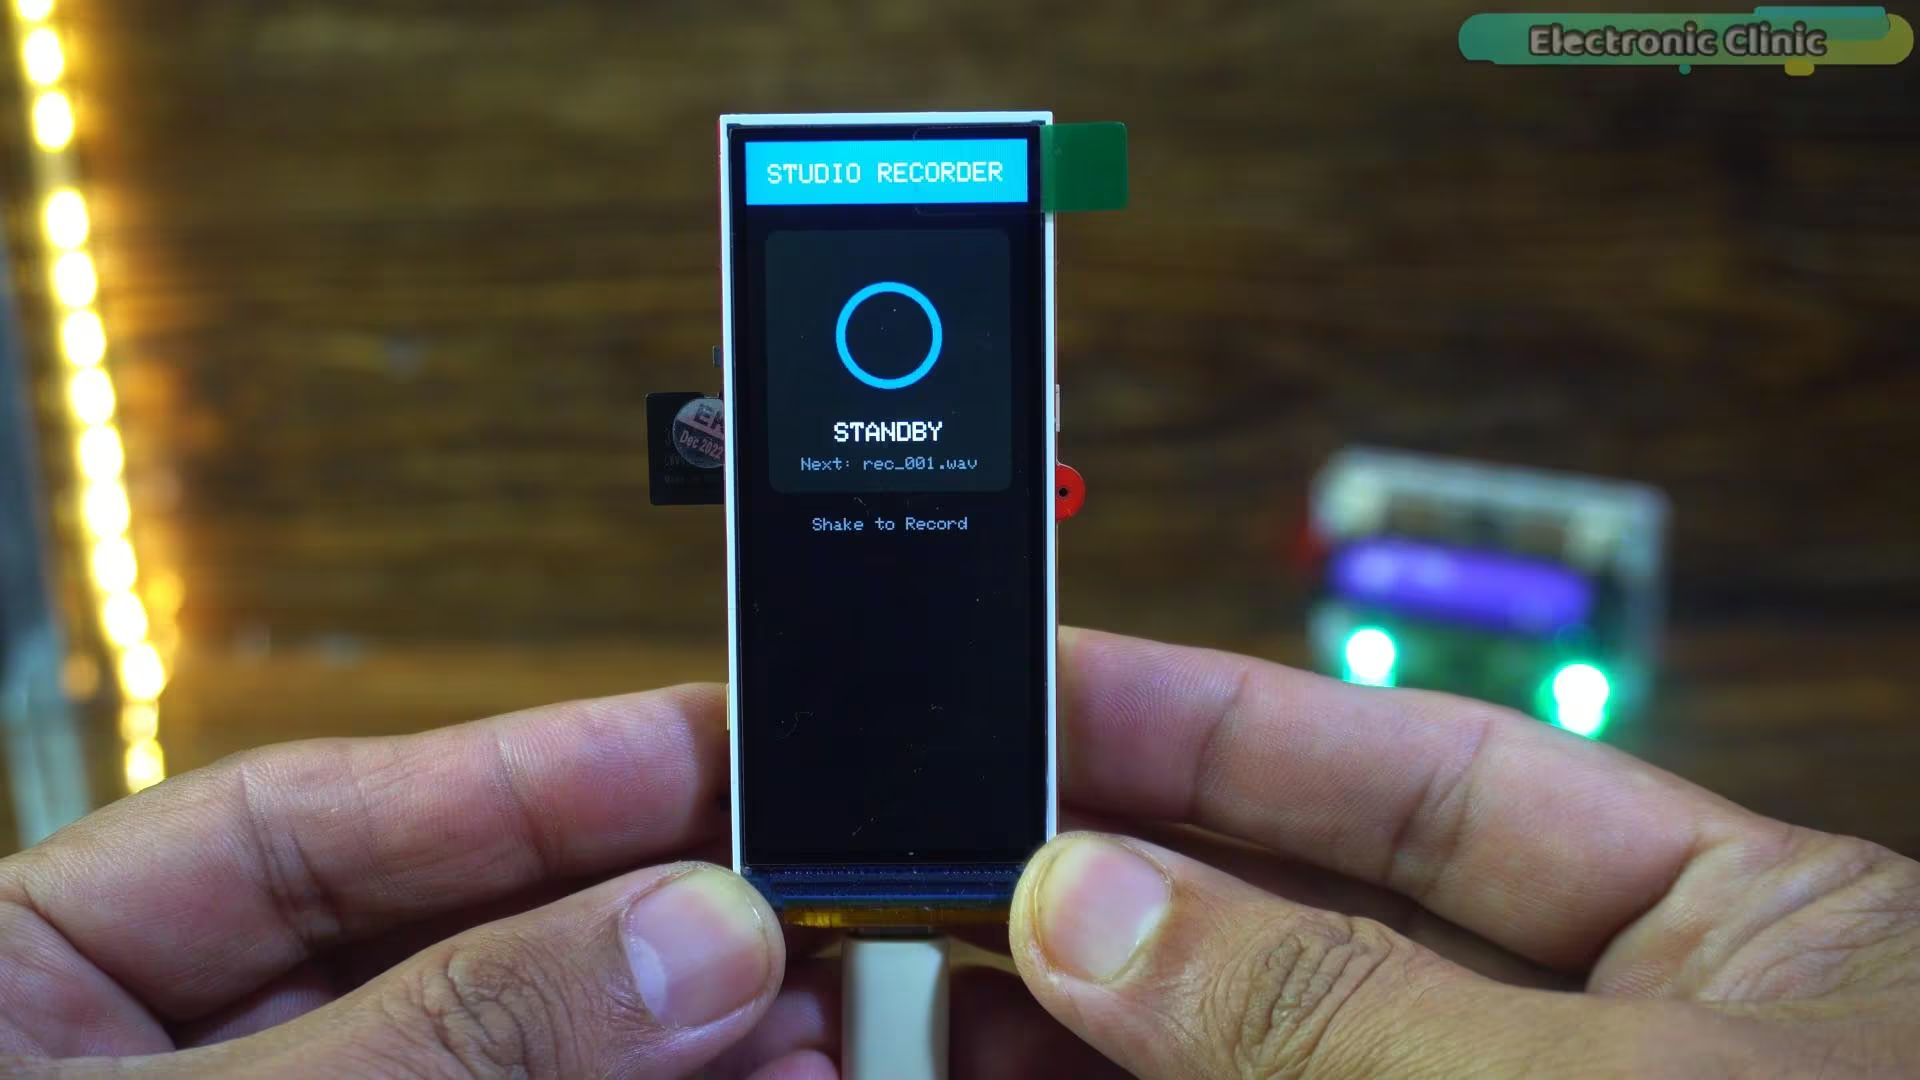
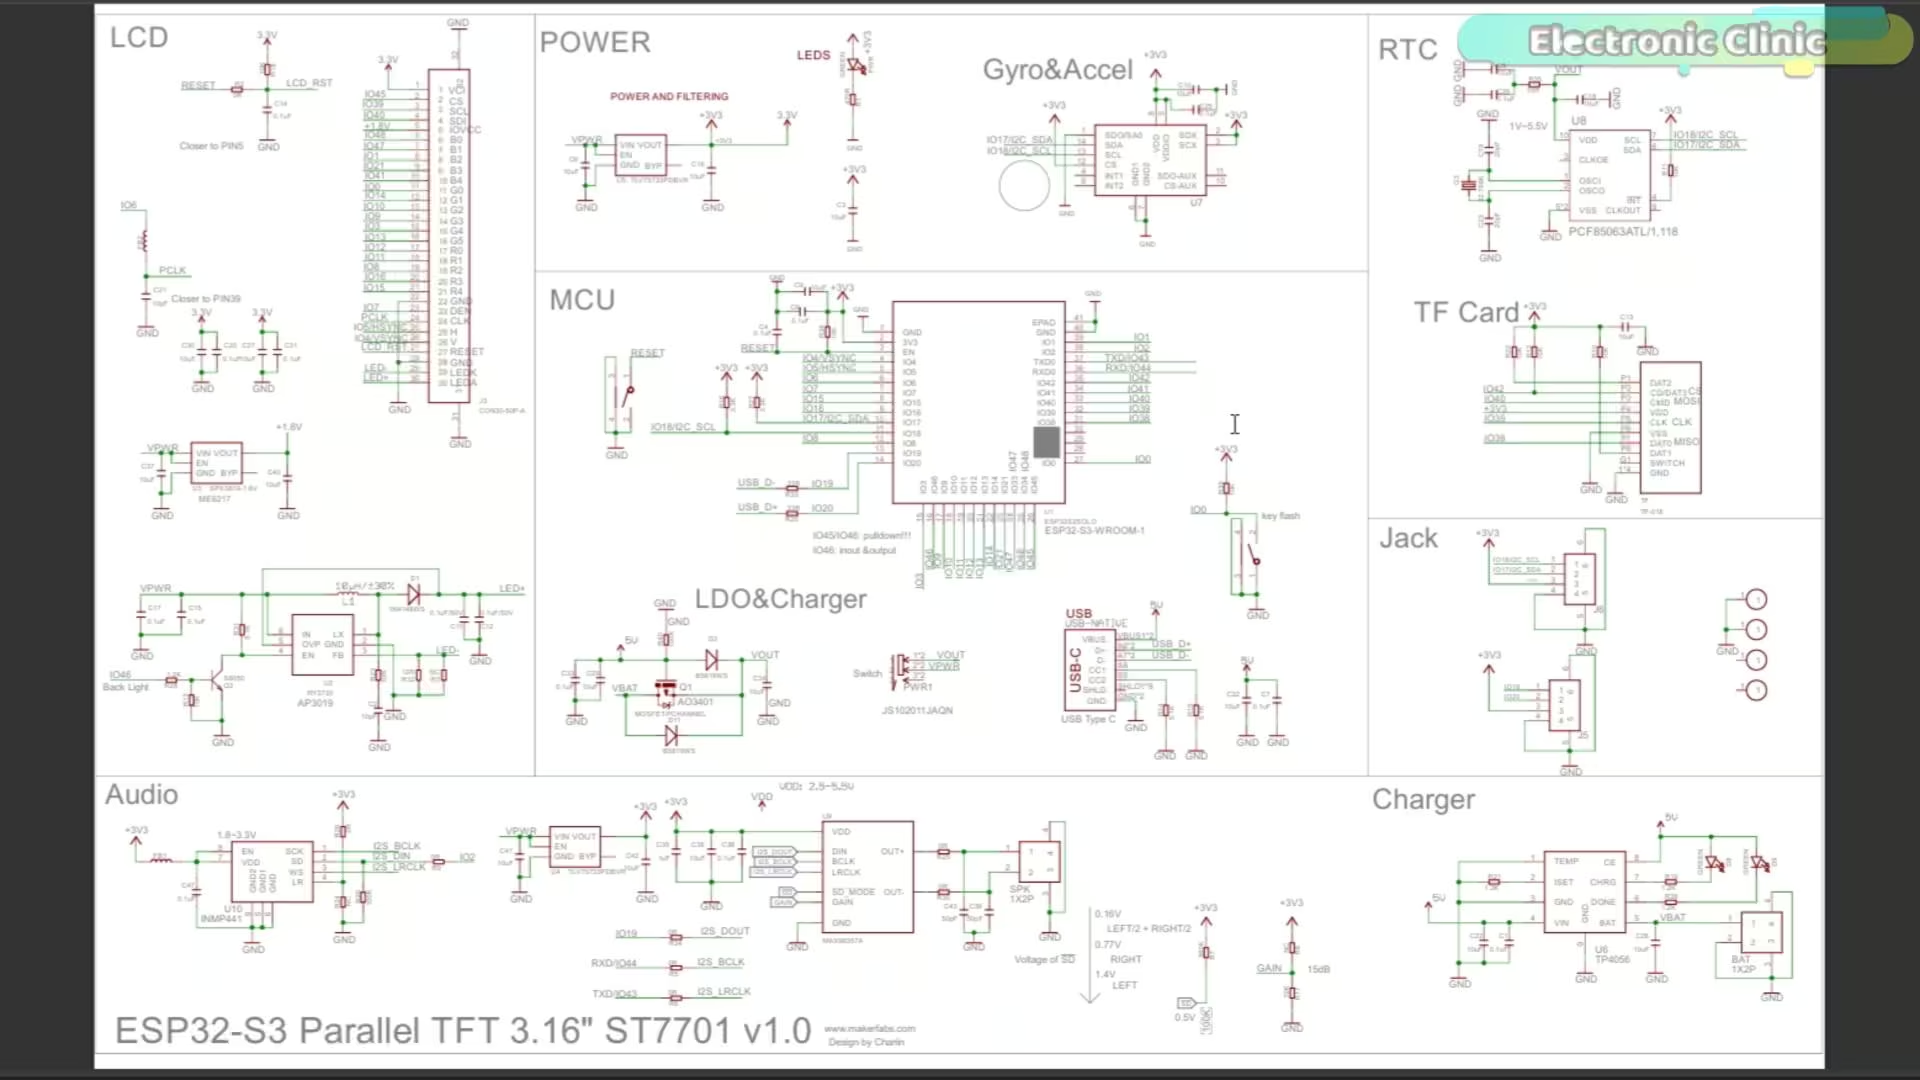
The system is armed. Now, instead of fumbling for tiny buttons, simply give the device a quick shake to start the recording.
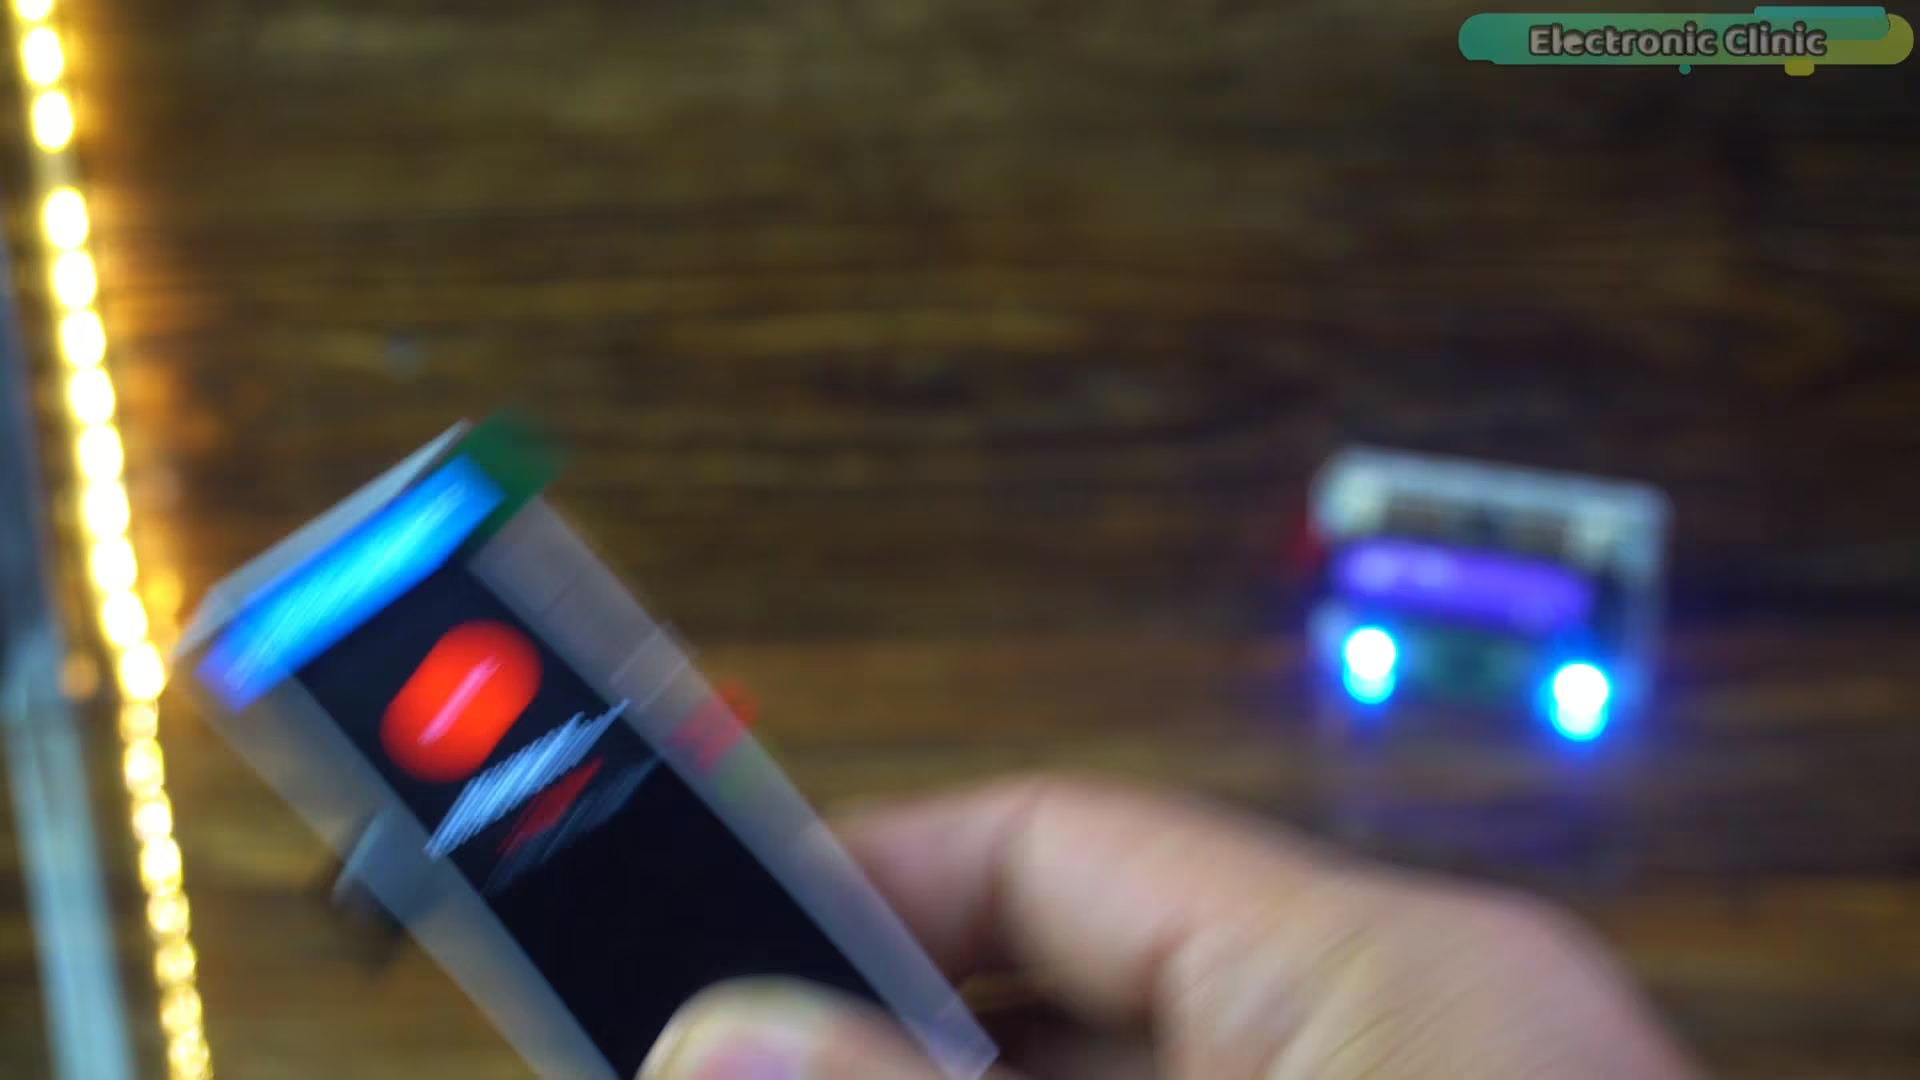
Instantly, the interface changes. We get a massive Red circle with the word ‘REC’ stamped right in the center.
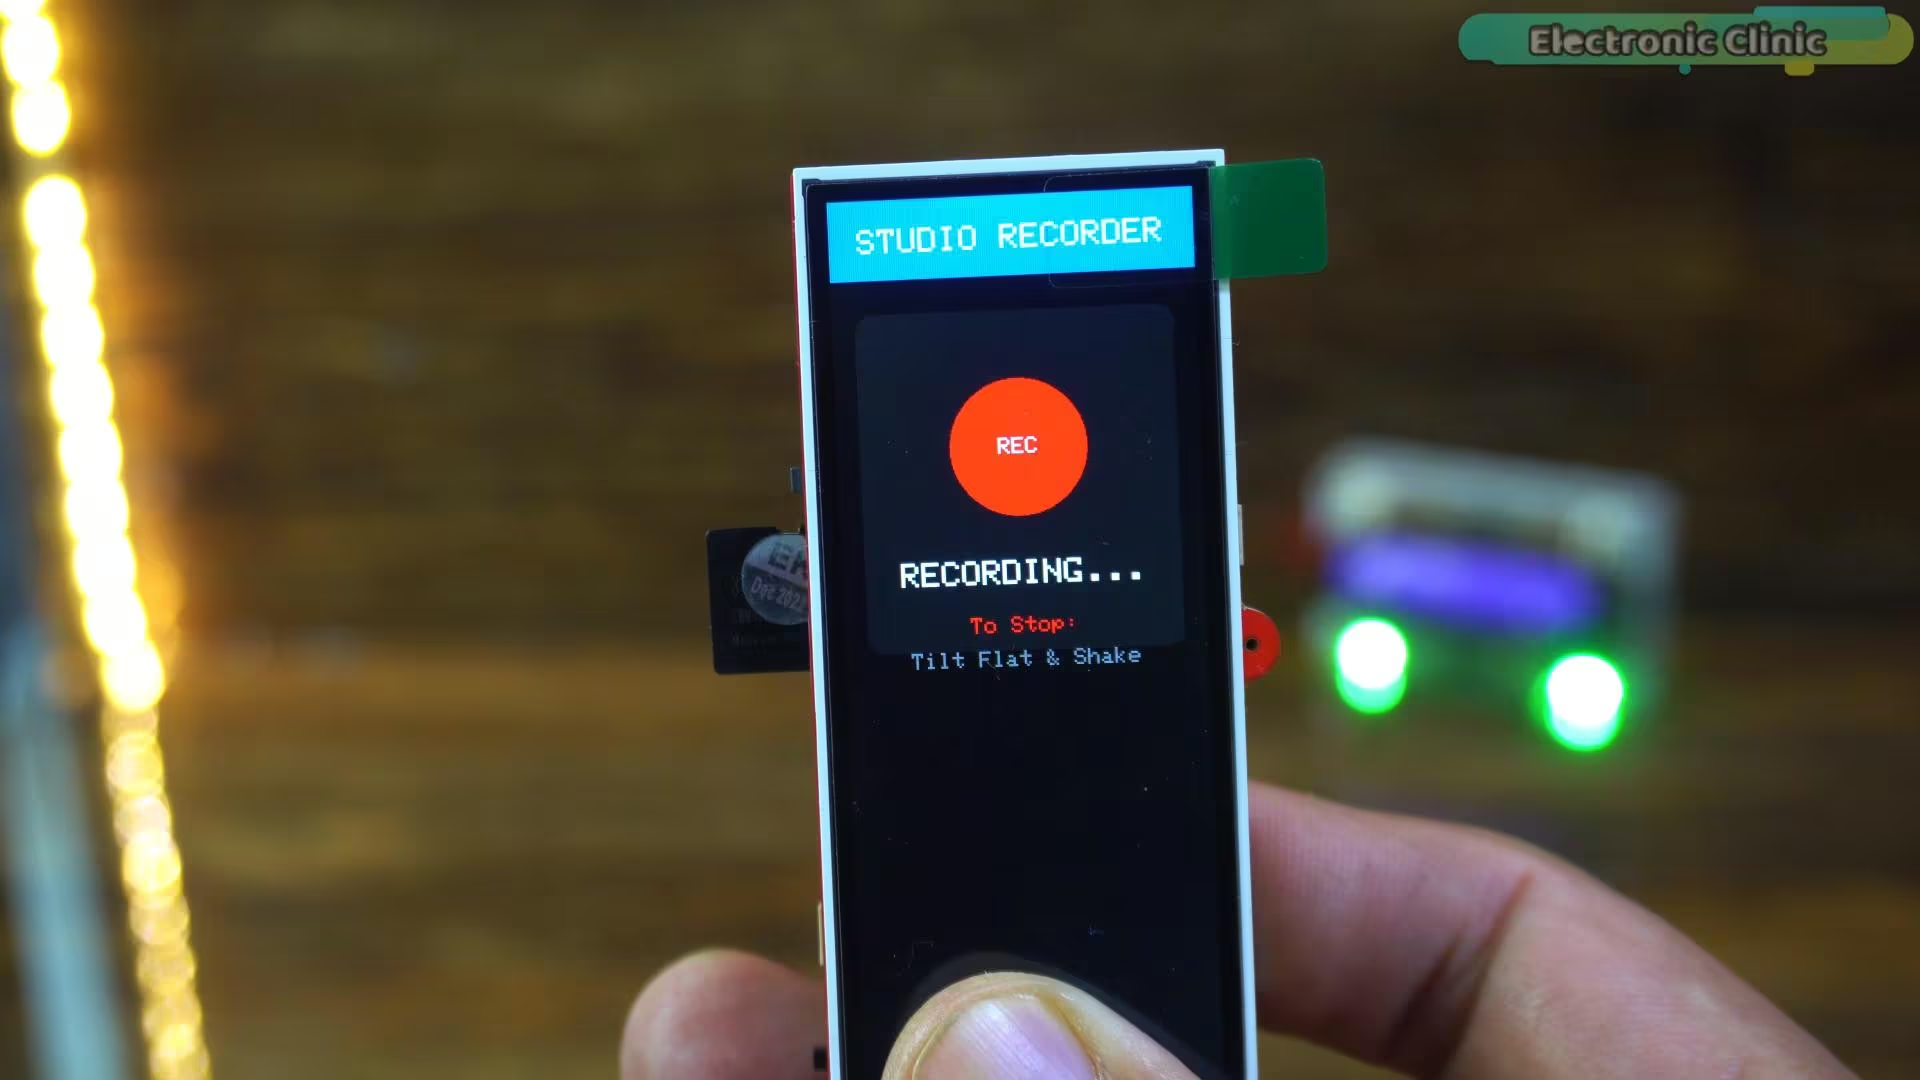
You can’t miss it. That big ‘REC’ indicator lets you know you are rolling, even if the microphone is a few feet away.
When you are finished? Just shake it again to stop.
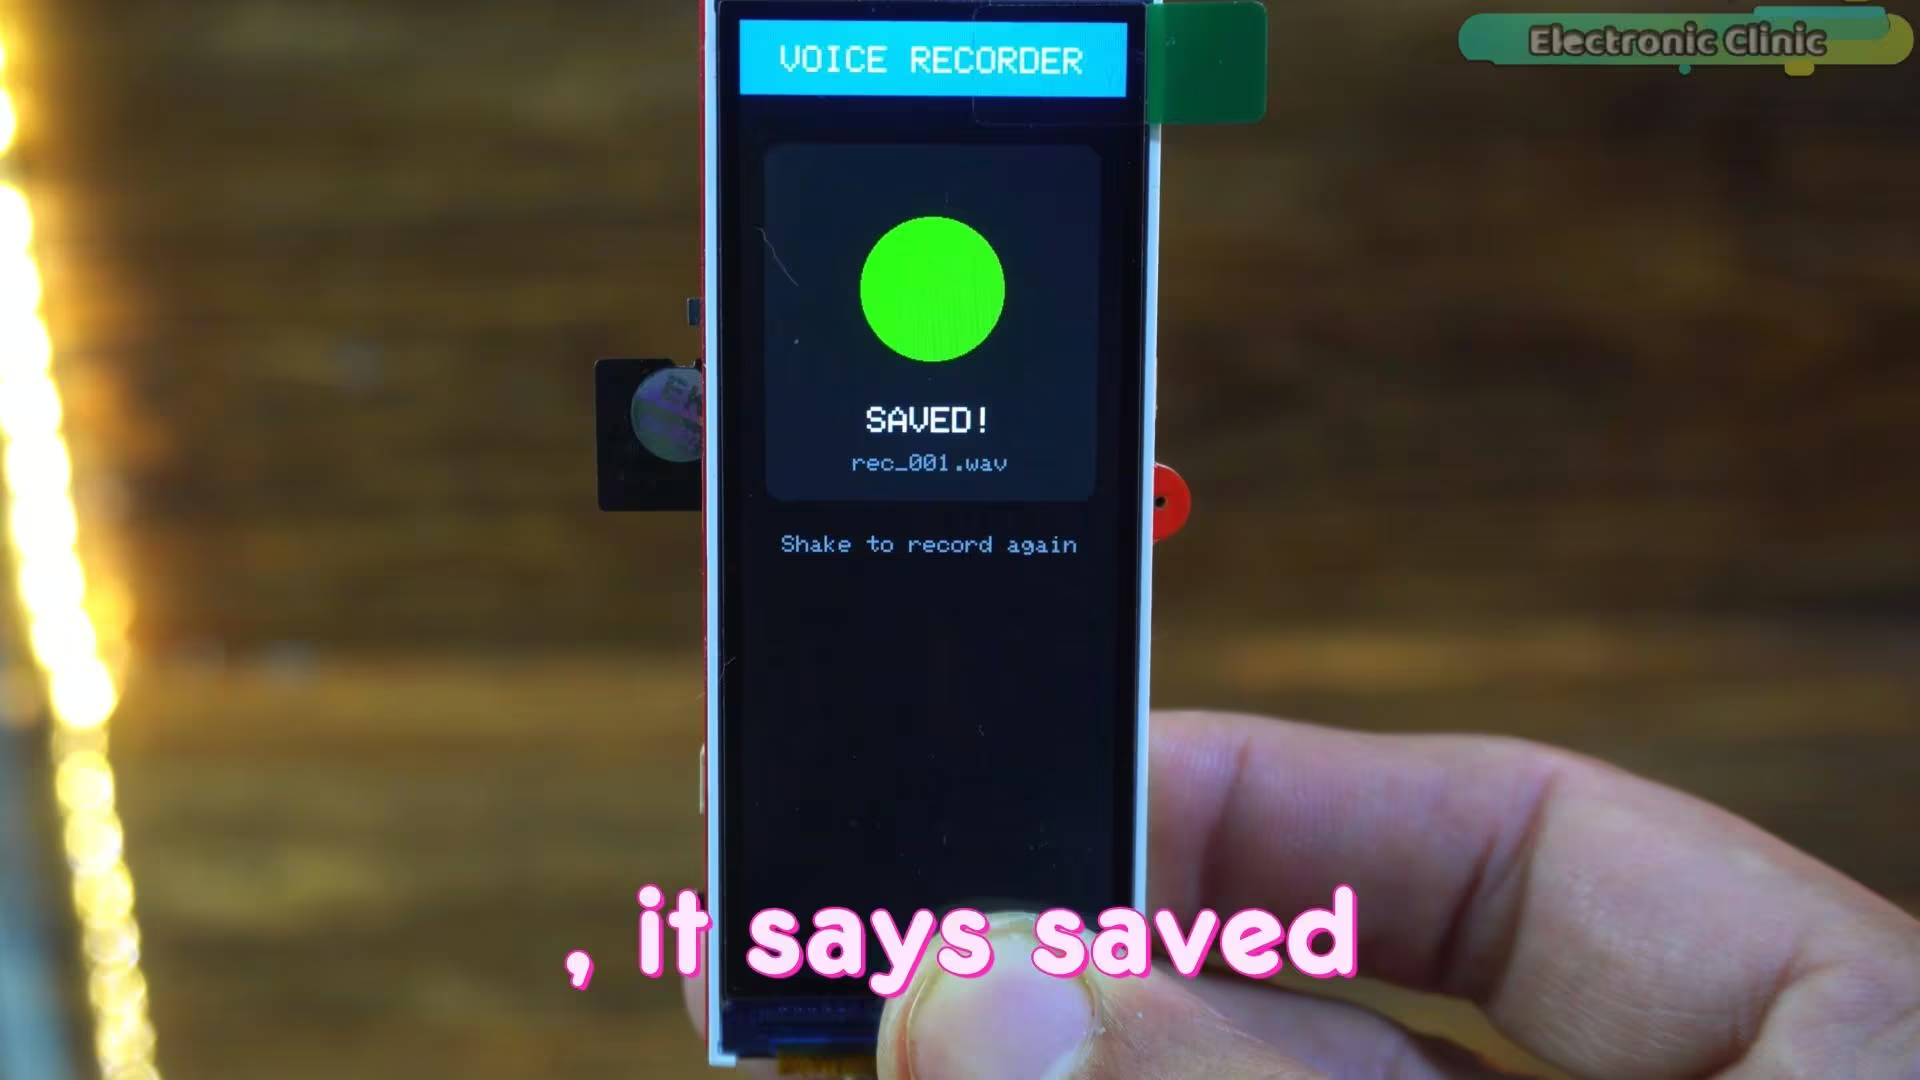
The screen turns green, it says SAVED!, and it confirms the file name right there. No guessing, no lost audio.
Now, you know how it works. But does it sound professional? Let’s find out.
Recording
“This is a real-time audio test recorded directly from an ESP32.
There is no external microphone, no post-processing, and no audio enhancement.
Listen to the clarity of the voice, the detail in the highs, and how it handles louder sounds without distortion.”
To validate the performance of this ESP32 Studio Microphone, I conducted a real-time audio test using the device exactly as it is — with no external microphone, no post-processing, and no artificial enhancement.
The recording was captured directly from the ESP32 and saved as a raw WAV file. The purpose of this test was to evaluate the clarity of speech, the presence of high-frequency detail, and how well the limiter handles louder sounds without introducing distortion.
In the practical demo (shown in the video version of this project), you can clearly observe how the voice remains controlled, detailed, and surprisingly full — even without any external studio hardware.
This confirms that the improvement comes entirely from real-time digital signal processing inside the ESP32.
Even when I record voiceovers using my professional microphone, I still run the audio through Adobe Podcast to enhance it.
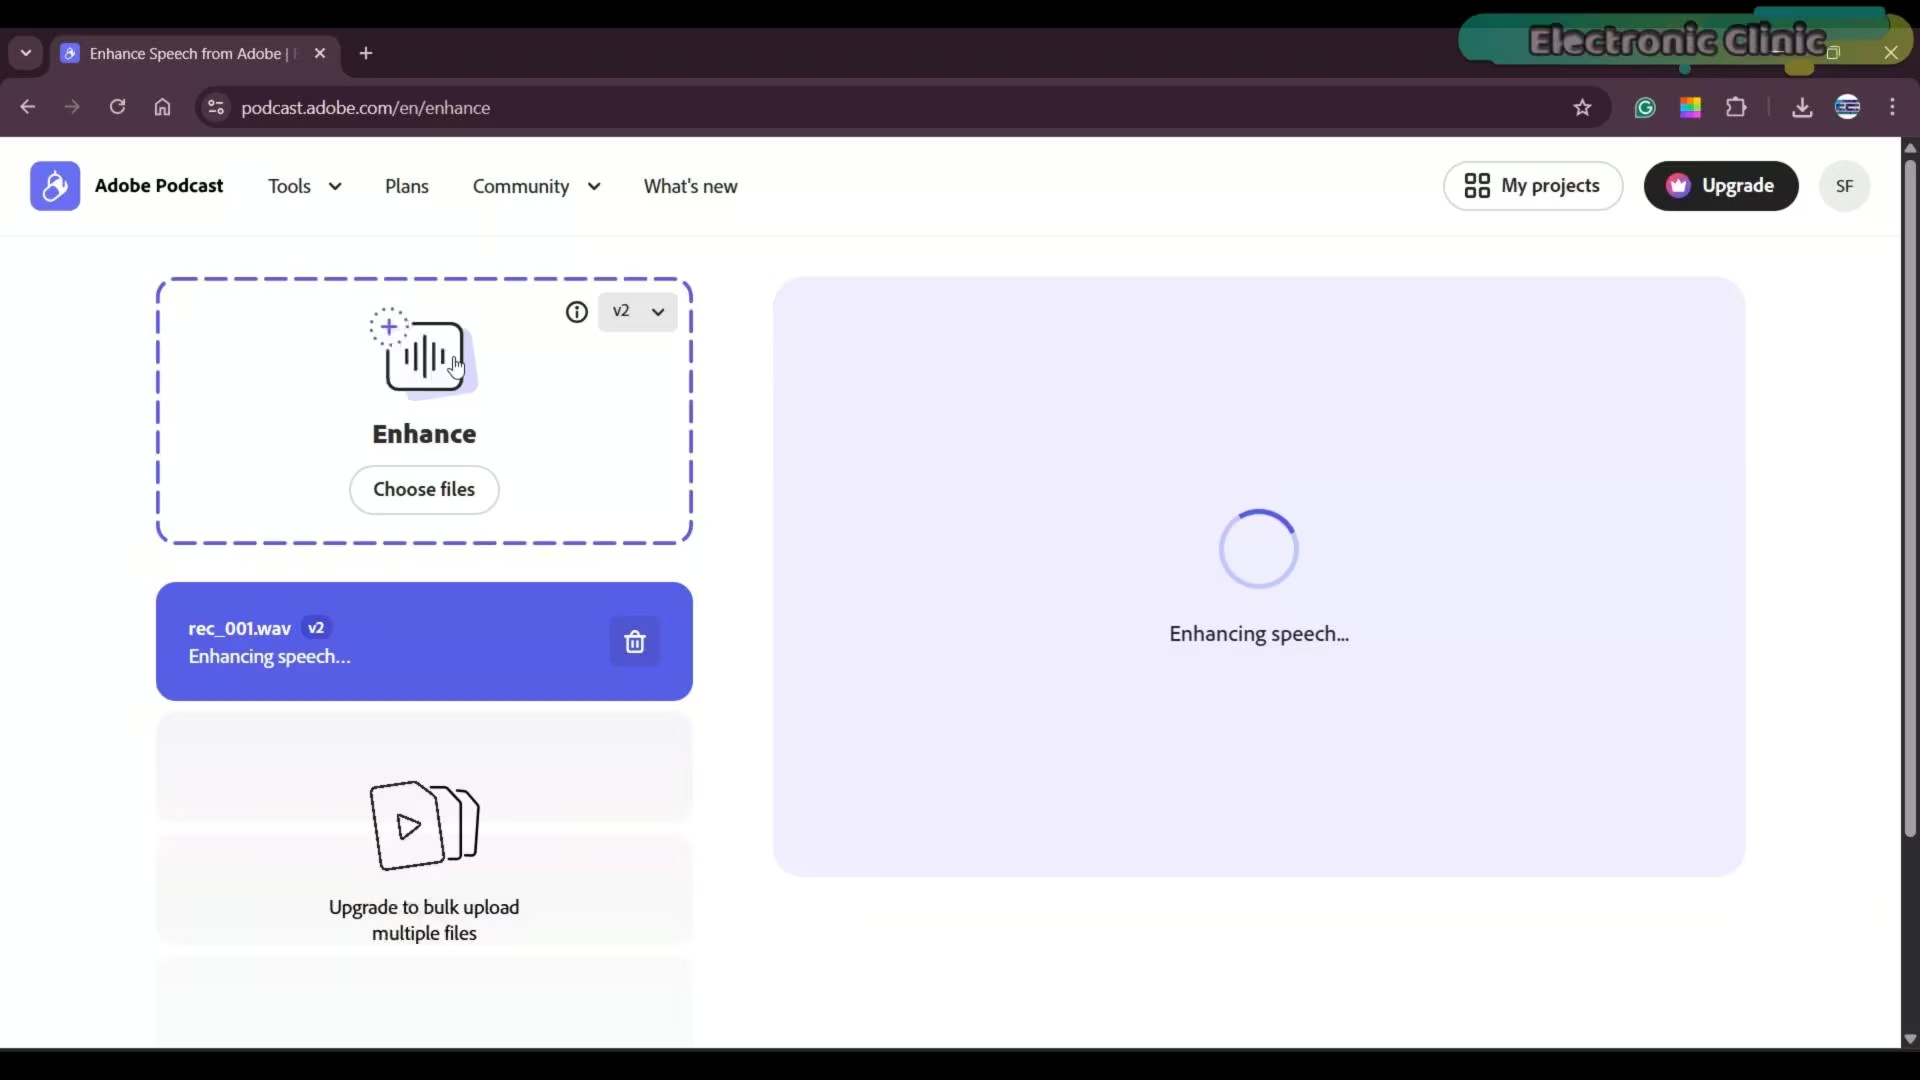
This helps remove any remaining background noise and adds a bit of bass to the voice. So now, after enhancing the audio in Adobe Podcast, let’s listen to the final result.
“Watch the video Tutorial”
You can hear the difference immediately.
The noise is gone, the voice feels fuller, and the clarity is right there.
Honestly, if you didn’t know, you would think this was recorded with a professional microphone.
And the most amazing part; it’s completely portable.
You can design your own smartphone app and control it remotely using Bluetooth or Wi-Fi.
Not just that, you can even control it through IoT cloud platforms.
Just imagine the level of recording device you can build from this.
With the right software, even cheap hardware can do amazing things. I have uploaded the full project code; UI, gain settings, and limiter logic; to my Patreon for anyone who wants to build this.
So, that’s all for now.
Watch Video Tutorial:
Frequently Asked Questions: ESP32 Studio Microphone
Q: How can a $5 ESP32 microcontroller deliver studio-quality sound?
A: This project demonstrates how a $5 ESP32 microcontroller, originally providing weak and noisy audio, is transformed into an ESP32 Studio Microphone capable of studio-quality sound. The key is sophisticated real-time digital signal processing (DSP), which applies software gain and a brick-wall limiter to dramatically improve clarity and dynamic range.
Q: What specific hardware is used in this ESP32 microphone project?
A: The core hardware for this ESP32 microphone project utilizes the Makerfabs MaTouch ESP32-S3 board with a 3.16-inch parallel TFT, and a MEMS microphone. While the full kit is $16, the essential components for the ESP32 Studio Microphone (ESP32, mic, battery) can be stripped down to about $5.
Q: Why was the initial ESP32 audio recording system’s sound quality disappointing?
A: The initial ESP32 audio recording system produced disappointing sound quality because the raw signal from the MEMS microphone was extremely weak, lacking high frequencies and overall depth. Boosting the volume introduced significant hiss, indicating a need for ESP32 microphone clarity improvement through software.
Q: How does “changing the math” improve the ESP32 digital microphone’s performance?
A: Instead of hardware changes, “changing the math” refers to implementing real-time digital signal processing (DSP) within the ESP32 digital microphone. This involves a software pre-amp to boost the signal and a brick-wall limiter to prevent distortion, leading to louder, clearer, and more detailed audio.
Q: What is the recommended sample rate for this ESP32 audio input module?
A: For studio-quality sound, the ESP32 audio input module is configured to a 48,000 Hz ESP32 audio sampling rate. This is the standard for video DVD and cinema, ensuring all audible frequencies, including the ‘air’ in your voice, are captured, unlike the 22,000 Hz previously used.
Q: How does the ESP32 mic amplifier circuit function in this setup?
A: Instead of a physical ESP32 mic amplifier circuit, this project builds a virtual studio rack inside the ESP32’s loop() function. A software gain (set to 5.0) acts as a pre-amp to boost the tiny MEMS microphone signal, effectively serving as an ESP32 audio codec to manage volume.
Q: What are the key I2S pins used for the I2S microphone ESP32 setup?
A: For the I2S microphone ESP32 setup, the critical I2S interface pins are: Pin 44 (I2S_BCLK) for the Bit Clock, Pin 43 (I2S_LRC) for the Left-Right Clock (Word Select), and Pin 2 (I2S_DIN) for Data In. These connections are part of the ESP32 microphone wiring diagram.
Q: Which Arduino IDE version and ESP32 board package are required for this project?
A: For proper functionality, it’s strongly recommended to use Arduino IDE 2.3.6 with ESP32 Boards package V2.0.11 or V2.0.16. These versions are crucial for avoiding errors when uploading the ESP32 audio recording Arduino sketch and ensuring all ESP32 audio processing libraries work correctly.
Q: How does the BUFFER_SIZE in the ESP32 microphone firmware prevent audio pops?
A: The BUFFER_SIZE 4096 in the ESP32 microphone firmware acts as a “safety tank” for audio data. This large buffer holds audio while the SD card occasionally pauses to organize memory, preventing audio overflows that cause “pops” or “clicks” during ESP32 recording to SD card.
Q: What is the role of the Brick-Wall Limiter in the ESP32 audio enhancement project?
A: The Brick-Wall Limiter in this ESP32 audio enhancement project prevents digital clipping by capping the boosted audio signal at the 16-bit limit (32,767 or -32,767). This ensures that even loud sounds (like shouting) remain clear and undistorted, contributing to ESP32 noise reduction microphone capabilities.
Q: How does the Shake-to-Record feature work for the ESP32 voice recorder project?
A: The ESP32 voice recorder project includes a Shake-to-Record feature using the QMI8658 IMU. Instead of fumbling with buttons, a quick shake of the device starts or stops recording, making it user-friendly and avoiding button click noises at the start of audio files.
Q: Can this DIY ESP32 sound recorder be used for professional voiceovers?
A: Absolutely. This DIY ESP32 sound recorder is specifically designed to be a pro voiceover tool. With its ESP32 studio quality sound achieved through DSP, and optional post-enhancement (e.g., Adobe Podcast), the resulting audio is comparable to that recorded with much more expensive professional microphones.
Q: Is there an ESP32 microphone code example available for this project?
A: Yes, the full ESP32 microphone code example, including the UI, gain settings, and limiter logic, is uploaded to the project creator’s Patreon for anyone who wants to build this. This serves as a comprehensive ESP32 audio recording project guide.
Q: What are the potential future applications for this ESP32 IoT audio project?
A: This ESP32 IoT audio project is highly portable and offers immense potential. You can design smartphone apps for remote control via Bluetooth or Wi-Fi, or even integrate it with IoT cloud platforms, imagining a new level of smart, connected recording devices, or even an ESP32 smart microphone system.
Q: What sets this ESP32 podcast microphone setup apart from others?
A: This ESP32 podcast microphone setup is unique because it achieves professional audio quality not through expensive hardware, but through intelligent ESP32 audio signal processing. It transforms a minimal $5 hardware investment into a highly capable and portable recording solution, suitable for high-quality voice capture.
Discover more from Electronic Clinic
Subscribe to get the latest posts sent to your email.