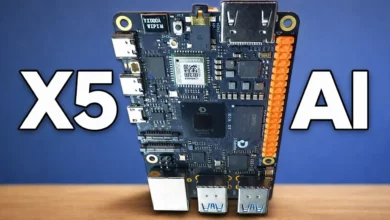
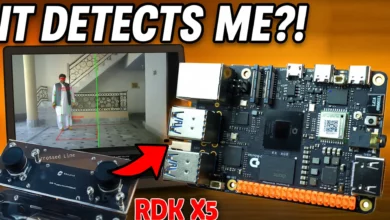
AI That Talks for the Blind | Real-Time Object Detection with Voice Assistance using RDK X5
Last Updated on May 11, 2026 by Engr. Shahzada Fahad
Table of Contents
Why Traditional Ultrasonic Sensors Fail (And How AI for the Visually Impaired Fixes It)
AI That Talks for the Blind | Real-Time Object Detection with Voice Assistance- If you cannot see, is it really enough to only know that something is in front of you? To achieve true independence, a real-time vision system must provide more than just proximity alerts; it must identify the world.

Most YouTube videos and articles about assistive technology for the blind rely on simple ultrasonic sensors. These sensors do only one thing: they detect an obstacle and give a beep. While this is helpful for basic obstacle recognition, it is not enough for complex, real-world navigation.
A visually impaired person should know what is in front of them, not just that something exists.
Is it a wall?
Is it a car?
Is it a human standing nearby?
This difference matters. Life is not only about avoiding obstacles. It is about understanding the environment and feeling confident while moving. That is why I decided to build AI that talks for the blind using advanced computer vision for accessibility
Instead of a simple beep sound, this system uses AI vision for blind people to recognize objects and speak their names clearly. Imagine hearing:
- “Human in front”
- “Bike ahead”
- “Door on the right”
This kind of voice-guided navigation can make everyday movement much safer and more independent.
There is another serious challenge that often gets ignored; money identification. Visually impaired people cannot easily identify currency notes. They are forced to trust others, which can lead to mistakes. So I designed an AI object recognition system that can see objects and speak their names. It can also be extended to recognize currency notes and custom objects.
This should not happen.
So I designed an AI object recognition system that can see objects and speak their names. It can also be extended to recognize currency notes and even custom objects that are not included in standard COCO datasets.
This smart assistive device for blind people is not just a project; it is a step toward real independence.
In this article, I will show you how this system works, how it detects objects, how it speaks, and how it can help visually impaired people in real life.
Amazon Links:
Other Tools and Components:
ESP32 WiFi + Bluetooth Module (Recommended)
Arduino Nano USB C type (Recommended)
*Please Note: These are affiliate links. I may make a commission if you buy the components through these links. I would appreciate your support in this way!
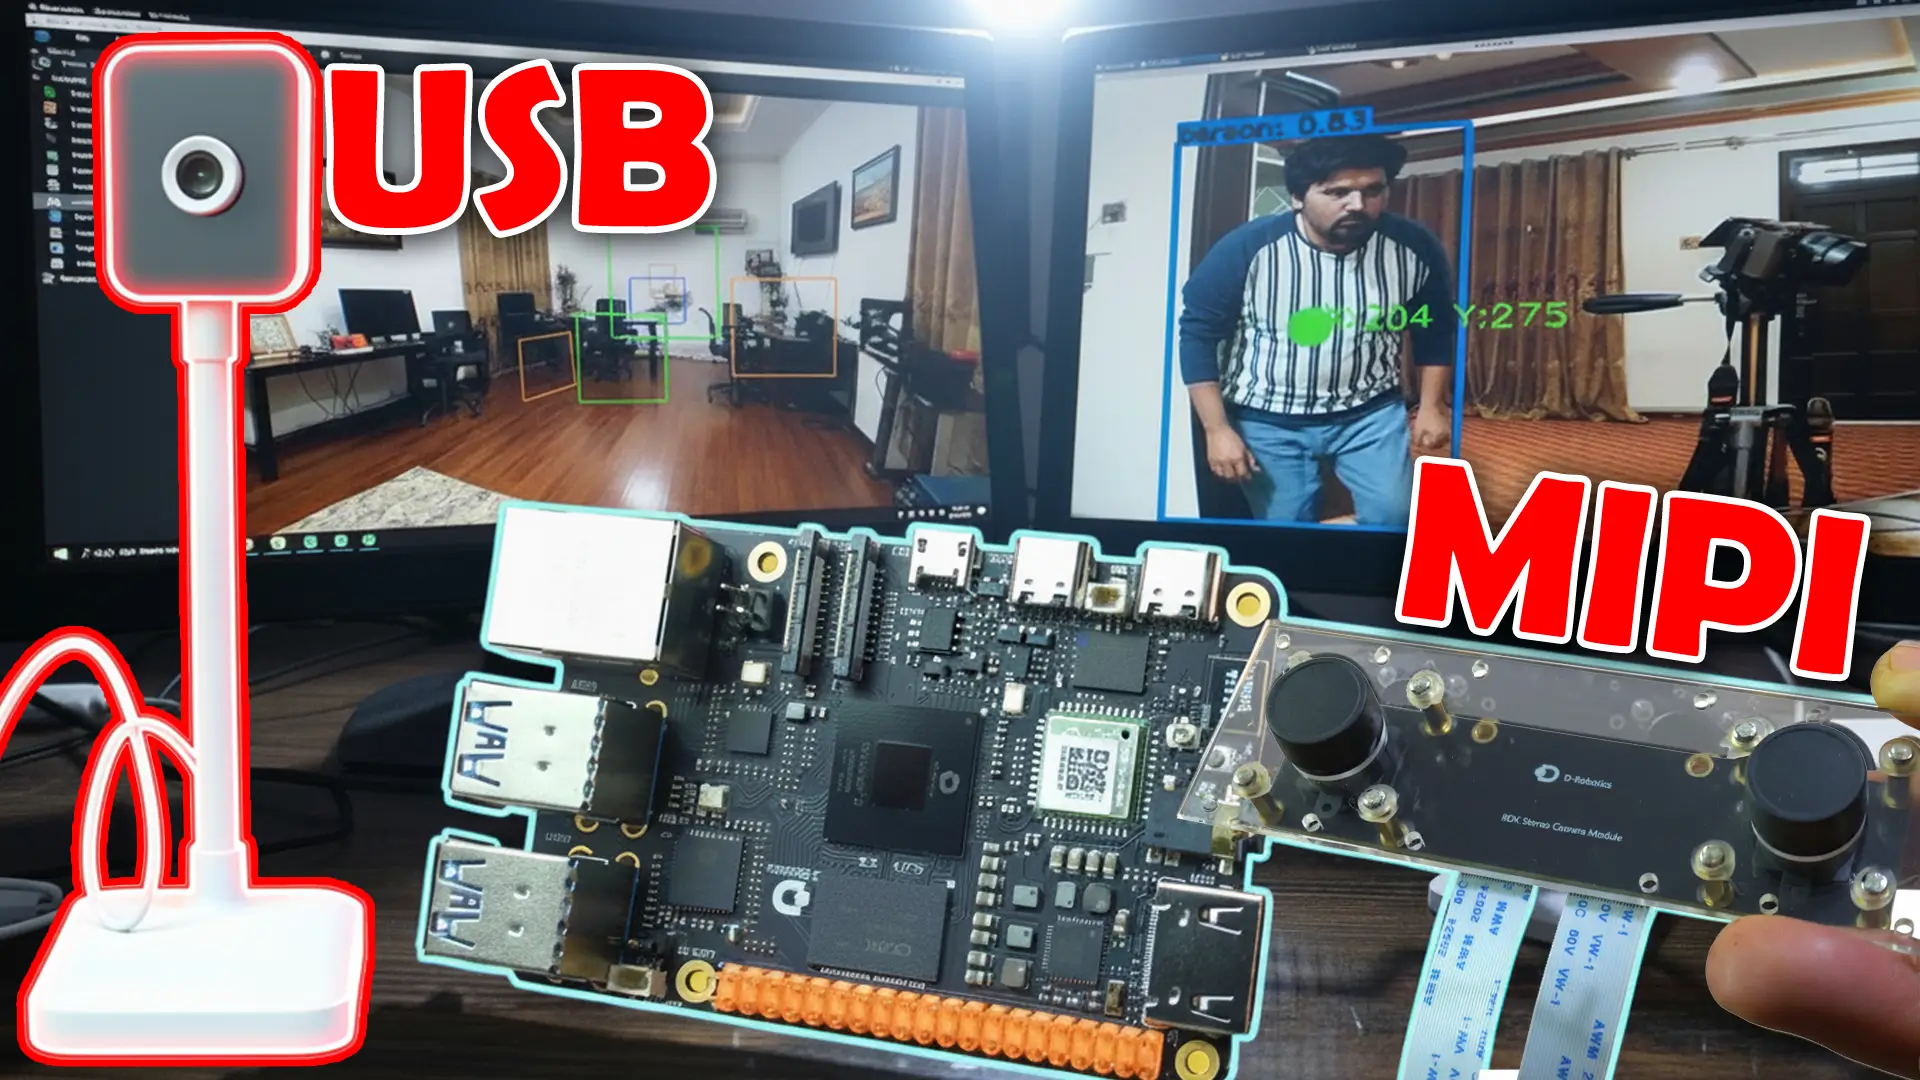
For this project, I am using the RDK X5 by D-Robotics along with a camera.
You can use either a MIPI camera or a USB camera. In my previous article, I explained both MIPI and USB cameras in detail. After reading that article, you will clearly understand how to use both types of cameras.
So; for this project, I can use either of the two cameras. But after thinking carefully, I decided to use a USB camera because of its flexibility as a wearable AI camera setup.
In a project for visually impaired people, I don’t know which camera someone may prefer to use. USB cameras come in many different designs and sizes, and they are easy to find. Because of this flexibility, I felt that using a USB camera would be a better choice. This way, more people can easily follow and build this project using the camera that suits them best.
You will also need a headphone. On the RDK X5, you get a 3.5 mm headphone jack for audio input and output.
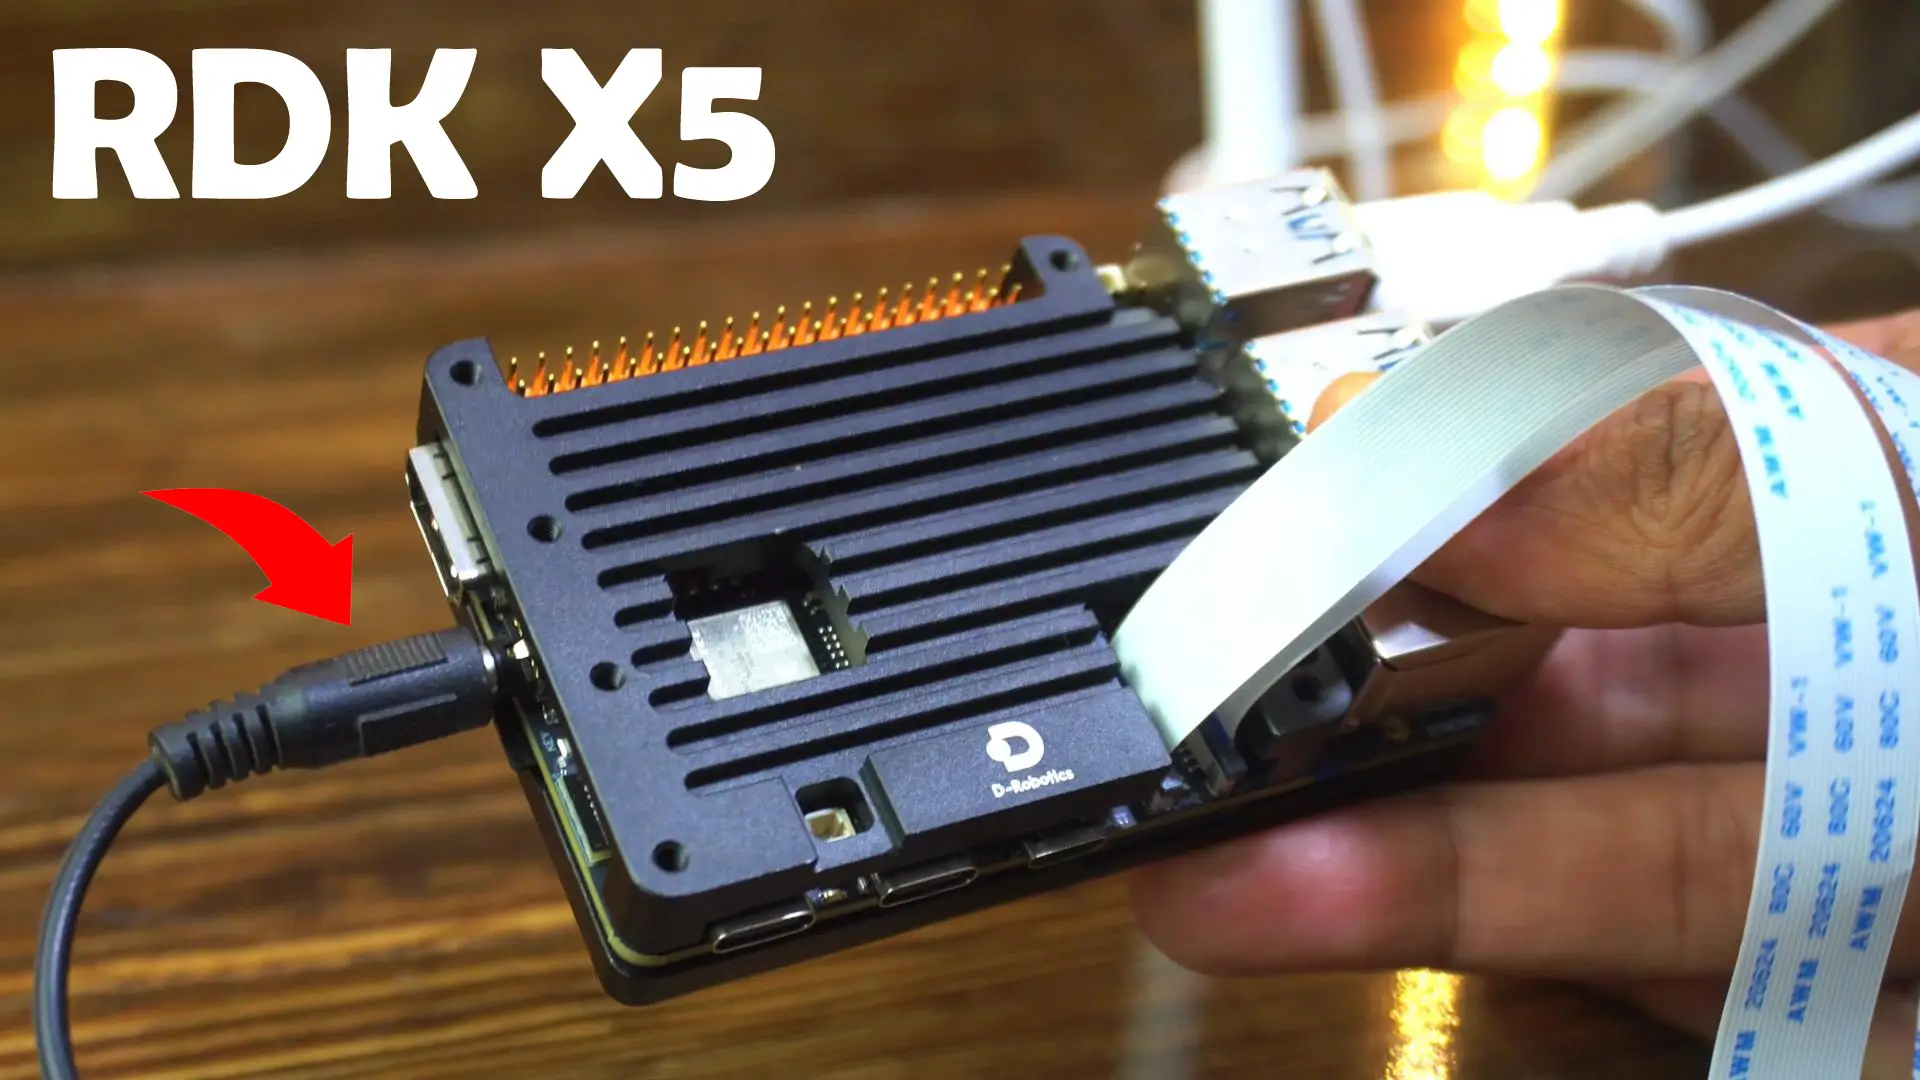
Because of this, you do not need any external amplifier board. You can connect any standard headphone directly to the RDK X5 for your voice-guided assistant.
During the practical demo, I want you to hear everything clearly. That is why I am using these larger speakers.
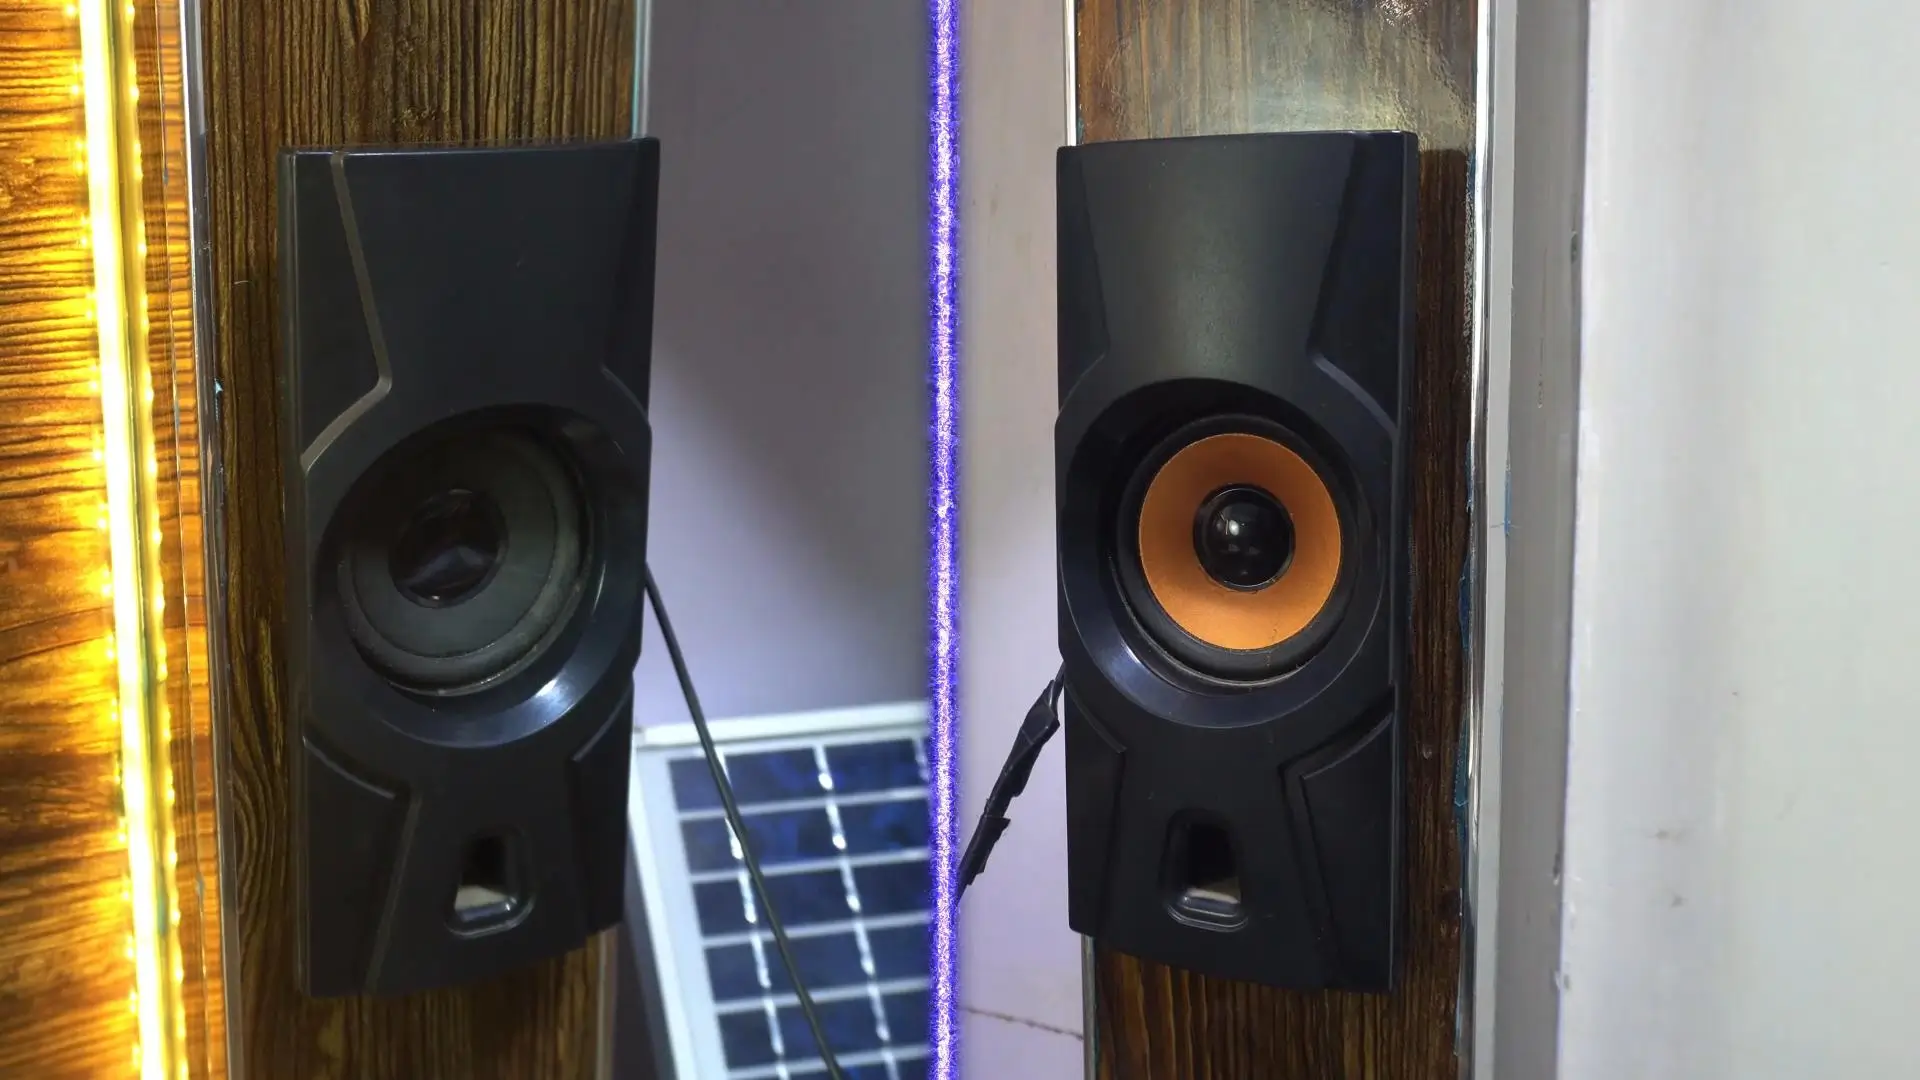
The interesting part is that these speakers do not need an external power supply. I can power them directly using any USB port on the RDK X5.
Even though this is a complex project, it feels very easy on the RDK X5. If we try to build the same project using another board, we would need many extra boards. Even if we use the latest Raspberry Pi, we would still need an AI HAT; the RDK-X5 object detection capabilities are already built-in.
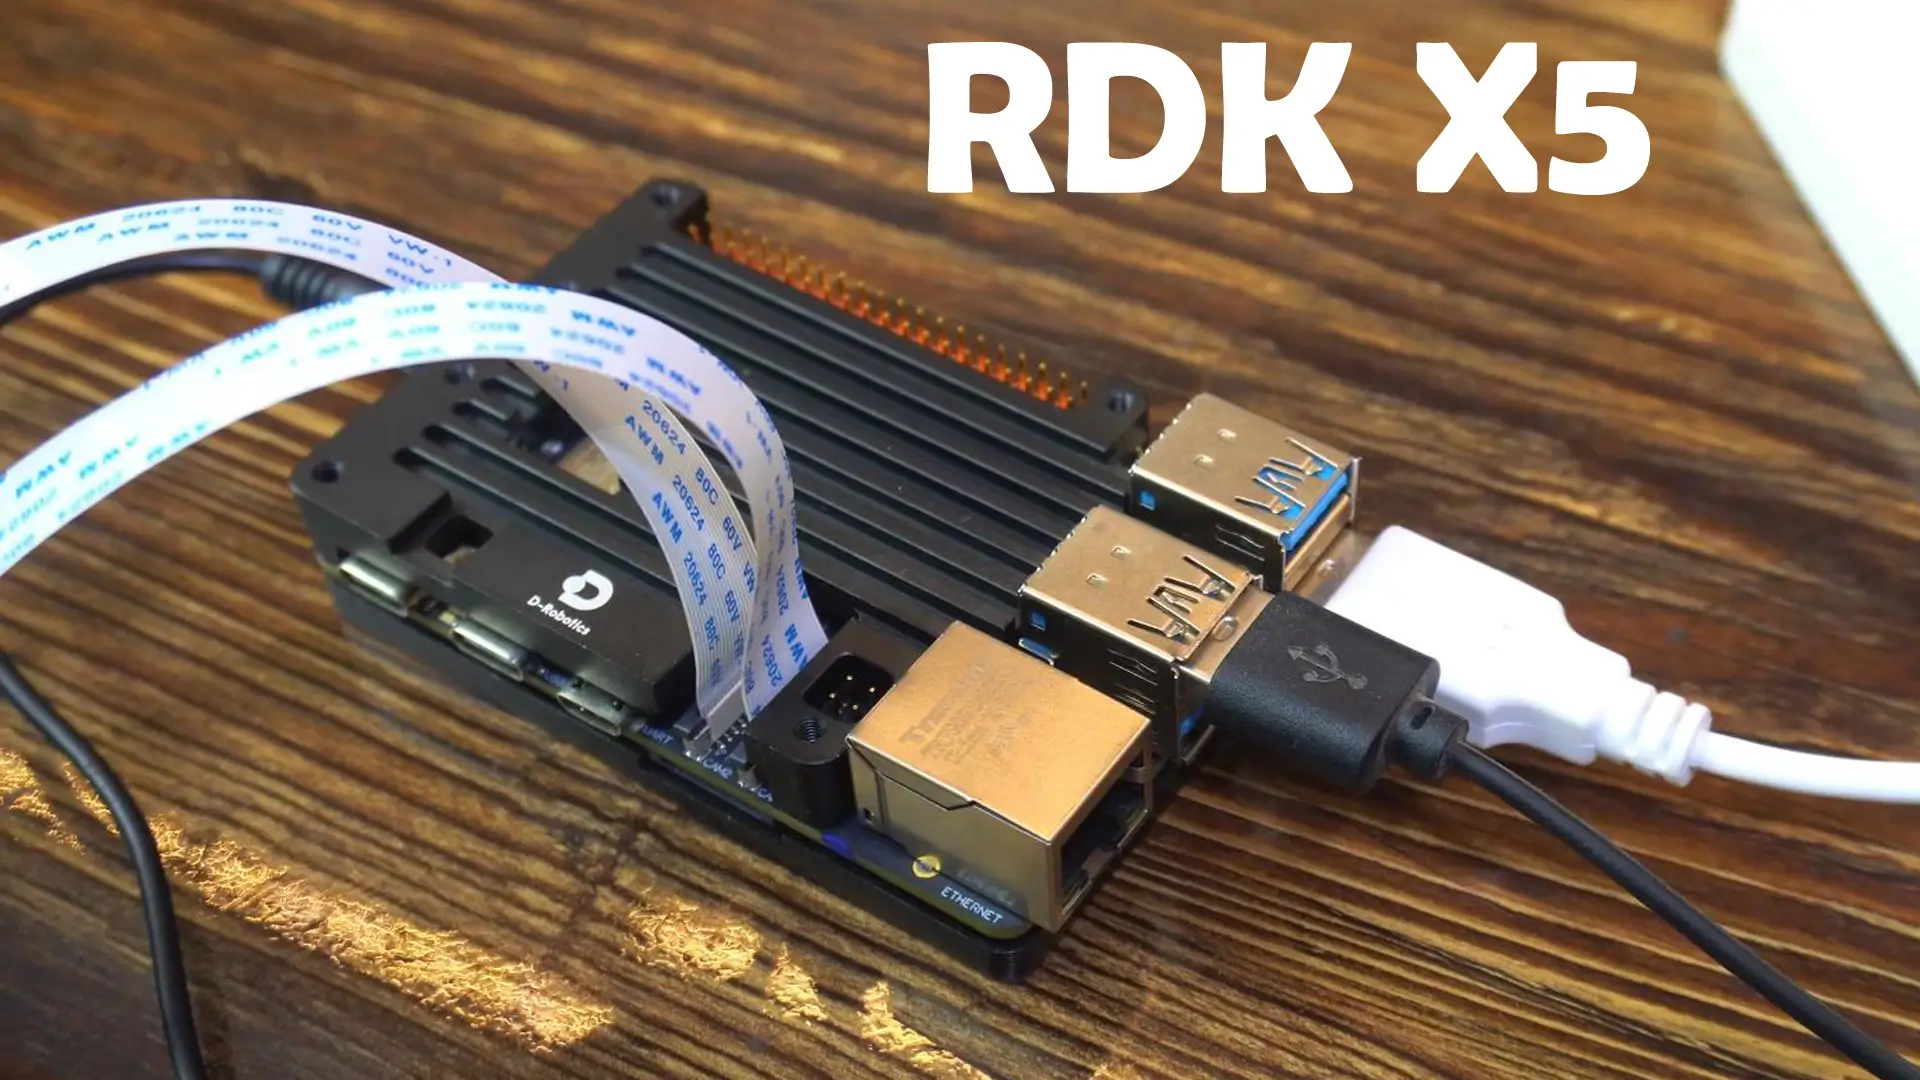
That is why I really like the RDK X5. Everything is very user-friendly. There is no need for an AI HAT, and the AI capabilities are already built in. I have already made a full dedicated video about the AI features of the RDK X5. After watching that video, you will clearly see how powerful this board really is.
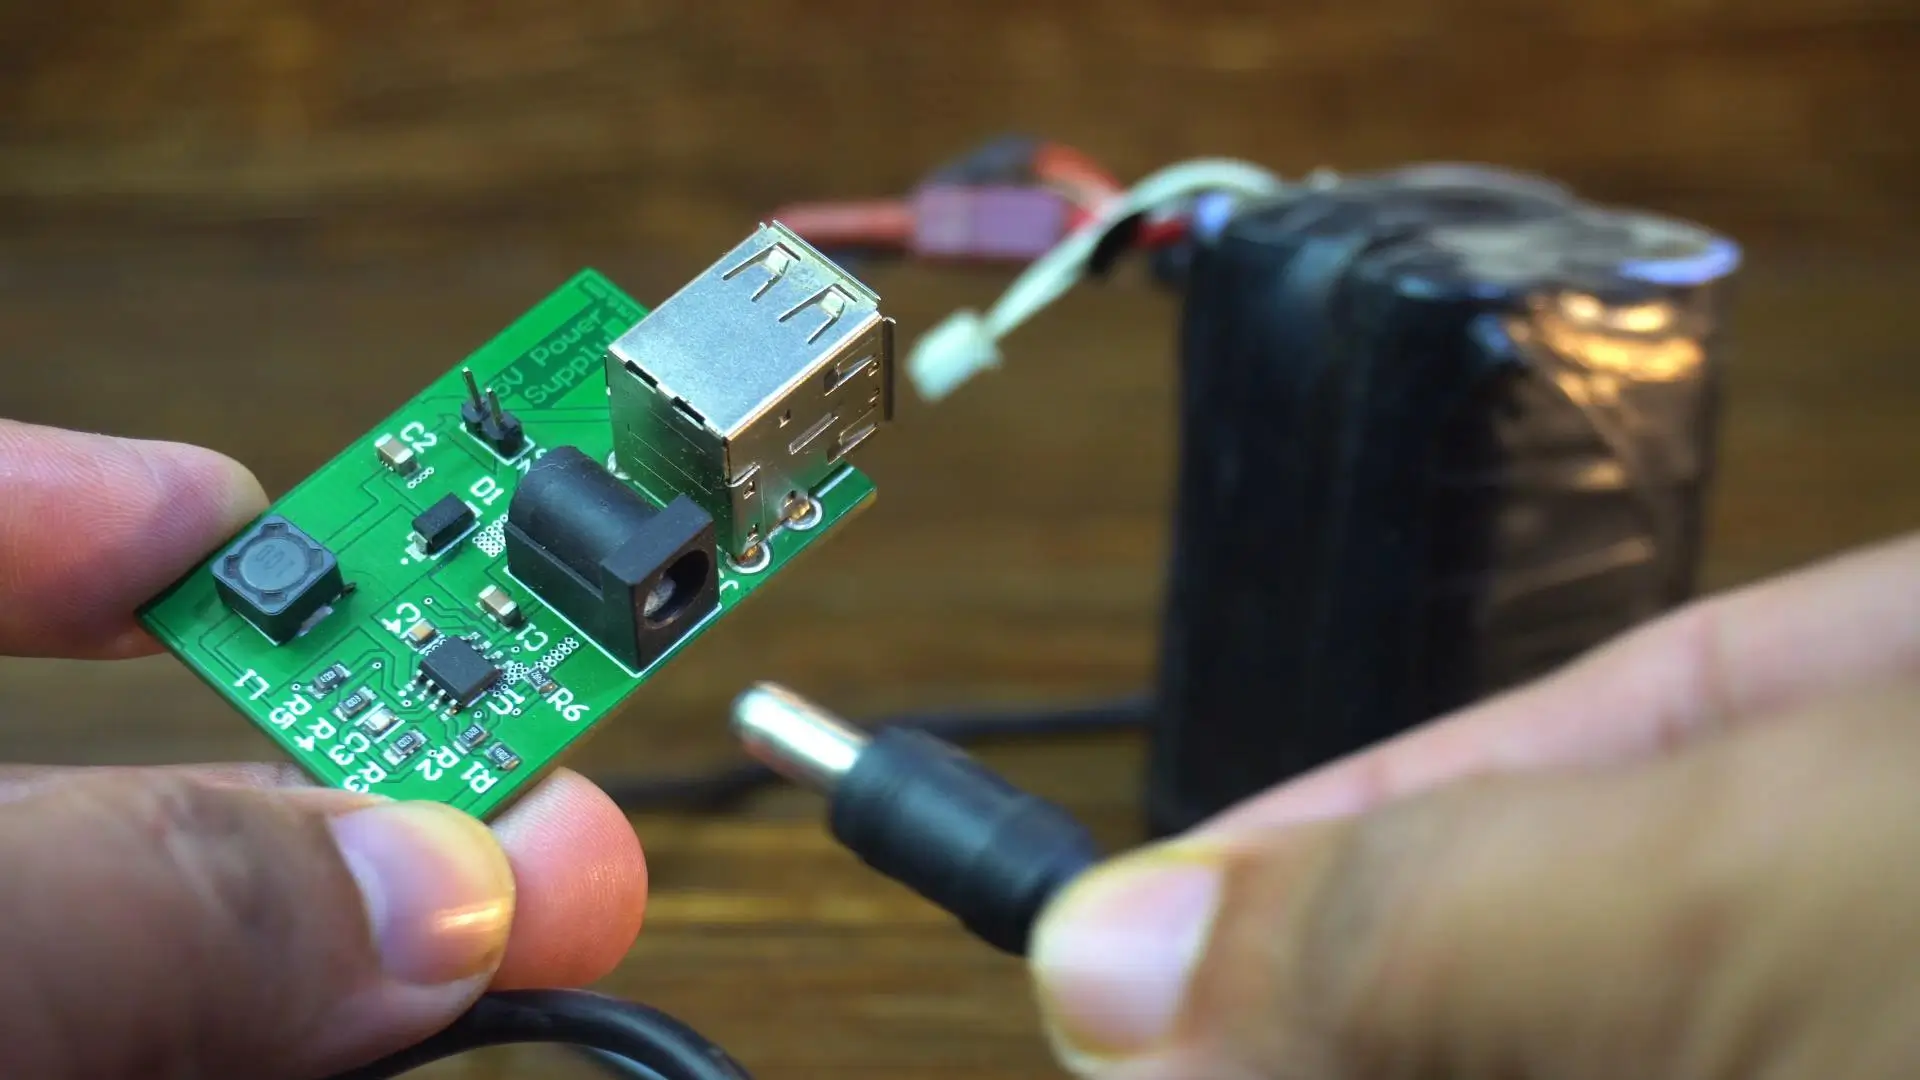
To make this whole system portable, I am using my own designed 5-volt 3-amp power supply, along with a 4S lithium-ion battery that I built myself.
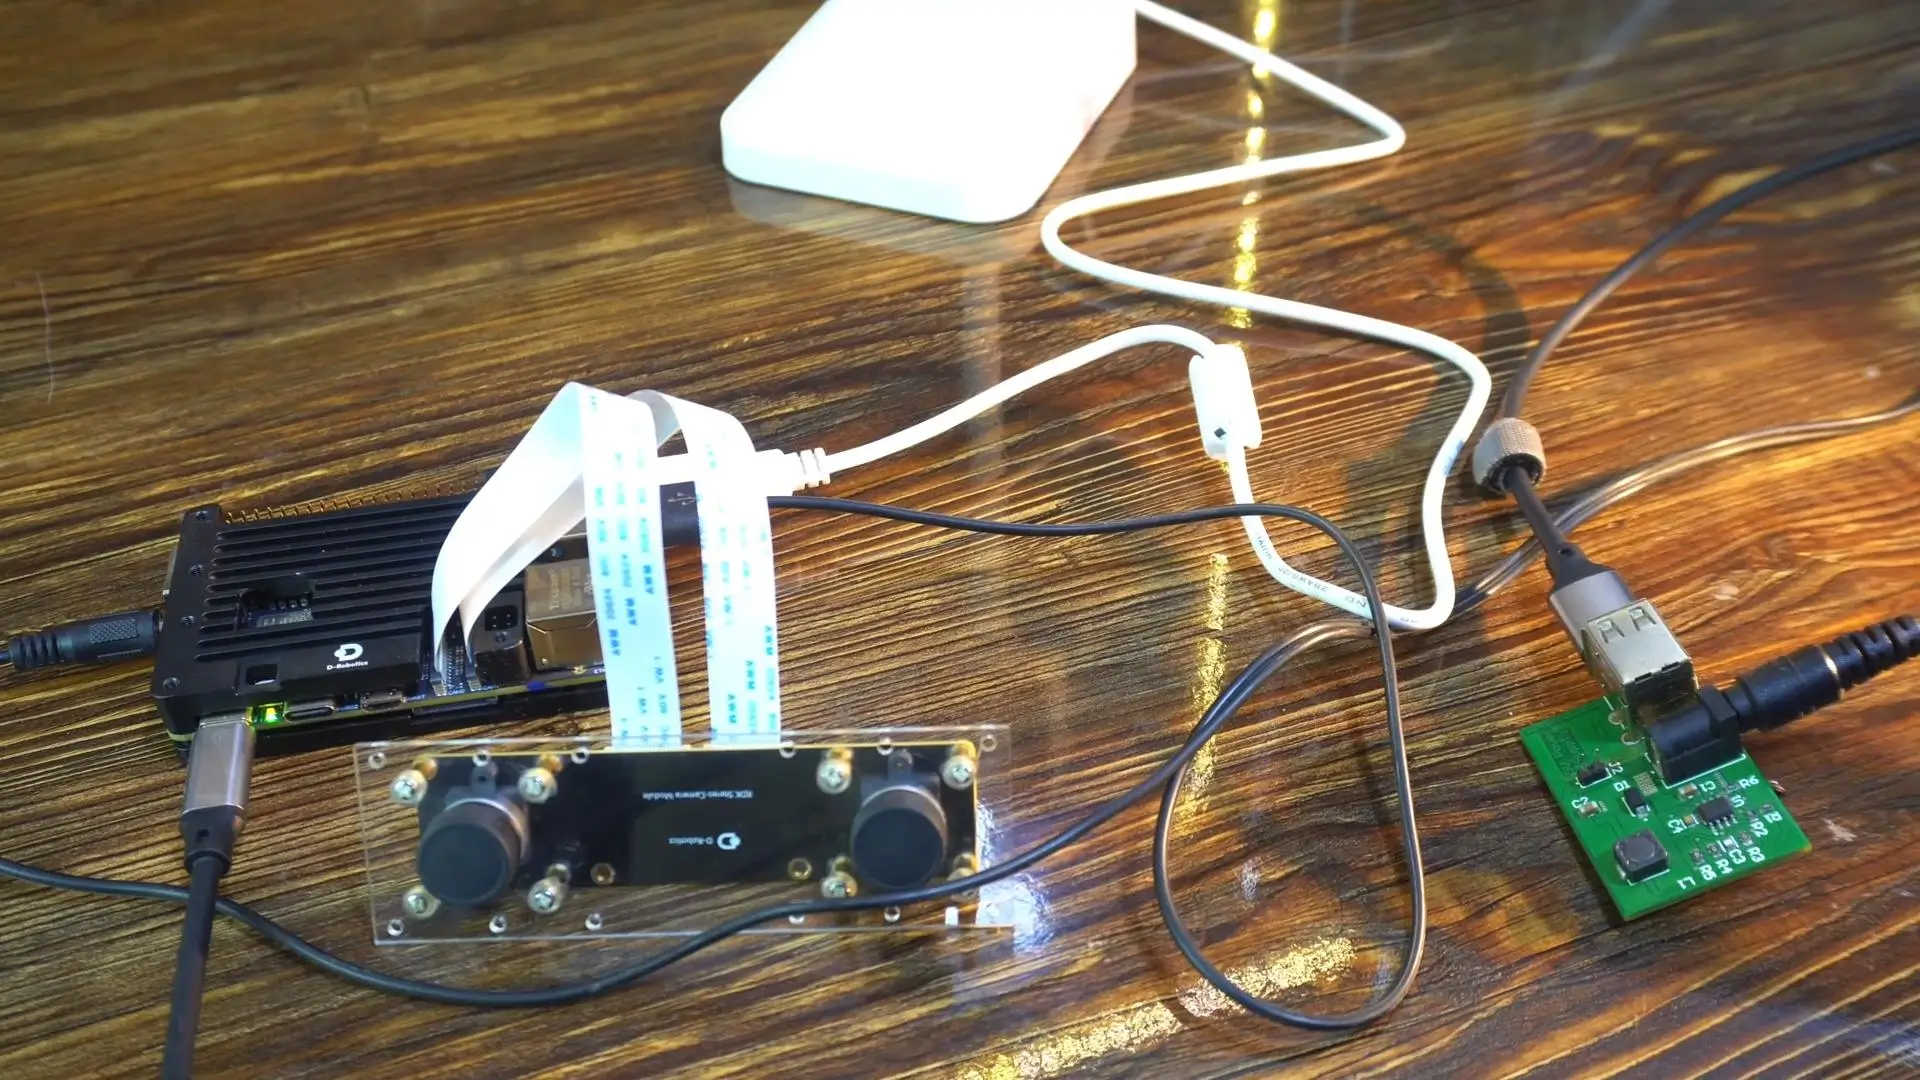
As you can see, I have powered up the complete system and I am accessing the RDK X5 remotely from my laptop using VNC.
Now let’s give the RDK X5 a voice. For that, we first need to install eSpeak, a powerful Python text-to-speech engine. Don’t worry, this part is very simple. While you are on the desktop, right-click the mouse and select Open Terminal Here…
Once the terminal opens, just run these commands, and in a moment, your RDK X5 will be ready to speak.
|
1 2 |
sudo apt update sudo apt install espeak |

Testing Text-to-Speech Output on RDK X5
I wrote a very simple Python script just to test the voice-guided alerts on the RDK X5. The main goal is to make sure that eSpeak is working properly and that the audio is clear. The script sends a few text messages to the speaker with small pauses in between, so we can clearly hear each sentence. This helps me confirm that the system is ready before moving to more advanced features.
Text-to-Speech Test Code for RDK X5
|
1 2 3 4 5 6 7 8 9 10 11 12 13 14 15 16 17 18 19 20 21 22 23 24 25 26 27 28 29 30 31 |
#!/usr/bin/env python3 import subprocess import time def speak(text): print(f"System saying: '{text}'") try: # -s 140 sets the speed (words per minute). Default is often too fast/robotic. # -v en-us sets the voice to US English (optional) subprocess.run(['espeak', '-s', '140', text], check=True) except FileNotFoundError: print("ERROR: 'espeak' is not installed.") print("Please install it using: sudo apt-get install espeak") except Exception as e: print(f"An error occurred: {e}") if __name__ == "__main__": print("--- Audio Test Started ---") speak("System initialization complete.") time.sleep(0.5) speak("Testing left speaker.") time.sleep(0.5) speak("Testing right speaker.") time.sleep(0.5) speak("Welcome to Electronic Clinic") print("--- Audio Test Finished ---") |
Now, let’s run this code.
Text-to-Speech Practical Demo:
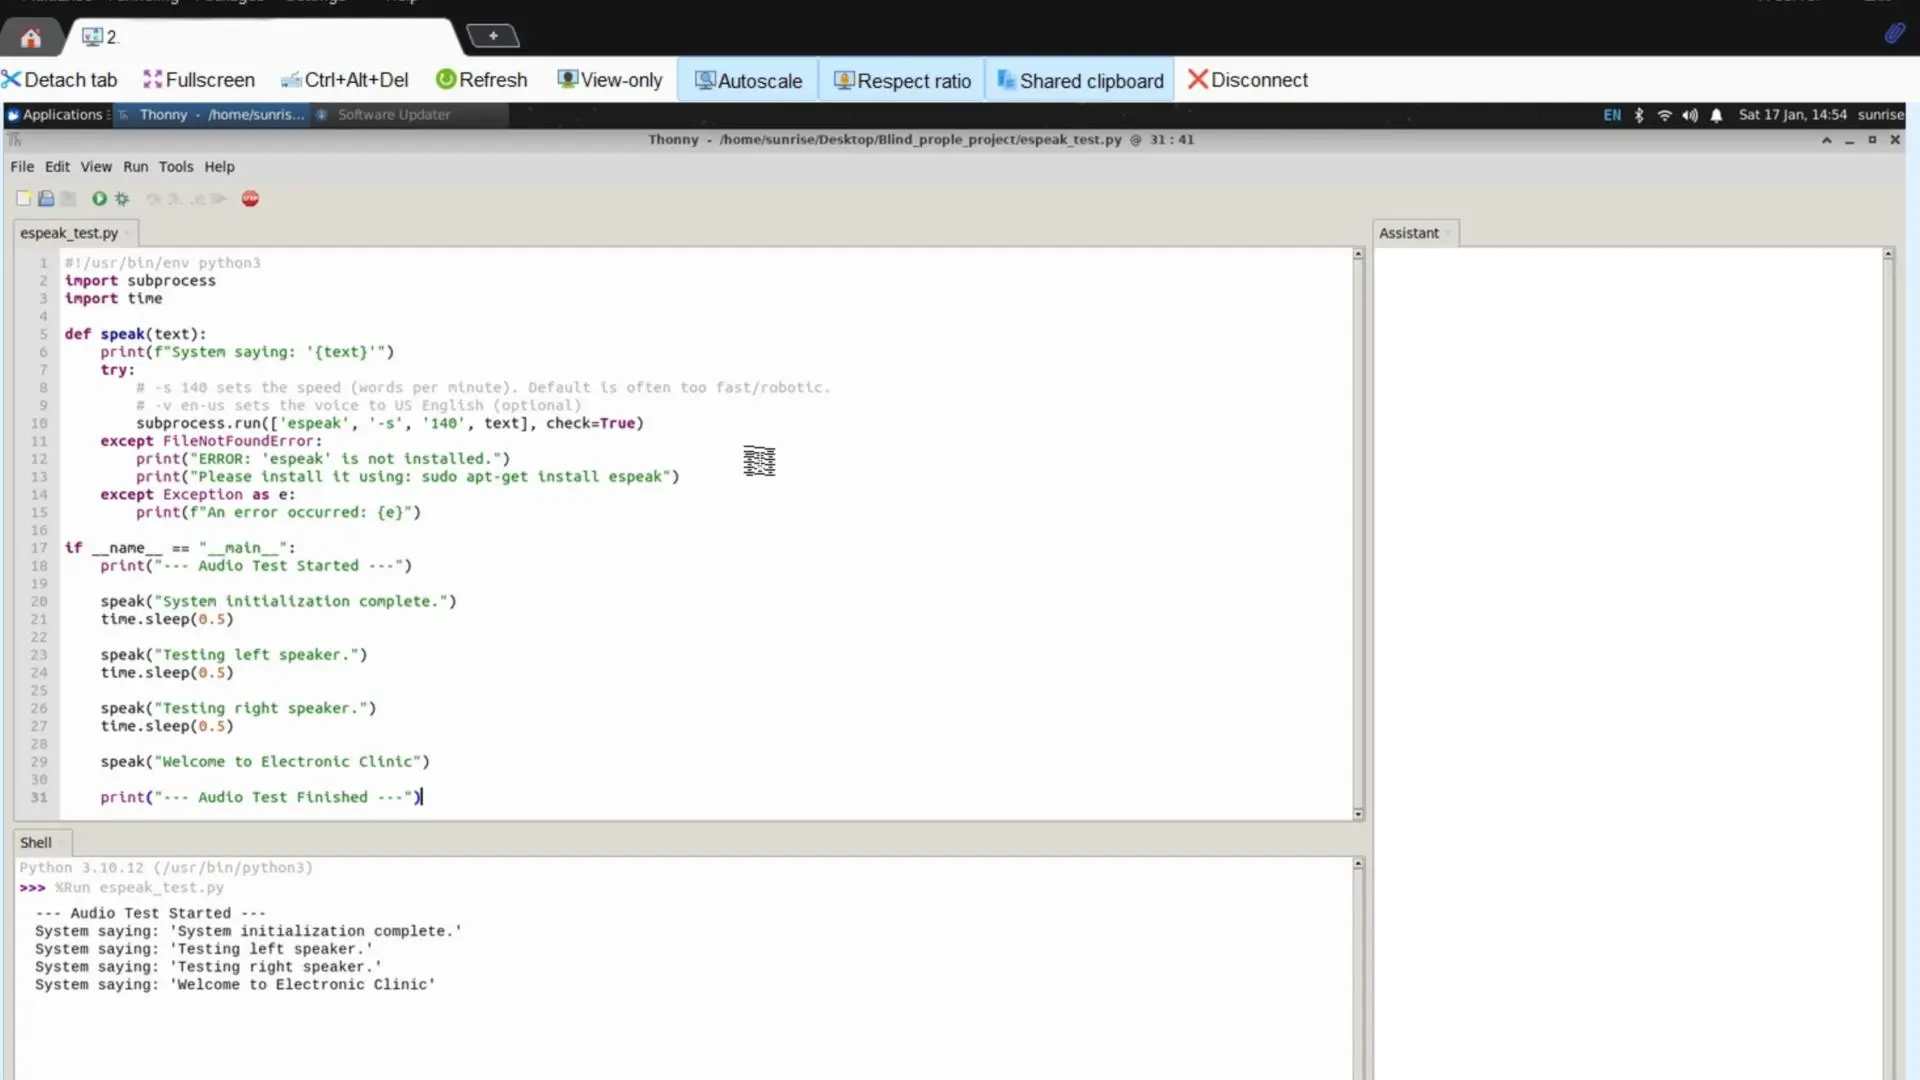
Note: for the practical demo, watch the video tutorial on my YouTube Channel “Electronic Clinic”. The Video link is given at the end of this article.
As you just heard, the system is speaking clearly. The voice does sound a little robotic, but it is easy to understand. For this assistive technology project, clarity is the priority, not a human-like voice. What matters most is that the RDK X5 can speak reliably and deliver information without confusion.
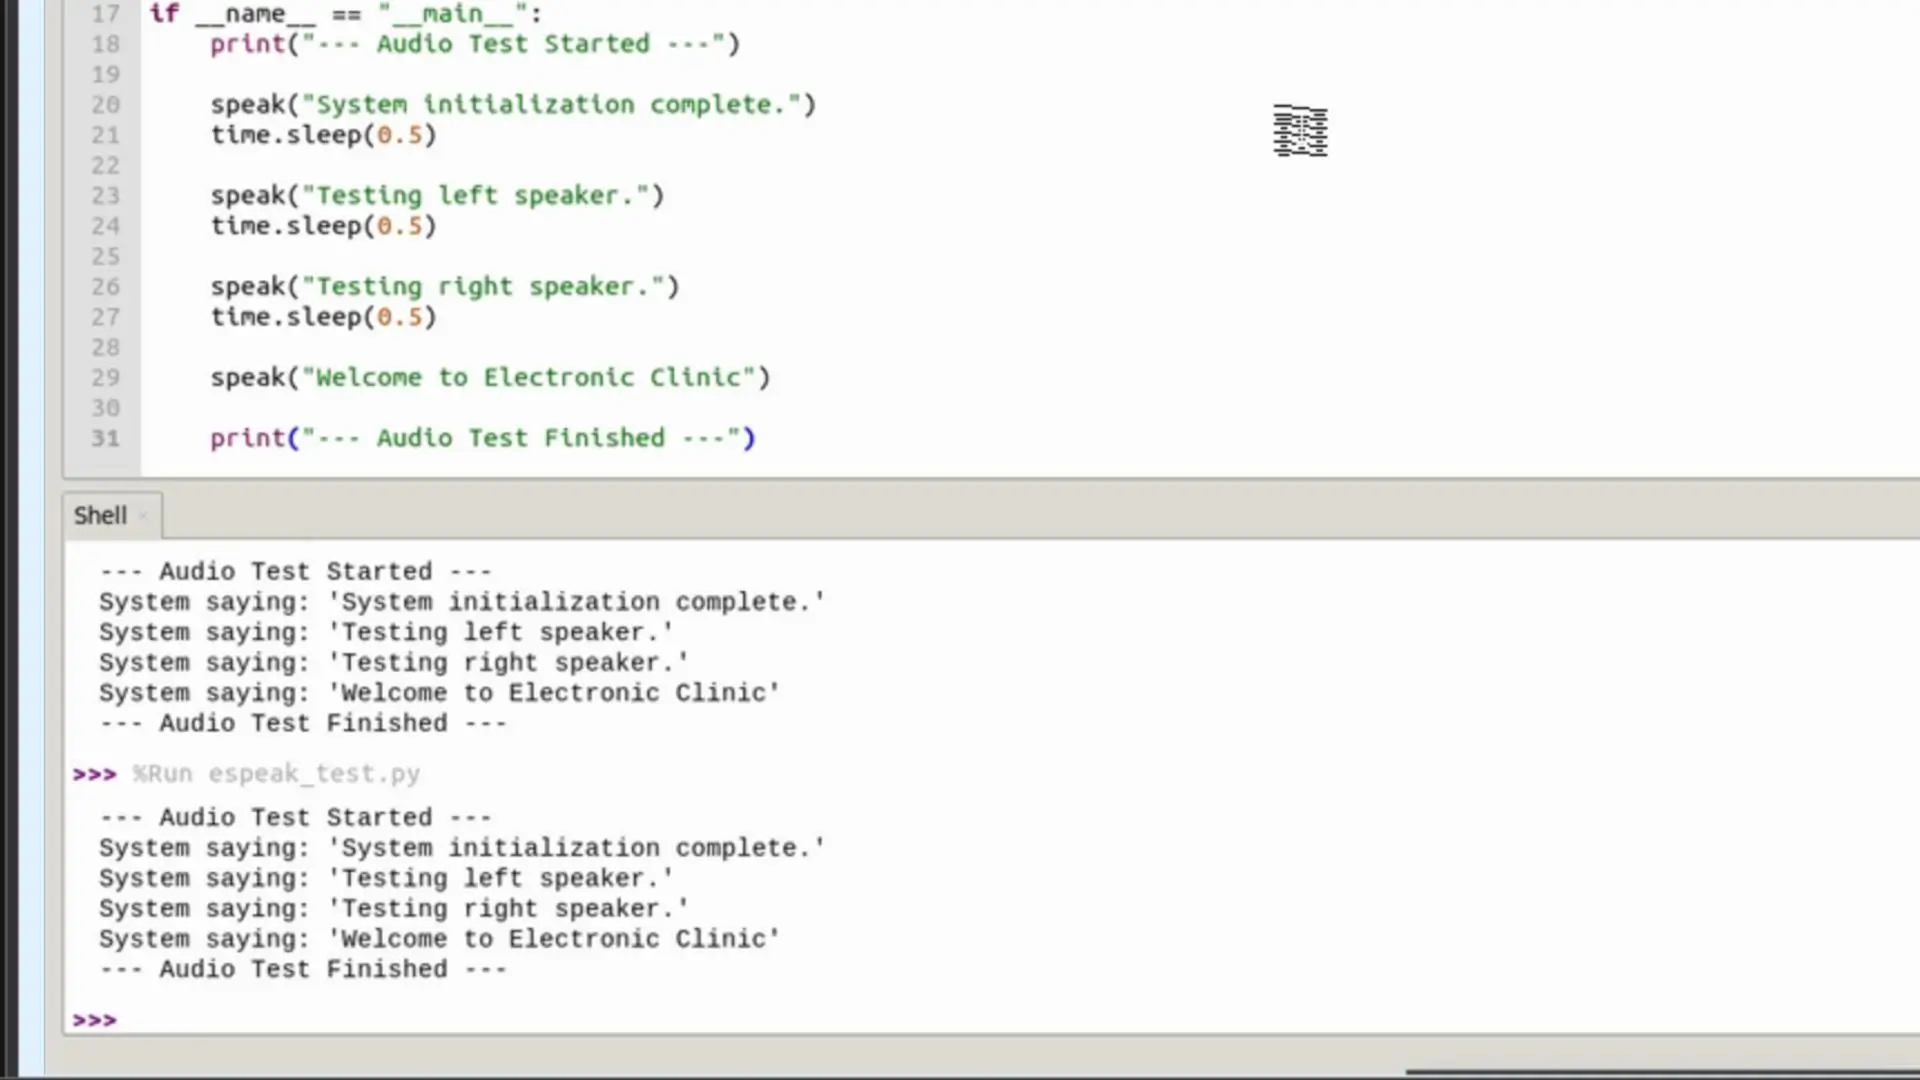
Later, we can always improve the voice quality using more advanced speech engines. But for now, this confirms that the speech system is working correctly and is ready to be used for object recognition and other important alerts.
Building the AI for the Visually Impaired: Python Code & Logic

Now this is the final code for the system, which uses YOLO model deployment logic. I will not go into every single line, because the core idea is very simple. The camera continuously looks at what is in front of the user, the AI model detects objects, and then the system decides which objects actually matter.
Right now, I am only focusing on a selected list of important objects, like people, vehicles, traffic signs, and animals. These include objects such as a person, bicycle, car, motorcycle, bus, train, truck, traffic light, stop sign, fire hydrant, cat, and dog. The system only reacts to objects that are directly in front and close enough, so the user does not get overloaded with unnecessary information.
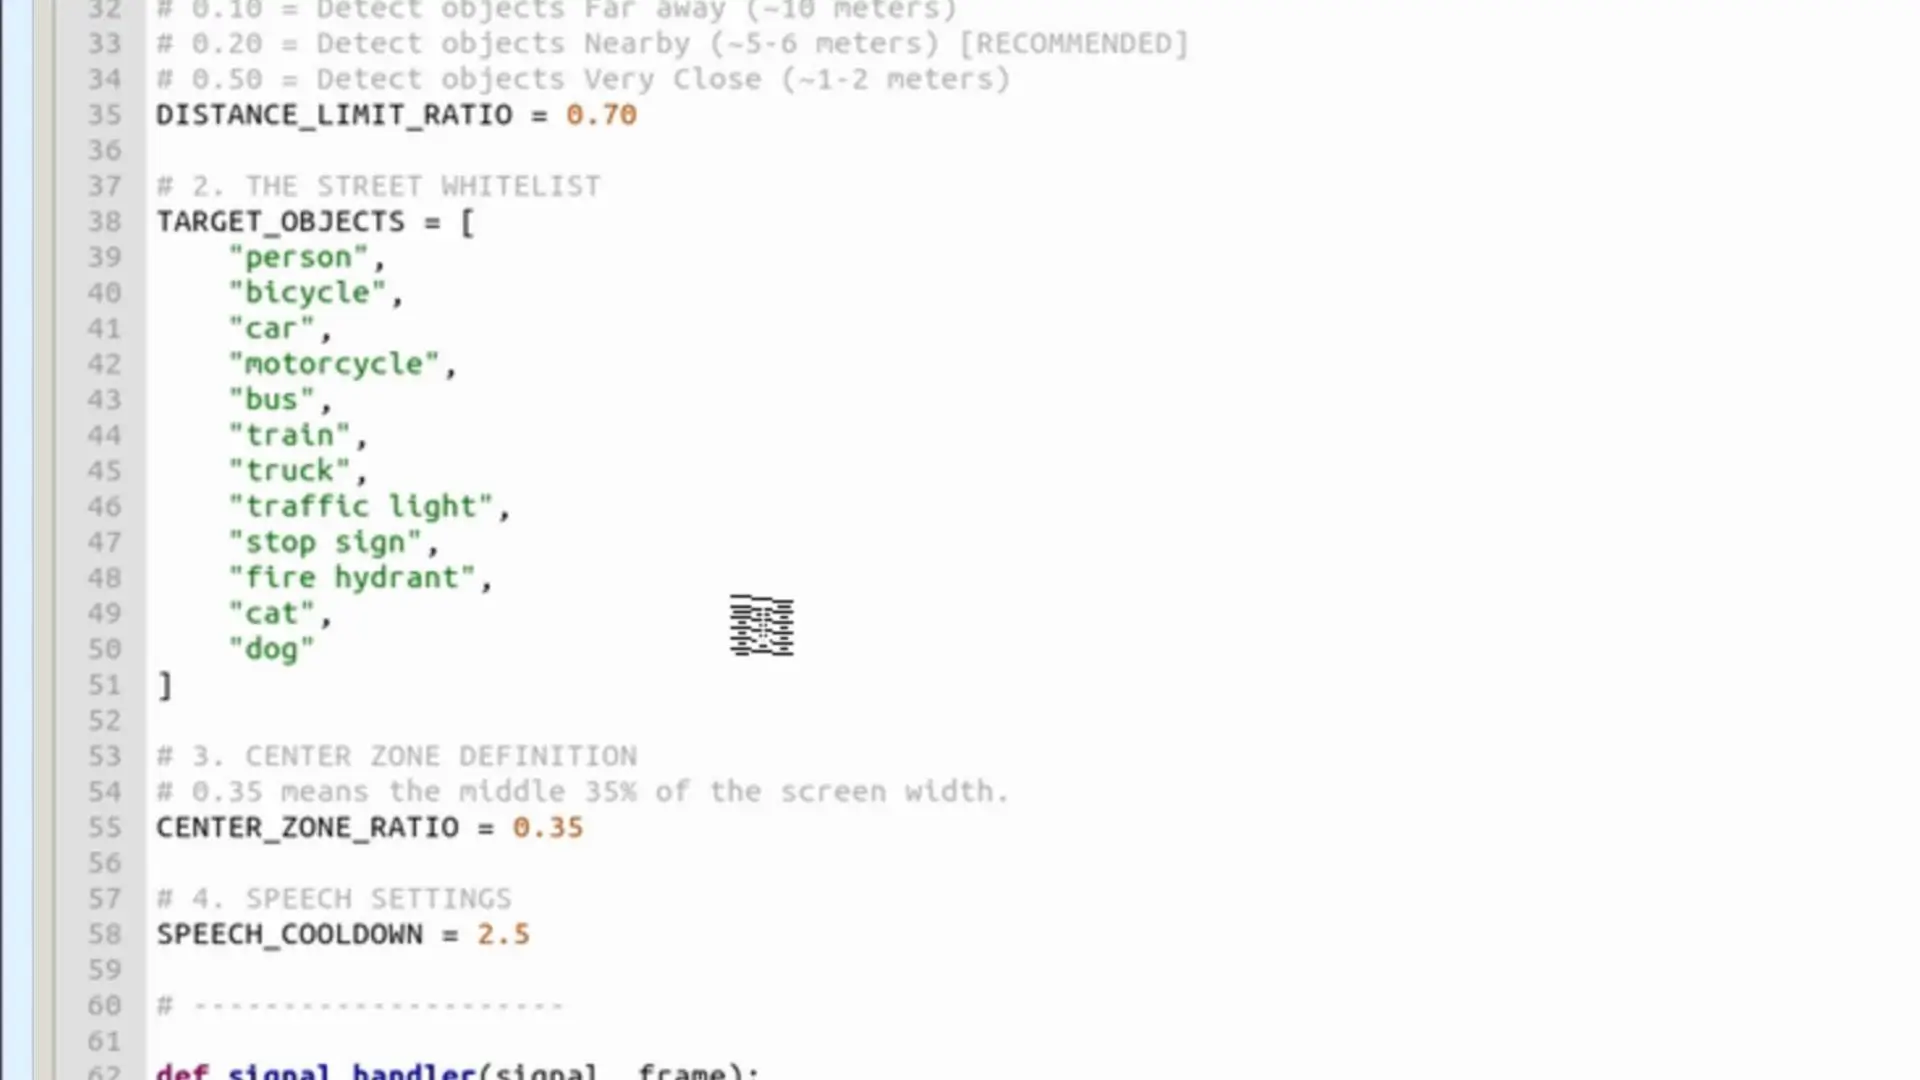
When one of these objects is detected in a critical position, the system speaks its name using audio. So instead of hearing random beeps, the visually impaired person gets voice-guided navigation with clear and meaningful information, like “person ahead” or “car in front,” which is far more useful in real life.
The good thing is that this object list is not fixed. You can easily add more object names to this list based on your requirements. And if the default objects are not enough, you can also train your own custom AI models and use them with this system. That means you can teach it to recognize specific objects, environments, or even local use-case scenarios.
The best part is that everything runs directly on the RDK X5. No extra AI hardware is needed, and the system works in real time.This makes the setup a truly practical electronic travel aid.
Download the AI for the Visually Impaired Source Code
Download the entire project folder from my Patreon Page.
Now let’s run this code. Make sure you are inside the same folder. Right-click the mouse and select Open Terminal Here. After that, type this command.
|
1 |
sudo python3 blind.py |
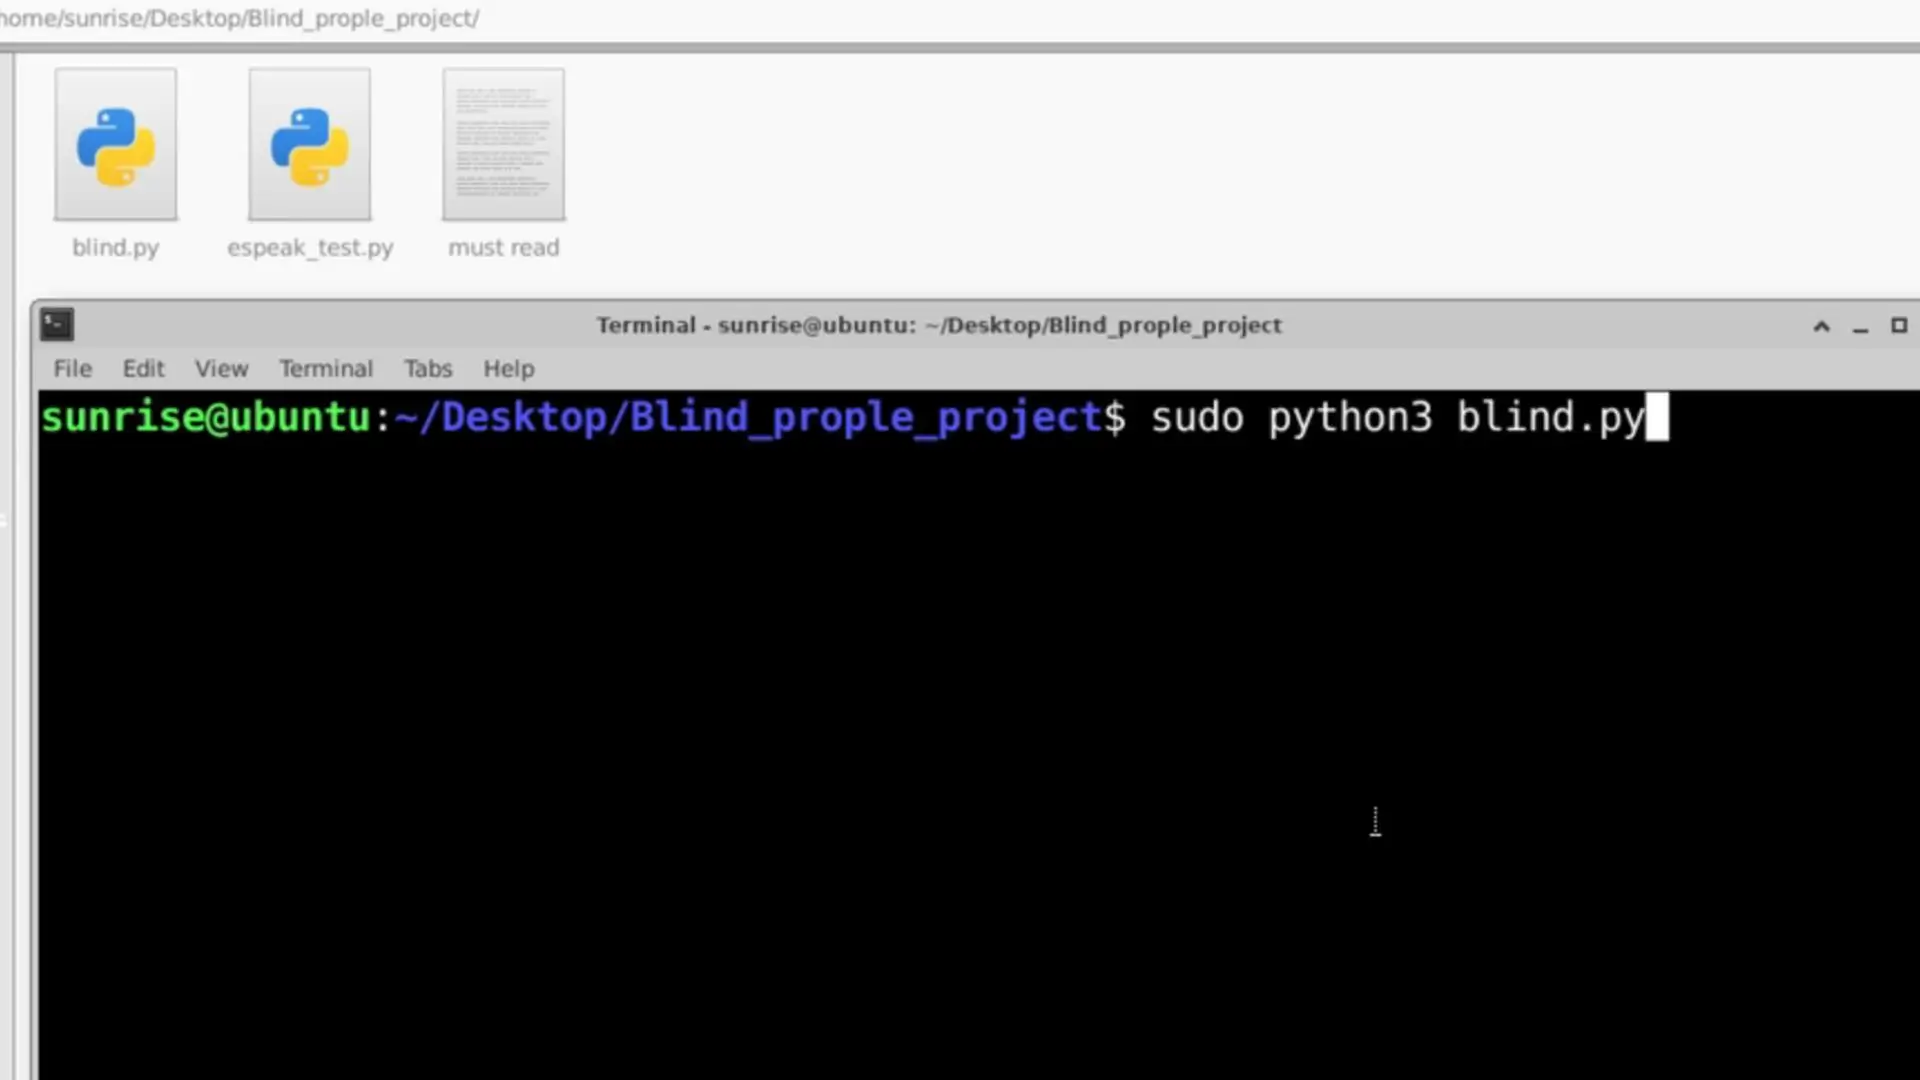
Real-World Testing: How the AI for the Visually Impaired Performs
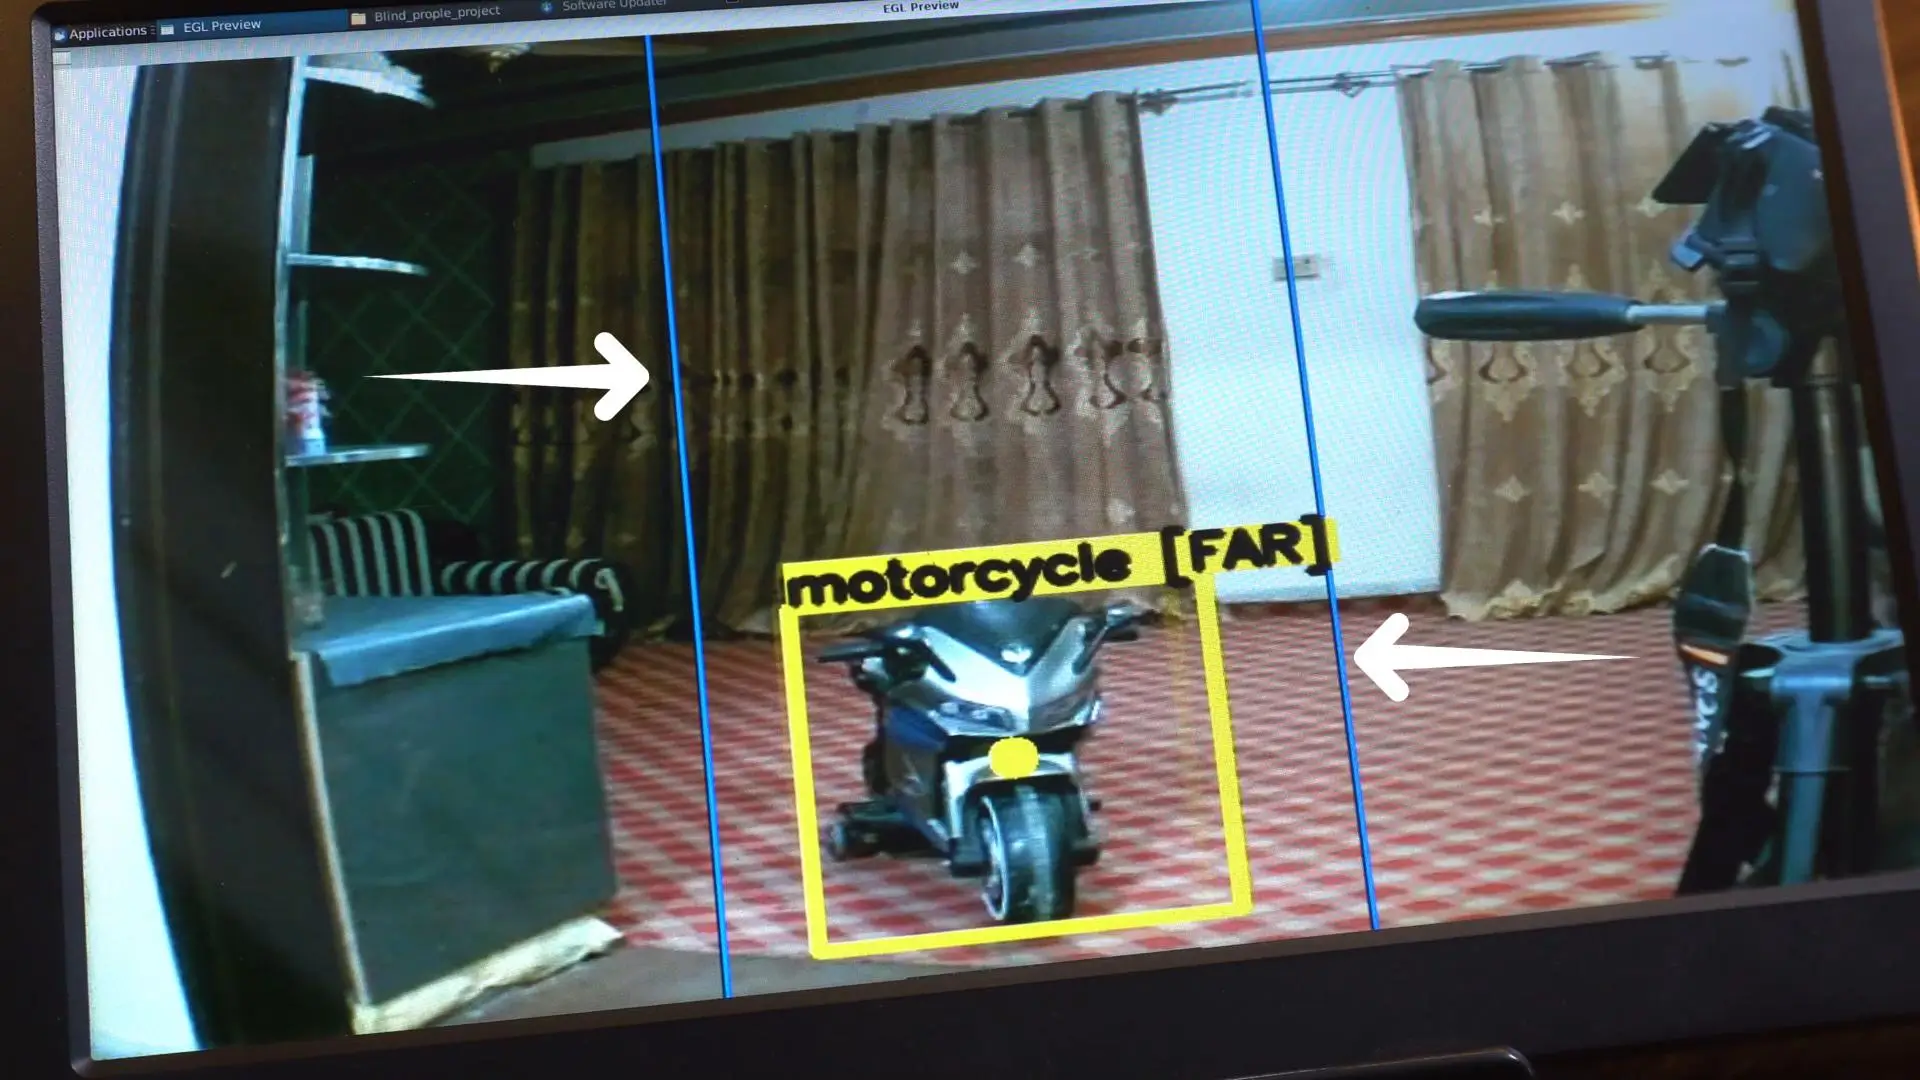
On the screen, you can see two blue lines. Any object that appears between these two lines means it is directly in front of the visually impaired person. If an object is detected on the left or right side, the system simply ignores it. This is done on purpose, so the user does not get disturbed by unnecessary voice alerts.
I have also taken special care of distance. If a person or any object is far away from the user, there will be no voice alert.
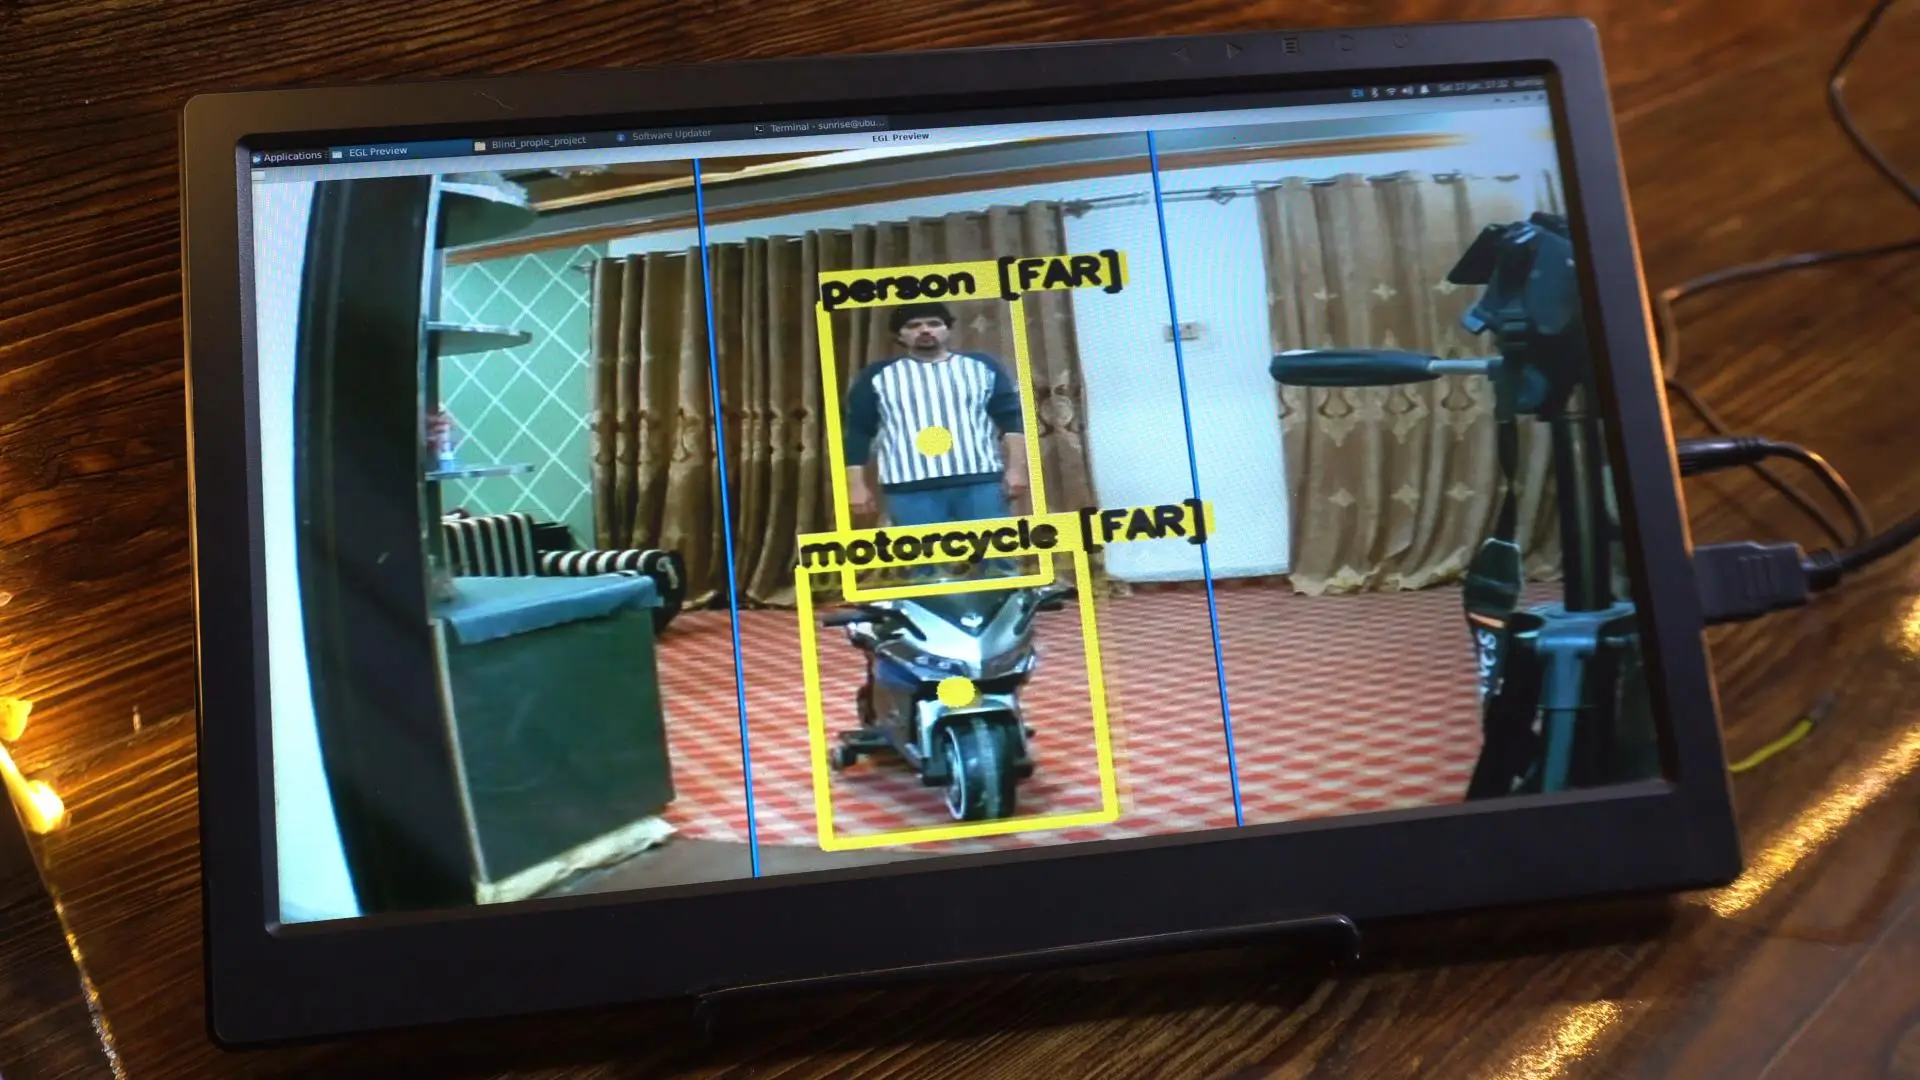
As you can see right now, I am standing in front of the camera, but there is no voice alert because my distance is still too much. This distance threshold is fully adjustable, and you can set it according to your own requirement.
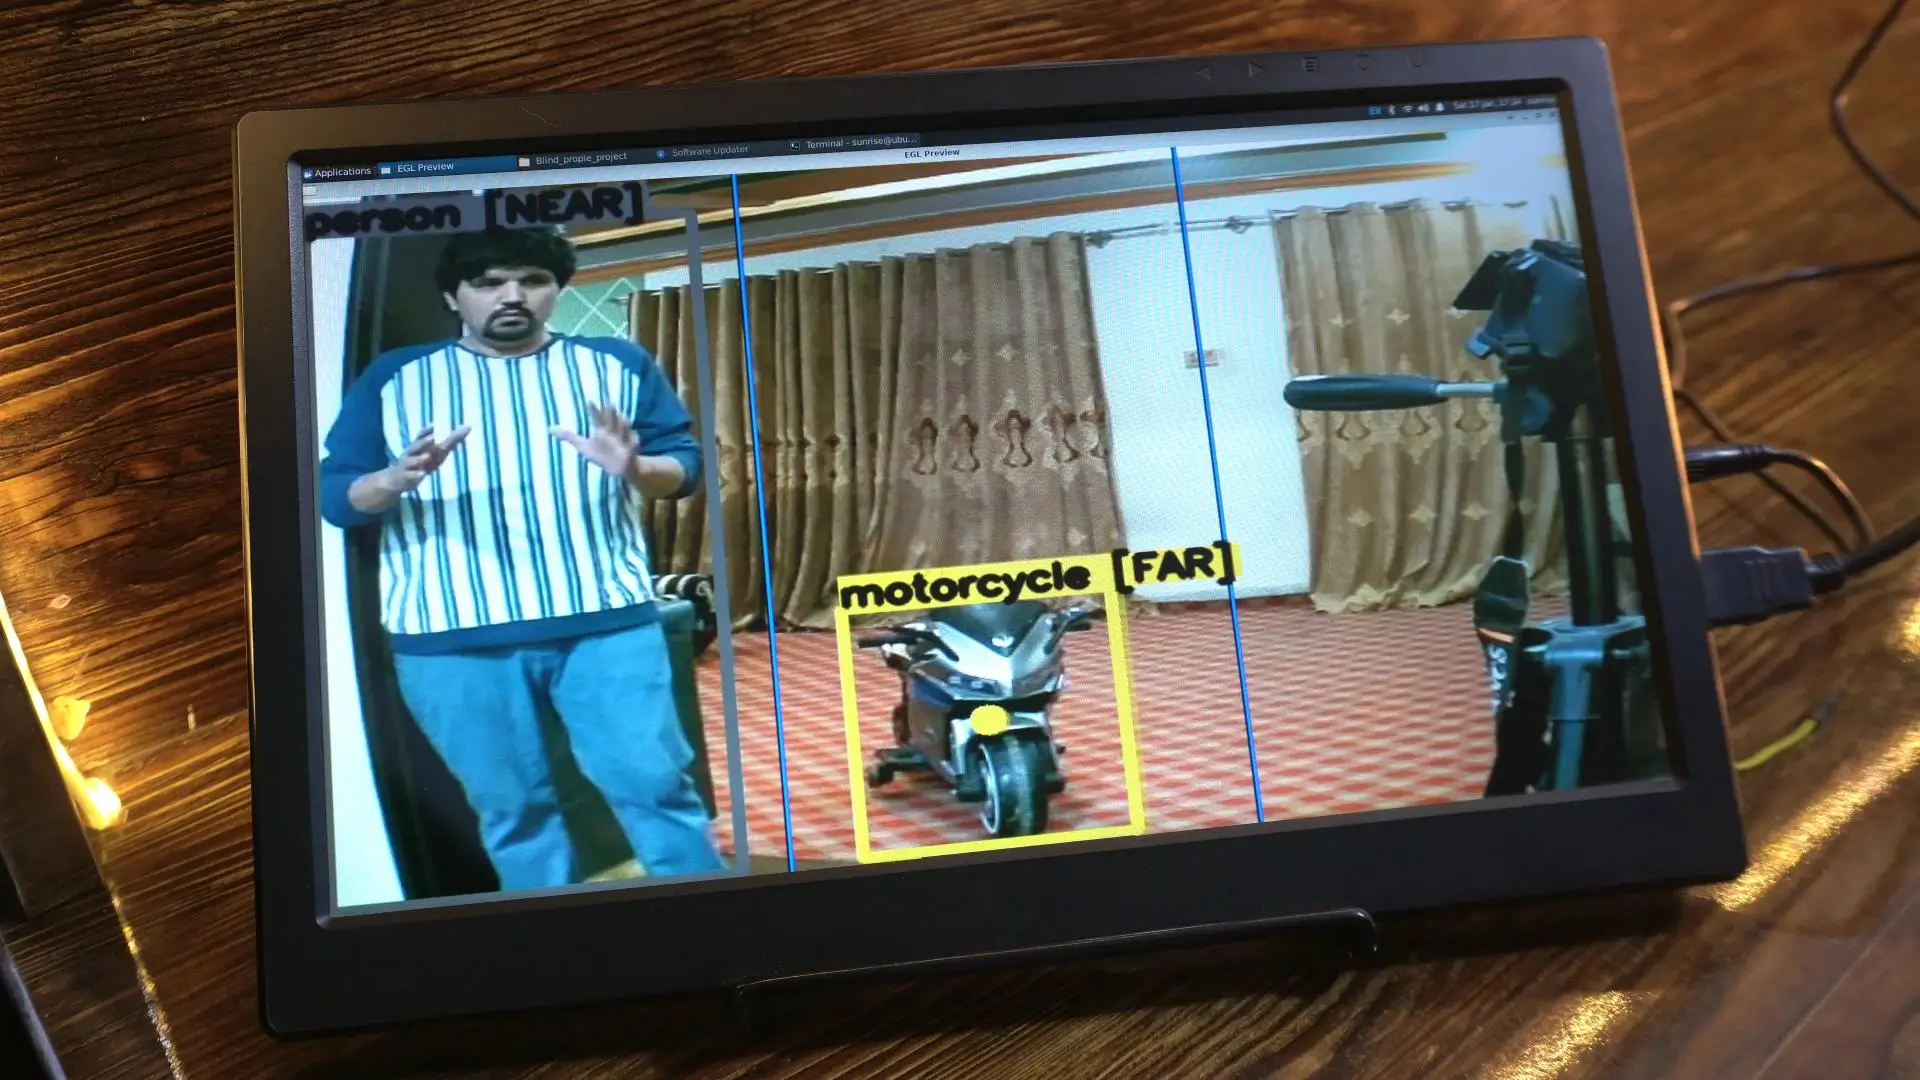
Now you can see that I am much closer to the camera, but still there is no voice alert. That is because I am not exactly in front of the camera.
In a real setup, this camera will be mounted on the chest or head of the visually impaired person. Right now, the camera is placed on the desk, so I need to move myself directly in front of it.

As you can see, the moment I come right in front of the wearable AI camera, the voice alert is generated. The gap between each voice alert is also adjustable. Everything can be controlled from the code according to your preference. As long as I stay in front of the camera, the system will keep generating voice alerts.
If I move to the side, the voice alerts stop immediately.
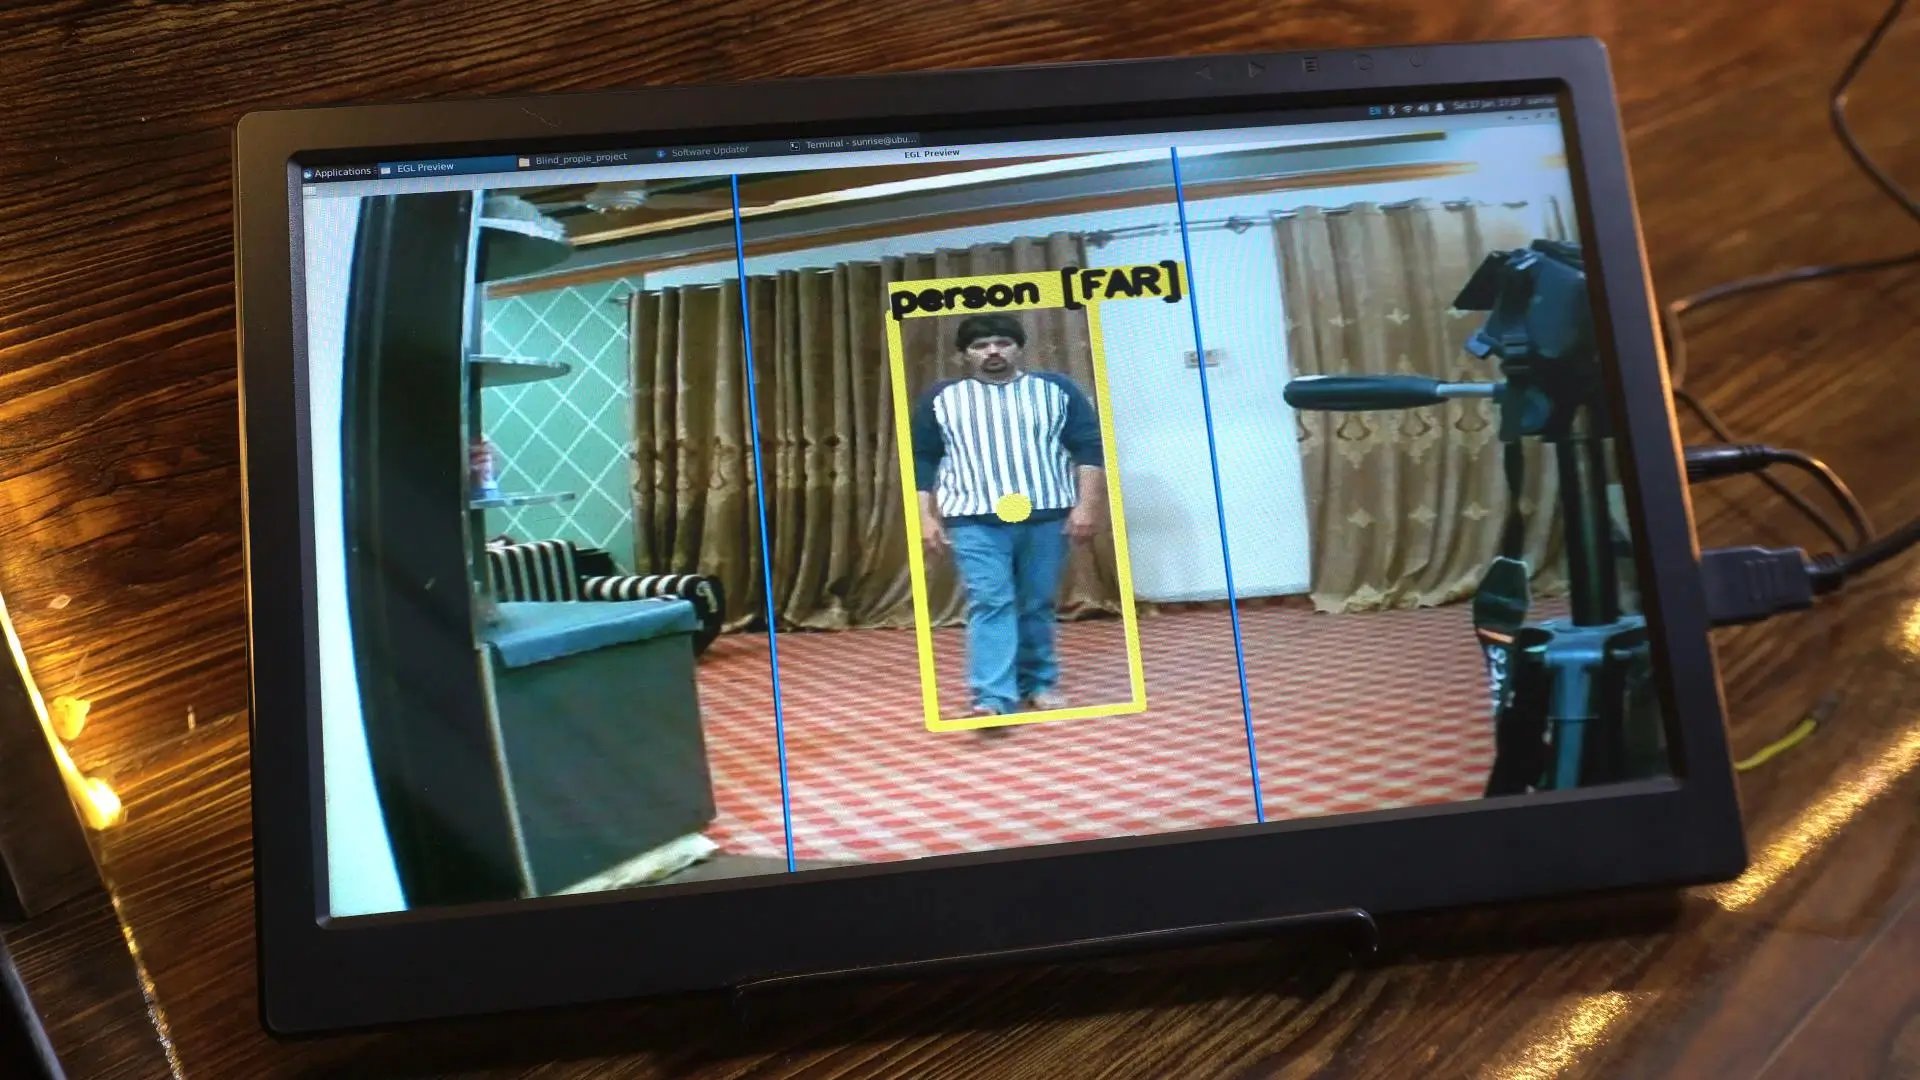
As long as an object is far away, there will be no voice alert. But as soon as any person or object starts coming closer, the voice alert starts.

After hearing this, the visually impaired person can turn left or right and safely adjust their path.
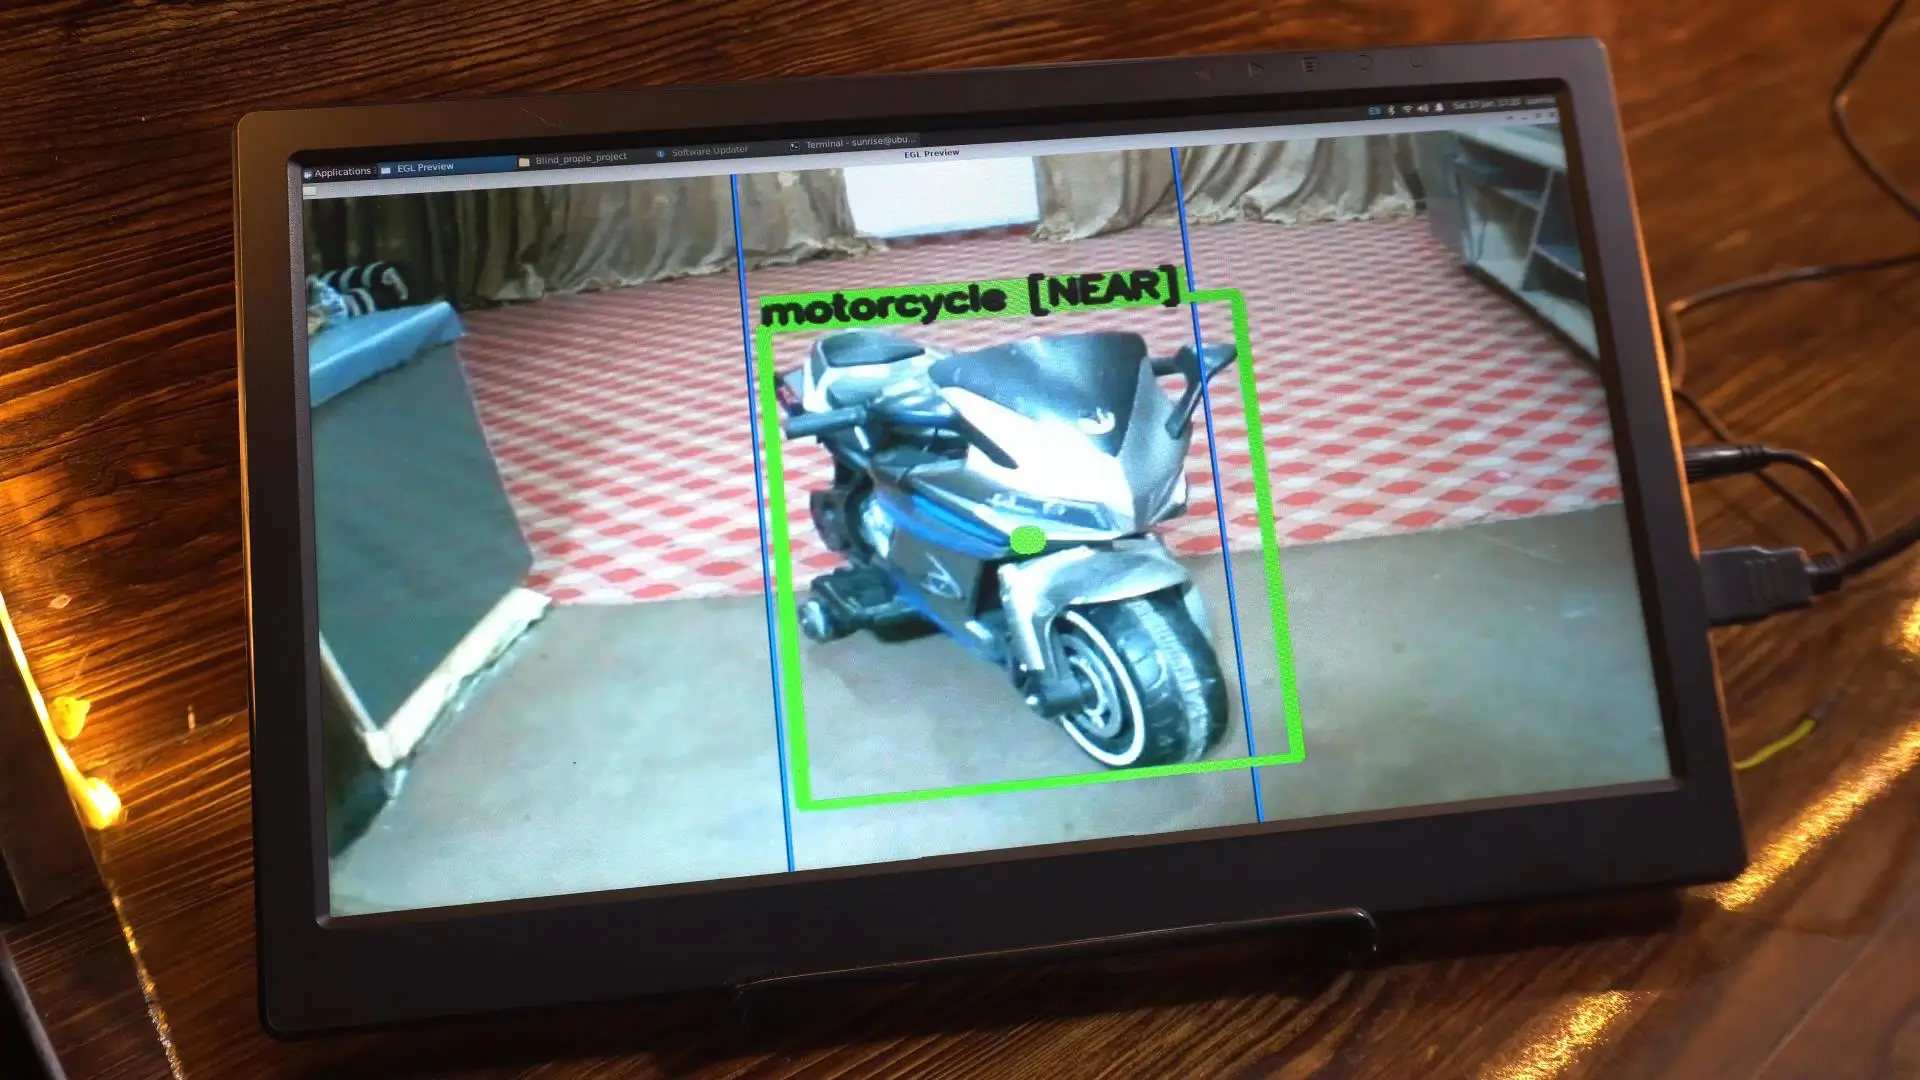
Now I am going to test this system with this bike.
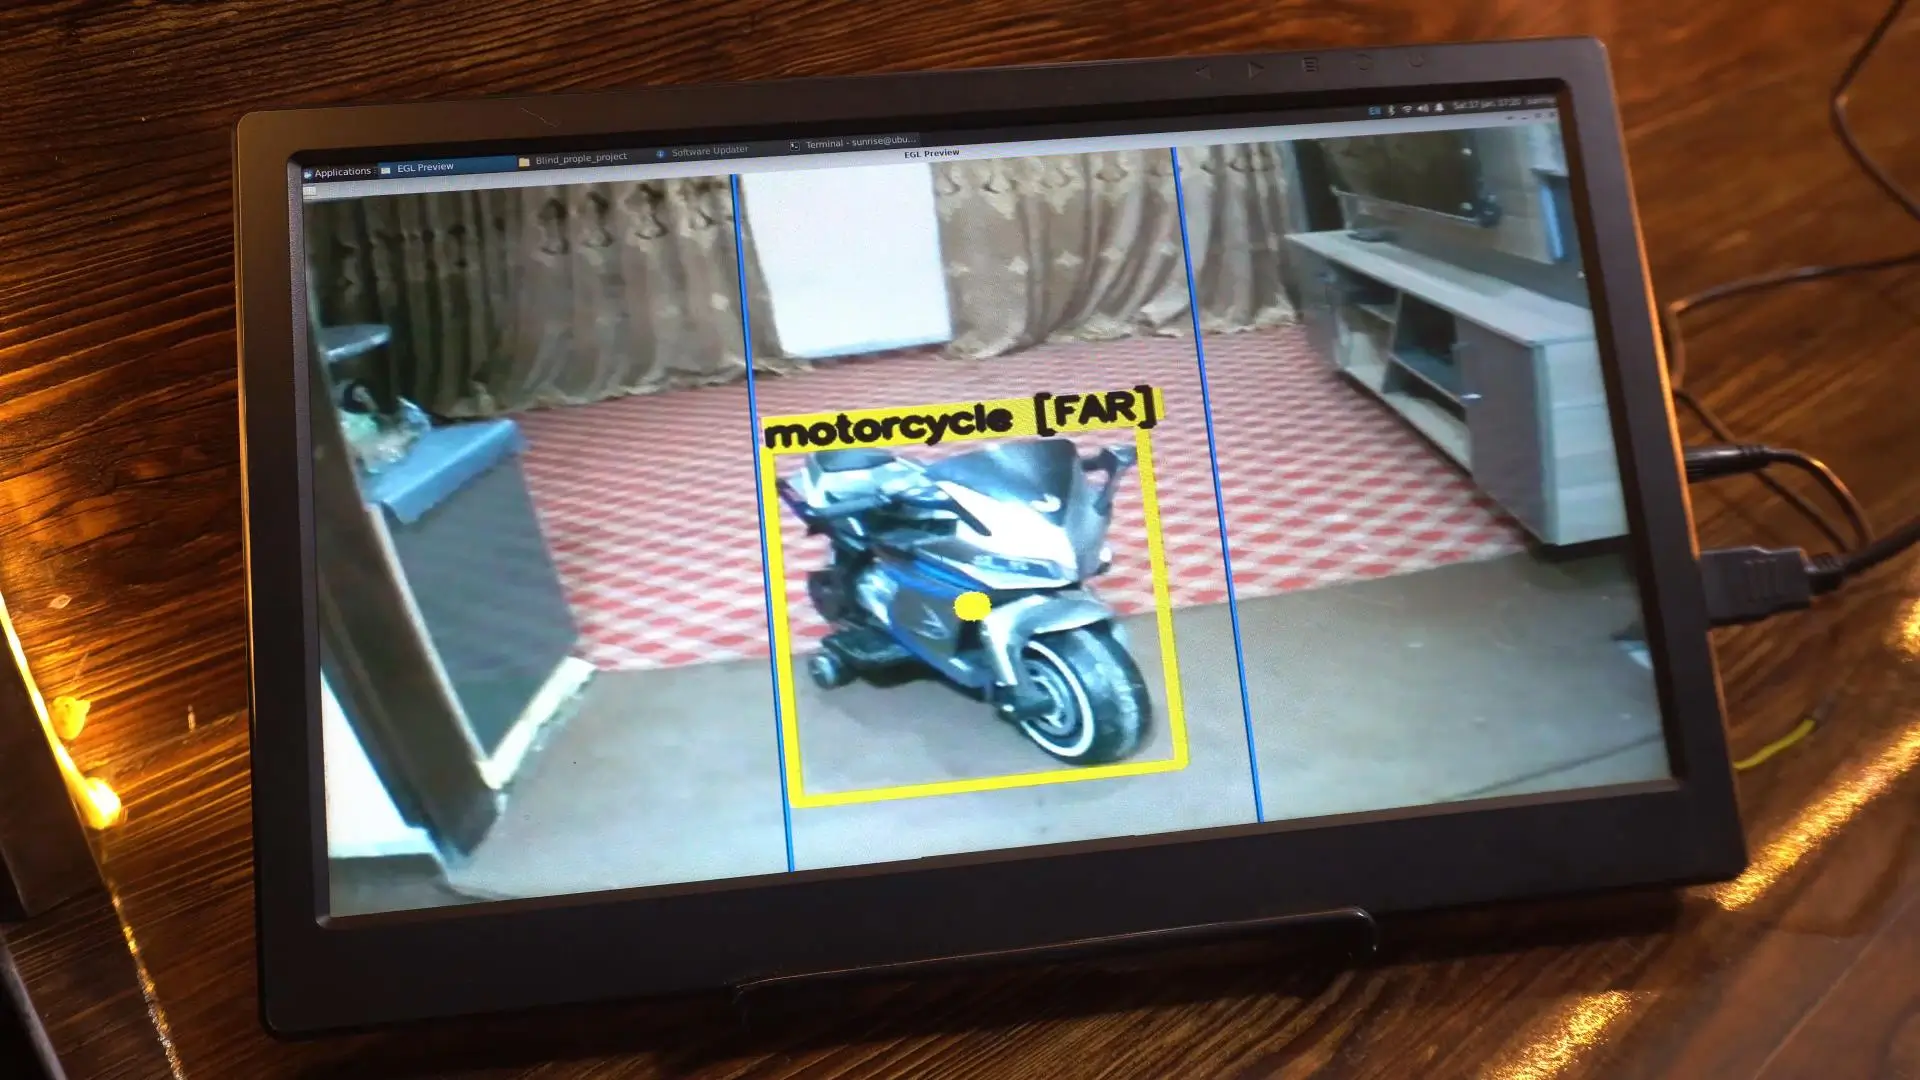
This bike is smaller than a real one, so it needs to come much closer to the camera before a voice alert is generated.
Earlier, the camera was stationary and placed on the desk. That was just to clearly show how the detection logic works.
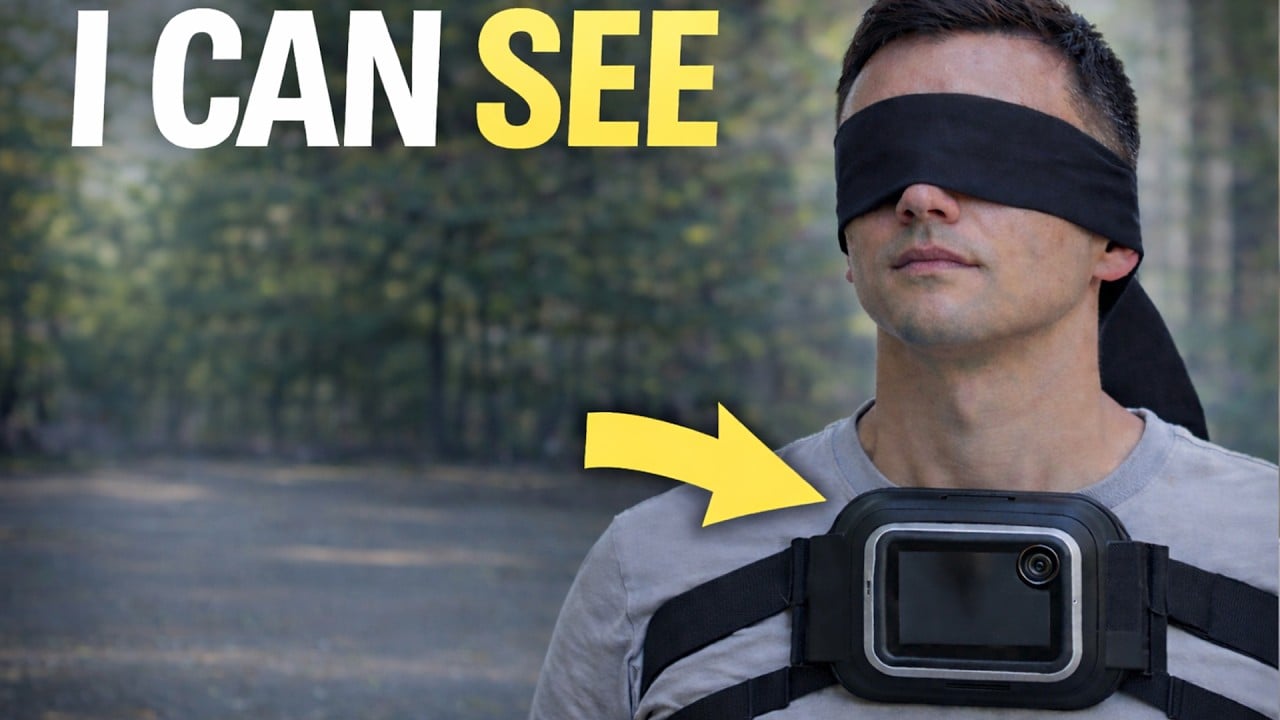
Now, I have mounted the camera on my chest.

This is much closer to a real-world FPV AI vision scenario. I am doing this to demonstrate that the system works even when the user is moving.
As you can see, even in motion, the system is still able to detect humans and objects in real-time AI detection..
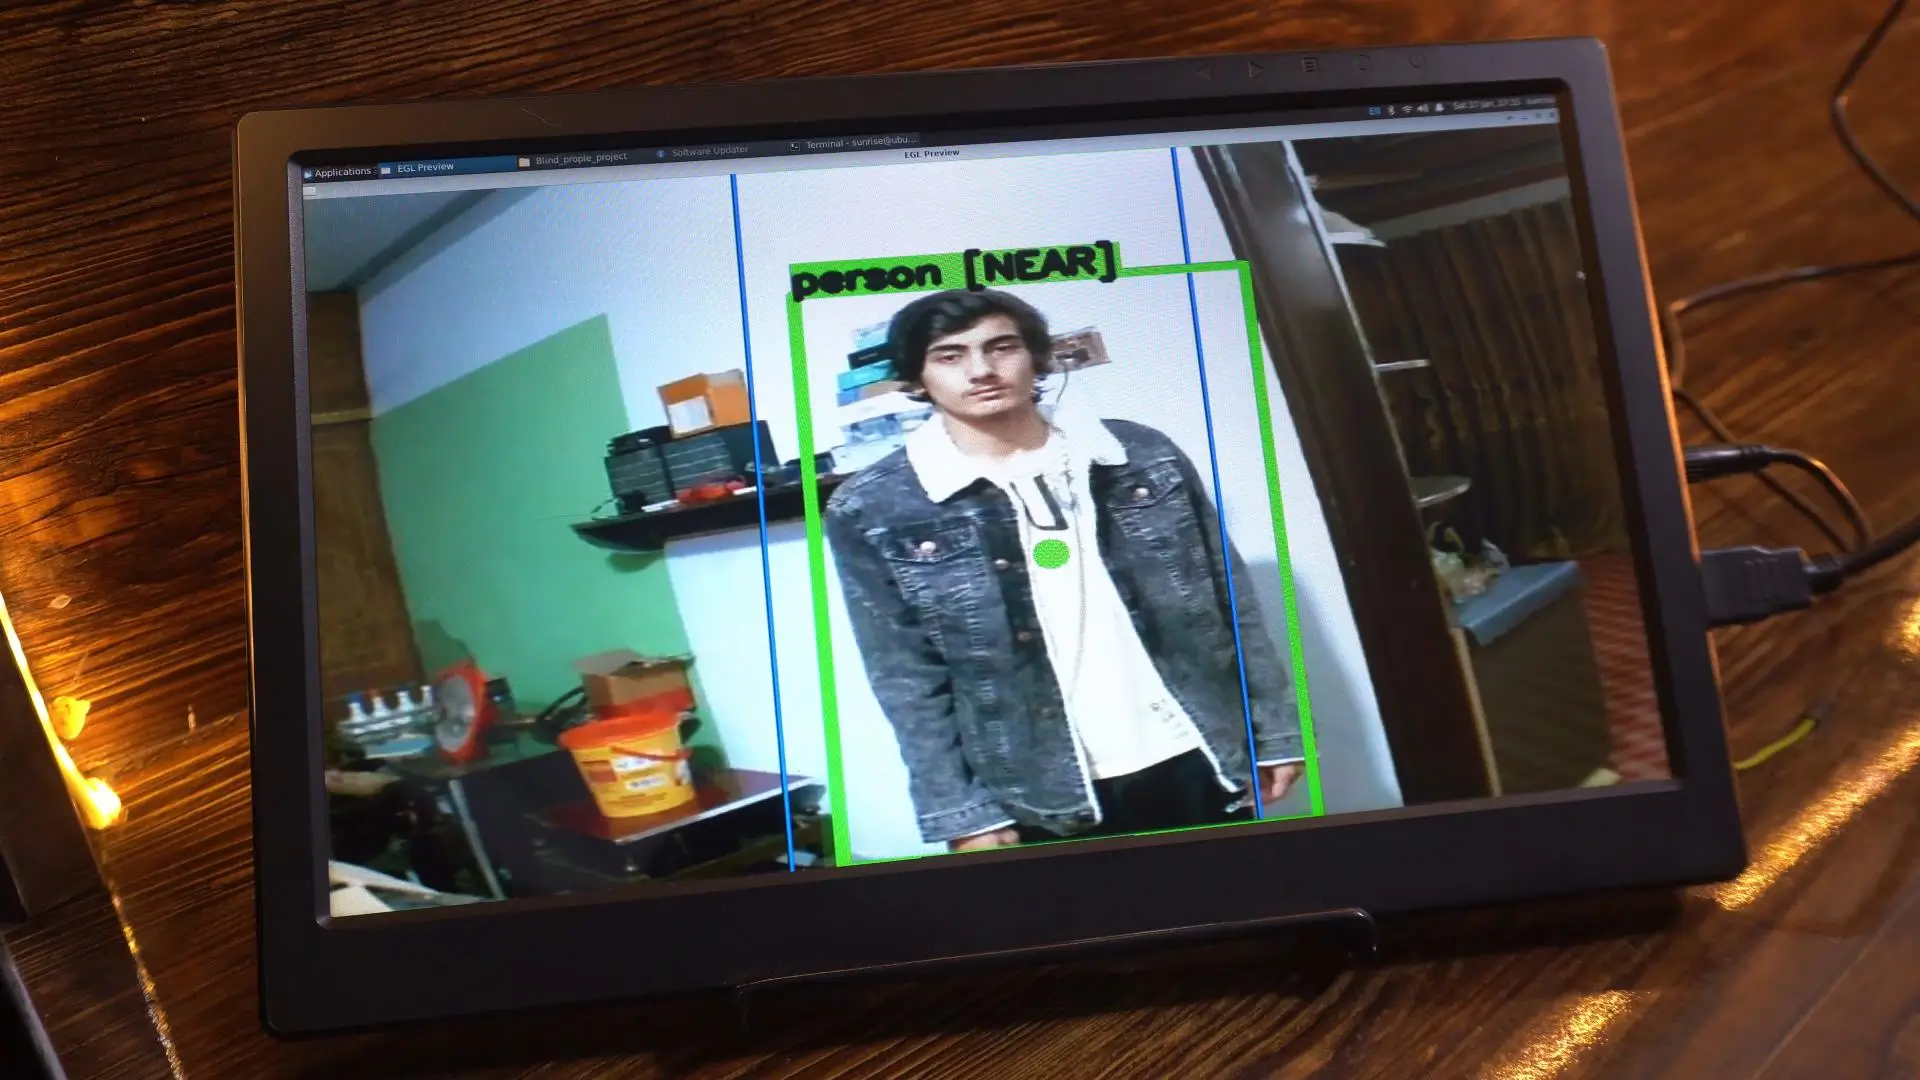
The camera movement does not confuse the AI. It continuously analyzes what is in front and gives voice alerts only when an important object comes directly in front and close enough.
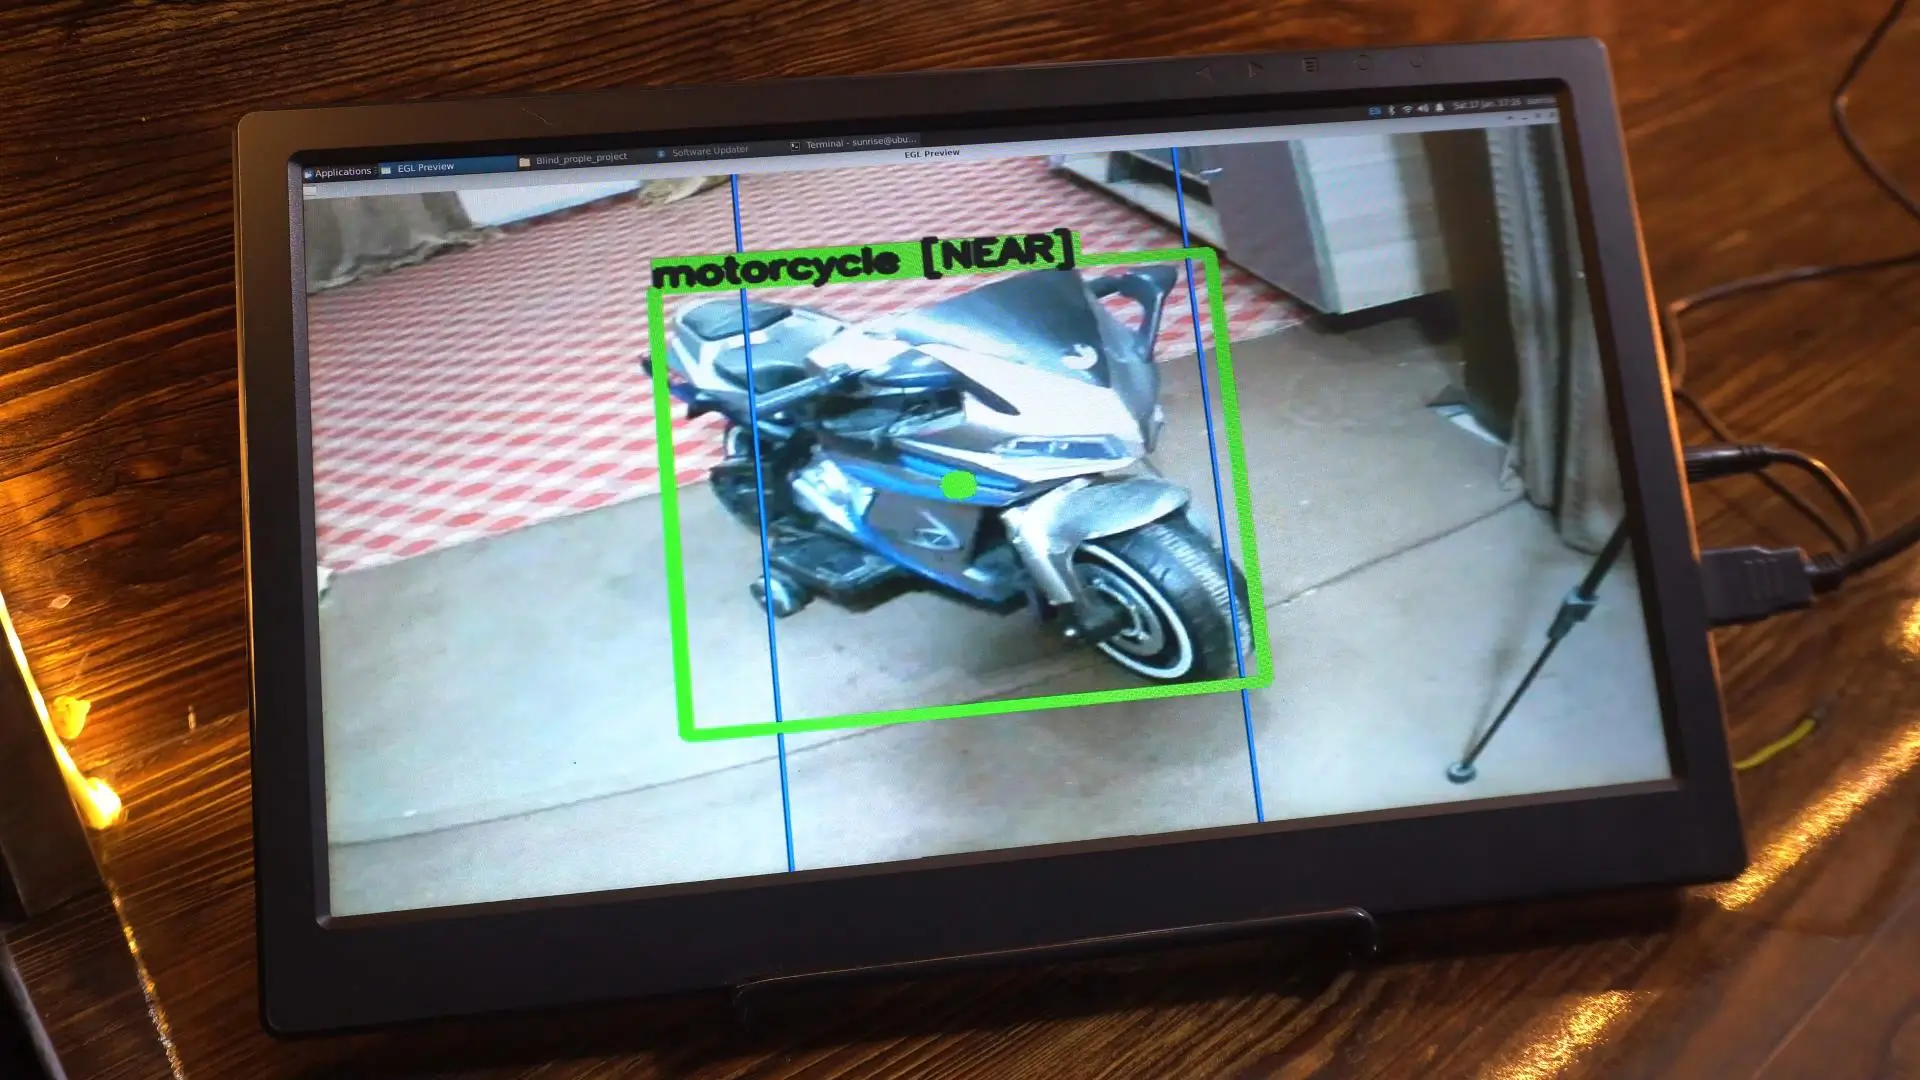
This is very important, because visually impaired people are always in motion. They are walking, turning, and adjusting their direction. A system like this must work reliably while moving, not just when standing still.
This test shows that the RDK X5 can easily handle computer vision for accessibility and audio feedback together, even in a wearable setup. That makes this system practical, portable, and ready for real-world use.
So, that’s all for now.
Watch Video Tutorial:
Troubleshooting — Problems You Might Face While Building This Project
Problem 1: The camera is connected but the Python script throws an error saying it cannot open the video stream
This is one of the most common first-run issues and it usually means the camera index in the code is wrong for your setup.
By default, most code uses index 0 for the camera — like cv2.VideoCapture(0). But if you have a USB hub, multiple cameras, or even a built-in webcam on a laptop, the RDK-X5 may assign a different index to your camera. Try changing the 0 to 1 or 2 and run the script again. If that does not work, open a terminal and type ls /dev/video* to list all video devices connected to the system. This tells you exactly which device number your camera is using.
Also make sure the USB camera is fully seated in the port. On the RDK-X5, USB 3.0 ports are more reliable for camera streaming than USB 2.0. If you are using a MIPI camera, confirm the ribbon cable is inserted with the correct orientation — these connectors are easy to insert backwards and they will not lock properly if they are.
Problem 2: Object detection is running but the voice output is not working — the system detects objects silently
You have the camera working and you can see objects being detected on screen, but no voice alerts are coming out. This is almost always an audio output configuration issue.
First, check that your speaker or headphones are properly connected and that the system audio is not muted. On the RDK-X5, run the command amixer scontrols in the terminal to see available audio controls, then use amixer sset ‘Master’ 100% to make sure the volume is at maximum.
If the audio hardware is fine but the Python text-to-speech is still silent, check which TTS engine the code is using. If it uses gTTS (Google Text-to-Speech), it needs an active internet connection to generate audio — there is no offline fallback. If your RDK-X5 is not connected to the internet, gTTS will fail silently. Switch to pyttsx3 for offline voice output. It does not sound as natural as gTTS but it works without any internet connection which is essential for a real assistive device.
Problem 3: Detection is working but there is a long delay between seeing an object and hearing the voice alert
In a real assistive device for a visually impaired person, a 3 to 5 second delay between detection and voice alert is dangerous. They need that information within half a second to one second to react in time.
The biggest cause of delay is the TTS audio generation happening on the same thread as the detection loop. Every time an object is detected, if the code stops and waits for the audio to finish playing before resuming detection, you lose several seconds. The fix is to run audio playback in a separate thread so detection continues uninterrupted while the voice alert plays in the background.
Also check the model resolution. If you are running detection at full 1080p resolution, drop it down to 640×480 or even 416×416. The detection accuracy barely changes at lower resolution but the processing speed improves dramatically. On the RDK-X5, running at 640×480 with the onboard NPU should give you real-time detection well under one second per frame.
Problem 4: The system announces too many objects at once and becomes confusing and overwhelming
If the system is announcing “person car bicycle dog traffic light” all at once every second, it becomes useless for a real user. Too much information is just as bad as no information.
This is a filtering problem and the solution is to set smart thresholds. Only announce an object if its bounding box center falls within the two blue boundary lines defined in the code — meaning it is directly ahead of the user, not off to the side. Only announce objects above a minimum size on screen — a tiny bounding box means the object is far away and not an immediate concern. Add a cooldown timer for each object class — once “person” has been announced, do not announce it again for at least 3 seconds unless a new person enters the detection zone. These three filters together reduce the noise from dozens of announcements to only the truly important ones.
Problem 5: The project works perfectly on a desk but the battery runs out too fast for real outdoor use
Building something on a desk and deploying it as a real wearable device are two very different challenges. The RDK-X5 draws significant power when running neural network inference continuously, and a standard phone power bank may only last 2 to 3 hours.
To extend battery life, reduce the inference frame rate. You do not need to run detection on every single camera frame — running at 10 frames per second instead of 30 cuts power consumption significantly with almost no impact on usability. Also dim or disable any connected display when the device is being worn — the screen is the second biggest power consumer. Use a high-capacity power bank of at least 20,000mAh for full-day outdoor use. If the device is meant to be mounted on a walking cane or worn on the body, weight distribution matters as much as battery capacity.
Problem 6: The model detects objects correctly but misidentifies them sometimes, especially in low light
COCO-trained object detection models struggle in low light, with motion blur, and with partial occlusion. This is a known limitation of standard models and not a bug in your code.
For better low-light performance, add a small LED light mounted next to the camera to illuminate the scene slightly. Even a cheap 1-watt LED torch pointed forward improves detection accuracy dramatically in dark environments. For the model itself, consider switching from a standard YOLOv5 or YOLOv8 model to one that has been fine-tuned on low-light datasets. Alternatively, enable image preprocessing in your pipeline — increasing brightness and contrast on the captured frame before feeding it to the model helps in dim conditions without needing a different model.
Frequently Asked Questions
Can I build this project without the RDK-X5 and use a Raspberry Pi instead?
Yes you can, but with limitations you should know about before you start. The Raspberry Pi 4 or 5 can run Python object detection using a camera, but it does not have a dedicated NPU like the RDK-X5. This means all inference runs on the CPU which is significantly slower. On a Raspberry Pi 4, you can expect around 3 to 5 frames per second with a lightweight model like YOLOv5n or MobileNet SSD. That is technically real-time but just barely. For a truly practical assistive device that needs to respond to fast-moving objects like cars, the RDK-X5 is genuinely the better hardware choice. If budget is a concern, start developing and testing on a Raspberry Pi and later upgrade to the RDK-X5 for the final deployment.
Does this project require an internet connection to work?
It depends on which text-to-speech engine you use. The object detection model itself runs entirely offline on the RDK-X5 hardware — no internet needed for that part. However if the code uses gTTS for voice output, it needs internet access to generate audio. For a real assistive device meant to be used anywhere, replace gTTS with pyttsx3 or espeak which both work completely offline. The voice quality is slightly less natural but the reliability of having zero internet dependency far outweighs that trade-off in a practical deployment.
How accurate is the object detection and can I trust it for real navigation?
This is an important question and I want to give you an honest answer. The detection accuracy using a COCO-trained model is good for common everyday objects — people, cars, bicycles, buses, traffic lights, animals. For a controlled environment or for currency note recognition, you would need to train a custom model on your specific use case. No AI system should be trusted as the sole navigation tool for a visually impaired person right now. It works best as a supplementary aid alongside a white cane or other orientation tools. As the technology matures, the accuracy will only get better. But for today, treat it as a powerful assistant rather than a complete replacement for other navigation methods.
Can this system be extended to recognize Pakistani currency notes?
Yes, absolutely — and this is something I mentioned in the article because it is a very real need. Standard COCO models do not know what a 100 rupee note or a 500 rupee note looks like. To add currency recognition you need to collect a dataset of images of Pakistani currency notes, label them, and train a custom YOLOv8 model on that dataset. Tools like Roboflow make dataset collection and annotation much easier. Once trained, the custom model can be combined with the general object detection model so the system recognizes both everyday objects and currency notes in the same pipeline. This is not a beginner-level addition, but it is absolutely achievable and would make the device genuinely life-changing for visually impaired people in Pakistan.
What camera should I use for the best results with this project?
For the RDK-X5, a standard USB webcam with at least 1080p resolution works well. Look for cameras with good low-light performance since the device will be used in all kinds of lighting conditions. Logitech C920 and C922 are popular choices that work reliably with Linux-based boards. If you want a more compact form factor suitable for wearable use, a small wide-angle USB camera with a 120-degree or wider field of view gives the user better peripheral awareness. For MIPI cameras, the RDK-X5 supports several compatible modules — check the official Horizon Robotics documentation for the confirmed compatible list before buying.
How do I make the device small enough to be actually worn or carried?
Right now as shown in the article, the setup is a development prototype. Making it truly wearable requires thinking about the enclosure, power source, and how the camera is positioned. A common approach is to mount the camera on a pair of glasses frames or a baseball cap brim so it points naturally in the direction the person is facing. The RDK-X5 board fits in a small 3D-printed enclosure that can hang from a strap or sit in a pocket. The speaker can be a small Bluetooth earpiece so the voice alerts are private and audible only to the user. The power bank sits in a bag or pocket. Connecting everything with short cables keeps it neat. This is a project where the engineering and the human-centered design are equally important.
If you are building this project for yourself or for someone you know who is visually impaired, I would genuinely love to hear about it. Leave a comment below describing your setup and how it worked for you.
Discover more from Electronic Clinic
Subscribe to get the latest posts sent to your email.