MaTouch ESP32-S3 Parallel TFT Display: Why You MUST See This 3.16″ ST7701S Before Buying!
Last Updated on March 29, 2026 by Engr. Shahzada Fahad
Table of Contents
Description:
Don’t Buy a Display Until You See This: MaTouch ESP32-S3 Parallel TFT 3.16 inch ST7701S – Stop using those blurry, slow SPI displays for your modern projects. If you want to build a smart home controller that actually looks like a commercial product, you need to see this.
This is the MaTouch ESP32-S3 Parallel TFT from Makerfabs. It’s got a weirdly perfect form factor, high-speed refresh rates, and it’s powered by the beastly ESP32-S3.
Today, I am going to show you why this little rectangular screen might just be the best HMI display I have put on my bench this year.
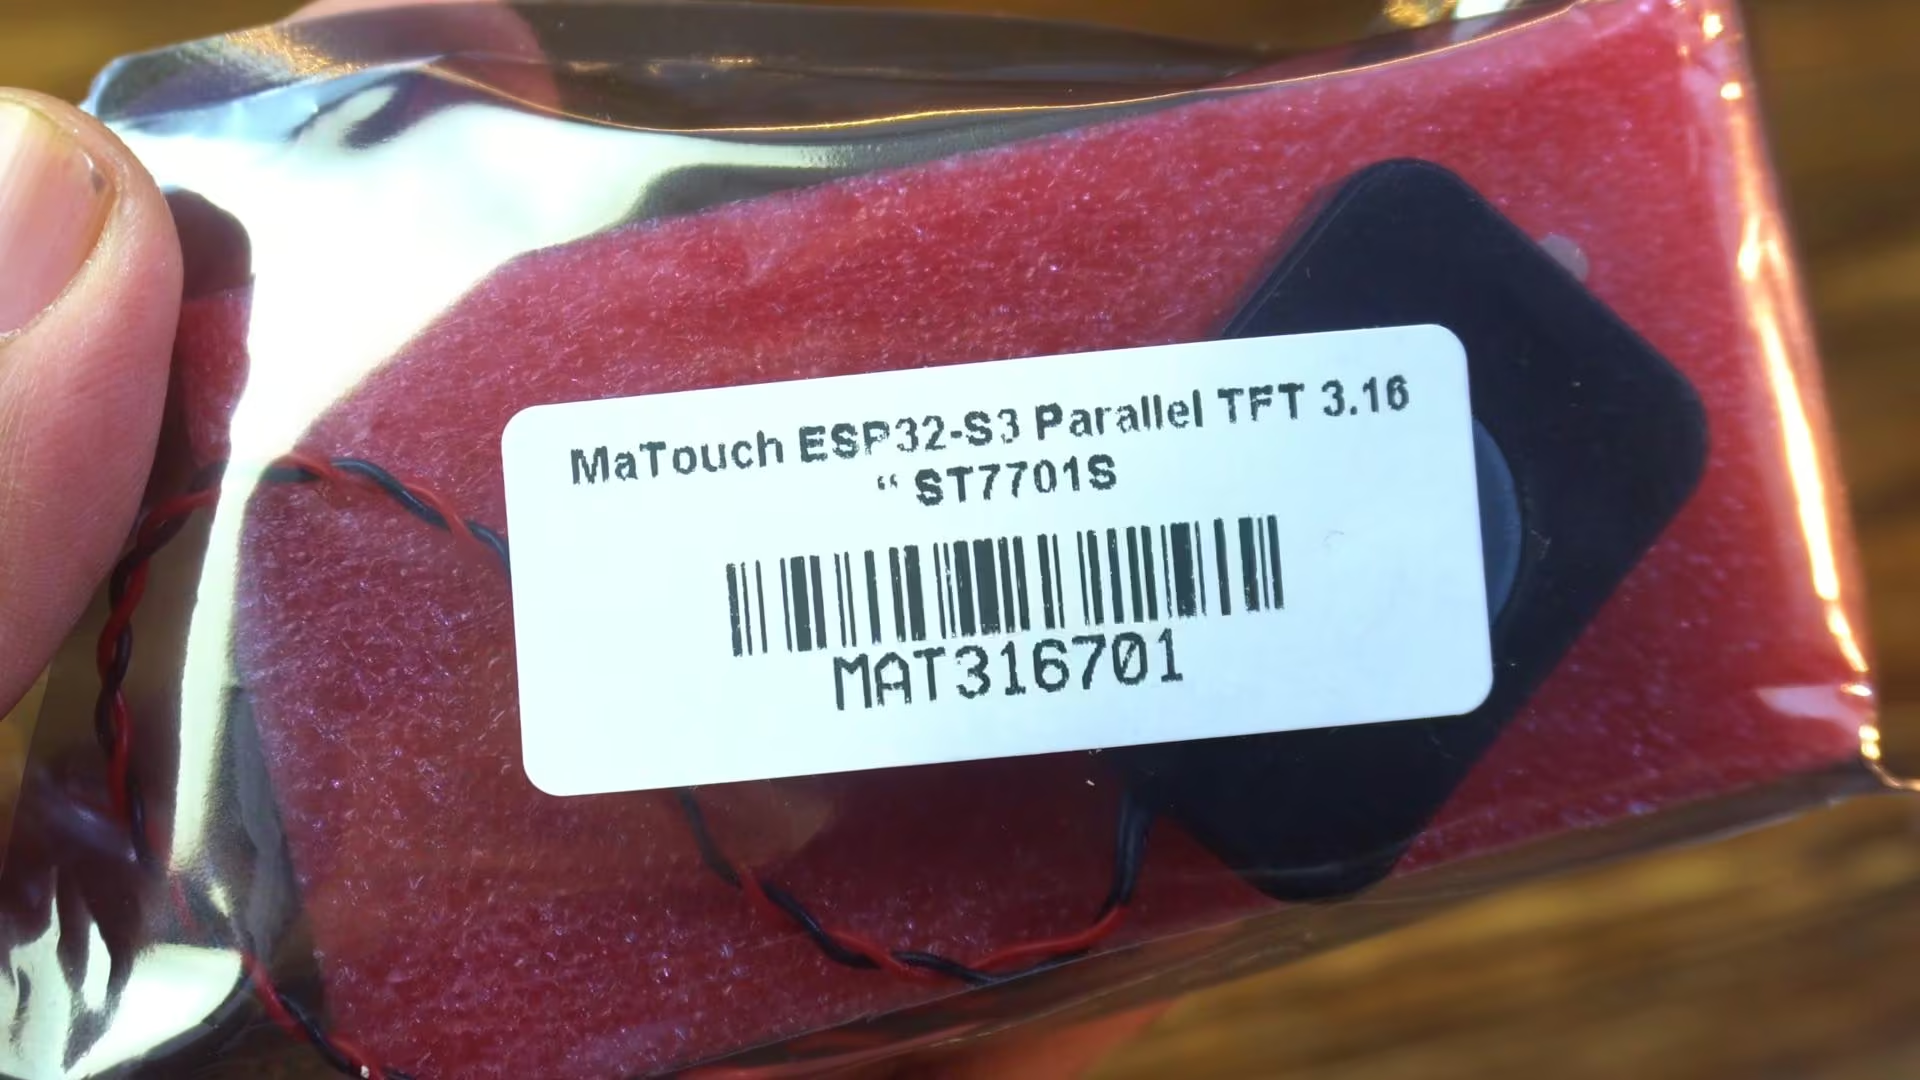
So, Makerfabs sent over their latest MaTouch ESP32-S3 Parallel TFT 3.16 inch ST7701S Display, and honestly, the resolution on this thing is crisp.
It’s using the ST7701S driver, which means we are dealing with a parallel interface, not the slower SPI connections you might be used to. This makes it perfect for running LVGL (Light and Versatile Graphics Library) interfaces without that annoying screen tearing.
Here is exactly what we are going to cover today:
- First, we will breakdown the technical specs so you know what this board can handle.
- Then; and this is the tricky part; I am going to show you the exact software setup you need. These parallel displays can be picky about versions, so I will show you which Arduino IDE and ESP32 board package to install to avoid those red error messages.
- Finally, we will upload some demo code to get this thing lit up.
Technical Specifications:
Alright; first things first; let’s unscrew this acrylic sheet; or plate; whatever you want to call it; and see what’s actually hiding underneath.

And trust me… this board is way more powerful than it looks.
At the heart of this board, we have got the ESP32-S3.
Not just any ESP32; this one comes packed with
- 16 megabytes of Flash and
- a massive 8 megabytes of PSRAM.
That means smoother graphics, bigger buffers, and way more room for serious applications.
You get Wi-Fi and Bluetooth 5.0, right onboard; perfect for IoT, smart displays, and wireless control projects.
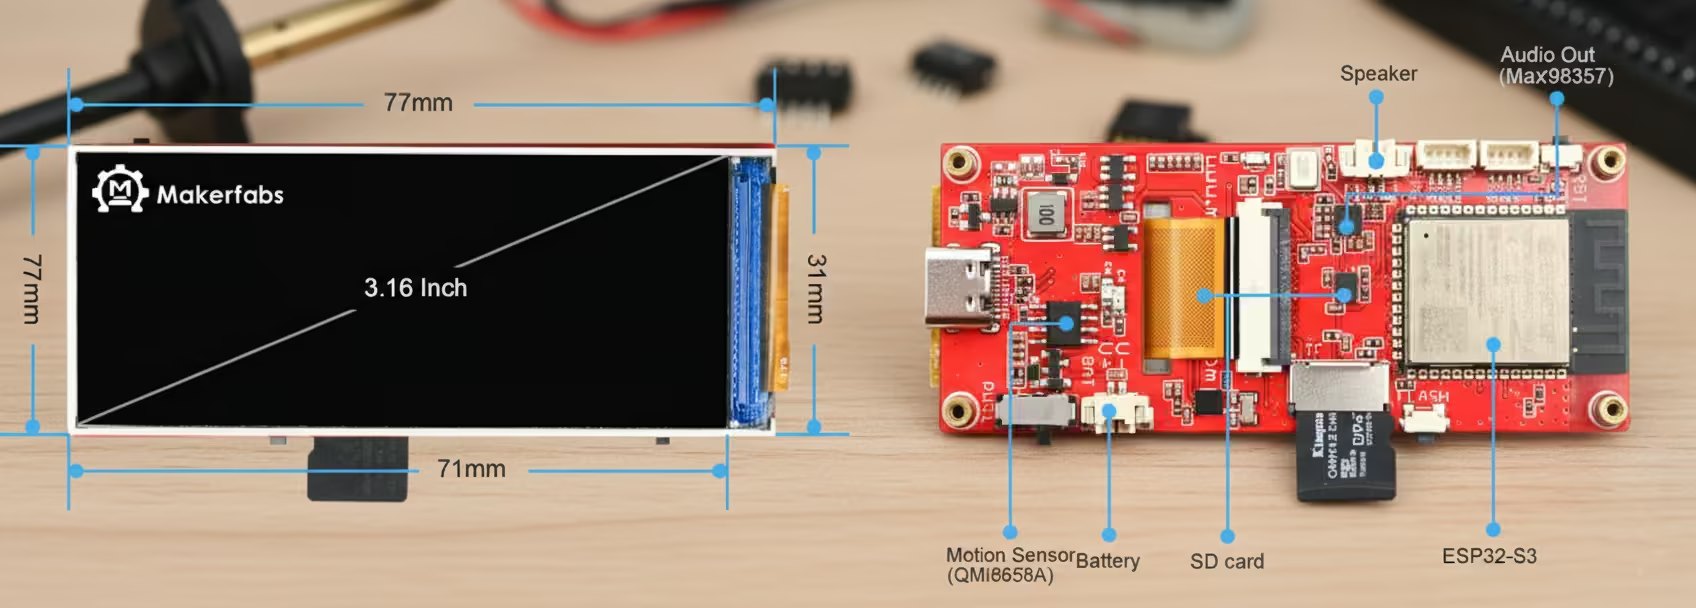
Now let’s talk about this display—because this is the star of the show.
A 3.16-inch LCD with a sharp 320 by 820 resolution.
It uses an RGB565 interface, supports 64K colors, and pushes up to 600 nits of brightness.
Bright, crisp visuals—even in well-lit environments.
And with a 1500:1 contrast ratio, blacks are deeper and colors really pop. Driving all of this is the ST7701S LCD driver, optimized for smooth and fast refresh.
But this board isn’t just about visuals.
You also get an onboard QMI8658 6-axis IMU; that’s accelerometer plus gyroscope; perfect for motion tracking, gestures, wearables, and interactive projects.
Need accurate timekeeping?
There is a dedicated PCF85063 real-time clock, so your device always knows the time even when it’s powered off.
Audio lovers! This one’s for you.
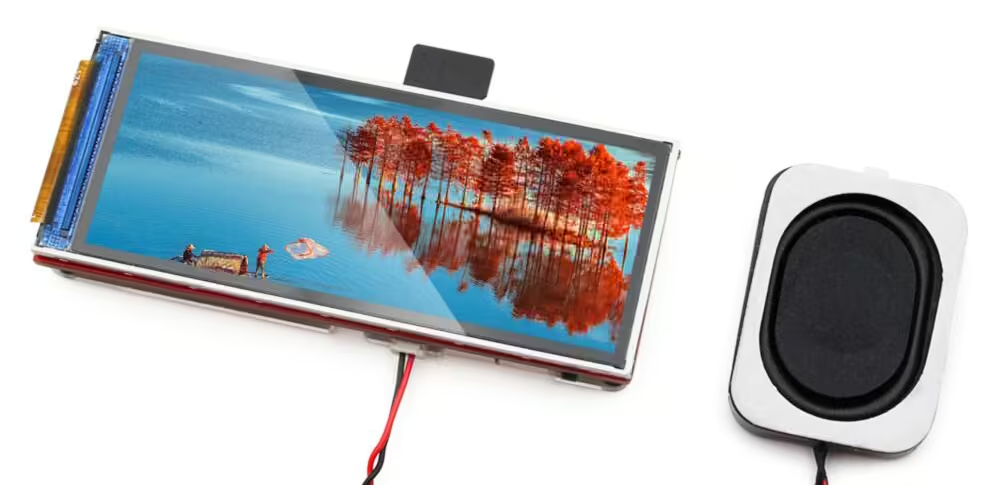
An onboard microphone and speaker support make this board ideal for voice interaction, sound feedback, and audio-based applications.
Power management is clearly well thought out.
There is a dedicated 3.7-volt lithium battery connector, along with an onboard charging circuit, making portable projects super easy.
Right next to it, you will find a physical power switch, so you can completely shut the system down without unplugging anything.
For development and recovery, you also get dedicated RST and BOOT / FLASH buttons;
essential for firmware flashing, debugging, and quick resets.
Need storage?
You have got an onboard TF or microSD card slot, so logging data, storing images, or playing media is easy.
And for expansion… this board doesn’t disappoint.
You get reserved UART, a 4-pin SH1.0 I2C header, and a 4-pin MX1.25 USB header; ready for sensors, modules, and custom hardware.
Everything connects through a modern USB Type-C port, which handles power, firmware uploading, and debugging—all through a single cable.
Clean, simple, and developer-friendly.
So whether you are building a smart display, an AI interface, a portable gadget, or a next-gen IoT project… this board is not just capable; it’s ready.
Next, this step is very important.
MaTouch ESP32-S3 Parallel TFT GitHub Repository
You need to go to Makerfabs’ official GitHub repository and download the entire ZIP folder.
Inside this folder, you will find everything you need; datasheets, example codes, and complete hardware-related information.
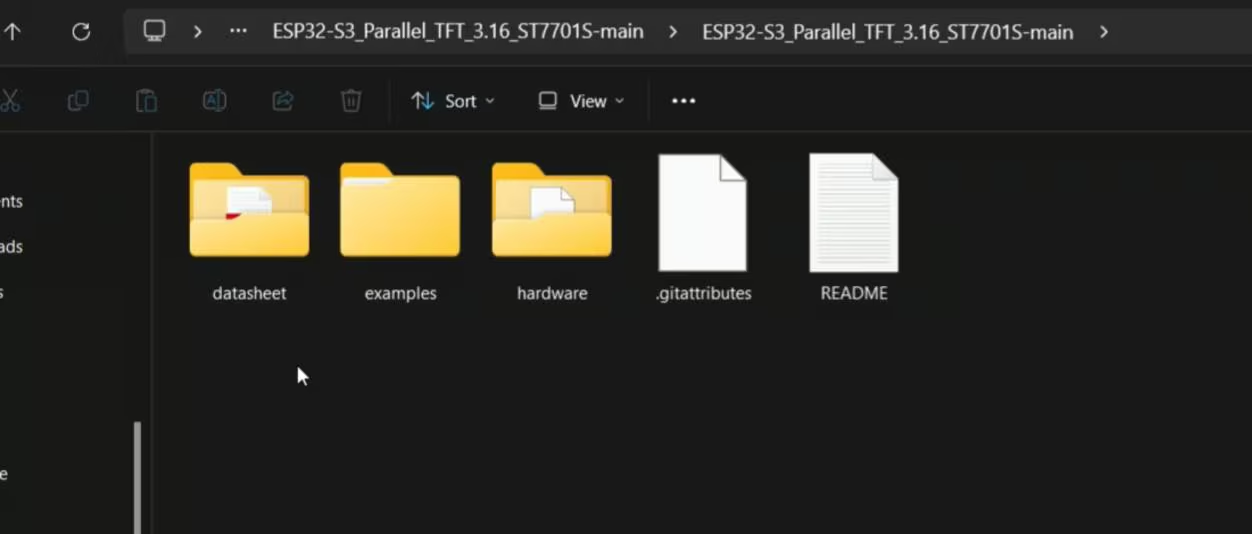
And this is something I genuinely like about Makerfabs. They provide everything in a very organized way, which makes development much easier; especially for beginners.
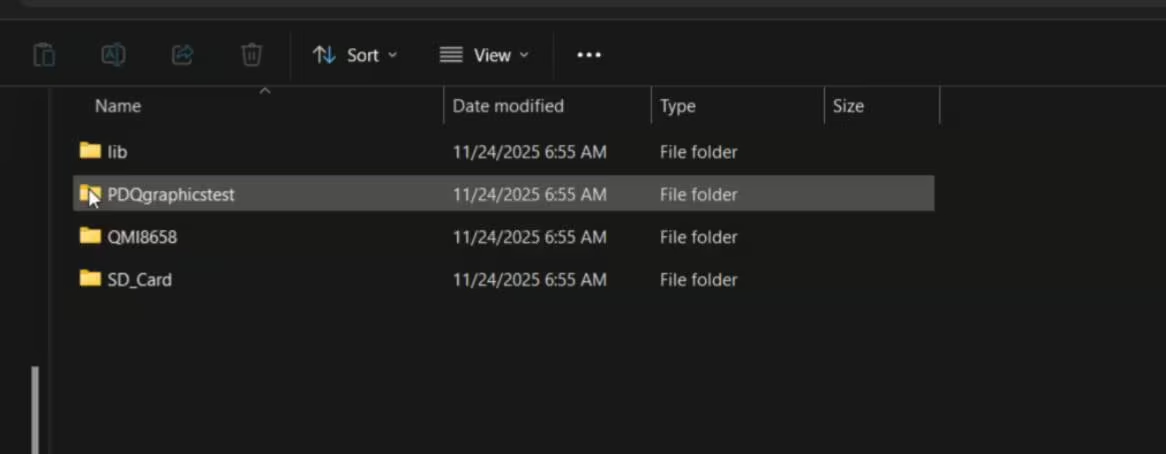
Now, let’s open the examples folder. Here, you will find examples for both Arduino and ESP-IDF.
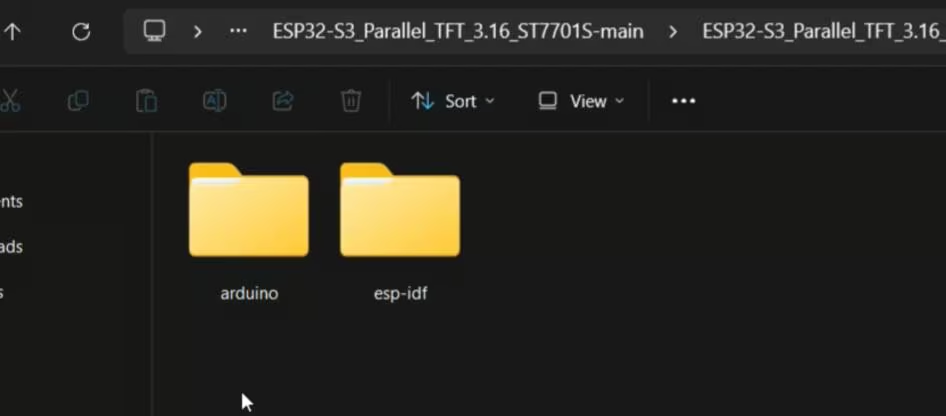
Since I am using the Arduino IDE, I am going to open the Arduino folder.
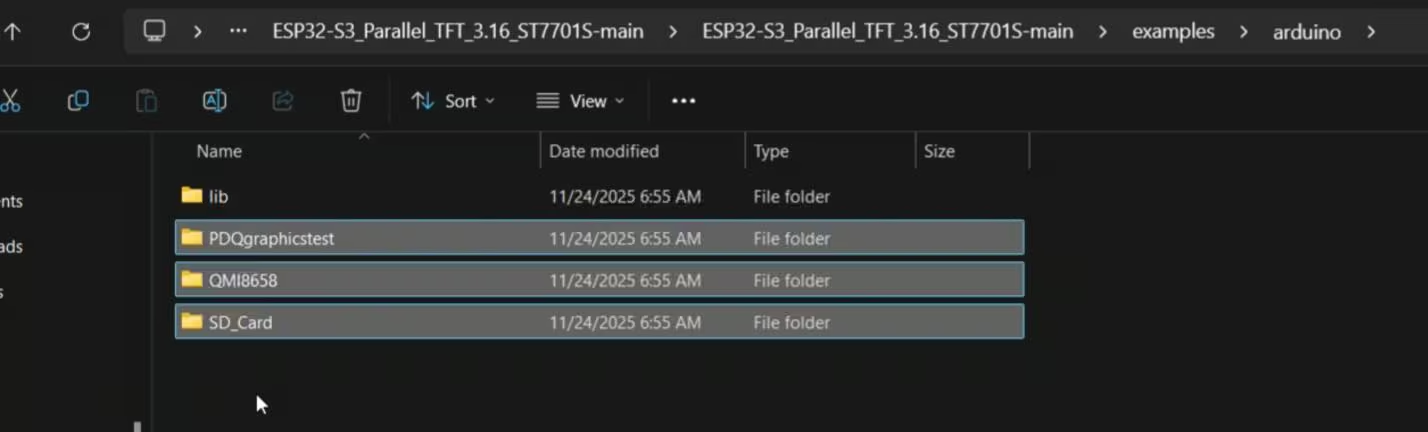
As you can see, there are three examples available in this folder. We will test these examples in a moment…
But before that, there’s one critical step we need to do first.
Go into the “lib” folder.

From here, copy “GFX_Library_for_Arduino” and paste it into your Arduino libraries folder.
If you already have an older GFX library installed, make sure you delete it first.
Otherwise, you may run into multiple libraries found errors during compilation, and that can cause unnecessary confusion.
Arduino IDE & ESP32 Setup for MaTouch Parallel TFT Display:
Before we start, let me quickly share my software setup. Right now, I am using Arduino IDE version 2.3.6 and the ESP32 board package version 2.0.11.
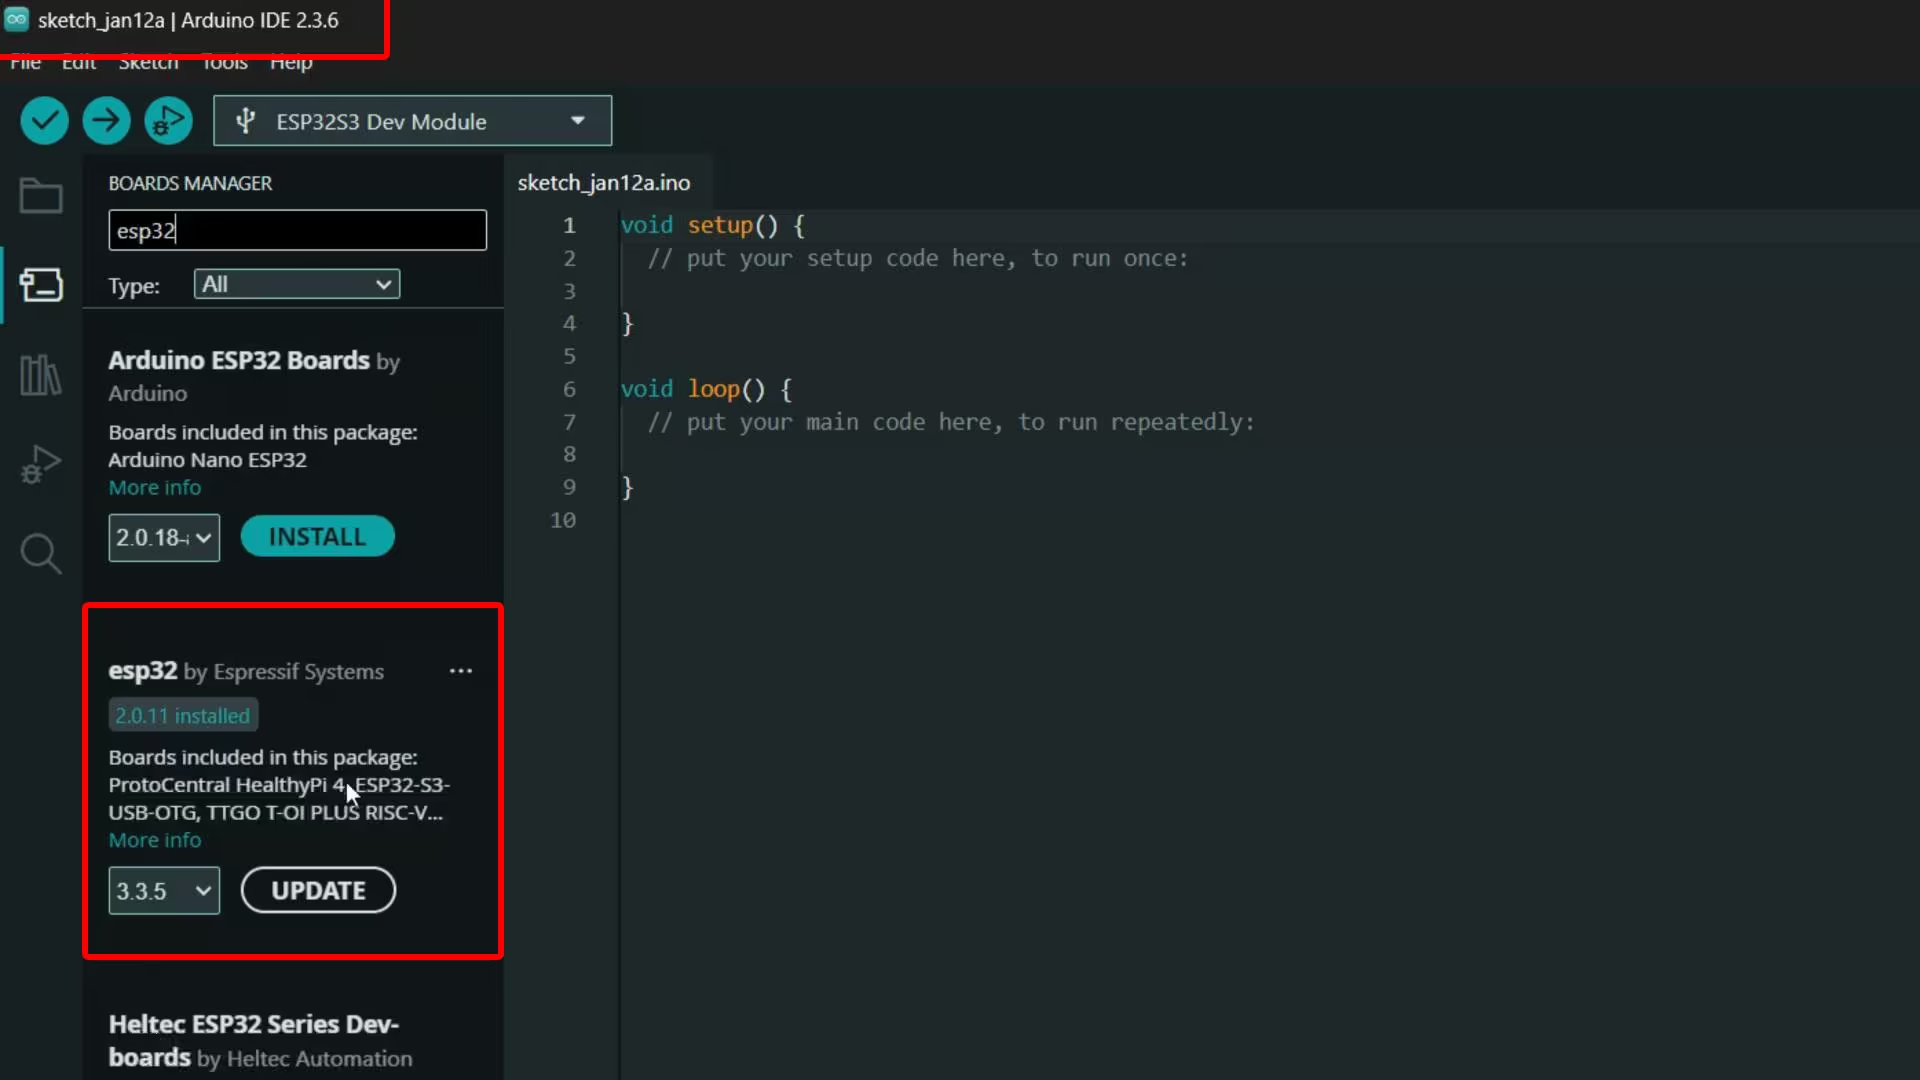
All of my recent touch display projects have been done with the same versions, and they have worked smoothly. So, if you want to follow along without running into errors, I recommend using the same setup. But it also works smoothly with the 2.0.16.
Next, we are going to install two libraries, and after that, we will be 100 percent ready.
Go to the Library Manager in the Arduino IDE and search for “QMI8658”.
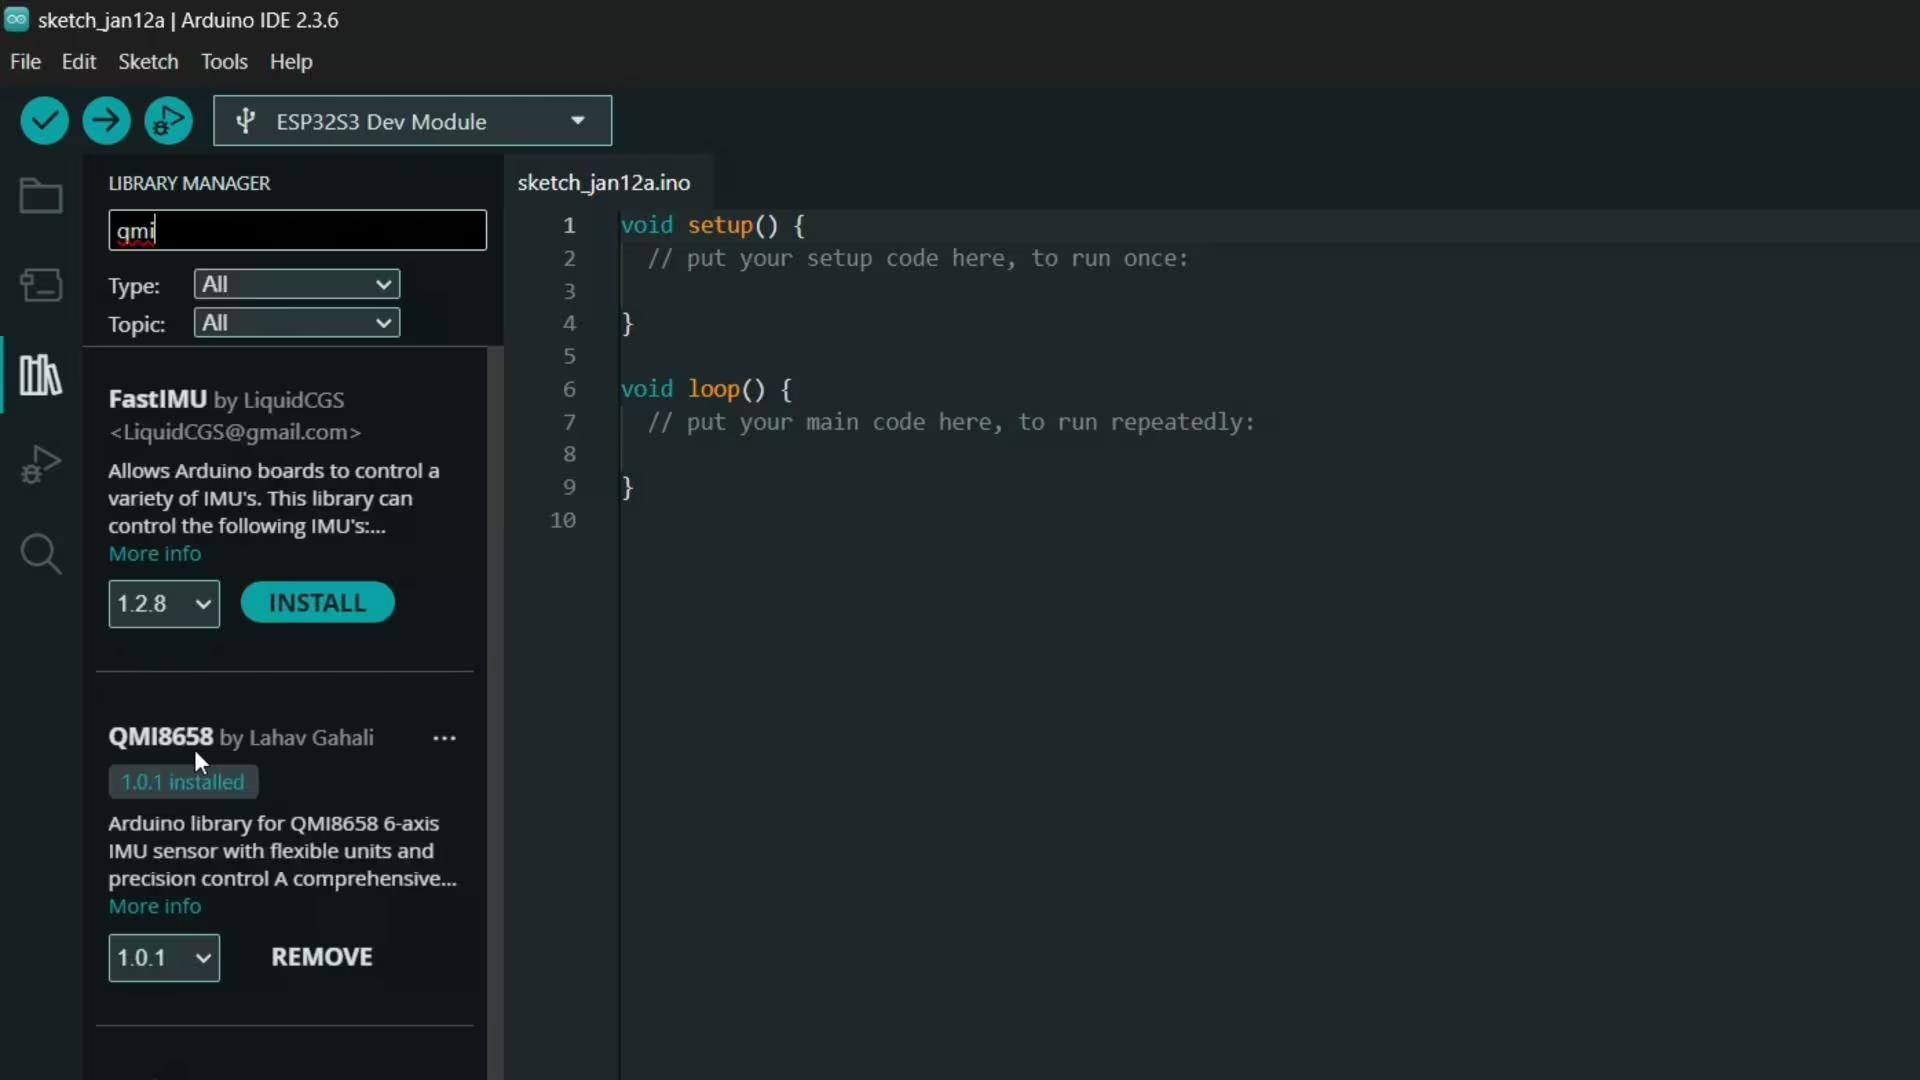
Make sure you install version 1.0.1.
As you can see, I already have the same version installed, so we are perfectly aligned.
Now let’s move on to the second library.
Search for “JPEGDecoder”.
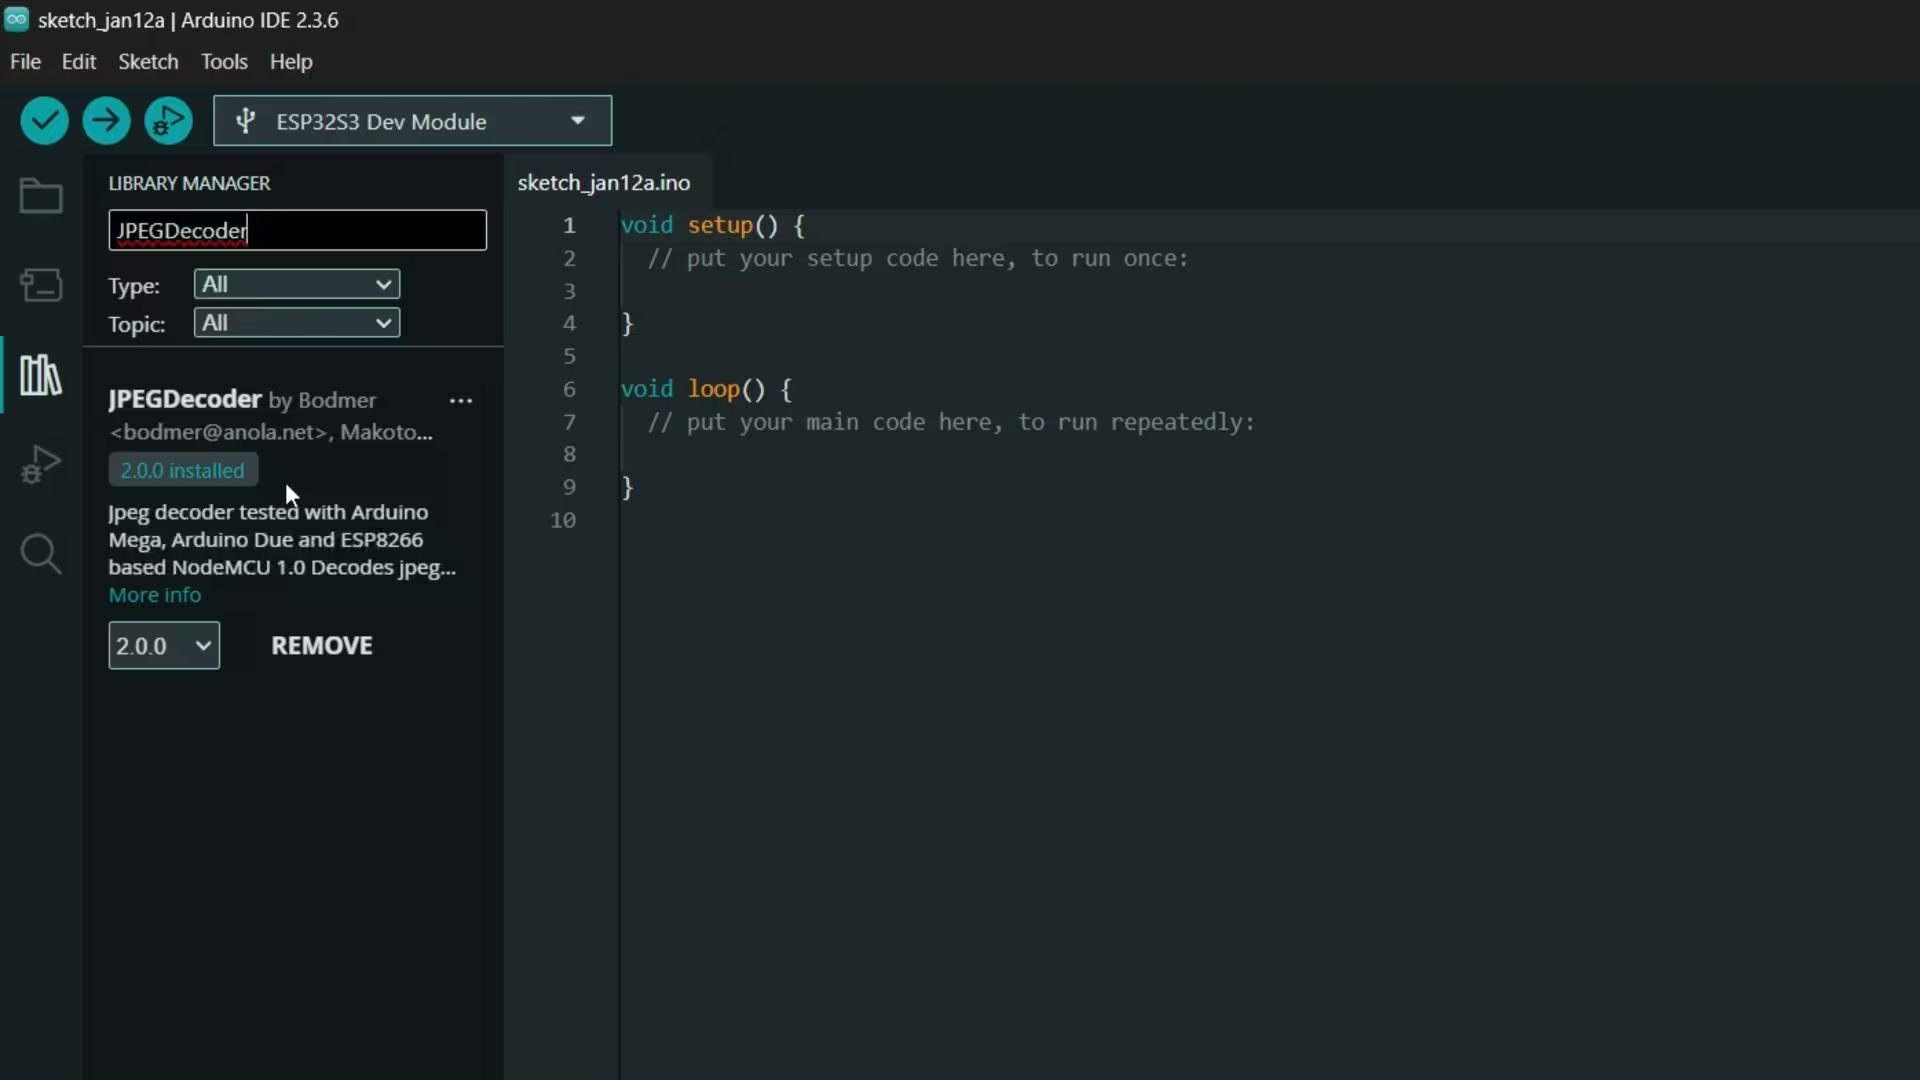
Install version 2.0.0, and just double-check the version number before installing.
Once both of these libraries are installed; we are officially ready to move forward.
Arduino IDE:
Arduino IDE 2.3.6
ESP32 Boards package:
esp32 V2.0.11 or V2.0.16
Libraries:
QMI8658 v1.0.1 library
Install JPEGDecoder v2.0.0 library
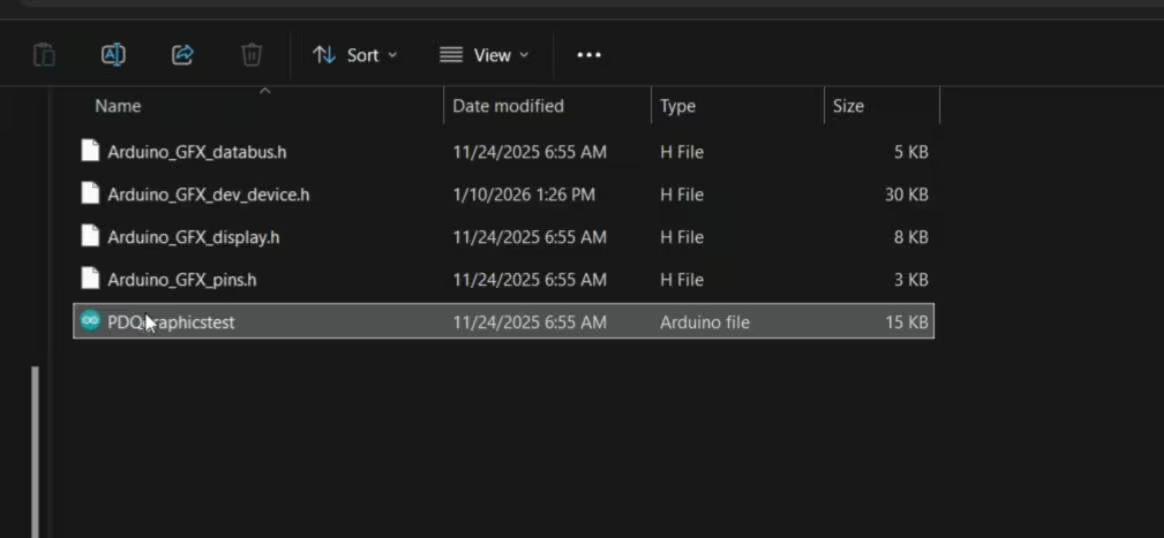
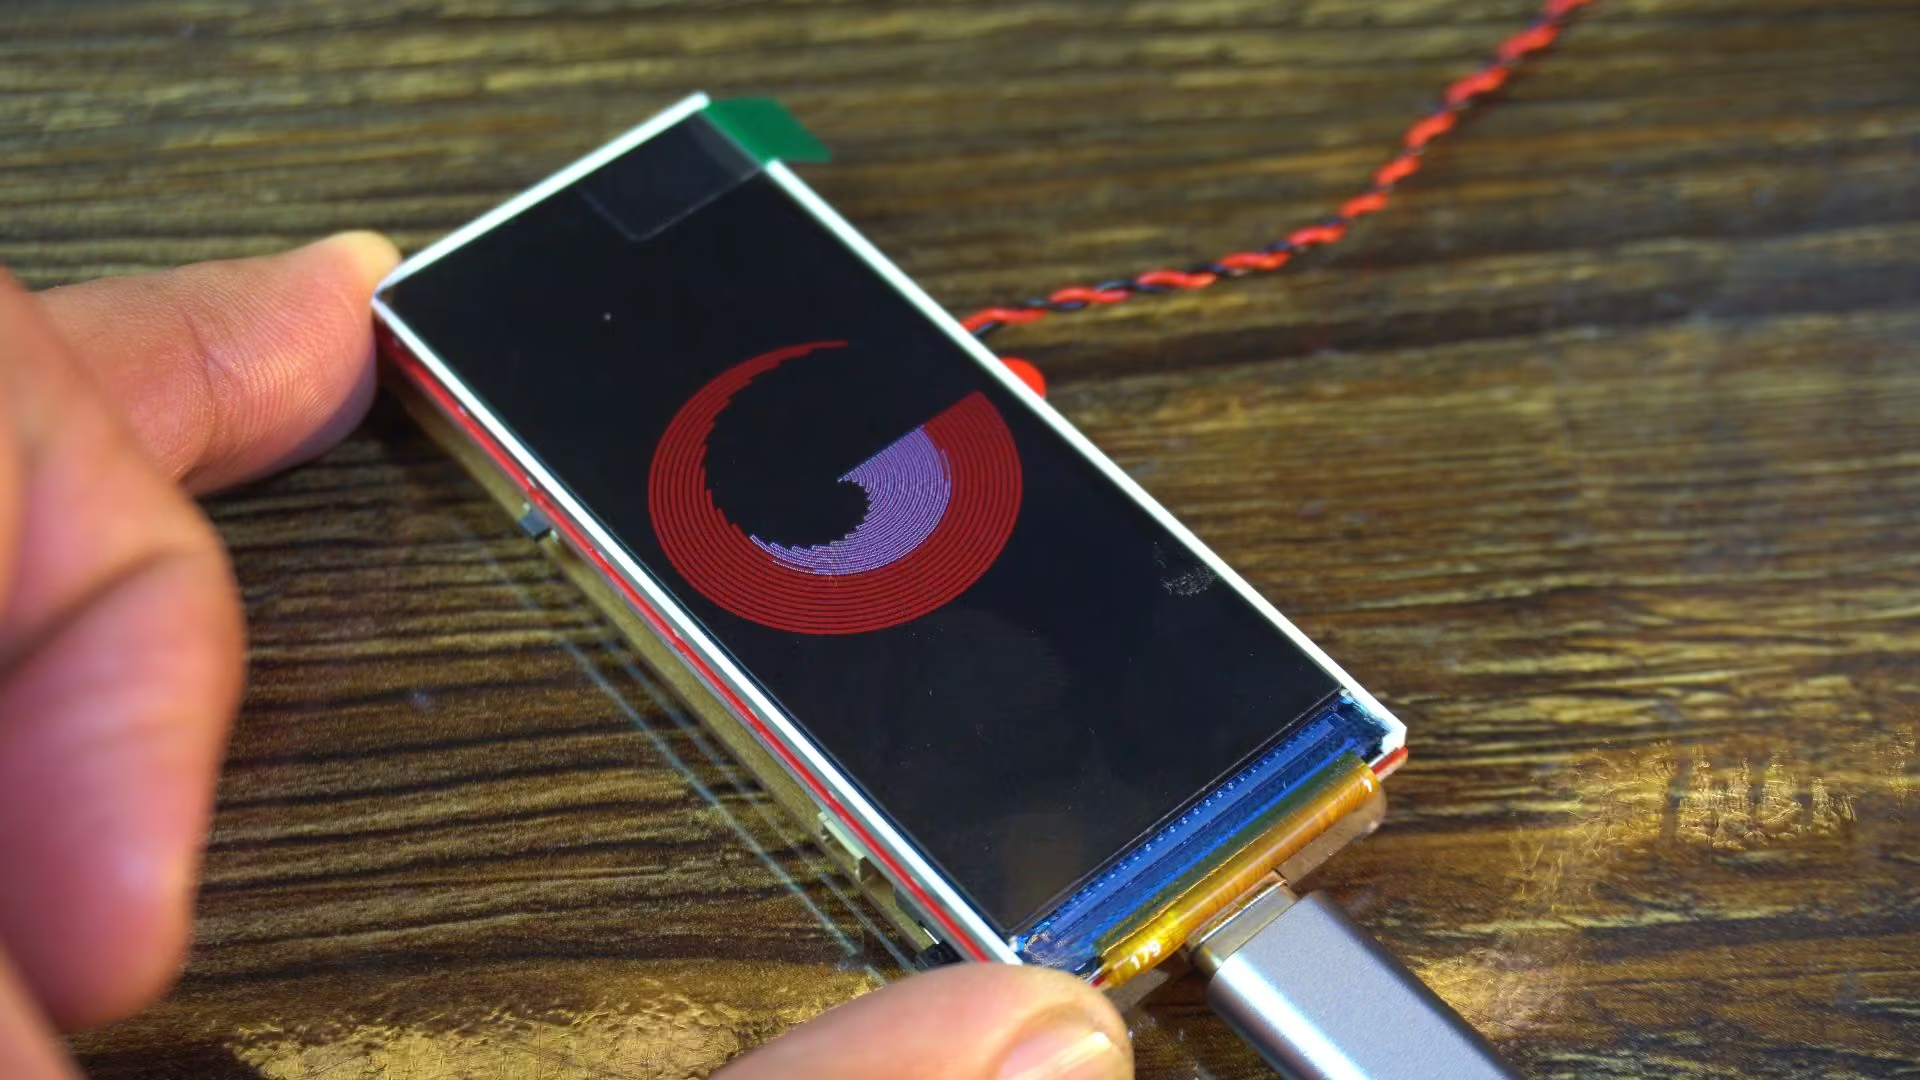
Example 1: MaTouch ESP32-S3 Graphics Test:
So, let’s start by running the first example.
This one is focused on graphics testing.
It’s designed to test colors, shapes, text, and overall display performance; so it’s the perfect place to begin.
Once this example is running, you will immediately get a feel for the display quality,
The refresh speed, and how smoothly everything is rendered.
Uploading the program into ESP32S3:
To upload the program, here is what you need to do:
- First, go to the Tools menu > Board > ESP32, and select ESP32S3 Dev Module.
- Go back to the Tools Menu > Port, and choose the correct communication port.
- Again to the tools menu > Flash Size, and select 16MB.
- Again go to the Tools menu > Partition Scheme and select 16M Flash
- And one last time, go to Tools Menu > PSRAM, and select OPI PSRAM.
Once these settings are done, you can simply click the Upload button.
These same settings will be required for all the example programs we will test.
MaTouch ESP32-S3 Graphics Test Practical Demo:
Alright! Now this is what I am talking about.
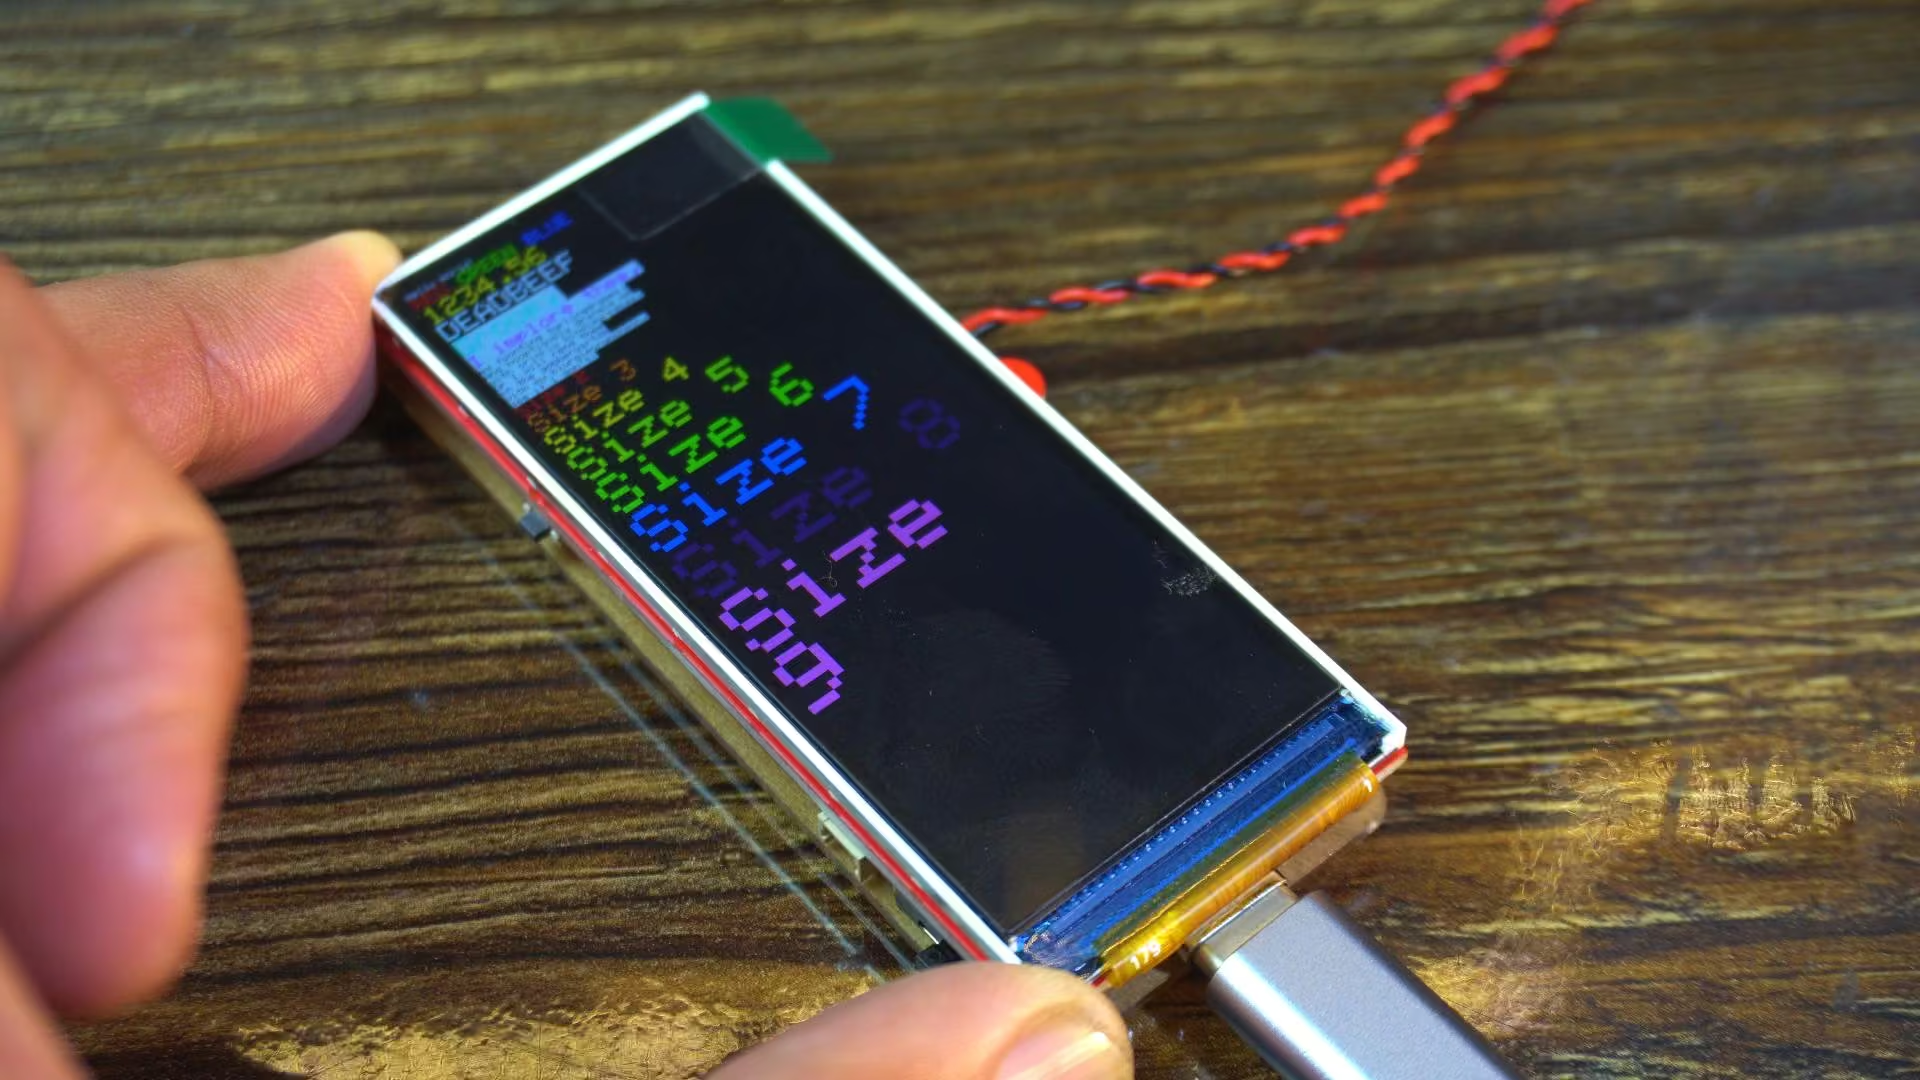
You can immediately see how smooth the animations are.
No flickering, no tearing; everything looks clean.
The colors are vibrant, and the contrast is really good.
Even small text looks sharp, which is impressive for this resolution.
Notice how fast the screen refreshes; this tells you the parallel RGB interface is doing its job.
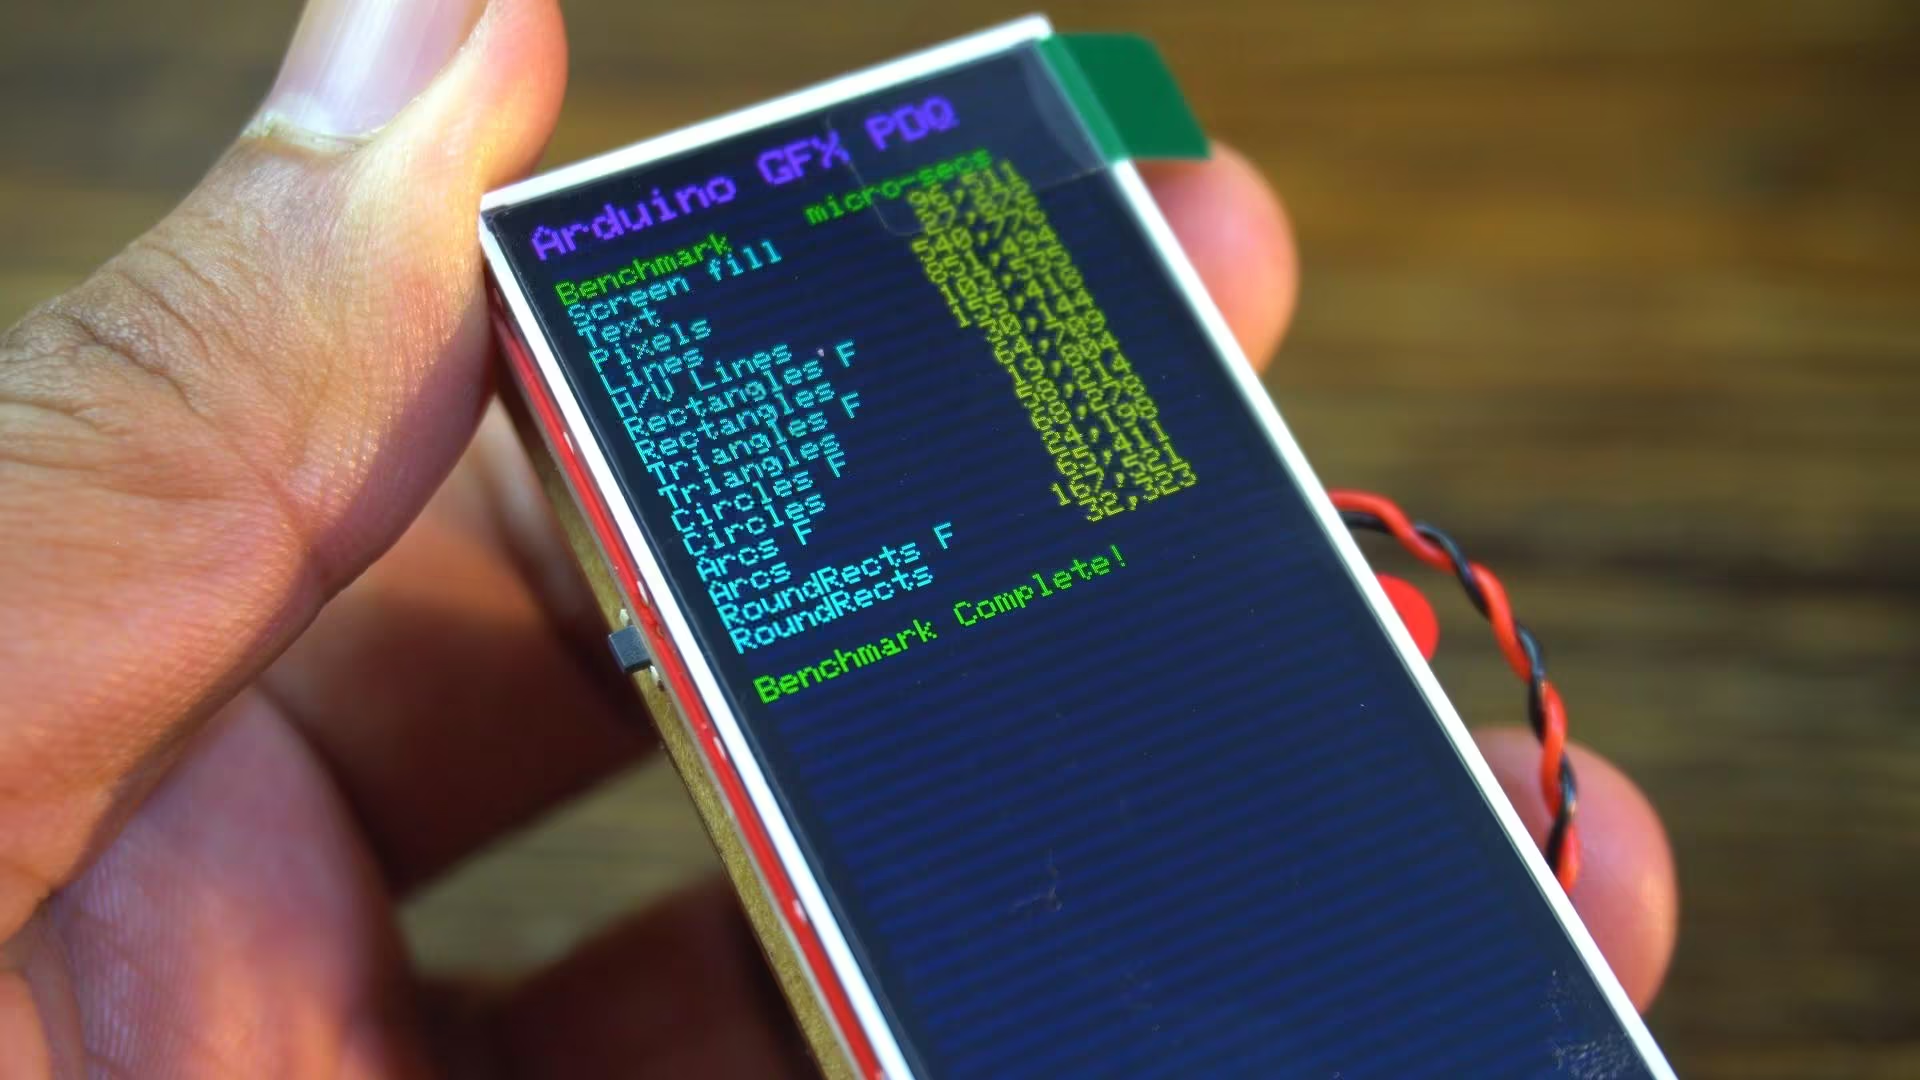
For dashboards, smart displays, or UI-heavy projects; this kind of performance is exactly what you want.
Example 2 MaTouch ESP32-S3 IMU & Gesture Control Demo:
Now, let’s move on to the next example.

I have already uploaded the code, so let’s watch this one in action.
Practical Demo:
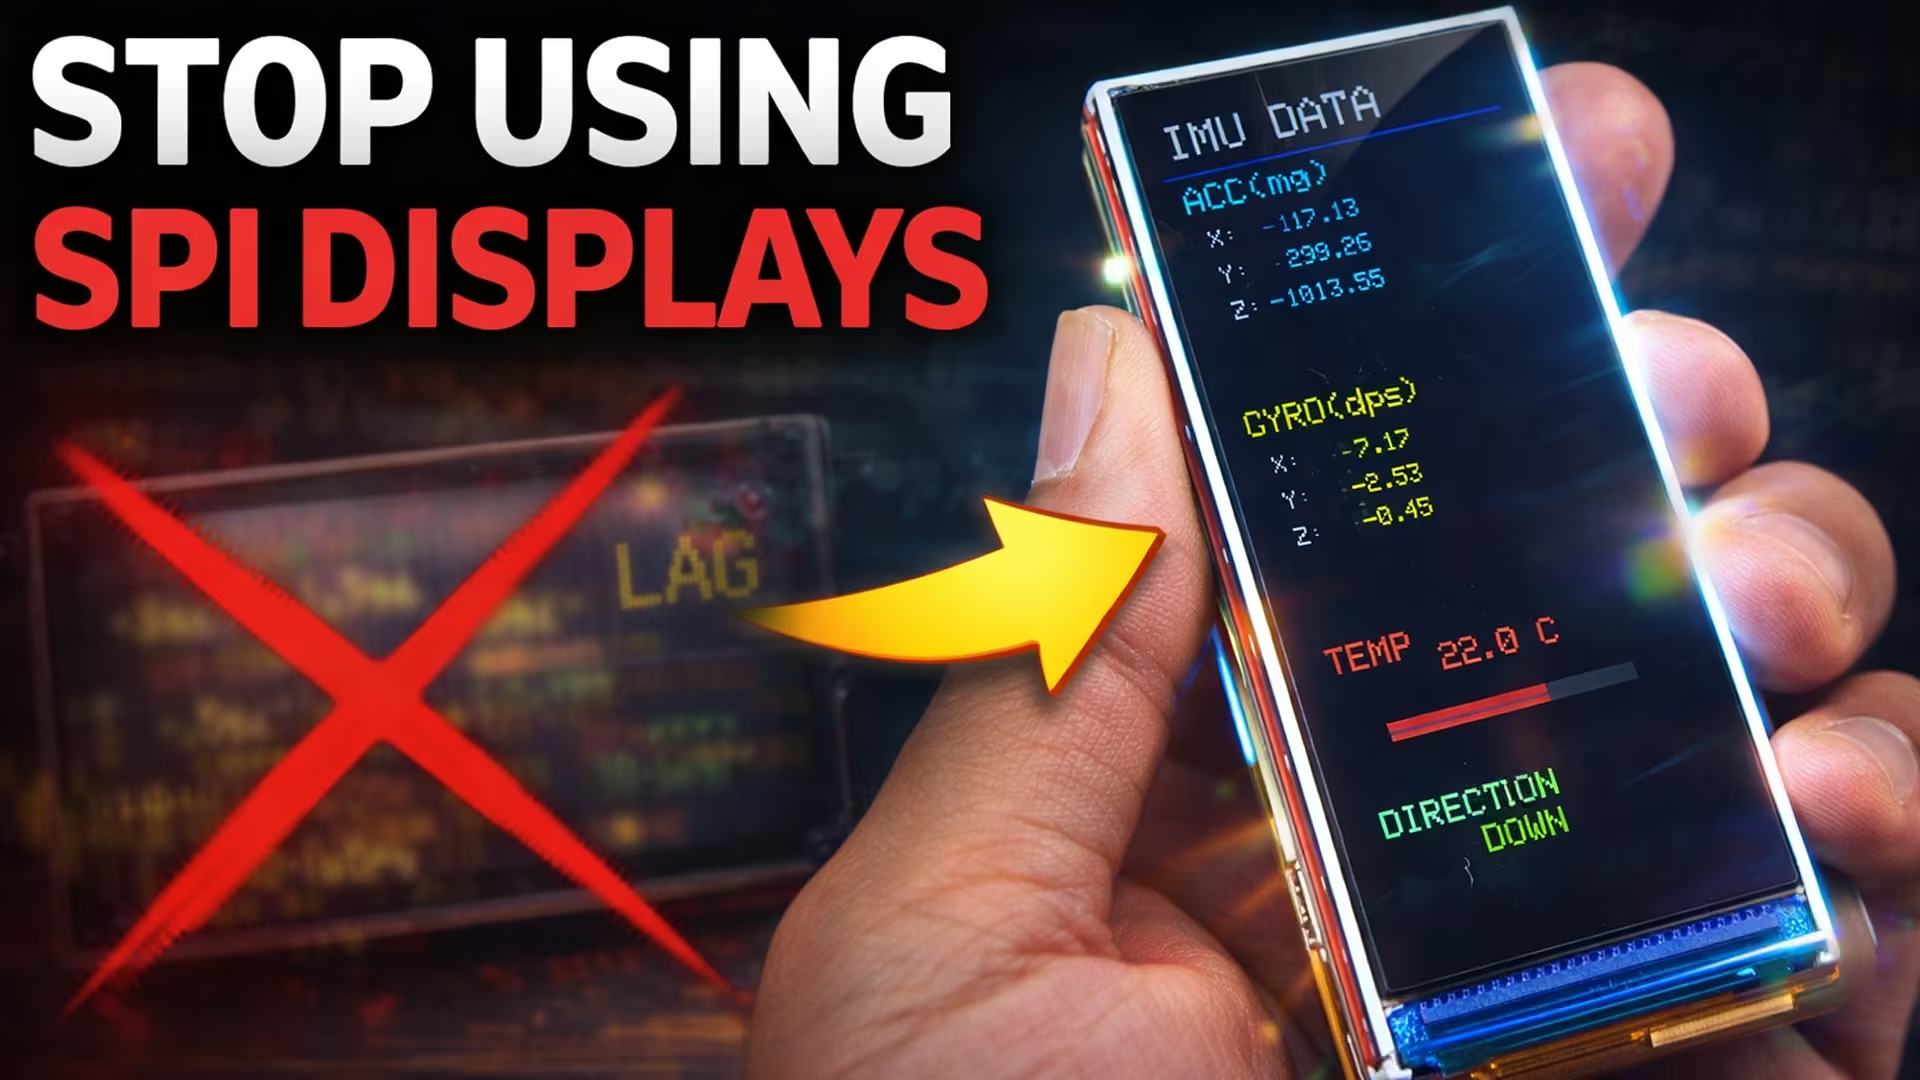
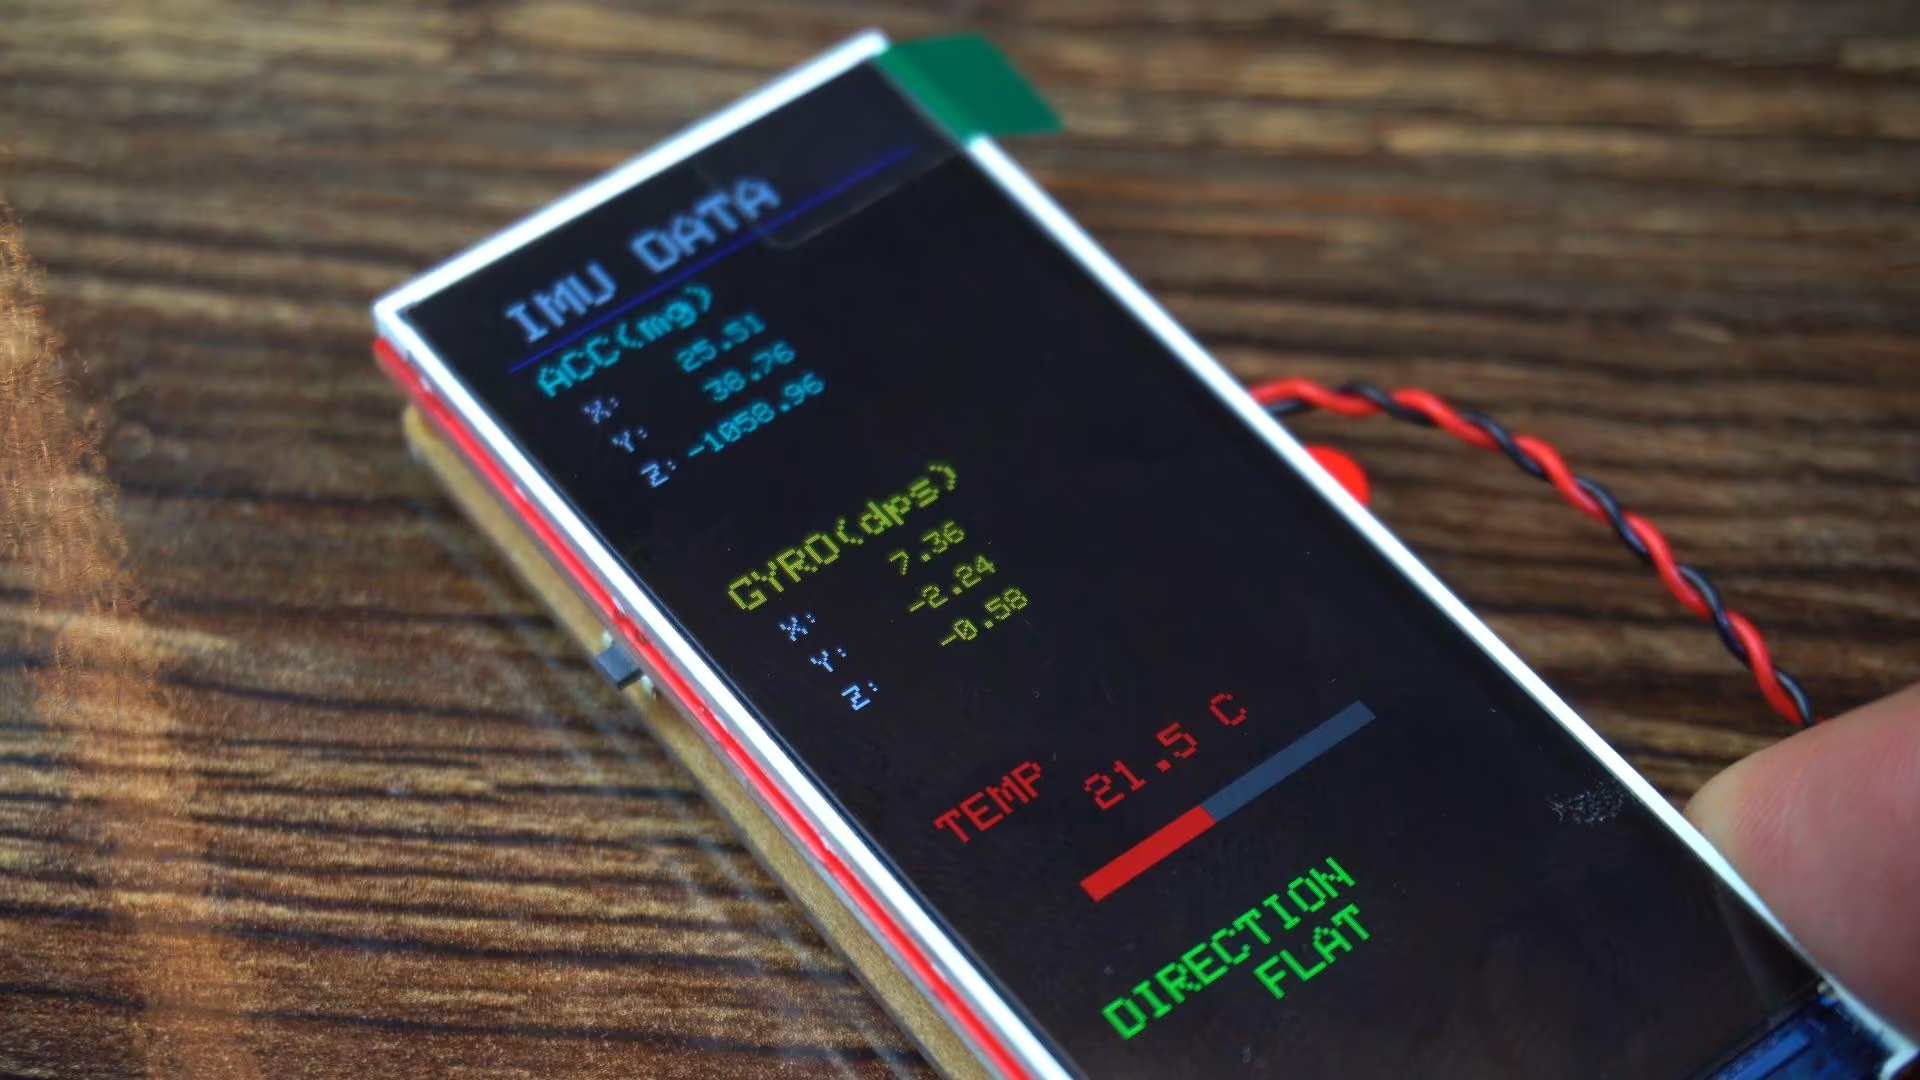
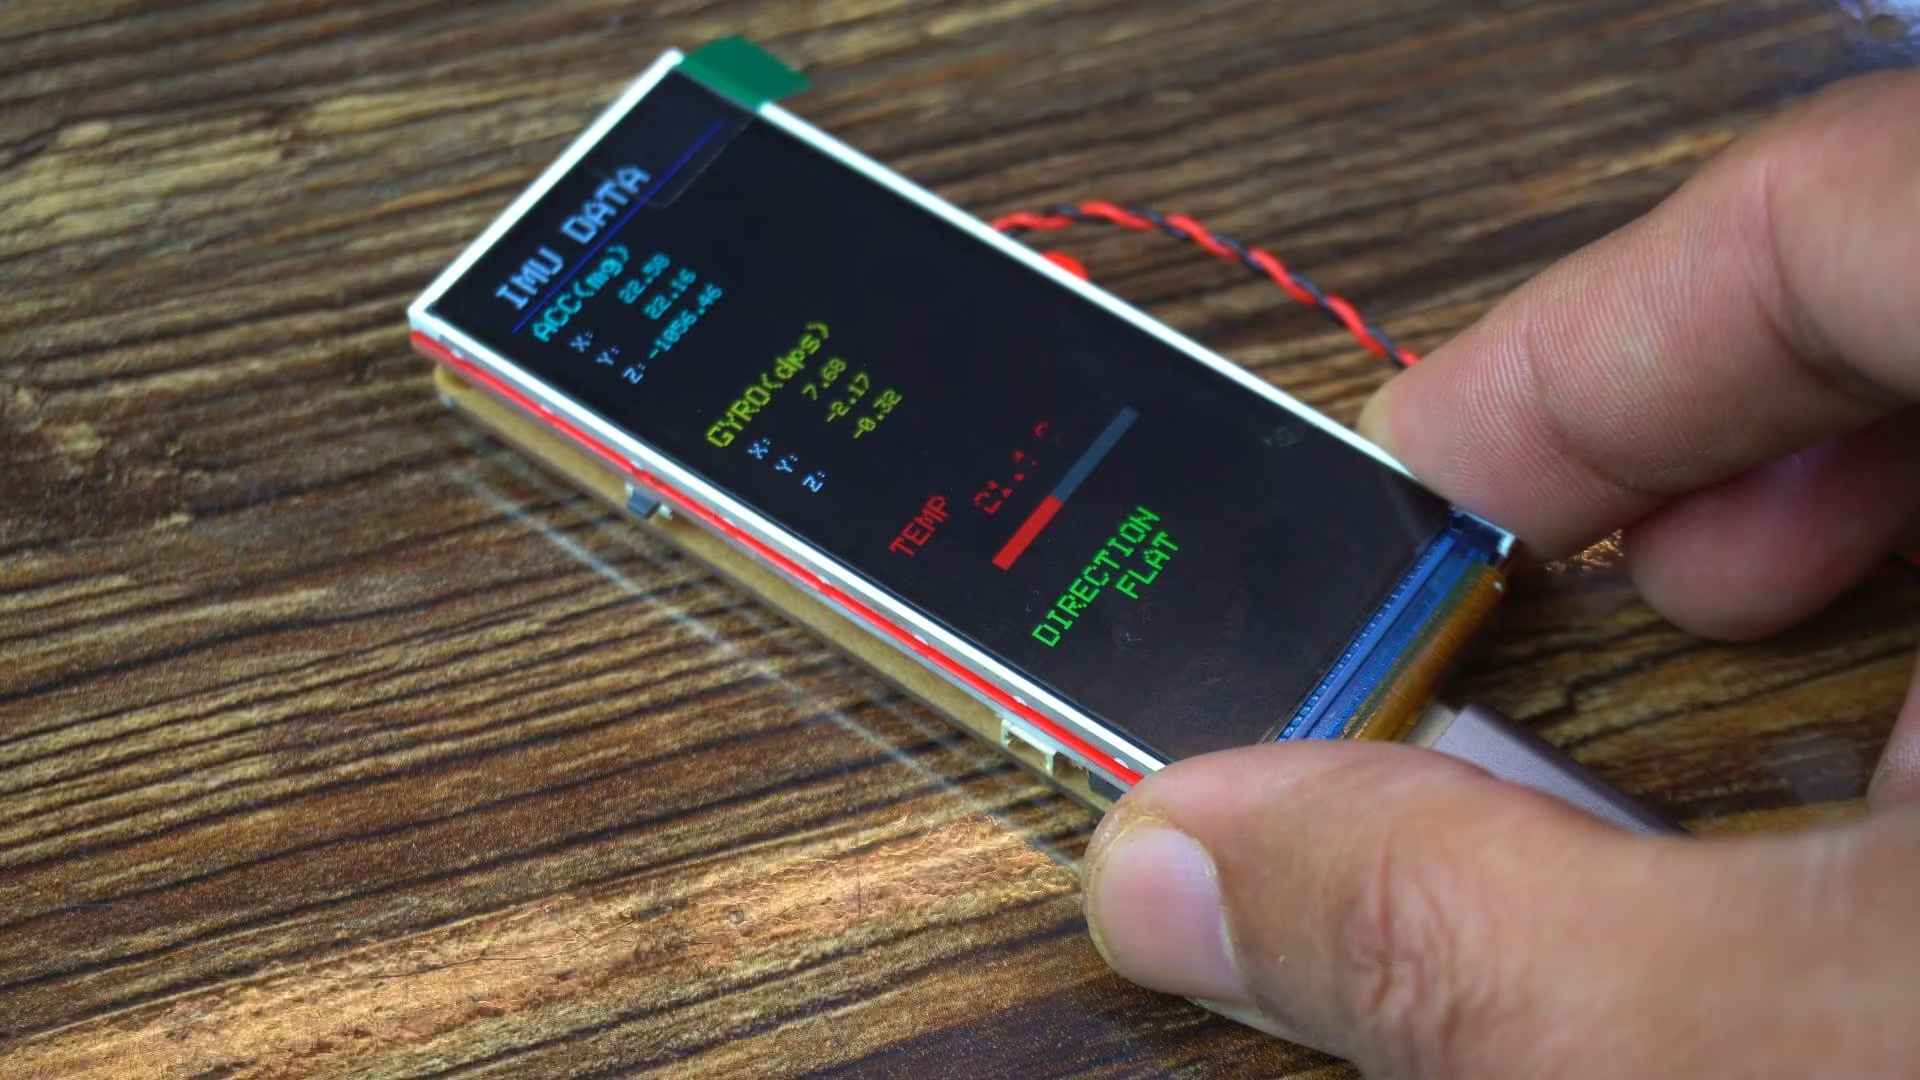
Alright, now this is a real-time IMU demo running on the board.
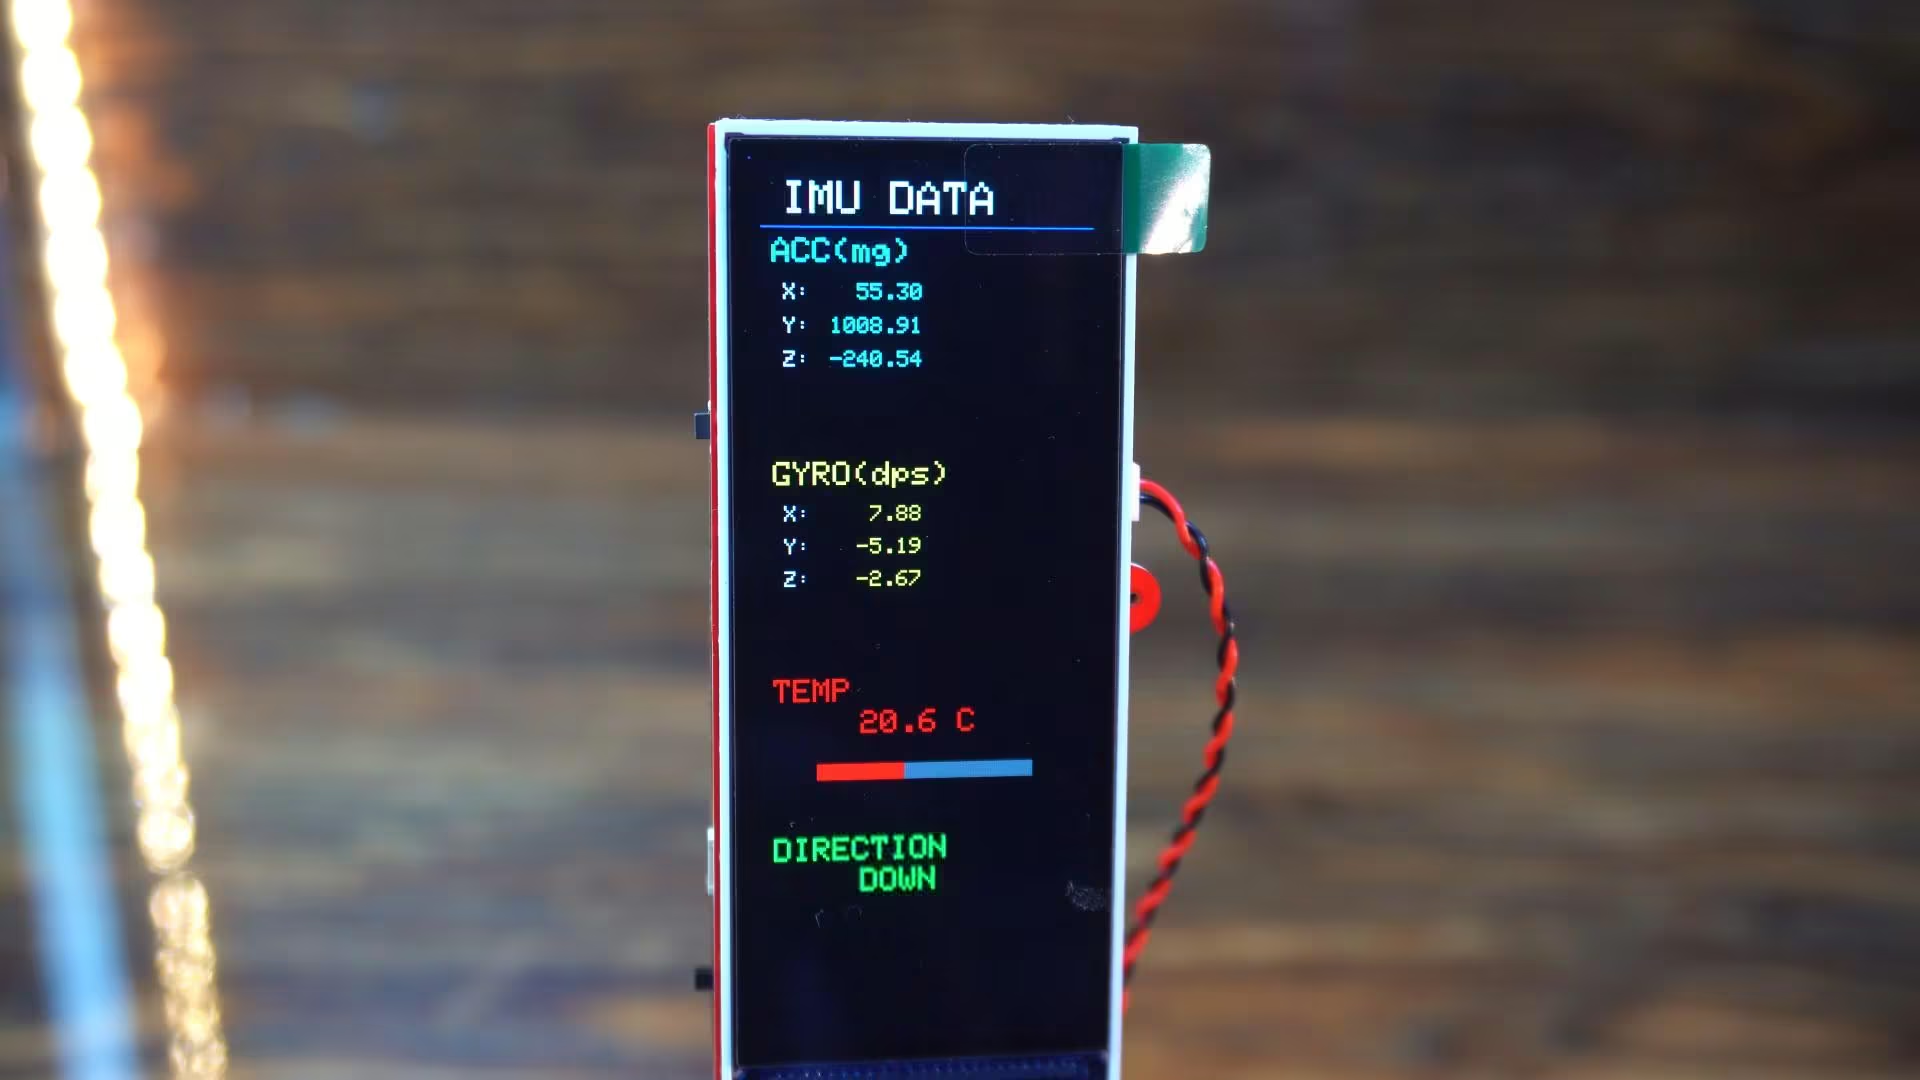
On the top, you can see the accelerometer values; X, Y, and Z; updating live as I move the board.
These values are displayed in milligravity units, so even small movements are clearly visible.
Below that, we have the gyroscope data, also updating in real time.
This shows the rotation speed on each axis, measured in degrees per second.
Notice how fast and stable the updates are; there’s no lag, no flickering, and no missed frames.
At the bottom, you can see the temperature reading from the IMU itself, along with a visual temperature bar that changes dynamically.
And right here, this is my favorite part; the board automatically detects its orientation.
As I tilt it left… it shows LEFT.
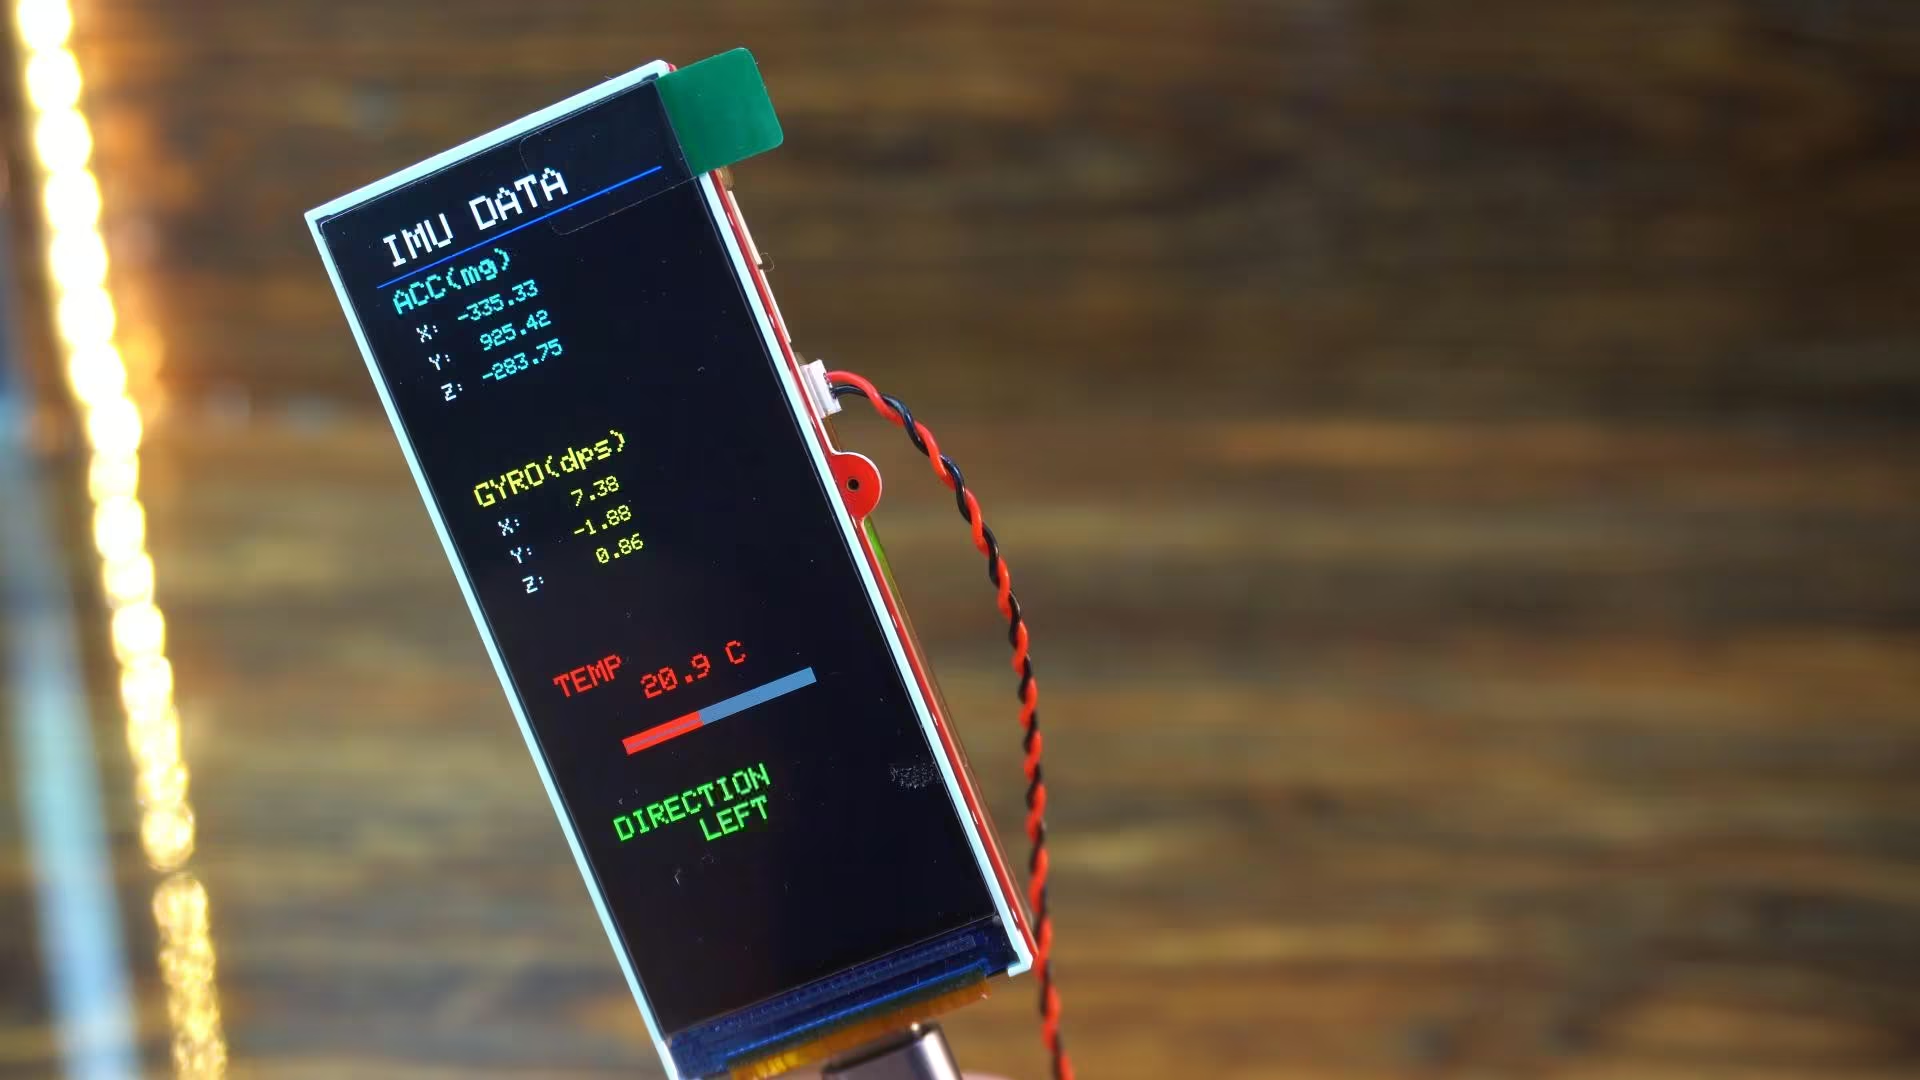
Tilt it right… it shows RIGHT.
Up… DOWN… And when it’s flat on the table; it switches back to FLAT.
All of this is happening live on the ESP32-S3, while driving a high-resolution RGB display at the same time.
This is exactly the kind of performance you need for motion-based UIs, handheld devices, dashboards, and interactive projects.
Example 3: SD Card Image Display Demo
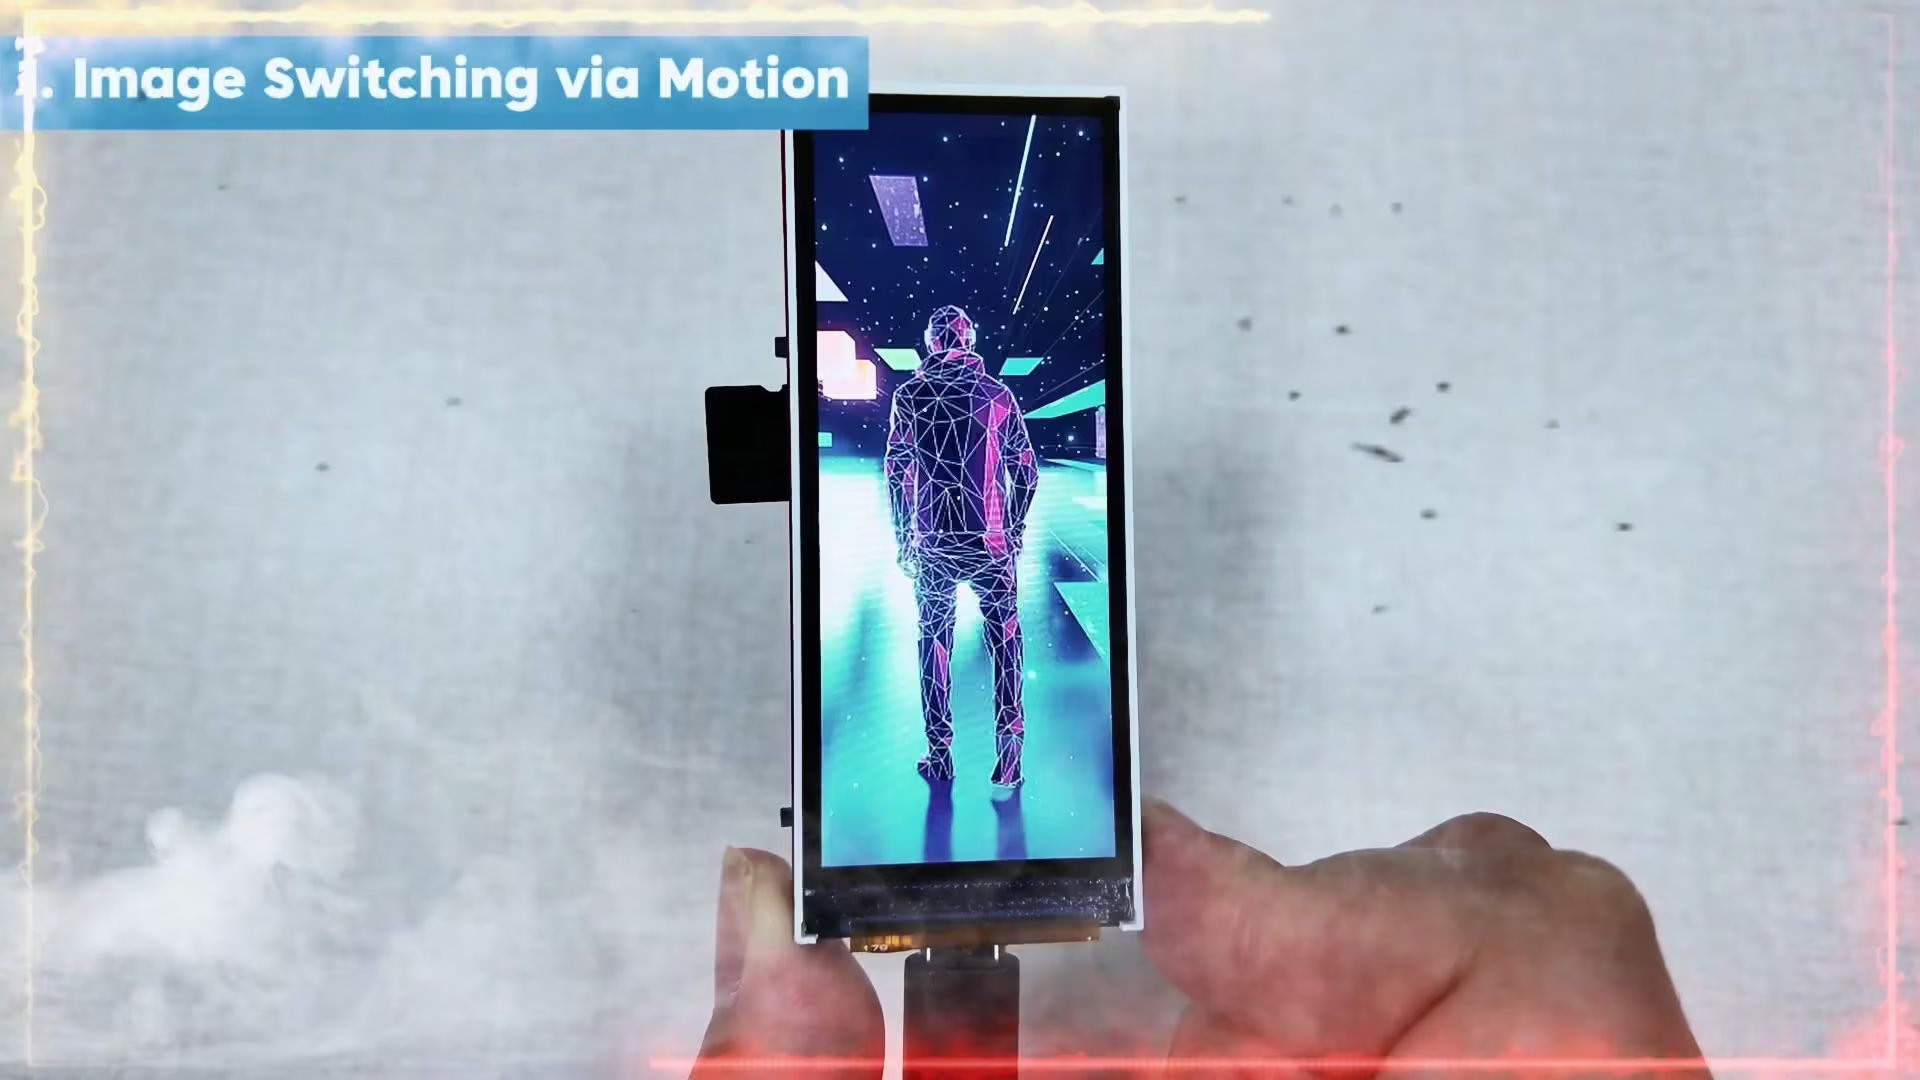
These images are being read directly from the SD card.
Decoded in real time.
And displayed smoothly on a high-resolution screen.
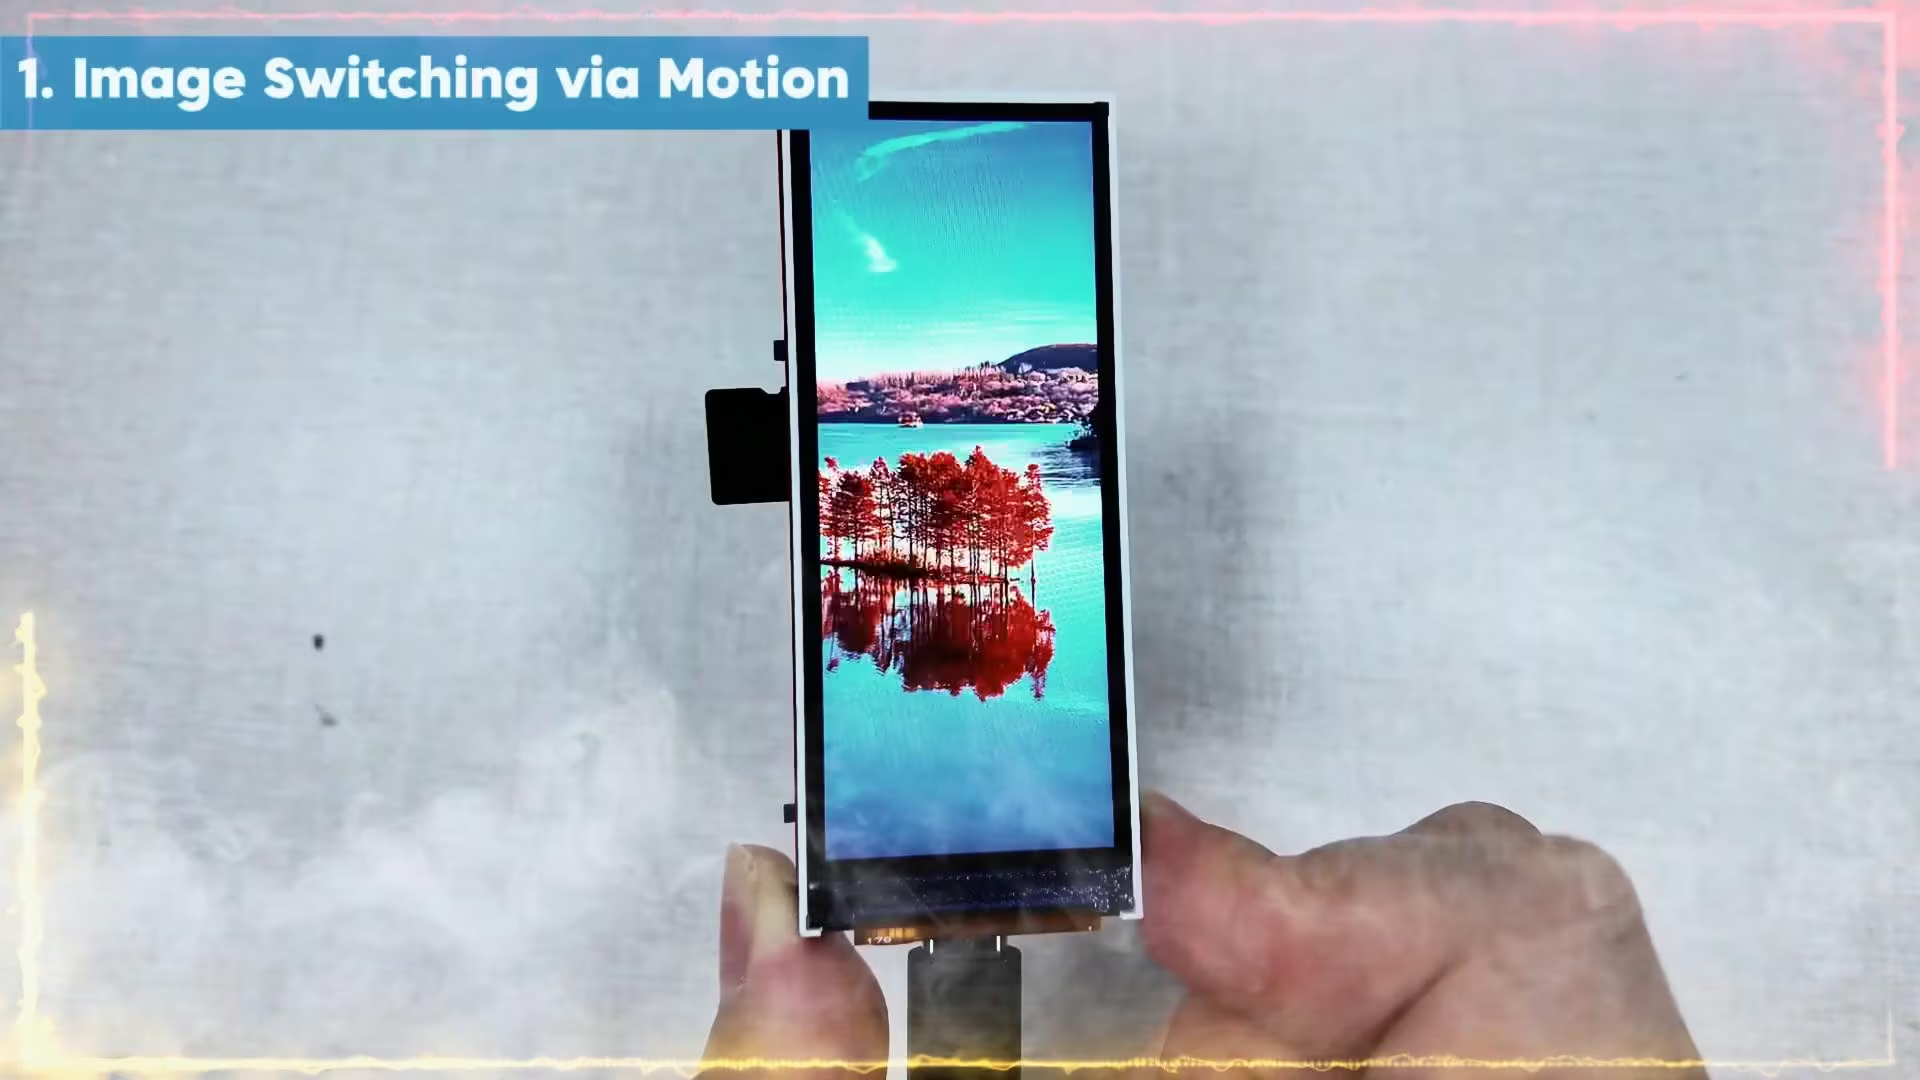
This is a solid demo of real-world display performance.
So, that’s all for now.
Watch Video Tutorial:

Discover more from Electronic Clinic
Subscribe to get the latest posts sent to your email.