5.8GHz FPV Camera, HD Wireless Camera with OTG Receiver for Android
Table of Contents
5.8GHz FPV Camera with OTG Receiver:
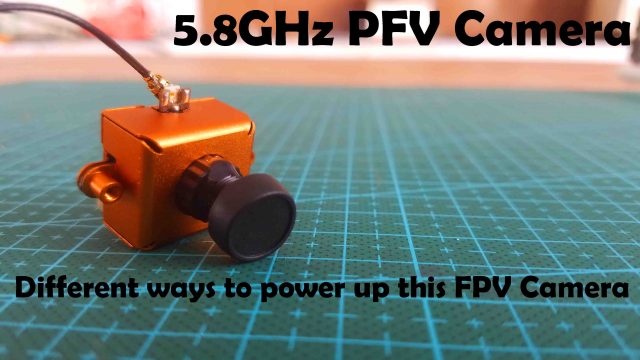
5.8GHz FPV Camera, HD Wireless Camera with OTG Receiver for Android- I got this 5.8GHz AIO “All In One” 800TVL CMOS Mini FPV Wireless HD Camera and I also purchased this SKYDROID 5.8GHz OTG “On The Go” Receiver for my Android phone. I purchased this Combo for my racing Drone, actually, I am planning to convert my Racing Drone into an FPV Racing Drone, but you can also use this with robots, RC cars, RC planes, and even you can use this as Wireless Security Camera. This article is going to be very informative, as I will share with you the technical specifications, features, and different ways to power up this mini FPV wireless HD camera. Without any further delay let’s get started!!!
Amazon Links:
Other Tools and Components:
Super Starter kit for Beginners
PCB small portable drill machines
*Please Note: These are affiliate links. I may make a commission if you buy the components through these links. I would appreciate your support in this way!
5.8GHz 40CH AIO FPV Camera:
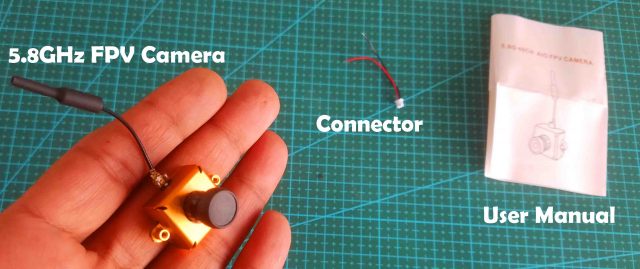
Let’s first start with the Camera Unboxing and see what we have got inside this box.
We have this user manual, which has the camera specs and the camera features are printed. We have this connector which is used to power up the camera and this 5.8GHz All In One 800TVL CMOS Mini FPV Wireless HD Camera. This is called AIO or All in one because the Camera, Video transmitter, and Antenna are integrated. It’s 800TVL, TVL stands for Television lines, TVL is the number of vertical lines a camera can record. 800TVL means there are 400 dark and 400 light alternating lines. So, I think 800TVL is not bad at all for such a low price.
Audio Carrie is 6.5MHz, Output Power is 25mW, and the Operating current is 100mA.
The operating voltage is 3.6 to 5.5 volts, the minimum voltage is 3 volts and the maximum voltage is 5.5 volts. With such a wide voltage input range, we can power up this FPV camera using 1S Lipo battery, 1S lithium Ion Battery, it can be directly connected with different flight controllers without the need of any voltage regulator circuit, it can be powered up using the 7805 voltage regulator, etc. We will practically do it once I cover the technical specs and features.
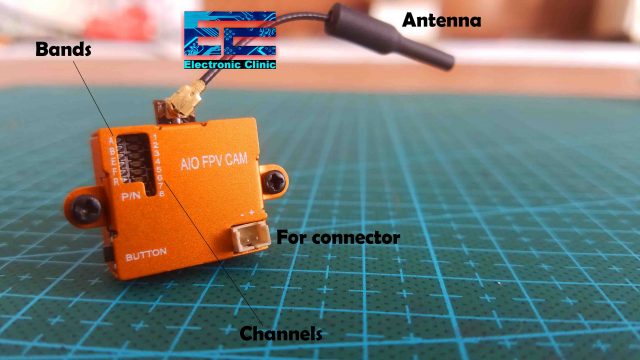
This FPV camera is ultralight and weighs only 8 grams with the metal case. This FPV camera is capable of real-time image or HD video transmission within 500-700 meters in open air. It has got 150-degree FOV or field of view and 170-degree DFOV or Dual field of view. This camera supports both the video formats NTSC and PAL which are switchable and for this we have this small button on the right bottom side, this button has multiple functions.
If you press this button for more than 3 seconds this will change the NTSC or PAL system, when the blue LED is on it means NTSC and when the Blue LED is OFF it means PAL is selected.
If you want to change the bands A-B-E-F-R, then you will have to press this button for more than 1.5 seconds.
Finally, if you want to change the channels then you will have to press this button for 1 second or less. You will practically see this in a minute.
The frequency Band and Channel table you can also find on the box and it’s also available in the manual.
5.8GHz OTG Receiver, SKYDROID:
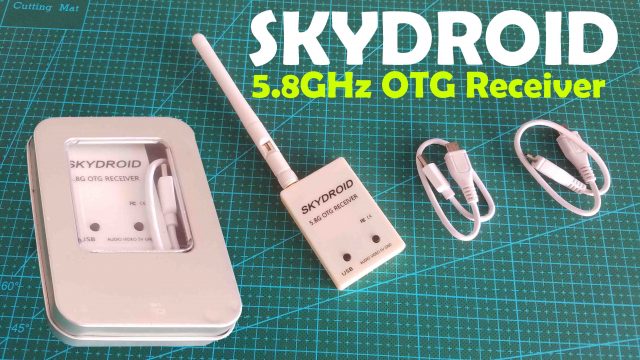
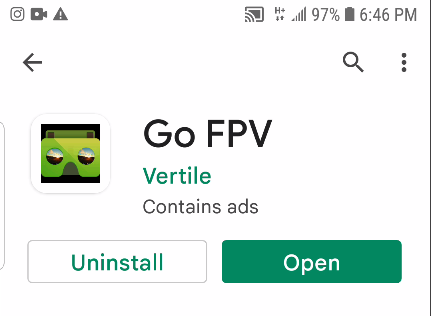
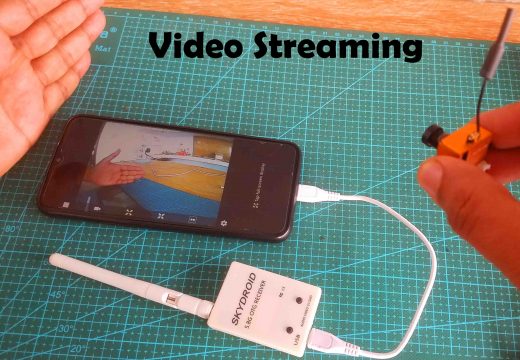
In this box we have these two USB cables, an antenna, and the SKYDROID 5.8GHz OTG Receiver. OTG stands for On the Go. This OTG FPV receiver works with all 5.8GHz wireless FPV cameras, it also supports av output, and audio output. It has got 150 channels and there is no need of an external power supply; it simply uses the mobile phone power supply. You can connect this OTG receiver with any smart phone using these USB cables. For the live video streaming and recording, you will need to download the Go FPV App. So, let’s go ahead download the App and then we will practically start testing everything.
Open the App.
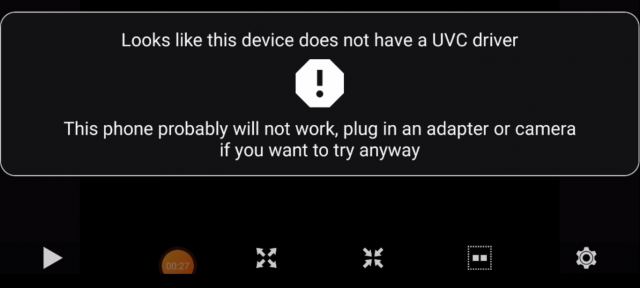
You will get this error message when the OTG receiver is not connected with the phone. So, our app is installed and now let’s power up this mini FPV wireless camera using different power sources. But, first, a few words about the sponsor of this article.
Altium Sponsor:
Altium Designer is the world’s most trusted PCB design system. Altium Designer enables engineers to effortlessly connect with every facet of the electronics design process. Over 35 years of innovation and development focused on a truly unified design environment makes it the most widely used PCB design solution. With Altium Designer you can create PCB designs with an intuitive and powerful interface that connects you to every aspect of the electronics design process. Route it your way through any angle, tune for the delay, Push, Slide, and Walkaround faster than ever. Interact and collaborate with mechanical designers like never before in a photo-realistic, 3D design environment. If you want to get started with the Altium designer, you can click on the get started.
Different ways to power up 5.8GHz Wireless FPV Camera:
Since this FPV Camera accepts a wide range of input voltages from 3 volts to 5.5 volts, this means we can use different power sources and this is what we are going to do right now.
5.8GHz FPV Camera with 1S Battery:
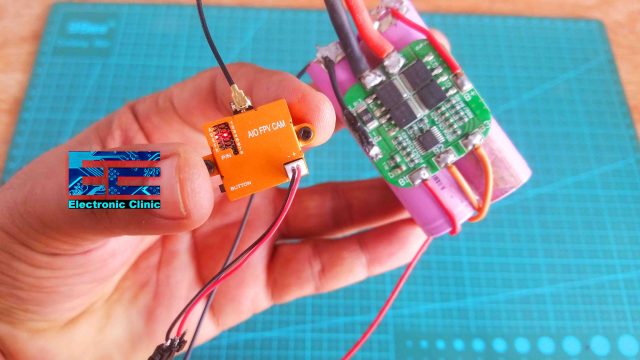
Let’s first start with the 3.7V 1S battery. This is the typical voltage for this FPV Camera. For the easy connections I soldered these male headers. Connect the connector. Next, connect the Red wire of the camera with the positive side of the battery and connect the black wire with the GND side of the battery.
When the camera is turned ON you will see these small red color LEDs, Bands are on the Right side and channels are on the Left side. Next, I am going to connect my OTG Receiver with the cell phone, it will automatically open the Go FPV App, if not you can manually do it.
You can see it’s working. You can use a lithium Ion battery to power up this Mini FPV Camera. Now, let’s go ahead and change the band, long press the button to select the next band. When the Band is changed the video transmission will stop. Long press this button on the left side of the SKYDROID Receiver and it will start the scanning. It’s just that simple, just long press the button on the receiver and it will do all the hard work for you. Each time you change the band or the channel, you will have to repeat the scan process. If you find it hard to understand then watch my video given at the end of this article.
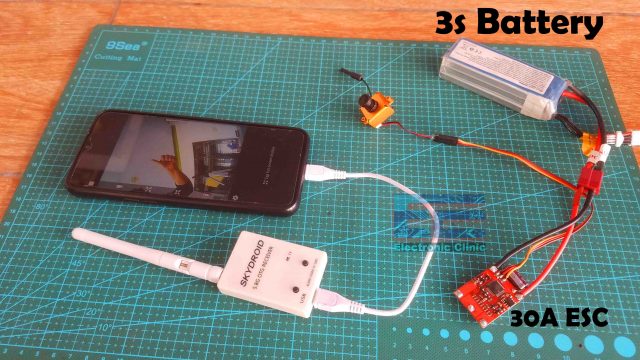
Next, we are going to power up this FPV camera using this 30A ESC, it’s just a regular 30A ESC, I removed the yellow color shrink tubes and the motor wires. So, I am only using this ESC to supply 5 volts to the camera, it’s a simple trick if your flight control doesn’t give you 5volts and 100mA then you can use an ESC. I will use this technique on my racing drone, as my naze32 flight controller has no BEC “battery eliminator circuit”. Just connect your 3S or 4S battery and the ESC will take care of the voltage.
Perfect, it’s working, short press the button to change the channels, if you want to select a different channel, then again repeat the same channels scanning process. Long press the button and wait for a few seconds. If you don’t see anything, change the channel and repeat the scanning process, it has got multiple bands and channels, so you don’t have to be worried.
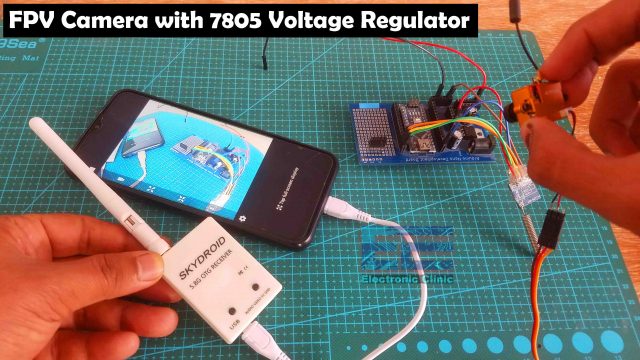
Now, I am going to use this 7805 voltage regulator to power up my mini FPV camera. As you know 7805 voltage regulator gives regulated 5 volts and can supply current up to 1A. Connect 5 volts from the regulator with the Red wire of the camera and connect the GND of the regulator with the black wire of the camera.
Perfect! It’s working. You can use this mini FPV camera in Arduino based projects, you can build yourself a low-cost wireless security camera for your Home, Garage, etc. So, that’s all about the OTG receiver and the wireless HD FPV Camera. In my upcoming video, I will fix this camera on my Racing Drone.
Watch Video Tutorial:
