Andonstar AD407 Pro 3D HDMI Soldering Digital Microscope Review and Testing
Last Updated on September 21, 2024 by Engr. Shahzada Fahad
Table of Contents
Andonstar AD407 Digital Microscope:
Andonstar AD407 Pro 3D HDMI Soldering Digital Microscope Review and Testing-Today, I am going to review and test the Andonstar AD407 Pro 3D HDMI Soldering Digital Microscope. So, let’s go ahead and start the unboxing and see what’s in the box.
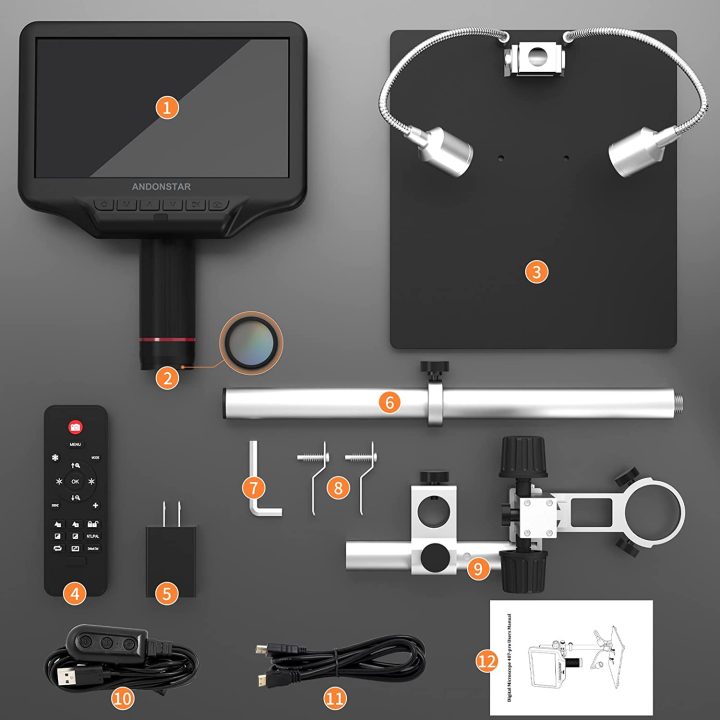
- Microscope Monitor
- UV Filter has been assembled in front of the lens to block soldering heat, smoke, and dust to protect the lens, which is very suitable for soldering and maintenance professionals.
- Base
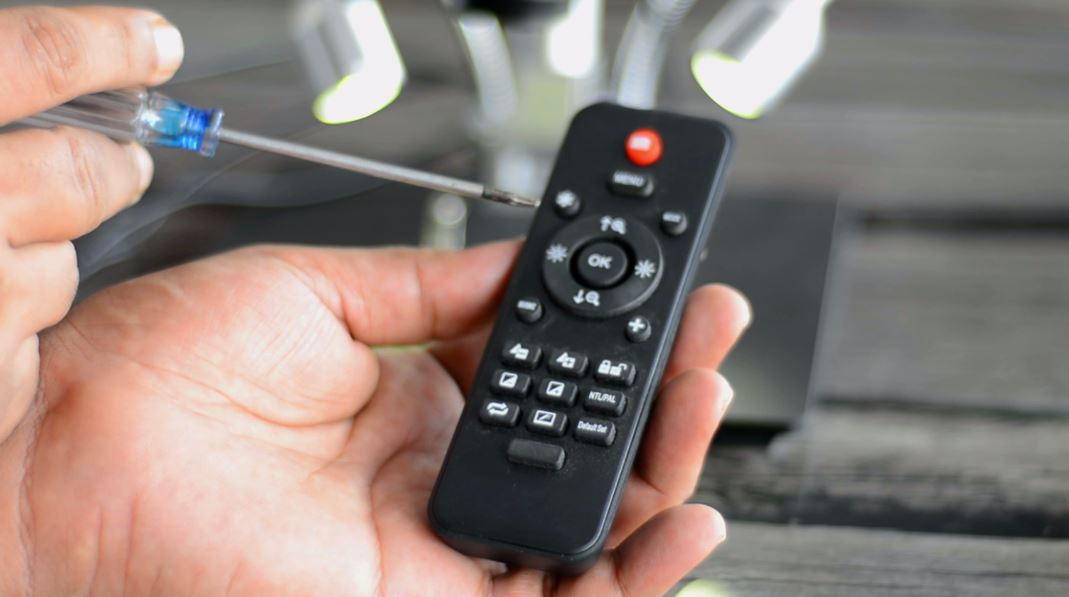
- Remote
- Power Adapter
- Column
- Wrench
- Metal clips
- Beam
- Power Cable
- HDMI Cable
- User manual
- And some Screws and Springs.
Amazon Links:
Andonstar AD407 Pro Digital Microscope
Andonstar Microscope on Aliexpress
*Disclosure: These are affiliate links. As an Amazon Associate I earn from qualifying purchases.
Assembling:
It takes around 2 to 3 minutes to fully assemble the Andonstar AD407 Pro Digital Microscope. Link to the video is given at the end of this article.
After assembling all the parts.

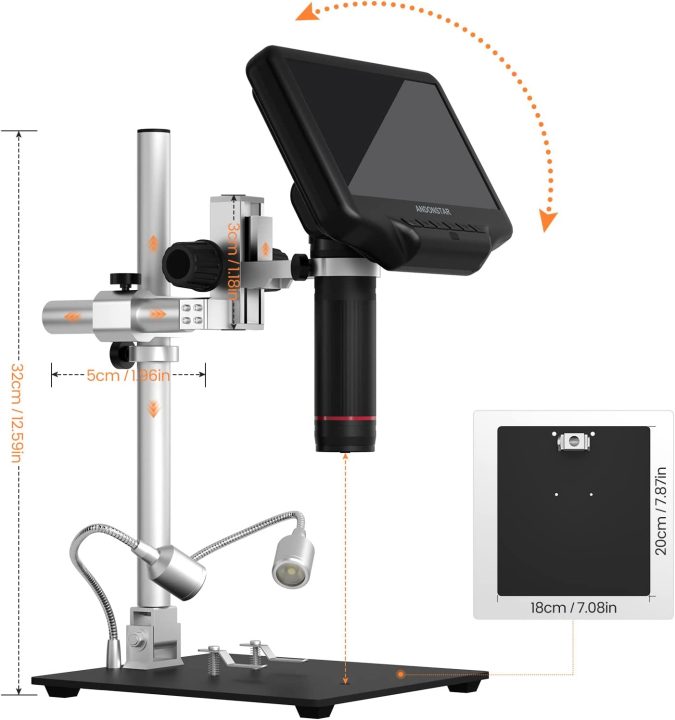
There are two models the AD407 and the AD407 Pro with the upgraded Pro Metal Stand. Since the main use of this AD407 Pro is to solder and repair; so that’s why this digital microscope is equipped with Andonstar’s newest upgraded Pro bracket (size: 7*7.8*13inch), the angle of the bracket is adjustable front and rear, and it can be rotated 360° horizontally. The larger metal base plate and the higher working distance can meet your needs for repairing larger circuit boards.
First I am going to start by explaining all the buttons, interfaces,and different parameters, and afterward, I will start a practical demonstration.
Andonstar AD407 Digital Microscope Buttons & Interfaces:

On the front of the microscope monitor we have got multiple buttons the Power ON/OFF, Mode/Menu, Digital zoom in, Digital zoom out, OK/Start video Record, Picture capture, infrared sensor, and the focus controller.

On the backside is the micro SD card slot, you can easily capture and store images or videos of the microscopic world you observe. It is recommended to use class 10 high-speed memory card, up to 64G. This is the USB interface. This is the HDMI port, use HDMI cable to connect the microscope to the HD display. I will practically demonstrate this in a minute. And this is the reset hole, If incase the display freezes, you can use a pointed object like a paper pin to press the button located inside.
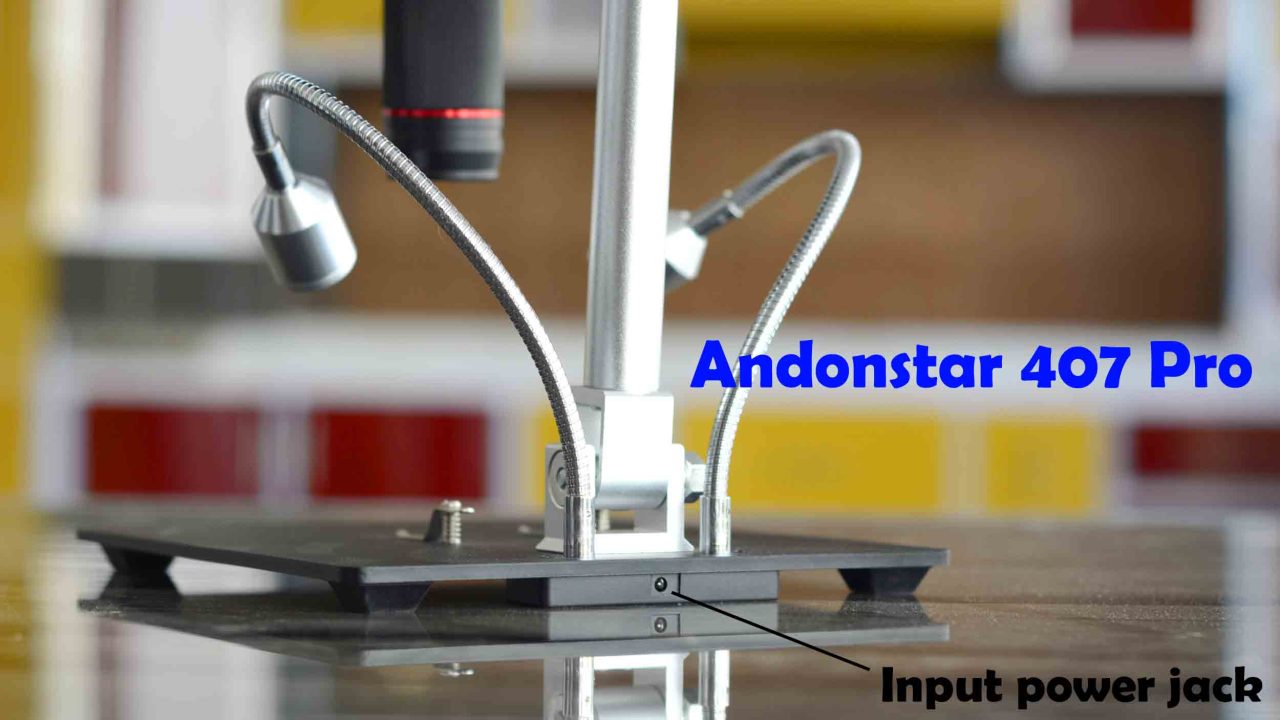
On the bottom is the input power jack which is used to power up the 2 metal base plate side lights, a total of 8 intensity levels of LED lights can be controlled by using the + and – buttons on the power cable.The light body can be bent and the angle can be adjusted, which can meet your different requirements for image brightness and lighting angle to get the best image effect.
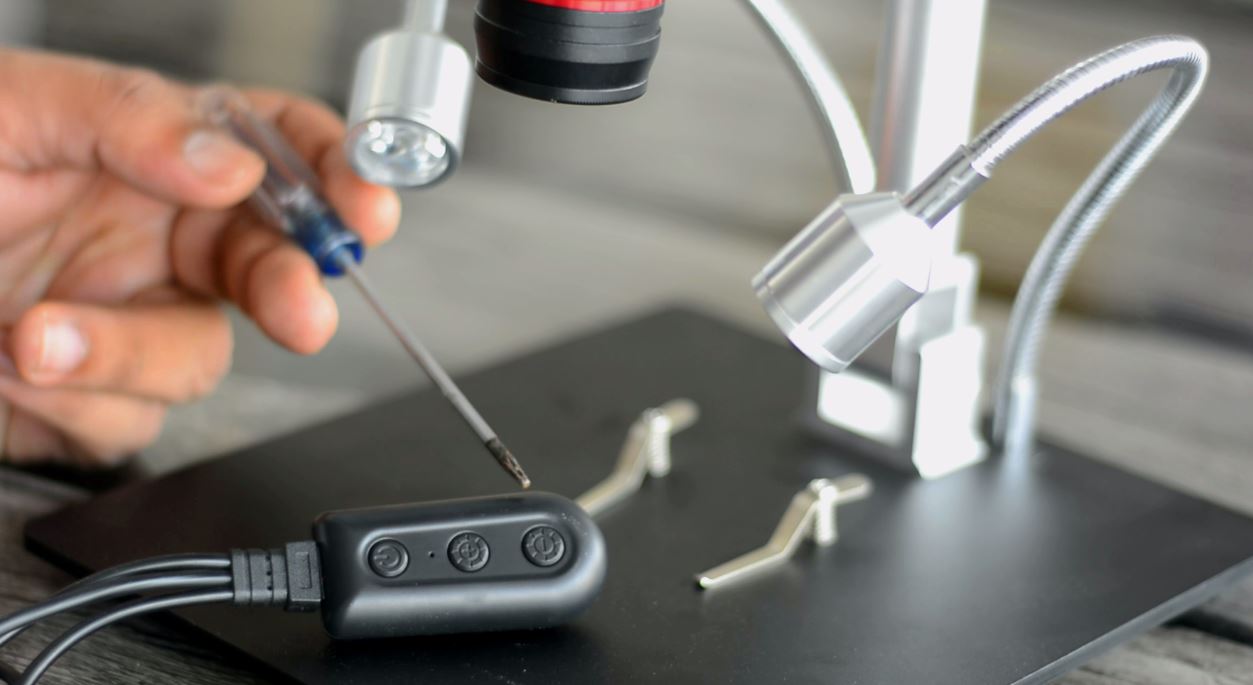
This is the Power cable, plug in the USB in the Microscope Monitor USB interface. Use the Spotlight interface on the power cable to power up the LEDs.First, plug in the USB into this AC to DC adaptor to supply the required voltage.Press the power button to turn On the Spotlights and the Microscope Monitor anduse these + and – buttons to increase and decrease the brightness.
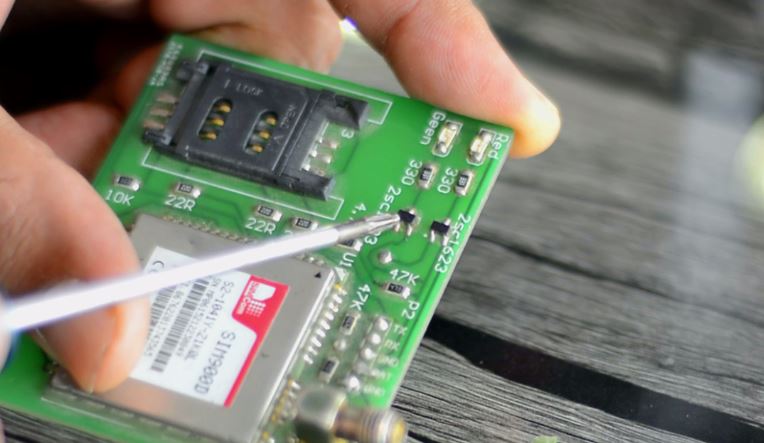
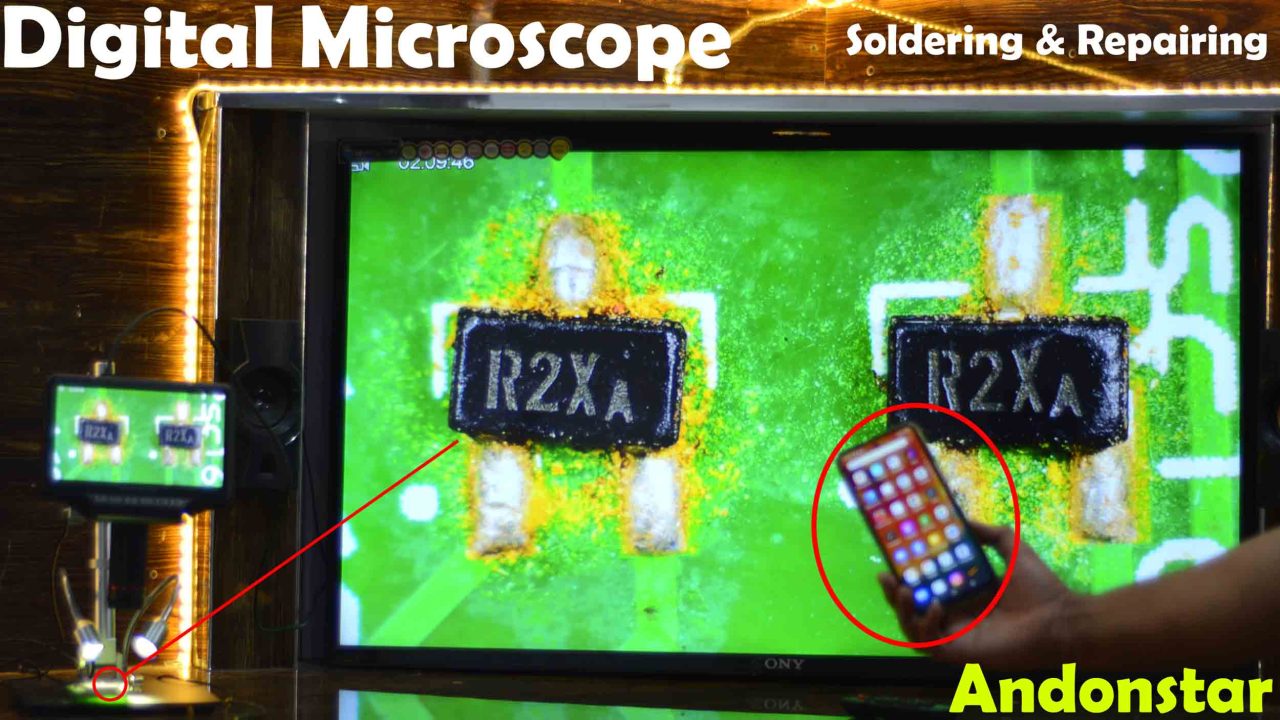
Now, let’s go ahead and check what is written on these tiny transistors, I don’t know if you can see these marking codes. But my eyesight is already weak and there is no chance I can read these codes. So, let’s go ahead and check if the Andonstar digital microscope will make any difference.
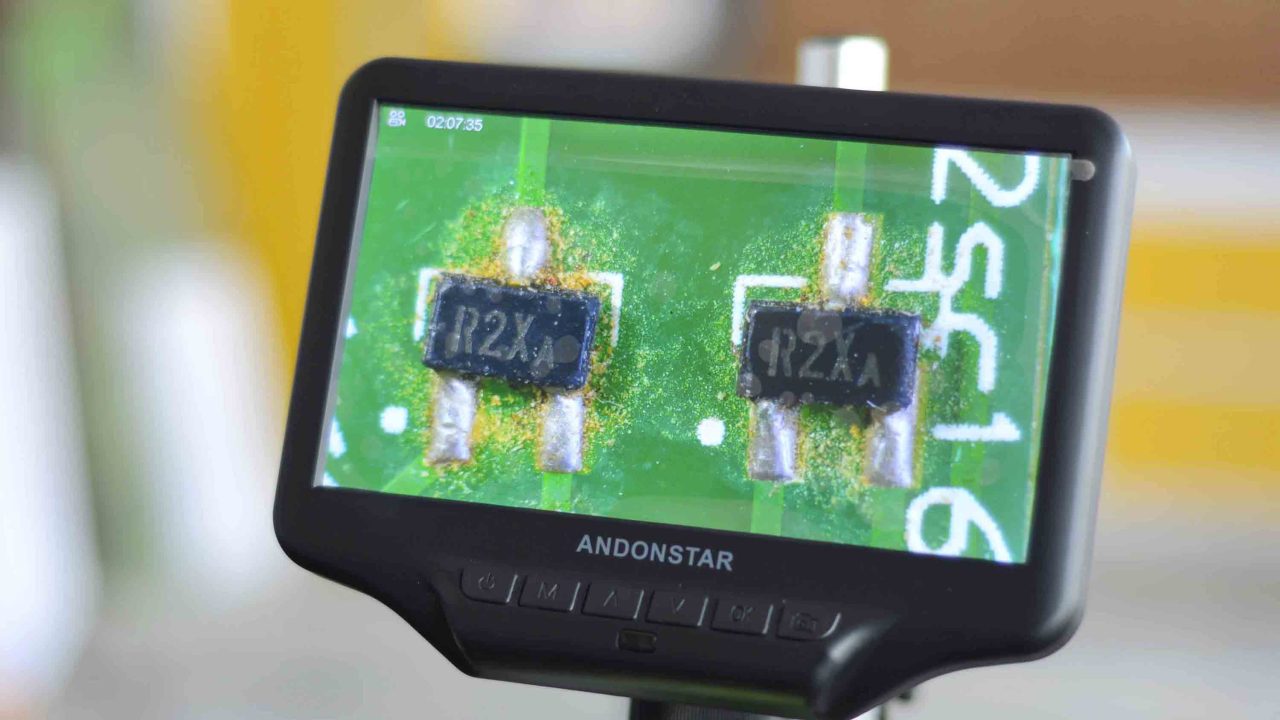
This is crazy, look at the details, the image is quite sharp and now I can easily read the code which is R2X. We will test so many other things, but first let me explain how to use the menu.
Short press the M button to switch between different modes “Video and image”. The same thing you can do by pressing the Mode button on the remote controller. If you have watched my video while testing this digital microscope, you might have noticed, when I press the buttons on the monitor it shakes a lot, so to avoid this you can use the remote controller.
Anyway, if you long press the M button it will open the menu and then using the arrow keys you can scroll through the menu items and use the Ok button for the selection.
Now the same exact thing you can do quite easily while using the remote controller.With the wireless remote controller, it is convenient for you to operate from a long distance, and supports functions such as image discoloration and digital zoom. It is especially suitable for demonstrations and other scenes. Easily take photos and videos, and avoid the shake that affects the picture quality caused by pressing the screen buttons.
There is a menu button on the remote controller; simply press that button and it will open the Menu for you. It’s just like doing settings on a TV. You can set the resolution; currently, the FHD is selected, I will also test the QHD and UHD after connecting this with a smart 42 inches TV. You can also set the exposure. You can turn ON and turn OFF the Date Stamp. You can control the sharpness.We can also do these settings without even going to the menu; you can see all these buttons.
Just go ahead and press these buttons it won’t destroy the microscope; if at any point you are not happy with the settings you can press this reset button and it will again set the default values for you. I think I have pretty much explained everything, now let’s go through some of the very basic Parameters before I connect this digital microscope with a large 42 inches screen.
Andonstar AD407 Digital Microscope Parameters
The image sensor is 4 Mega Pixels HD Sensor
It supports different video outputs HD, Full HD, and Ultra-HD.
The Video format is MP4.
The Magnification Ratio is up to 270X
The photo format is JPG.
The minimum focus distance is 5cm.
Supports a maximum of 120 frames per second.
The power source is 5V DC and
The Screen Size is 7 inches.
For more details, refer to the Digital Microscope AD407 Pro user manual.Now, I am going to connect this monitor screen to my Smart TV using this HDMI Cable.
Andonstar AD407 Digital Microscope Testing:
This is simply amazing, this tiny component as compared to my cell phone is now of the size of a cell phone or even larger, I can clearly see each and every detail. I don’t see any prominent noise. But, if in case you see any noise then you can reduce the situration and contrast values on your TV and it will completely remove the noise. Anyway, using the zoom in and zoom out buttons on the remote controller, you can further increase enlarge the subject.
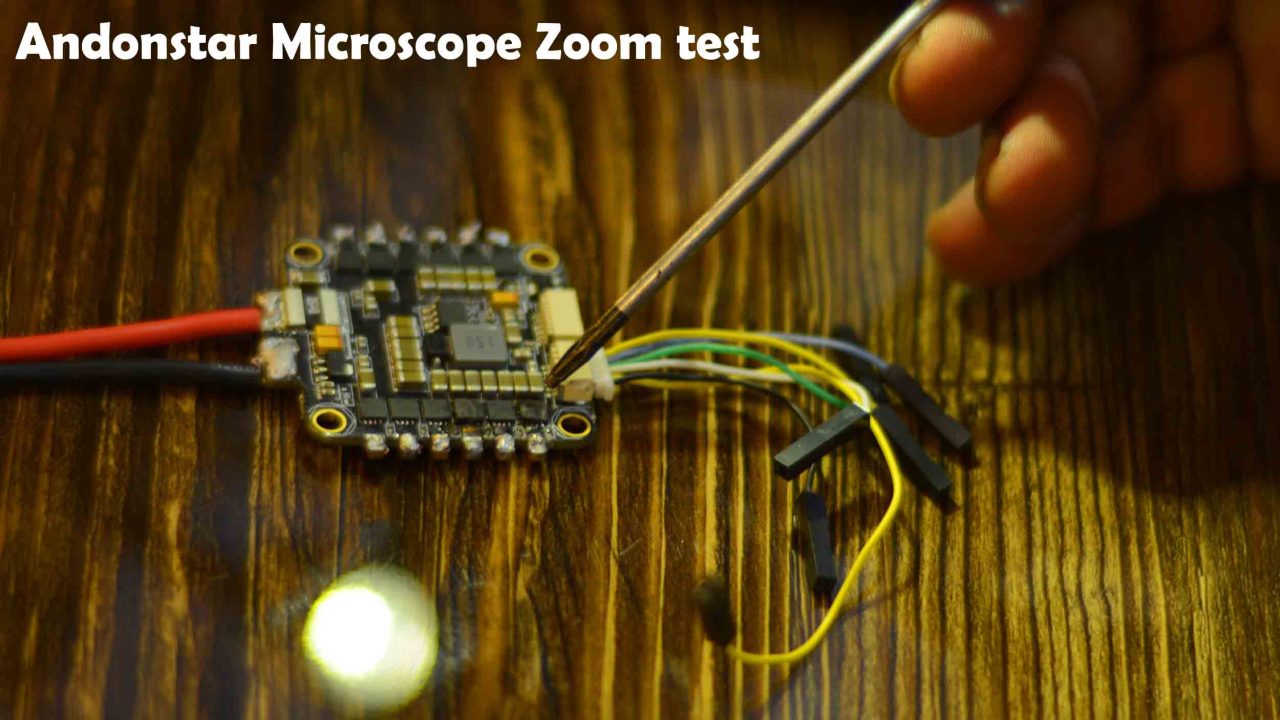
I have this ESC electronic speed controller and you can see these three components are completely damaged, but I have no idea what are these, as I can’t read what’s written on these tiny components, so let’s go ahead and check this with the Andonstar digital microscope AD407 Pro.
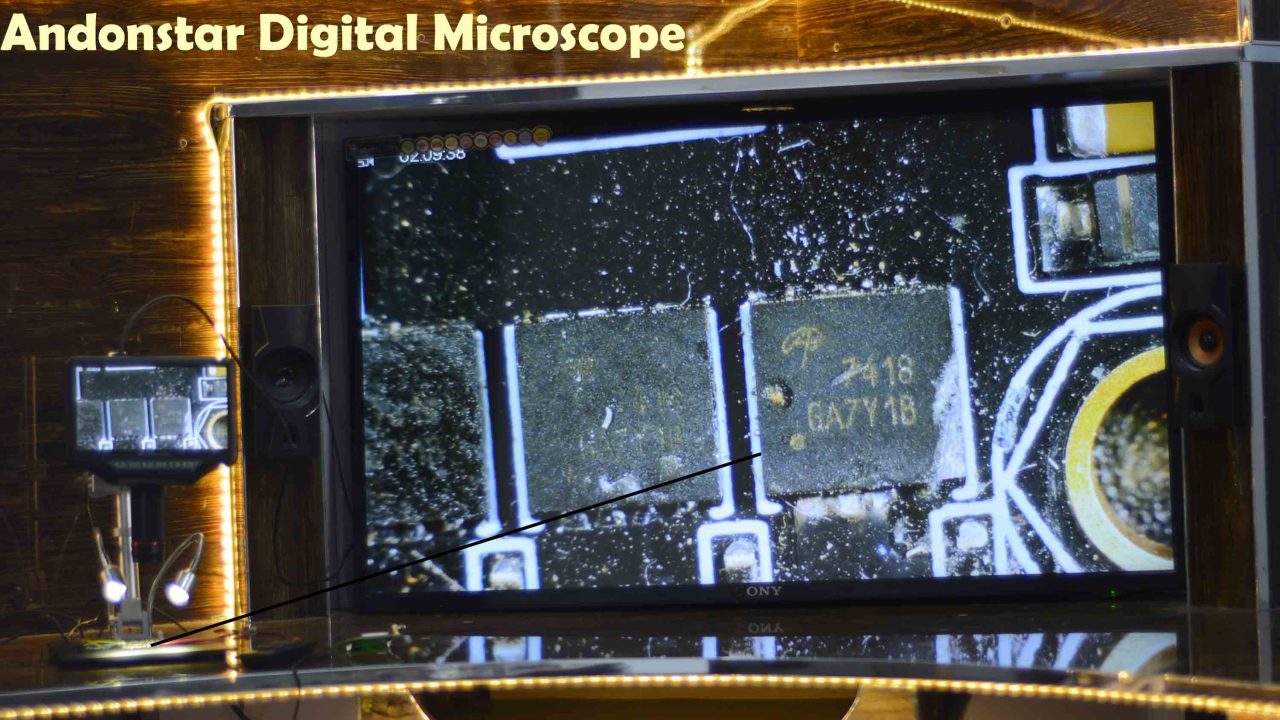
Now, I can read the part number and I can order these components to fix this ESC. This is image is resized; so that’s why the quality disturbed. The real image is quite sharp.
Check other random components:
In the video, I also tested some random electronics components. You need to take a look at those components. You will be amazed.
Soldering recording:
Now, I am going to do some soldering to check if the UV Filter really blocks the soldering heat and smoke. First I am going to adjust the height so that I get more space for the soldering iron. When everything is in place and you can see everything clearly on the Microscope monitor then you can start recording the video.
The Andonstar digital microscope can record super highly quality videos. For the video quality check my video. The video quality was far better than my DSLR. From now on, I will record all my soldering videos with this digital microscope. In the Video I have also shared the captured images.
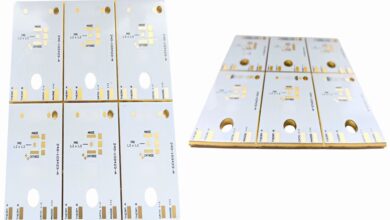
Placing SMD components:

Placing SMD components on a PCB was never so easy. The Andonstar AD407 Pro Digital Microscope is best for Soldering and repairing jobs. This digital microscope will meet all your soldering and repairing requirements, it can even turn out to be the best Digital microscope for mobile repairing. So, that’s all for now.
Watch Video Tutorial:

Discover more from Electronic Clinic
Subscribe to get the latest posts sent to your email.