RDK X3 Development Board for AI and Robotics Projects
Last Updated on May 11, 2026 by Engr. Shahzada Fahad
Table of Contents
RDK X3 Development Board:
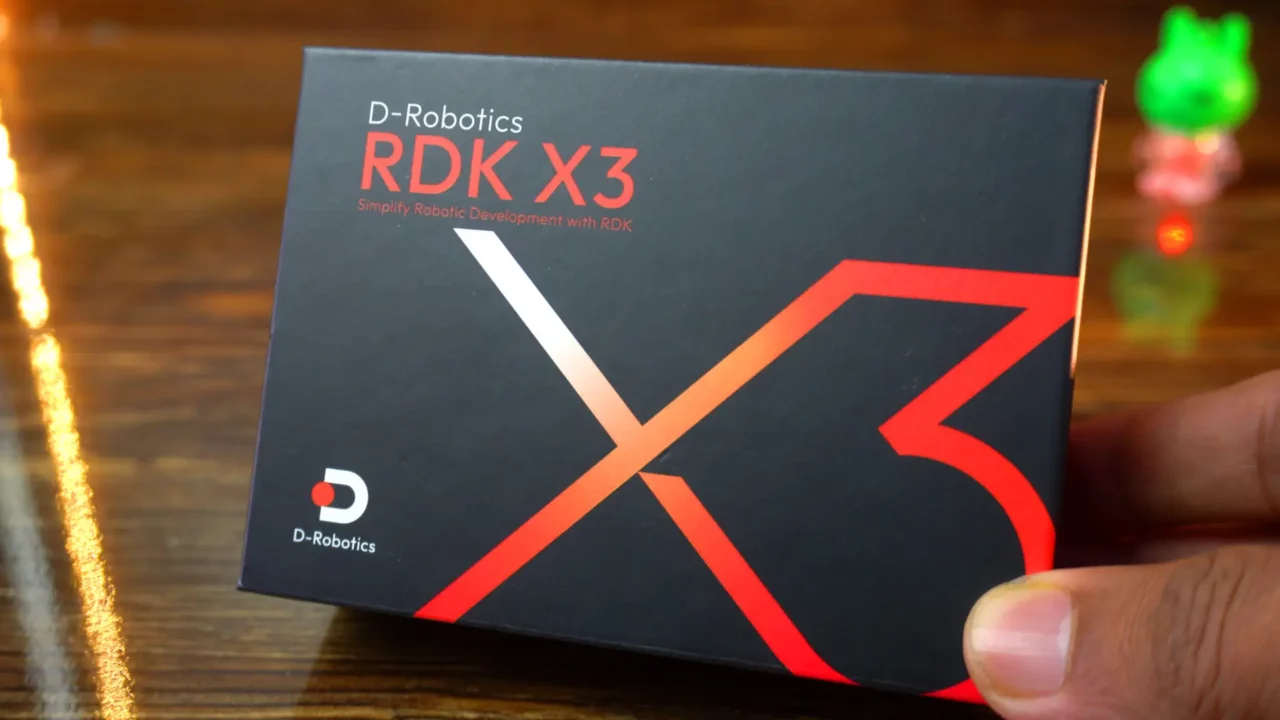
RDK X3: The Raspberry Pi Alternative for AI & Robotics- Today, we’re unboxing something exciting from D-Robotics!
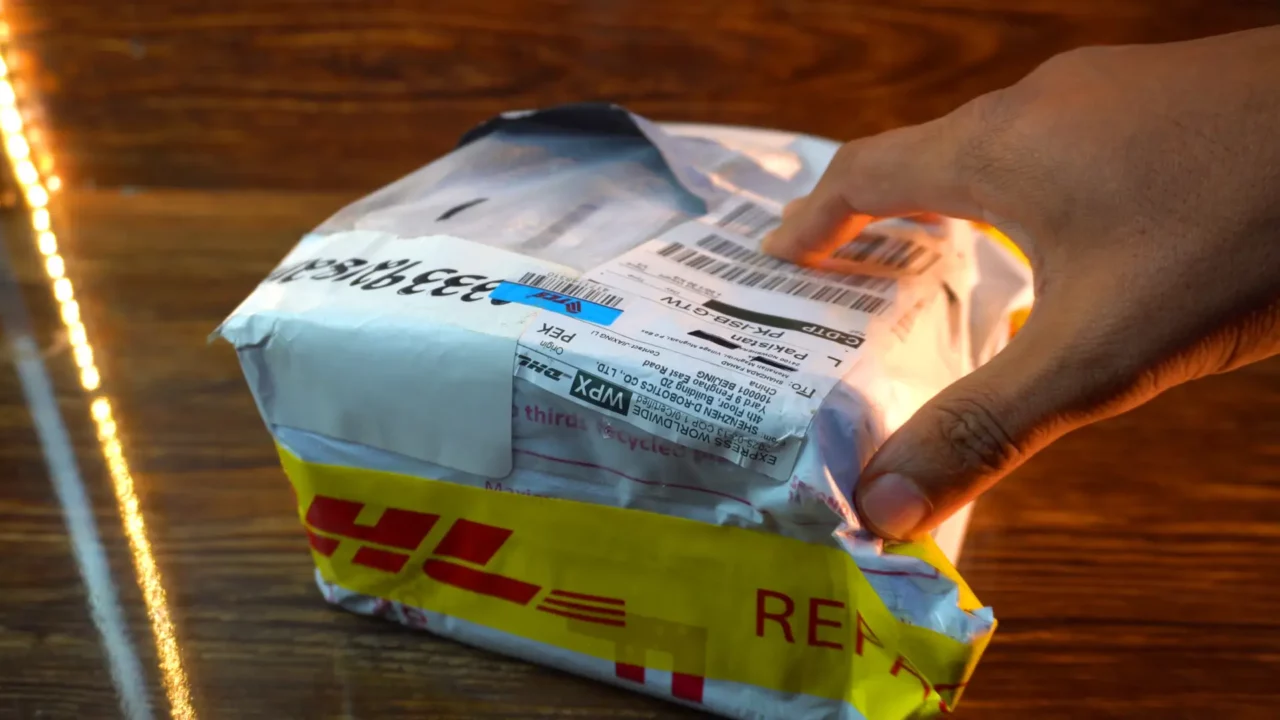
Inside this box is a game-changer for robotics and AI-powered vision. But the real question is… what’s inside? Let’s find out together.
- First up, we have the RDK X3 Case: sleek, sturdy, and designed to keep everything protected.
- Next, the RDK X3 Camera Module; because what’s AI vision without a high-performance camera?
- And finally, the star of the show; the RDK X3 Development board itself!

This kit promises cutting-edge performance for AI, computer vision, and robotics applications.
So first, let’s go through each component in detail, and then we will start assembling!
Amazon Links:
RDK X3 Development Board Official Website
Other Tools and Components:
ESP32 WiFi + Bluetooth Module (Recommended)
Arduino Nano USB C type (Recommended)
*Please Note: These are affiliate links. I may make a commission if you buy the components through these links. I would appreciate your support in this way!
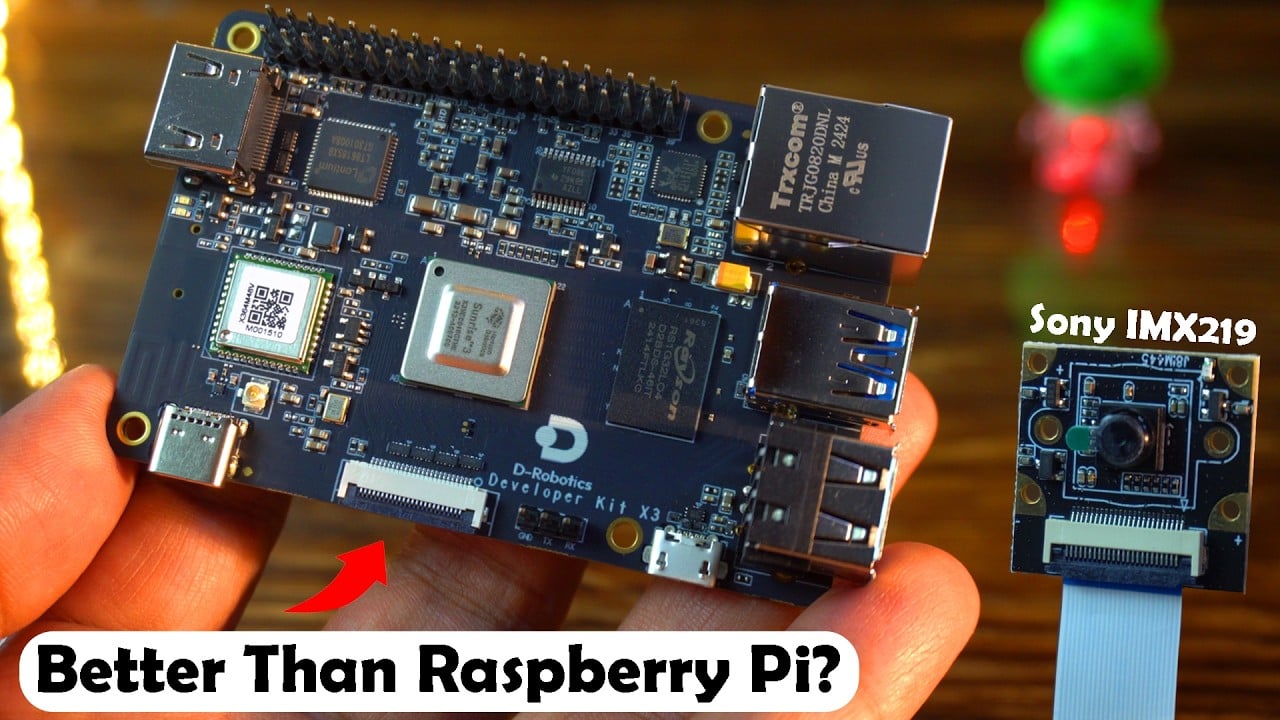
Let’s first start with the D-Robotics RDK X3 Development Board.
RDK X3 Development Board Specifications:
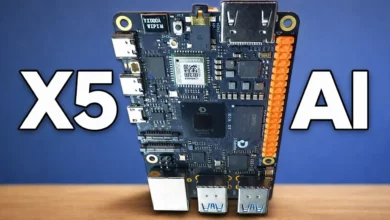
- The RDK X3 is powered by a Quad-core ARM Cortex-A53 processor running at 1.5GHz, coupled with a dual-core Bernoulli BPU delivering an impressive 5 TOPs of AI performance.
- It comes with either 2GB or 4GB of LPDDR4 RAM, ensuring smooth multitasking and AI processing.
- The board supports high-performance multimedia with H.265 (HEVC) encoding and decoding at 4K@60fps, along with 16MP JPEG encoding and decoding.
- For connectivity, it features dual-band Wi-Fi (2.4/5GHz) with 802.11 b/g/n support and Bluetooth 4.2.
Now, let’s take the RDK X3 development board out of the box and go through all its interfaces one by one.”

- Starting with storage, it features a TF card slot for expandable memory.
- USB Type-C Power Port.
- For camera and sensor integration, we have two MIPI CSI 2-lane connectors.
- Debug Headers
- When it comes to USB connectivity, the board includes one high-speed USB 3.0 Type-A port and two USB 2.0 Type-A ports, along with a Micro USB 2.0 device port.
- Networking options include an RJ45 Gigabit Ethernet port for fast wired connections.
- For expansion and interfacing, there’s a 40-pin GPIO header, which aligns with the Raspberry Pi’s PCM signal layout, as well as a dedicated debug UART interface.
- For display output, there’s an HDMI 1.4 port, supporting resolutions up to 1080p@60Hz.
- The system runs on Ubuntu 20.04 or 22.04, making it ideal for AI, robotics, and embedded applications.
- Despite its powerful capabilities, the board remains compact at just 85 × 56 × 20mm and
- is designed to withstand extreme operating temperatures from -25°C to 95°C.
RDK X3 Camera Module:

The RDK Camera is a high-performance module designed specifically for the D-Robotics RDK X3 board. It features;
- The Sony IMX219 image sensor with an 800W (8MP) rolling shutter, ensuring excellent image quality and stability with a 77° field of view.
- The camera connects via a CSI interface using a 24P-FPC connector (0.5mm pitch) for high-speed and reliable data transmission.

- Its compact design and strong compatibility with the RDK X3 make it ideal for AI vision, robotics, and edge computing applications.
Whether in low-light conditions or high dynamic range scenarios, the RDK Camera delivers clear and detailed images, helping accelerate innovation in your projects.
RDK X3 Case:
The RDK X3 Case is a sturdy, full-metal black enclosure designed for the D-Robotics RDK X3 development board. Its durable construction provides excellent heat dissipation, helping to keep the board cool and extend its lifespan. The case has precisely placed openings for easy access to ports and antennas, ensuring stable connectivity. It is easy to assemble and disassemble, secured with four screws.

The RDK X3 Development Board is now completely ready!
Next, we need to flash the operating system onto the SD card. So, let’s do it!
Installation:
First, you need to visit this page.
https://d-robotics.github.io/rdk_doc/en/Quick_start/install_os/rdk_x3/
Scroll down until you find the image download section and make sure RDK X3 is selected. Do not select the RDK X3 Module.
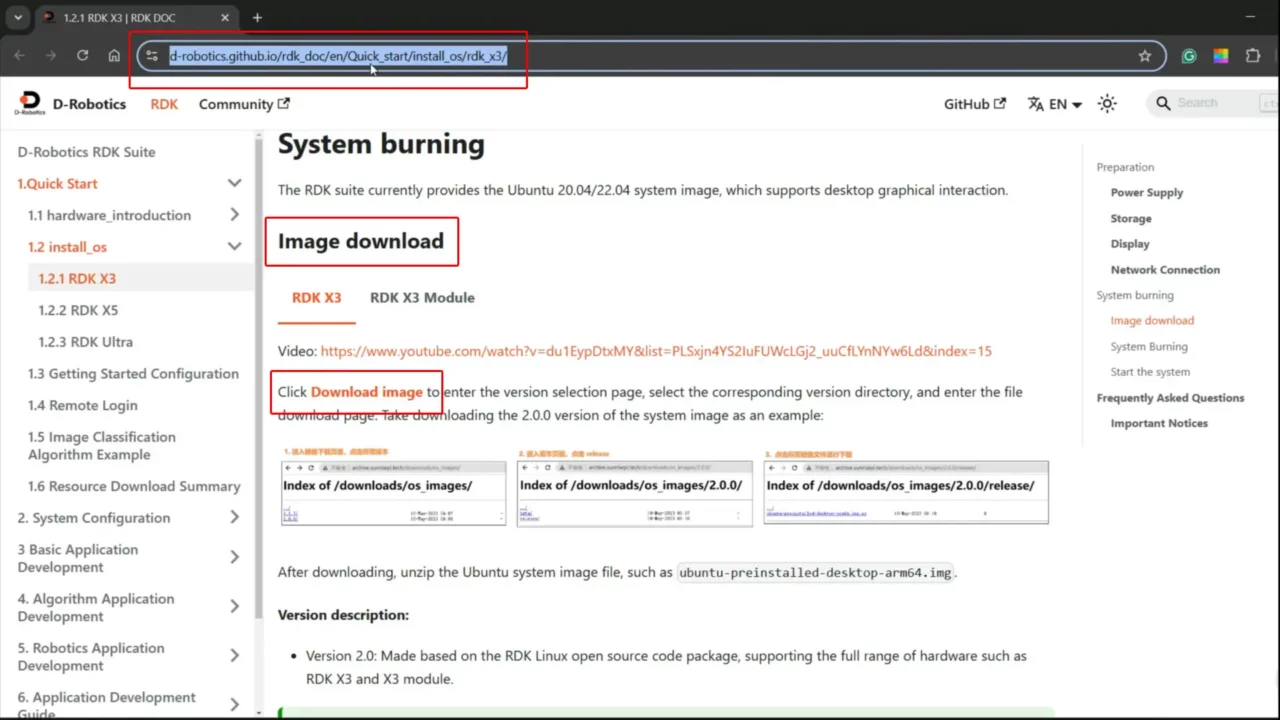
Once RDK X3 is selected, go ahead and click on Download Image.
You will see three types of operating system images:
rdk_ultra
rdk_x3 and
rdk_x5
You need to click on rdk_x3.
After clicking on rdk_x3, select rdk_os_2.1.1-2024-08-29.
Now, click on Release.
Here, we need to install the desired operating system. You can see that we have both Desktop and Server versions available.

For now, let’s go ahead and download the Preinstalled Desktop Version.
While your operating system is downloading, go ahead and download and install the BalenaEtcher software as well.

We will use this software to flash the image file onto the MicroSD card.
The Ubuntu operating system image I downloaded was in compressed format, so first I extracted it.
Once the file was successfully extracted then the operating system was ready to be flashed onto the SD card. For this I used the BalenaEtcher software which I had already installed.

Flashing the OS Image:
- Click on “Flash from file”.
- Browse to the location where you extracted the operating system image file, select it, and click Open.
- Next, click on “Select target”.
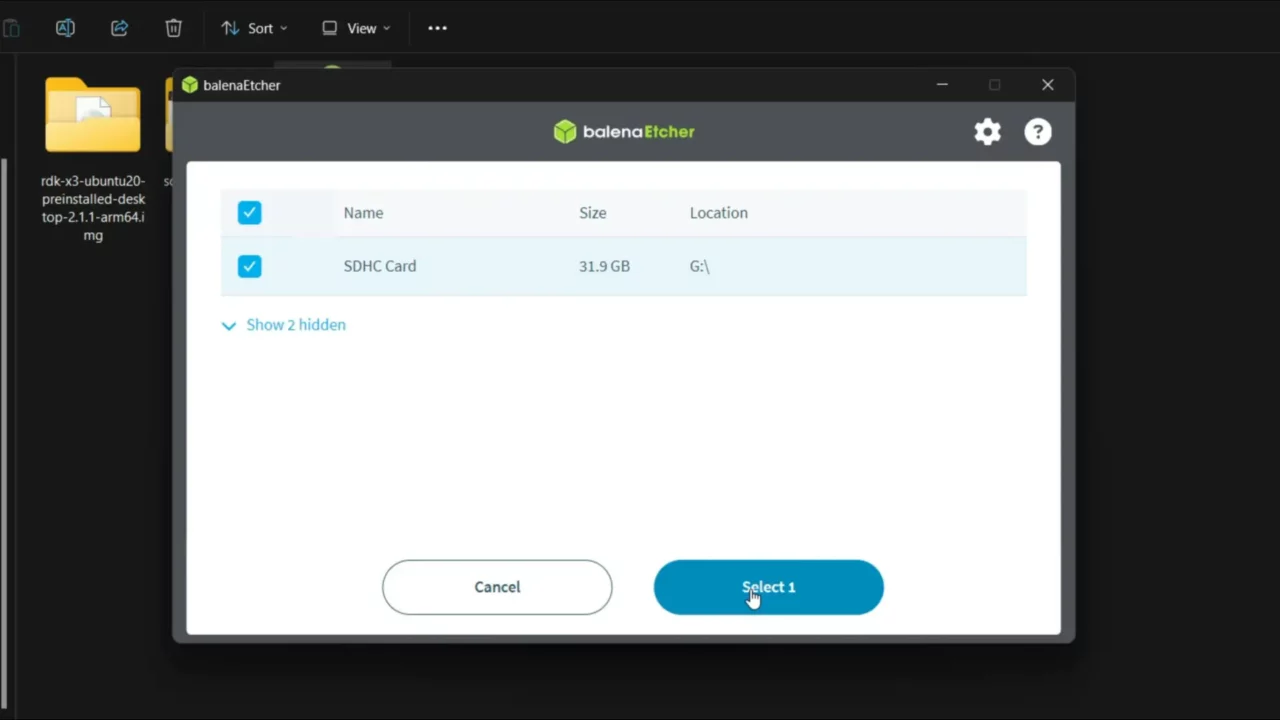
- I have already inserted the MicroSD card into my laptop, so I will select it.
- Finally, click the “Flash!” button.

As you can see, the operating system has been successfully flashed onto the Micro SD Card.

Insert the microSD card into the microSD card slot on the RDK X3 Development Board.
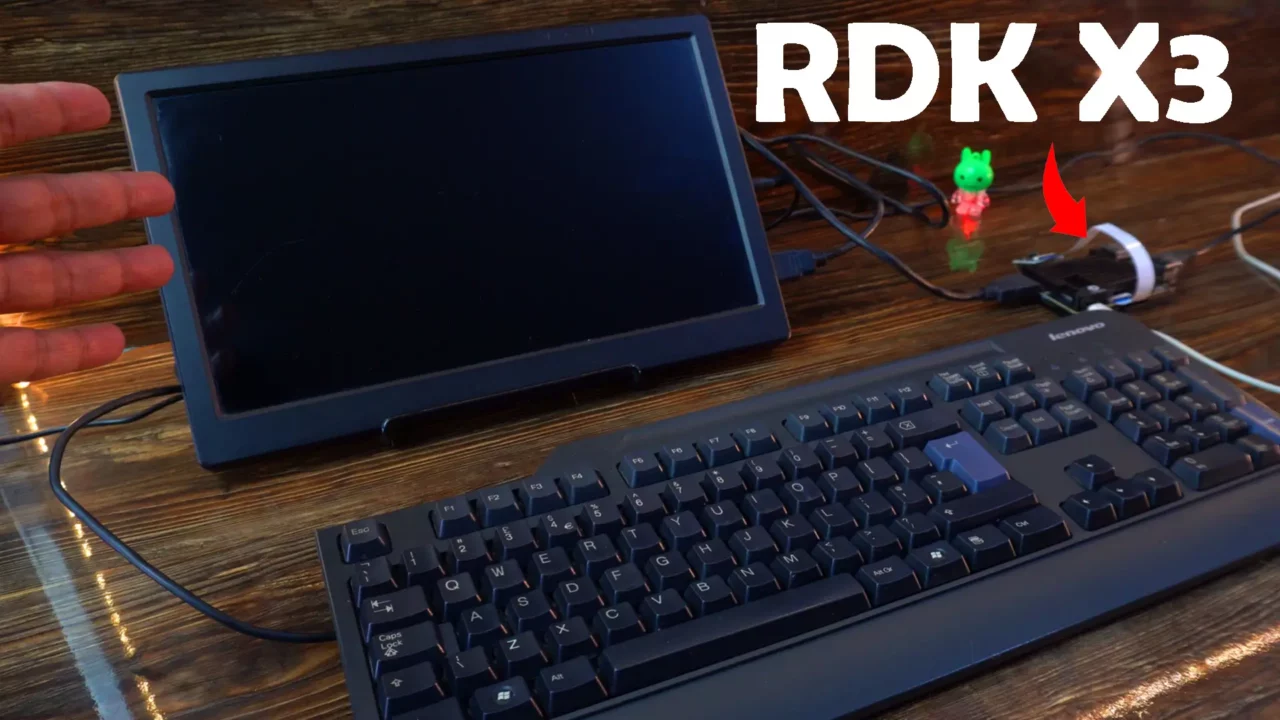
I also connected this monitor to the RDK X3 Development Board using an HDMI cable. I have made a detailed video on the unboxing, review, and testing of this screen. Apart from that, I have also connected this keyboard. Now, it’s completely ready to power on.

I am going to use this 12V, 3A adapter that comes with a DC barrel jack. But the issue is that there is no DC female barrel jack on the RDK X3 Development Board. For the power supply input, it has a USB-C port, so I will have to use a USB cable. For this, I am going to use my designed 5V, 3A power supply.
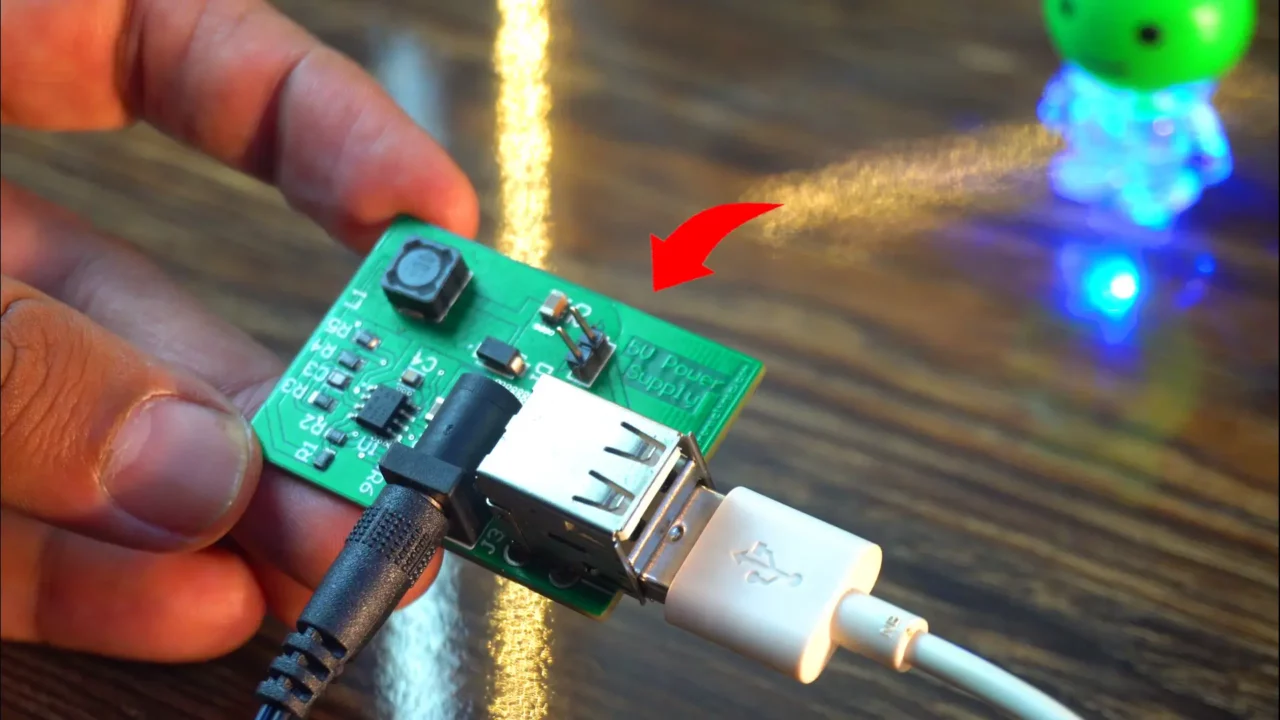
I have added two USB ports, so I can use any type of USB cable. I have used it in countless projects, and it works exceptionally well.
Let’s power it up.
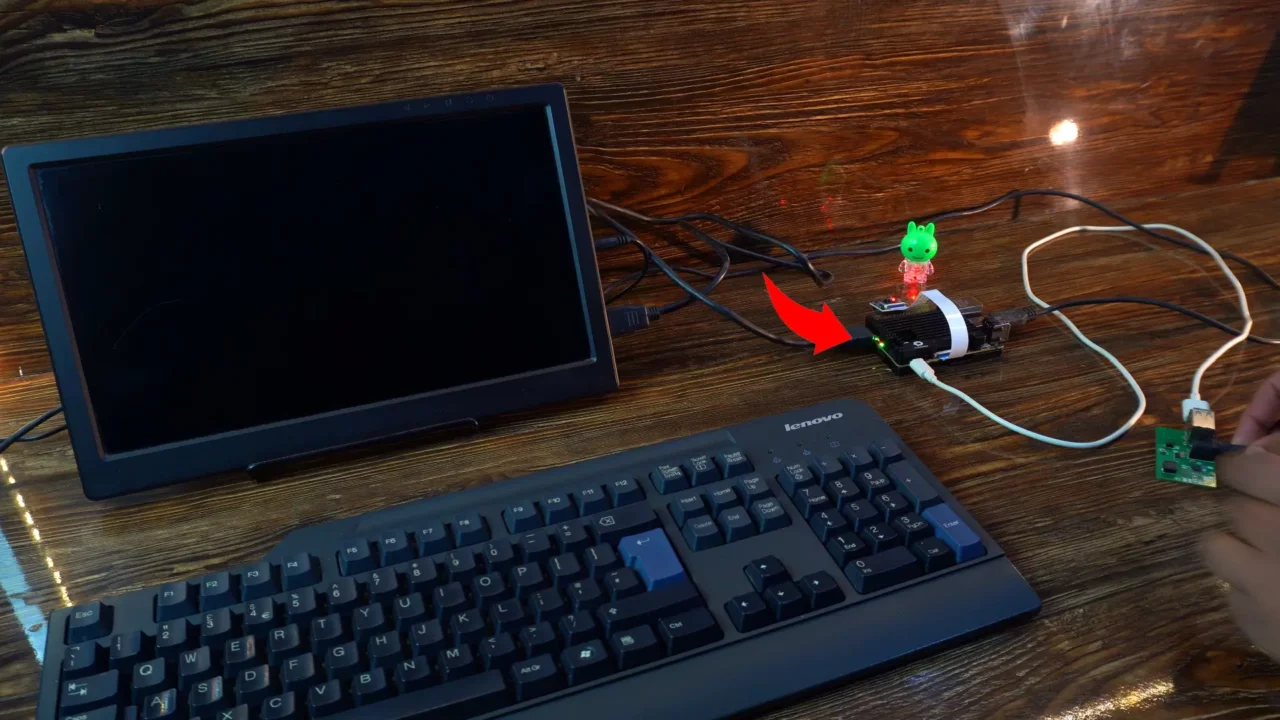
You can see the red and green LEDs are turned ON. Wait for a few seconds… Once the Green color LEDs start blinking, it means the operating system is booting up and everything is fine.
Just give it a few more seconds. The system is initializing in the background, setting up all necessary processes, and getting everything ready for use. You don’t have to do anything—it handles everything automatically.

Also, I didn’t have to do anything, and I’m already on the desktop! Seriously, I wasn’t expecting this at all. I thought I would have to go through multiple steps, but it booted directly to the desktop. Amazing!
I have also connected the mouse, and before doing anything else, let’s connect the RDK X3 Development Board to WiFi. Here, you can see it has displayed the available WiFi networks. So, I am going to click on my WiFi network.
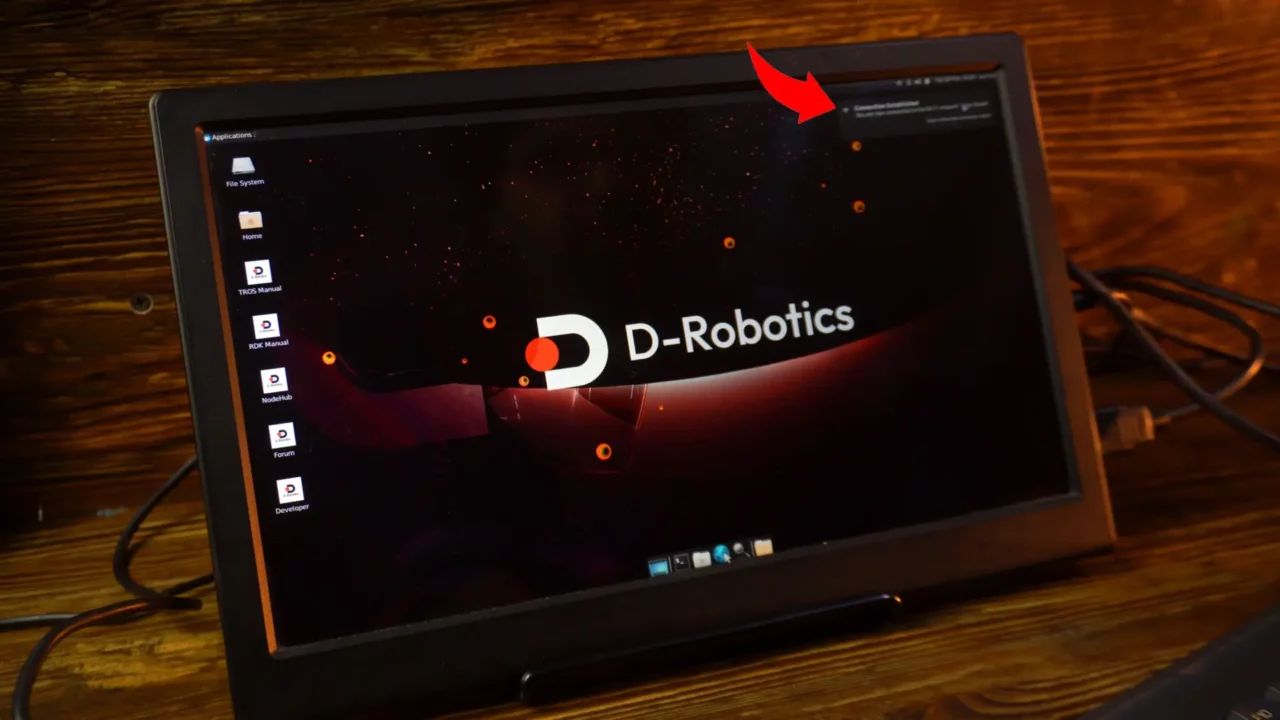
As you can see, it has successfully connected to the WiFi network. After that, I also checked D-Robotics’ developer page online. And not just that; I even played some videos on YouTube using this development board.
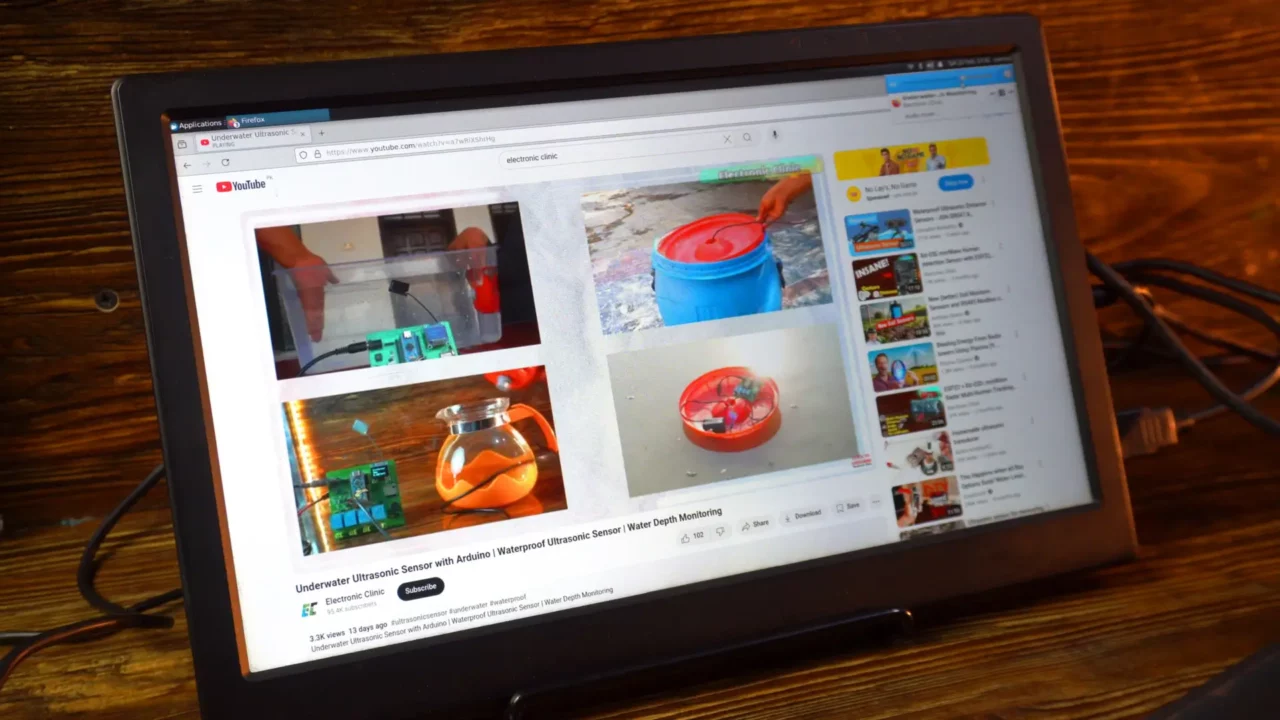
Isn’t it cool? While working on a project, we can play a tutorial video, listen to our favorite singer in high-quality HD, watch a movie, and, honestly, watching a documentary on this feels like a whole different experience!
If you go to the applications on the Top Left corner, you will find
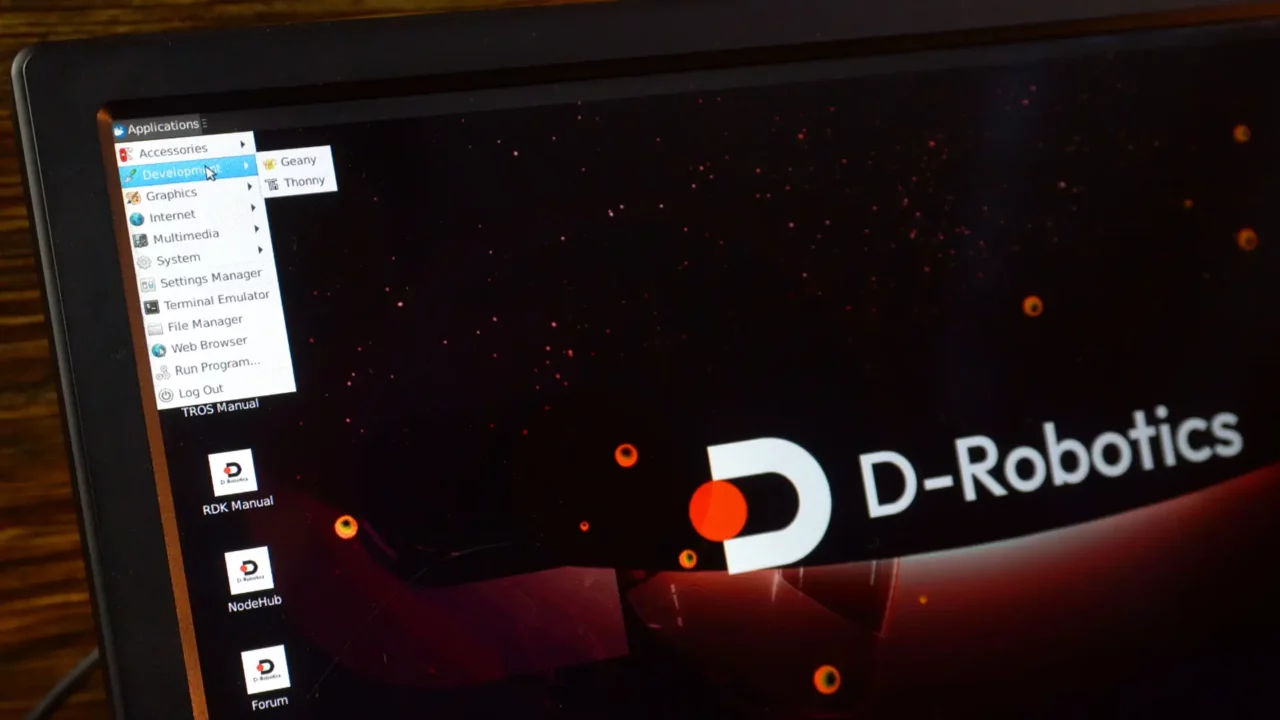
Accessories
Development
Graphics
Internet
Multimedia
System
Settings manager
Terminal Emulator
Web Browser
Run Program, and Log Out
If I click on Log Out, I can simply Log Out, Restart, and Shut Down the RDK X3 Development Board.
Apart from this, if you want to write a Python program, you can use Thonny IDE. I have created many projects using Thonny IDE, and very soon, we will be building some amazing projects using the RDK X3 Development Board.
Personally, I really liked the D-Robotics RDK X3 Development Board because, first, it is compact in size, completely portable, and quite affordable as well.
So, that’s all for now.
Watch Video Tutorial:
Discover more from Electronic Clinic
Subscribe to get the latest posts sent to your email.