GIT history and GIT installation with complete explanation
Last Updated on February 15, 2022 by Engr. Shahzada Fahad
Table of Contents
Description:
GIT History and GIT installation– In this article, I am going to explain everything super simple way, I will be covering git history, how to download git, and then how to install git. So, let’s get started!!!
History of Git:
Like so many other great software products, the Git system started with a little creative destruction and a lot of controversies.
The Linux kernel is an extremely large open-source software project. In the history of Linux kernel support, program changes have long been transmitted as patches and archived files. In 2002, the Linux project started using its own distributed version control system DVCS system, called BitKeeper.
In 2005, the relationship between the Linux kernel development community and the commercial firm that created BitKeeper was severed and the free use of this version control system became impossible, prompting the Linux developer community (and in particular the operating system’s creator, Linus Torvalds) to start working on their own tool, taking some of BitKeeper’s ideas as a basis. Here are the goals for the new system:
- Performance
- Simple design solution
- Powerful support for nonlinear development (thousands of parallel branches)
- fully distributed system
- The ability to work efficiently (in terms of speed and volume of data) with large projects such as the Linux kernel.
Since its inception in 2005, Git has evolved and improved in an effort to achieve ease of use while retaining its original characteristics. It’s incredibly fast, extremely efficient for large projects, and has an amazing branching non-linear development system.
Download and Install git on Windows:
First of all, let’s check do we have git? let’s open the command prompt and type git
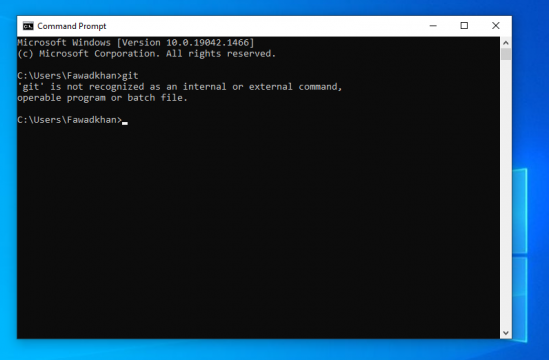
As you can see we don’t have git
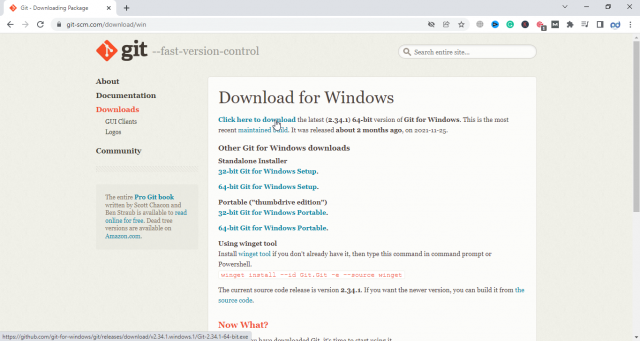
Now we need to go to the git main site, you can google it and click on the first link

and then click on download for windows and the latest source version is 2.34.1

Now download the setup in my case, I’m using 64-bit and as you can see by default it will be chosen so click on the link and save the file.
Wait for downloading process

When the git downloading process is completed, then open the file and install git. When you click on the downloaded git file it will show a message prompt in that prompt press the yes button.
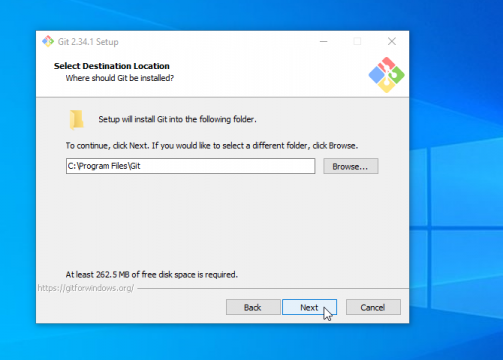
When you click on the yes button, it will show setup wizard windows, in this window set the folder path in my case I leave it as a default, and then simply click on the Next button
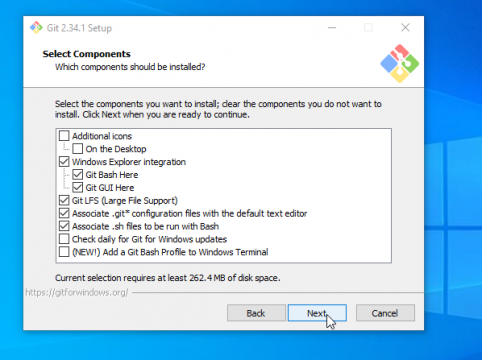
Don’t change anything simply click the next button
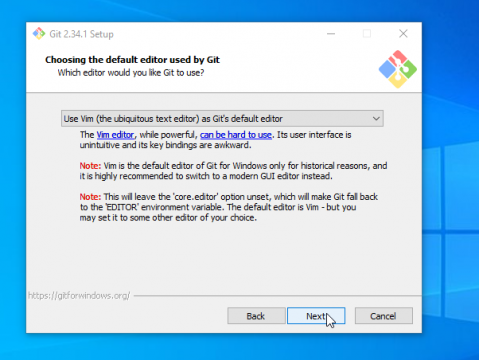
Select the default vim editor and click the next button
I set the default branch name its master

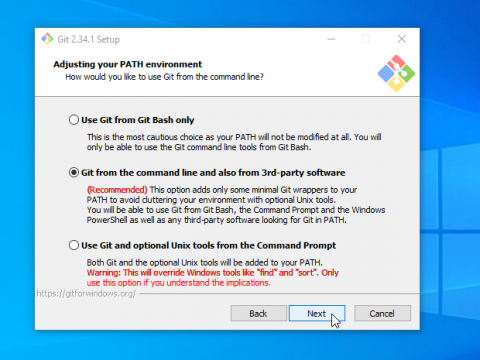
Select the recommended and press the next button
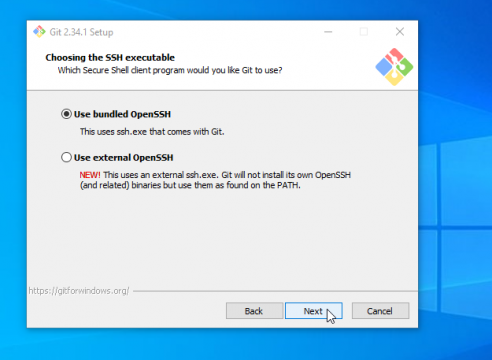
Then select Use bundled OpenSSH and press the next button
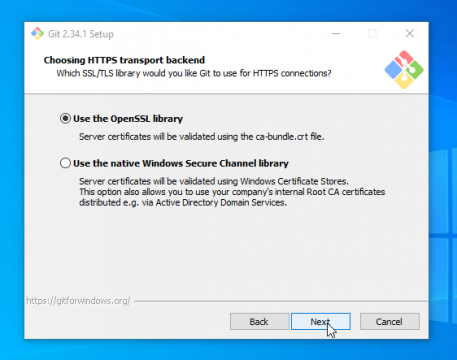
Select the same default one and click the next button
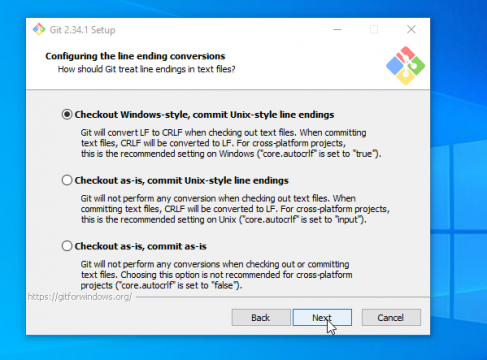
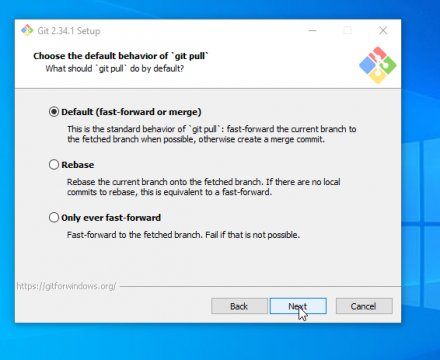
This one is very important it may cause problems with the line ending use default one
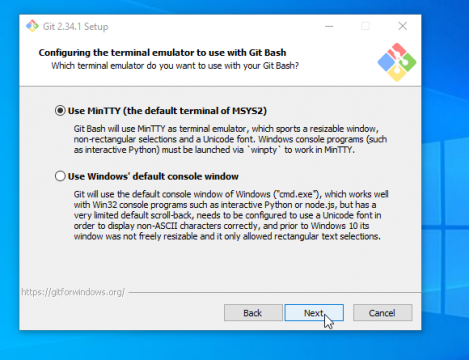
Select the default terminal MinTTY and click the next button
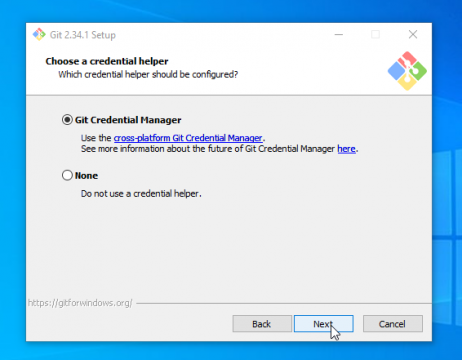
Same select default on and click next
This one isn’t very important, but I use the default one and click next
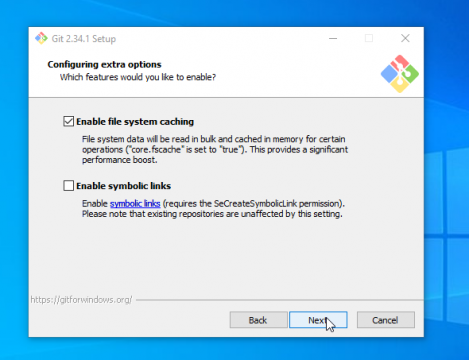
Same select the default and click next
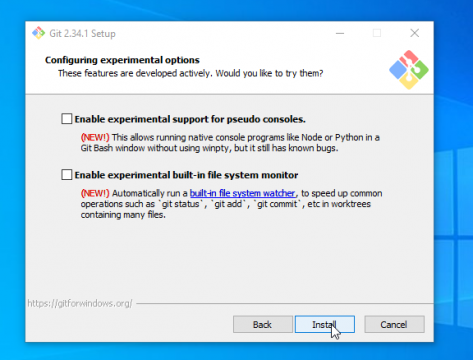
We don’t need to select any one of these simply click install
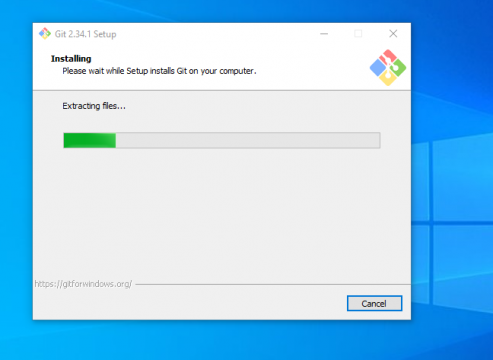
So wait for the git installation process to complete
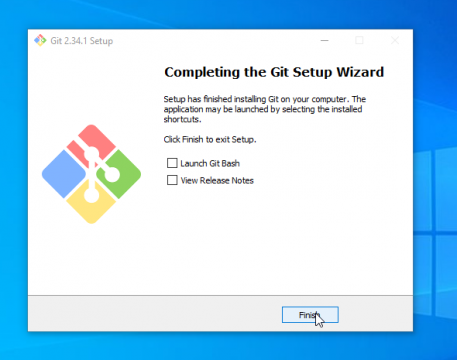
After the git installation process is completed, disable view release notes we don’t need it and click finish.
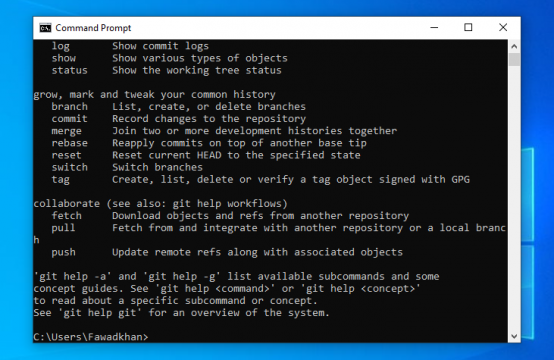
To check whether our git is installed or not; for that simply open the command prompt, and type git, and then press enter

As you can see our git is installed successfully
So our git installation process is completed.
Discover more from Electronic Clinic
Subscribe to get the latest posts sent to your email.