VB.Net Tutorial: Buttons, Labels and TextBox using Visual Basic
Table of Contents
Developing Applications in Visual Basic 2012:
VB.Net Tutorial Visual Basic for Beginners, Visual Basic programming examples- I have been using Visual Basic 2010 express edition for designing VB.net applications for Arduino Sensors data logging and controlling other electrical devices “Check my Arduino + VB.net Projects”. These projects are a little harder for beginners. So, this is the reason I am writing this very basic article about how to get started with VB.net. It is very simple to develop an application using visual basic 2012, it doesn’t matter which version you have, the application designing and visual basic programming are exactly the same, with the newer versions you get some new features and that’s all. Currently, on my system Visual basic 2012 is installed.
So, in this article, I will teach you the very basics including how to create a new project, how to add a form, how to add buttons, how to add text boxes, how to add labels, and so on. I will explain everything with the help of examples.
There are three primary steps involved in building an application.
Drawing the User Interface:
First of all, the user interface is designed. An interface is a means of communication between a program and the user. Windows applications use Graphical User Interface (GUI). The user interacts with the program by clicking buttons and menus, etc. Visual studio provides all facilities for creating an easy and effective graphical user interface.
Setting Properties:
Secondly, the properties of different objects are set. Properties are the attributes of objects in the interface. The properties describe the appearance of the objects. For example, the Name, Width, and Height of a button are its properties.
Attaching Code:
Finally, the code is attached to the objects. Each piece of code is related to a particular event of an object. For example, a piece of code may execute when a button is clicked. Another piece of code may execute when the user moves the mouse over the button.
Example 1: how to create a simple project in Visual basic 2012
The following example explains different steps to develop a VB.Net or visual basic application. It contains one form with one button on it. A message will appear on the form when the user clicks on the button.
Designing the Interface:
- Start Visual Studio.
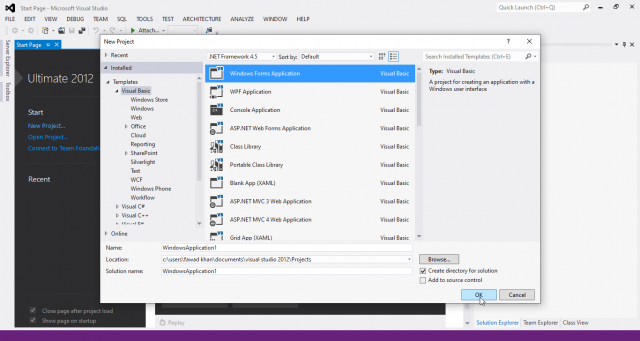
- Click the new project button on the toolbar OR click File > New project. A new project dialog box will appear.
- Click visual basic in the Installed Templates box on the left side of the window.
- Click Windows under the Visual Basic option. A list of templates will appear in the templates pane in the center section of the window.
- Select Windows forms application in the center section of the window.
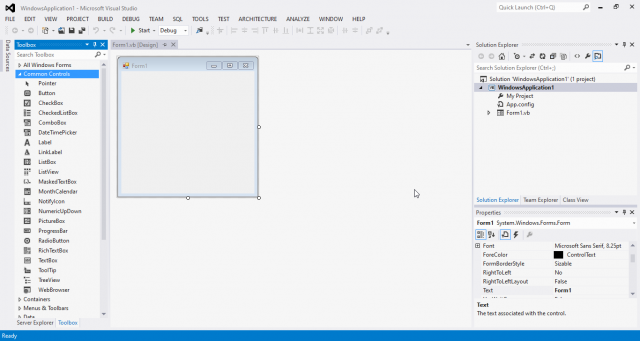
- Type form1 in the Name text box and click OK. A new project will be created and a blank form will appear.
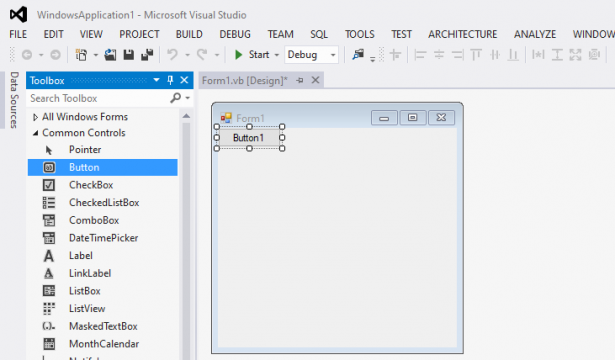
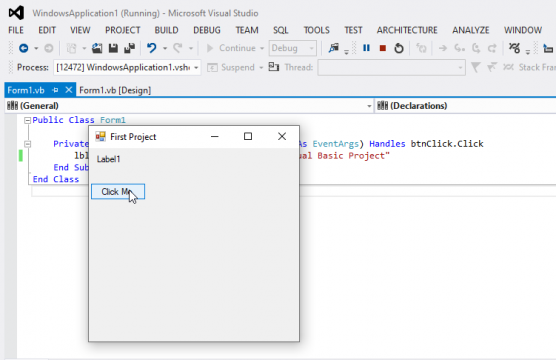
- Double click button control in the toolbox. A button will appear on the top left side of the form with button1 text on it as follows:
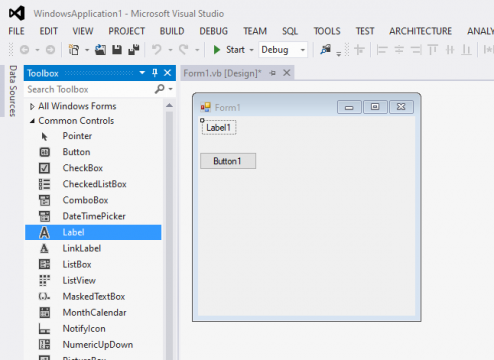
- Double click label control in the toolbox. A label will appear on the form with label1 text on it as follows:
Setting the Properties:
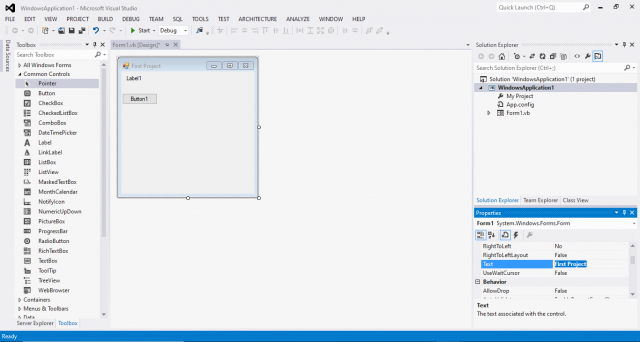
- Click the title bar of the form. The form will be selected and its properties will appear in the properties window.
- Type first project in text property and press enter.
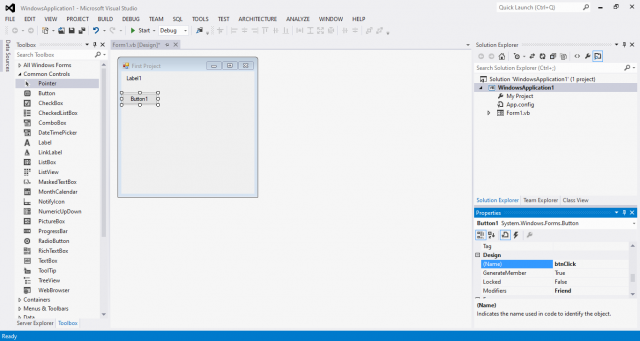
- Click button1. The properties window will display its properties.
- Type btnClick in the name property of the button and press enter. The name property is the identification of an object.
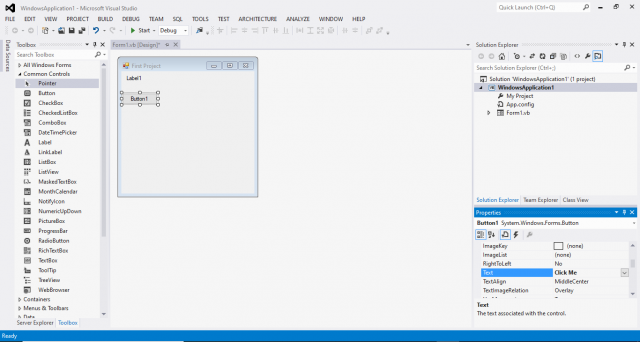
- Type click me in the text property of the button and press enter. The text “Click Me” will appear on the button.
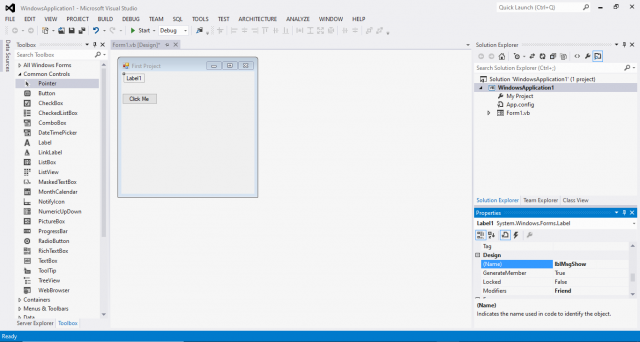
- Type lblMsgShow in the name property of the label and press enter.
Attaching the code:
- Double click the button. The cod window will appear with the cursor blinking between two lines. Then Type the following code between the two lines.
|
1 |
lblMsgShow.Text = "Welcome to our First Visual Basic Project" |
- Click the start icon on the toolbar OR press F5 to run the project.
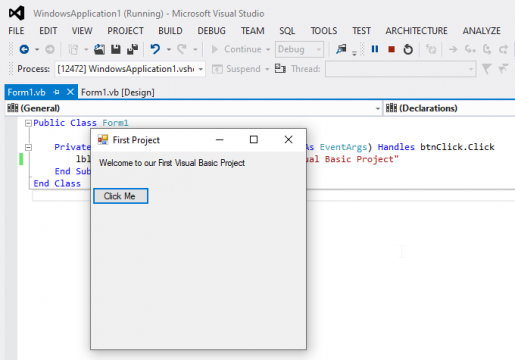
- Click the button. The message “Welcome to our First Visual Basic Project” will appear on the label.
- Click the stop button on the toolbar to stop the project.
Example2:how to show Text in Textbox on the button clicked in Vb.net Visual basic:
The following example uses three basic controls.
- Start a visual studio.
- Click the new project button on the toolbar OR click File > new project…. A new project dialog box will appear.
- Click visual basic in the Installed Templates box to the left side of the window.
- Click windows under the visual basic option. A list of templates will appear in the templates pane in the center section of the window.
- Select windows form application in the center section of the window.
- Type desired name for the application and click OK. A new project will be created with a blank form.
- Double click button control. A button will appear on the form.
- Drag the button with the mouse to the desired place on the form.
- Type click me in text property in the properties window of the button and press enter.
- Type btnClick in the name property of the button and press enter.
- Double click textbox control in the toolbox. A textbox will appear on the form.
- Type ShowMsg in the text property of the textbox.
- Move the textbox at a proper place by dragging it with the mouse.
- Double click label control in the textbox. A label will appear on the form.
- Move it to a proper place by dragging it with the mouse.
- Type “Electronic Clinic in the text property of the label.
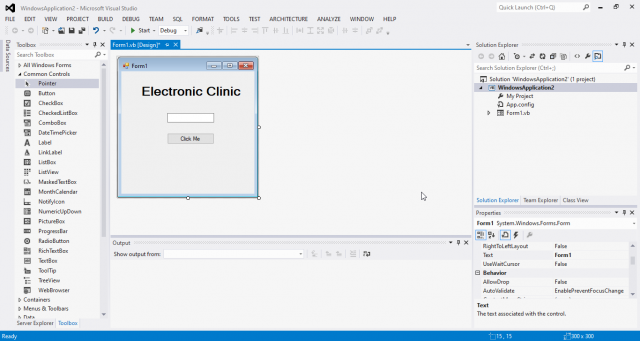
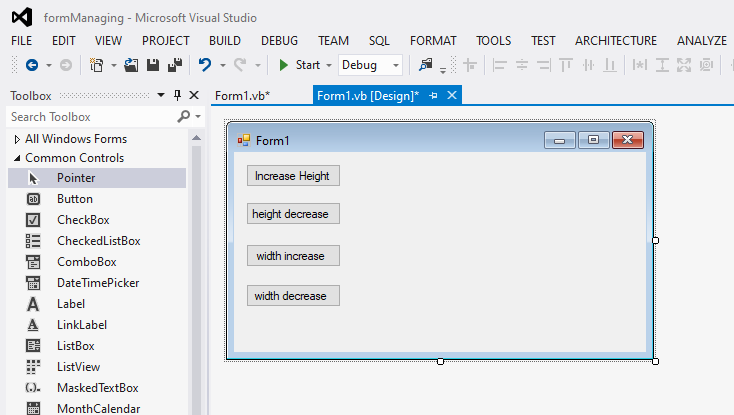
- Design the form as follows:
- Double click the button. The code window will appear.
- Type the following code in the click event of the button.
|
1 |
ShowMsg.Text = "button clicked" |
- Press F5 to run the project.
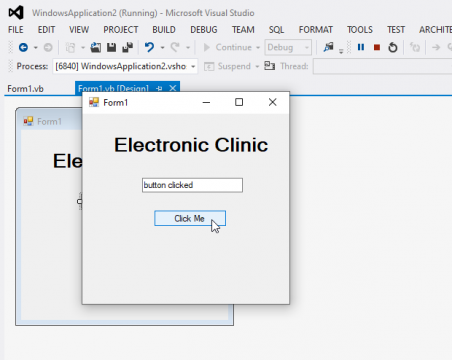
- Click button. The text “button clicked” will appear in the textbox.
How it Works?
In the above example, the statement ShowMsg.Text. The text refers to the contents of the textbox. The following statement stores the string “Electronic Clinic” in the textbox.
|
1 |
ShowMsg. Text = “Electronic Clinic” |
