Micropython on ESP32 Getting Started Tutorial
Last Updated on August 24, 2024 by Engr. Shahzada Fahad
Table of Contents
MicroPython on ESP32:
Micropython on ESP32 Getting Started Tutorial- In today’s article, you will learn how to get started with MicroPython on ESP32 using Thonny IDE. I will guide you through the step by step process of how to install MicroPython firmware on the ESP32 and how to program your ESP32 development board with MicroPython using Thonny IDE. In the end, we will also write LED blinking program using MicroPython.
New! ESP32 MicroPython Projects for Beginners

MicroPython is a lightweight version of the Python programming language that is specifically designed for microcontrollers and embedded systems. It provides a high-level programming interface that allows developers to write code in Python and execute it directly on microcontrollers.
The ESP32 is a powerful microcontroller board that is widely used in IoT (Internet of Things) projects. It features a dual-core processor, built-in WiFi and Bluetooth capabilities, and a wide range of GPIO pins, making it ideal for a variety of applications. By installing MicroPython on ESP32, you can take advantage of its powerful features and easily develop IoT projects.
Thonny IDE is an easy-to-use Python IDE (Integrated Development Environment) that provides a simple and intuitive interface for writing and running Python codes. I am already familiar with Thonny IDE and MicroPython because I have been using these with Raspberry Pi Pico, ESP32 Camera, and Raspberry Pi. Thonny IDE is specifically designed for beginners and educators, but it also offers advanced features for experienced developers. Thonny IDE supports various platforms, including Windows, macOS, and Linux, making it accessible to a wide range of users.
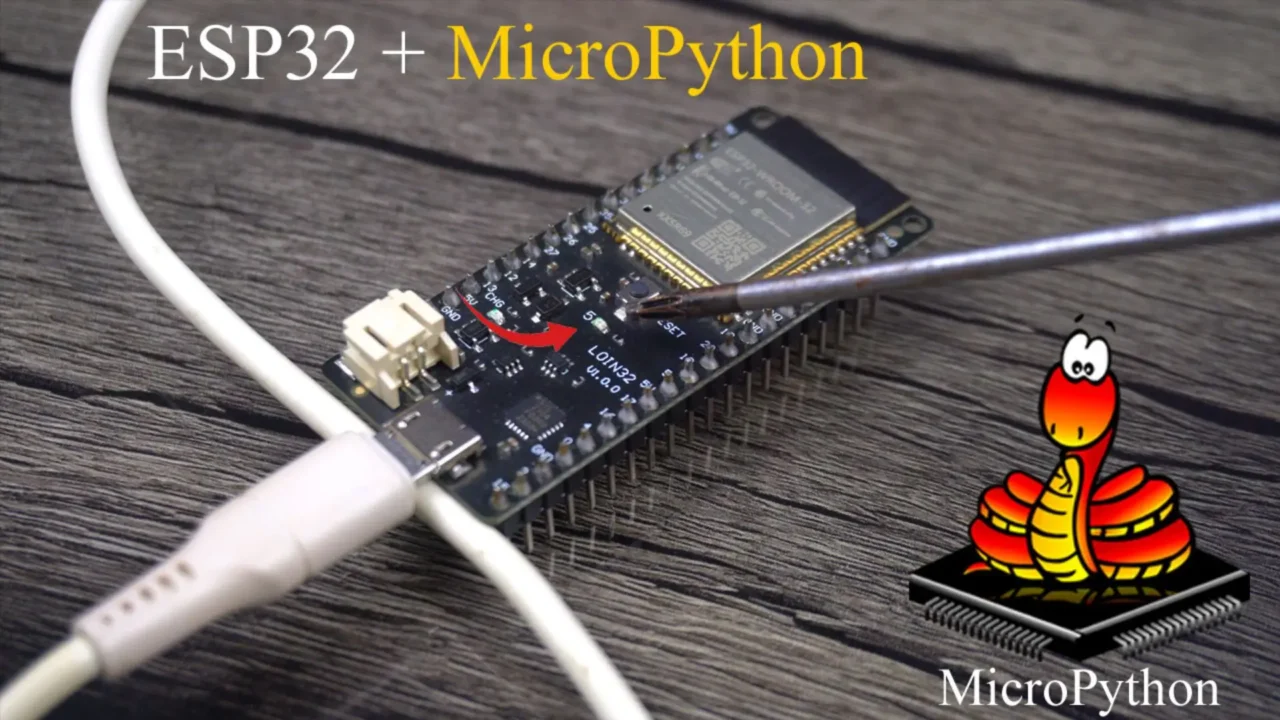
Before we begin the installation process, make sure you have an ESP32 board.
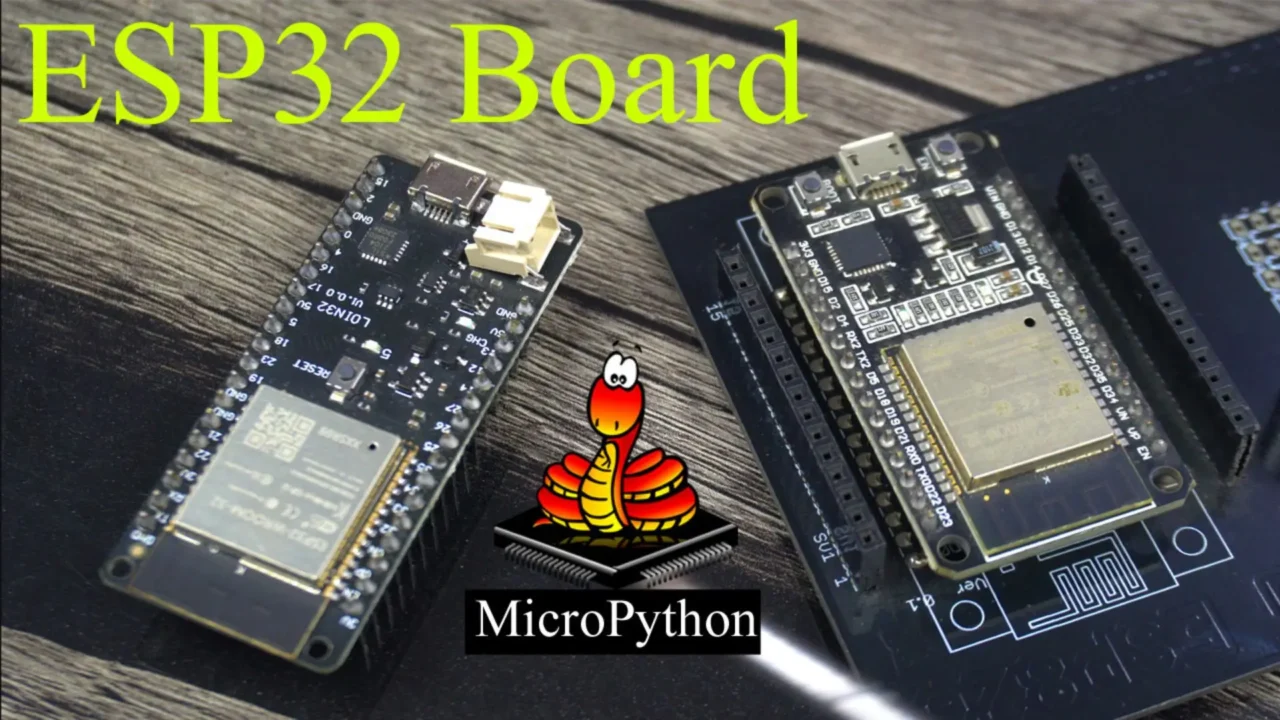
There are different variants of the ESP32 boards. As you can see, I have these two different boards, and I can select either of them. However, personally, I prefer this one.
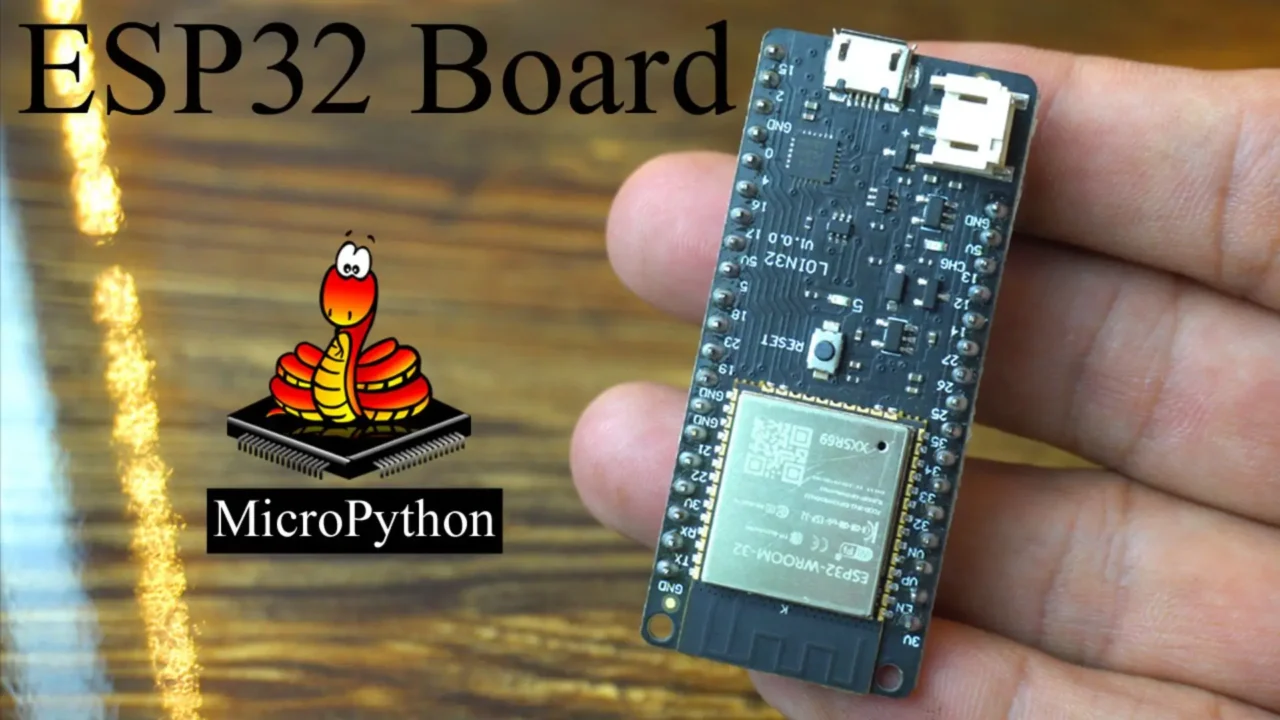
If you check my ESP32 based projects, you will see that I have been using it for years. Because its build quality is good, it is also durable, you can connect a Lipo battery with it, and it has more GPIO pins. So, I highly recommend getting yourself a pair of these ESP32 boards. I have added the Amazon Link to the same exact ESP32 board below.
Anyway, you will also need a USB Cable. And a computer with Thonny IDE installed. So, without any further delay, let’s get started!!!
Amazon Links:
ESP32 WiFi + Bluetooth Module (Recommended)
*Disclosure: These are affiliate links. As an Amazon Associate I earn from qualifying purchases.
Steps to Install MicroPython on ESP32 Using Thonny IDE

I have already installed Thonny IDE, its installation is very simple. Whenever you install Thonny IDE, try to install its latest version. I don’t know which system you have, but when you install Thonny IDE, you will get an idea. Thonny IDE installation is like other software installations.
MicroPython Firmware:
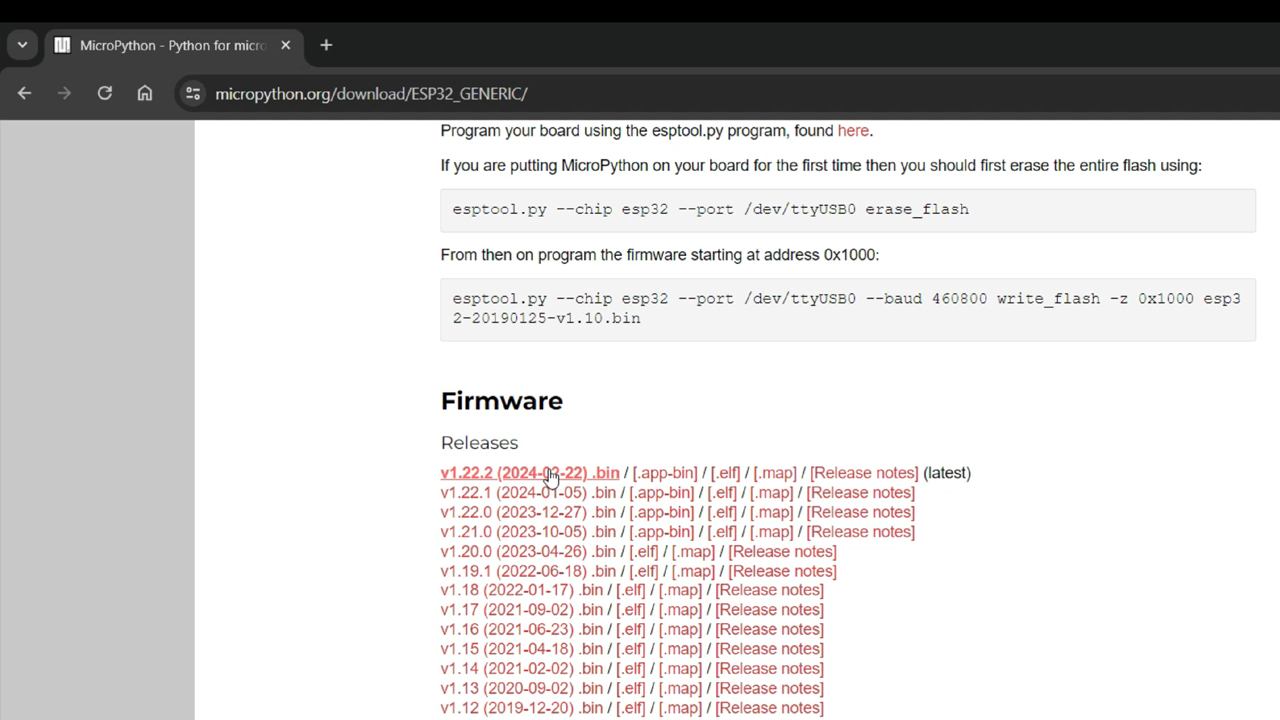
After installing Thonny IDE on your Laptop; next step is to Download the MicroPython Firmware.
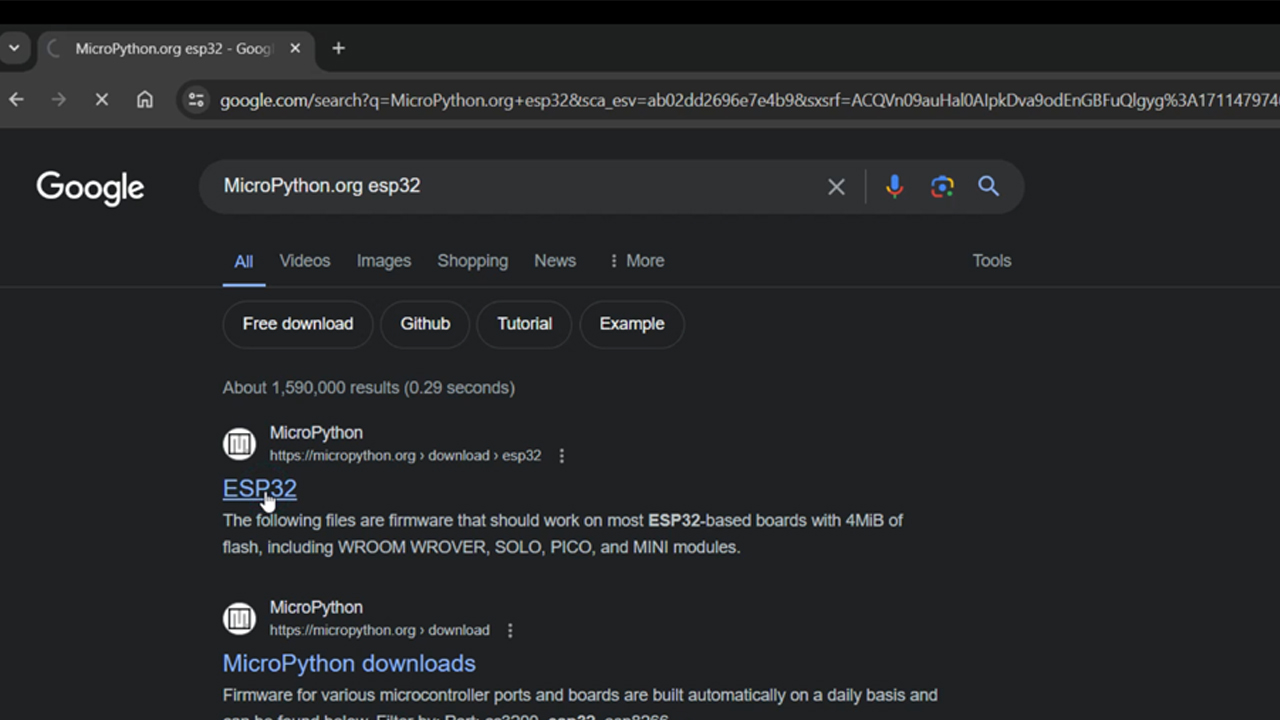
For this visit the MicroPython Download page and download the Latest MicroPython Firmware for your ESP32 board.
Next, press and hold the boot/Reset button on the ESP32 Board and connect it to your Laptop or PC.
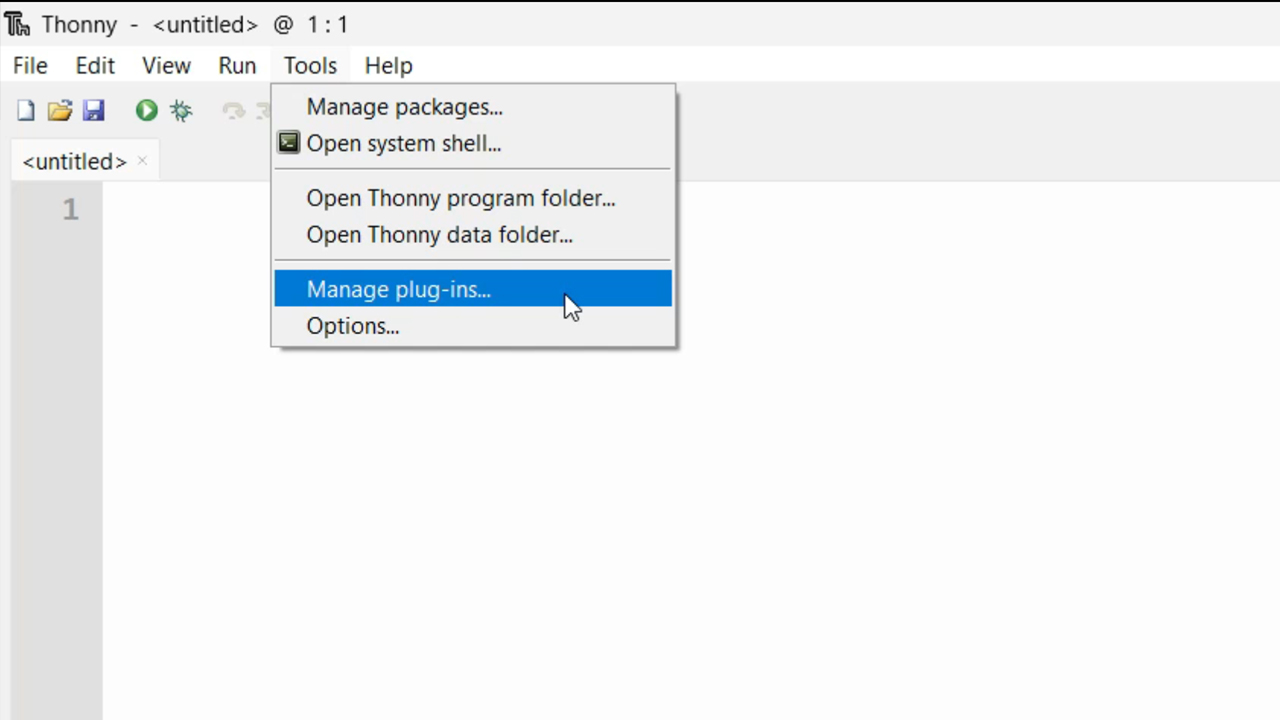
Next, Open the Thonny IDE and Install esptool. Thonny IDE requires the esptool utility to flash Micropython onto the ESP32. For this, simply go to the Tools Menu and then to Manage plug-ins.
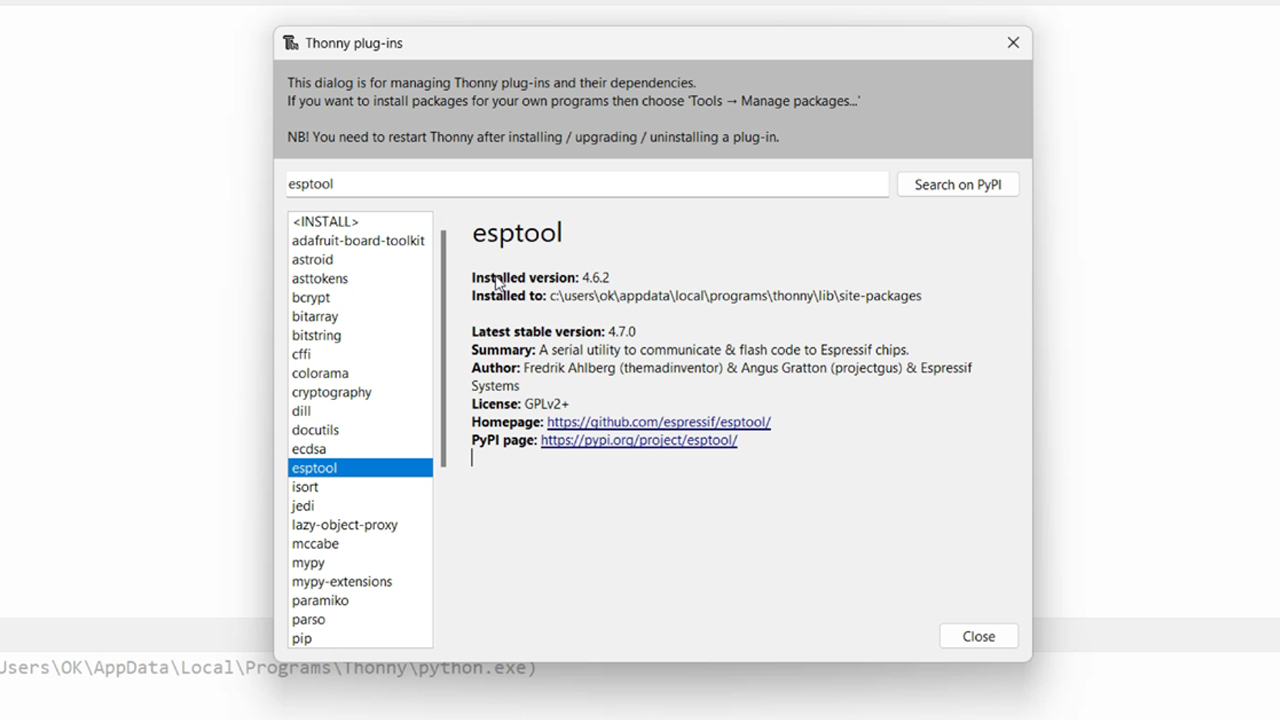
Search for the esptool. From the search results, click on the esptool.

You can see, esptool is successfully installed.
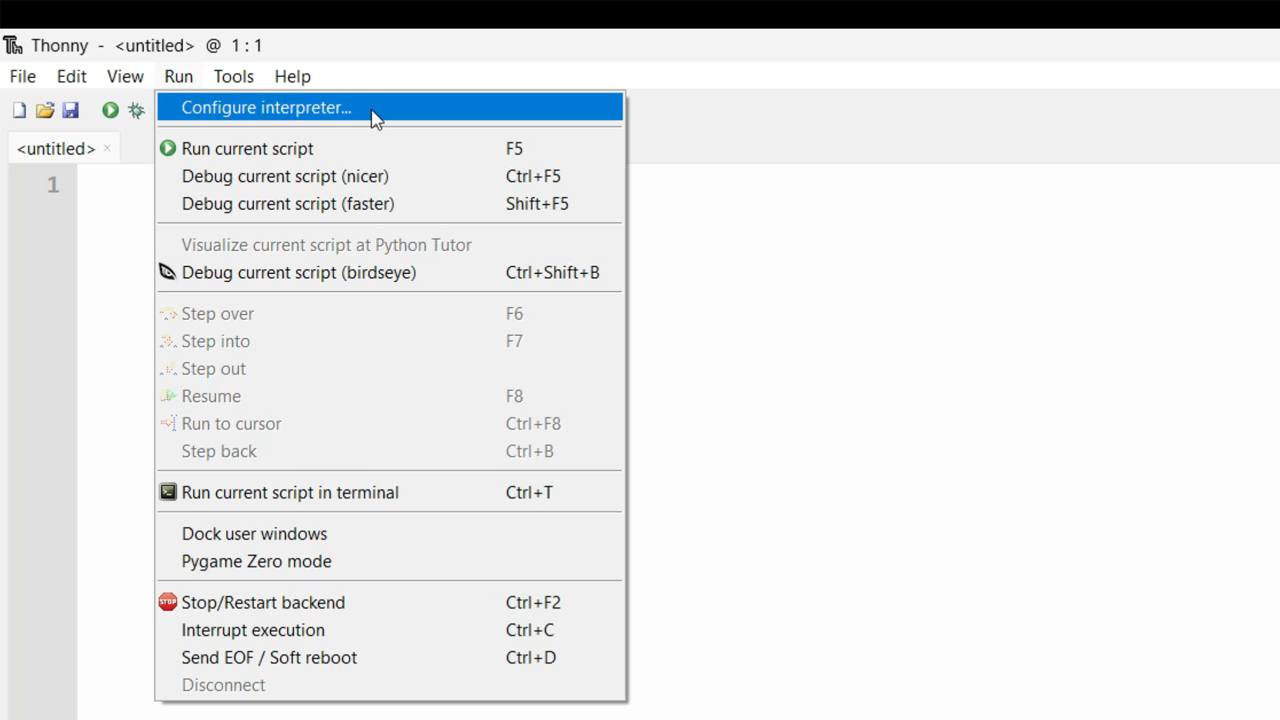
Now, we can install MicroPython Firmware on ESP32. For this go to the Run Menu and click on Configure interpreter.
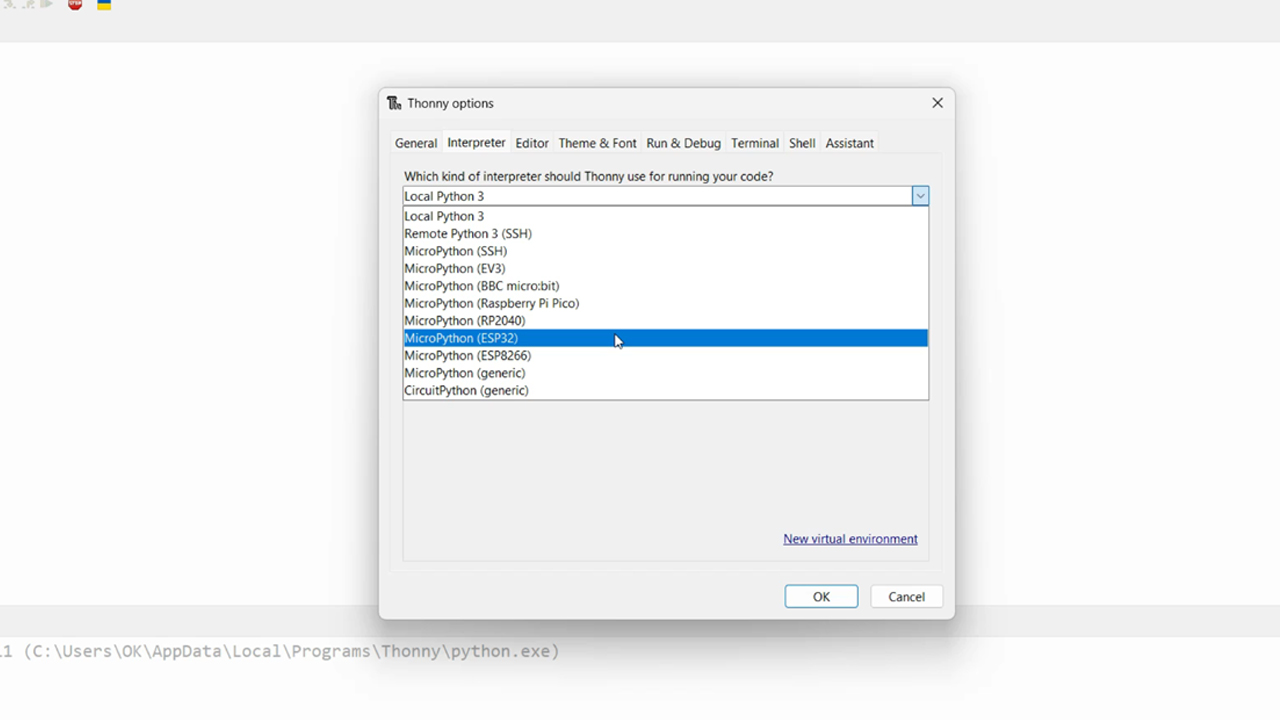
On the Thonny options and while the interpreter is selected. You can see its asking about “Which kind of interpreter should Thonny use for running your code?
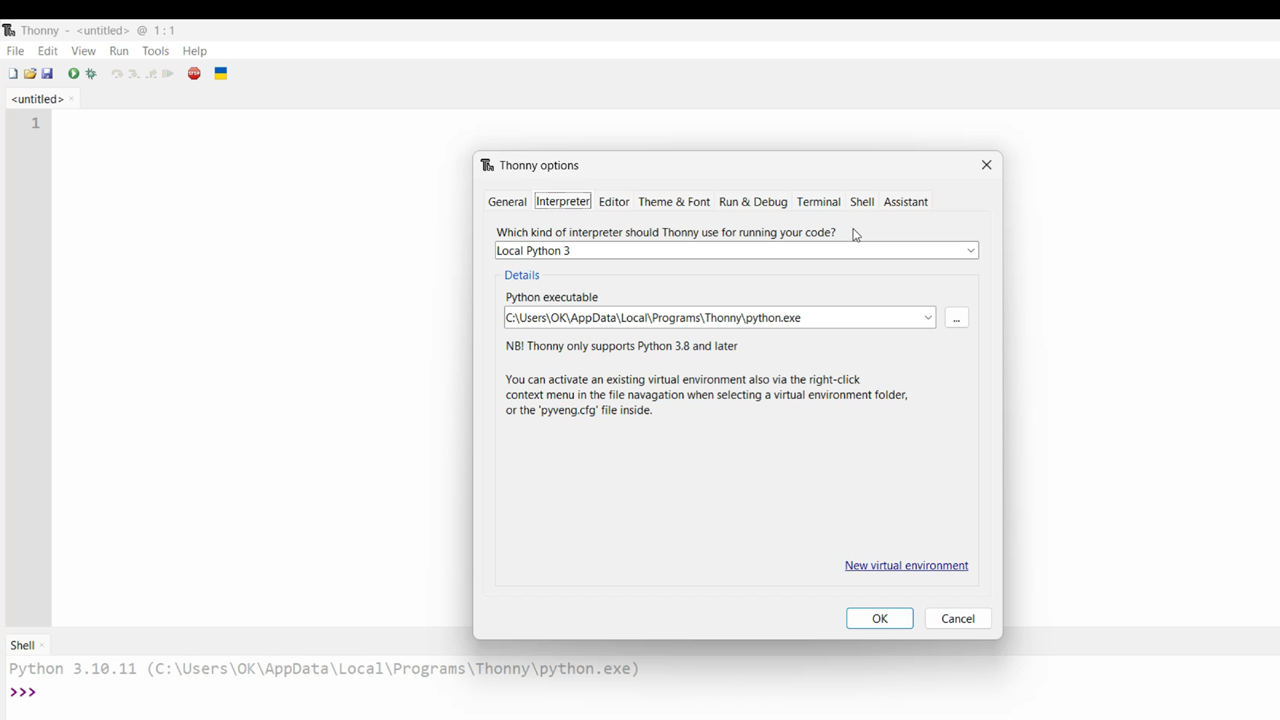
Since, we are doing it for the ESP32, so, we are going to select MicroPython(ESP32).
Next, select the port your ESP32 board is connected to.
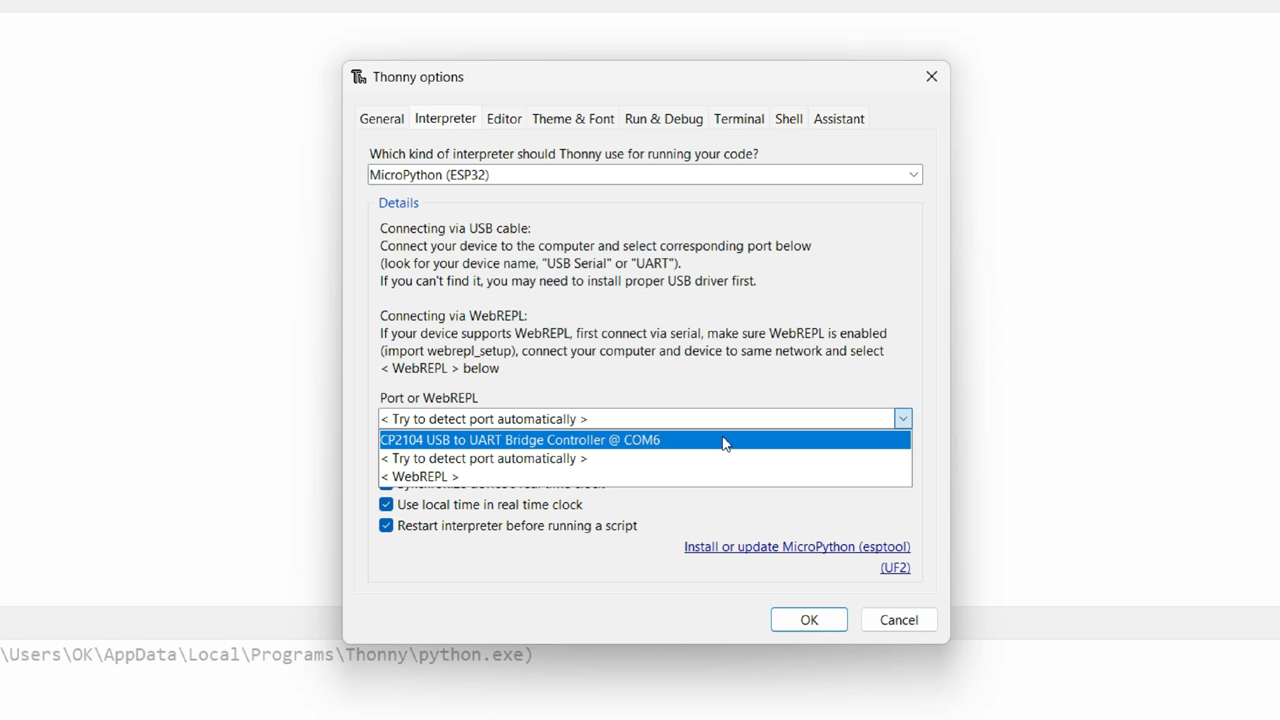
Next, click on install or update MicroPython(esptool).
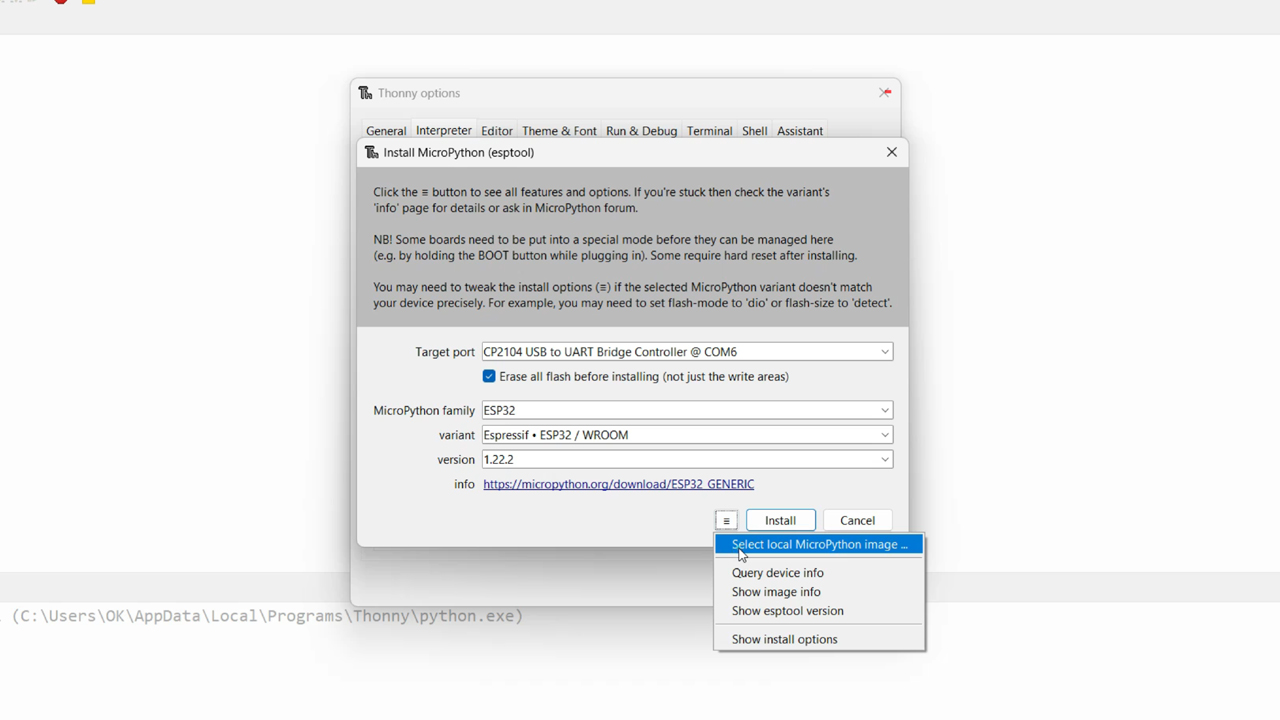
Fill-in all the fileds and Click on the button with the “three bars icon” next to the Install button. Select local MicroPython image.
Browse to the firmware file > select it and then click on the Open button.
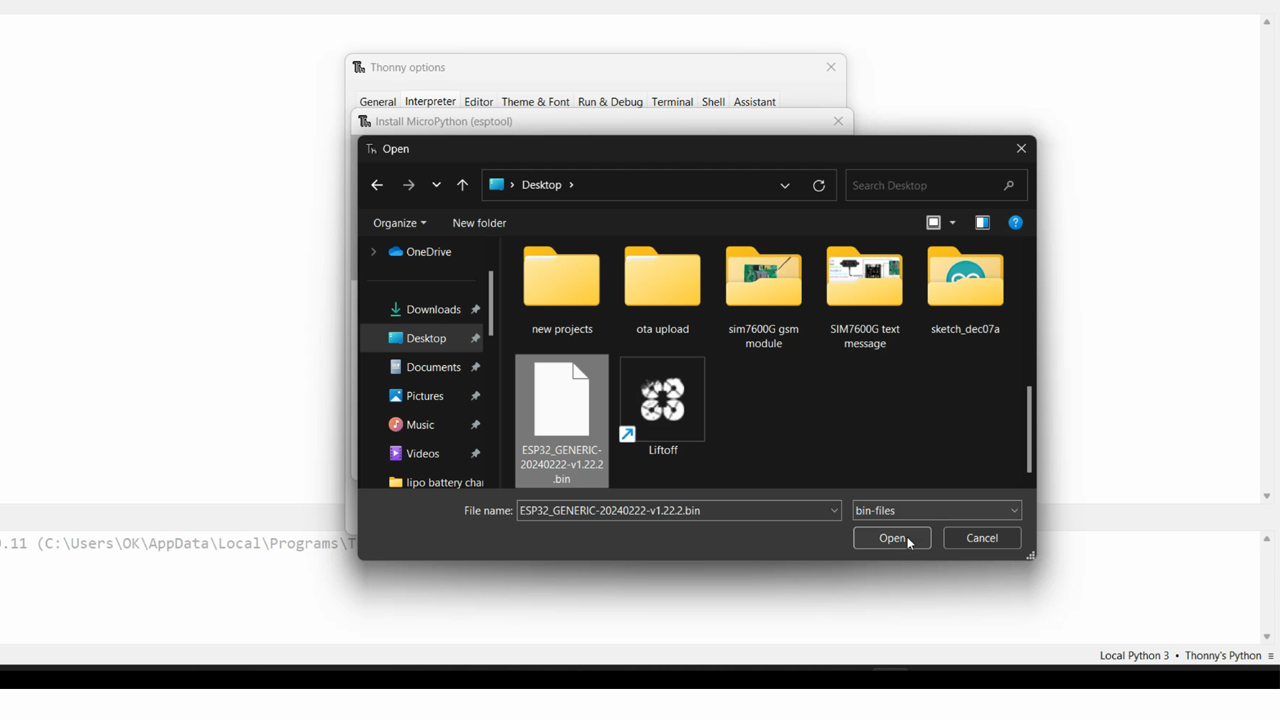
Finally, click on the install button, the ESP32 MicroPython firmware installation will start.
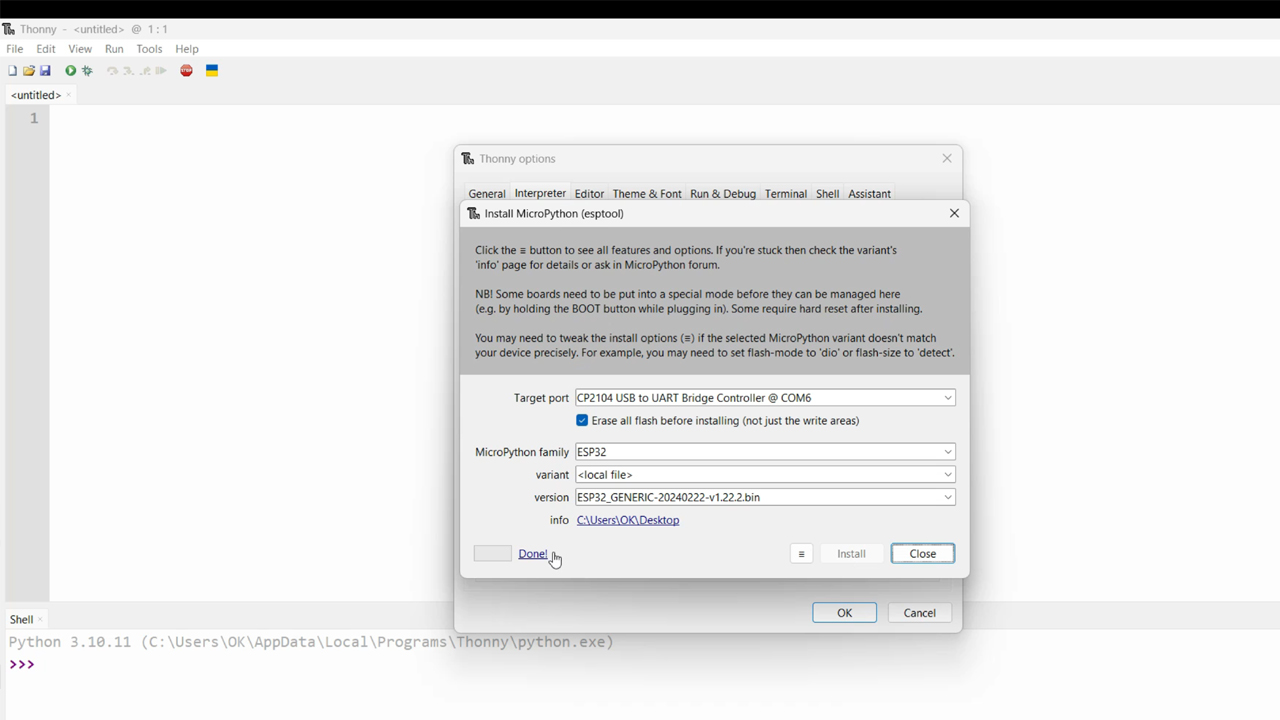
When the installation is completed, you will see Done! Message. Now, you can click on the Close button.
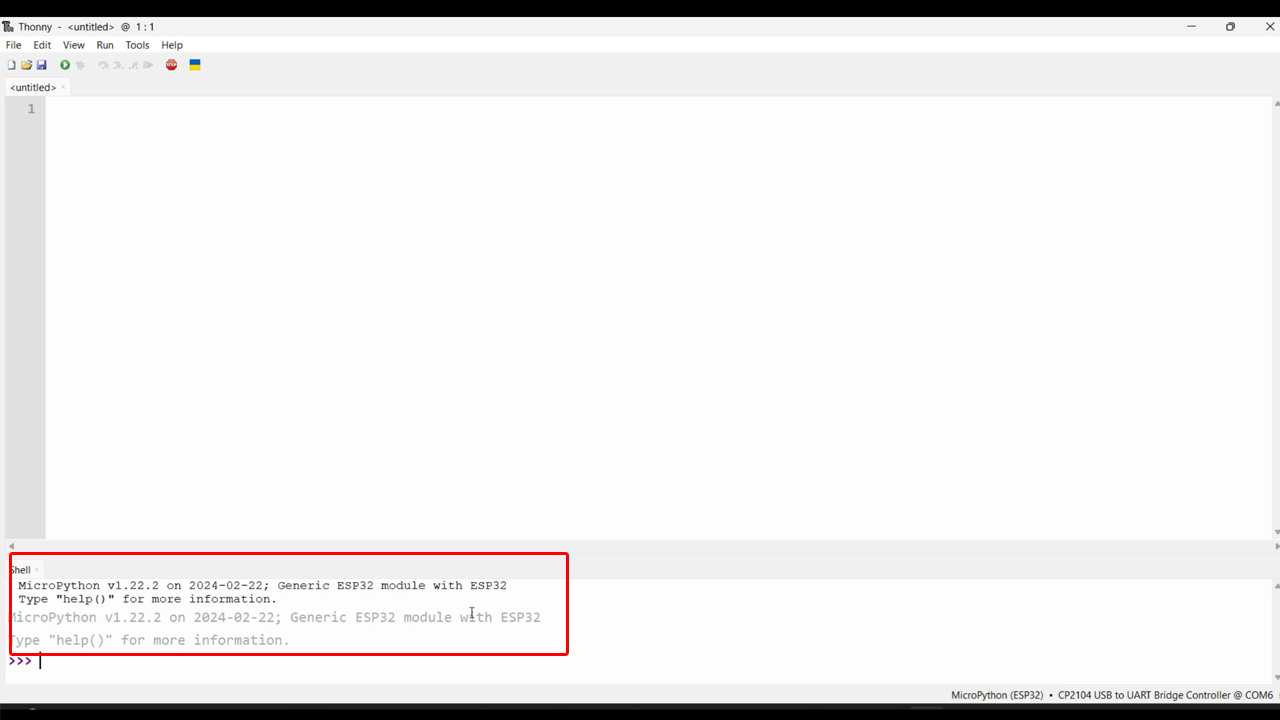
If on the Thonny IDE console, you see the output like this, then congratulations you have successfully installed MicroPython on ESP32.
My ESP32 board is ready and next I am going to control an LED.
This ESP32 Development board already has an onboard LED connected to GPIO 5. So, there is no need to connect an external LED. But, if in case you want to control multiple LEDs then you will have to connect external LEDs. But for now, I am gonna go with the onboard LED.
MicroPython ESP32 LED Blinking Test:
|
1 2 3 4 5 6 7 8 9 10 11 |
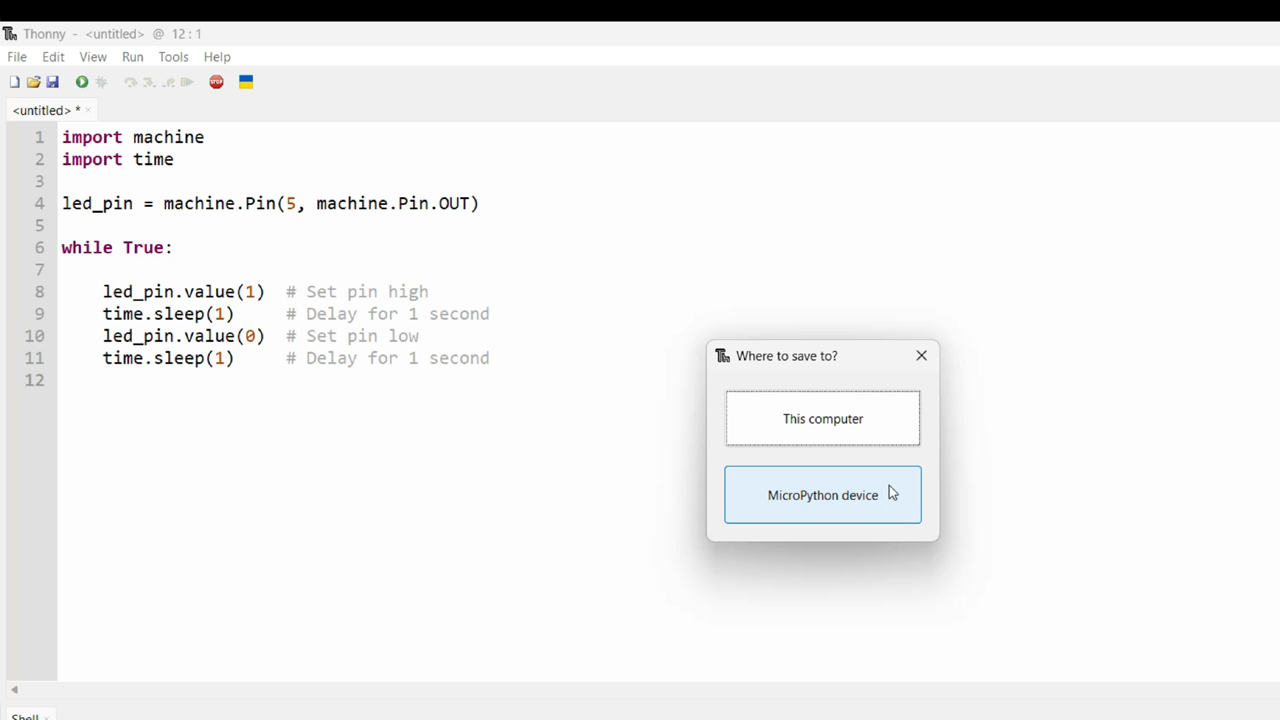
import machine import time led_pin = machine.Pin(5, machine.Pin.OUT) while True: led_pin.value(1) # Set pin high time.sleep(1) # Delay for 1 second led_pin.value(0) # Set pin low time.sleep(1) # Delay for 1 second |
Code explanation:
First, we need to import the necessary modules in MicroPython. We will use the machine module to access the GPIO pins and the time module to introduce delays in our code.
|
1 2 3 |
import machine import time |
Next, we need to configure the GPIO pin connected to the LED as an output. We can do this by creating an instance of the Pin class from the machine module and passing the pin number and the mode as arguments.
|
1 |
led_pin = machine.Pin(5, machine.Pin.OUT) |
Now that the pin is configured, we can start blinking the LED. We will use a loop to toggle the state of the pin between high and low, creating the blinking effect. We can achieve this by using the value() method of the Pin class to set the state of the pin and the sleep() function from the time module to introduce a delay between each state change.
|
1 2 3 4 5 |
while True: led_pin.value(1) # Set pin high time.sleep(1) # Delay for 1 second led_pin.value(0) # Set pin low time.sleep(1) # Delay for 1 second |
With this code, the LED connected to the GPIO pin 5 will blink at a frequency of 1 Hz (one blink per second).
Anyway, when your program is ready, click on the save button. You will be asked “where to save to?” This computer or MicroPython device. Make sure you click on MicroPython device.
Name your file and save it with .py extension. I am going to save it with the name LedBlinking.py.

Finally, click on the Run button “that Green Play button at the top. As soon as you press the Run button the ESP32 onboard Led will start blinking.

That’s all about the MicroPython on ESP32. For more amazing articles and videos don’t forget to subscribe to my Website and YouTube channel “Electronic Clinic”.
Watch Video Tutorial:
Discover more from Electronic Clinic
Subscribe to get the latest posts sent to your email.


