ACEBOTT ESP32 Smart Car Kit Unboxing 4WD Mecanum Robot
Last Updated on September 2, 2026 by Engr. Shahzada Fahad
Table of Contents
Description:
I have been waiting for this package for so long… and it’s finally here!
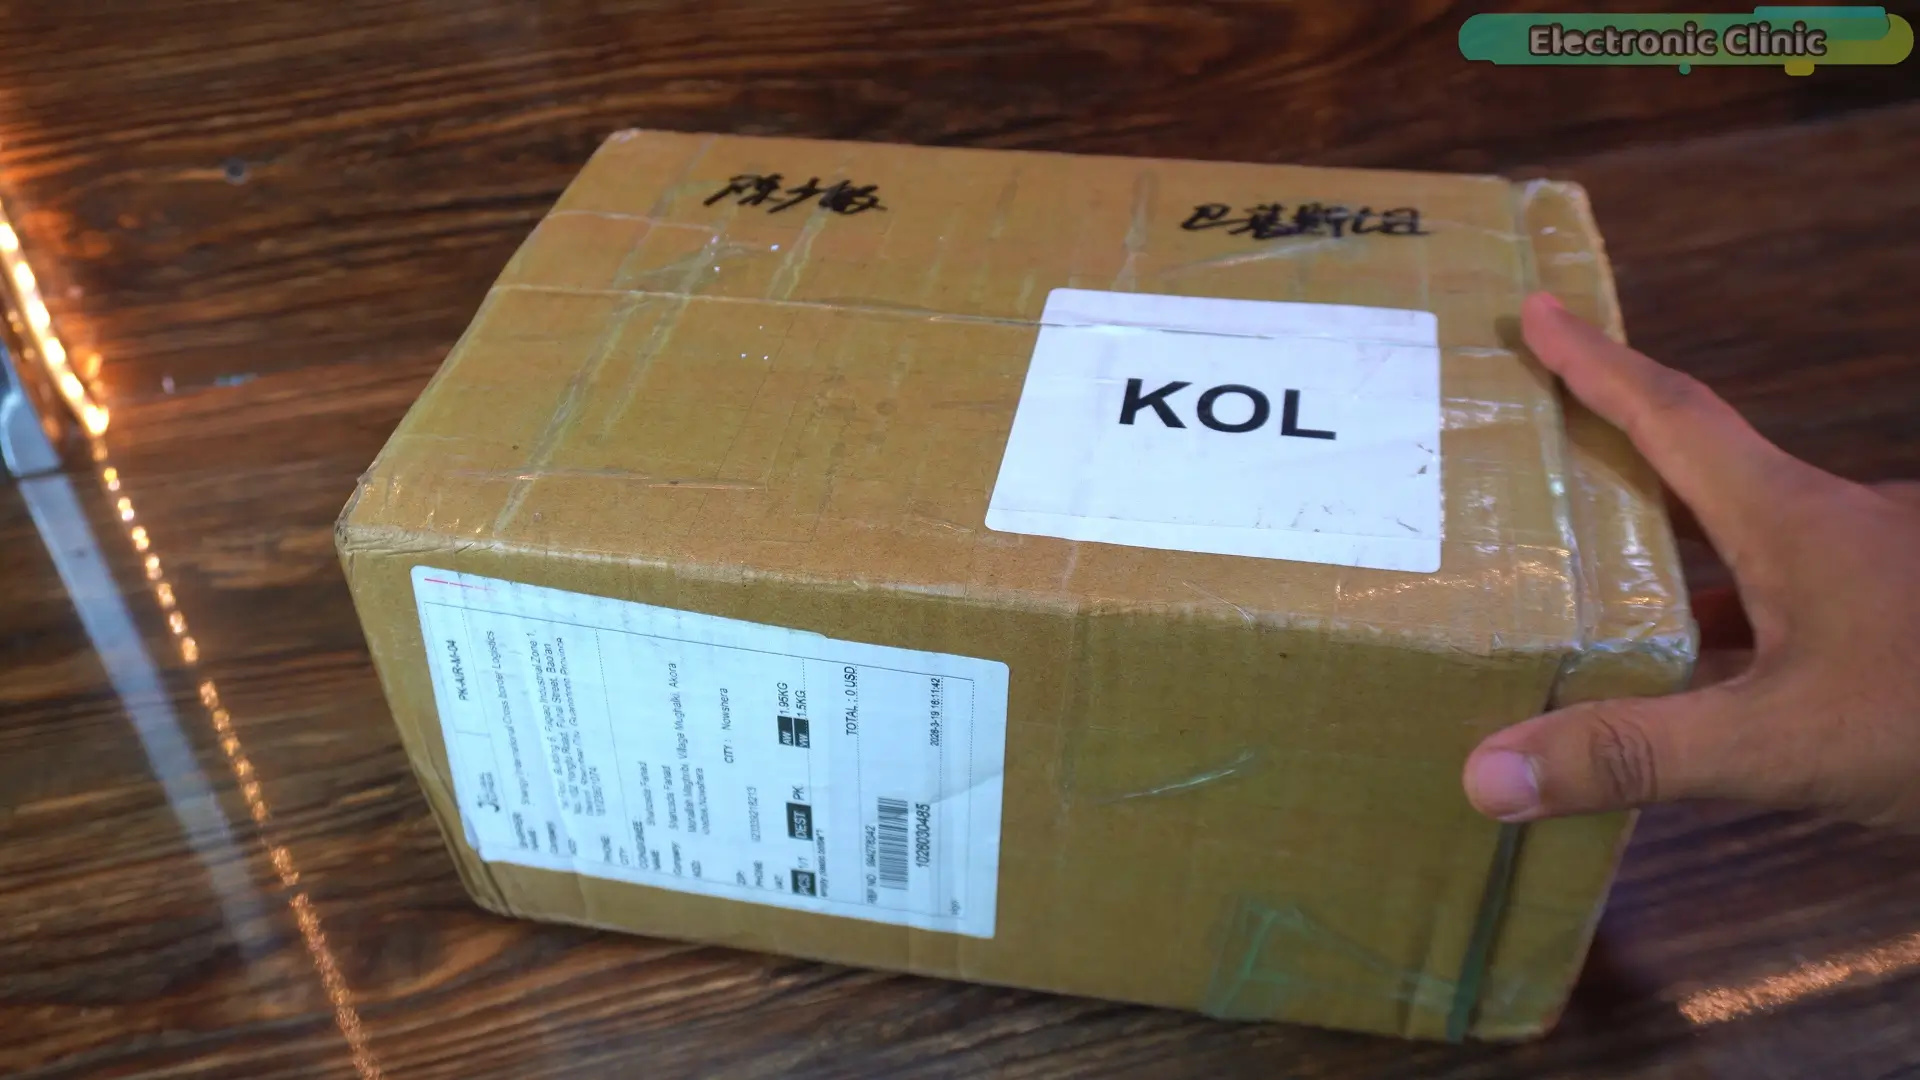
Take a look at this…
This is a huge box from ACEBOTT and honestly, I have no idea what’s inside yet.
There’s nothing written on it, no details; nothing.
So this is going to be a real unboxing.
I am actually super excited right now.
Let’s open it up and see what we got!
Amazon Links:
ACEBOTT Smart Car and Expansion Packs
Other Tools and Components:
ESP32 WiFi + Bluetooth Module (Recommended)
Arduino Nano USB C type (Recommended)
*Please Note: These are affiliate links. I may make a commission if you buy the components through these links. I would appreciate your support in this way!
Unboxing:
Inside the box, we have the Explorer Series QD001; ACEBOTT Smart Car Starter Kit.
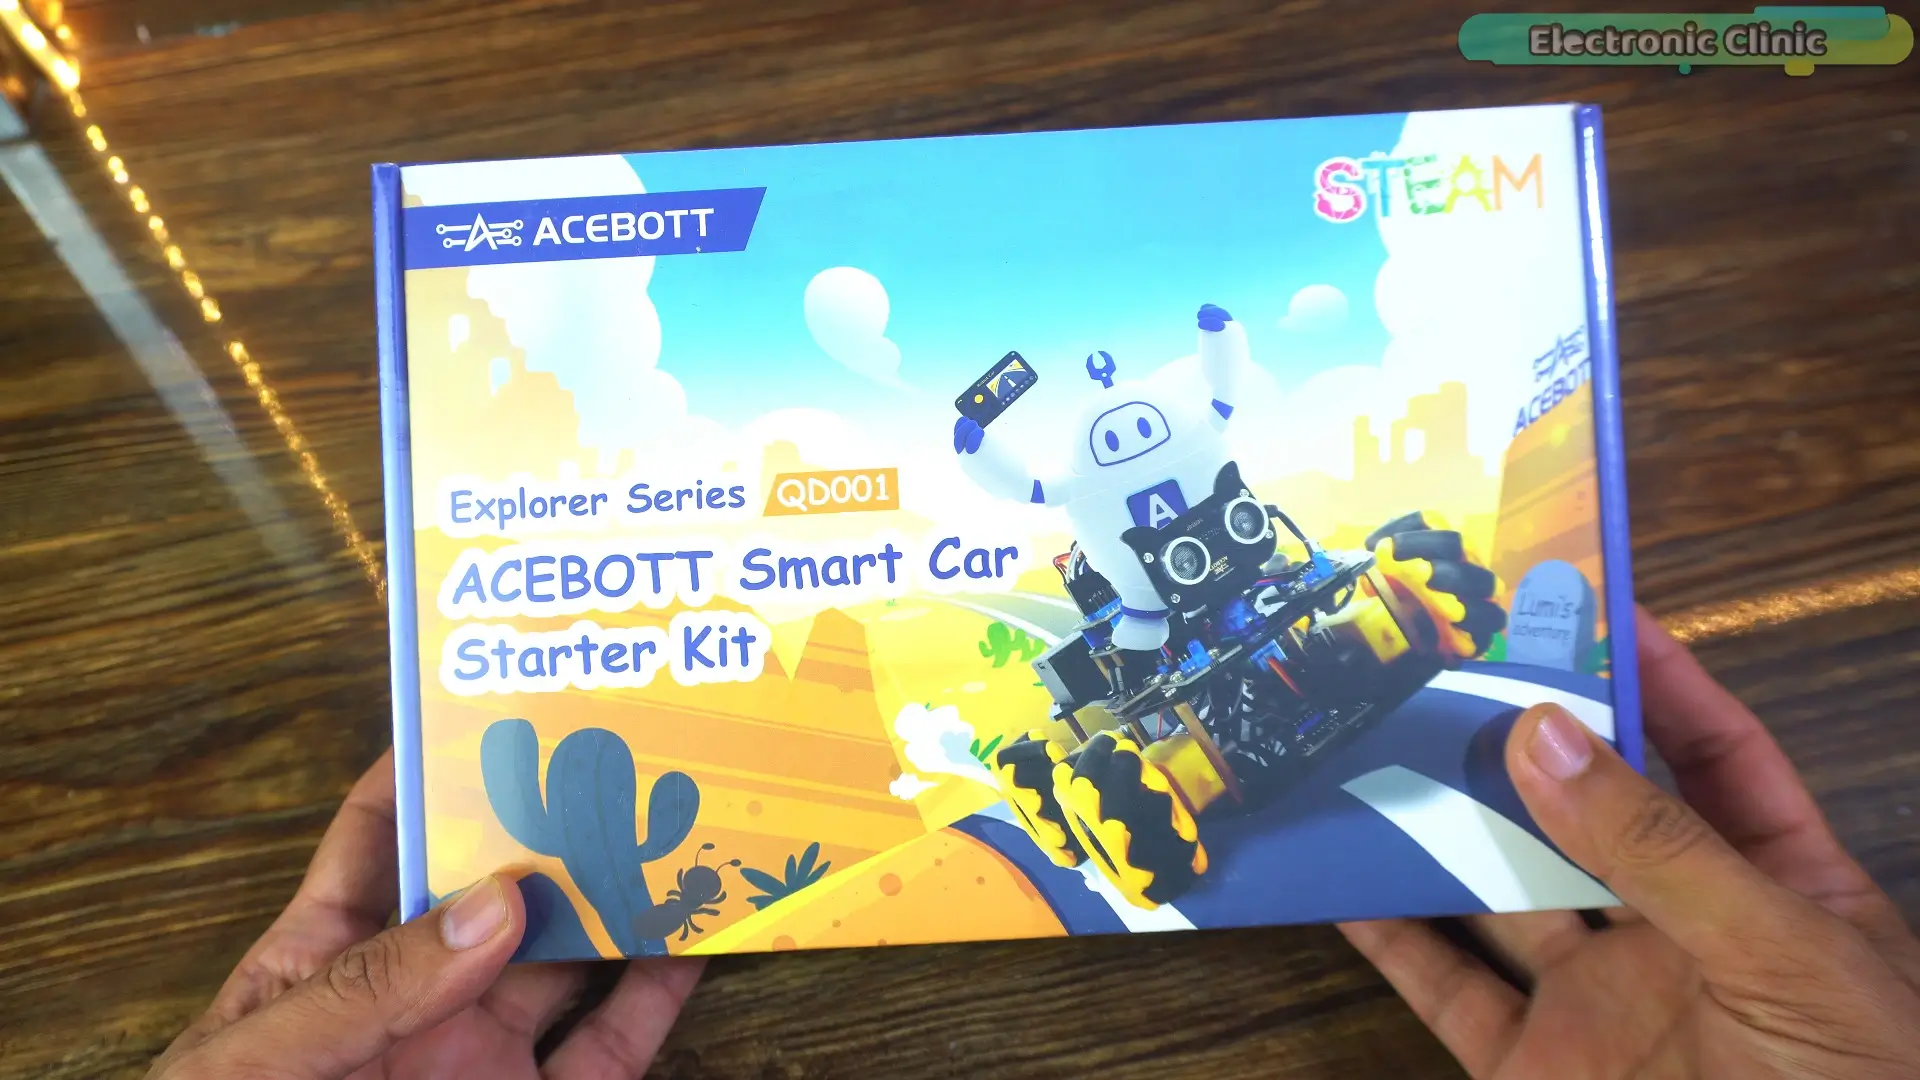
We will do the full unboxing, and also assemble it step by step.
So today, our main focus will be this kit.
They also sent me this Expansion Pack – QD003 AI Vision Car.
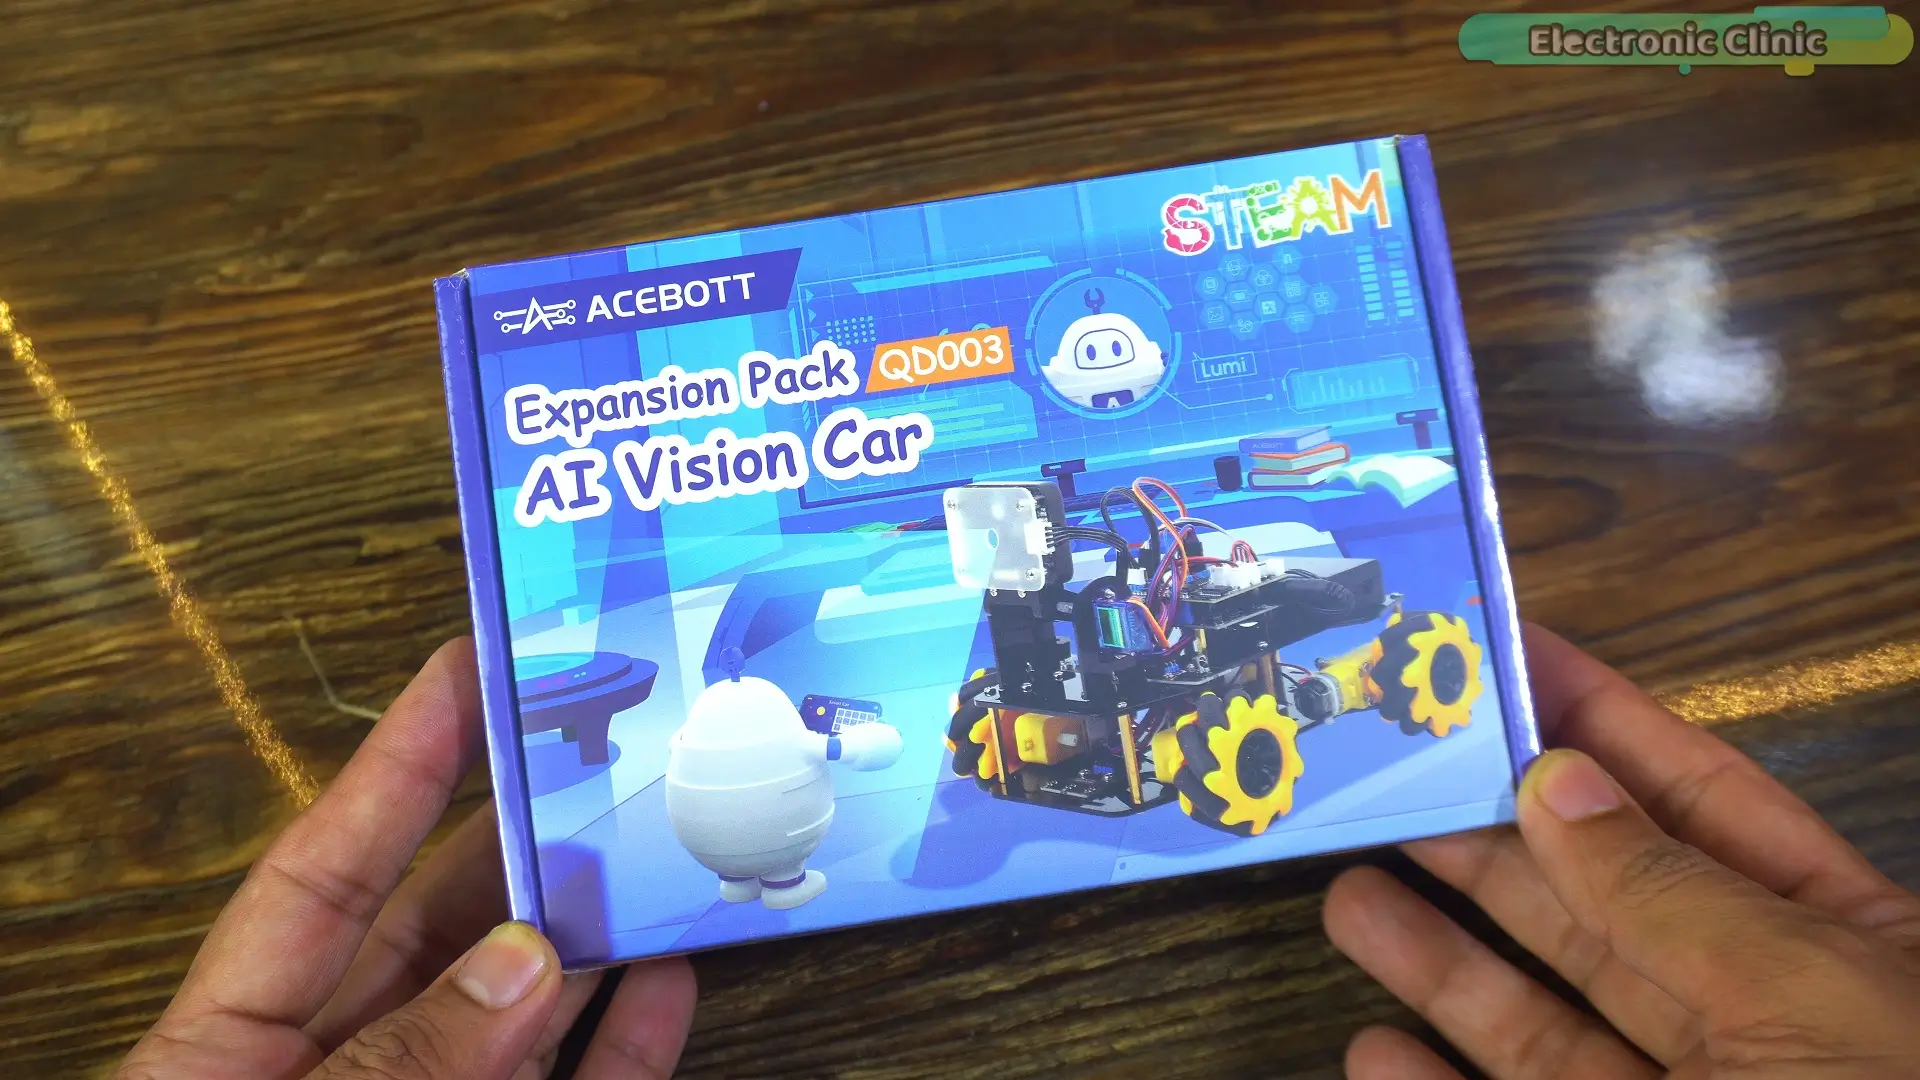
And this one is even more interesting.
It supports things like image recognition, face recognition, machine learning, color recognition, QR code recognition, and many other features.
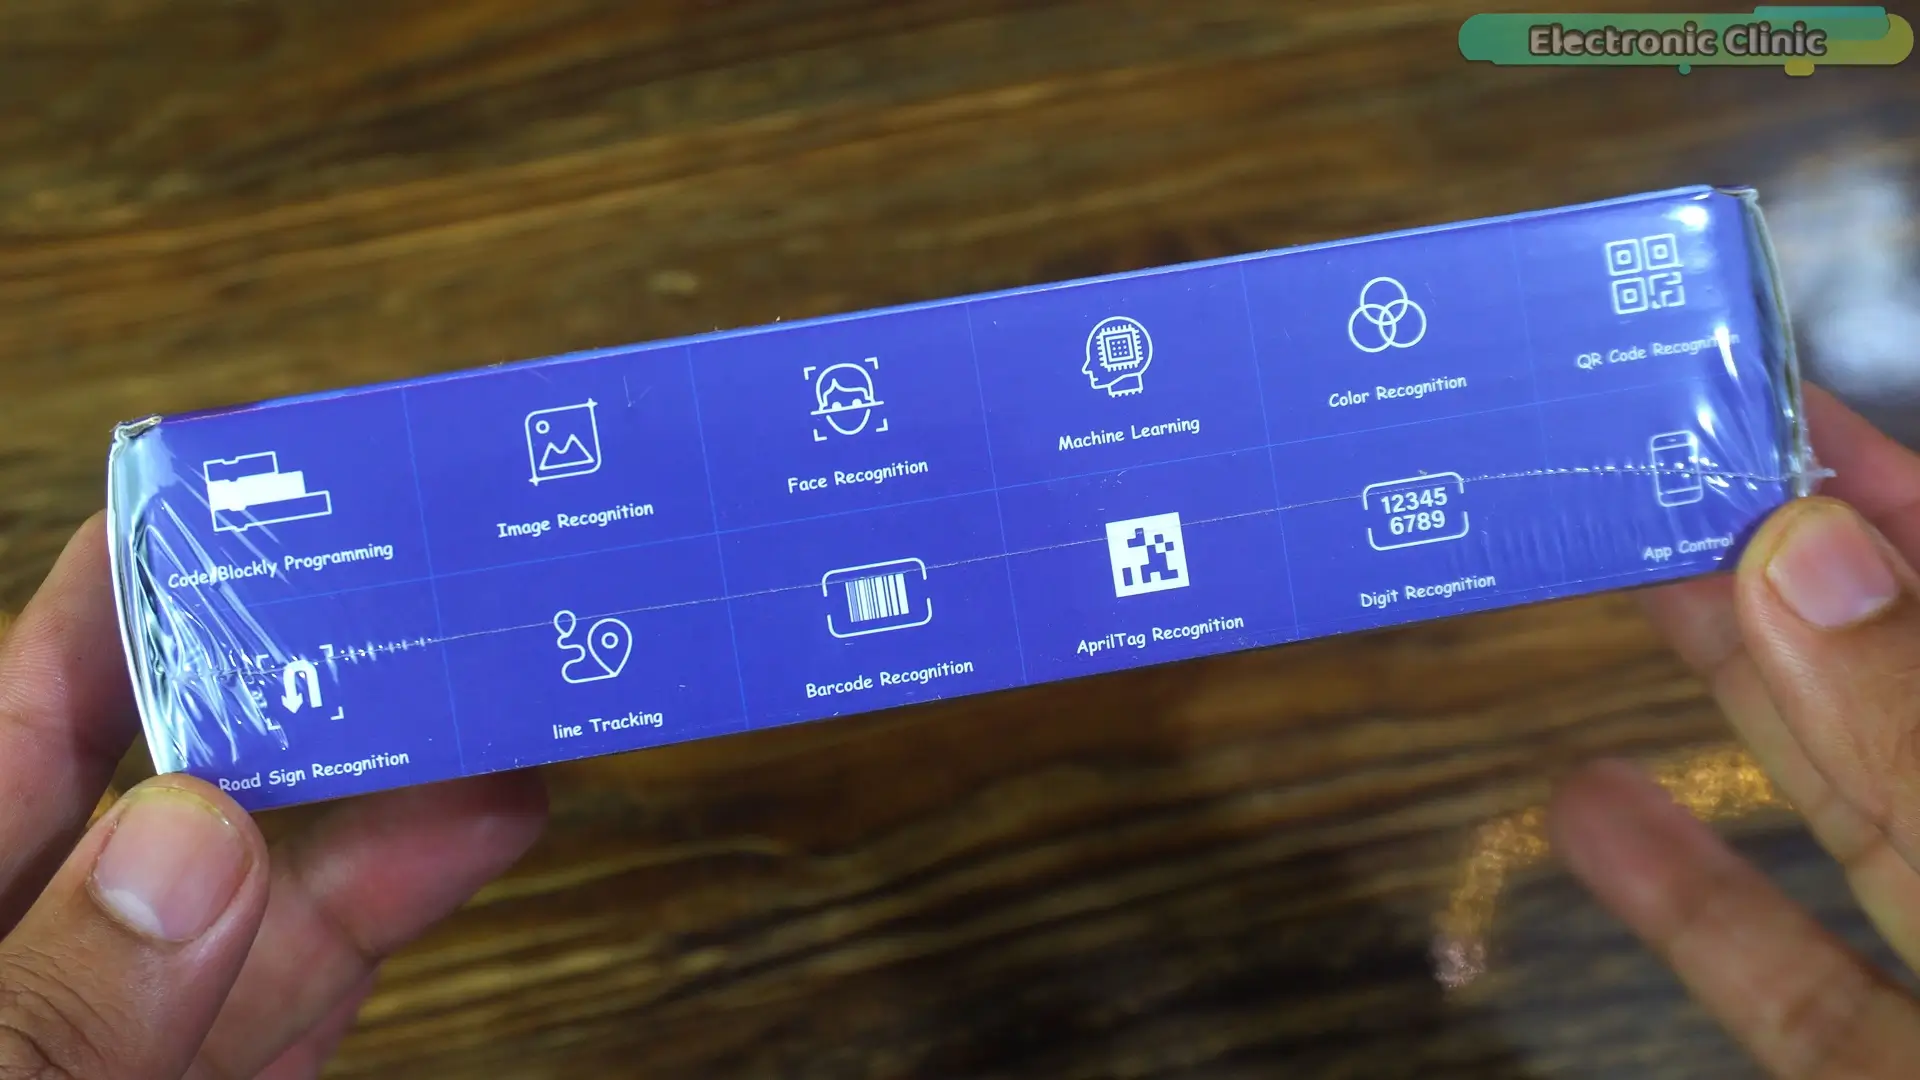
So I will write a separate article on this, because there is a lot to explore and it’s not possible to cover everything in just one article.
And they also sent me a pair of PS3 wireless remote controllers.
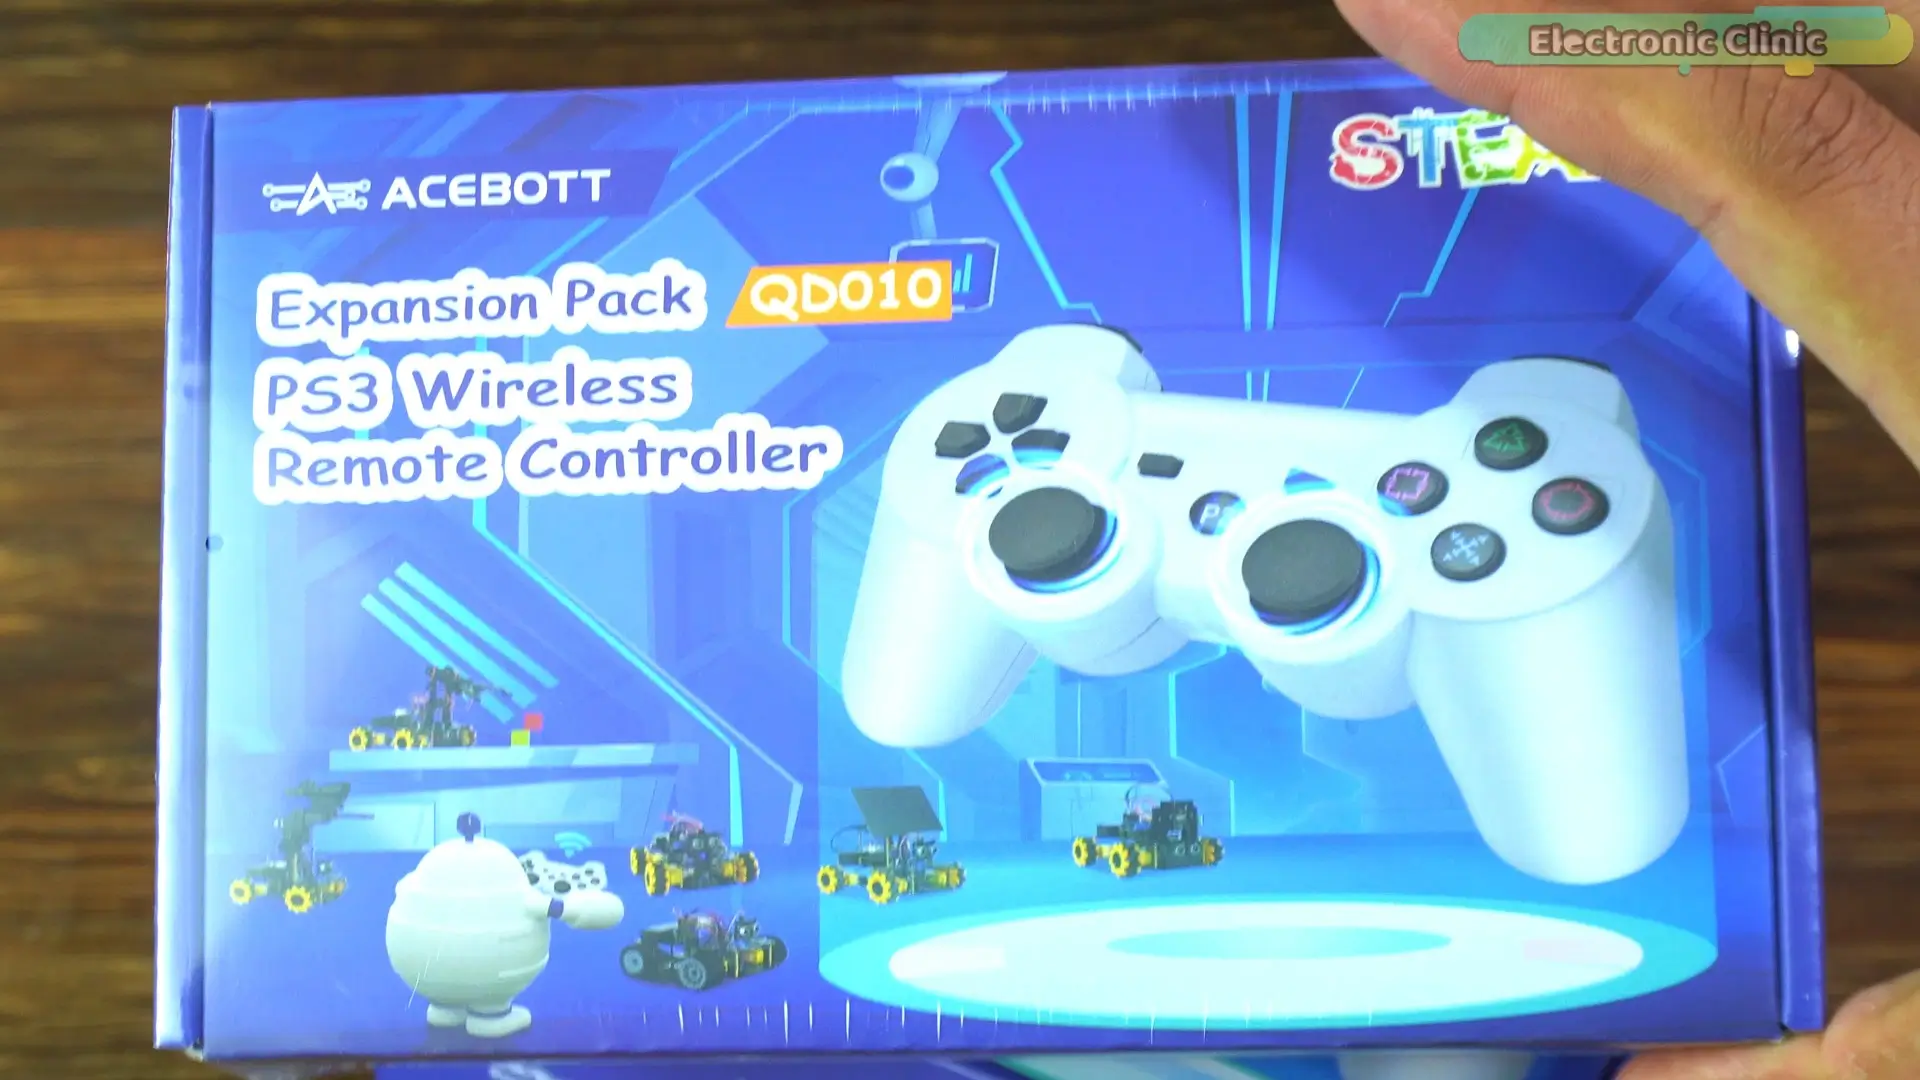
In the next article, we will use this remote controller to control the robot.

And yes… this is also based on ESP32.
Alright; so let’s start with this one. This is the ACEBOTT Smart Car Starter Kit.
And honestly, I selected this kit on purpose; because it is based on ESP32.
And on the side, they have mentioned some interesting features…
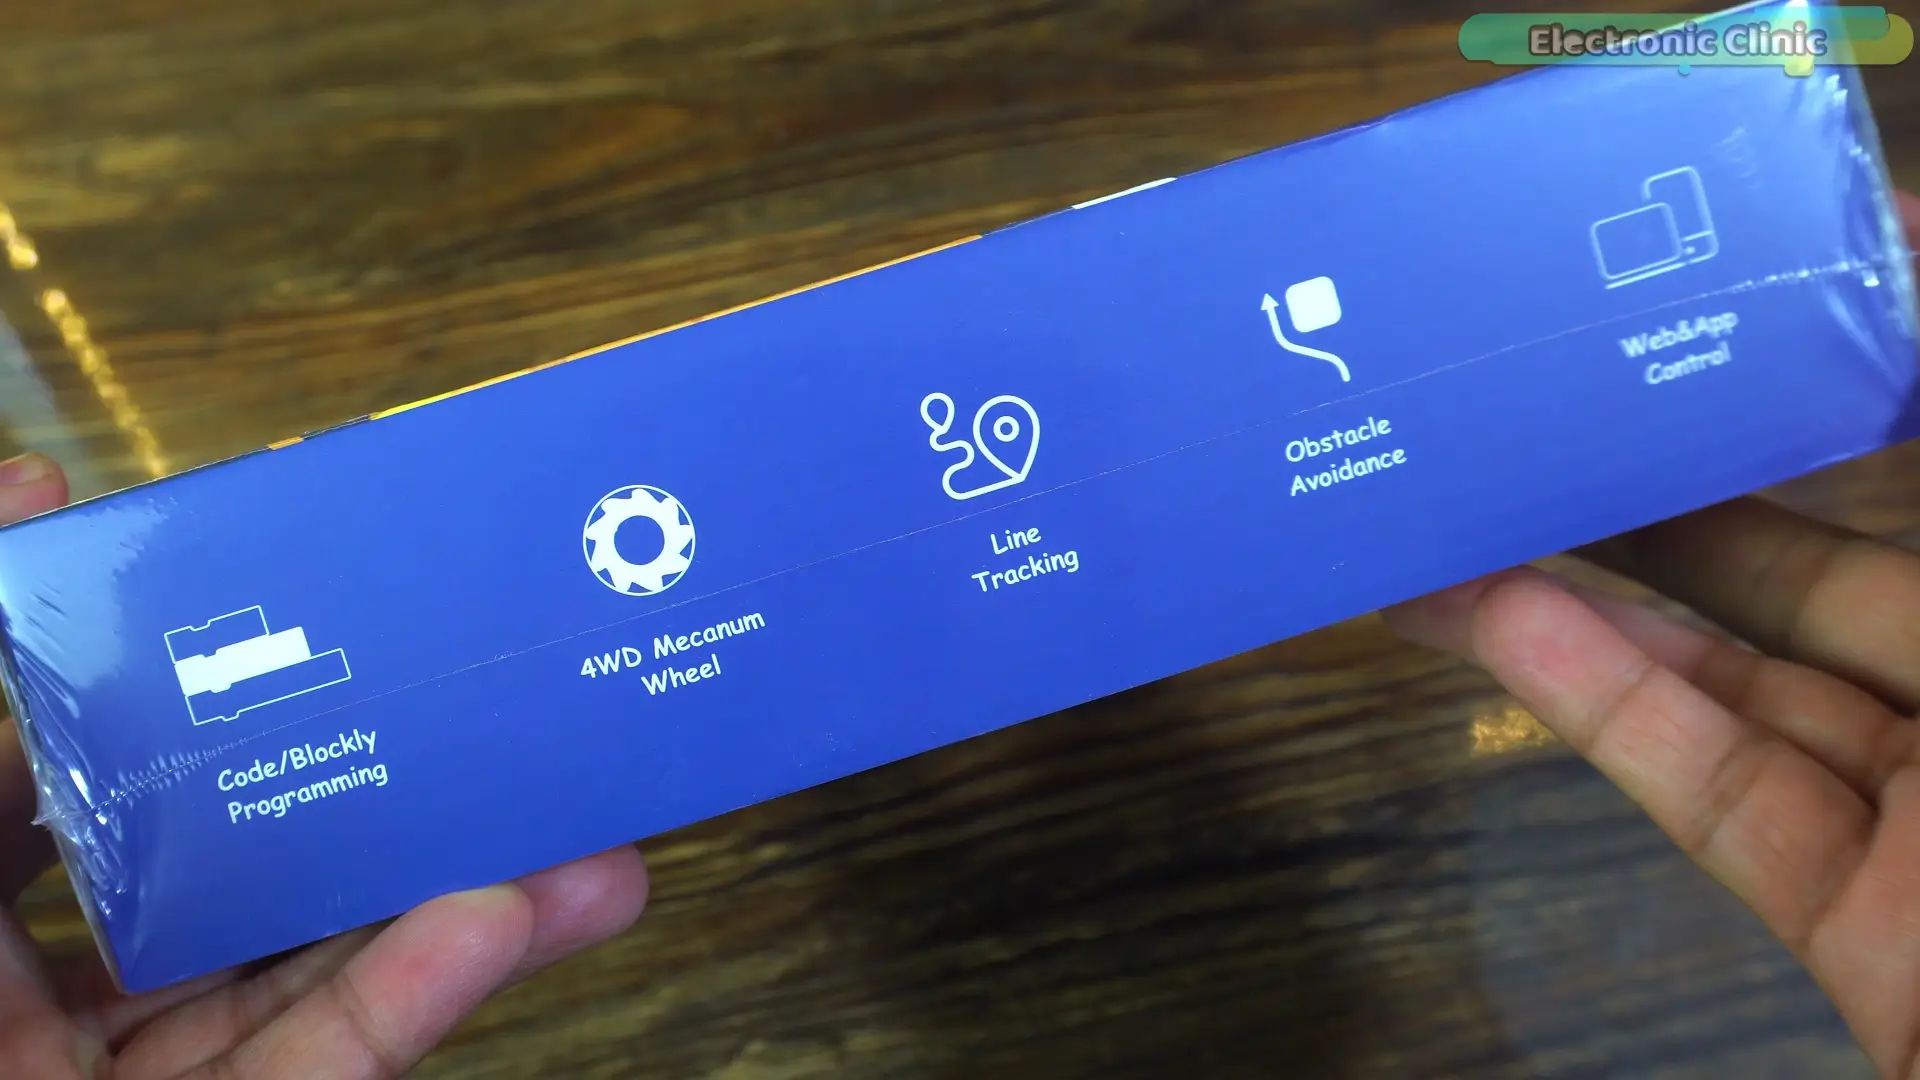
4WD mecanum wheels
Line tracking
Obstacle avoidance
And even Web and App Control.
So this is not just a simple robot; it actually looks like a complete learning and advanced project kit.
So… let’s open it and see what we get inside.
Acebott Smart Car Kit Unboxing:
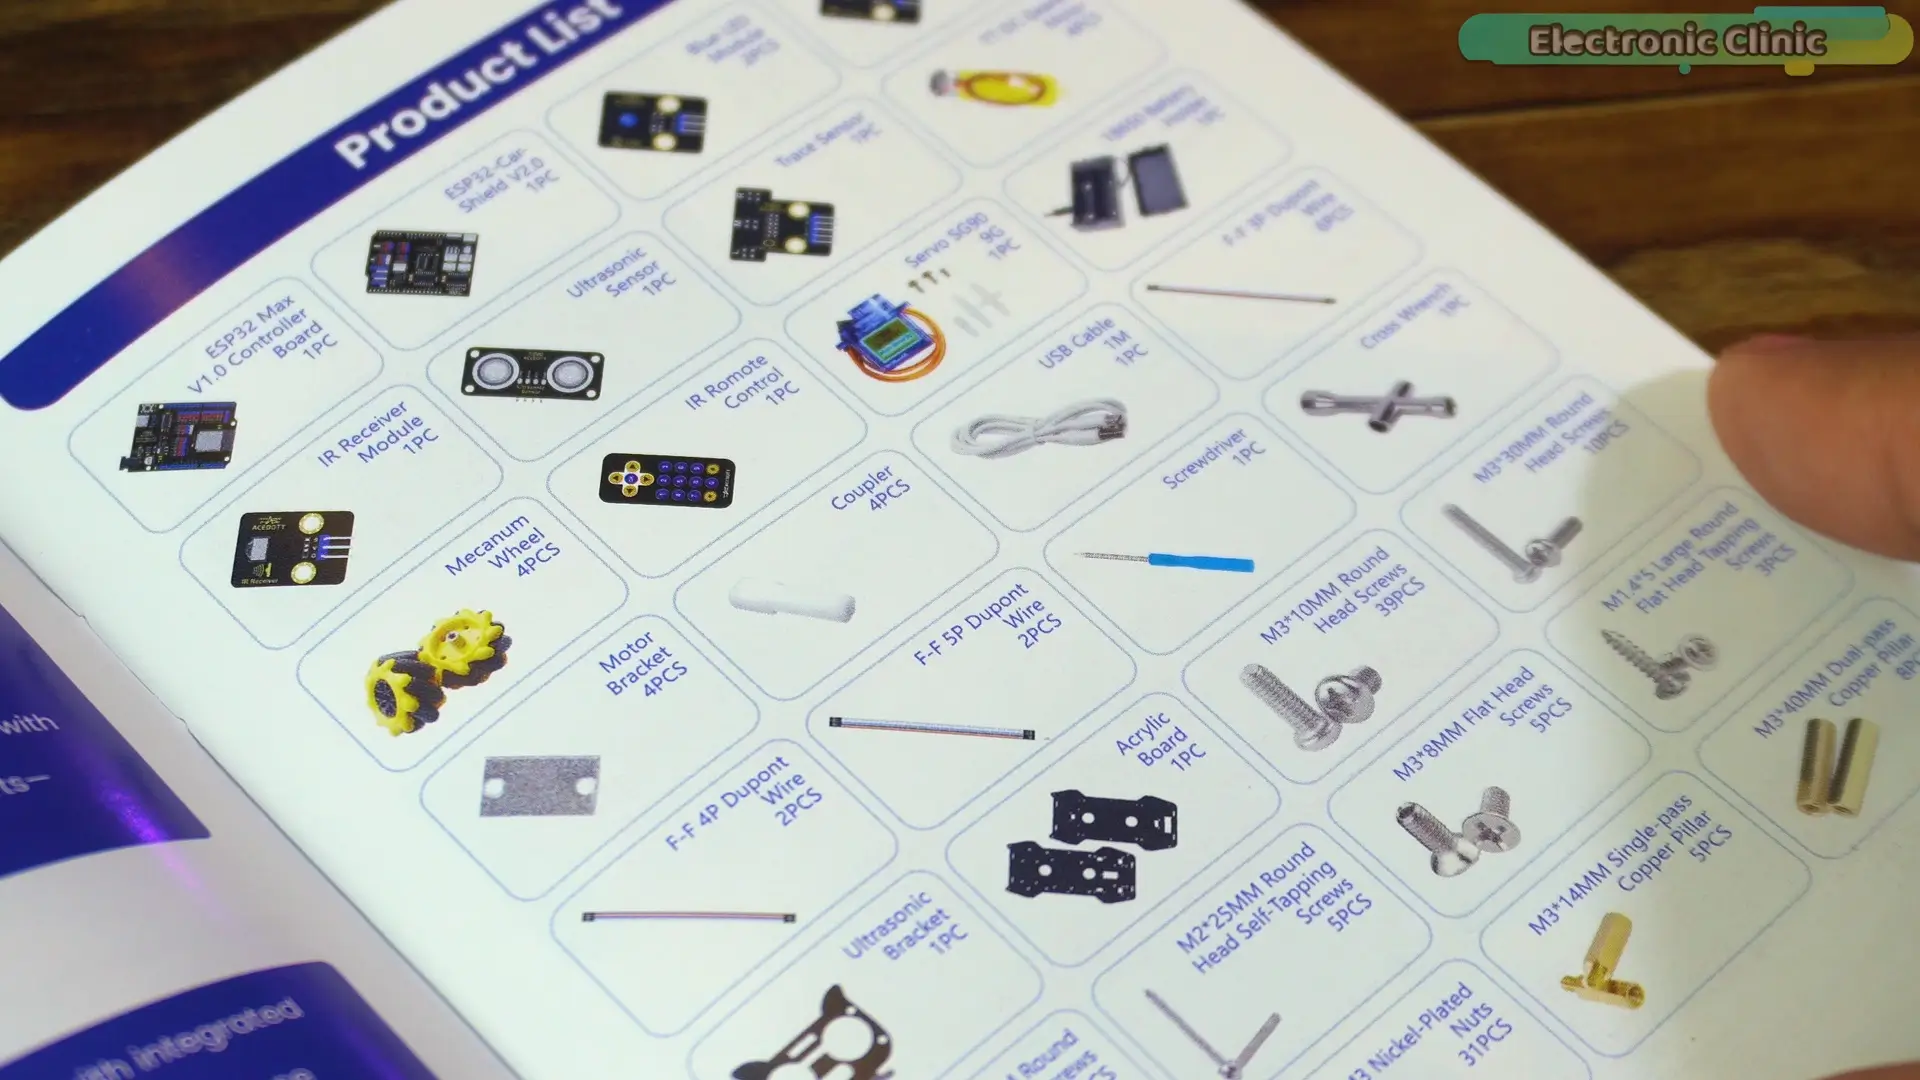
In the user manual, they have included the complete product list with exact names and quantities, which is really helpful.
And the best part is… they have explained every step very clearly.
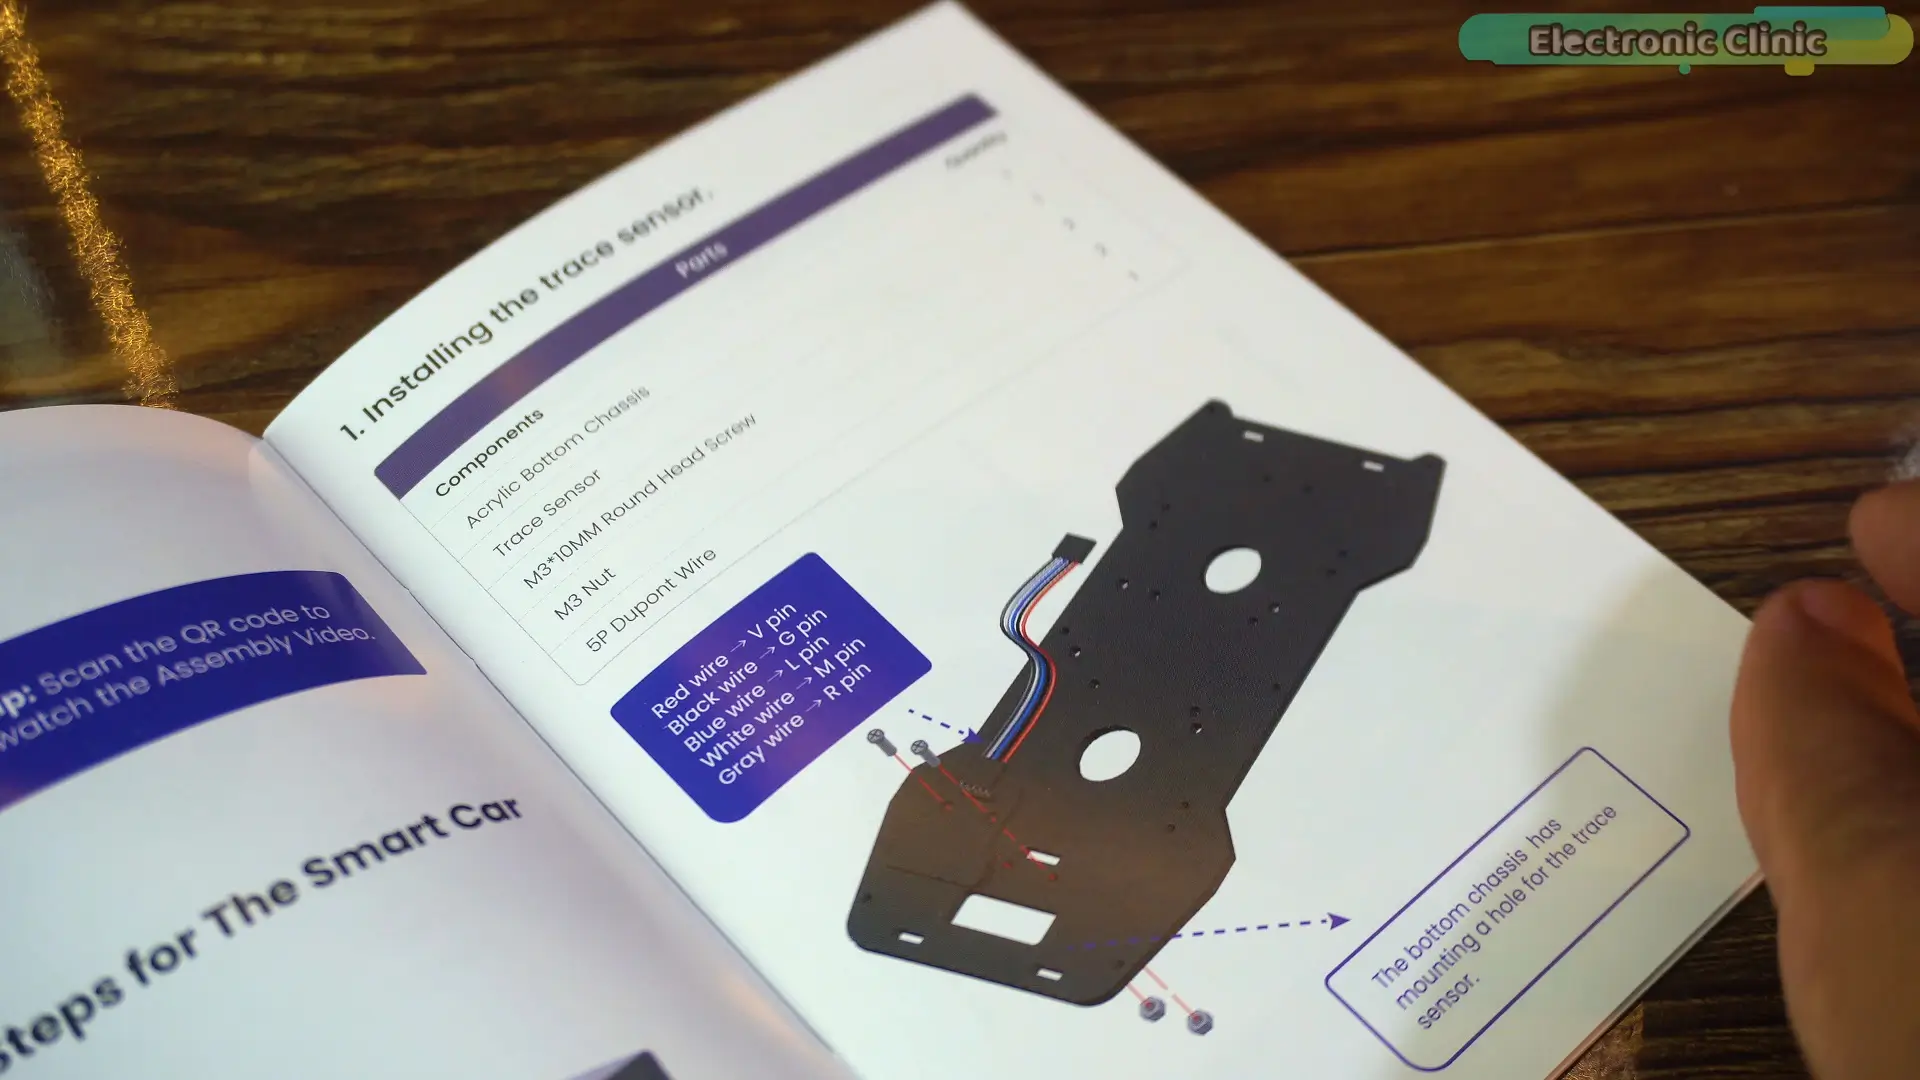
Honestly, they have done a great job with this.
If you just follow the manual step by step, even a beginner or even a kid can assemble this car.
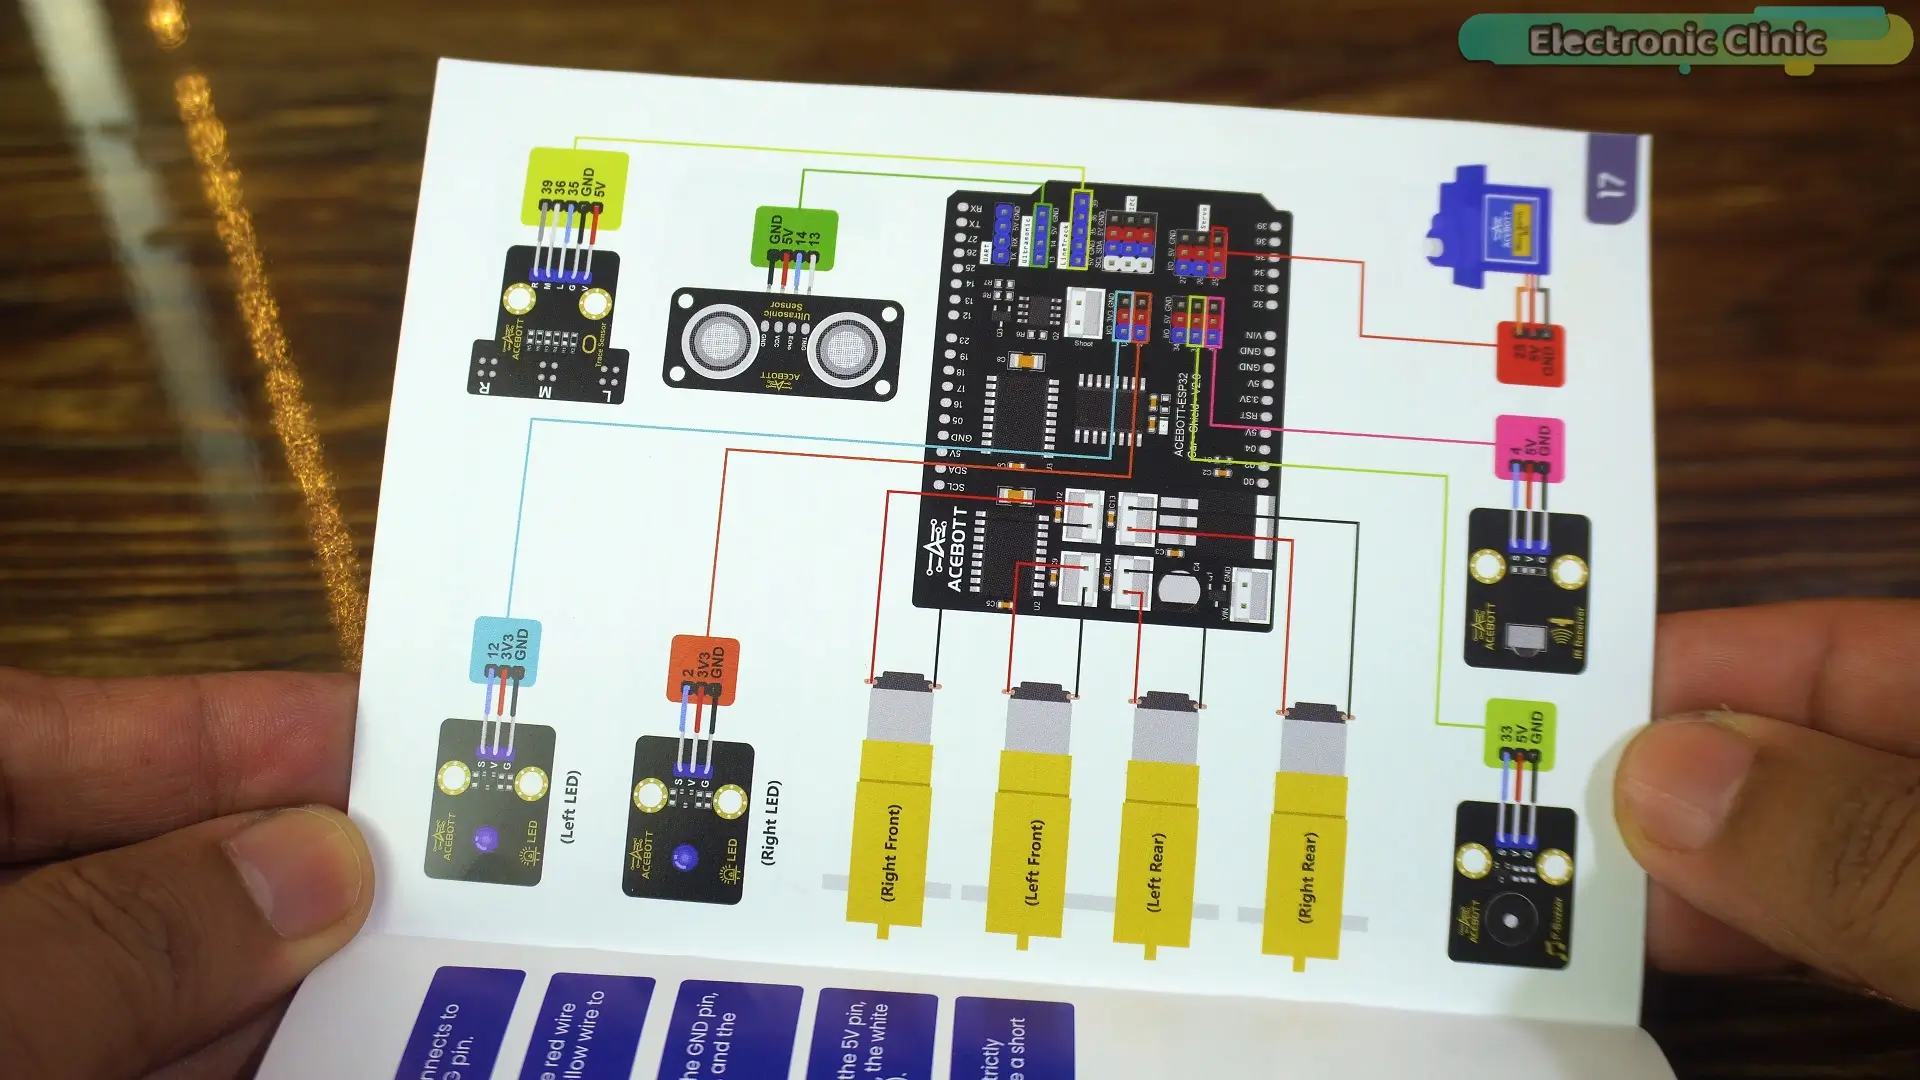
They have also provided a clear wiring diagram, so you don’t get confused while connecting everything.
And not just that; they have also explained how to download and connect the mobile application.
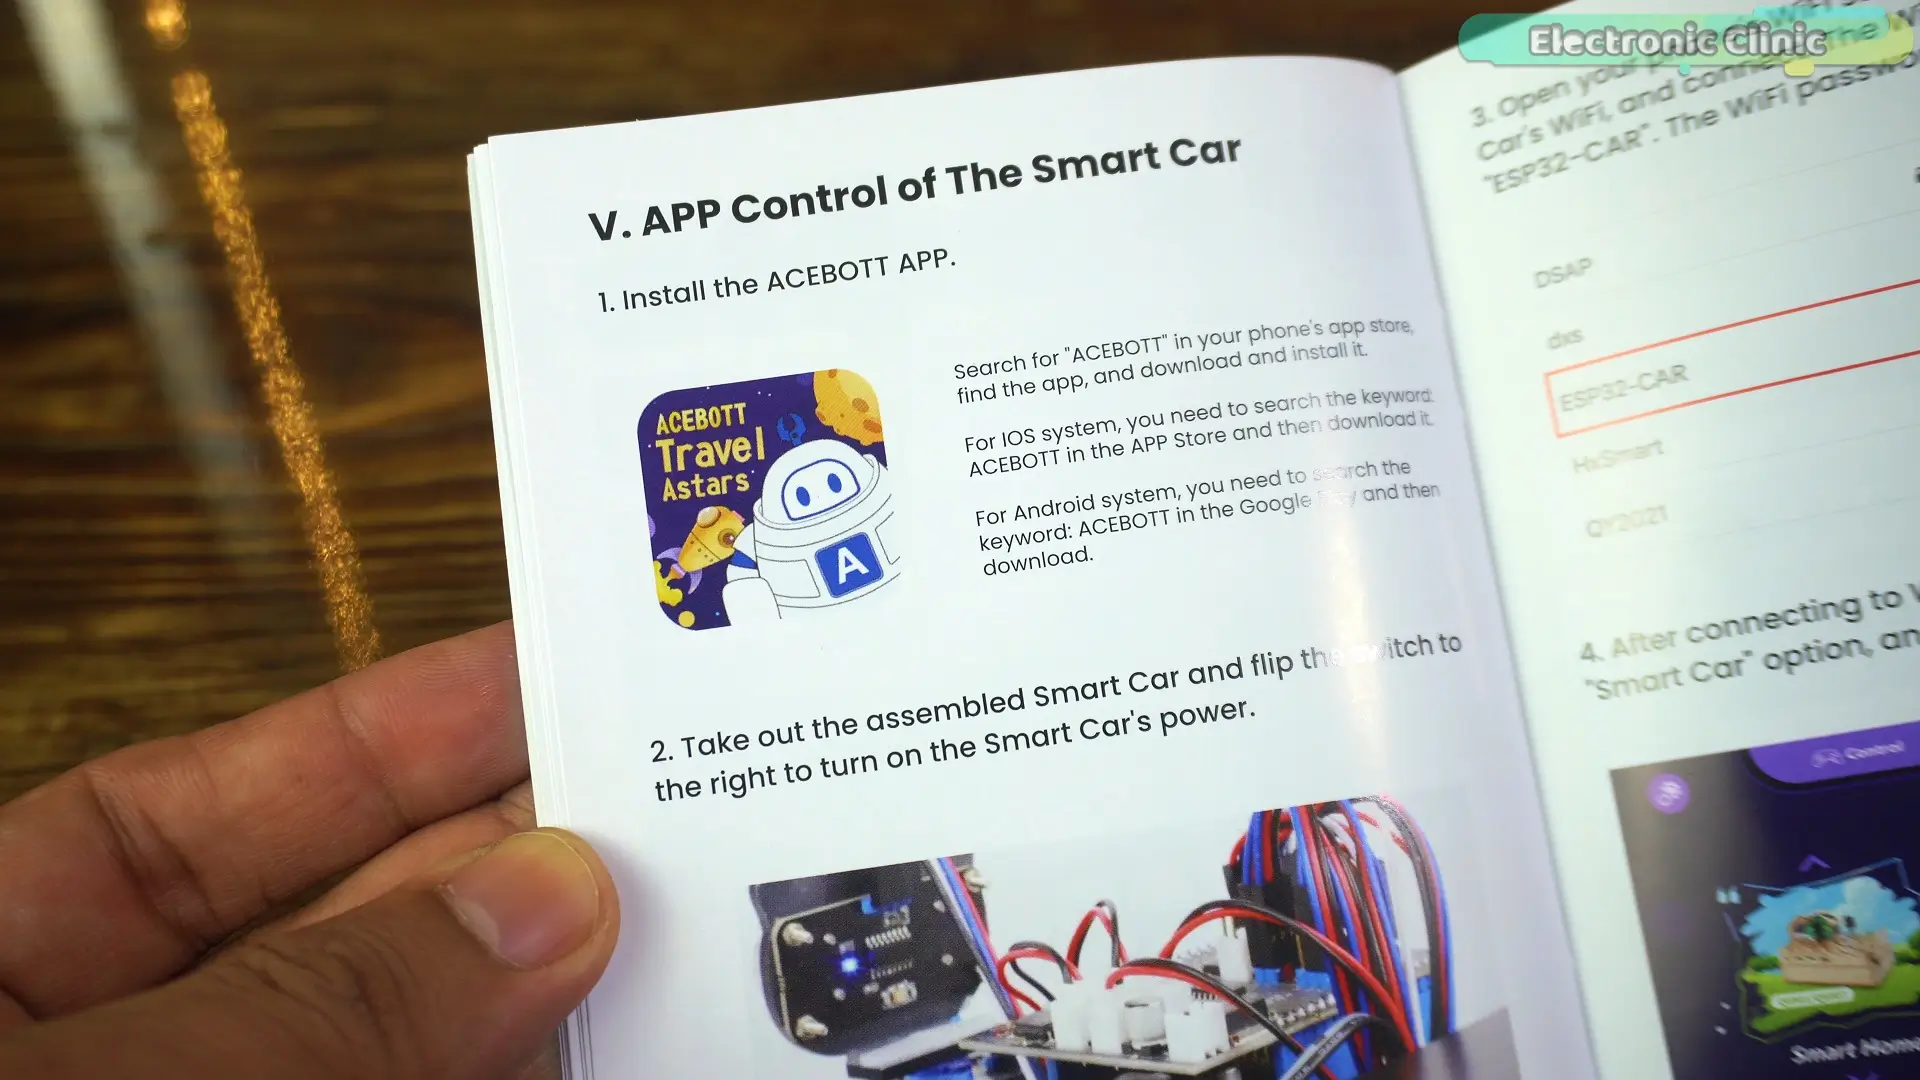
So everything is covered.
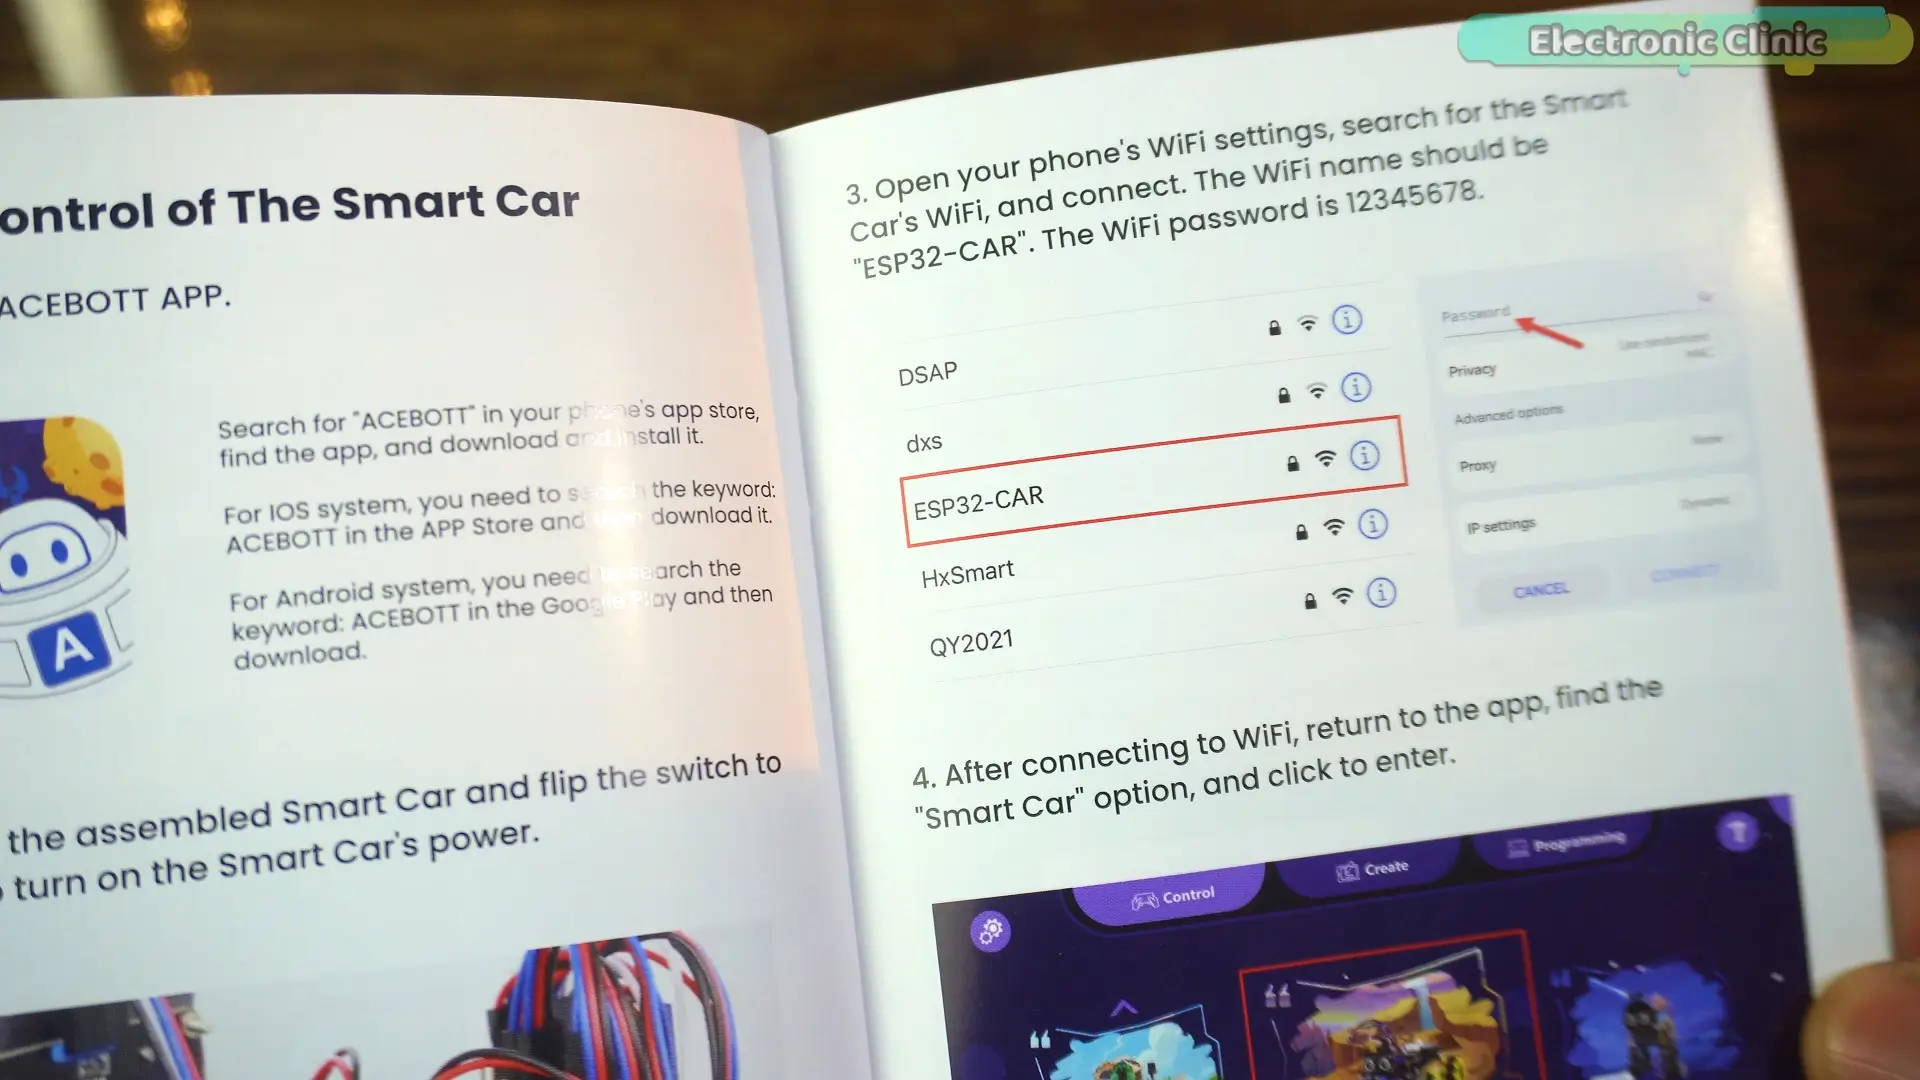
Now; let’s go ahead and start assembling it.
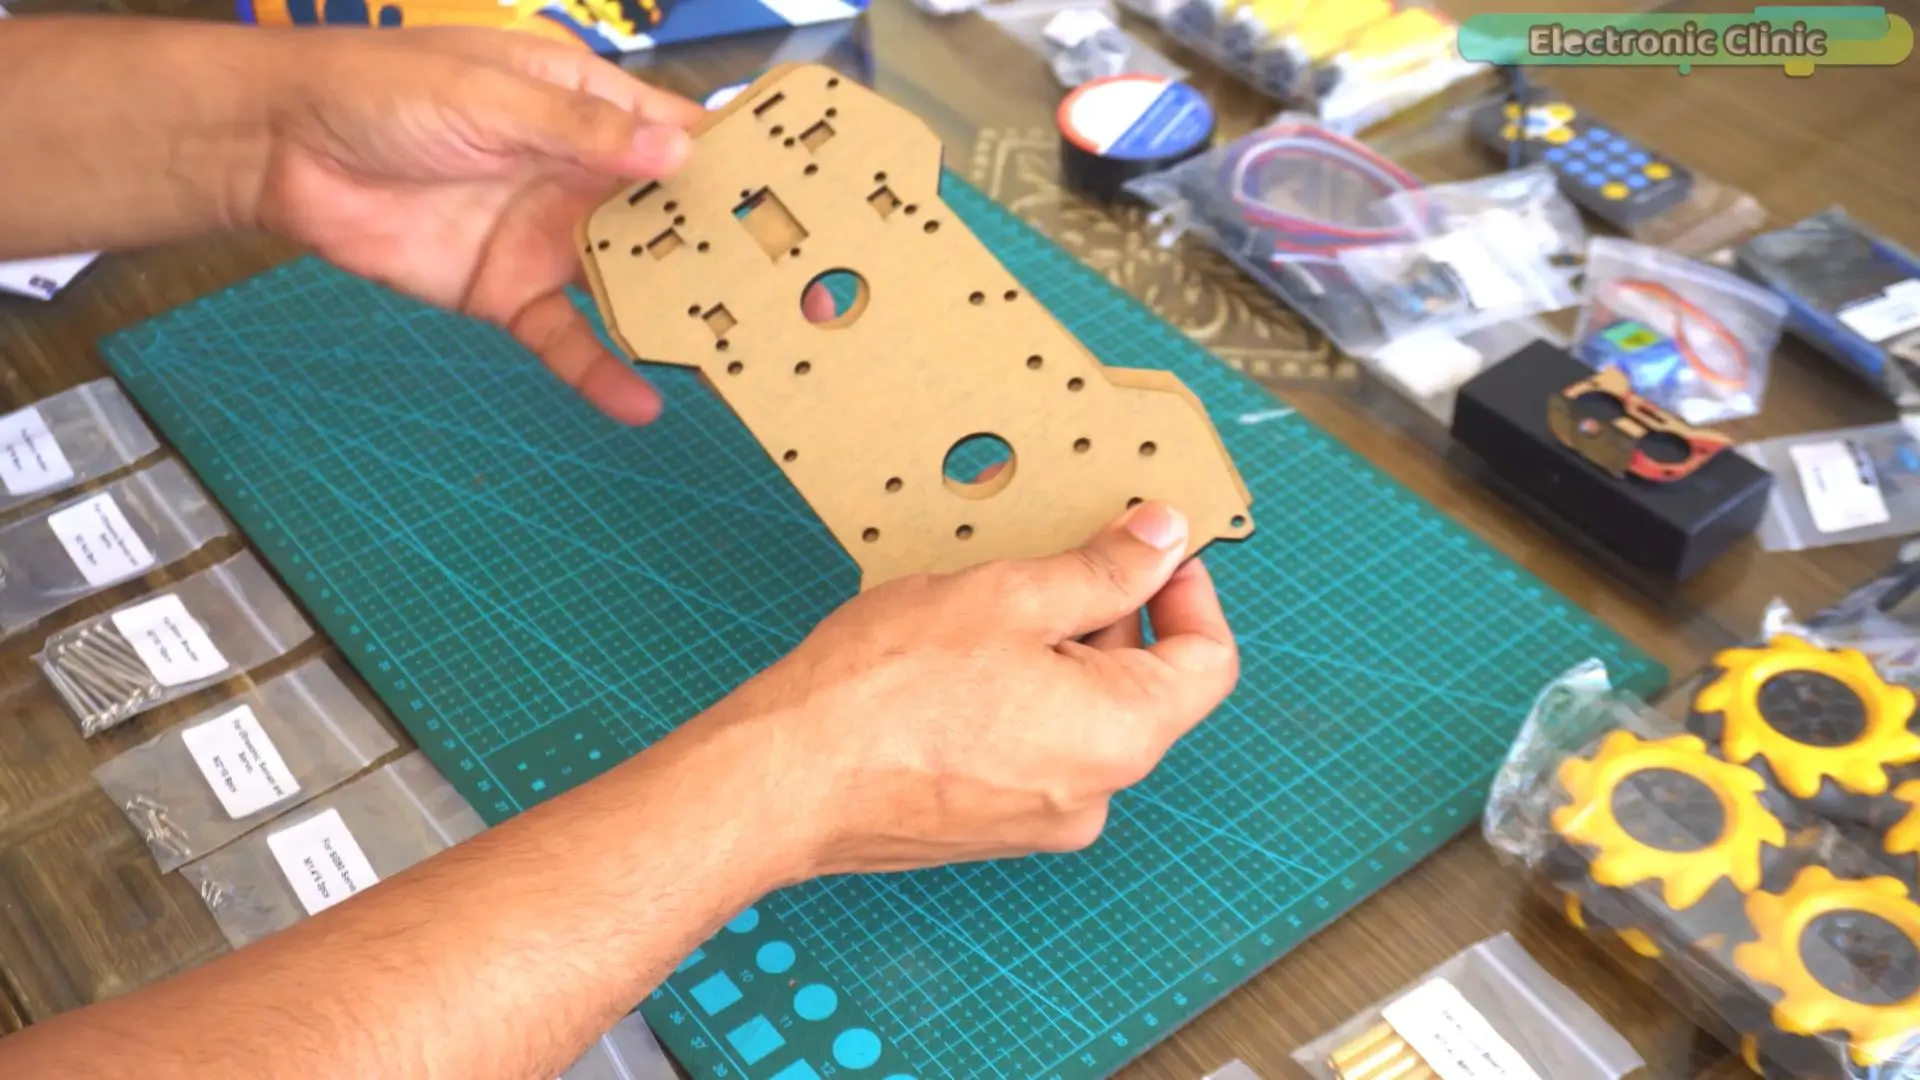
While I have covered the complete unboxing and step-by-step assembly of this kit in my video, it’s honestly not practical to explain every single step here in the article. This kit comes with a large number of components, mechanical parts, screws, modules, and wiring connections, and going through each of them in text form would make this guide unnecessarily long and confusing.
Instead of overwhelming you with too many written steps, I highly recommend watching the full video tutorial, where I have shown everything in a clear and easy-to-follow way. You’ll be able to see exactly how each part fits together, how the wiring is done, and how the final robot car is assembled which makes the whole process much simpler, especially for beginners.
In the video, I walk you through:
- Complete unboxing of all components
- Identification of each part
- Step-by-step mechanical assembly
- Proper wiring and connections
- Final look at the assembled smart car
This way, you can follow along in real time and build your own robot without confusion or guesswork.
So if you’re planning to build this project, don’t skip the video; it will save you a lot of time and help you avoid common mistakes.
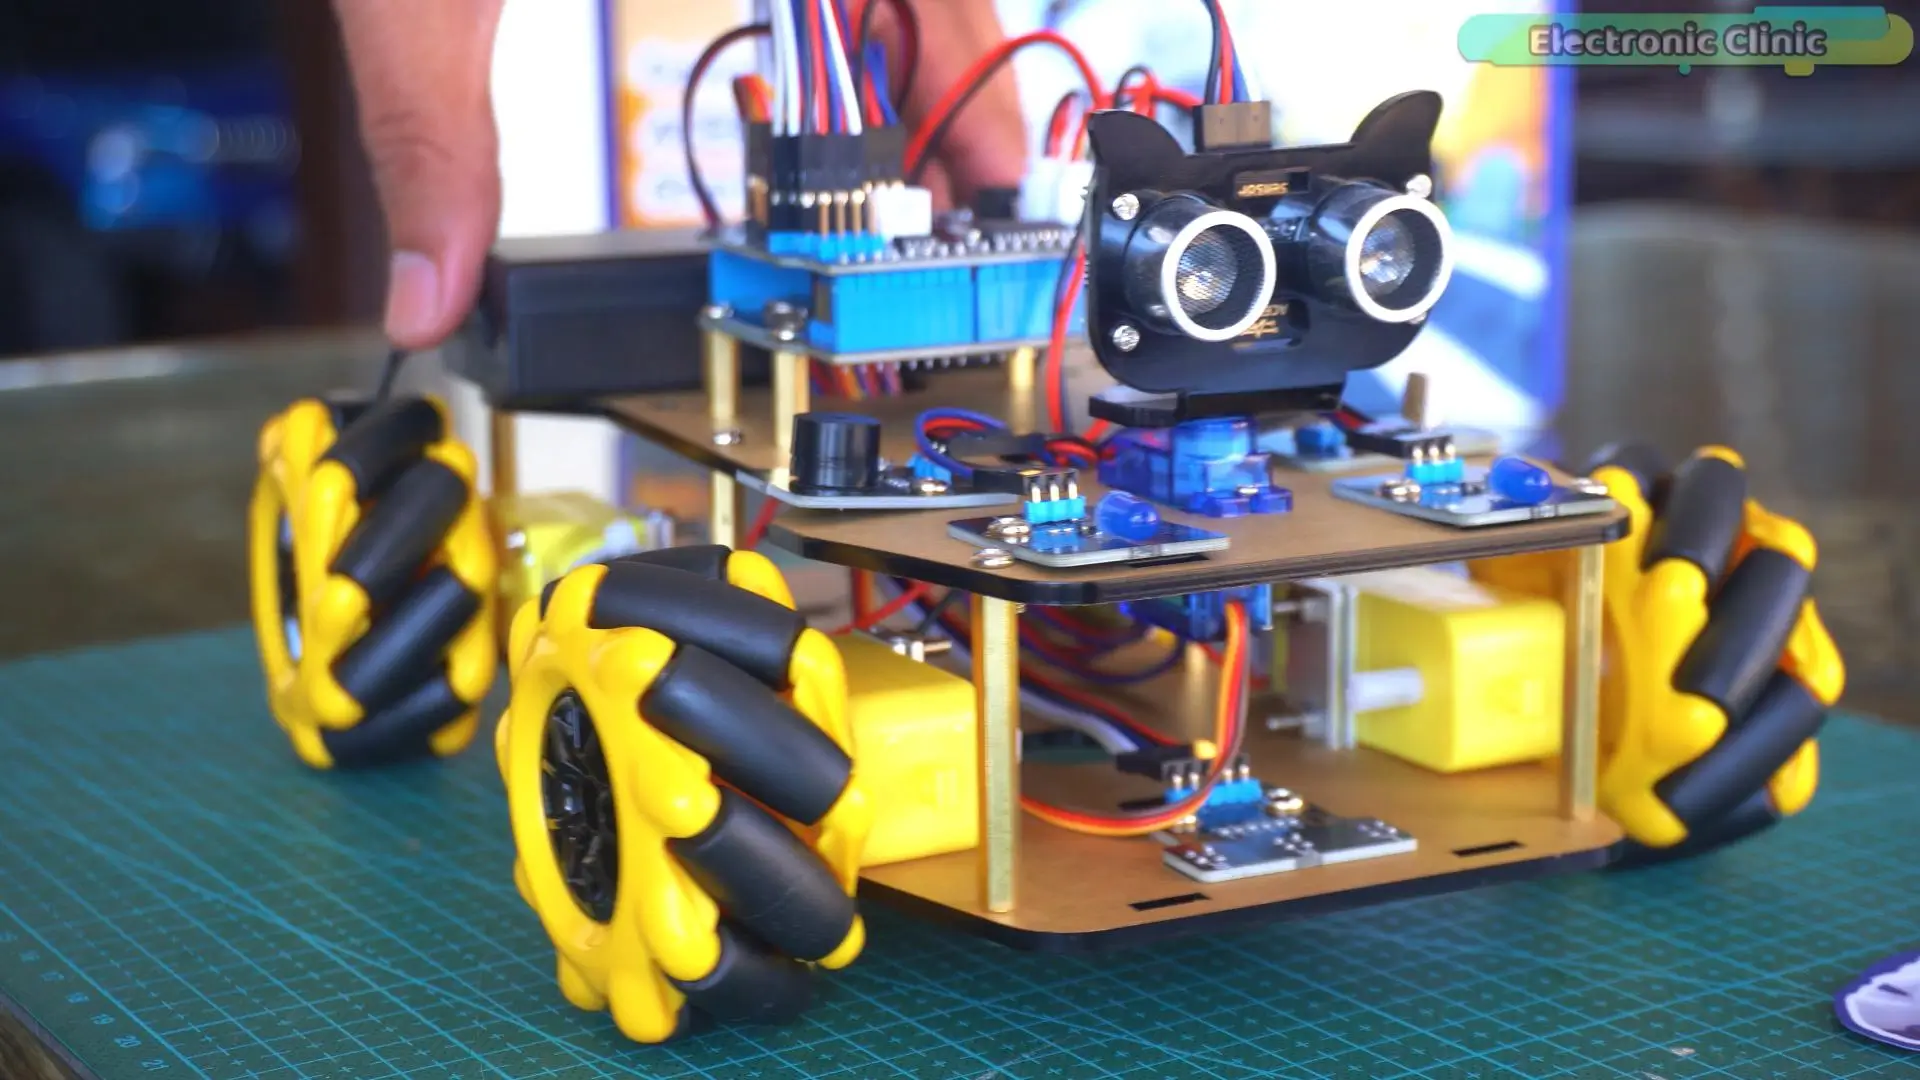
Now, once the assembly is complete, this is where things start to get really exciting…
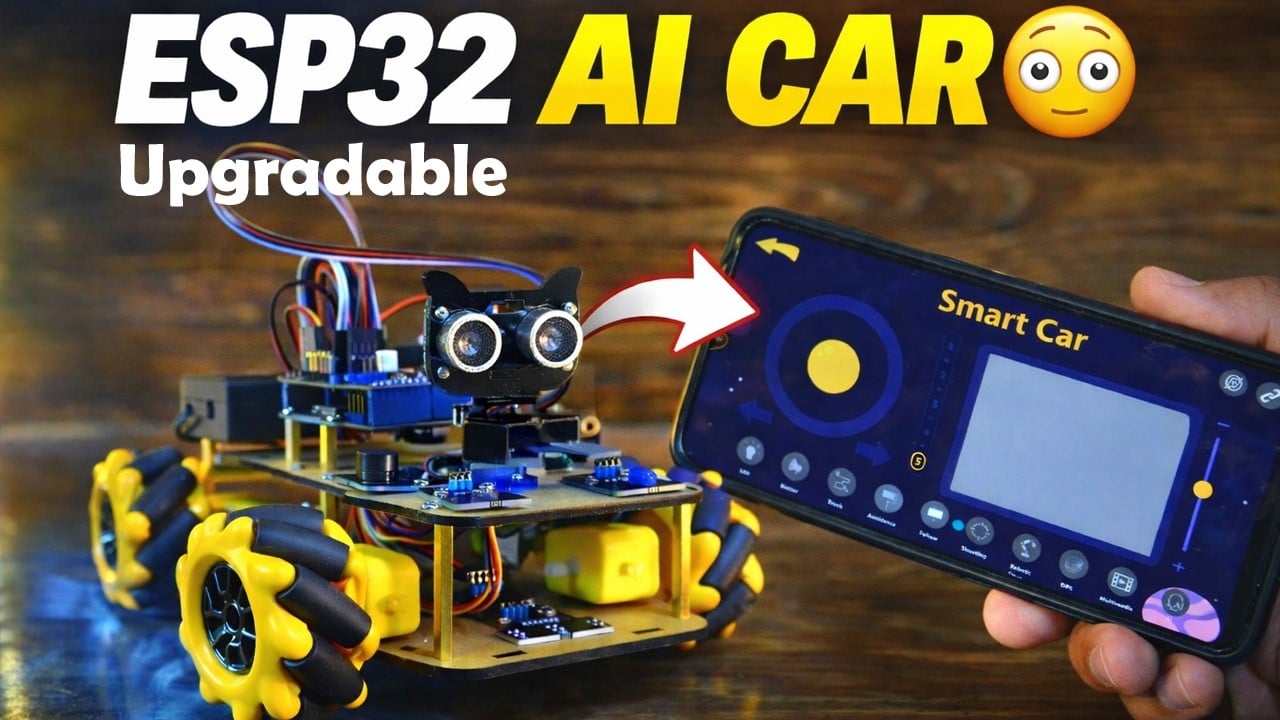
In my video, I didn’t just stop at building the robot; I also showed you exactly how to download the mobile application and connect it with the ACEBOTT smart car. And trust me, this part is something you really don’t want to miss.
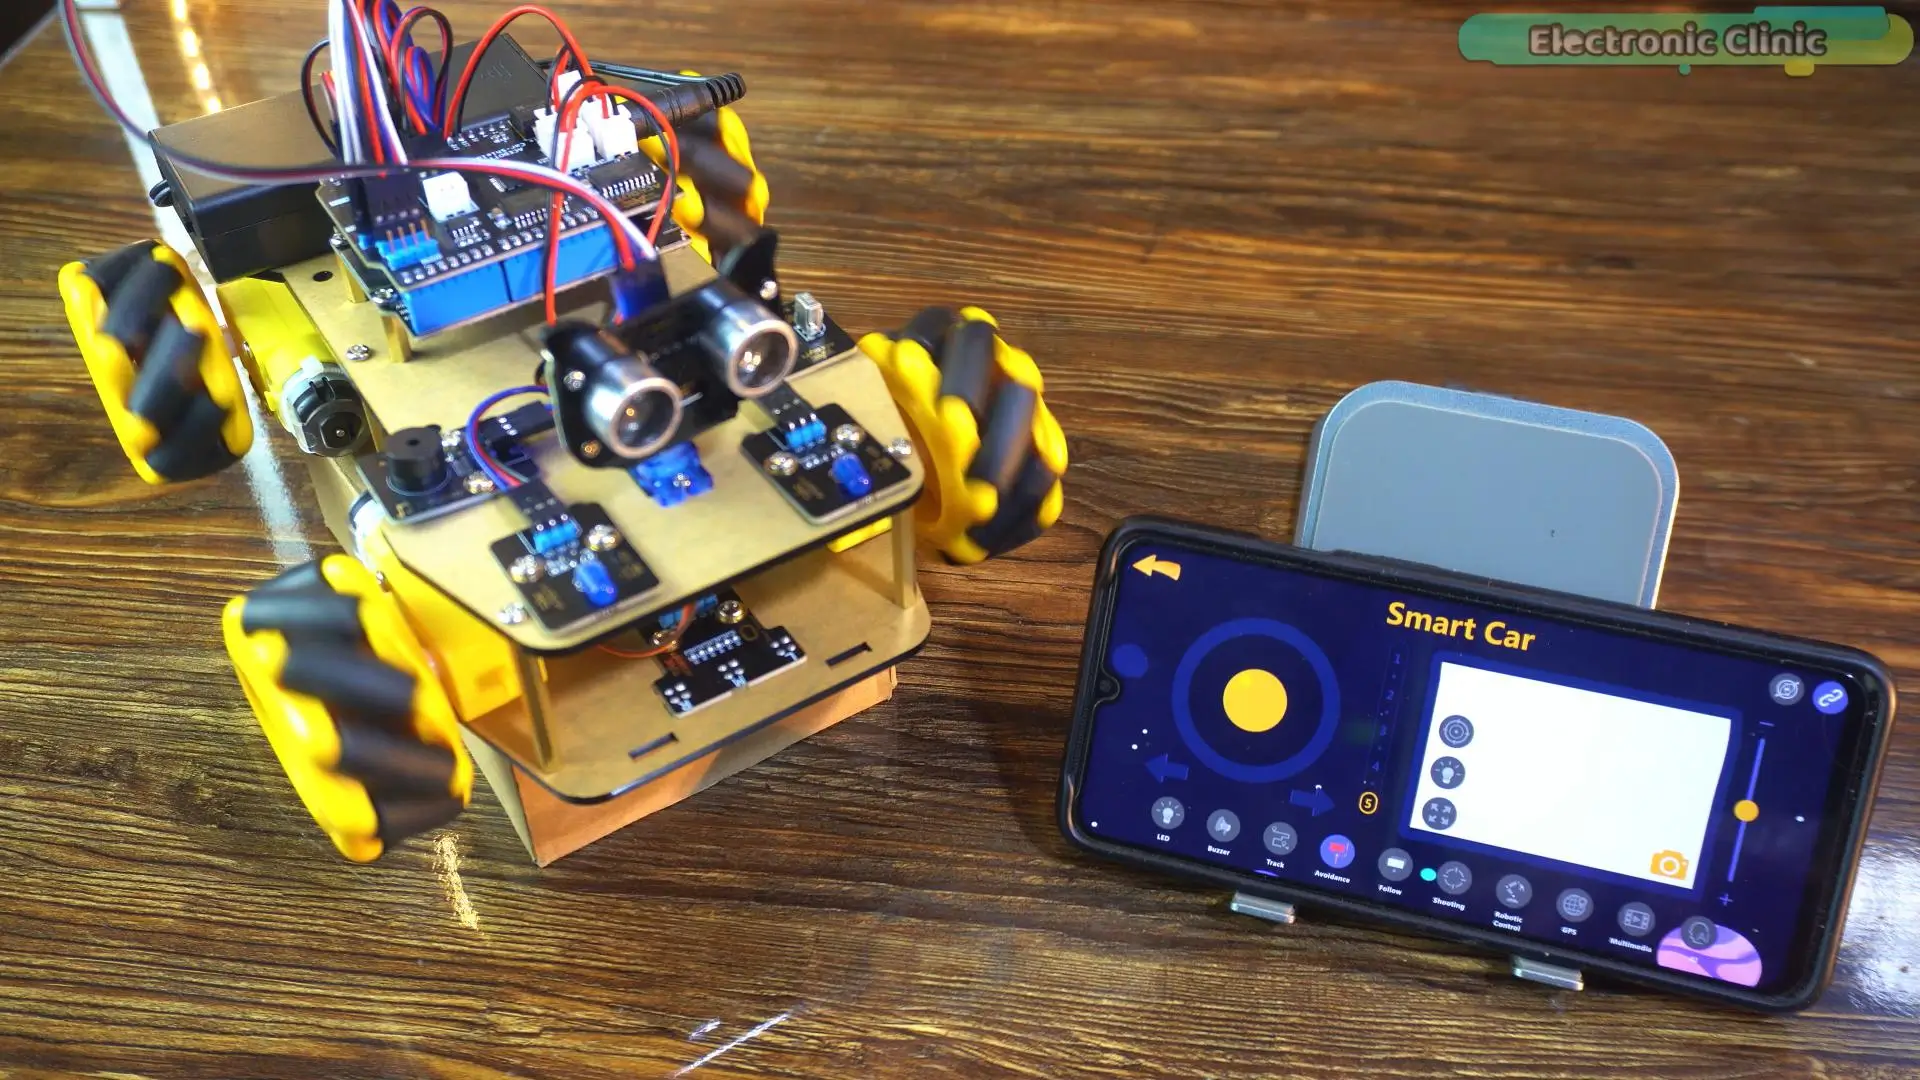
Instead of just explaining it in theory, I demonstrated everything step by step; from installing the app, connecting it to the ESP32, and finally controlling the robot in real time. You can literally drive the car using your phone, just like a high-tech RC vehicle.
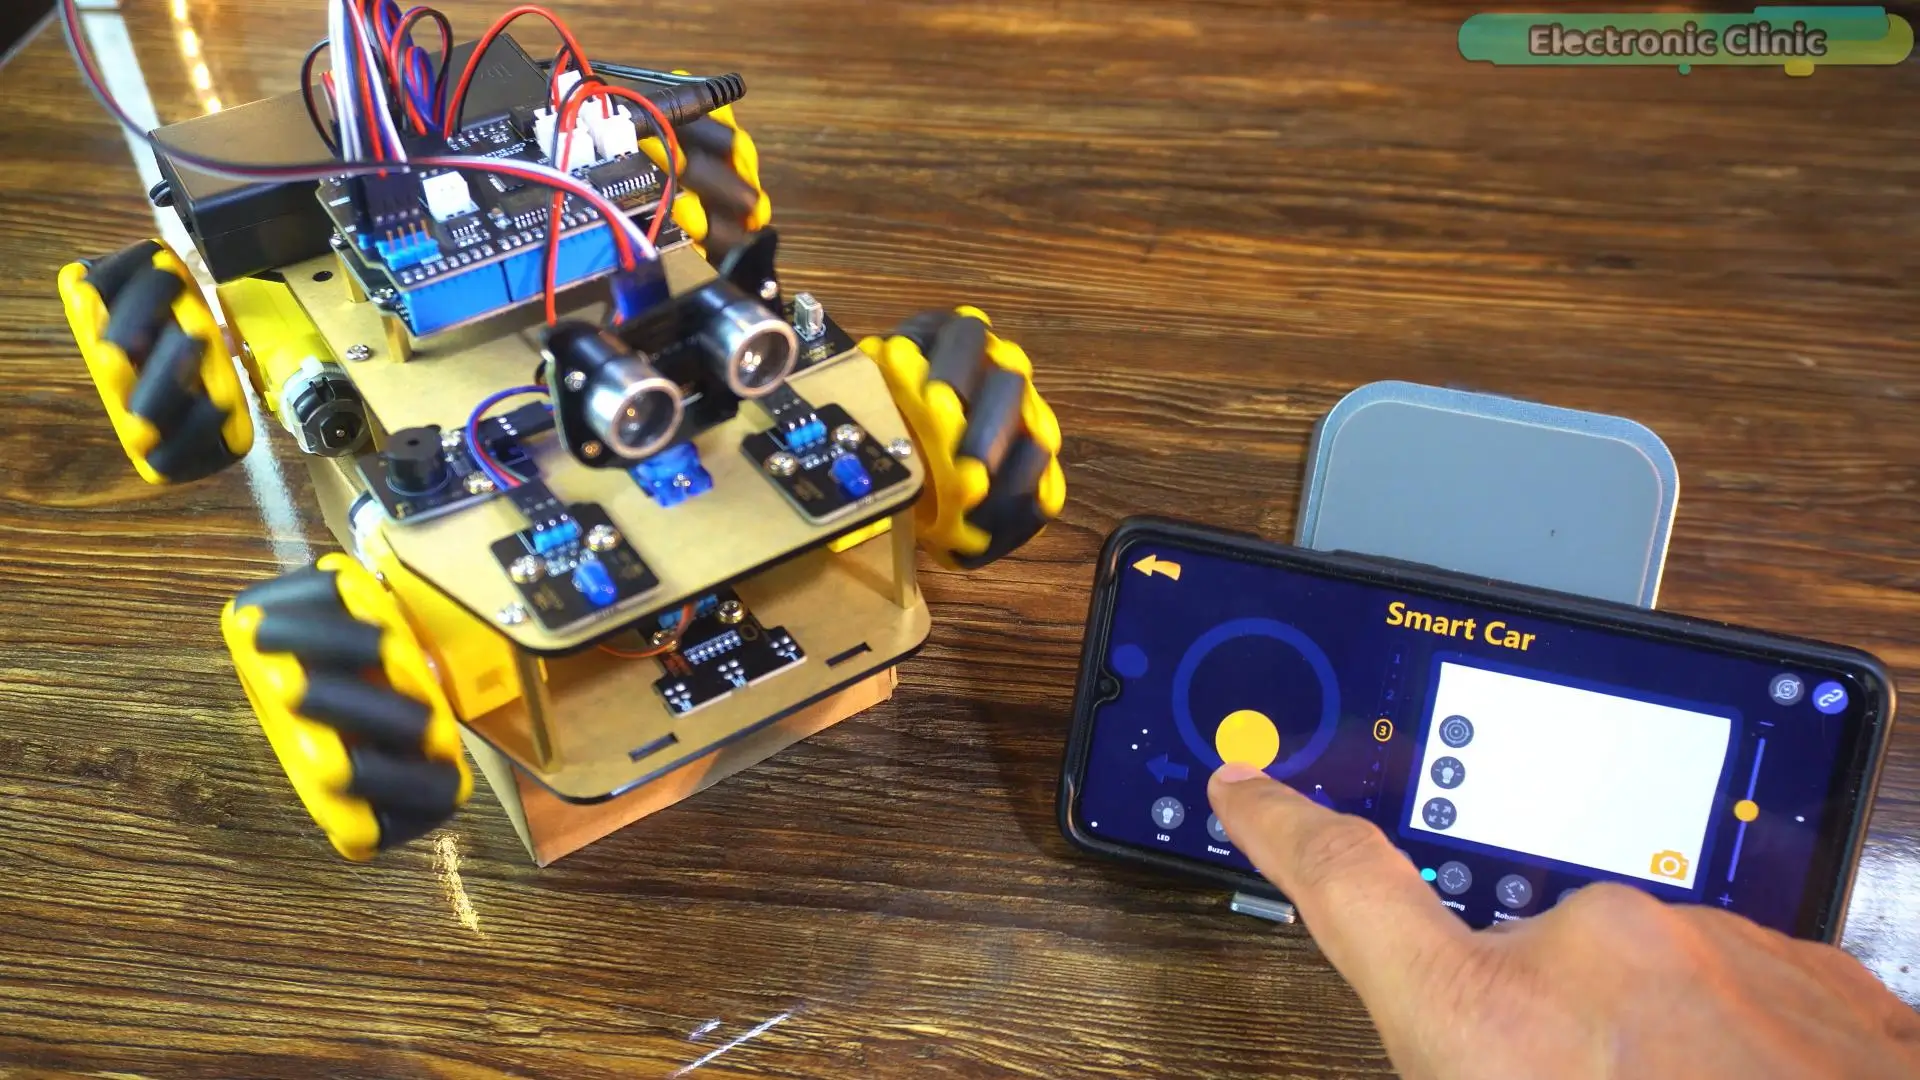
And the control interface? It looks super clean and modern. You get a full control panel with directional movement, different modes, and interactive features; all designed in a way that feels fun and easy to use. The moment you start controlling it from your phone, it doesn’t feel like a simple DIY project anymore; it actually feels like a smart, intelligent robot.
That’s why I strongly recommend watching the video; because seeing it in action makes a huge difference compared to just reading about it.
Talking about the design, this robot looks absolutely amazing.
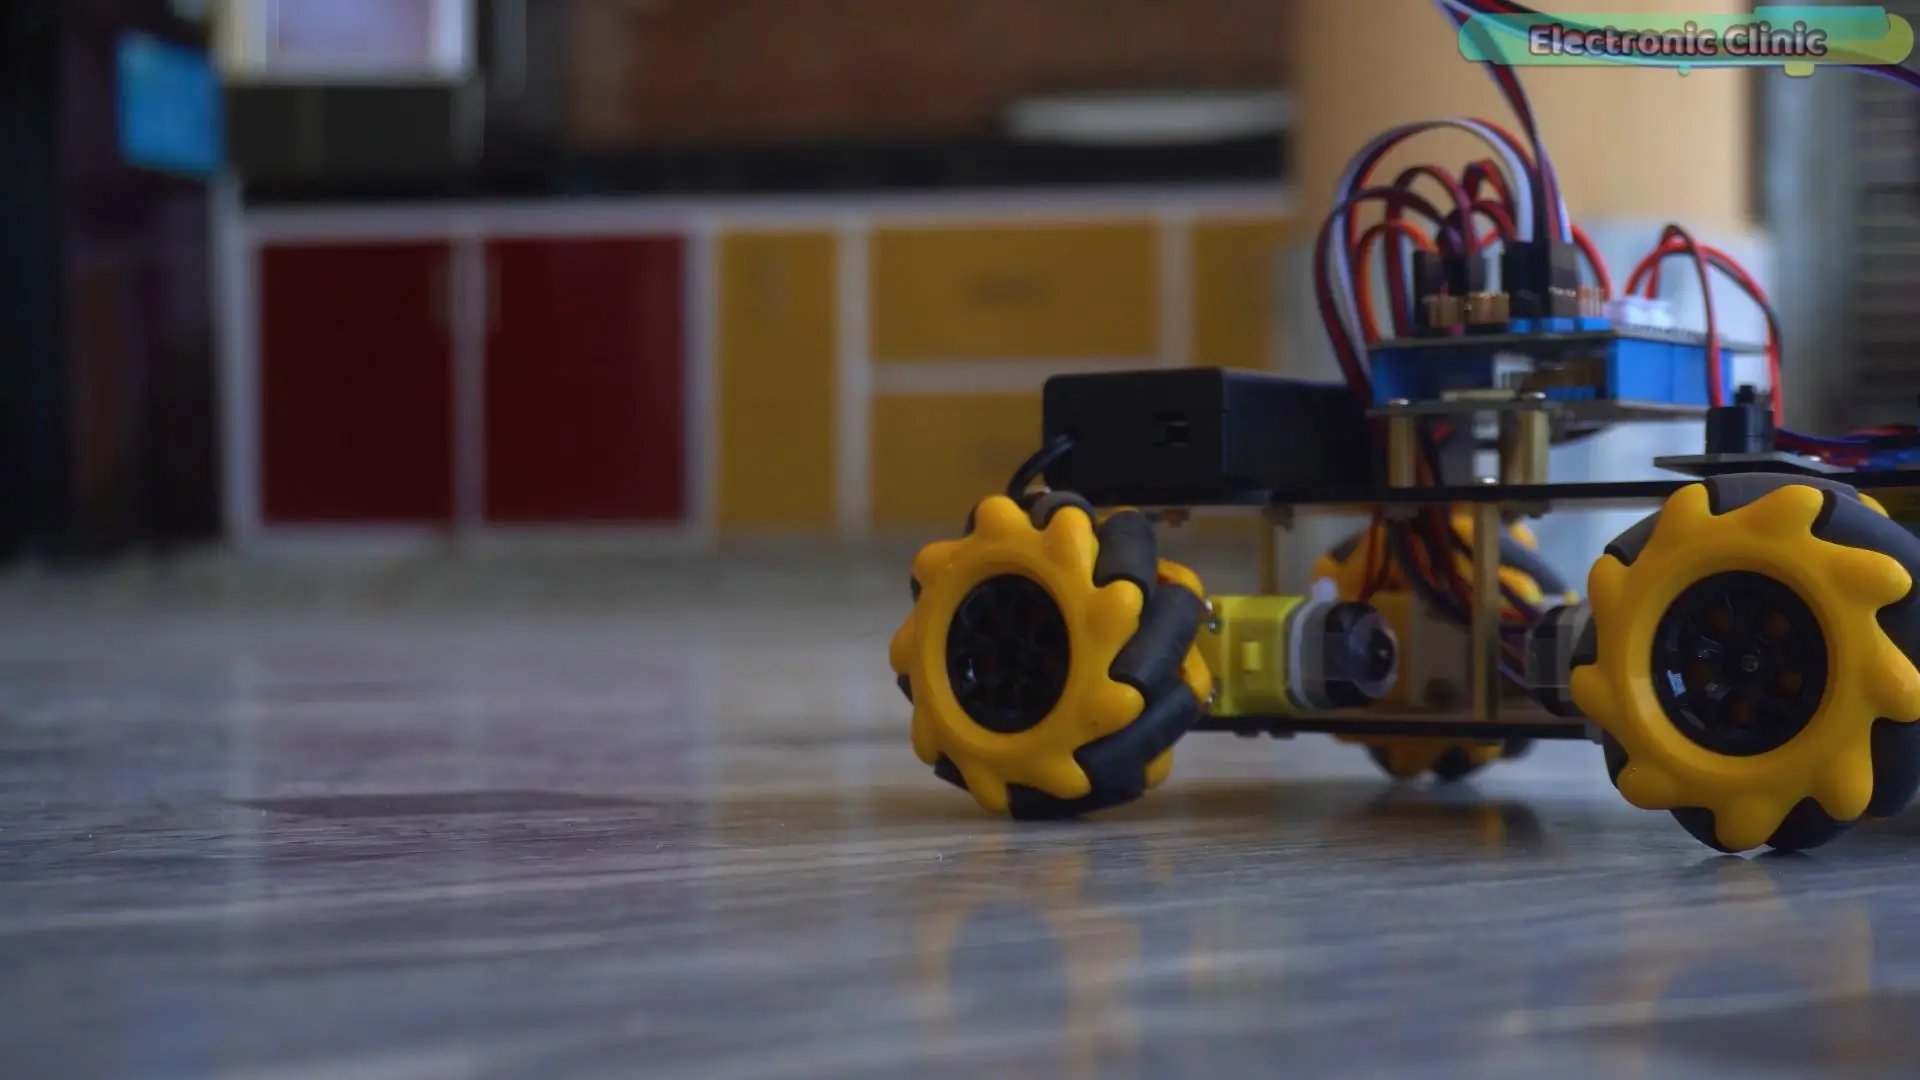
The 4WD mecanum wheels give it a very unique and futuristic style. Unlike normal robot cars, this one can move in all directions; forward, backward, sideways, and even diagonally. When you see it moving, it instantly gives that “wow” factor.
The layered chassis design, neatly placed sensors, and compact ESP32 control board make it look like a proper engineered system, not just a random DIY kit. It’s one of those projects that looks impressive even before you power it on.
And honestly, this is why I believe this kit is a must-have; especially for kids and beginners.
It’s not just a toy.
It’s a complete learning experience.
Kids can learn:
Basic electronics
Wiring and assembly
Robotics concepts
Programming with ESP32
Real-world problem solving
And the best part is; they learn all of this while actually having fun.
Instead of just watching videos or playing games, they get to build something real; something they can control, test, and improve. That kind of hands-on experience is extremely valuable.
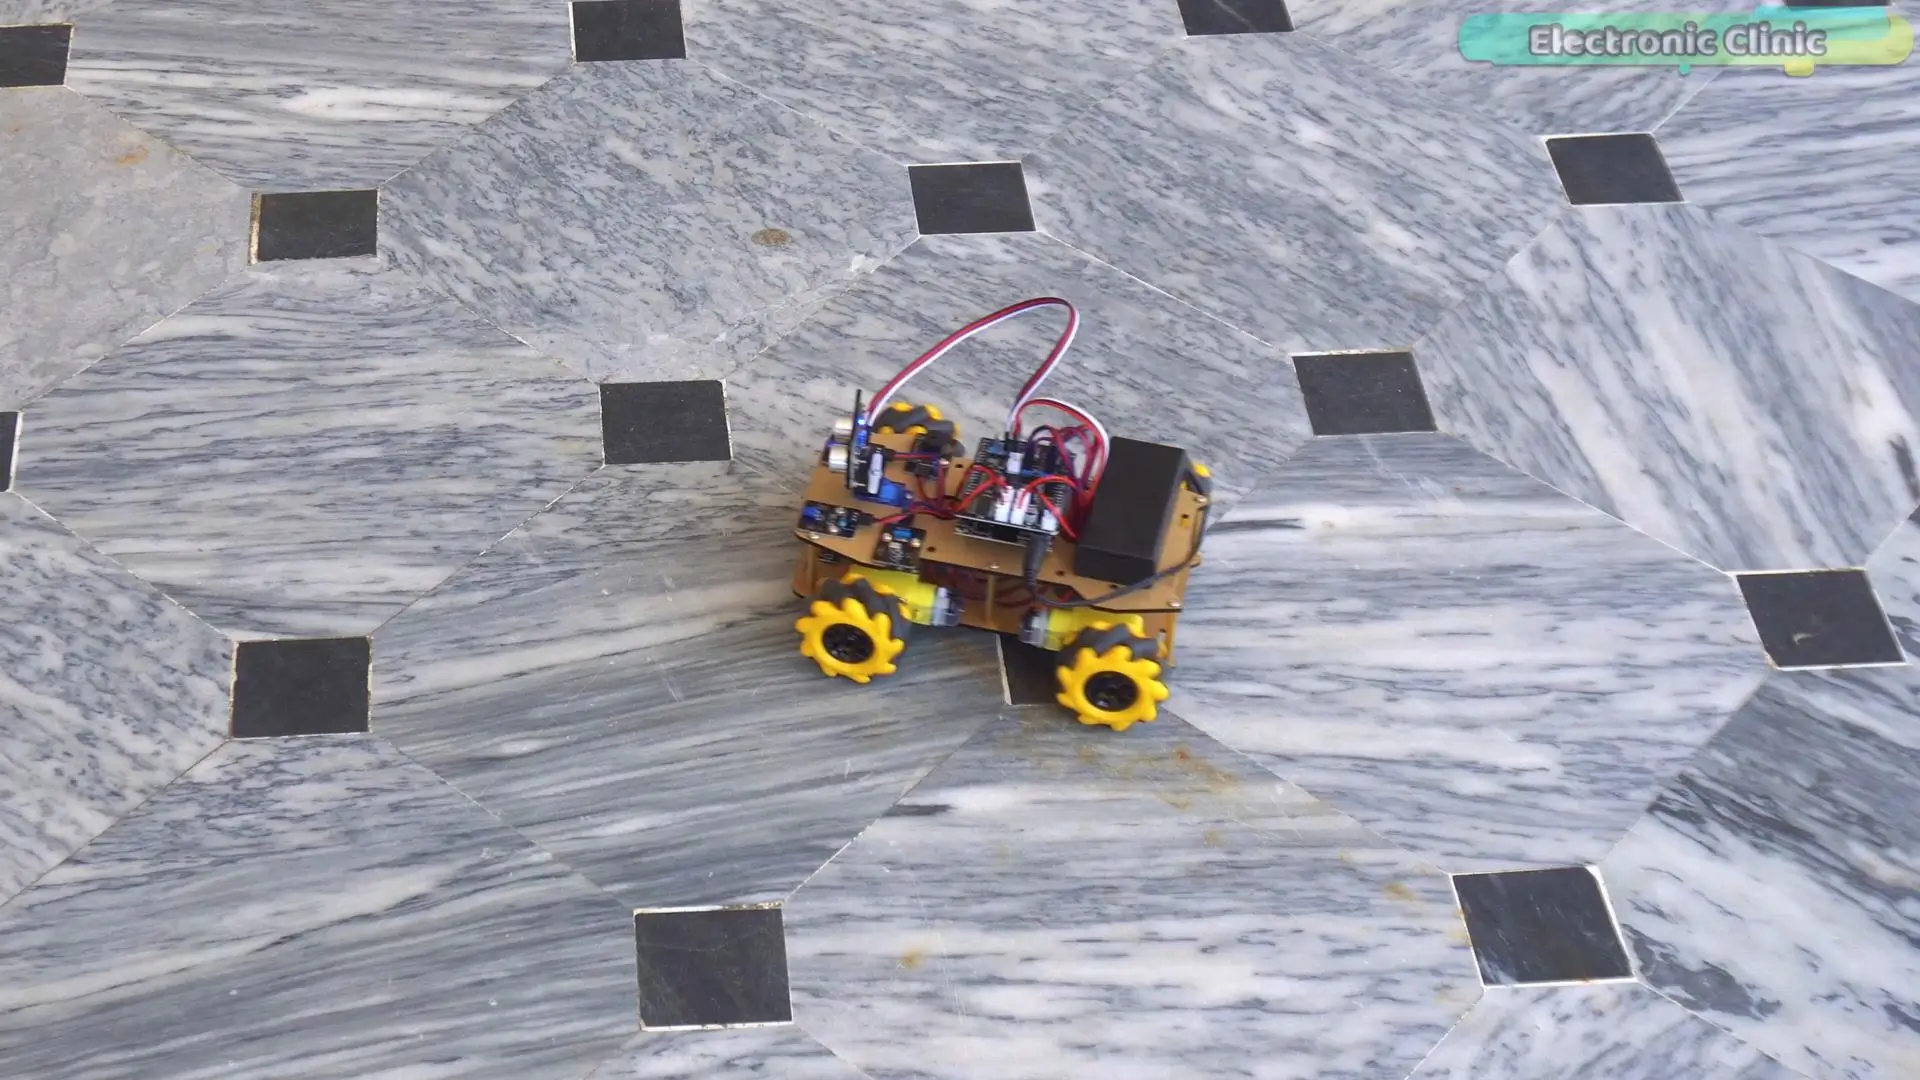
Even for beginners or hobbyists, this kit is a perfect starting point to enter the world of robotics and AI-based projects.
So if you really want to experience everything; from building, to controlling, to seeing this robot in action; make sure you watch the full video tutorial.
Because that’s where the real magic happens.
Support me on Patreon:
If you enjoy my work and find these projects helpful, please consider supporting me on Patreon. With just $1, you can get access to all project source codes, schematics, and extra resources that I share with my supporters. Your support helps me continue creating new electronics tutorials, experiments, and open projects for the community. Thank you so much for being part of this journey and for supporting my work!
Watch Video Tutorial:
Discover more from Electronic Clinic
Subscribe to get the latest posts sent to your email.