Arduino + RD-03D mmWave See Through Test — Can It Detect Behind Objects?
Last Updated on September 2, 2026 by Engr. Shahzada Fahad
Table of Contents
Description:
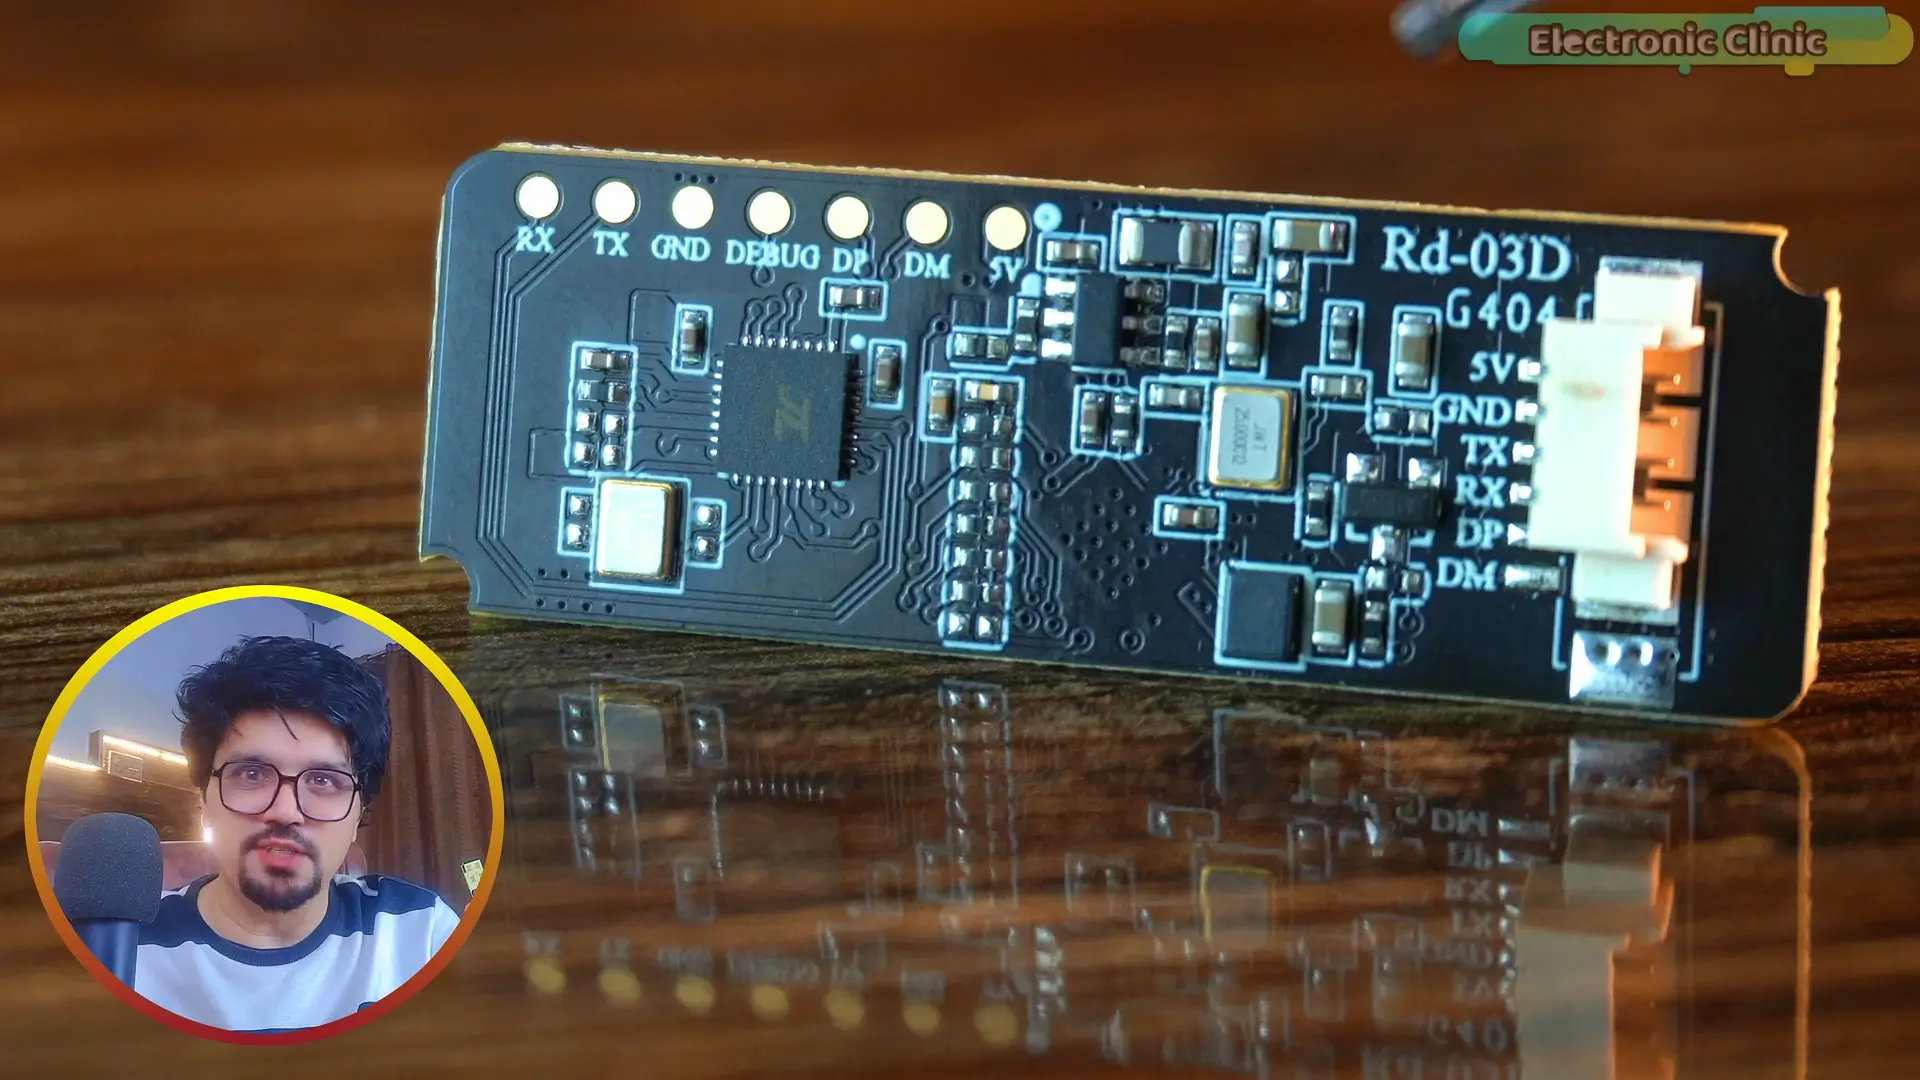
This tiny module right here… looks simple… but trust me… it can see through things.
Yes… I am talking about the RD-03D mmWave radar sensor.
Now here’s the crazy part…
I already used this sensor before… with an ESP32 “Rd-03D mmWave Radar: Multi-Human Tracking with Distance, Speed & Positioning”…
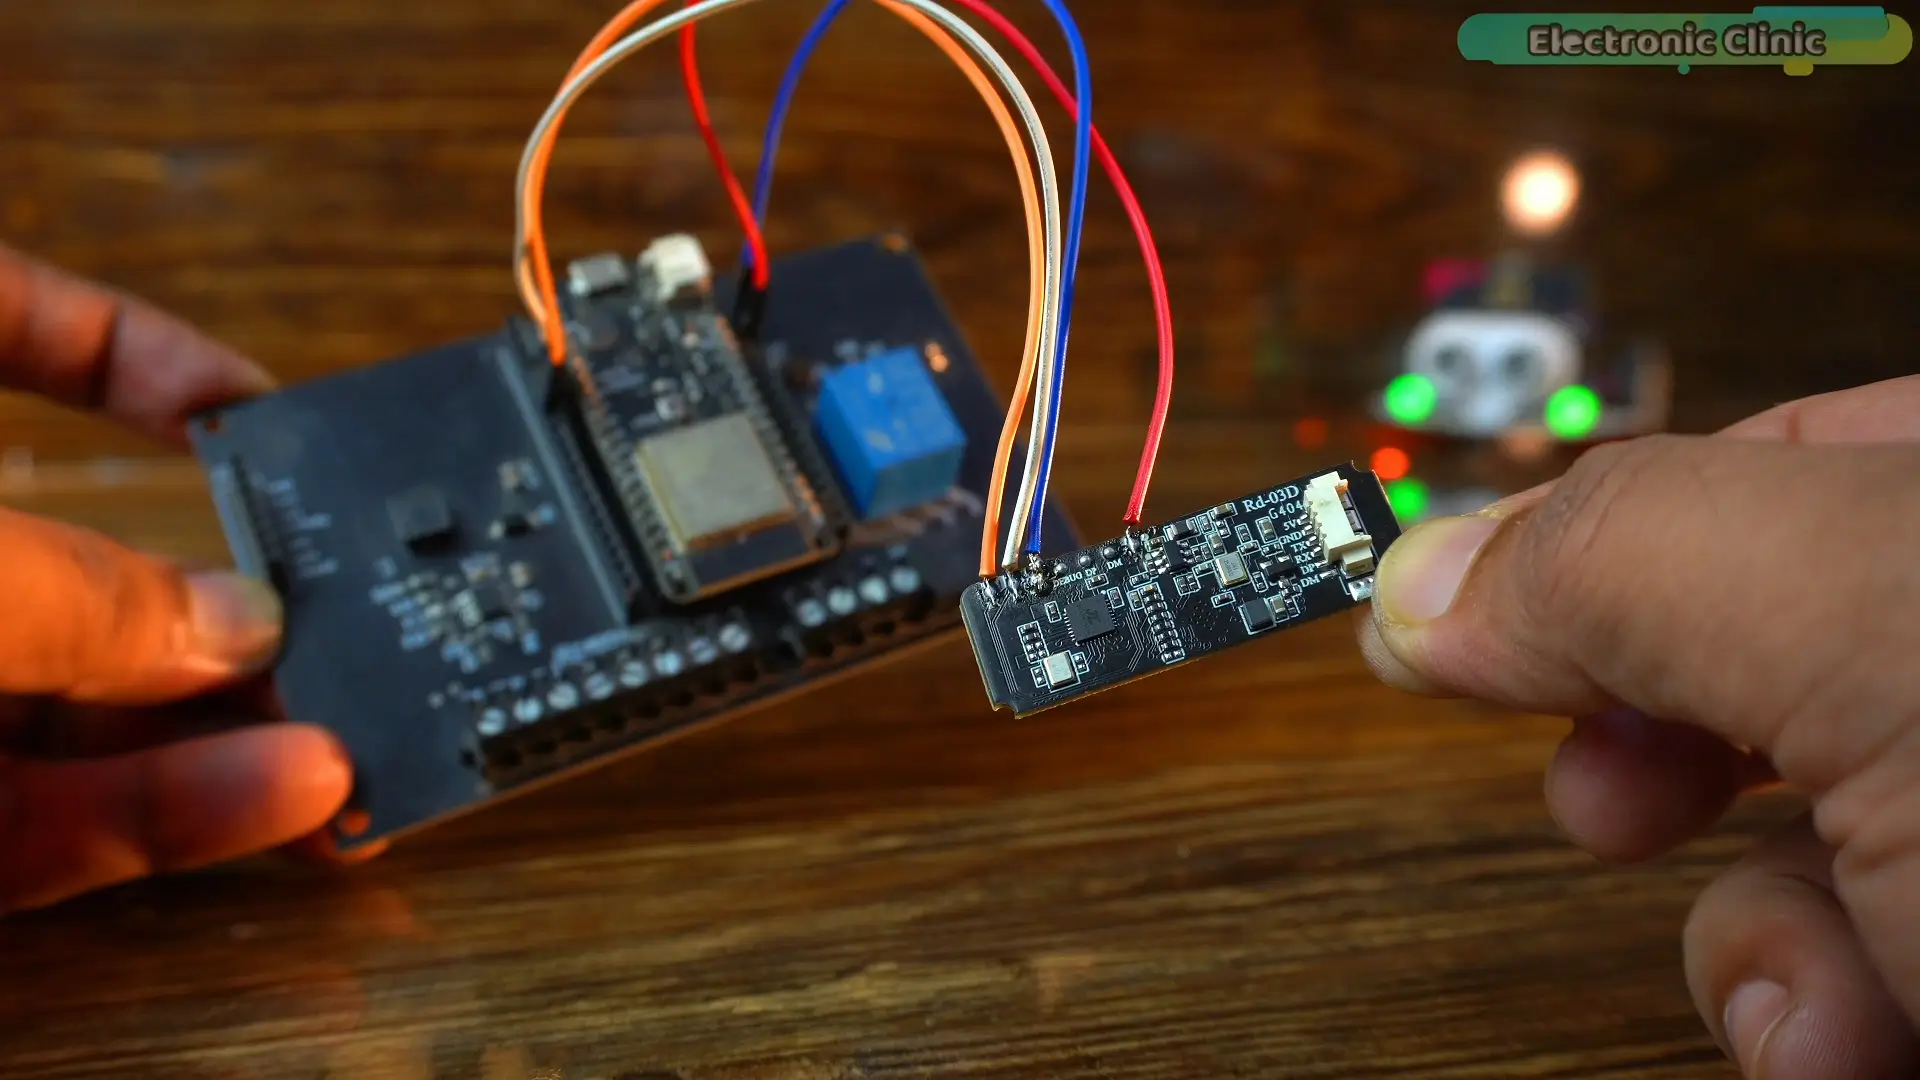
But at that time… there was no library at all.
Nothing.
I had to go deep… like really low-level programming…
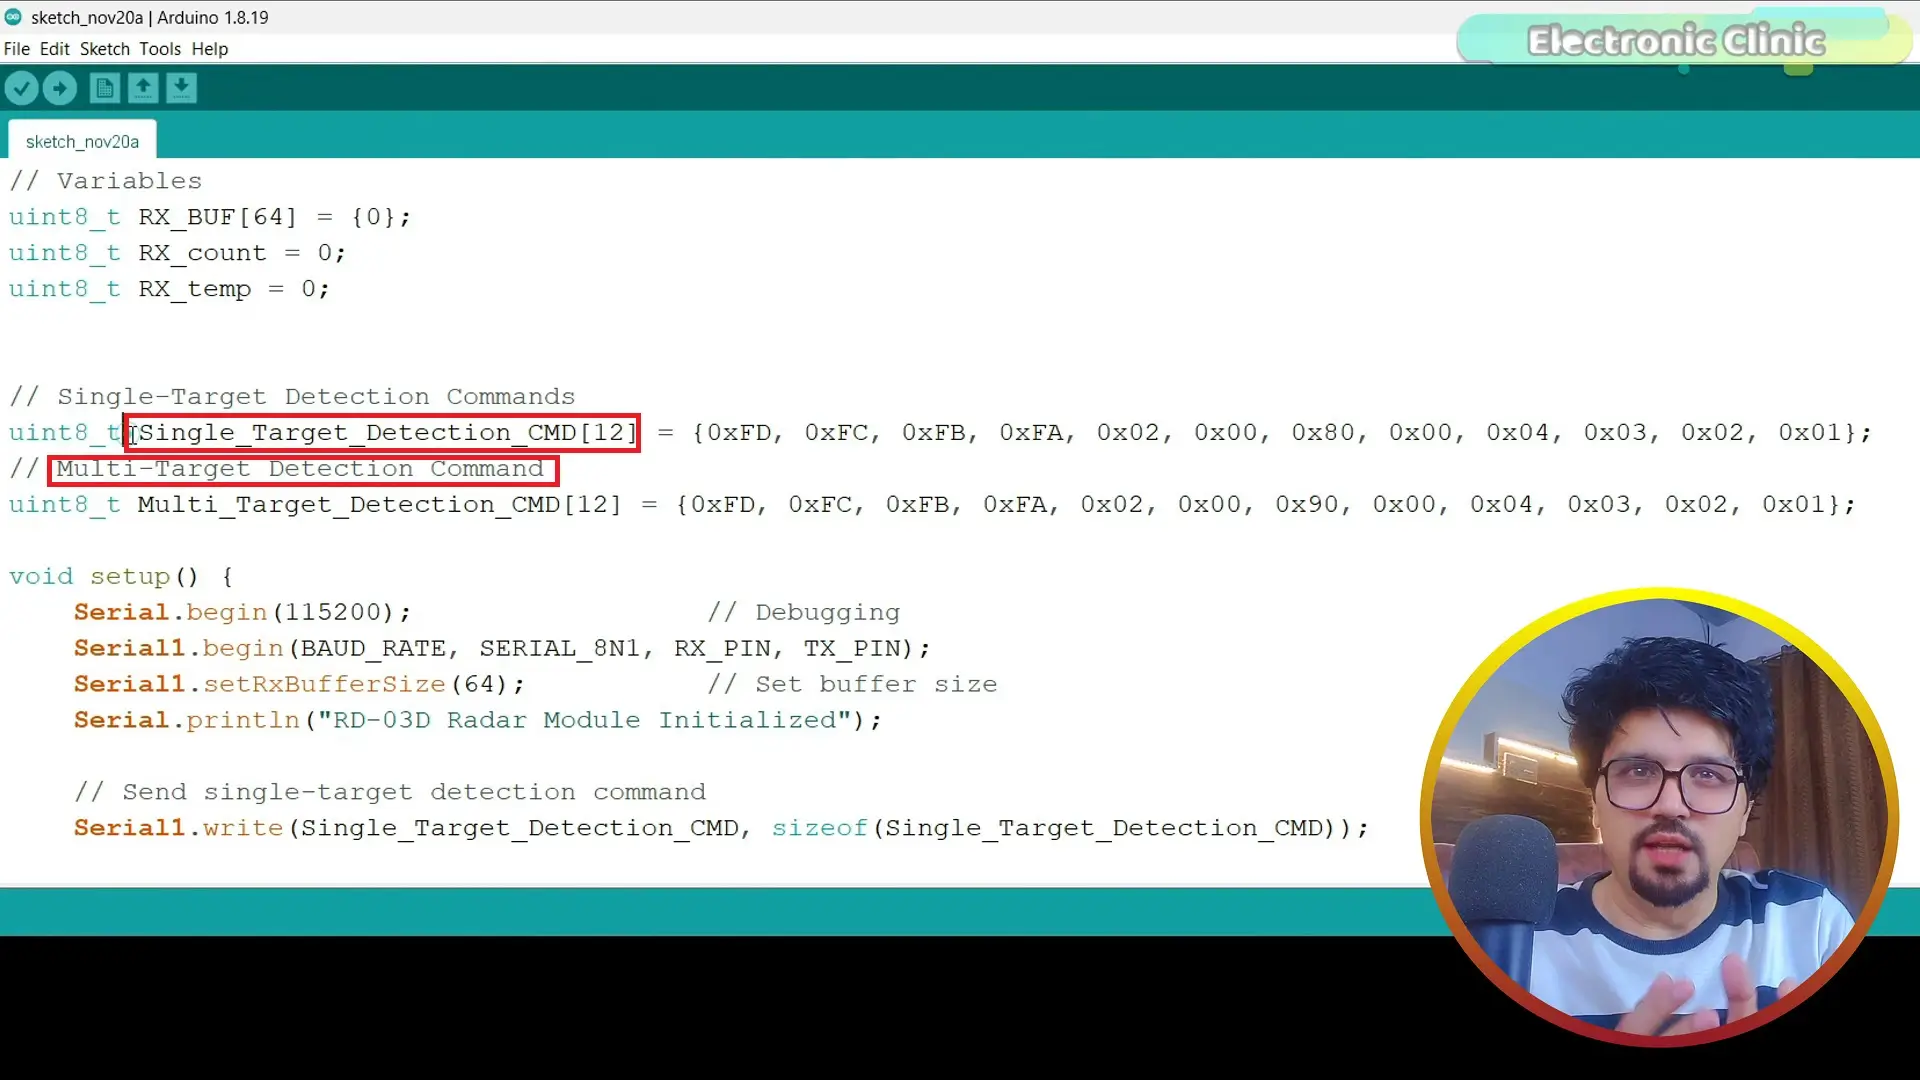
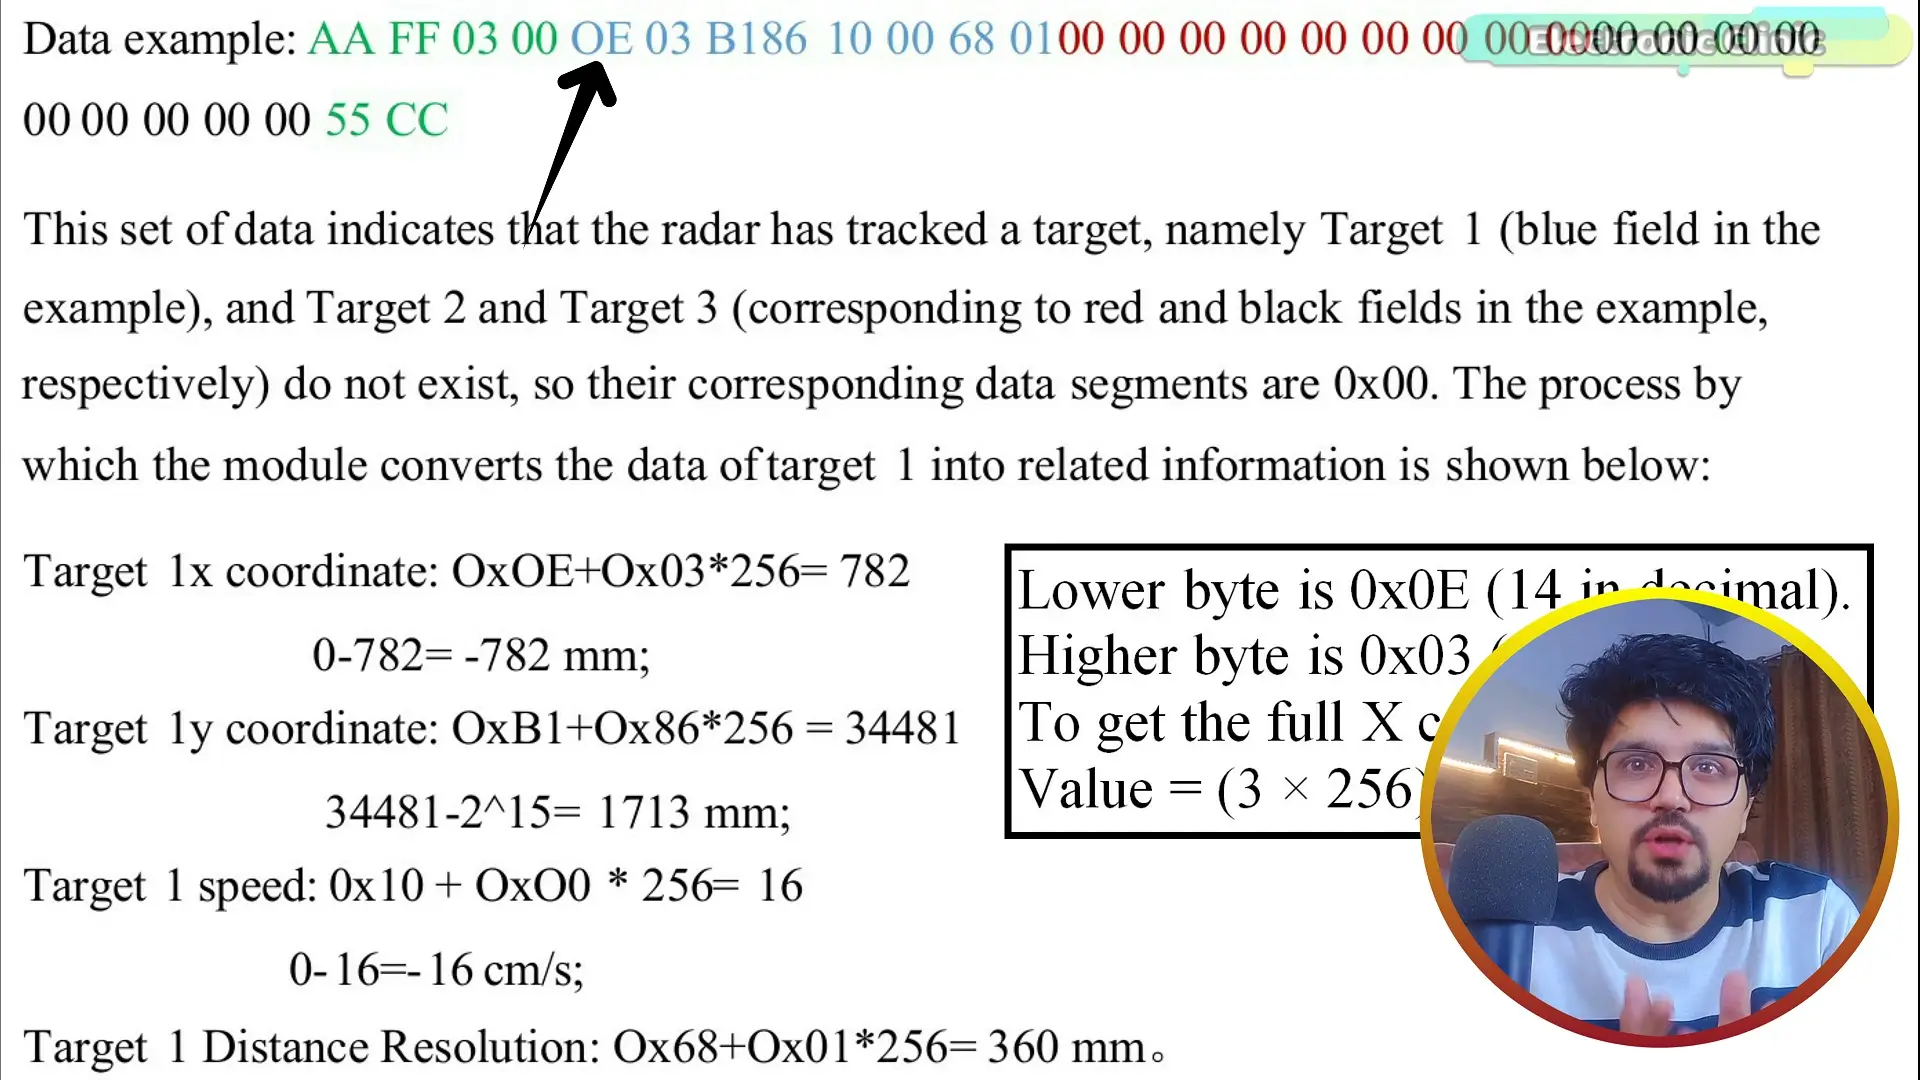
decoding raw data…

understanding how it actually works…
After that… I took it to the next level…
I built a real radar-style animation system… “Real-Time Human Tracking Radar with mmWave Sensor and ESP32-S3 Touchscreen”
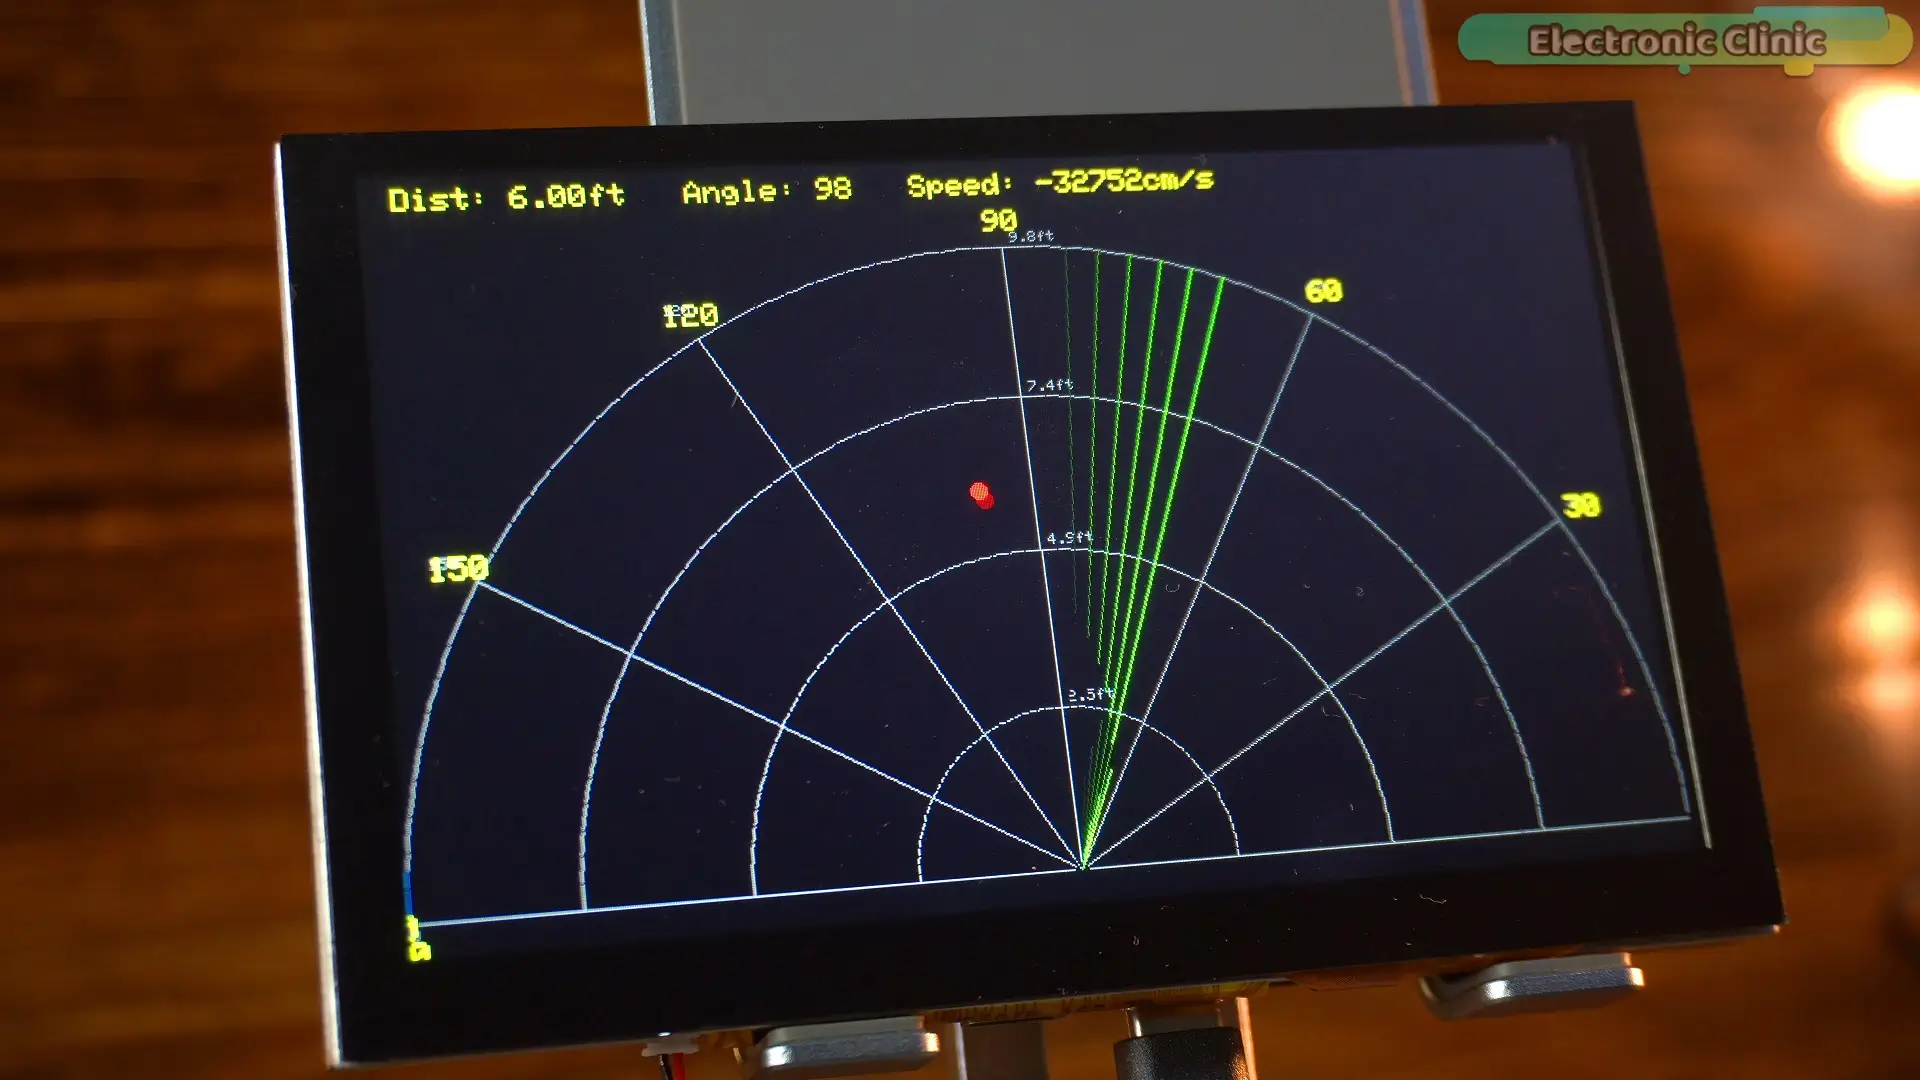
where I was tracking humans wirelessly… like a real radar screen… moving dot… real-time tracking…
Honestly… that project was insane.
I have tested almost every mmWave sensor I got my hands on…
And not just basic testing… I pushed them hard…
I checked human detection:
behind cardboard…
behind hardboard sheets…
Behind Plastic…
through glass…
wooden doors…
even walls…
And the results?
Some were shocking… some were just mind-blowing.
But, I never tested all those materials… with this exact RD-03D sensor.
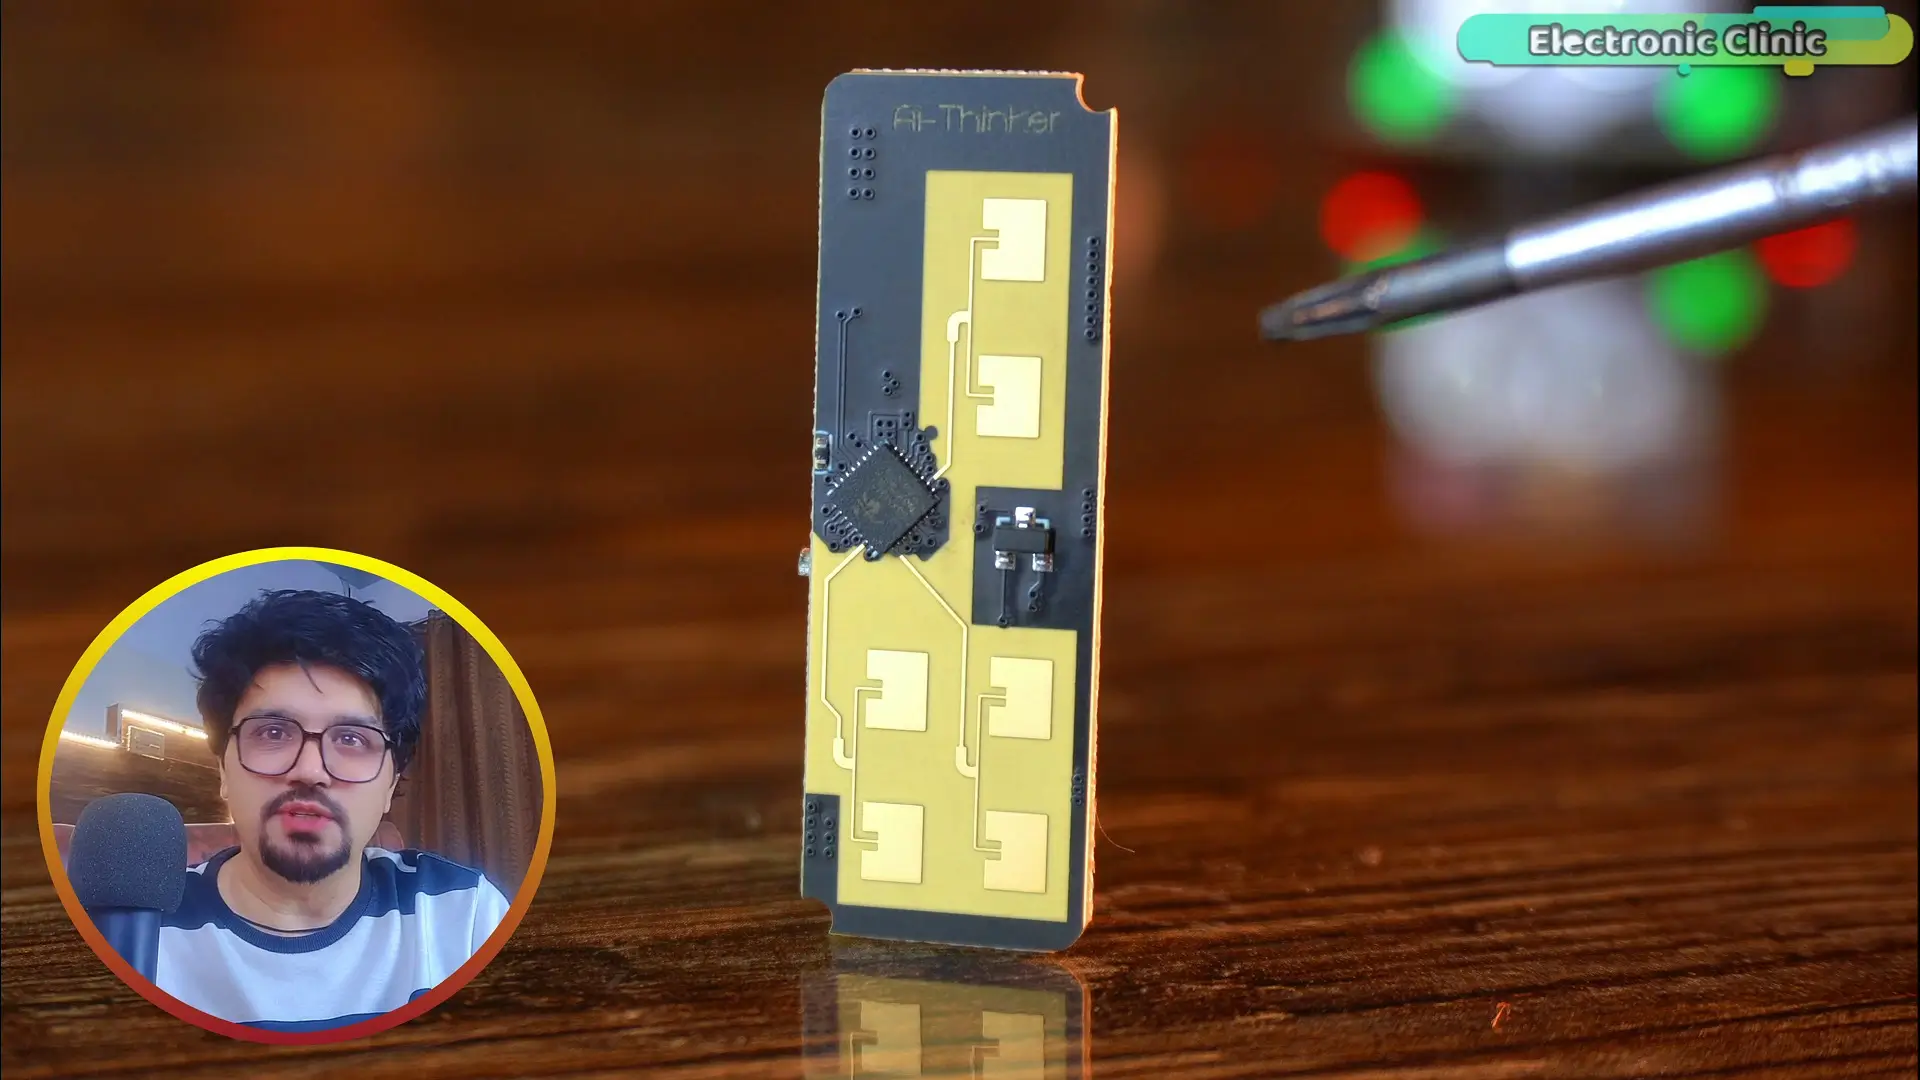
And a lot of you guys kept asking me again and again…
“Can you test RD-03D through walls?”
“Does it work behind wood?”
“Is it better than other mmWave sensors?”
So… today… we are finally doing it
And this time… I am not using ESP32…
Today… we are going to use it with the Arduino Uno R4.
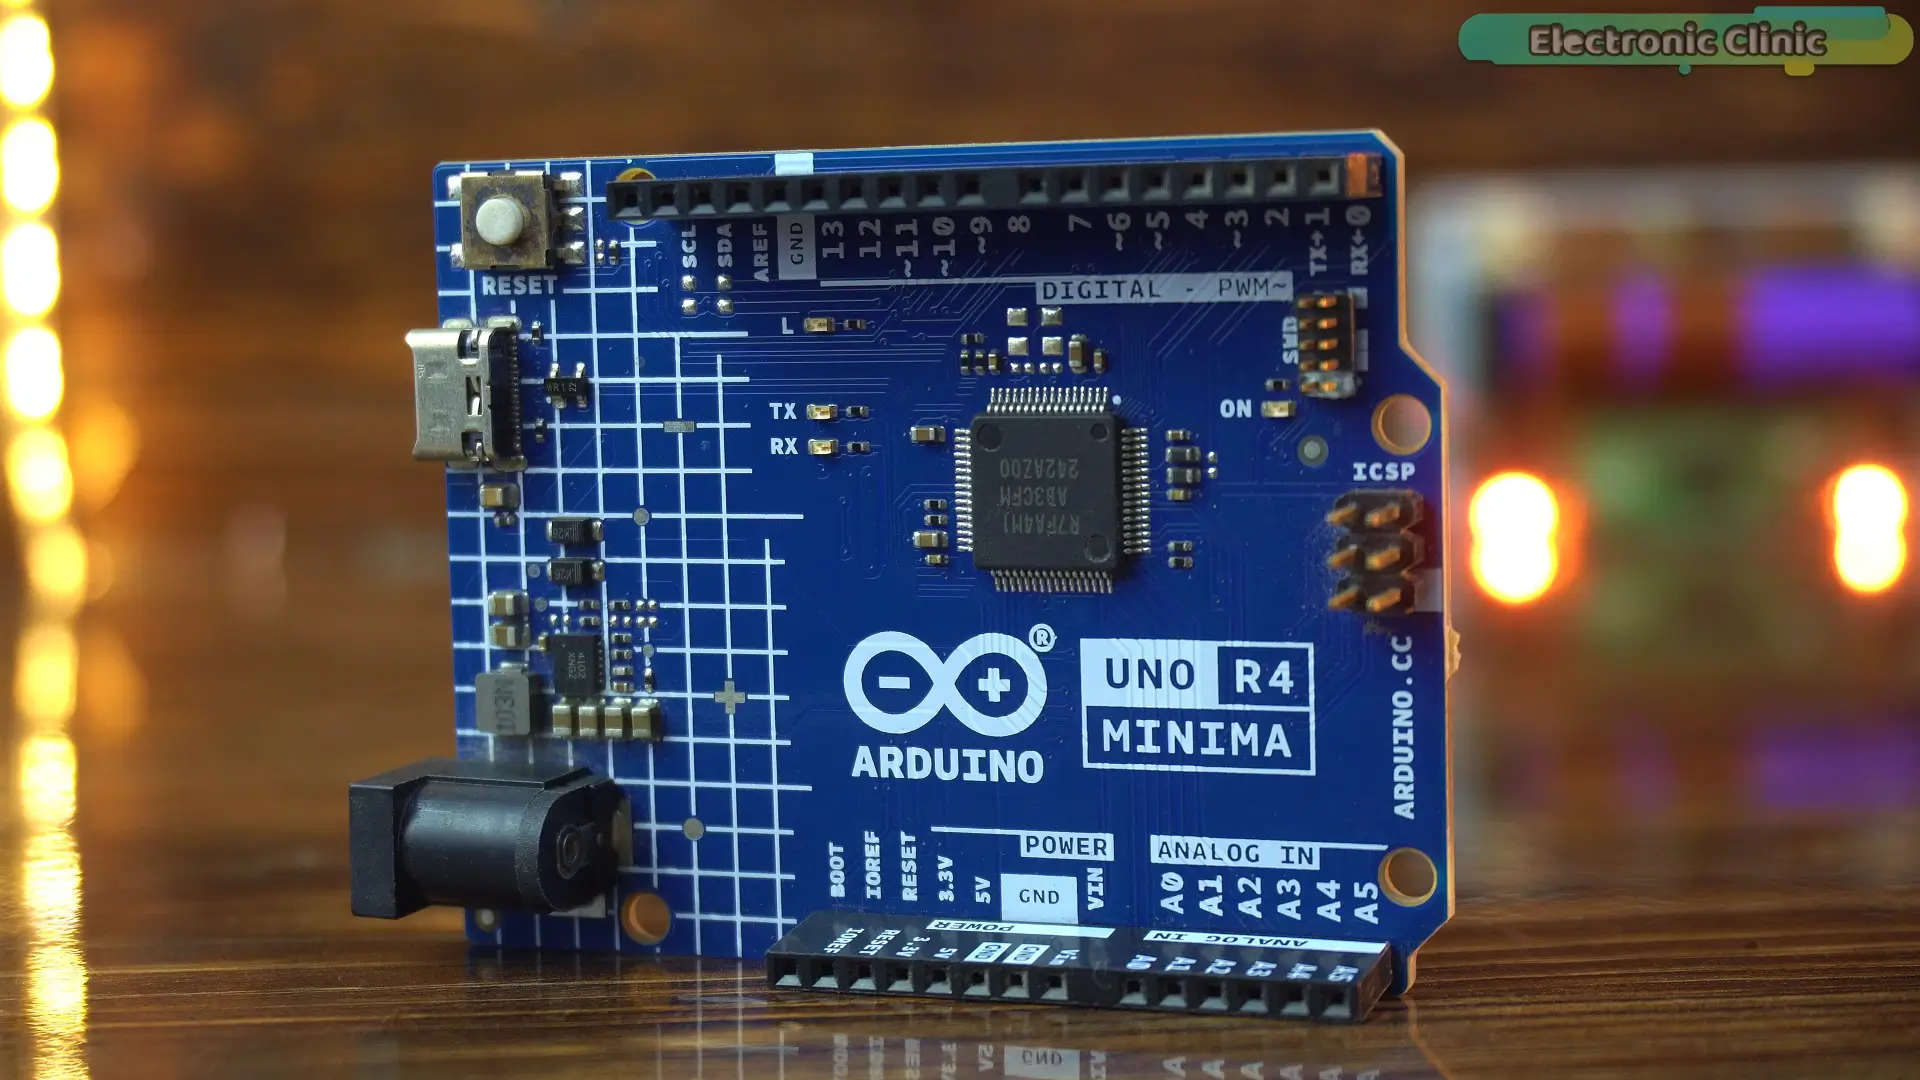
Now another big problem…
Many people are complaining…
when they use RD-03D with Arduino Nano…
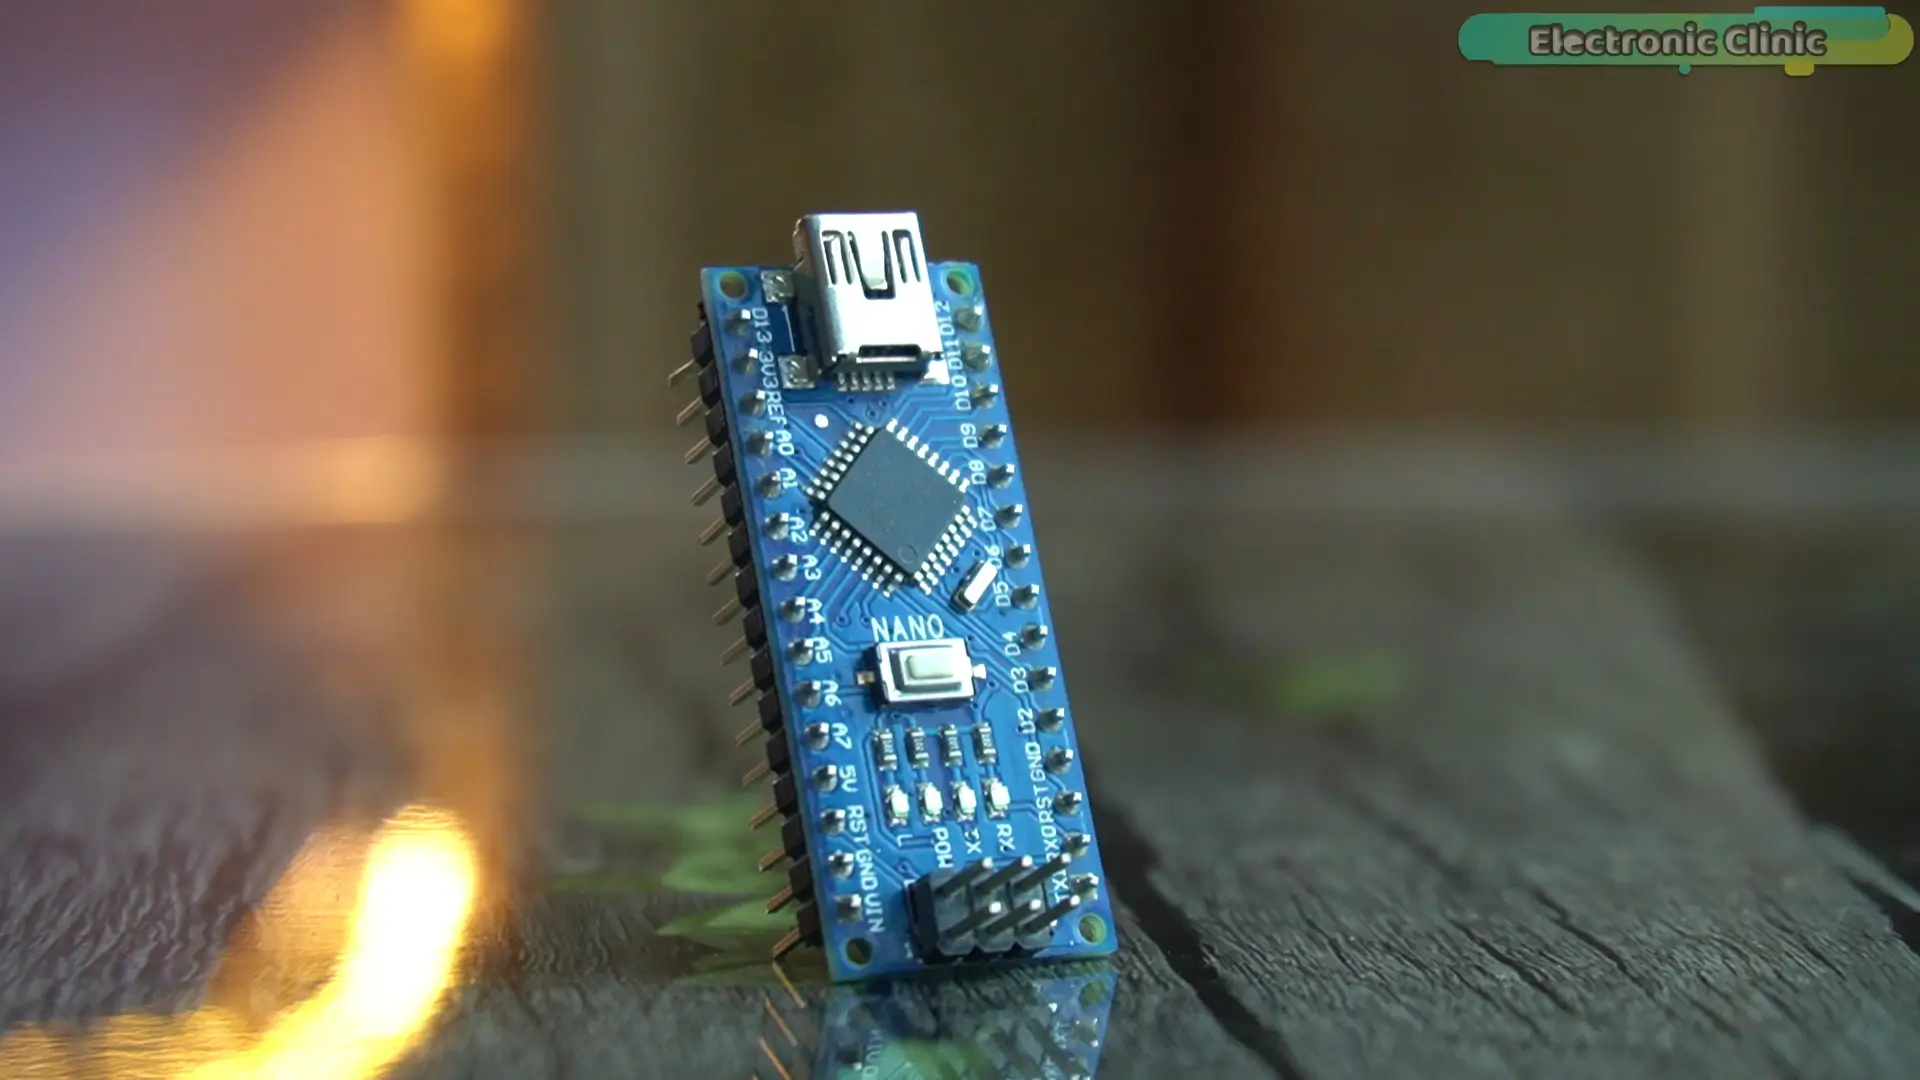
They only see one message:
“Radar Sensor Started”…
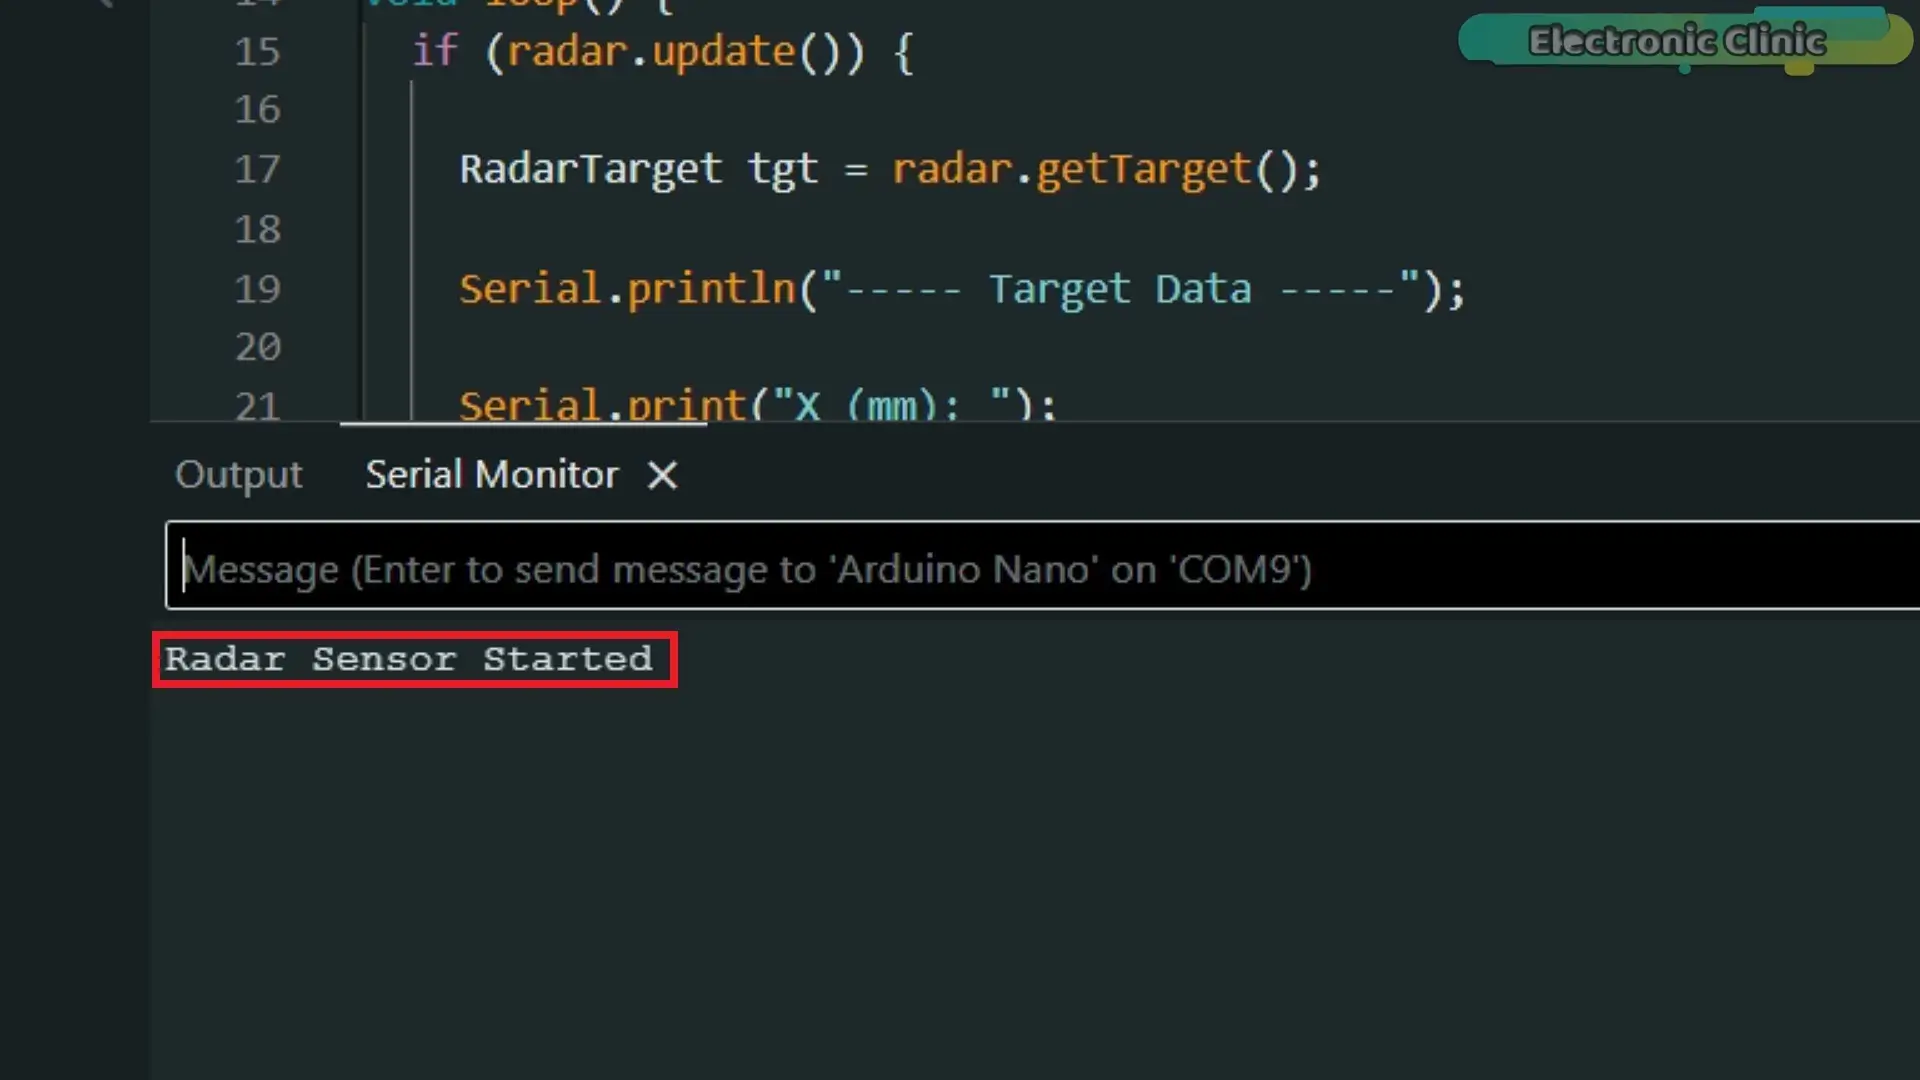
and then… nothing happens.
No data… no output… nothing.
I will show you exactly why this happens…and what you should do instead.
And that’s not all…
At the end of this Article.
we are going to build a radar-style animation in Python…
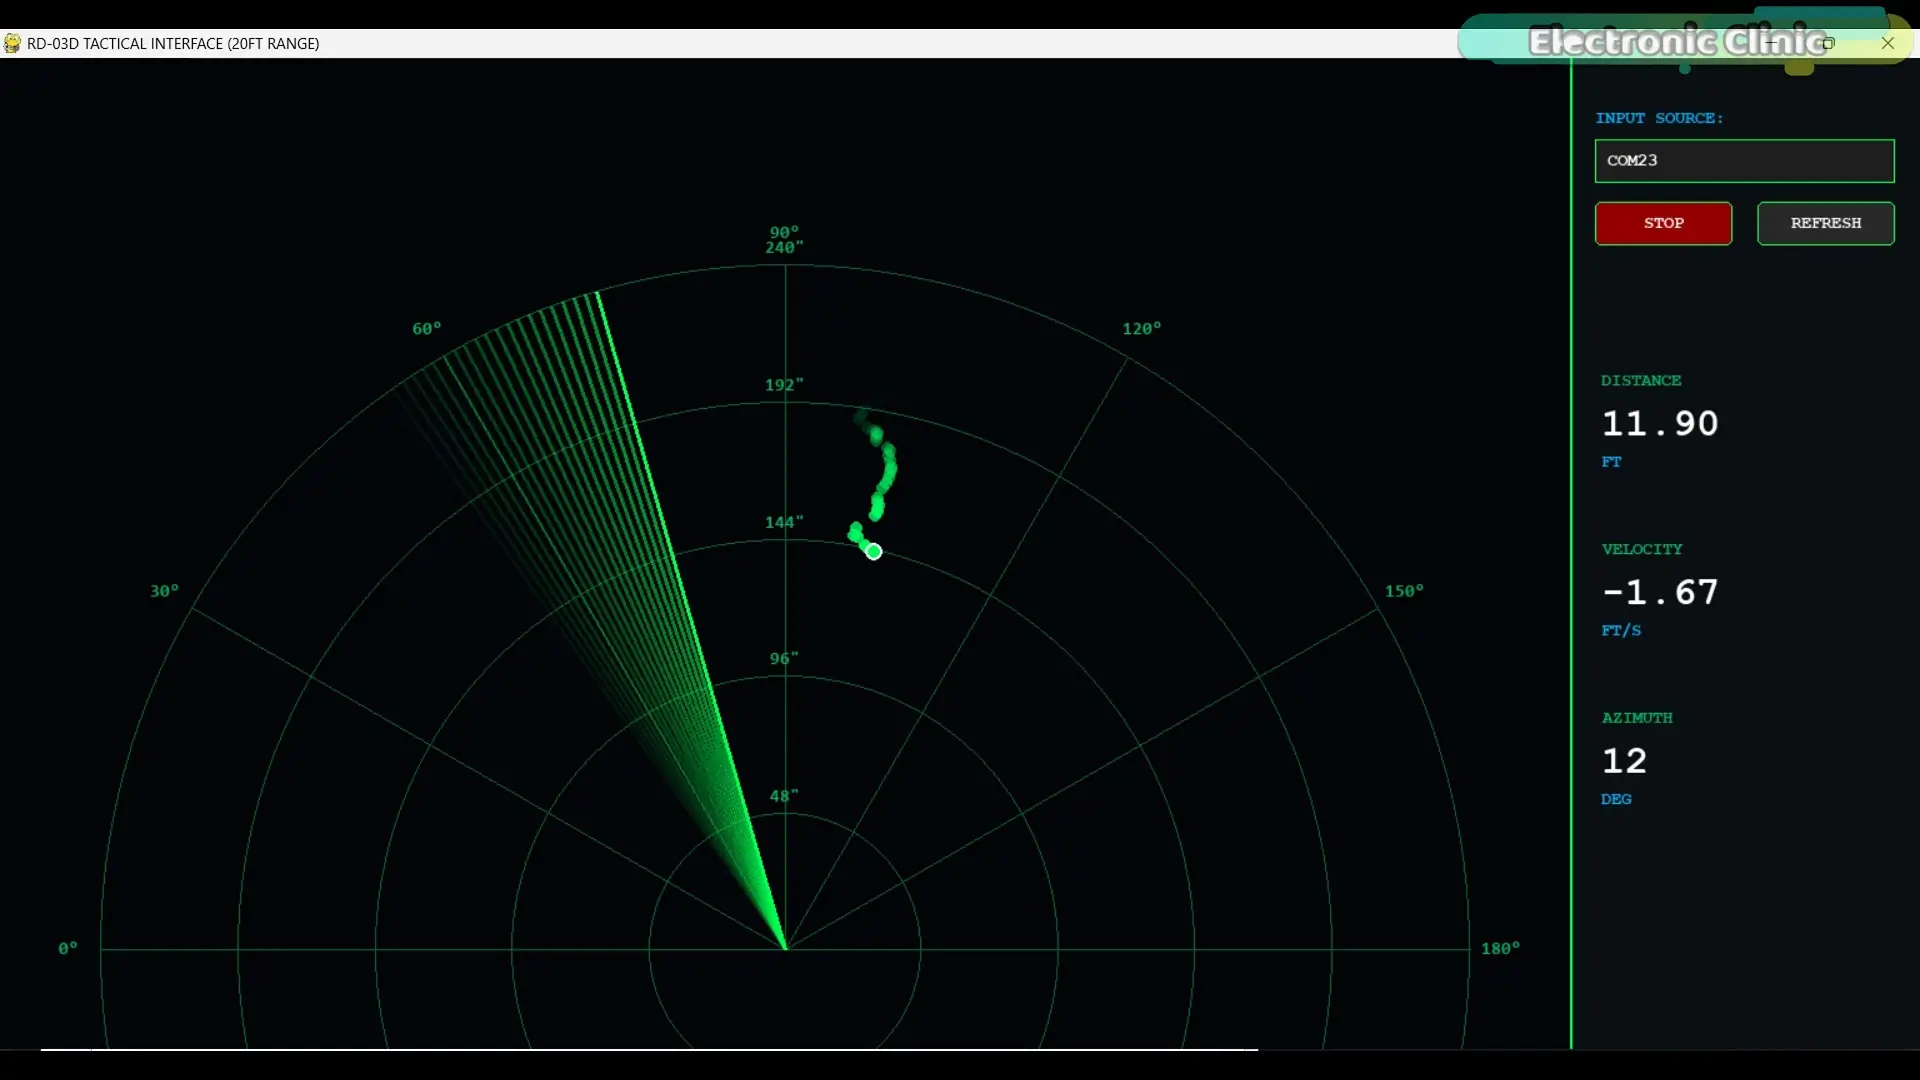
So you can actually see humans being tracked… in real time…
just like a real radar system.
This is going to be fun…
So without any further delay; let’s get started!
Amazon Links:
Other Tools and Components:
ESP32 WiFi + Bluetooth Module (Recommended)
Arduino Nano USB C type (Recommended)
*Please Note: These are affiliate links. I may make a commission if you buy the components through these links. I would appreciate your support in this way!
So initially… I started this project with the Arduino Nano.
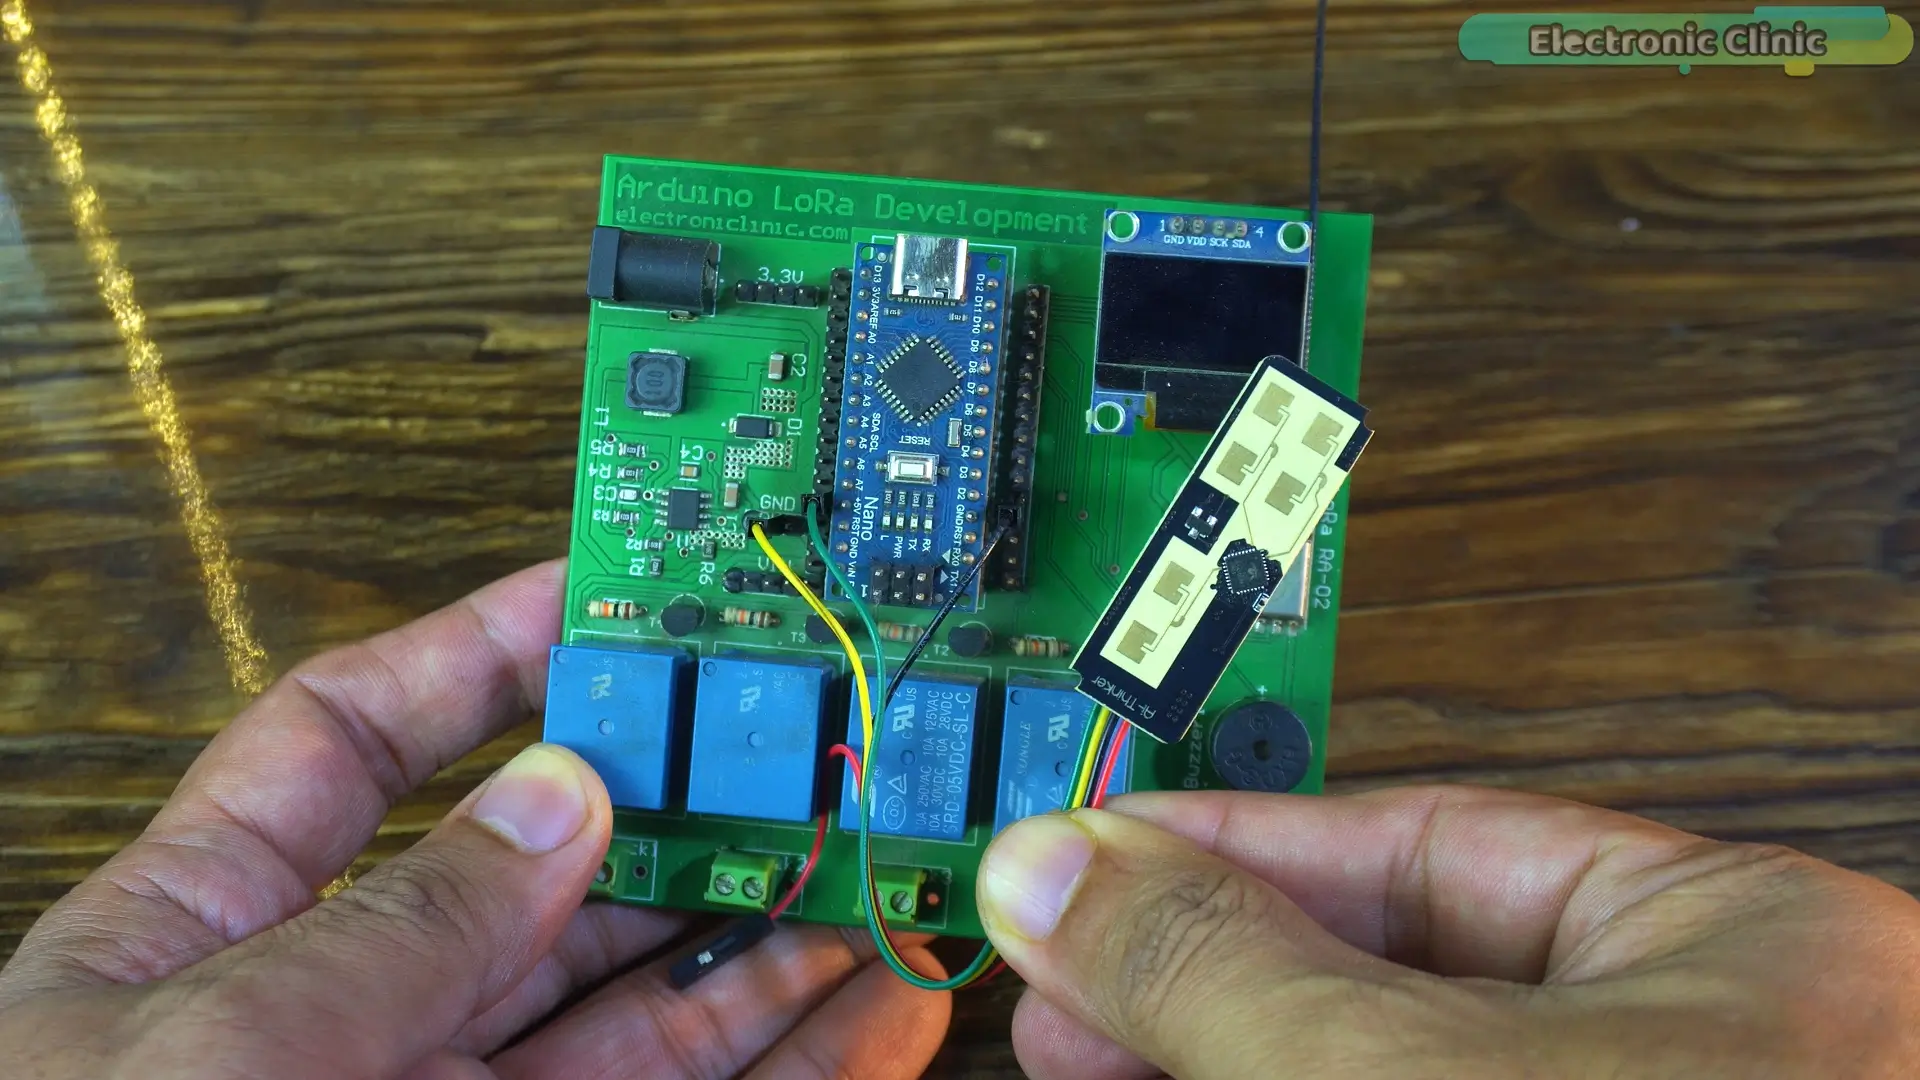
Because honestly… this Development board looked perfect for what I wanted to do…
It already has an OLED…
a buzzer…
and most importantly… LoRa …
So my plan was simple…
turn this into a remote human detection system…
where I could monitor a location… wirelessly… using LoRa.
Sounds cool, right?
But then… something strange happened…
I uploaded a simple test program…
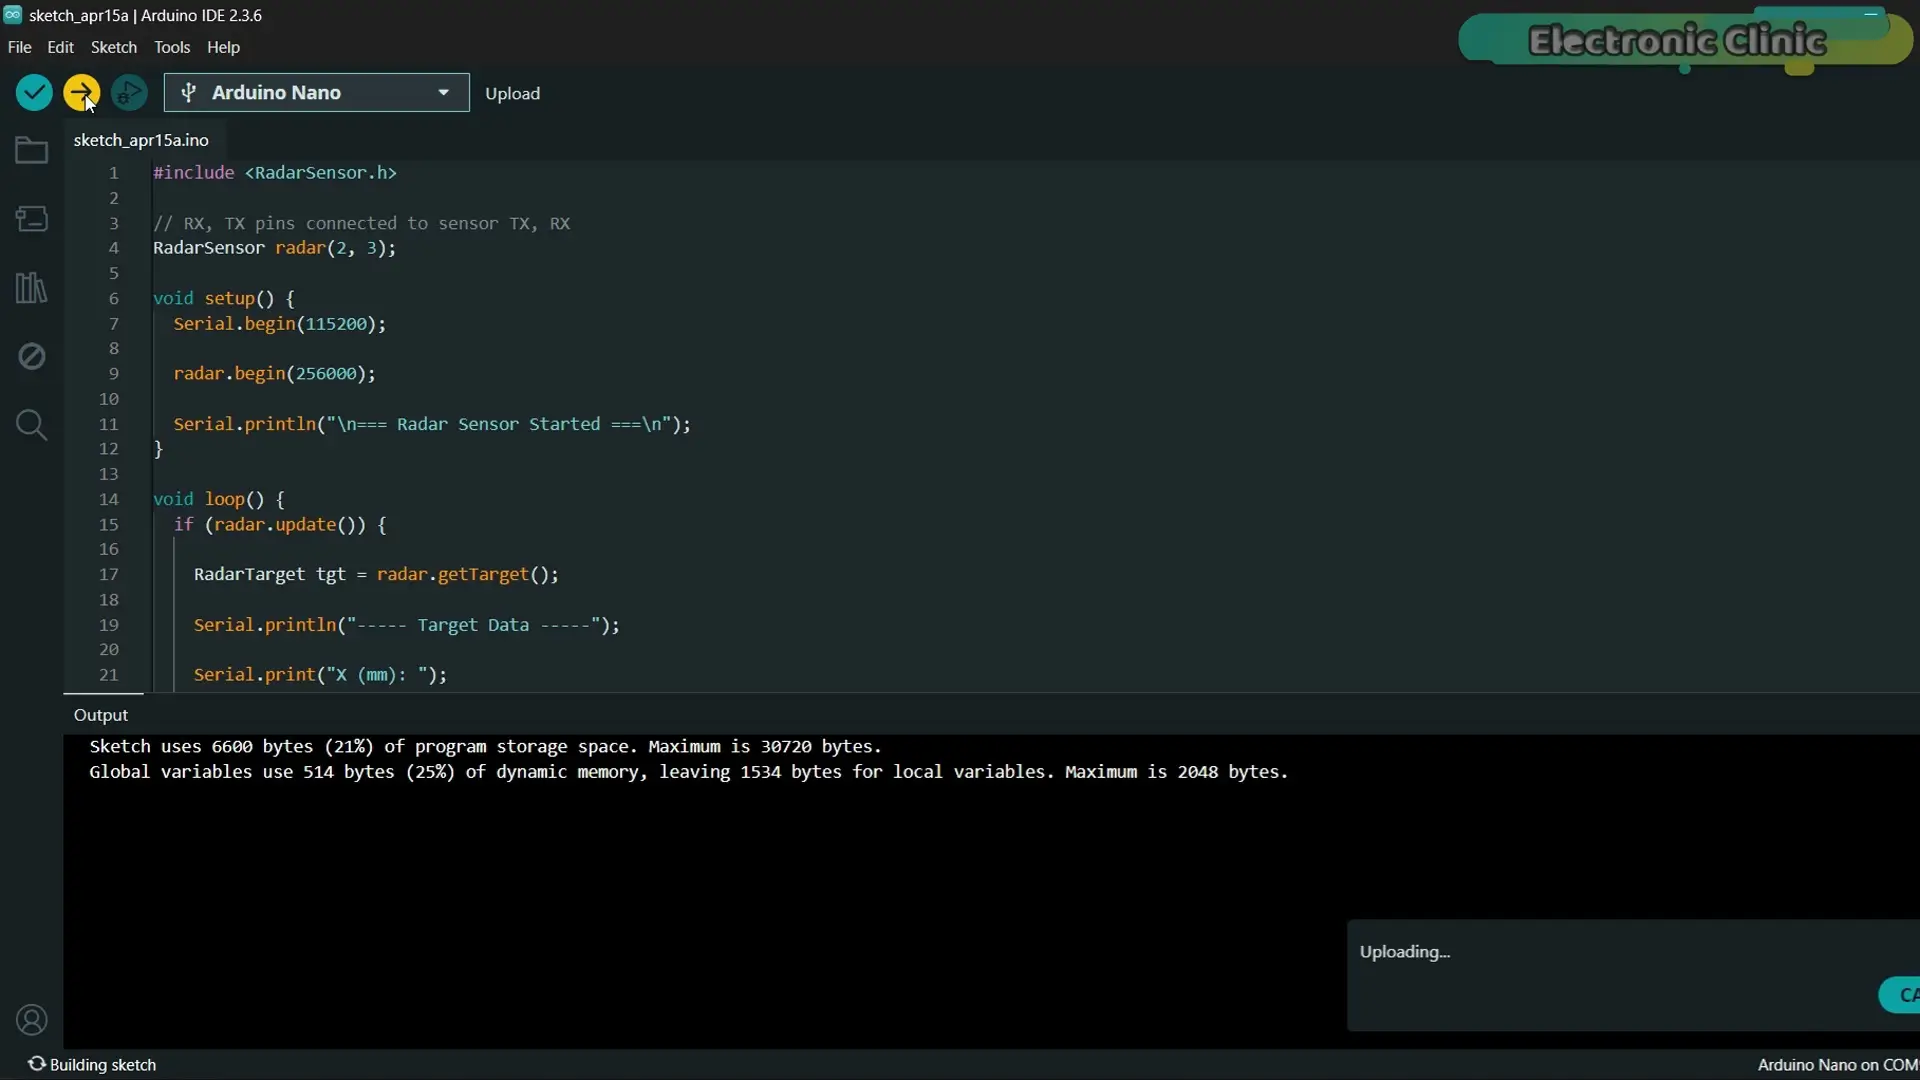
Opened the Serial Monitor…
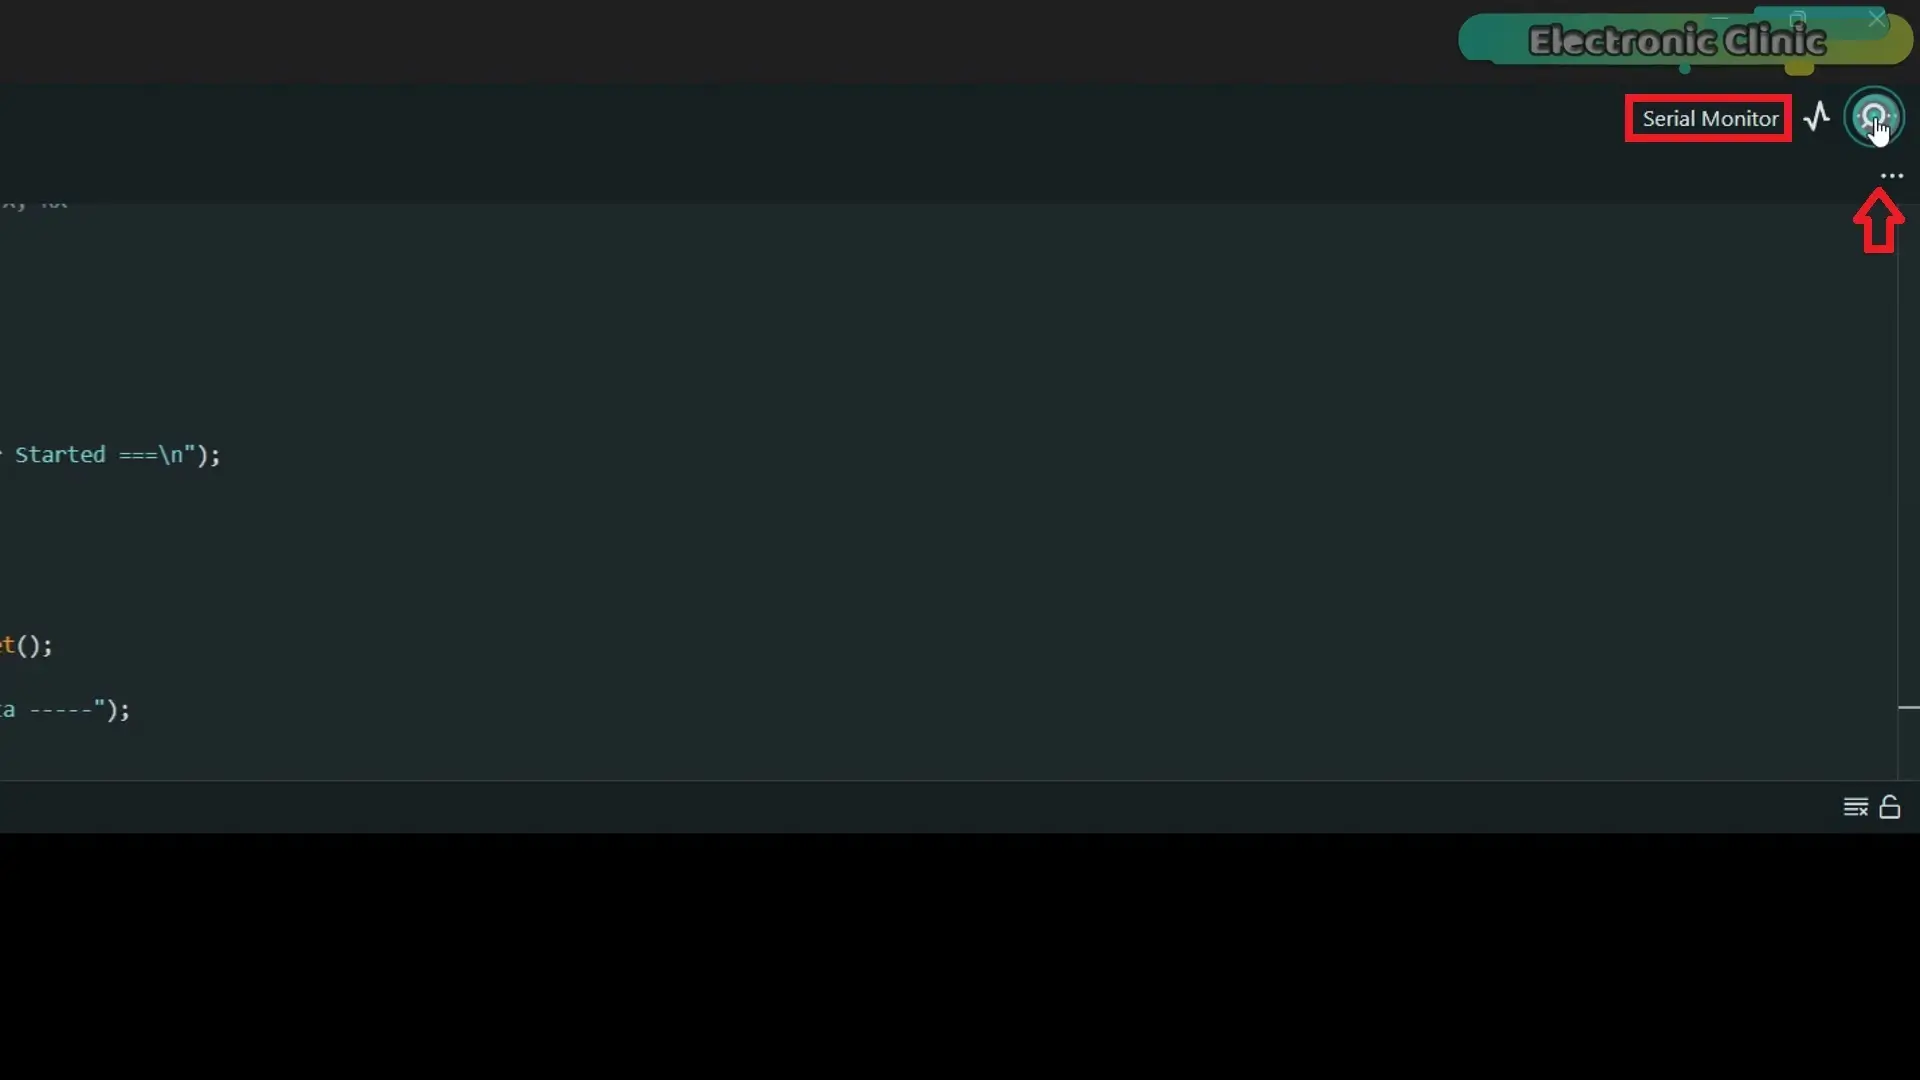
And all I could see was…
“Radar Sensor Started”
…and then… nothing.
No data… no values… completely blank.
At first… I thought maybe code problem…
But the real reason is something else…
If you watched my very first video on this sensor “RD-03D mmWave Radar Module”…
or if you read my article…
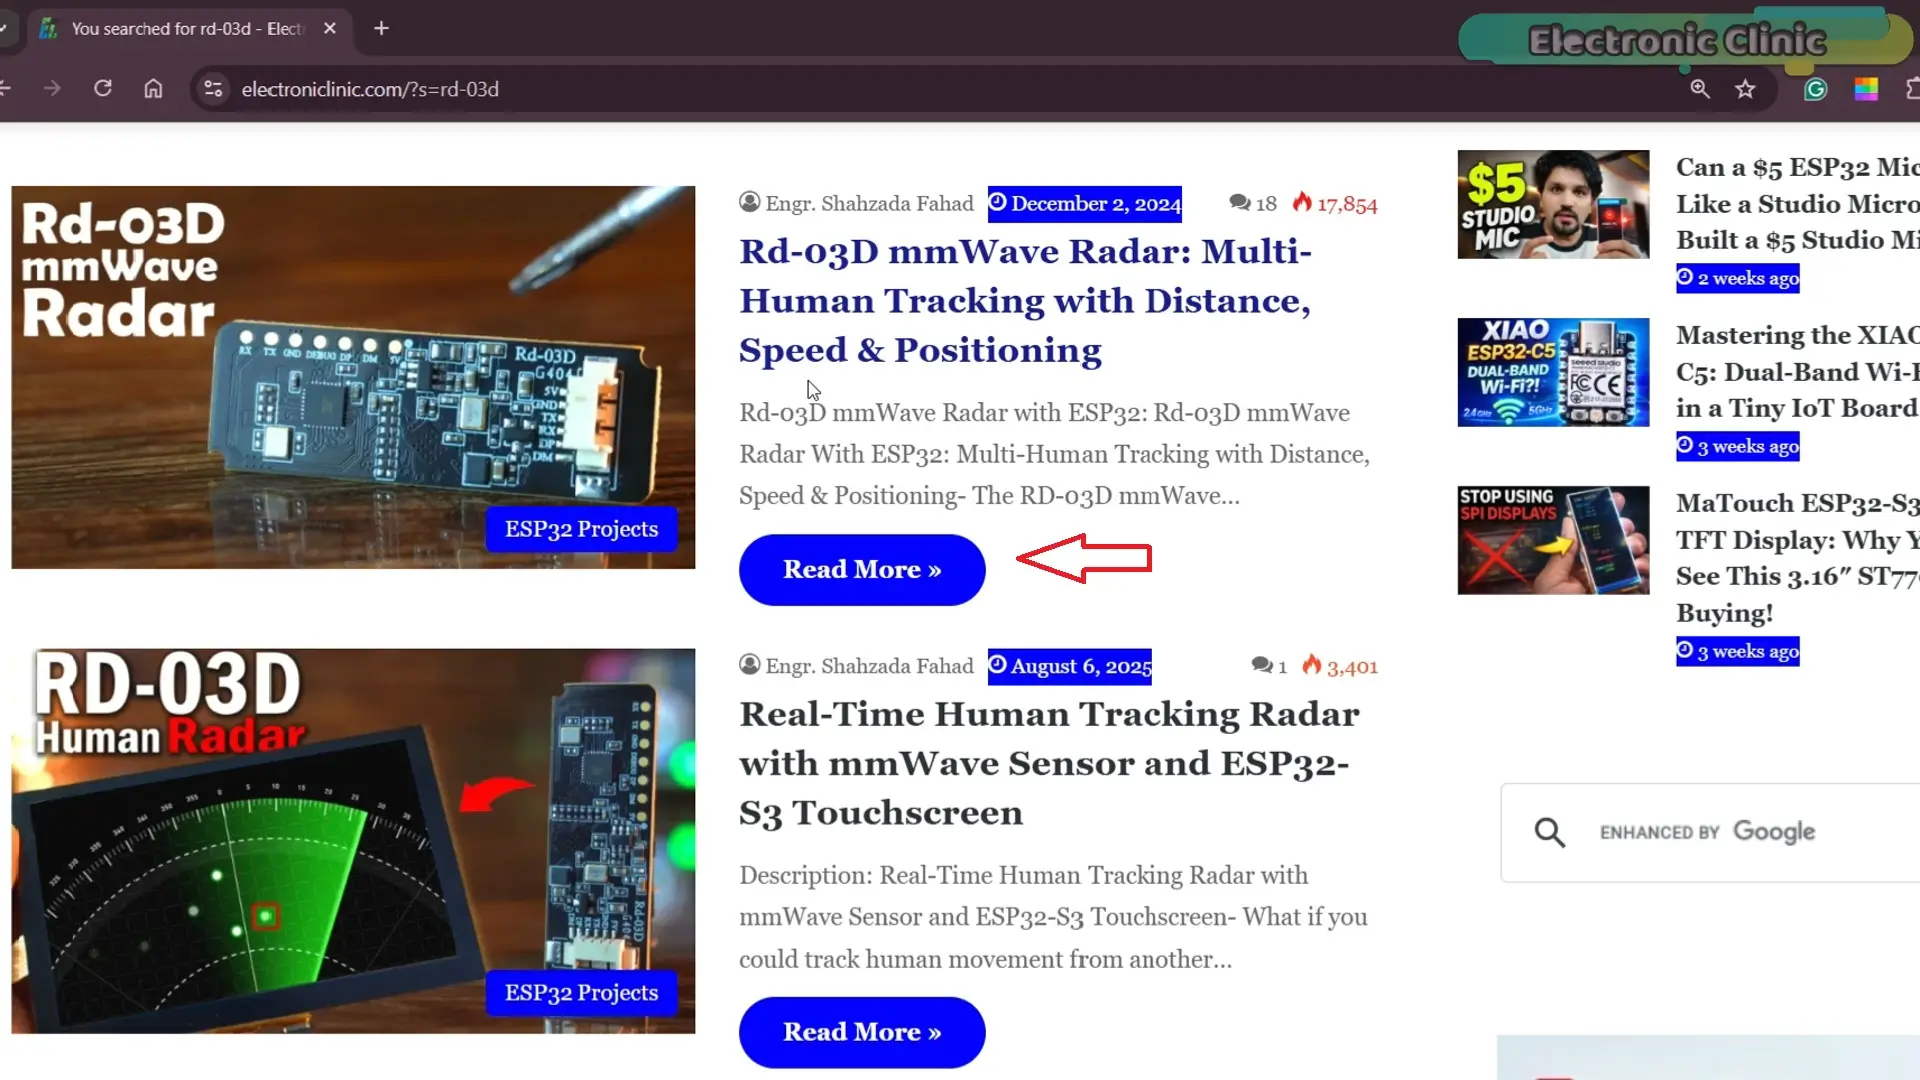
you already know…
This RD-03D radar works at a default baud rate of 256000.
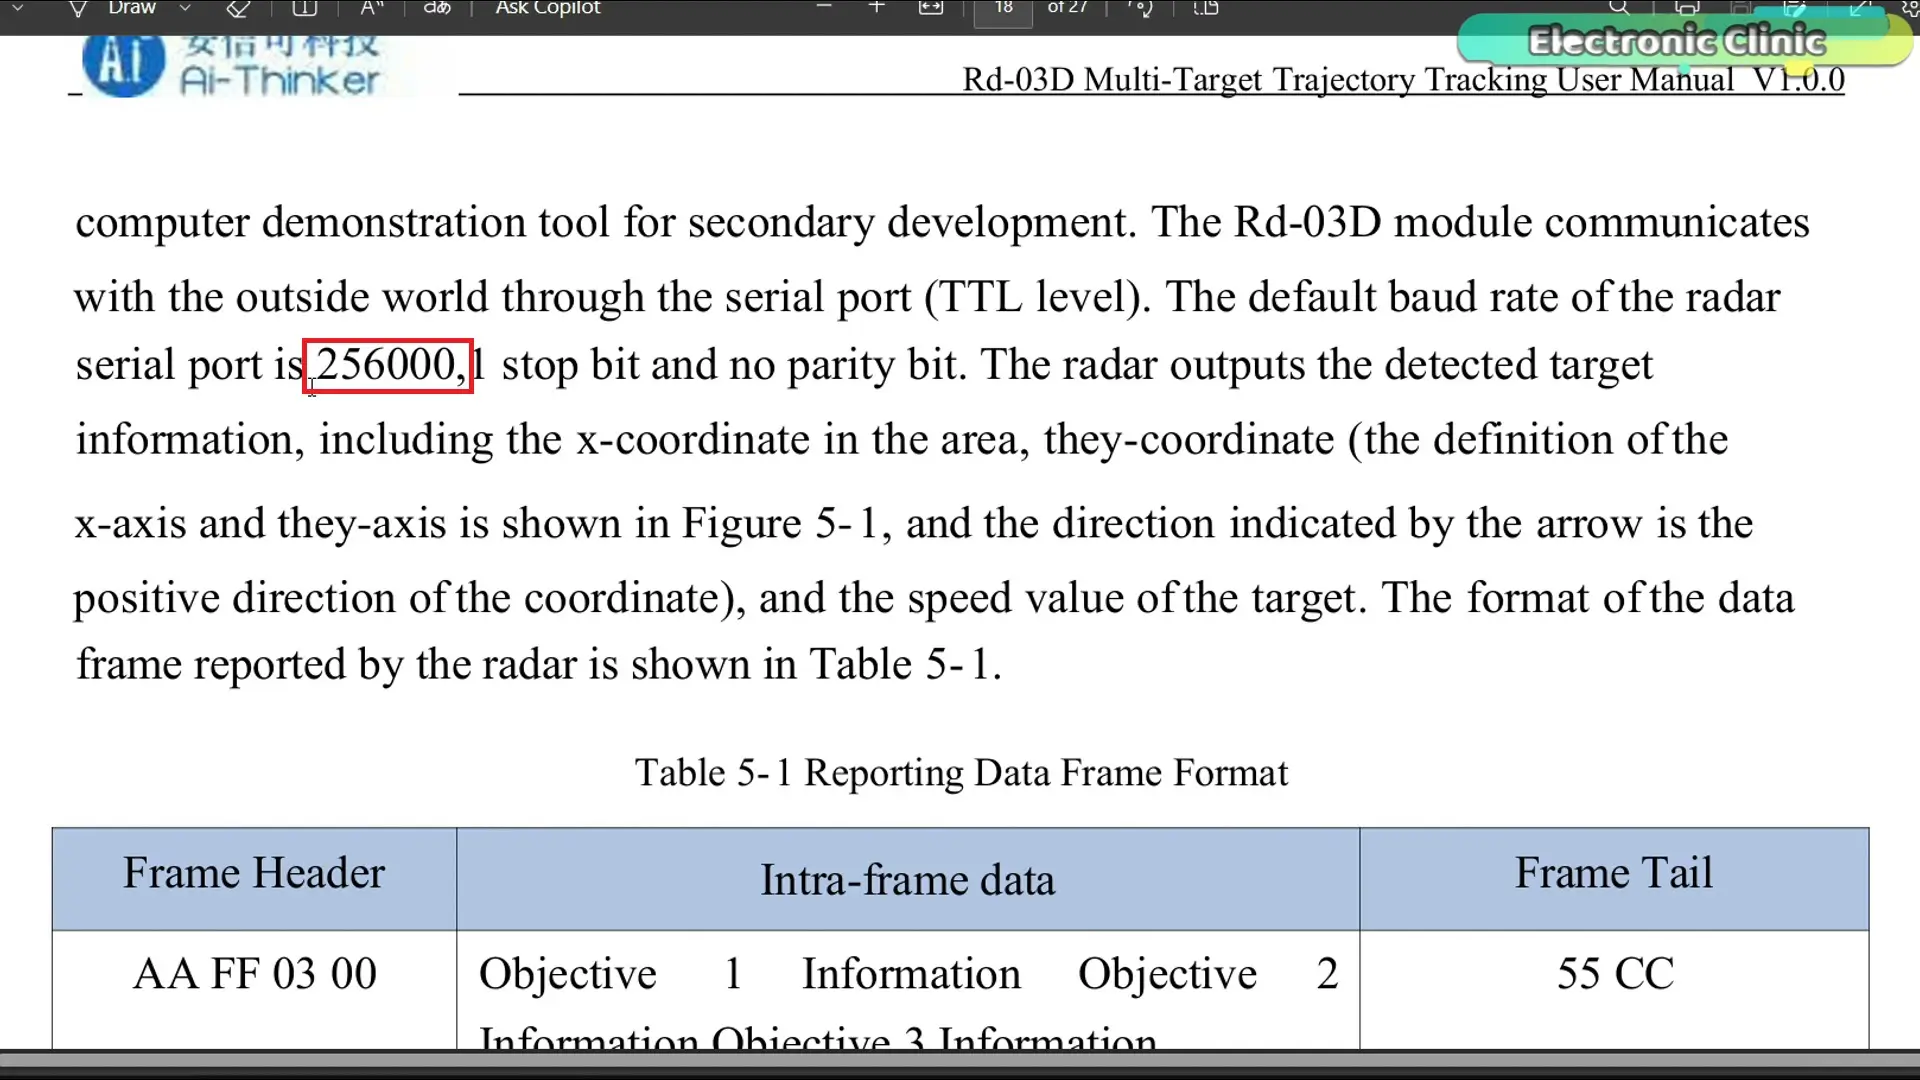
And that… is the problem.
Because Arduino Nano… simply cannot handle this high-speed communication…
It uses SoftwareSerial…
and at this speed… it just fails to read the data properly.
That’s why you only see the start message…
But no actual sensor output.
So instead of wasting time trying to fix something that won’t work reliably…
I switched to a better board…
The Arduino Uno R4.
This board can handle high-speed serial communication easily…
and now… everything works perfectly.
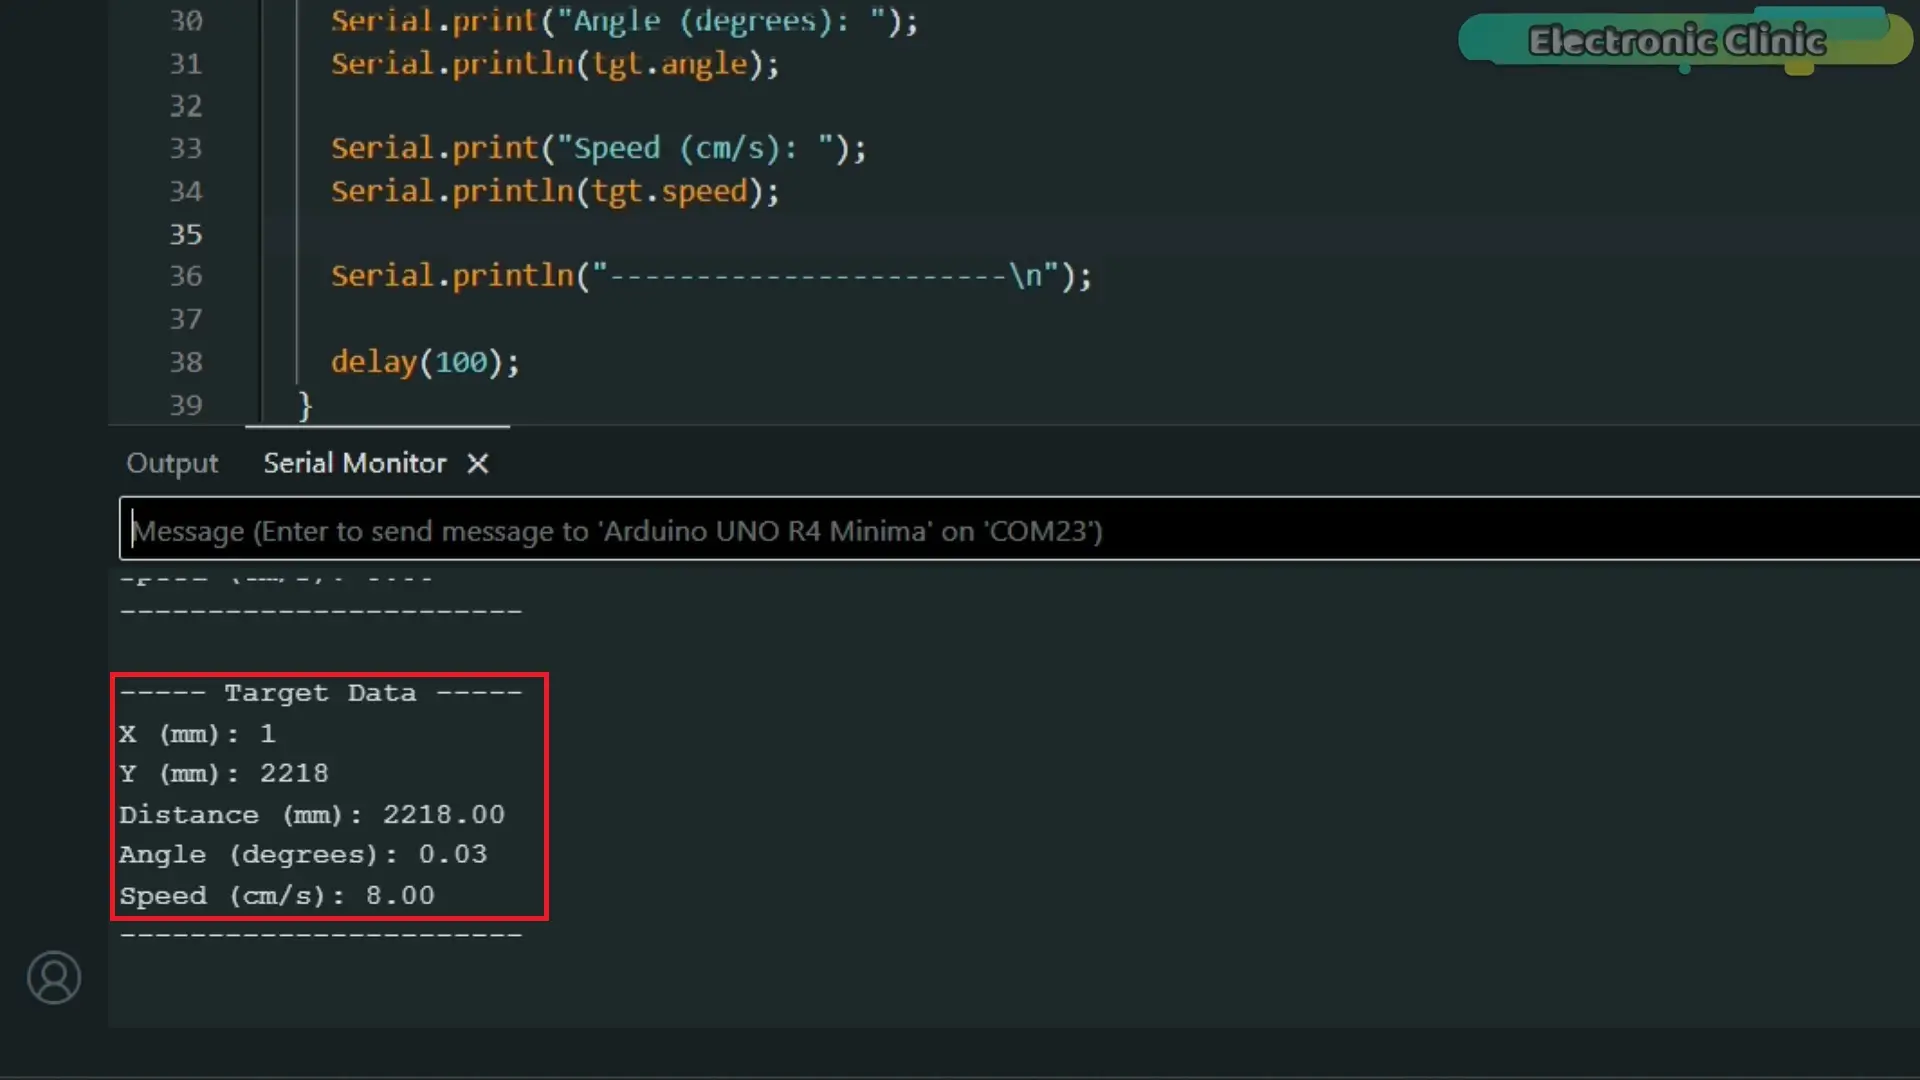
This is the kind of data you start seeing on the Serial Monitor…
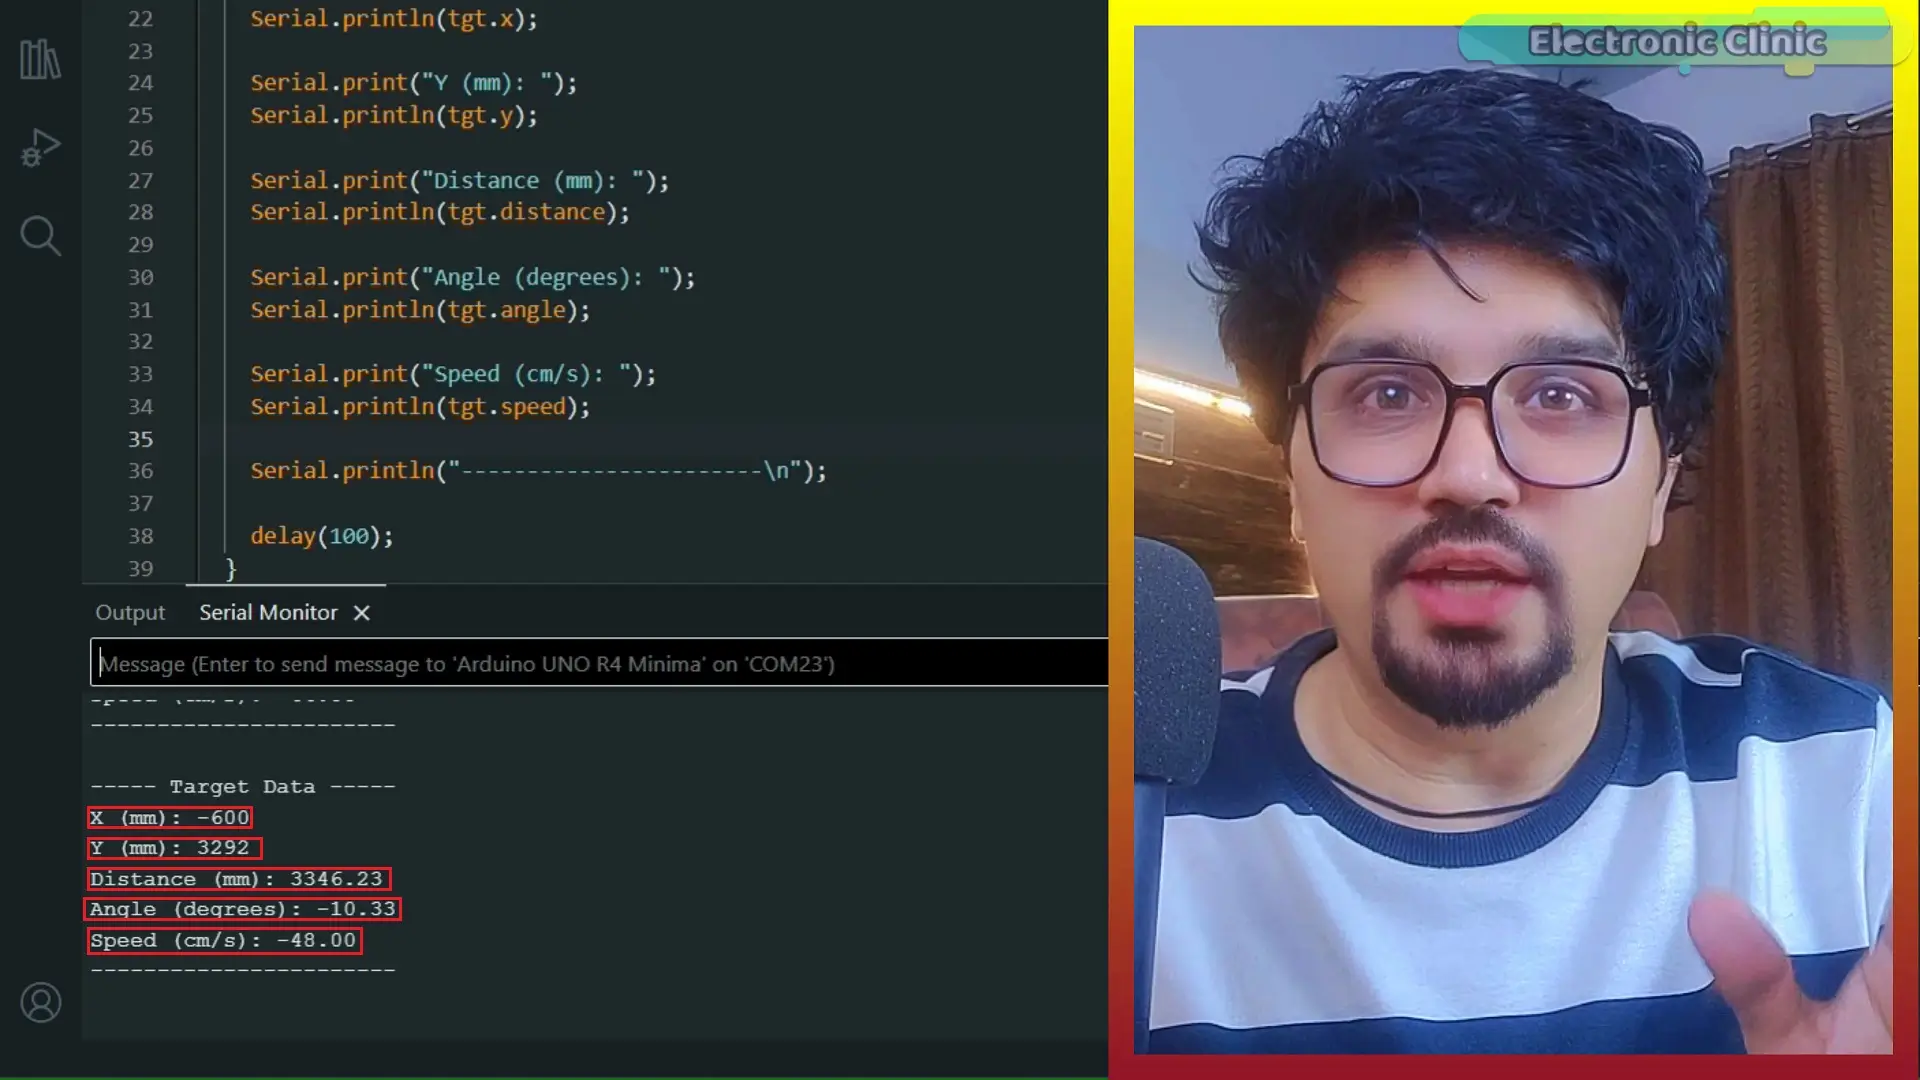
You get X… Y… distance… angle… and even speed…
X and Y…
these tell you the position of the person…
like… left or right… and front distance from the sensor.
Distance…
this tells you how far the person is from the radar.
Angle…
this shows the direction…
whether the person is slightly left… or right.
And speed…
this tells you if the person is moving…
or just standing still.
So basically…
This sensor is not just detecting a human…
It is actually tracking the person… in real time…
Where they are…
How far they are…
And whether they are moving or not…
That’s what makes this sensor really powerful
RD-03D Interfacing/Wiring with Arduino:
Now… let me show you how to connect the RD-03D with the Arduino Uno R4.
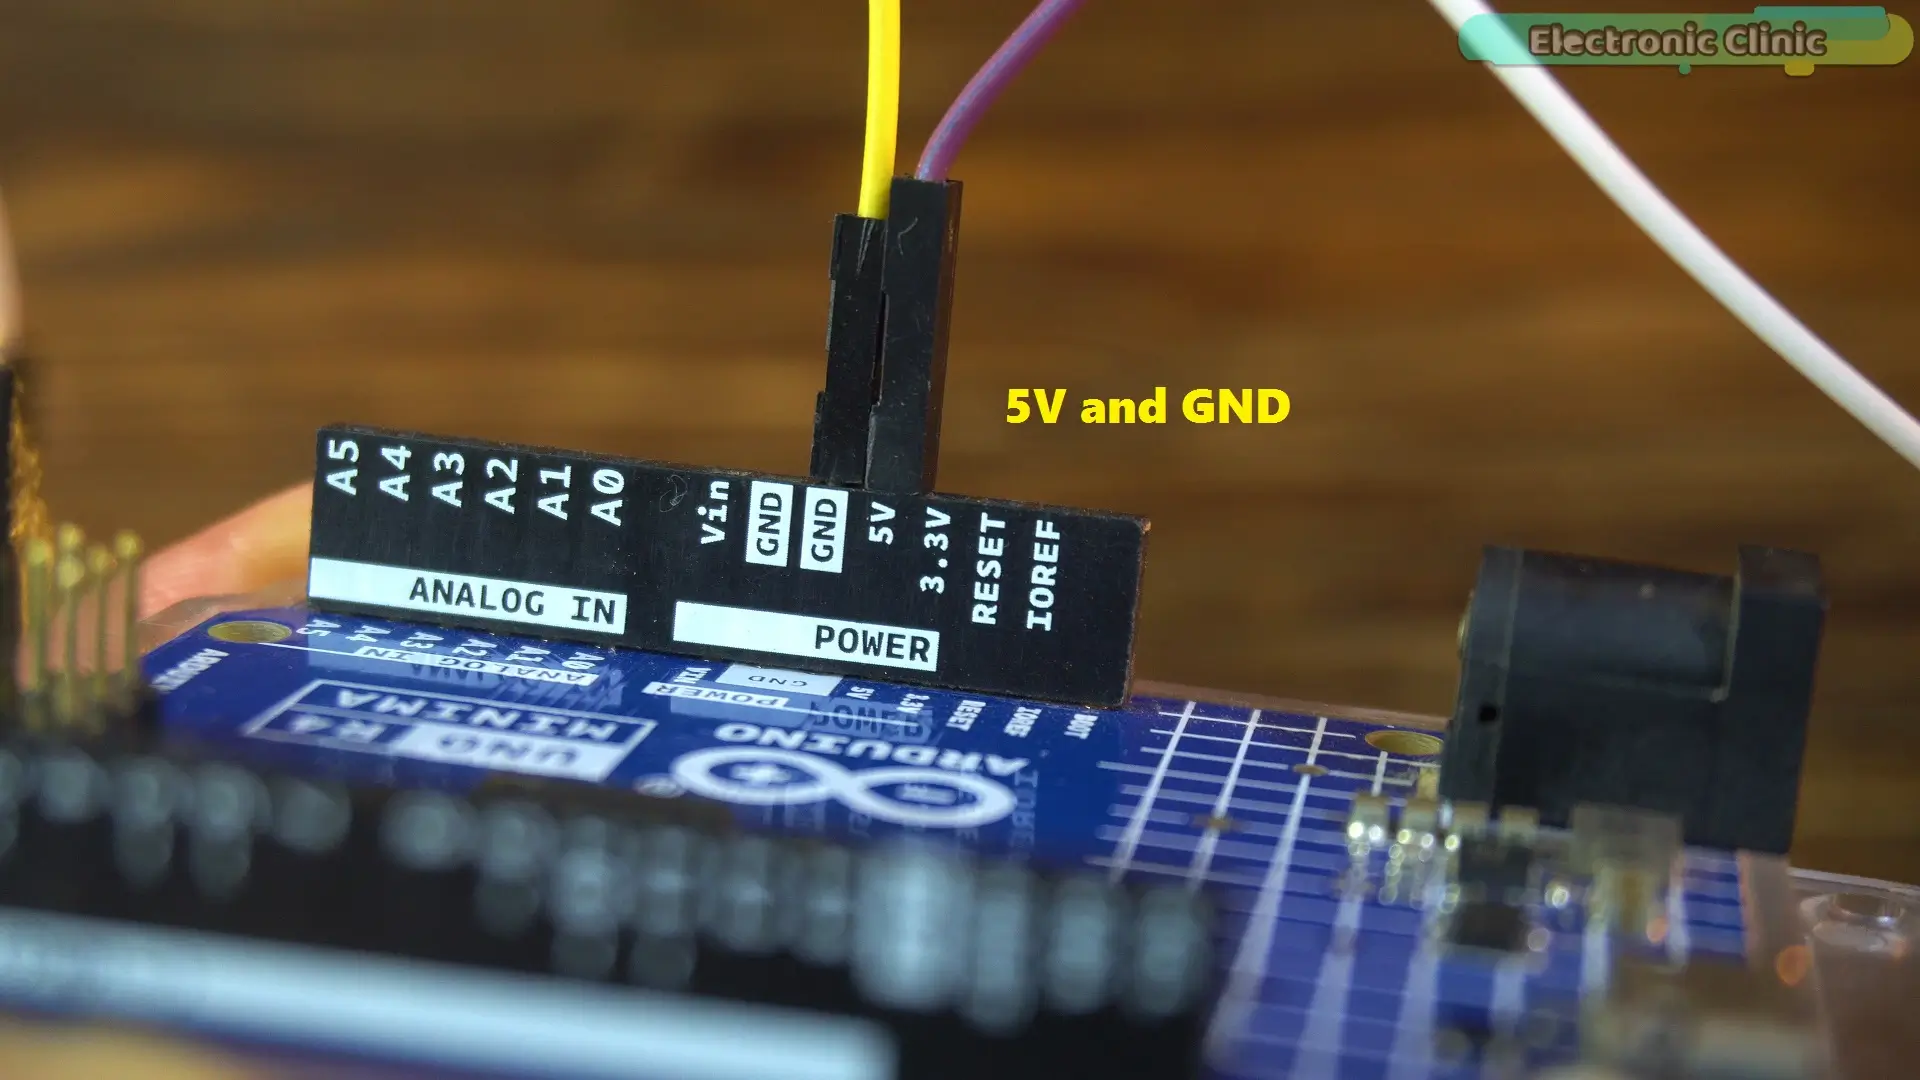
First… connect the VCC and Ground…
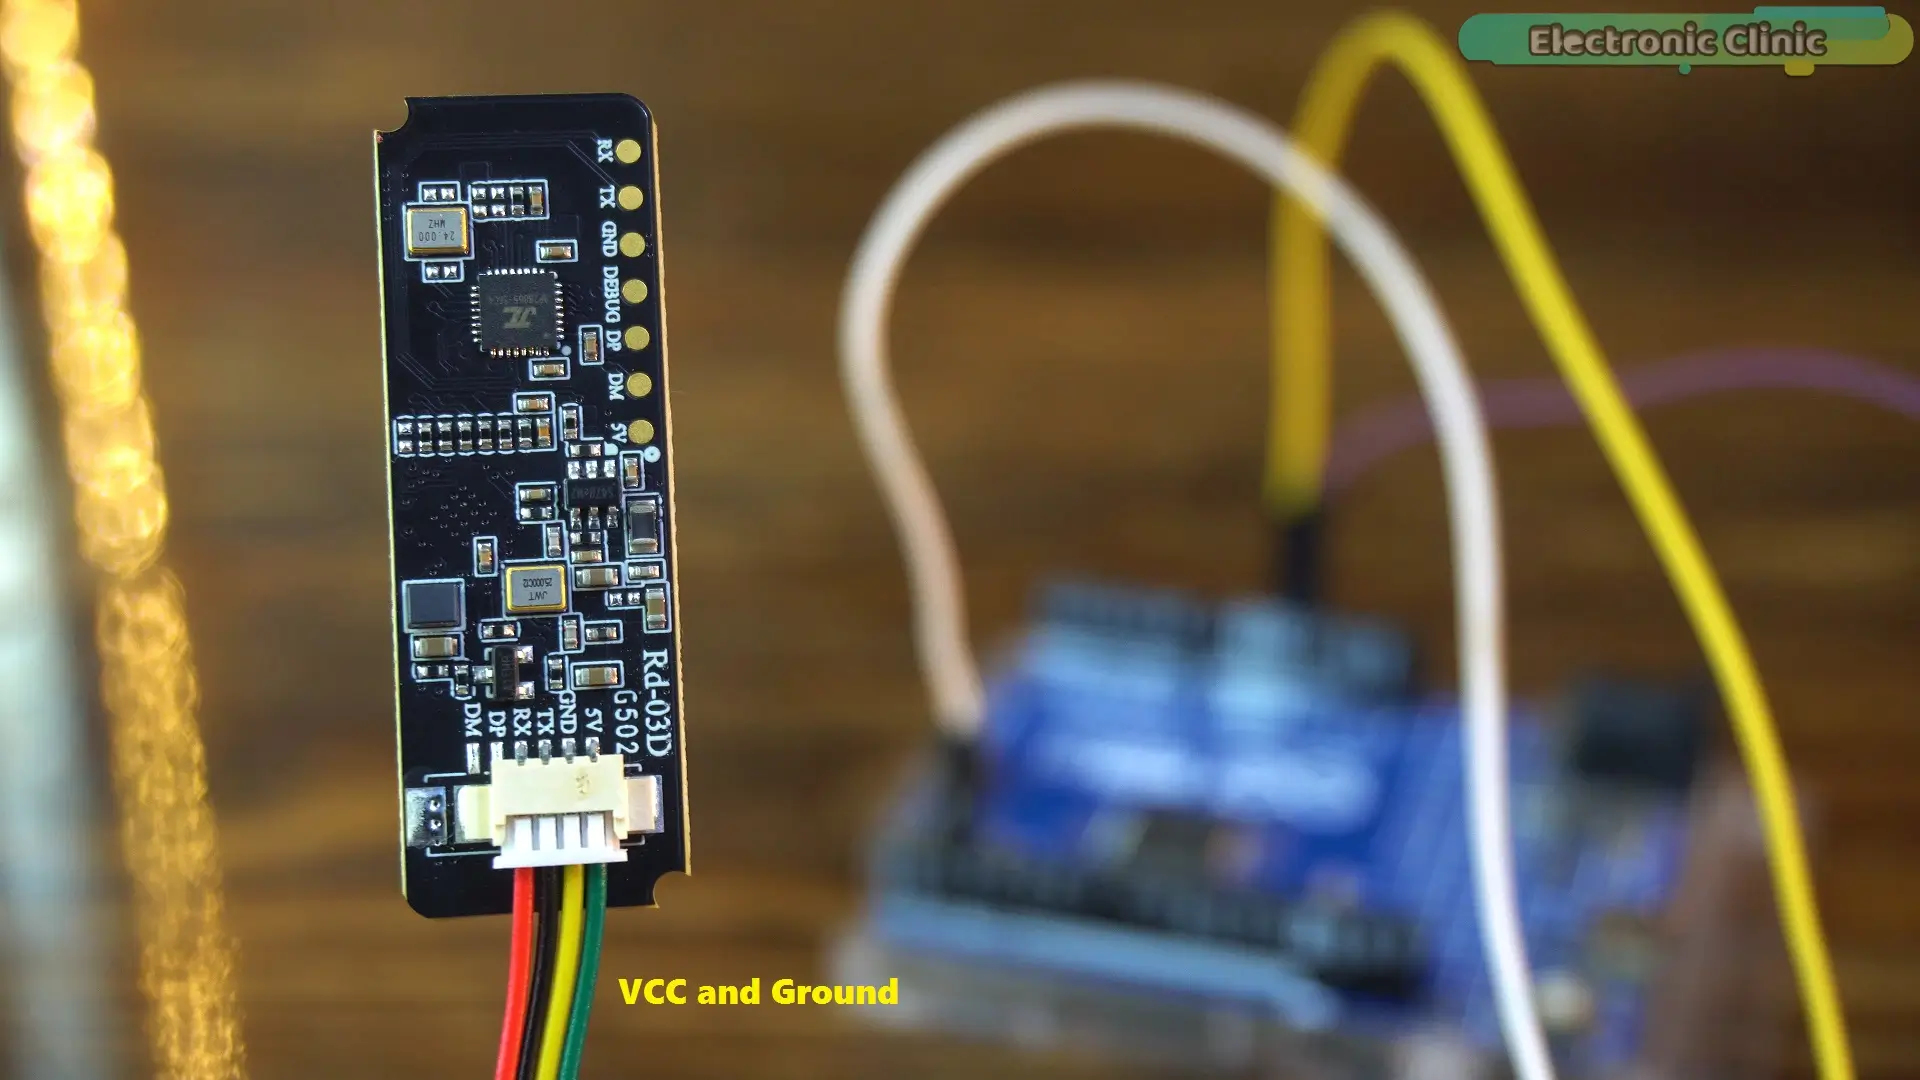
to the 5V and GND pins of the Arduino.
Now for the communication…
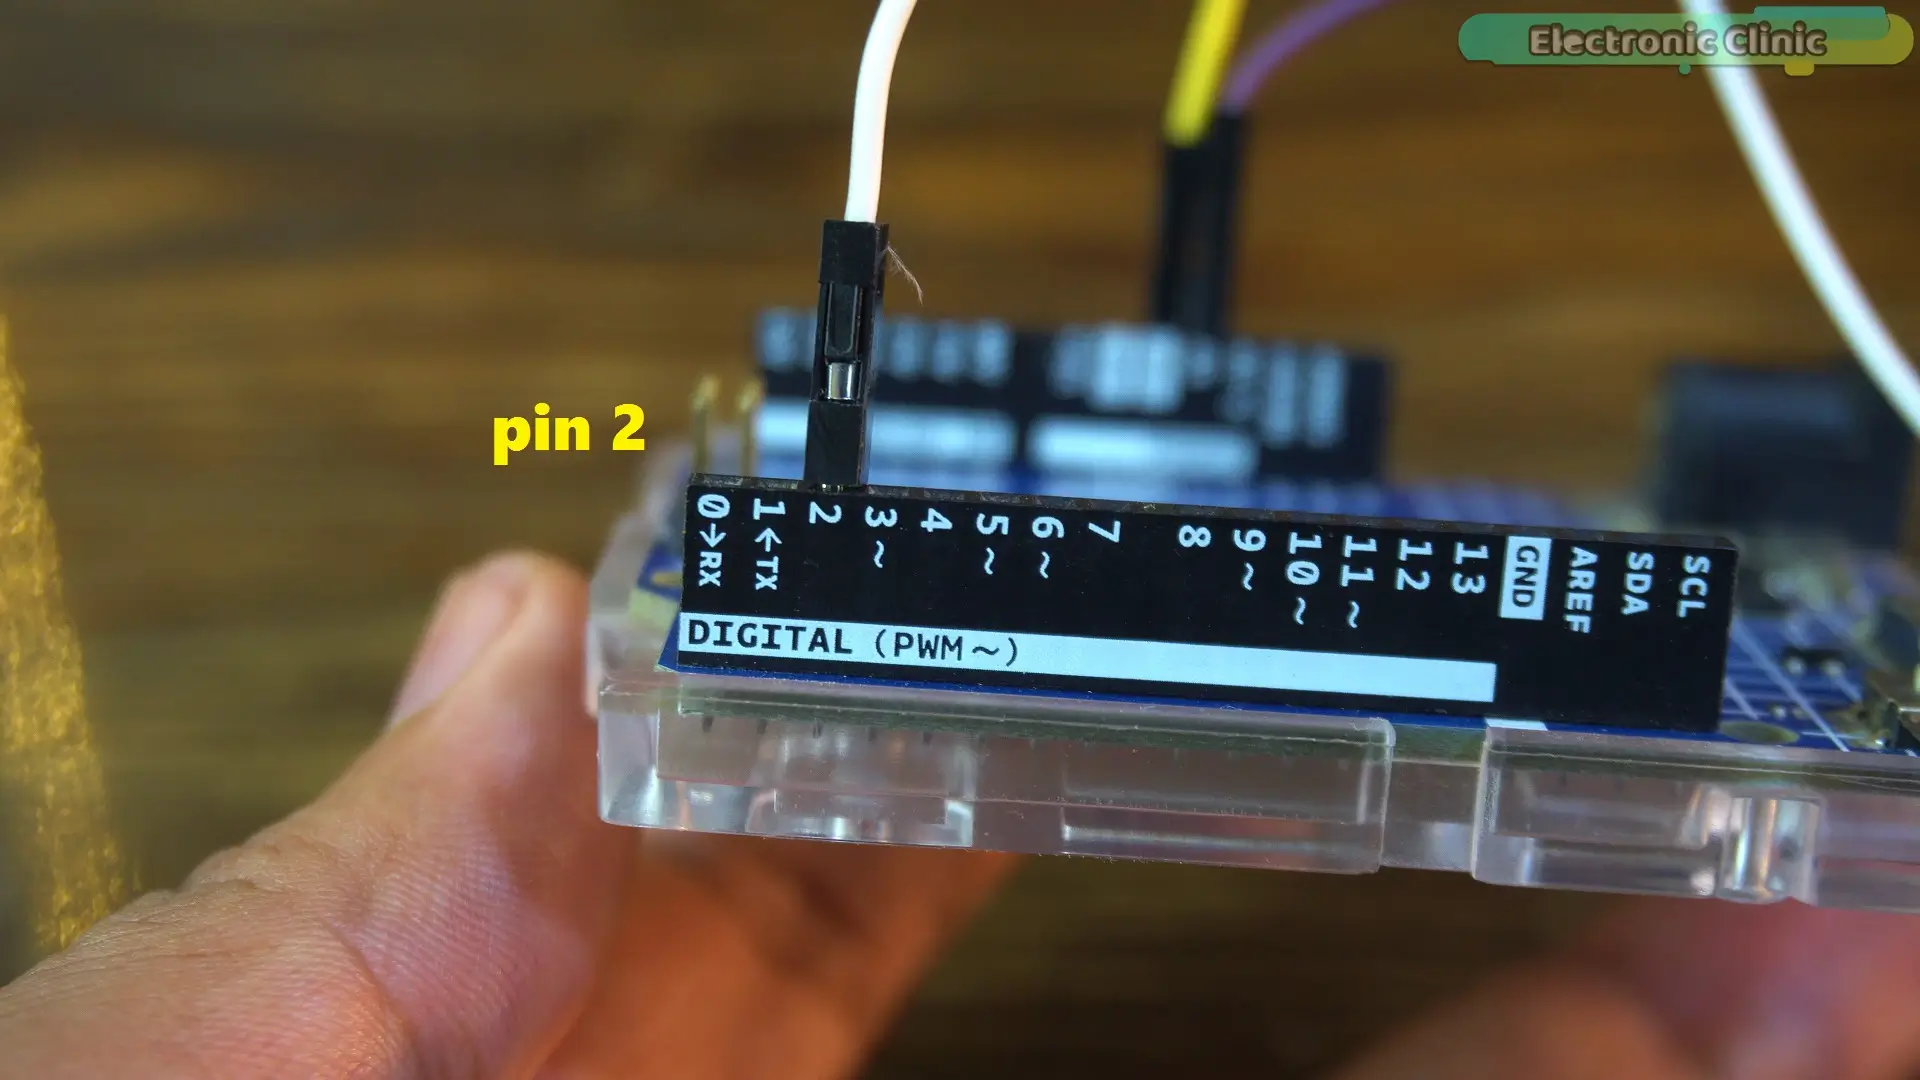
Connect the TX pin of the radar…
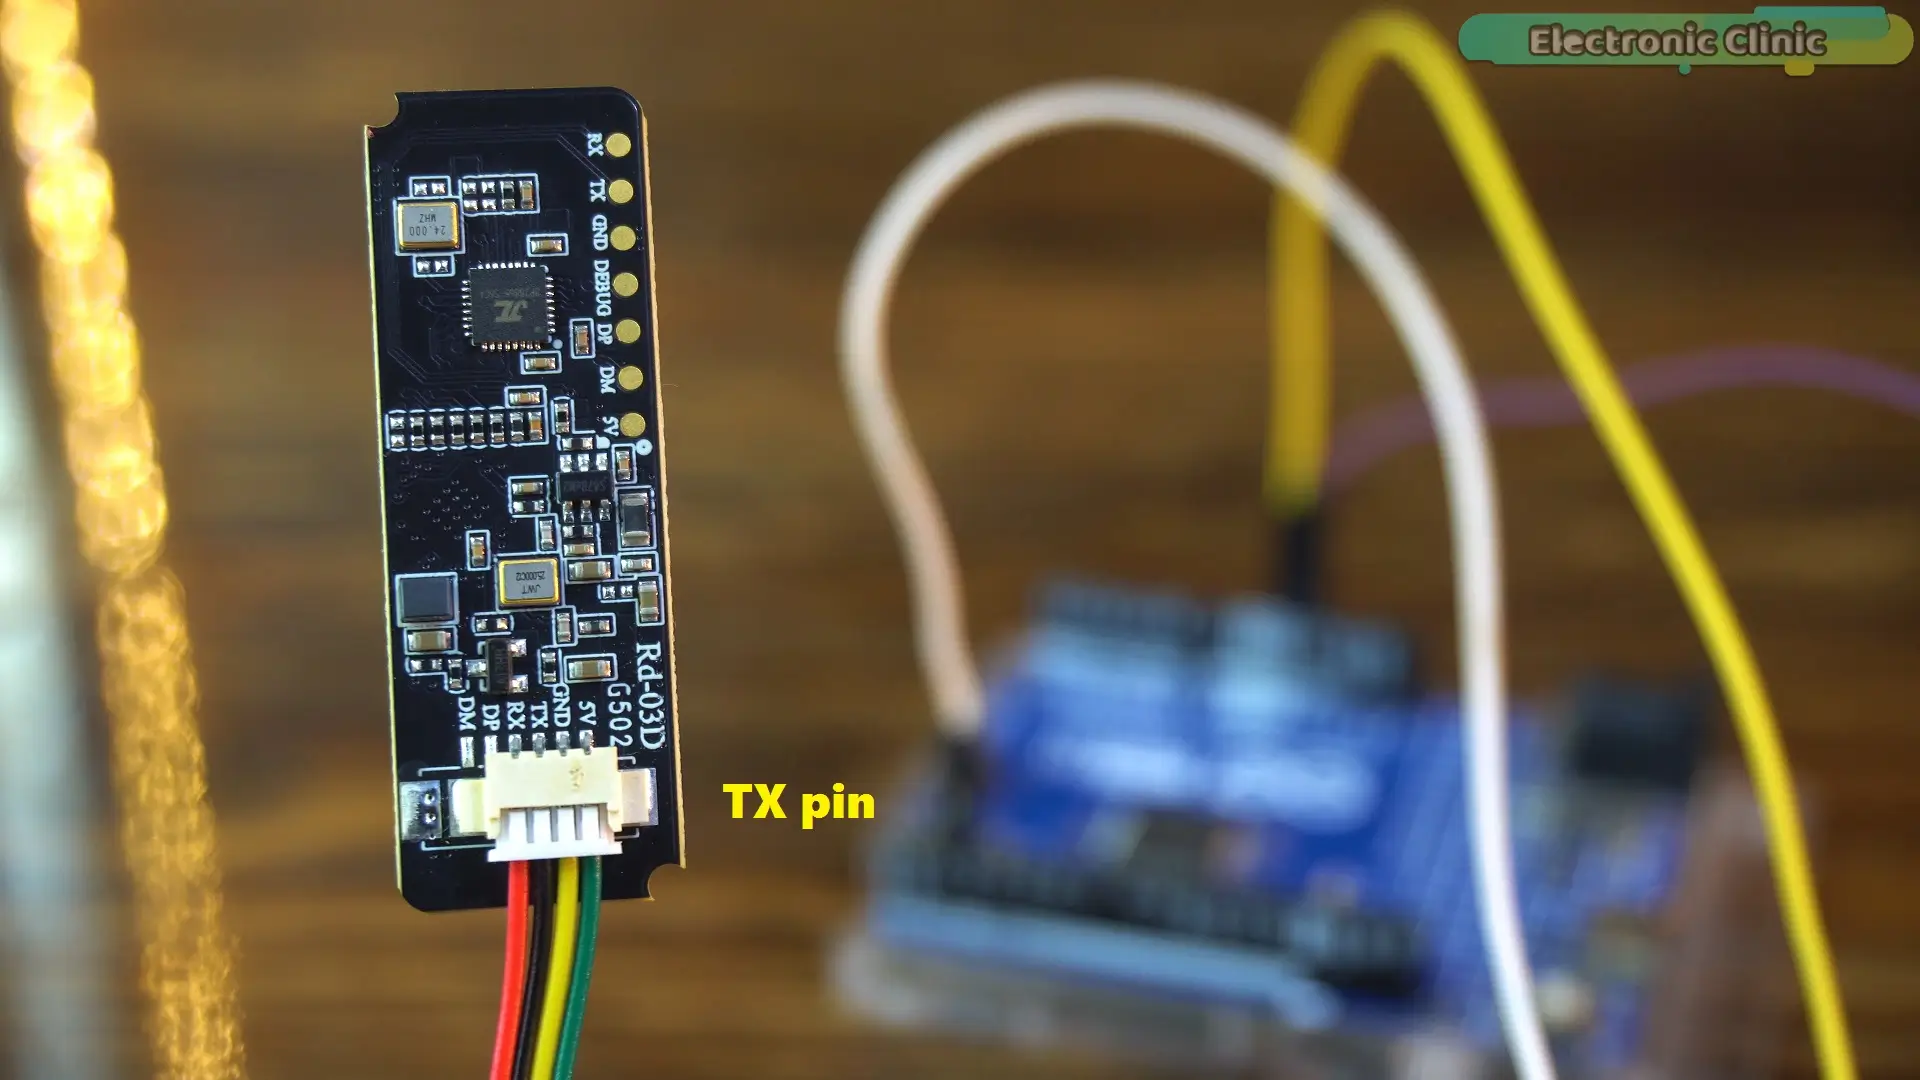
to pin 2 of the Arduino.
And that’s it.
You might be thinking…
What about the RX pin?
Well… in this project… we don’t actually need it.
Because right now… we are only reading data from the radar…
The sensor is continuously sending data…
And the Arduino is just listening.
We are not sending any commands back to the sensor…
So there is no need to connect the RX line.
RD-03D Arduino Code:
|
1 2 3 4 5 6 7 8 9 10 11 12 13 14 15 16 17 18 19 20 21 22 23 24 25 26 27 28 29 30 31 32 33 34 35 36 37 38 39 40 |
#include <RadarSensor.h> // RX, TX pins connected to sensor TX, RX RadarSensor radar(2, 3); void setup() { Serial.begin(115200); radar.begin(256000); Serial.println("\n=== Radar Sensor Started ===\n"); } void loop() { if (radar.update()) { RadarTarget tgt = radar.getTarget(); Serial.println("----- Target Data -----"); Serial.print("X (mm): "); Serial.println(tgt.x); Serial.print("Y (mm): "); Serial.println(tgt.y); Serial.print("Distance (mm): "); Serial.println(tgt.distance); Serial.print("Angle (degrees): "); Serial.println(tgt.angle); Serial.print("Speed (cm/s): "); Serial.println(tgt.speed); Serial.println("-----------------------\n"); delay(100); } } |
This program is very simple…
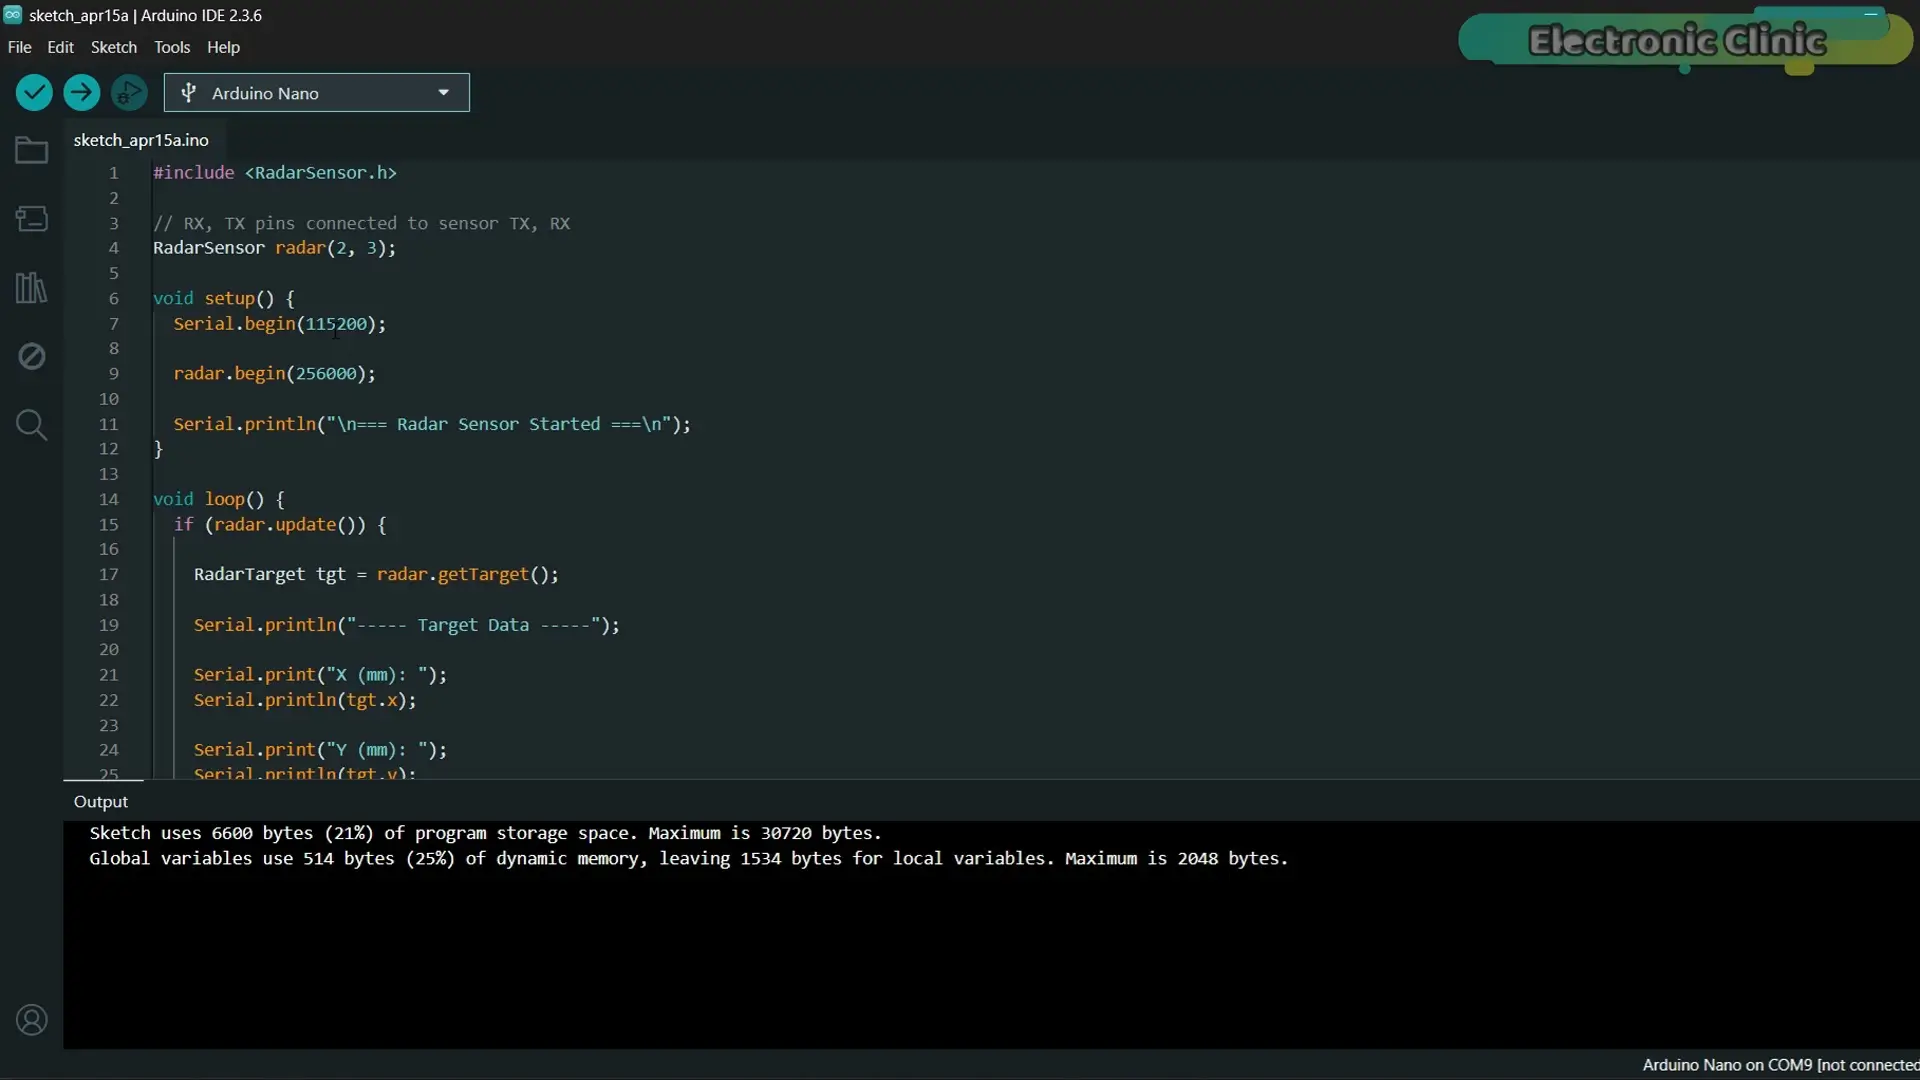
it just reads the data coming from the radar…
and prints it on the Serial Monitor.
But before we upload this code…
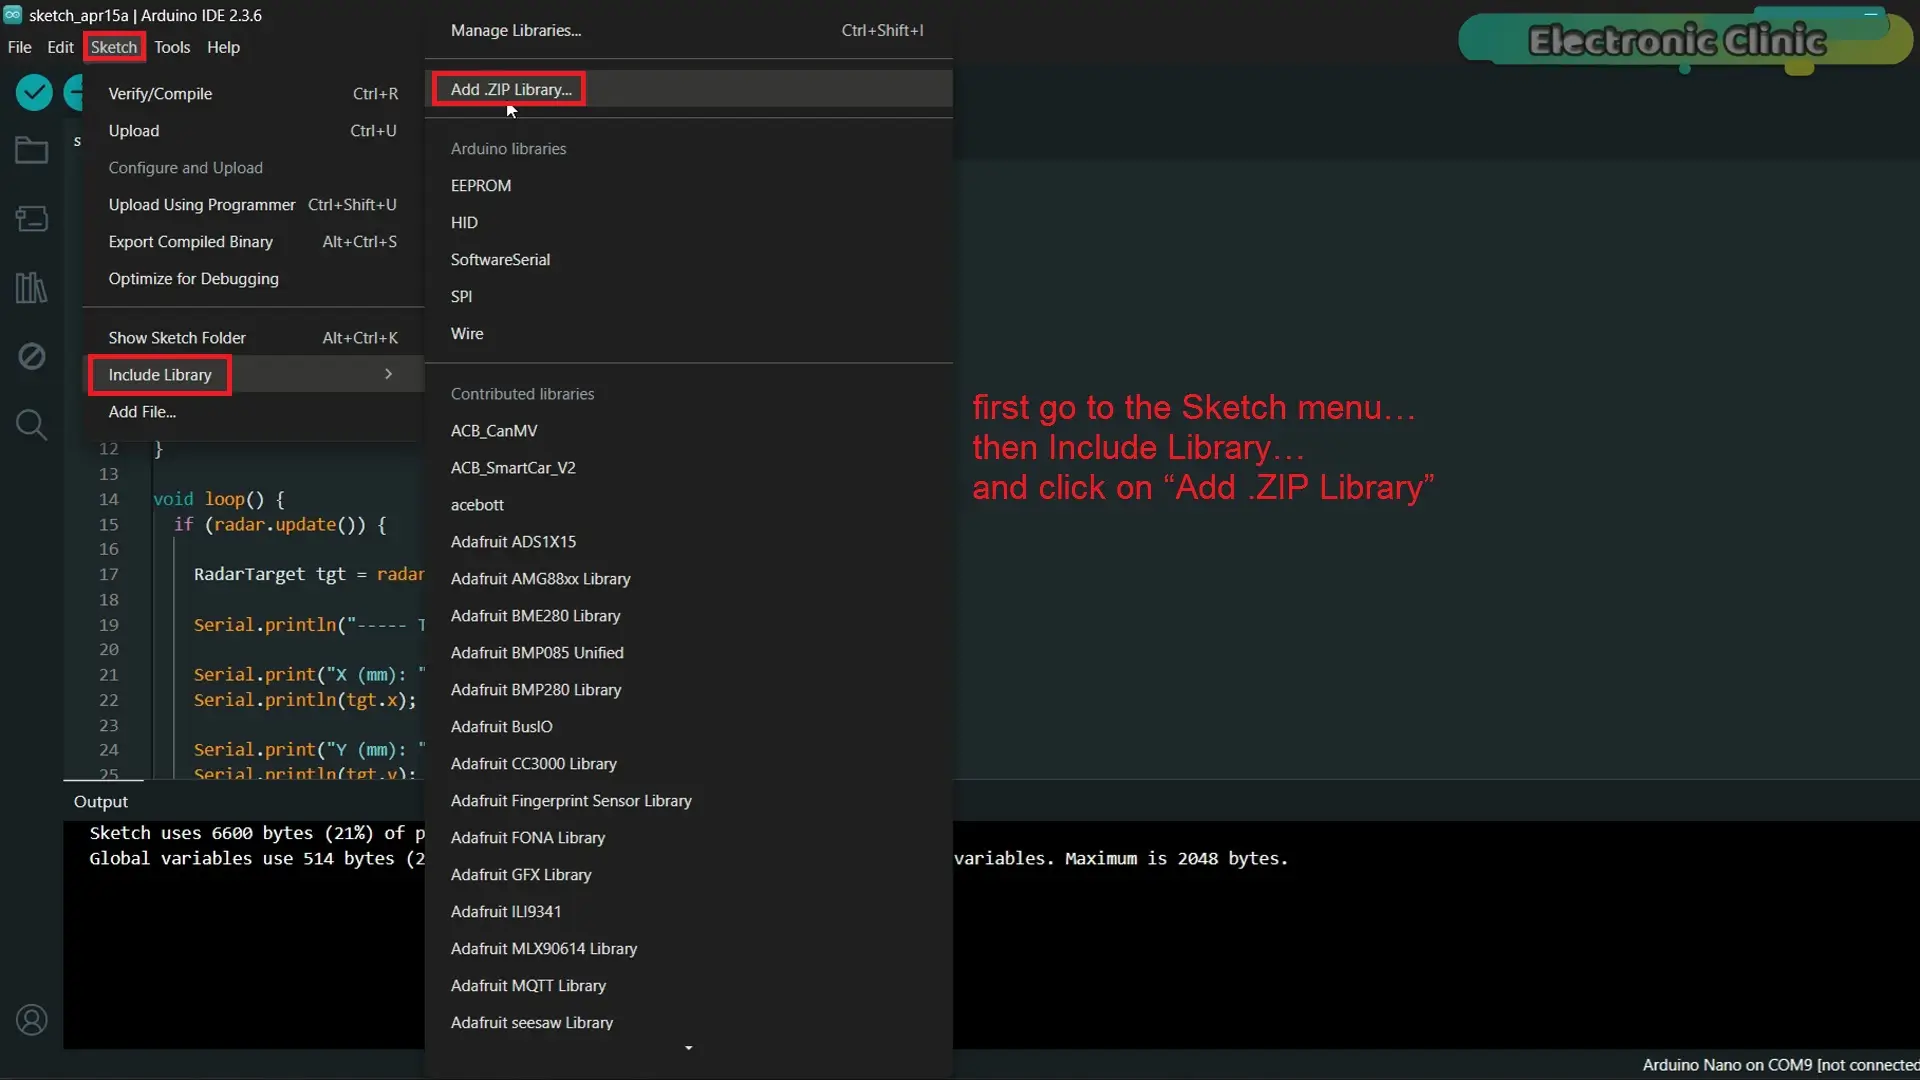
first… we need to install this library.
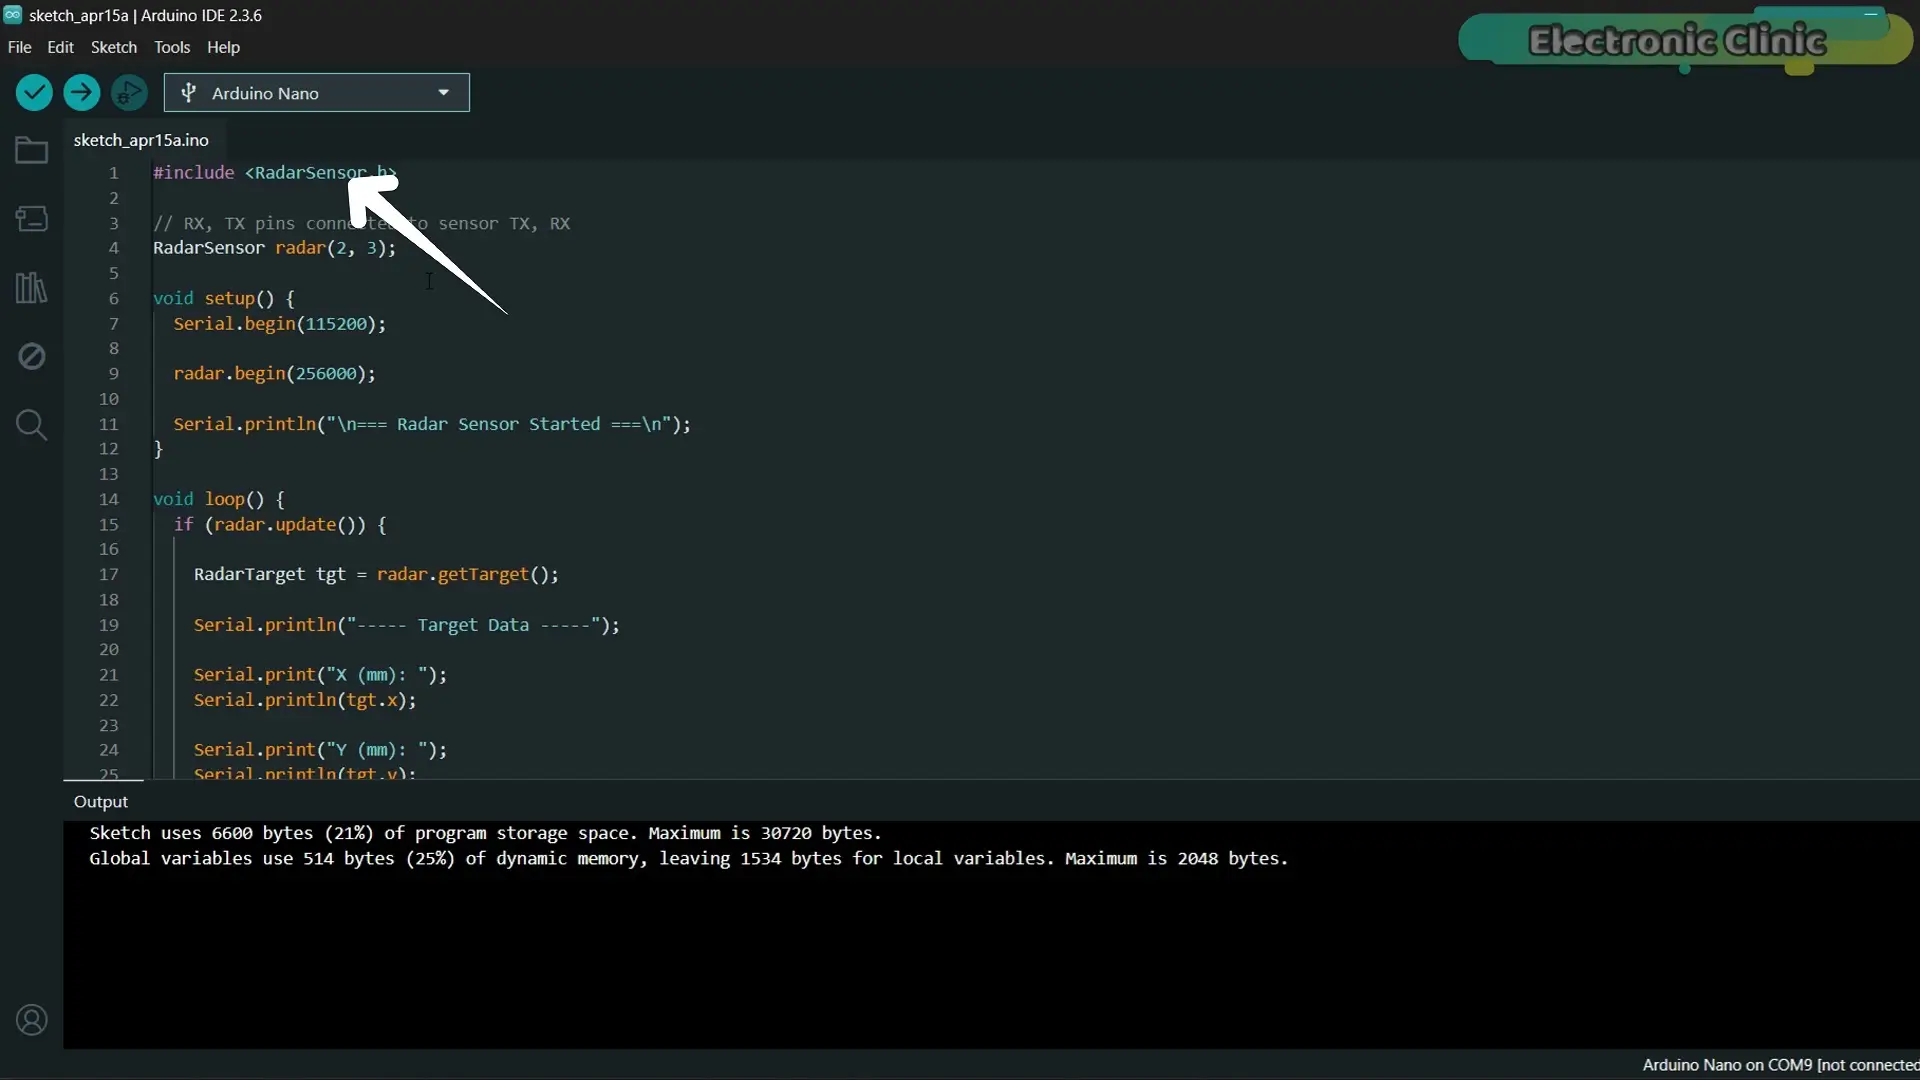
RD-03D Library:
For that… go to the Sketch menu…
Then Include Library…
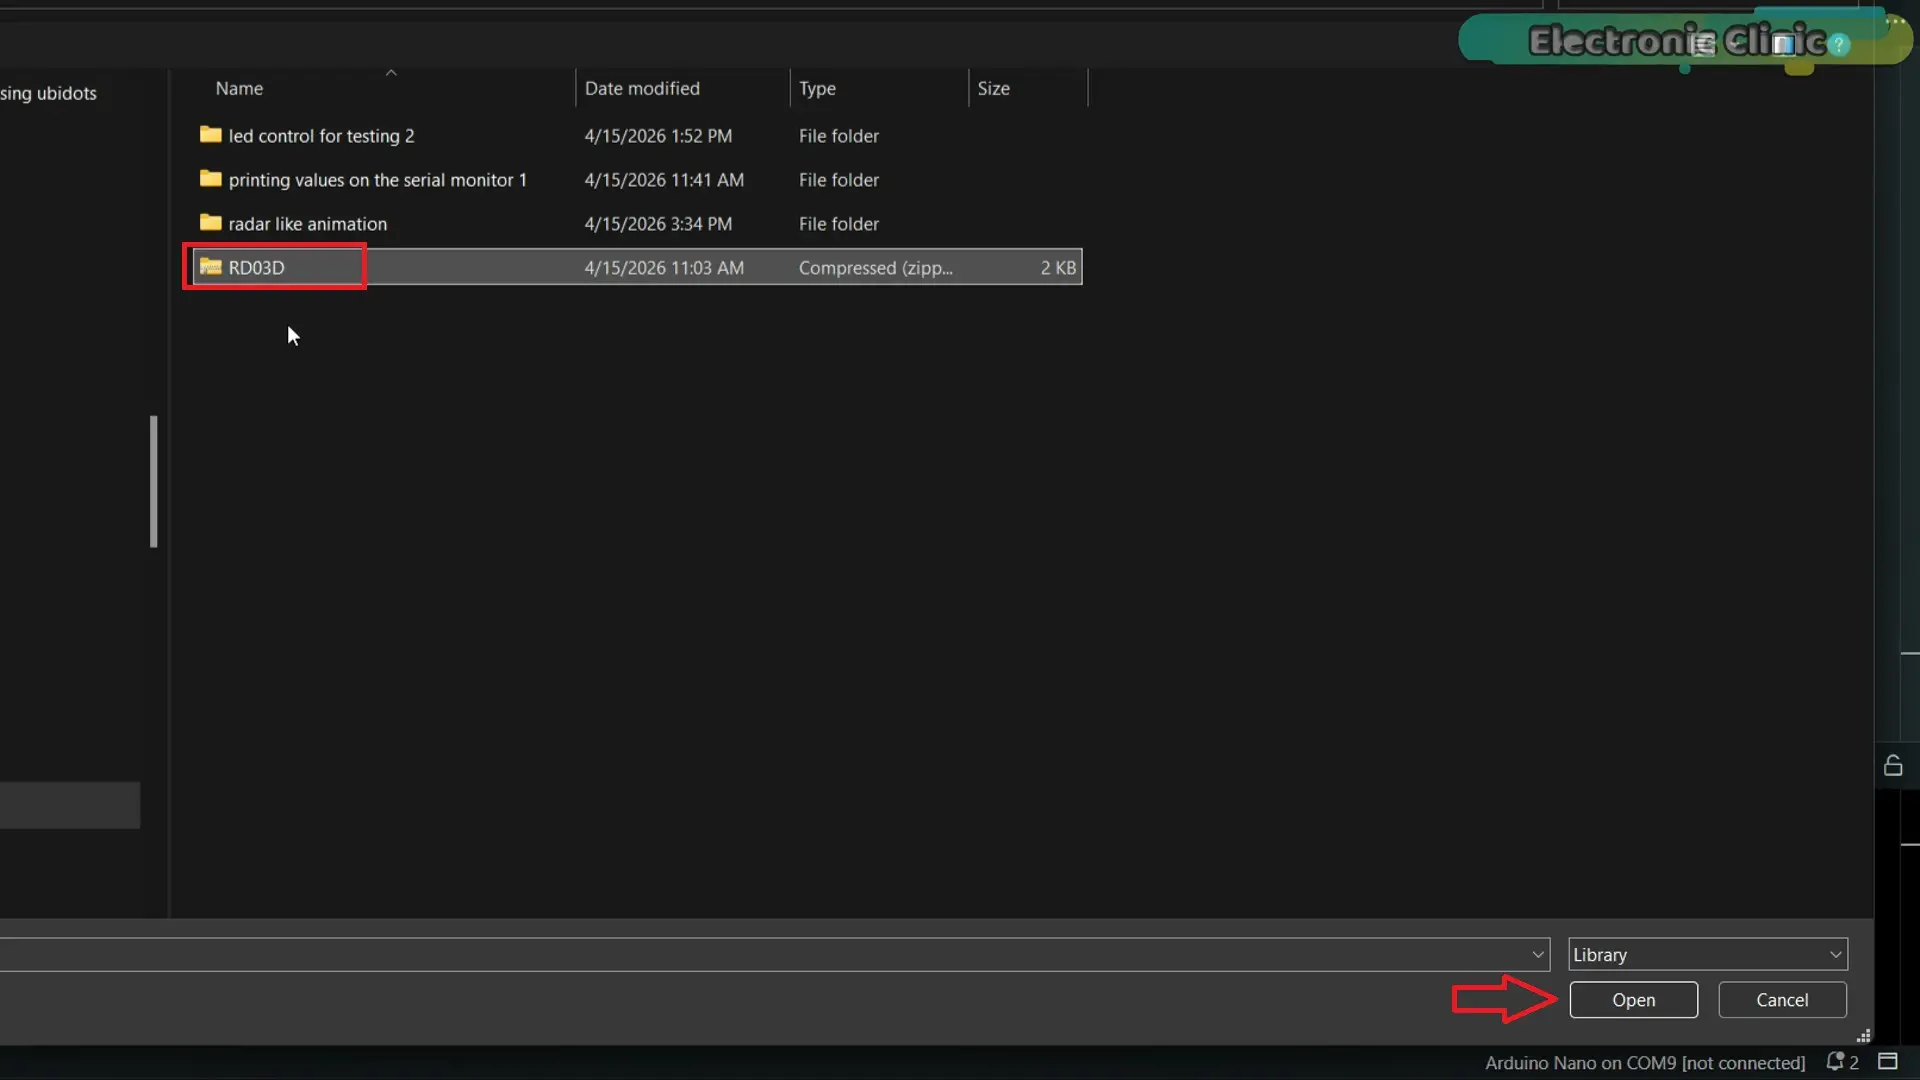
And click on “Add .ZIP Library”…
Now browse to the location where your library is saved…
You can download this library… along with all the other project files… from my Patreon page.
Once you find it… just select the ZIP file…
and click on Open.
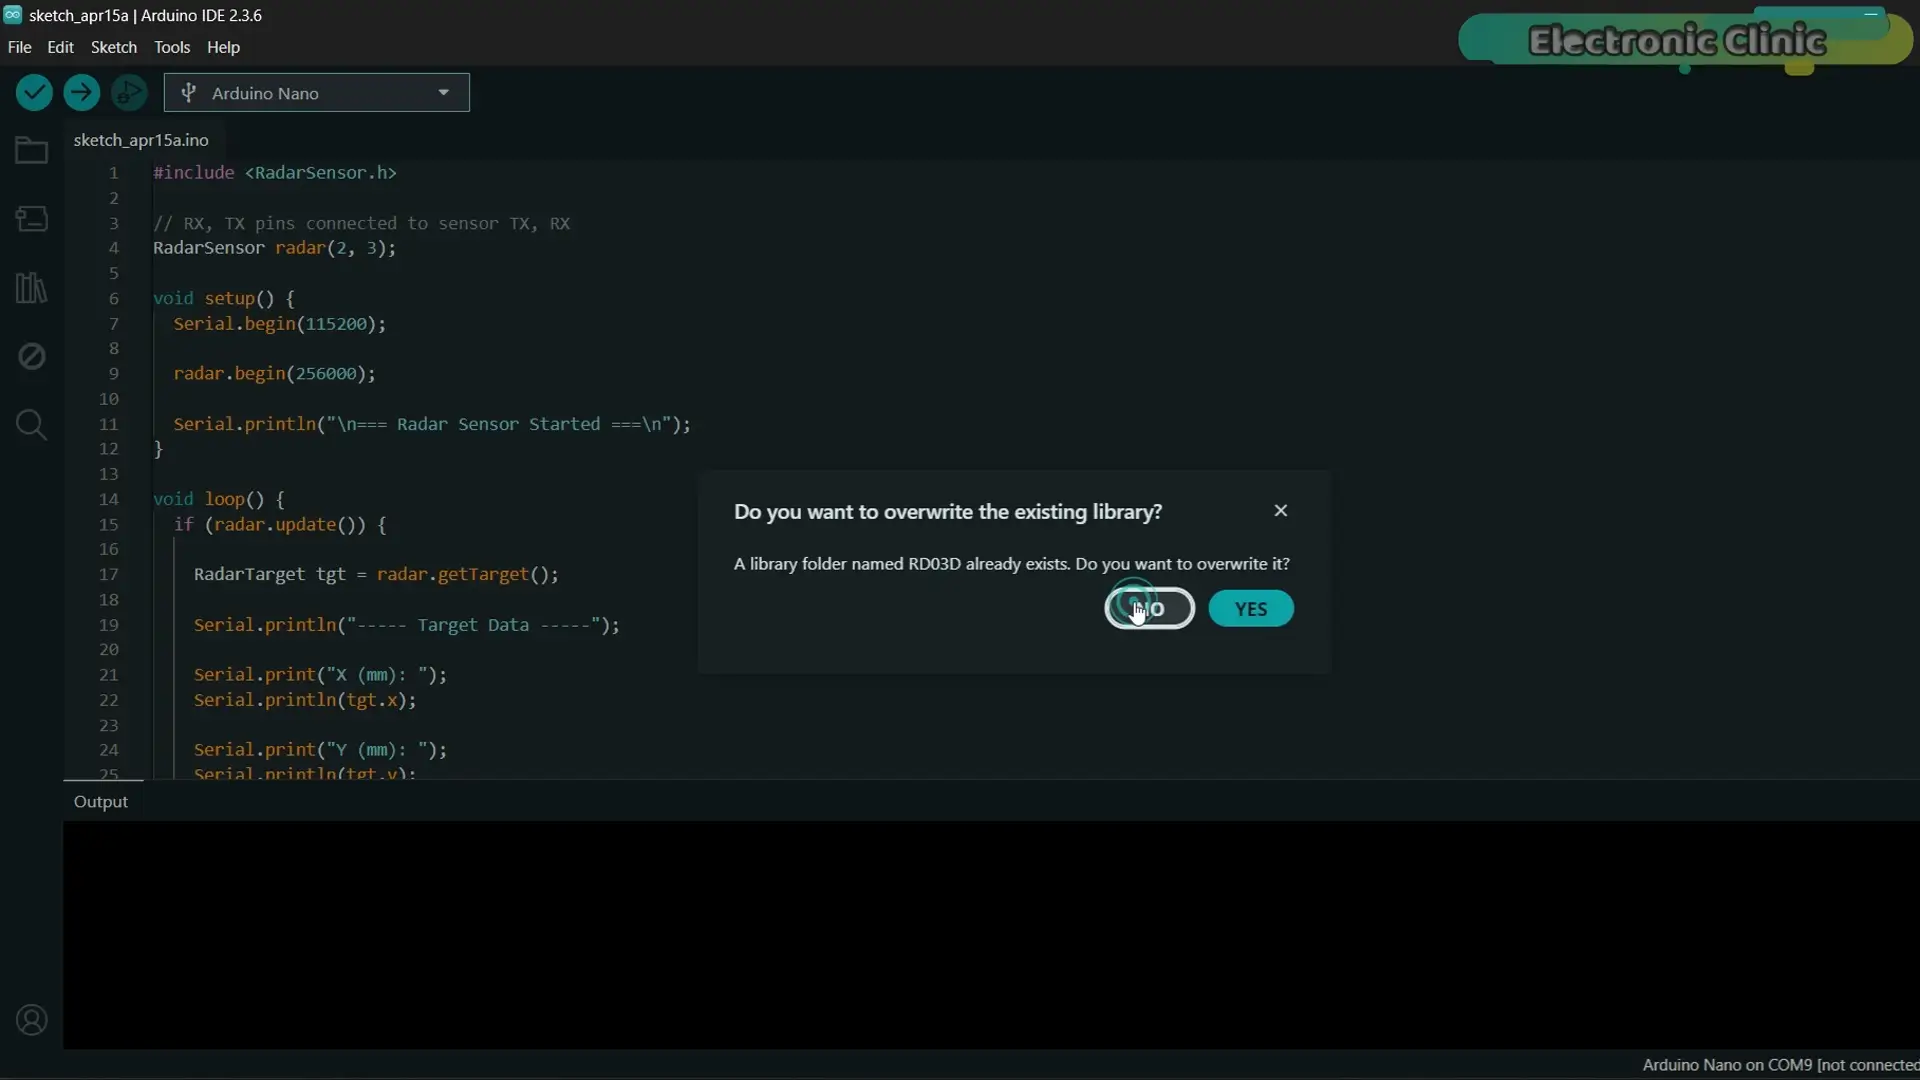
As you can see… I already installed it…
so I am just going to click “No”.
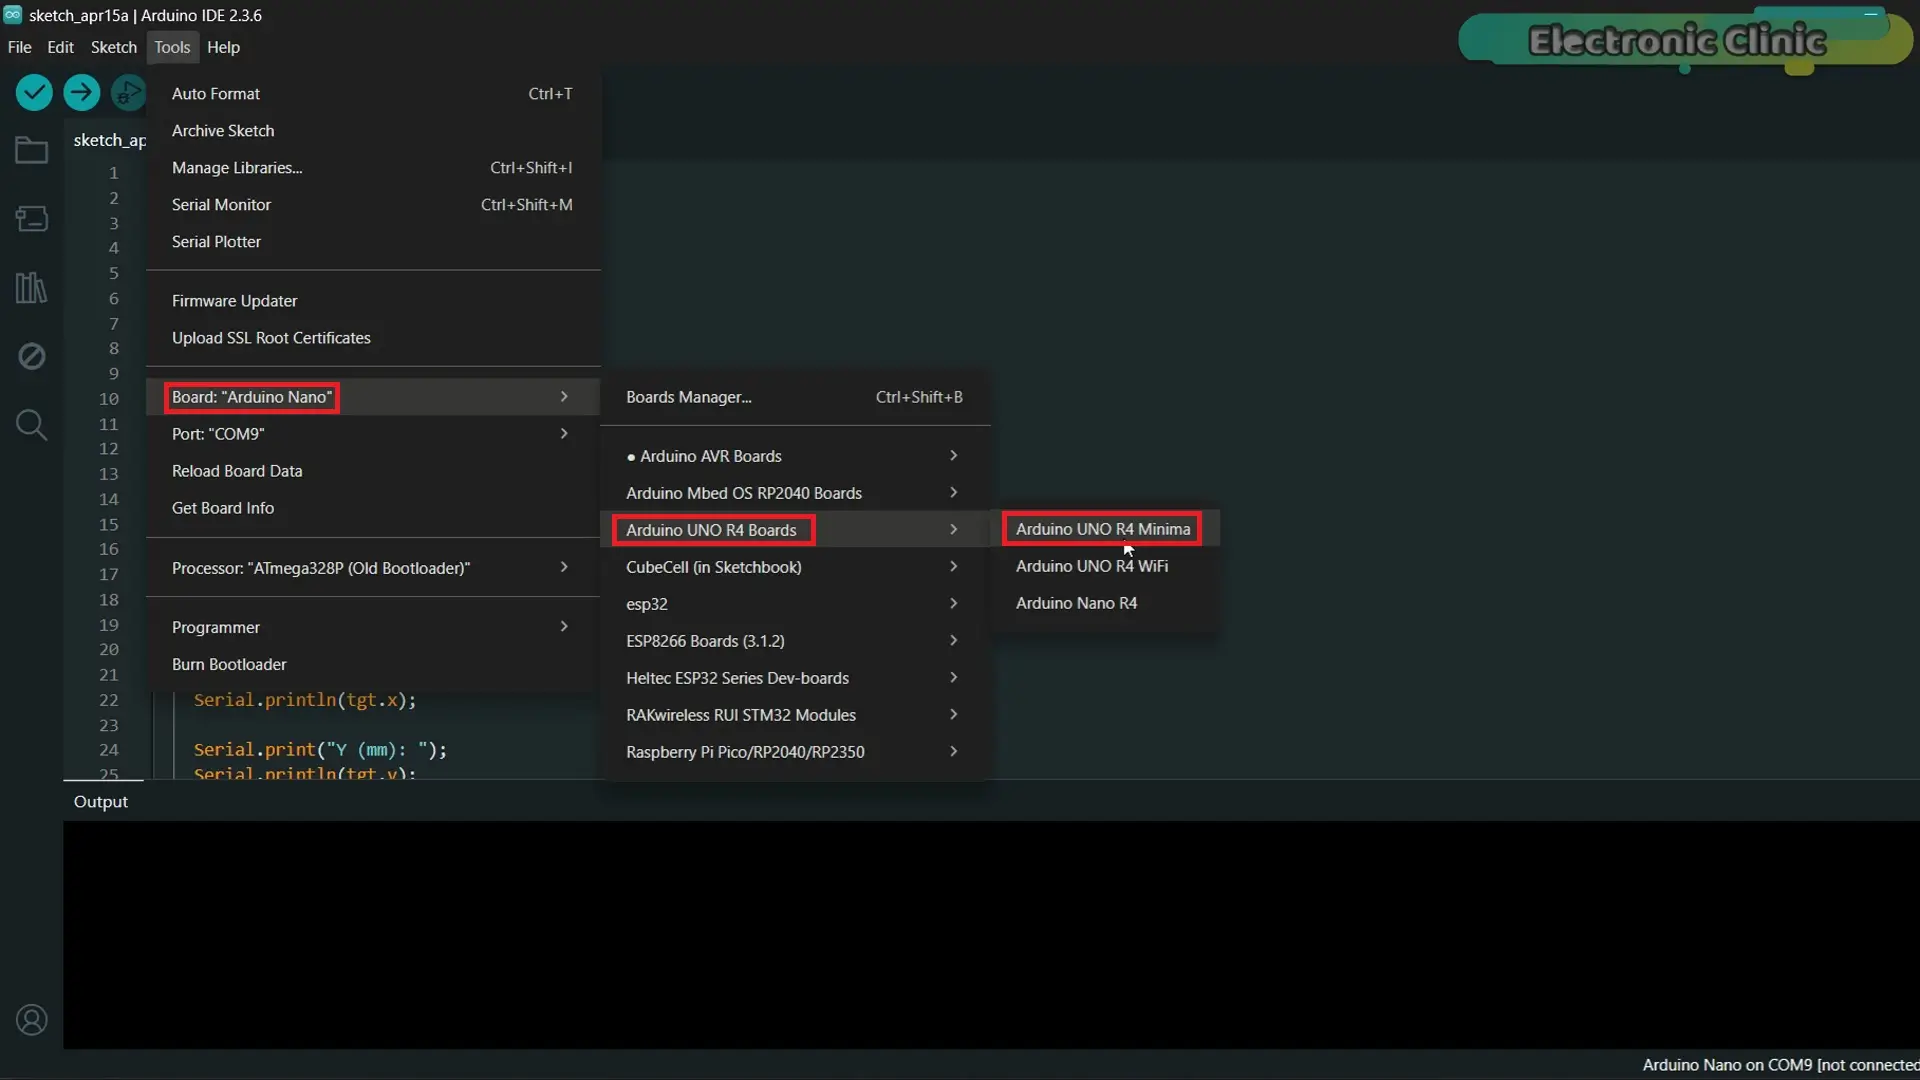
Now everything is ready…
Let’s go ahead and upload the program.
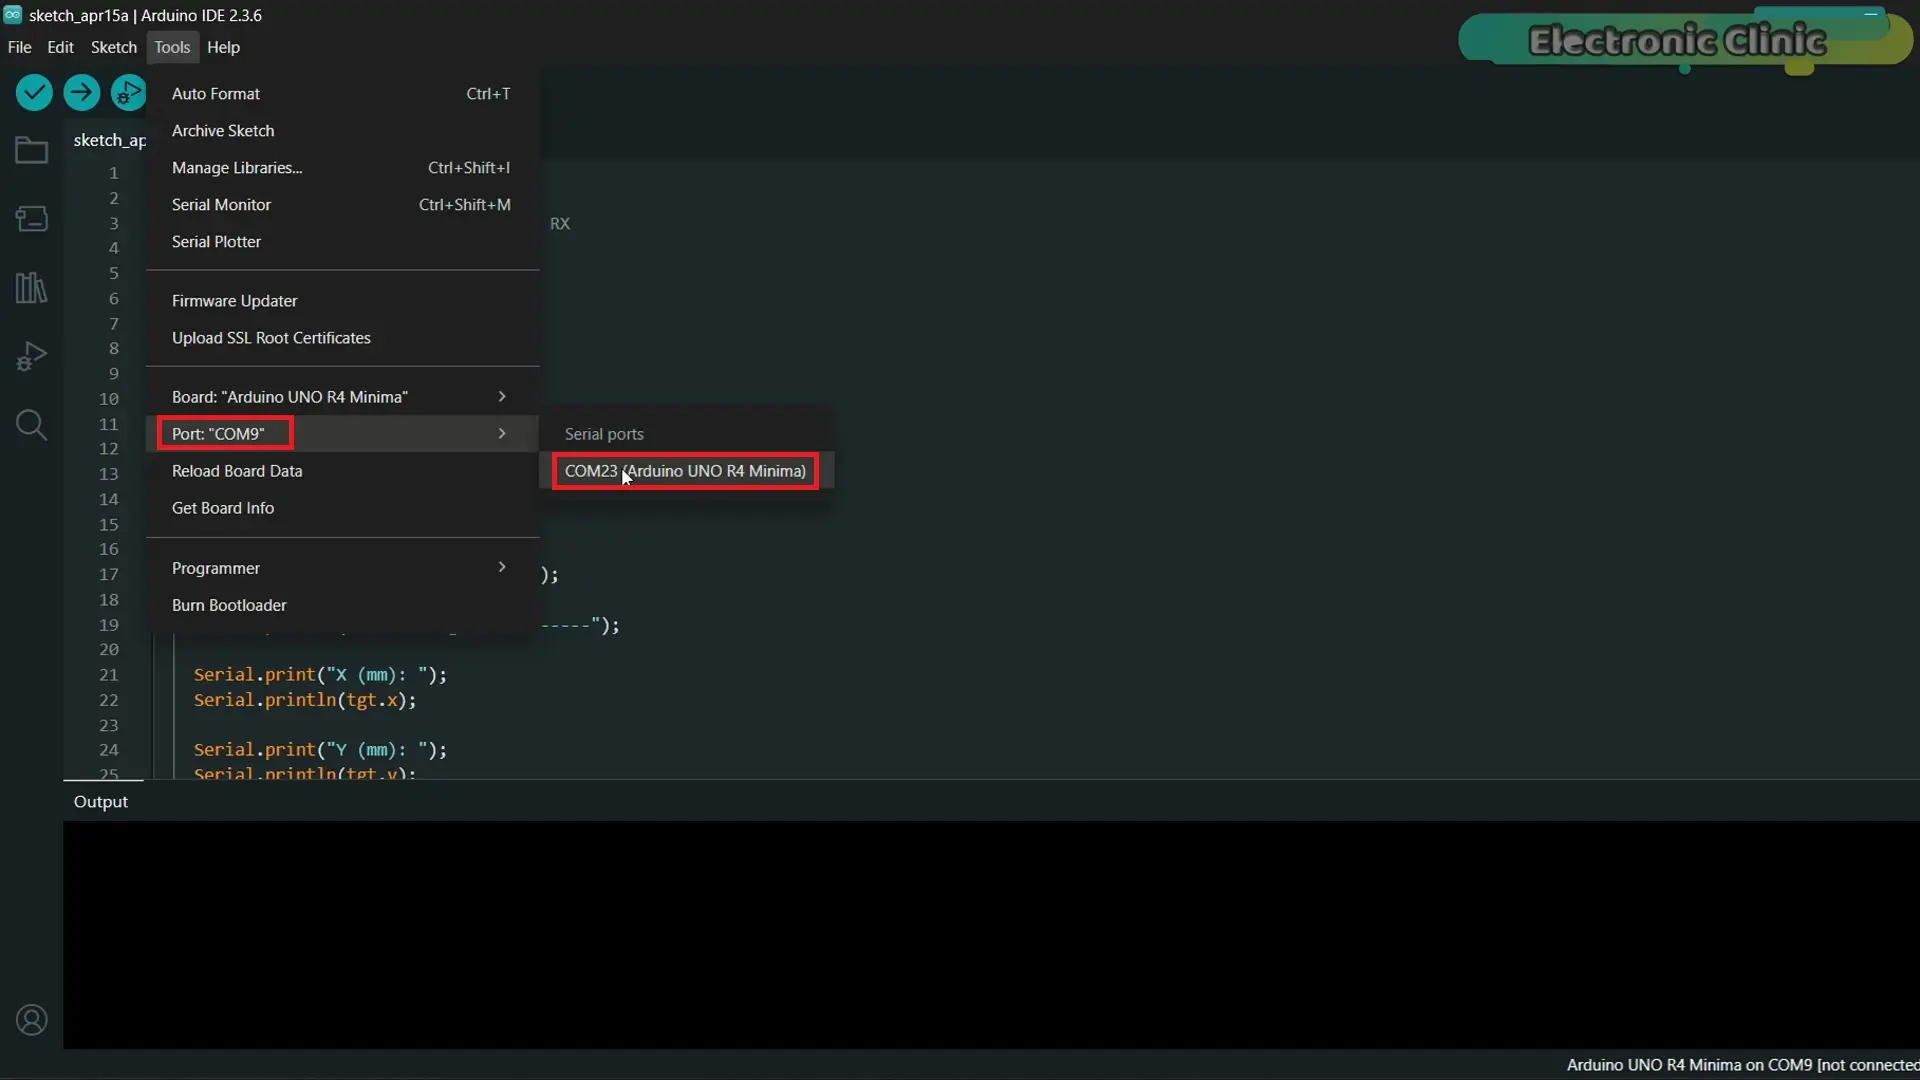
Select the correct communication port…
Then go ahead and click on the upload button…
The code has been successfully uploaded.
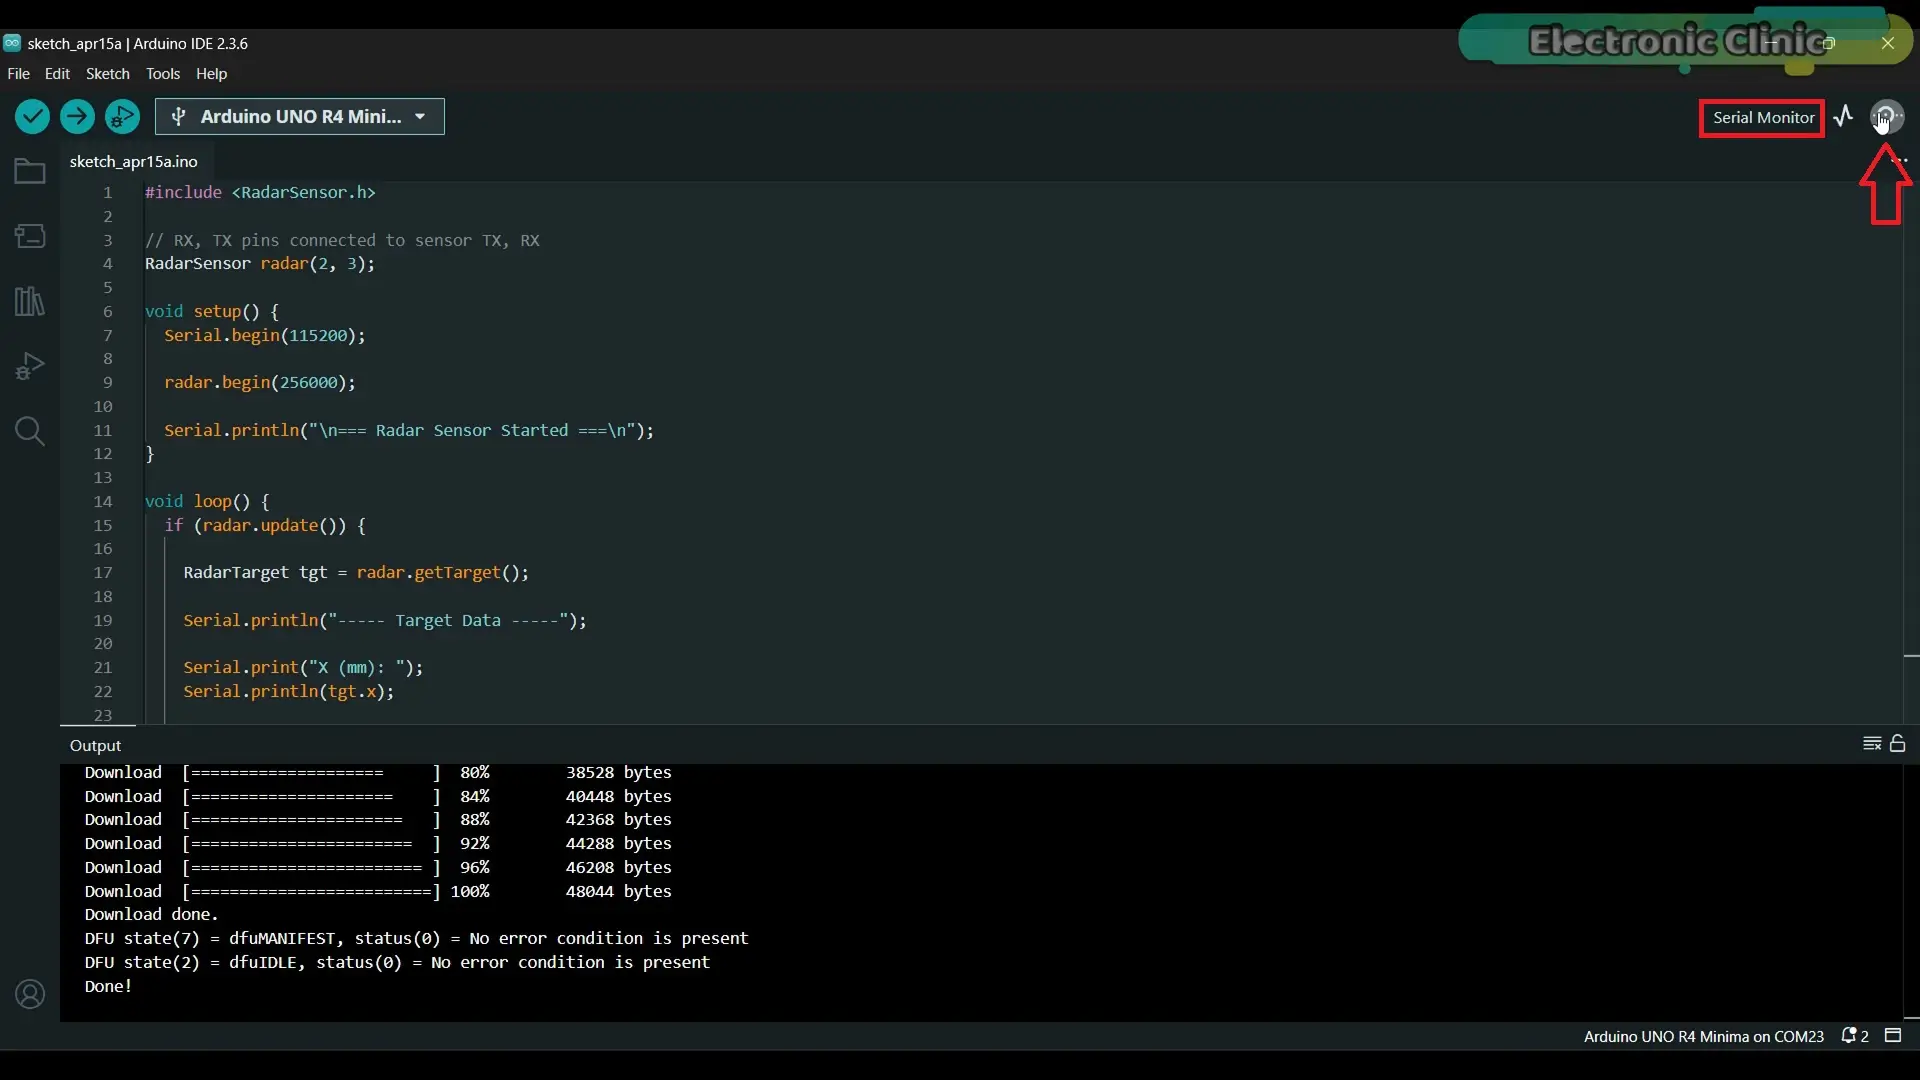
Now simply open the Serial Monitor…
and start monitoring the data.
Practical Demo:
I am going to move in front of the sensor…
And you can see…
The data is updating in real time…
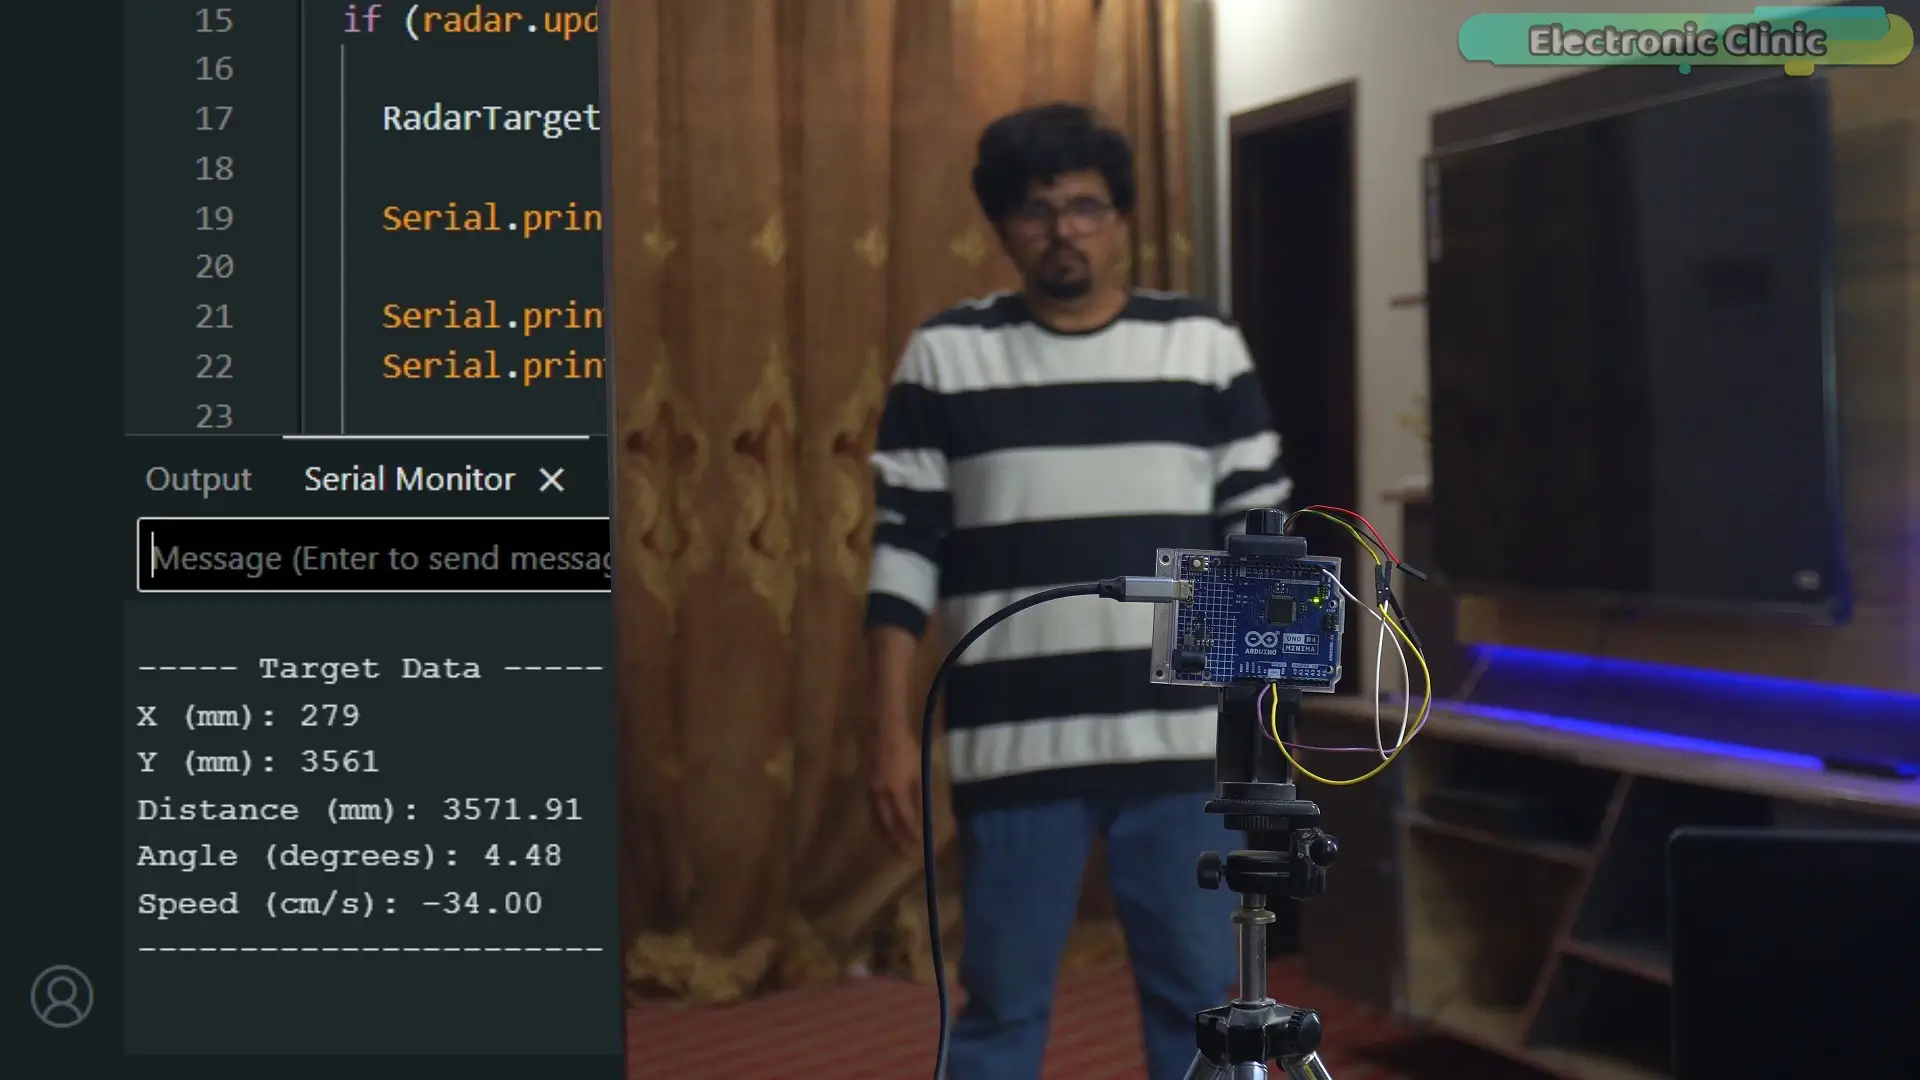
Now I will slowly move a bit closer…
And you can notice…
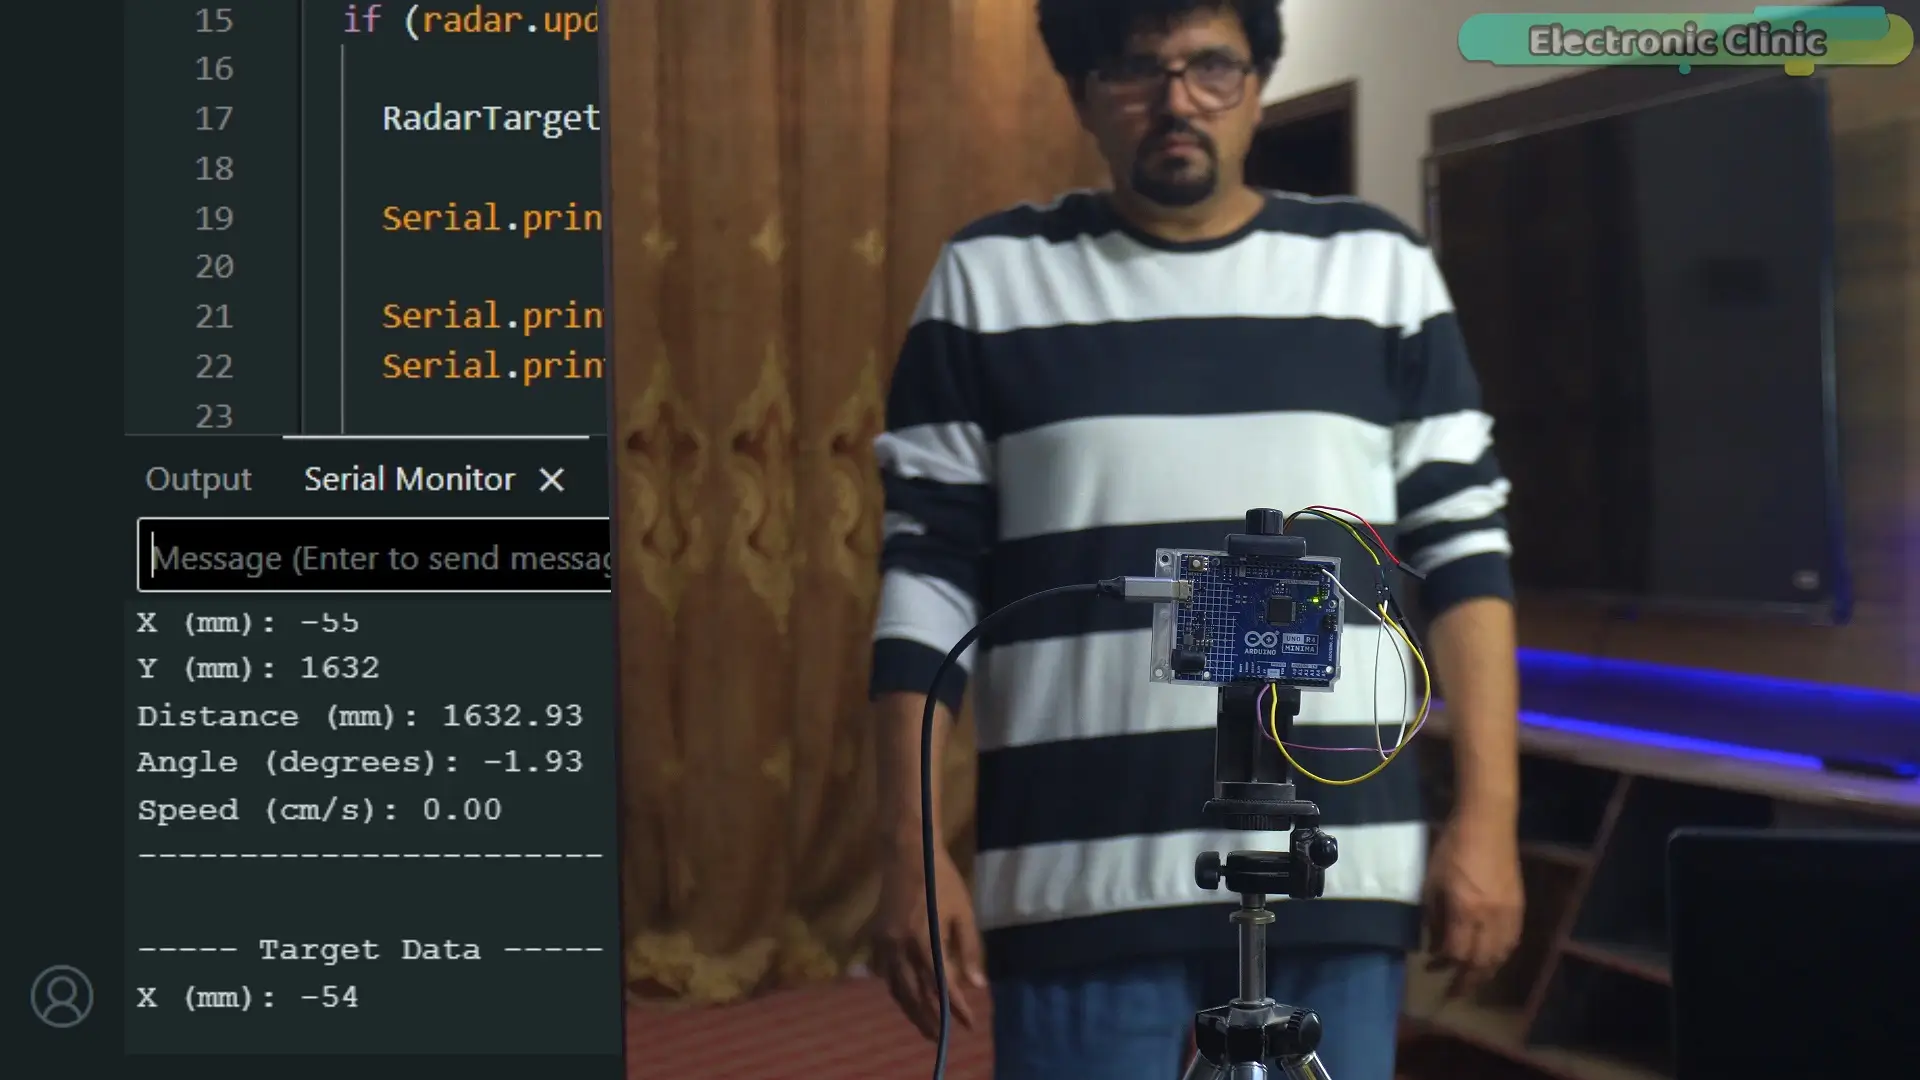
The distance values are changing…
Now I will step back…
Again…you can see the difference clearly…
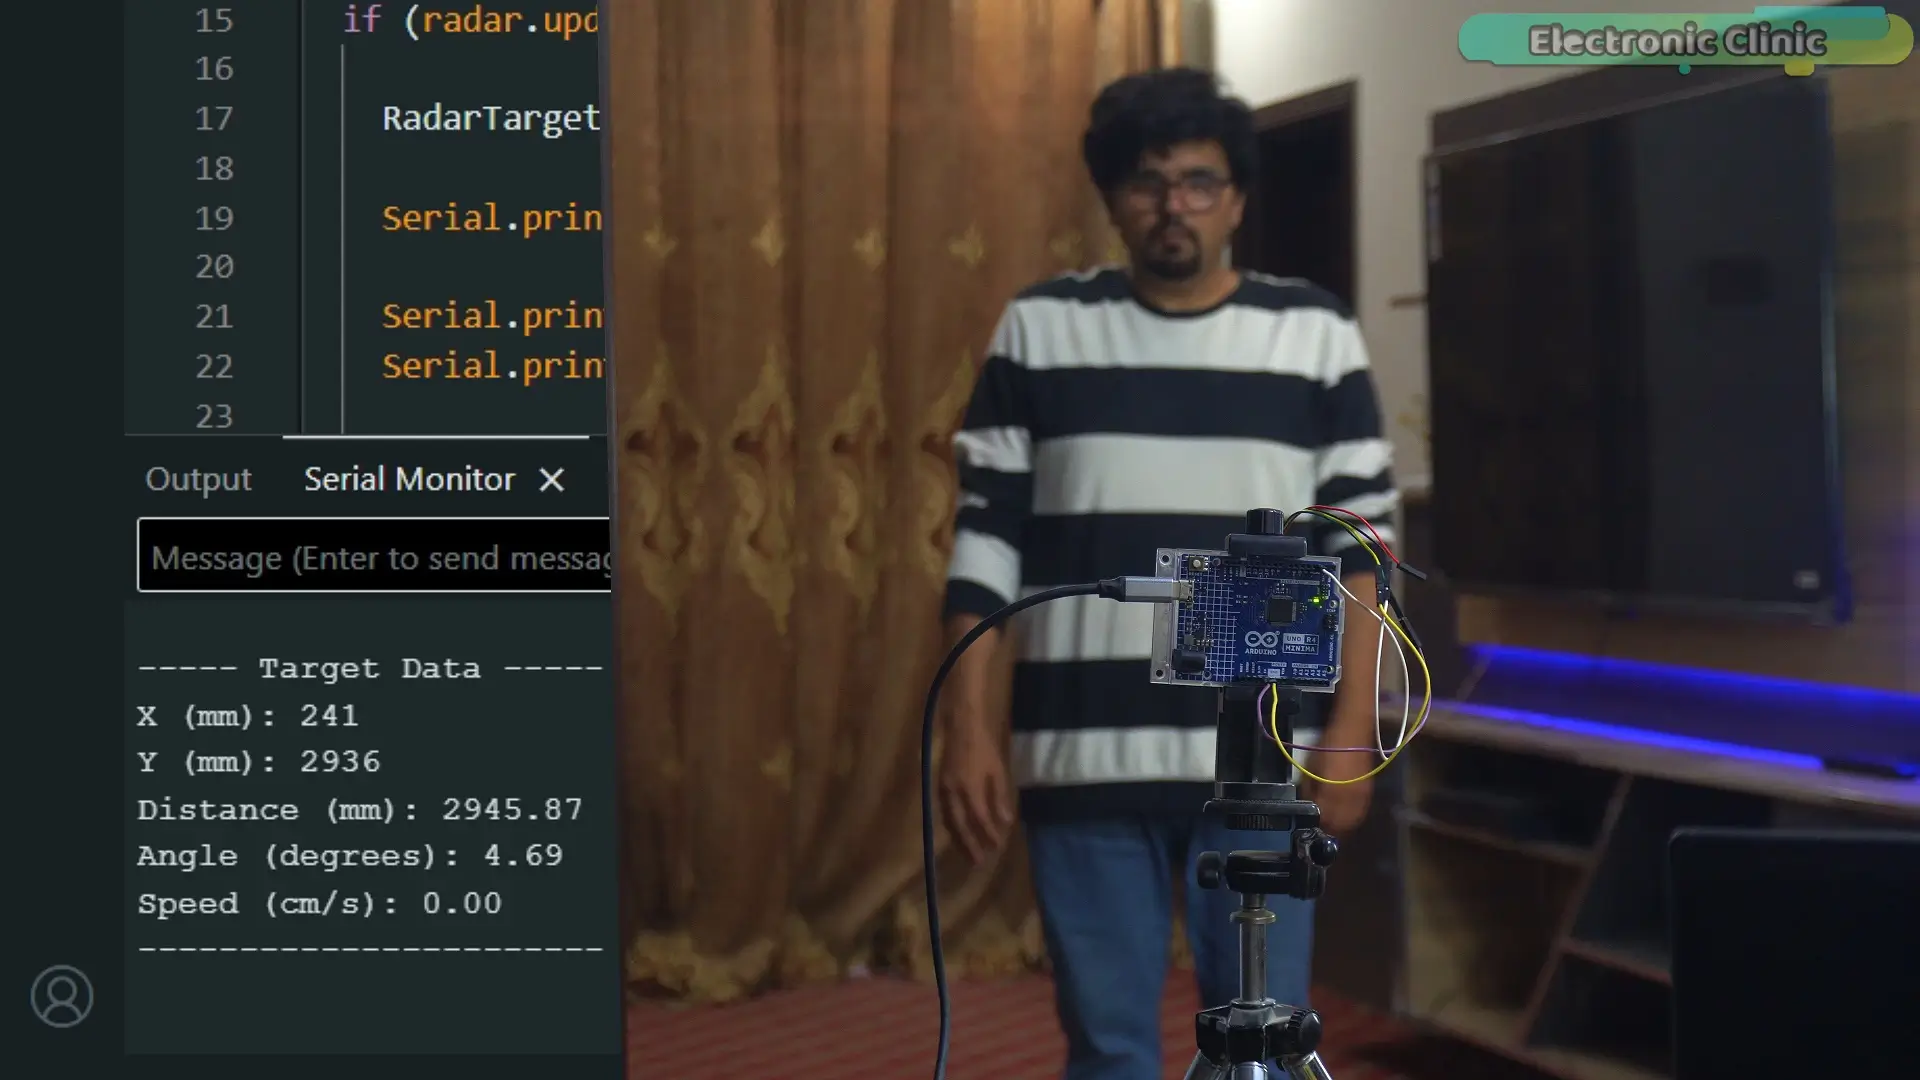
Now let me move to the left side…
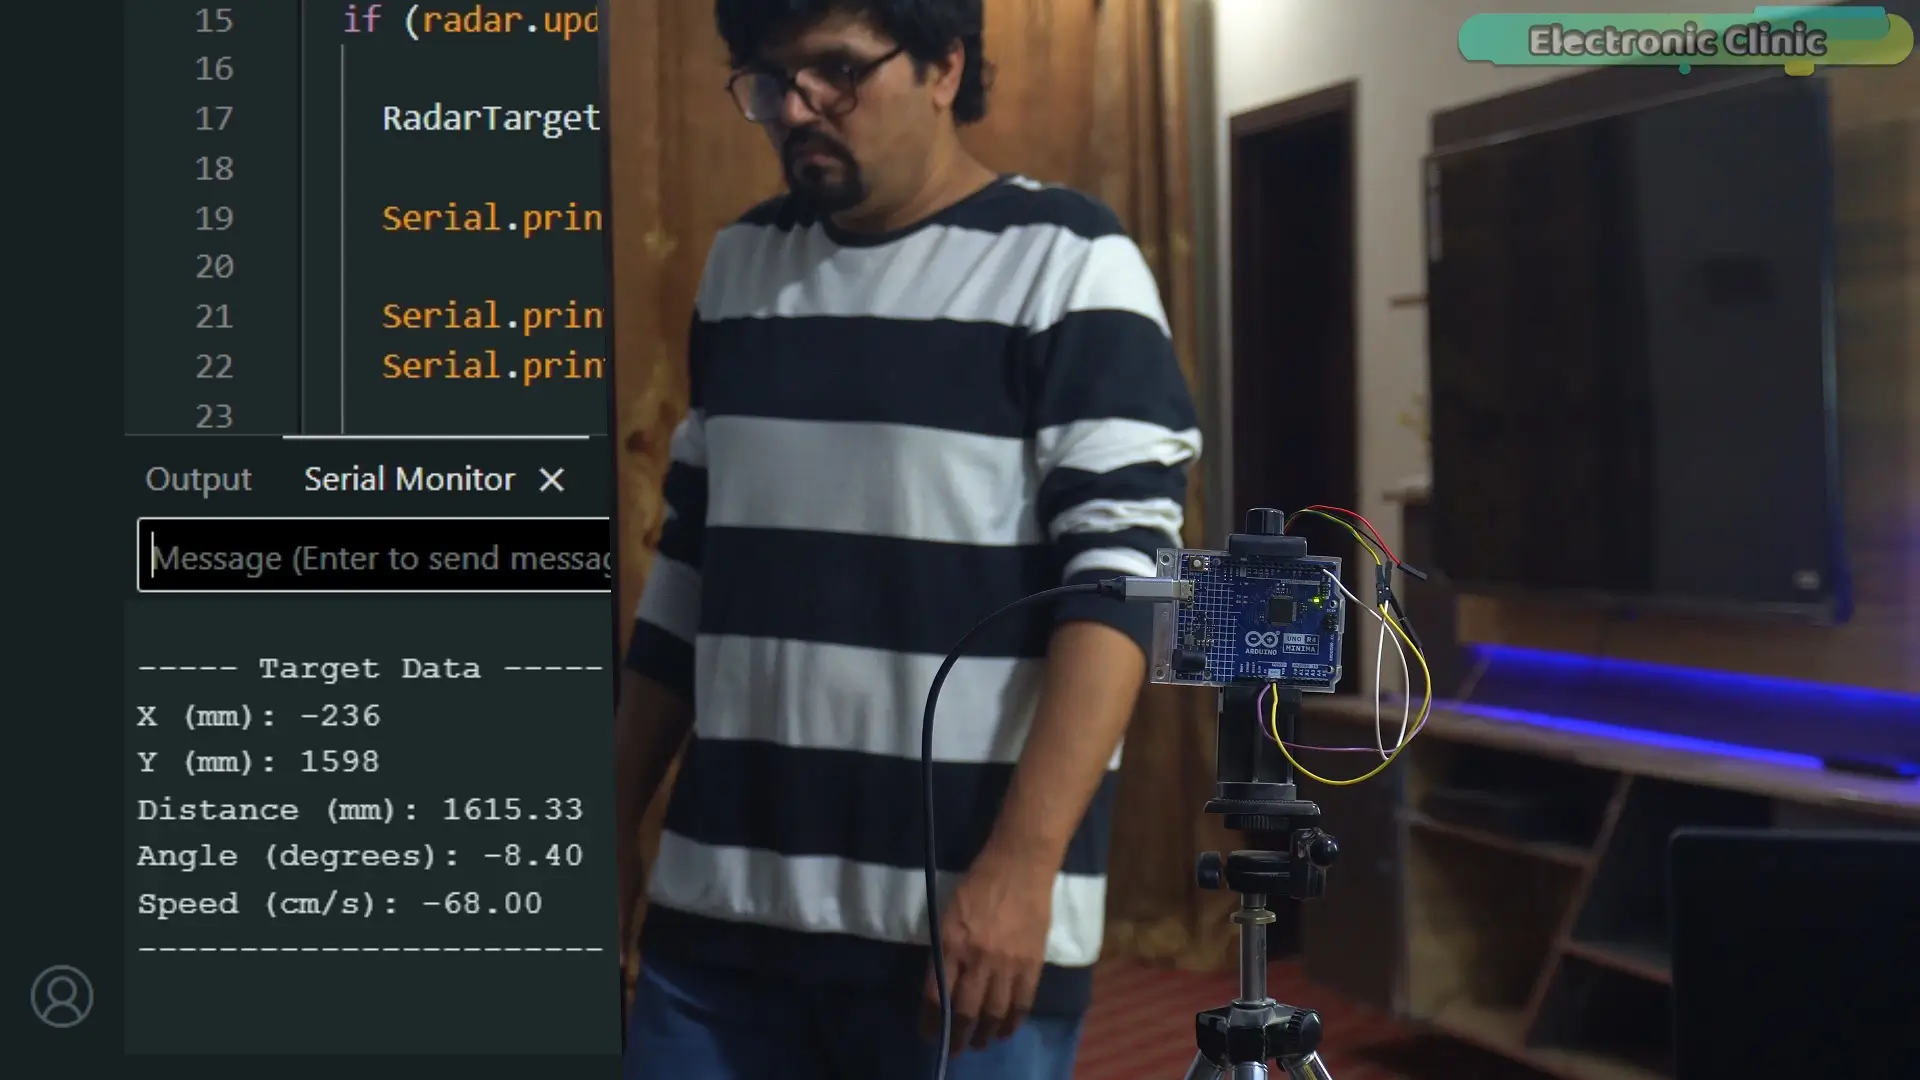
And then… to the right…
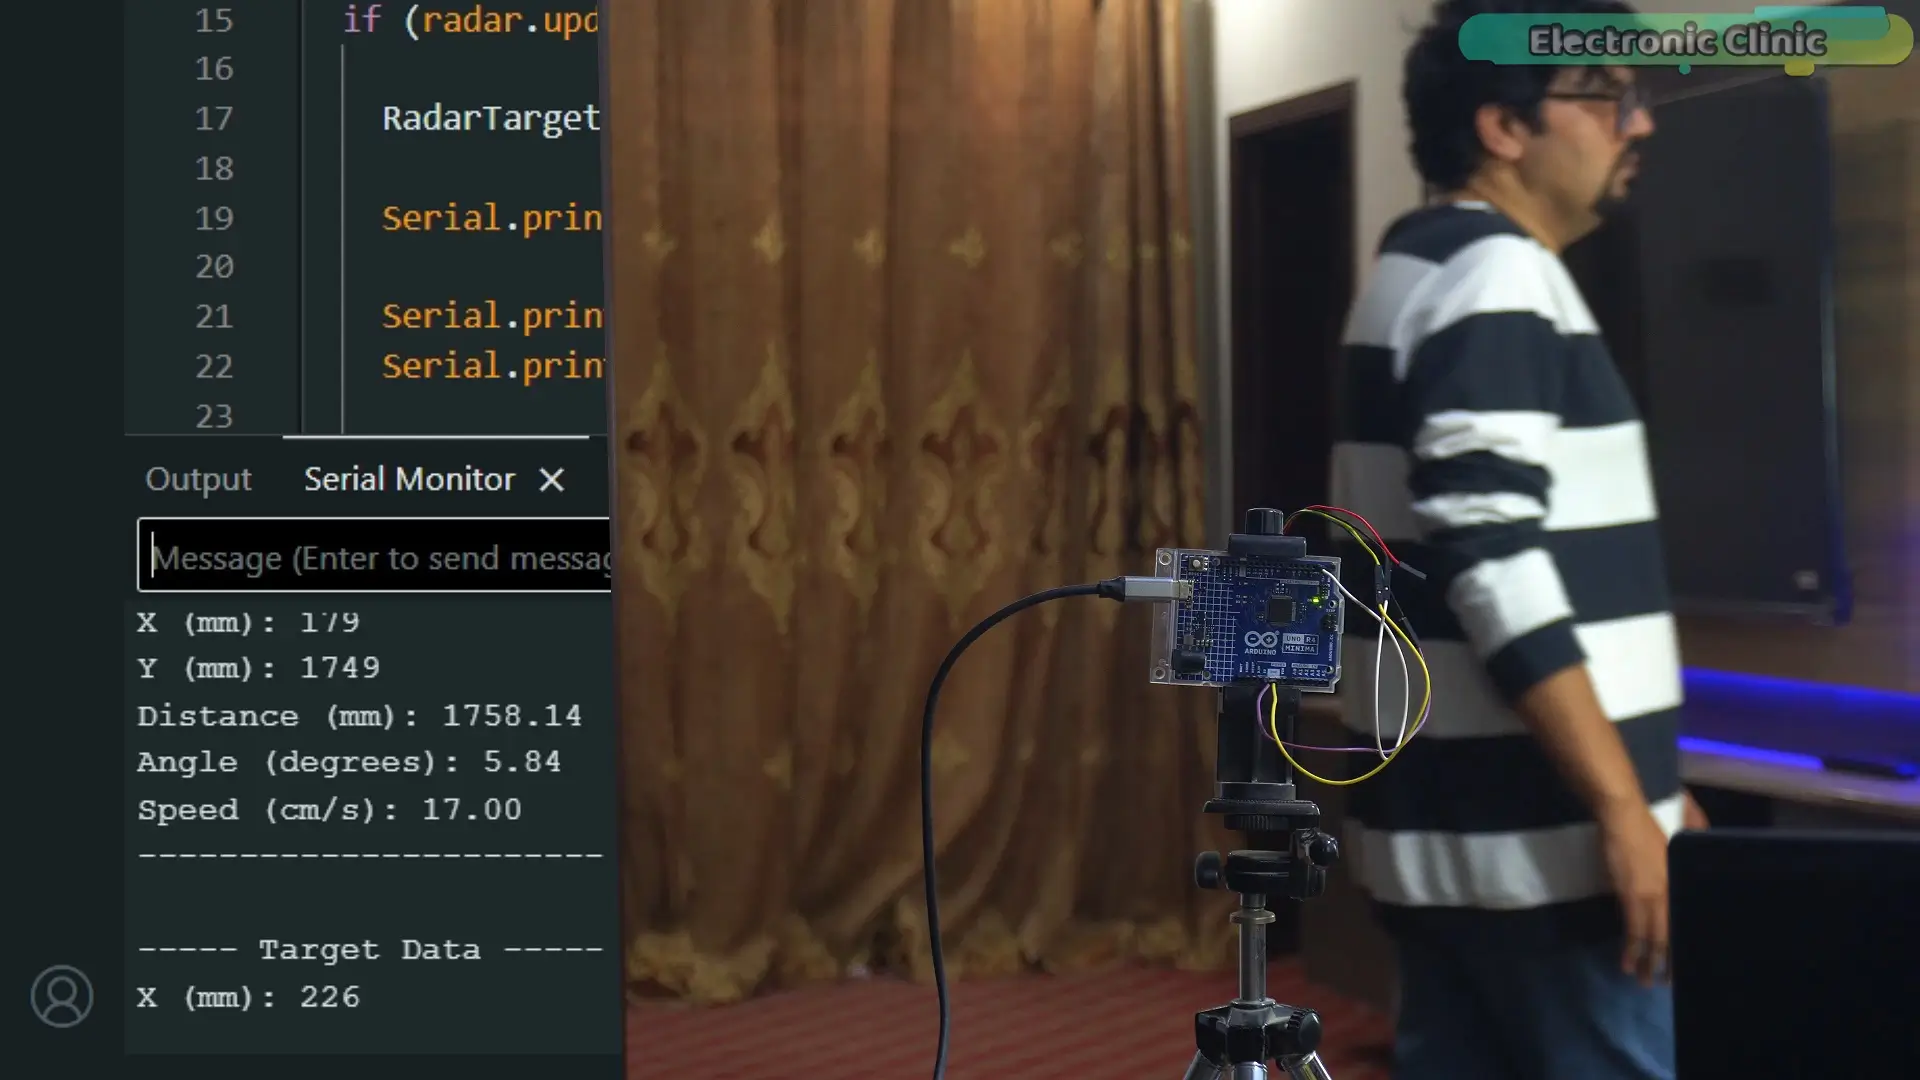
You can see…the position is also being tracked…
So this is real-time tracking…
happening live… right in front of you
Now… we’re going to start testing human detection behind different materials…
And this is where you’ll see the real power of this sensor…
To make everything super clear for you…
I am going to turn ON the onboard LED…
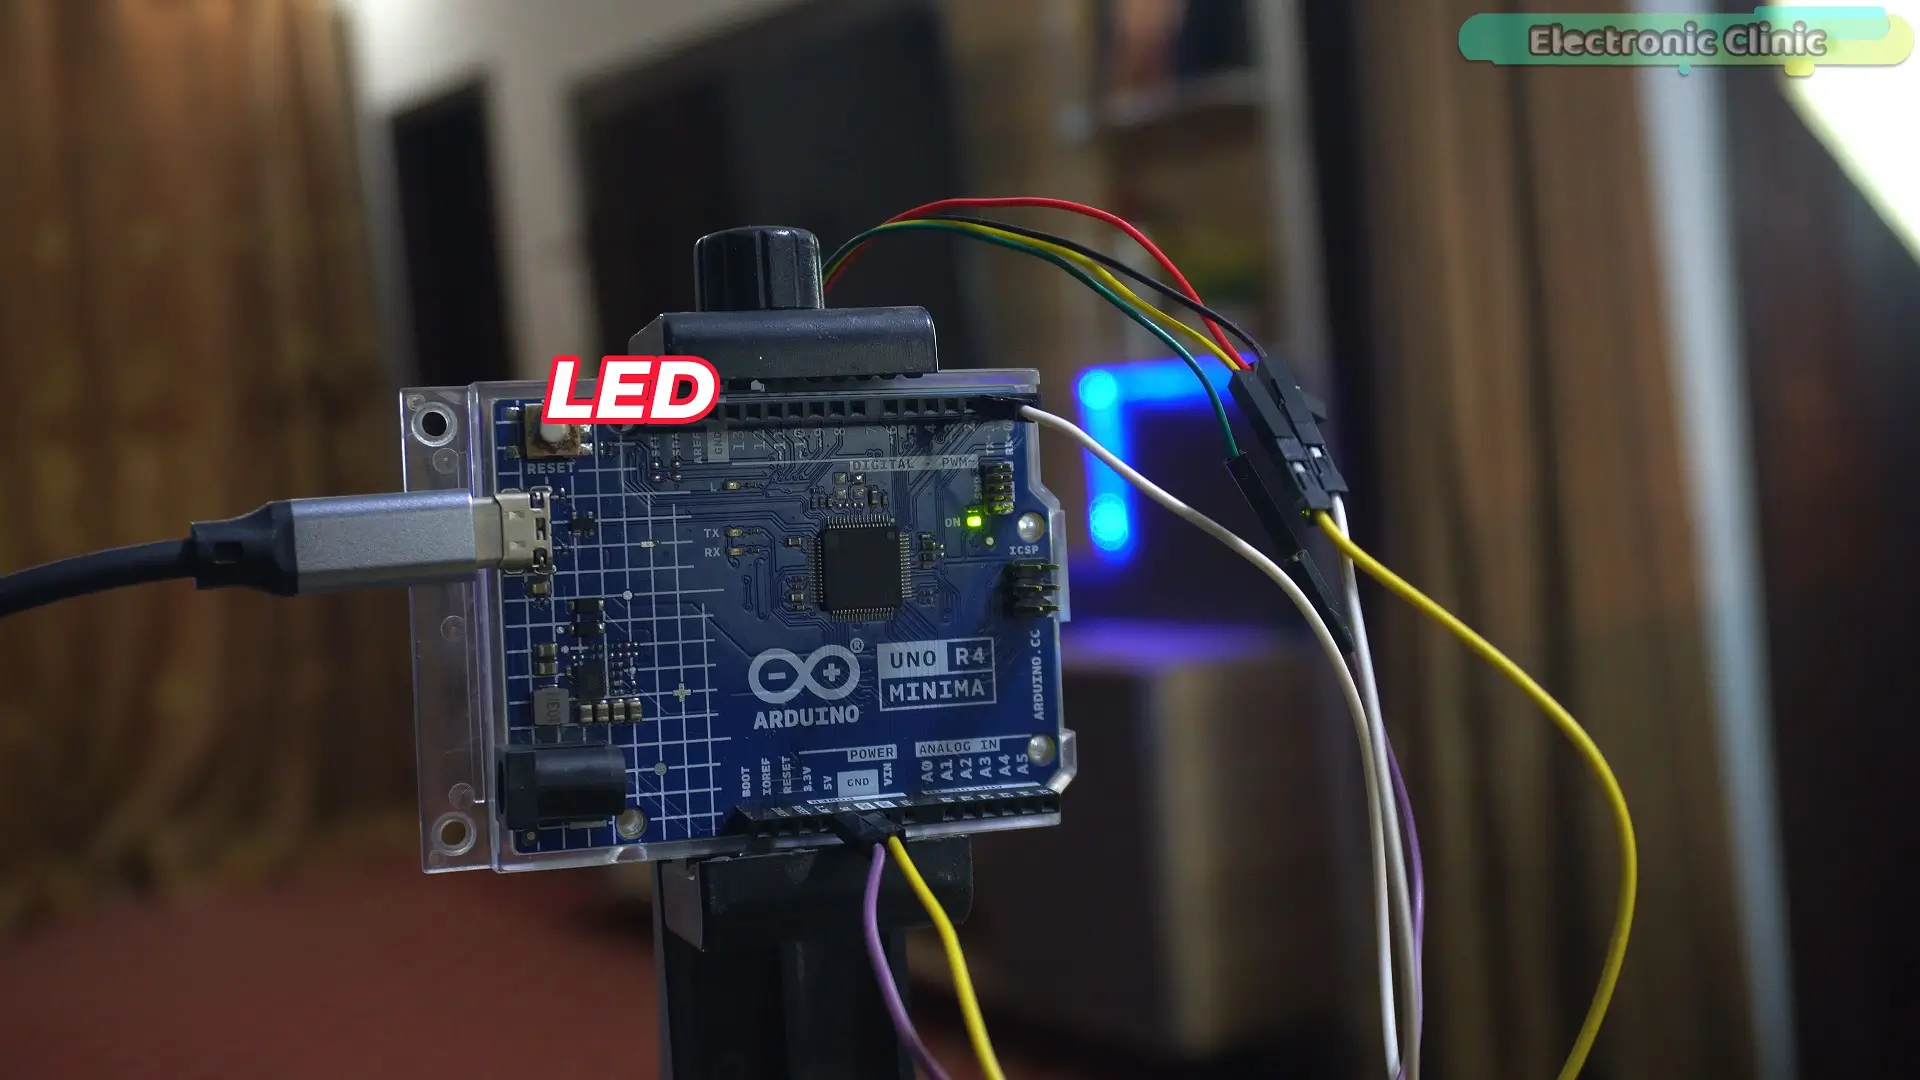
whenever a human is detected.
RD-03D mmWave Arduino Programming:
|
1 2 3 4 5 6 7 8 9 10 11 12 13 14 15 16 17 18 19 20 21 22 23 24 25 26 27 28 29 30 31 32 33 34 35 36 37 38 39 40 41 42 |
#include <RadarSensor.h> // RX, TX pins connected to sensor TX, RX RadarSensor radar(2, 3); #define LED_PIN LED_BUILTIN void setup() { Serial.begin(115200); radar.begin(256000); pinMode(LED_PIN, OUTPUT); Serial.println("\n=== Radar Sensor Started ===\n"); } void loop() { if (radar.update()) { RadarTarget tgt = radar.getTarget(); // Convert mm to feet (1 mm = 0.00328084 feet) float distanceFeet = tgt.distance * 0.00328084; Serial.println("----- Target Data -----"); Serial.print("Distance (feet): "); Serial.println(distanceFeet); // LED Control Logic if (distanceFeet > 2.0 && distanceFeet < 14.0) { digitalWrite(LED_PIN, HIGH); // Turn ON LED Serial.println("Led Turned ON"); } else { digitalWrite(LED_PIN, LOW); // Turn OFF LED } Serial.println("-----------------------\n"); delay(100); } } |
For this… I made a small change in the code…
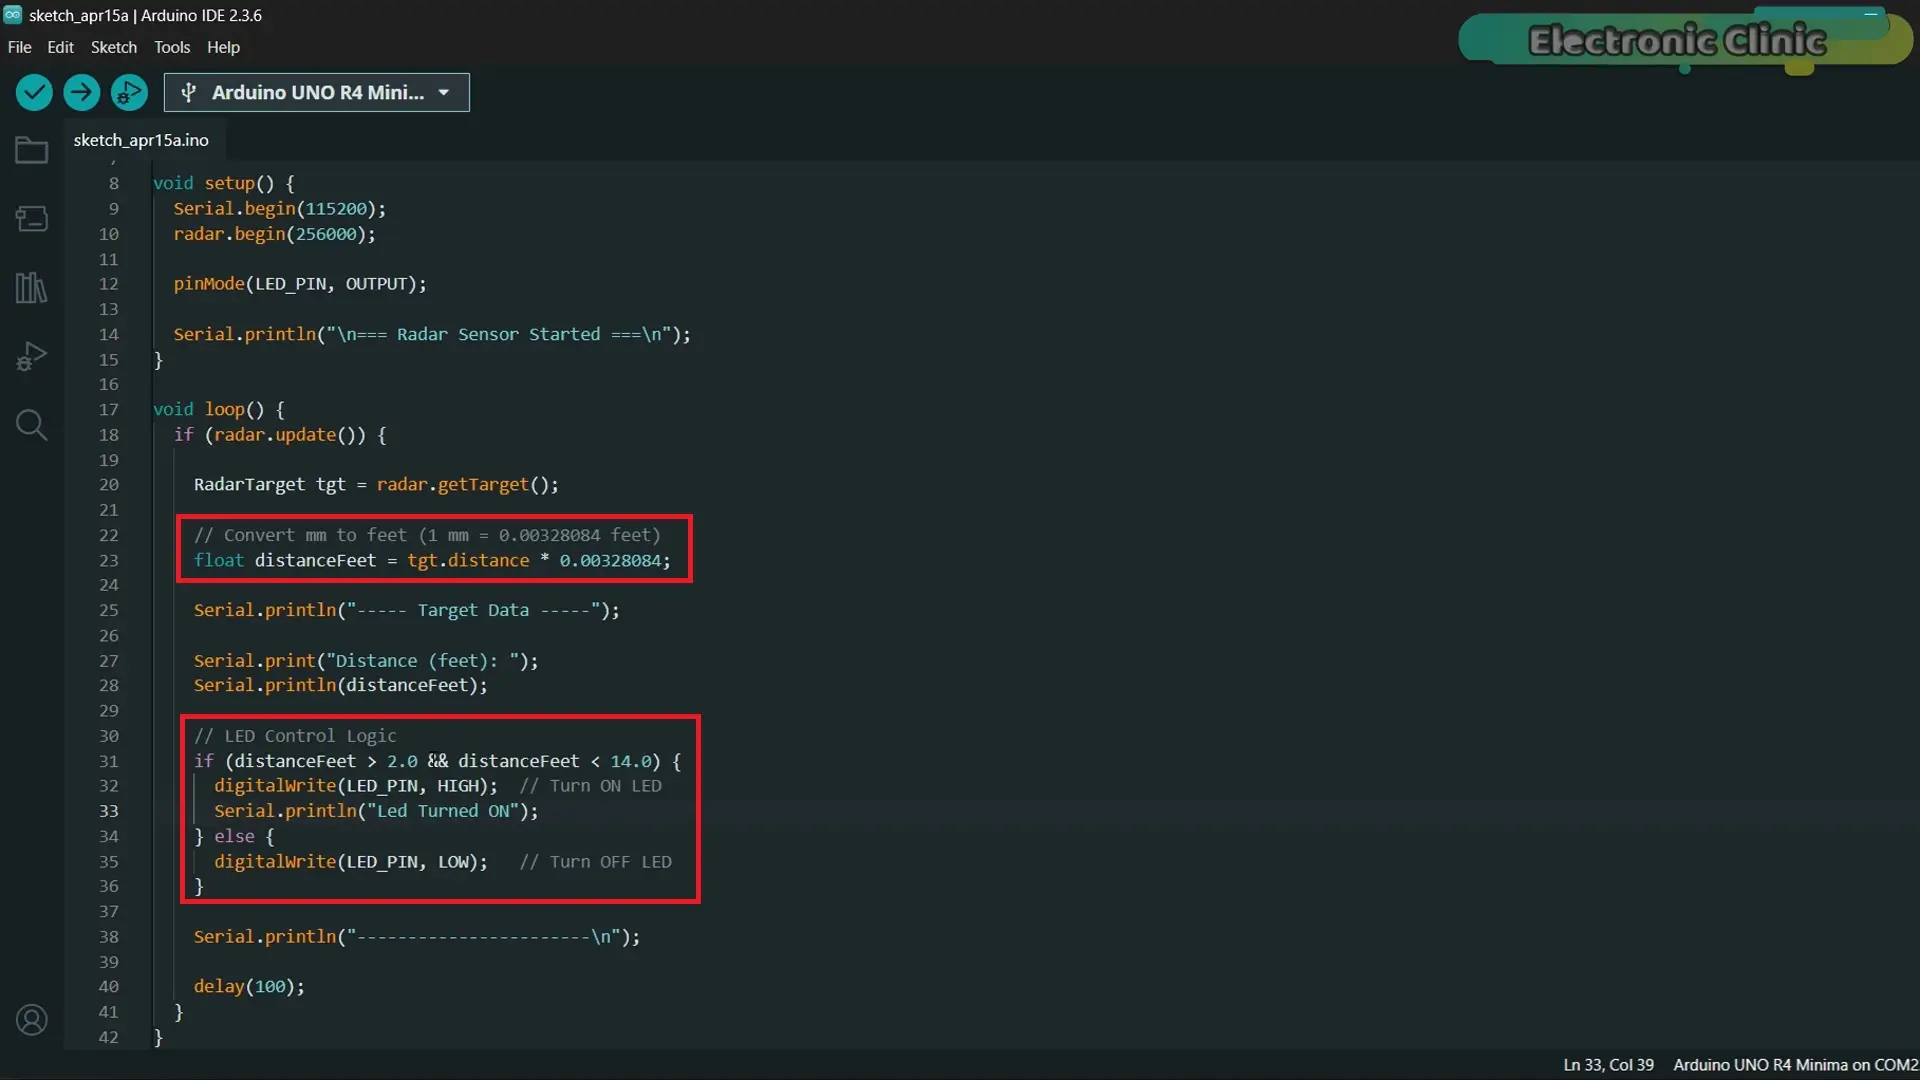
I converted the distance into feet…
so it’s easier to understand…
And I added a simple condition…
If the person is within a defined range…
the LED turns ON…
otherwise… it stays OFF.
I have already uploaded the program…
And now… let’s start the testing
RD-03D Human detection Tests:
Without Any Obstacle:
Alright… Test 1… nothing in front of the sensor…
I’ve already set the detection range…
Right now… I’m outside that range…
and as you can see… the LED is OFF…
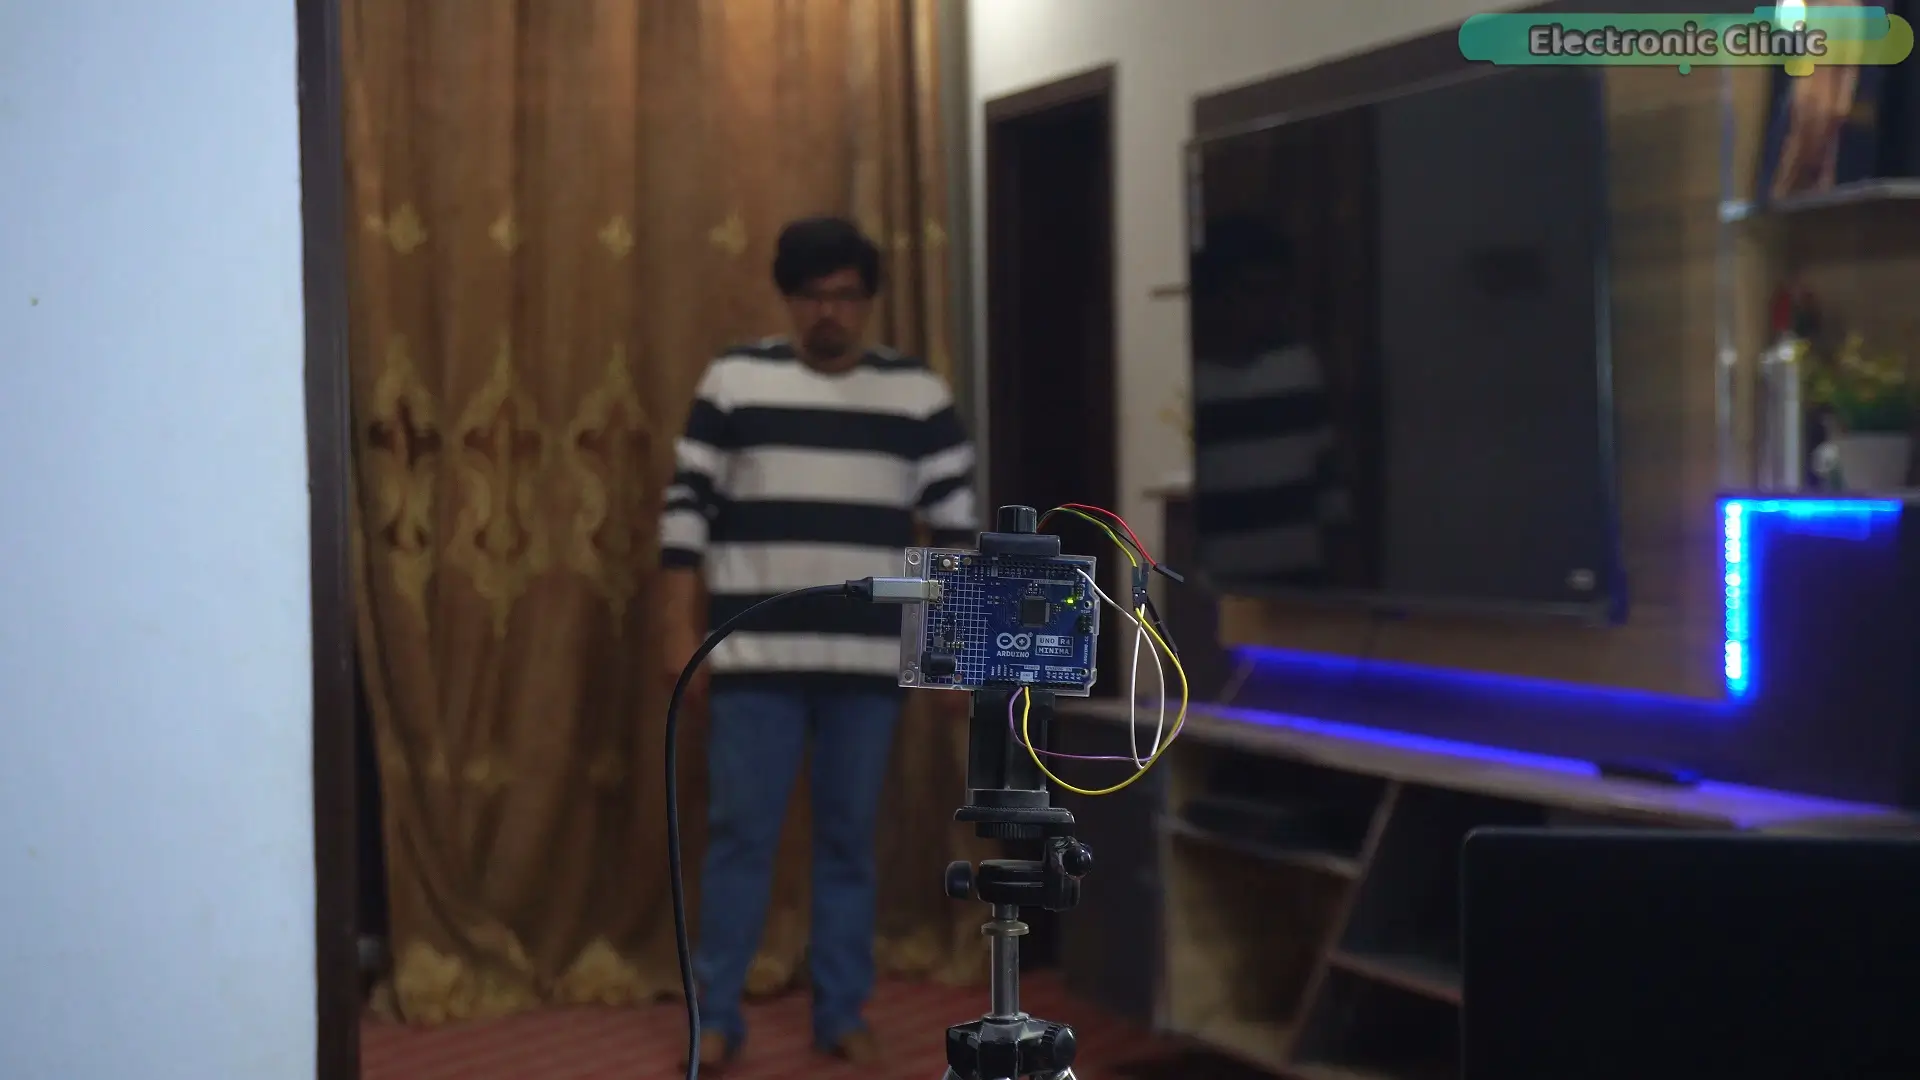
Now… I’m going to slowly move into the detection area…
Let’s see what happens…
…and there you go…
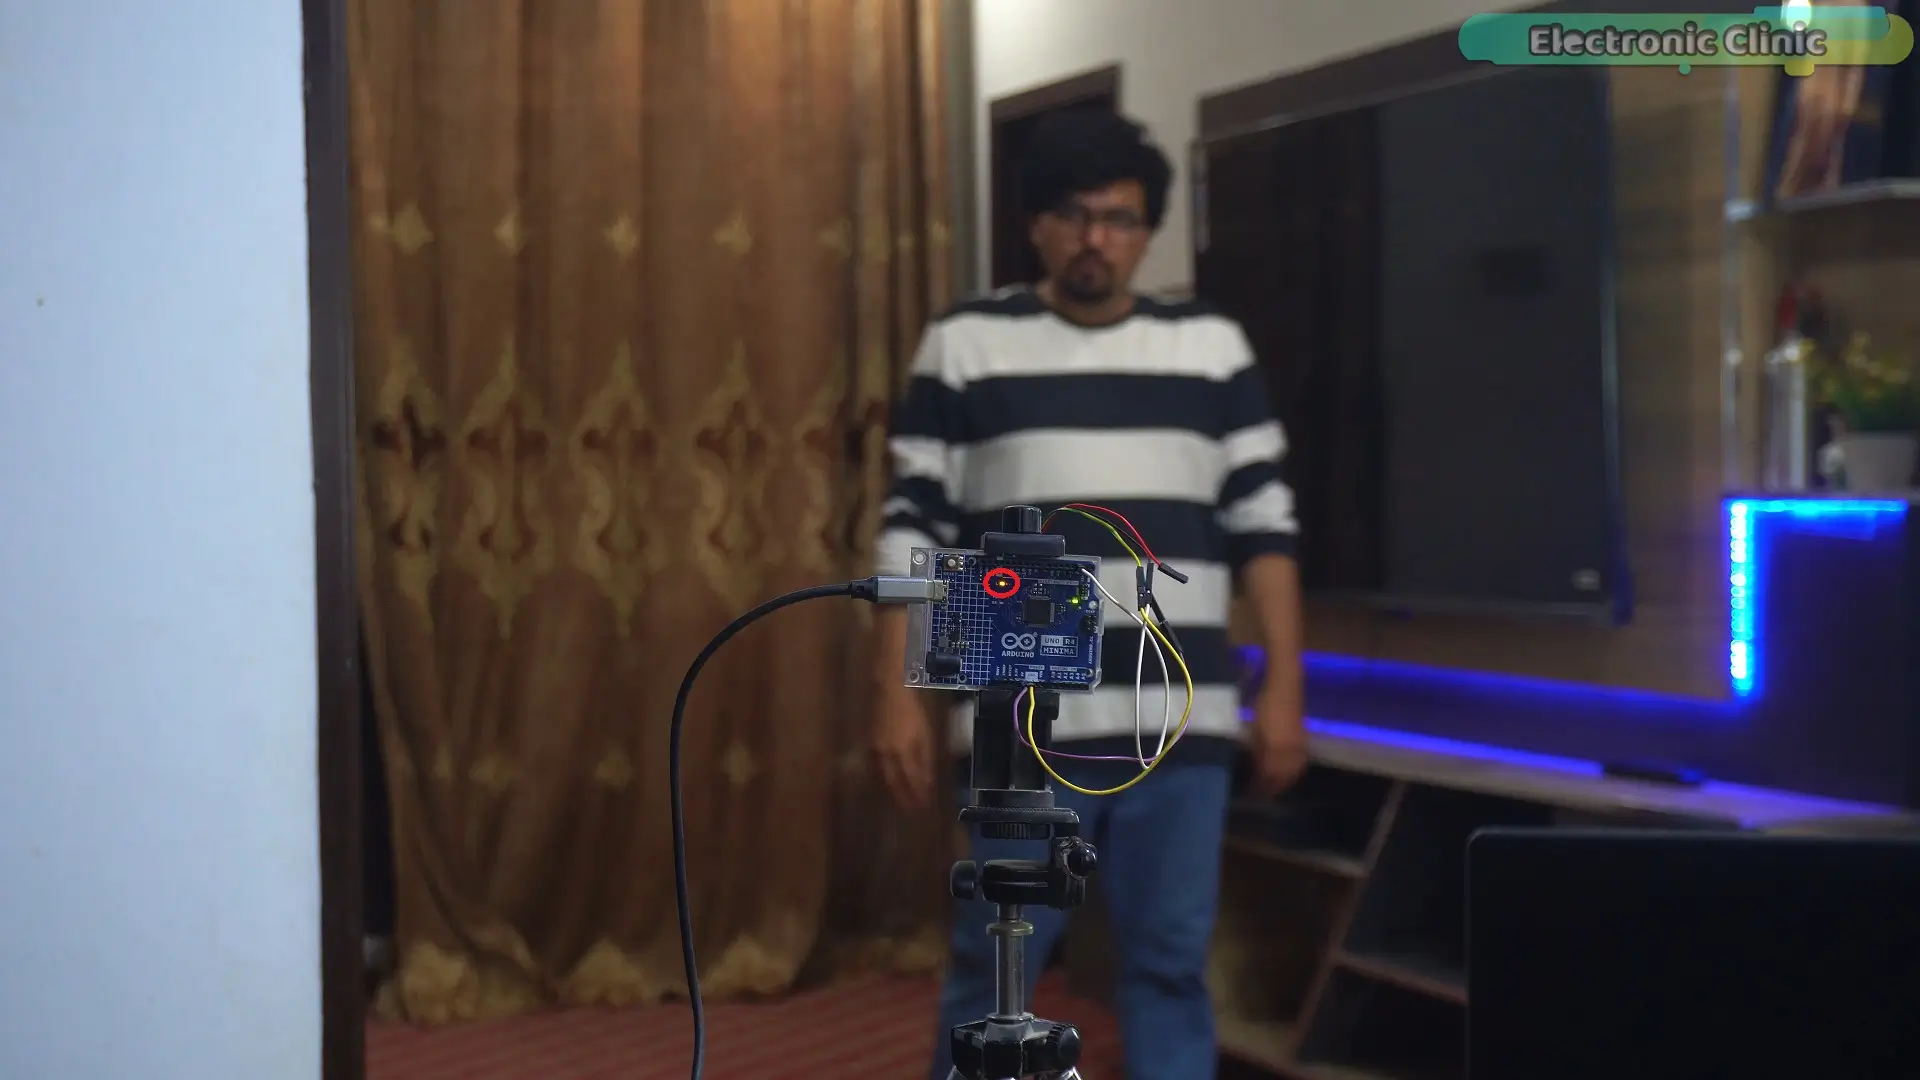
Boom! The LED just turned ON…
That’s perfect…
It means our defined range is working exactly as expected…
Now I’ll step back again…
…and yes… the LED turns OFF…
Super clean… super accurate…
And honestly… this alone is very powerful…
You can use this for corridor lights…
staircase automation…
bathrooms… washrooms…
even study rooms…
The possibilities are endless
Human Detection Standing Still
Now… this second test… is the most important one…
Because most mmWave sensors fail here.
Let me explain in a simple way…
A normal sensor… like a PIR sensor…
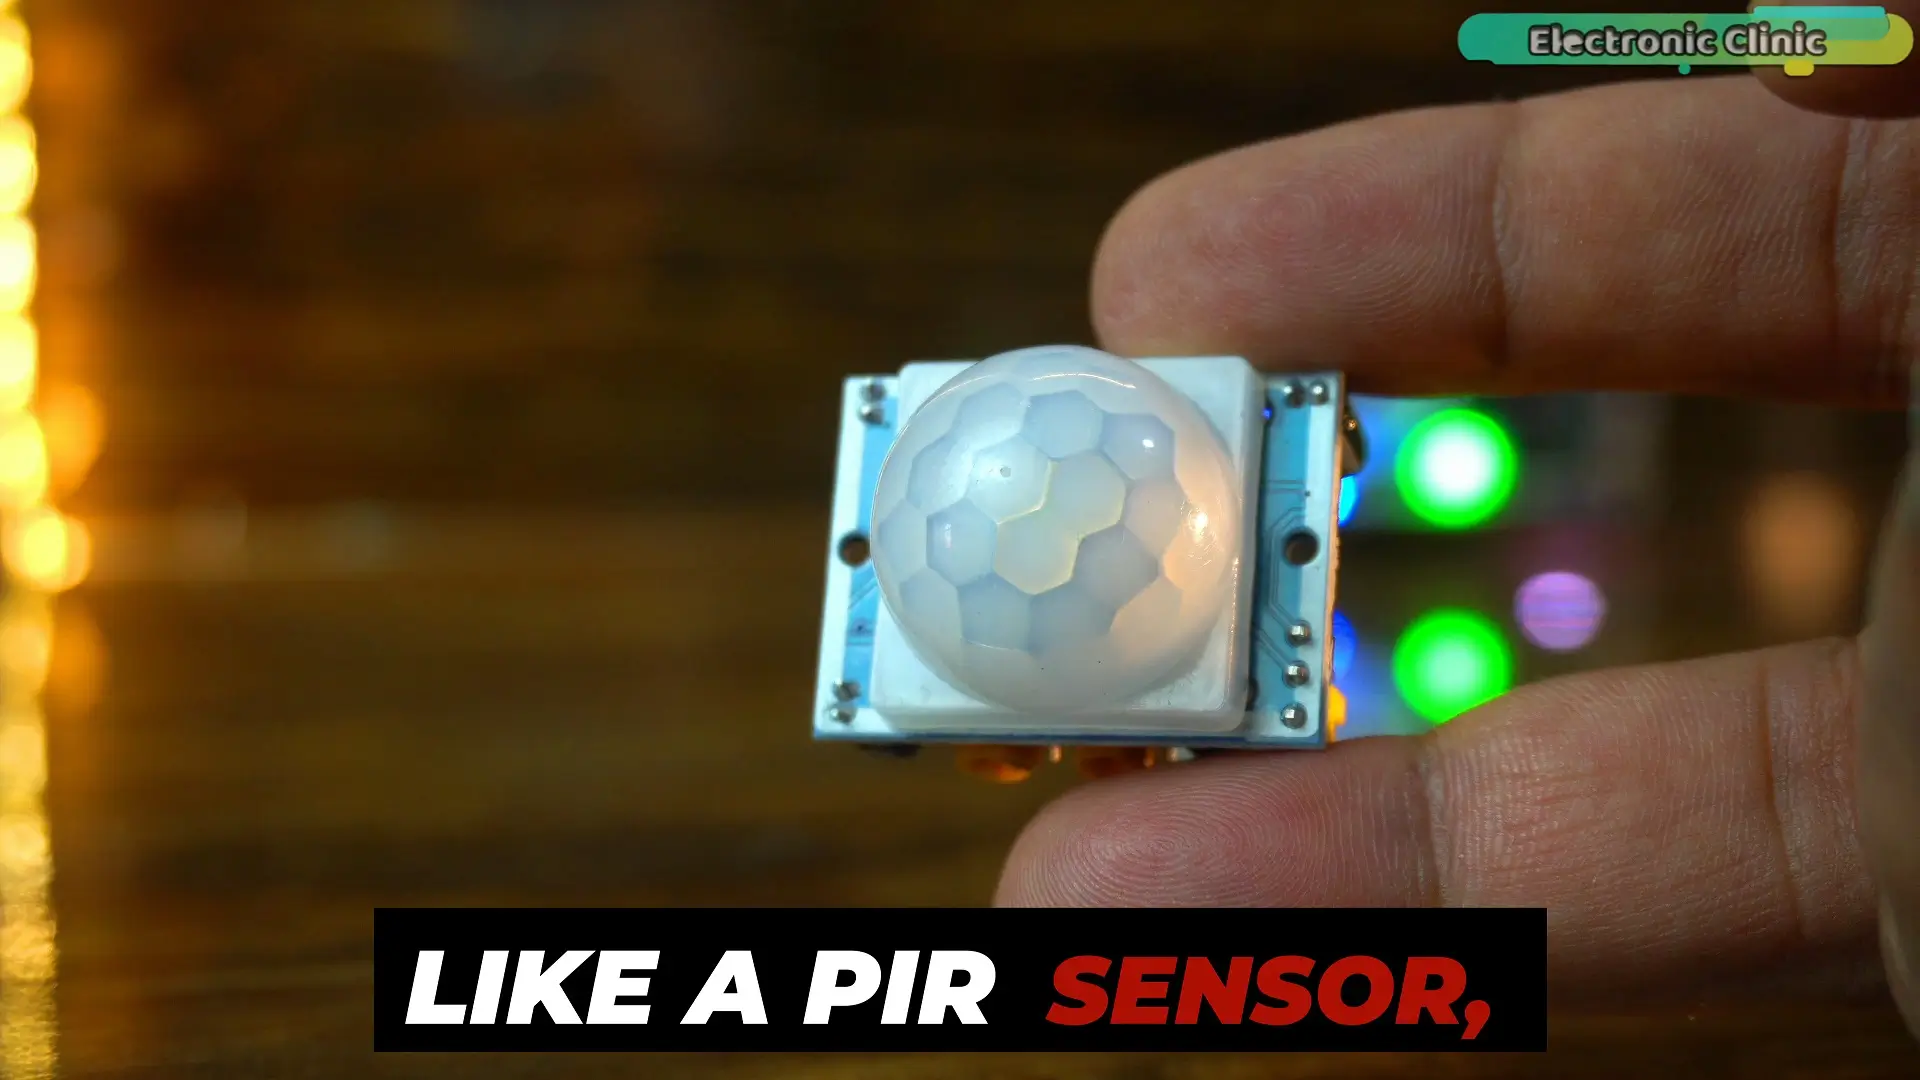
can only detect movement…
So if you move… it detects you…
but the moment you stand still…
it stops detecting.
But a true human presence sensor is different…
It can detect a person… even if the person is not moving at all…Completely still…
So in this test…
I am going to stand still…
and we will see…
does the RD-03D detect me…
Or does it fail?
Now look at this…
I’ve been standing completely still…
for quite some time…
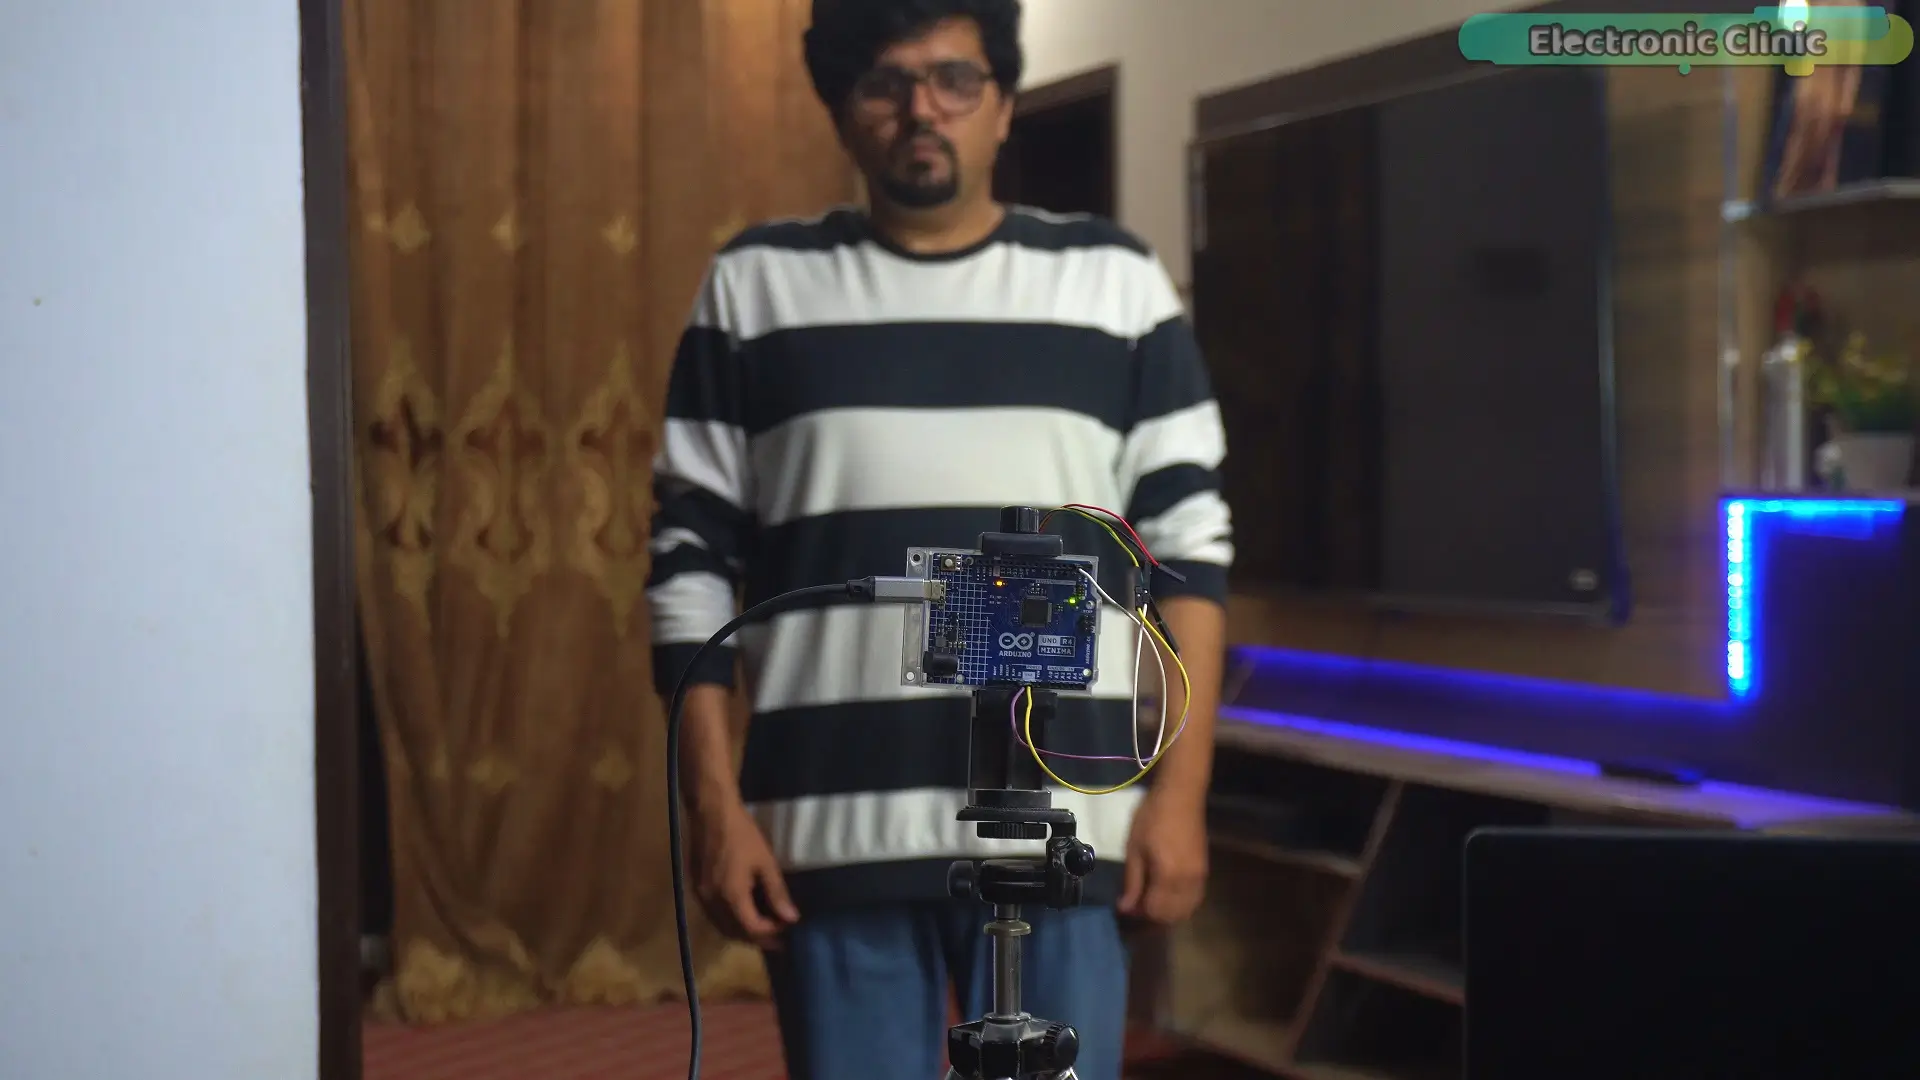
And the LED didn’t turn OFF…
not even once…
That’s impressive…
And the best part is…
I didn’t even add any timers in the code…
Still… it’s holding the detection perfectly…
This clearly shows…this is a true human presence detection sensor…
It doesn’t just rely on movement…it can sense you… even when you’re not moving at all…
And this is where it becomes really useful…
Imagine… you’re sitting on a chair…working… studying… or just relaxing…
You’re not moving much…
A normal sensor would fail here…but this one… keeps detecting you… continuously…
And that’s what makes it really powerful
Human Detection Crawling on Floor
Now… this next test…
I have never done this before… with any mmWave sensor.
I am going to crawl on the floor…
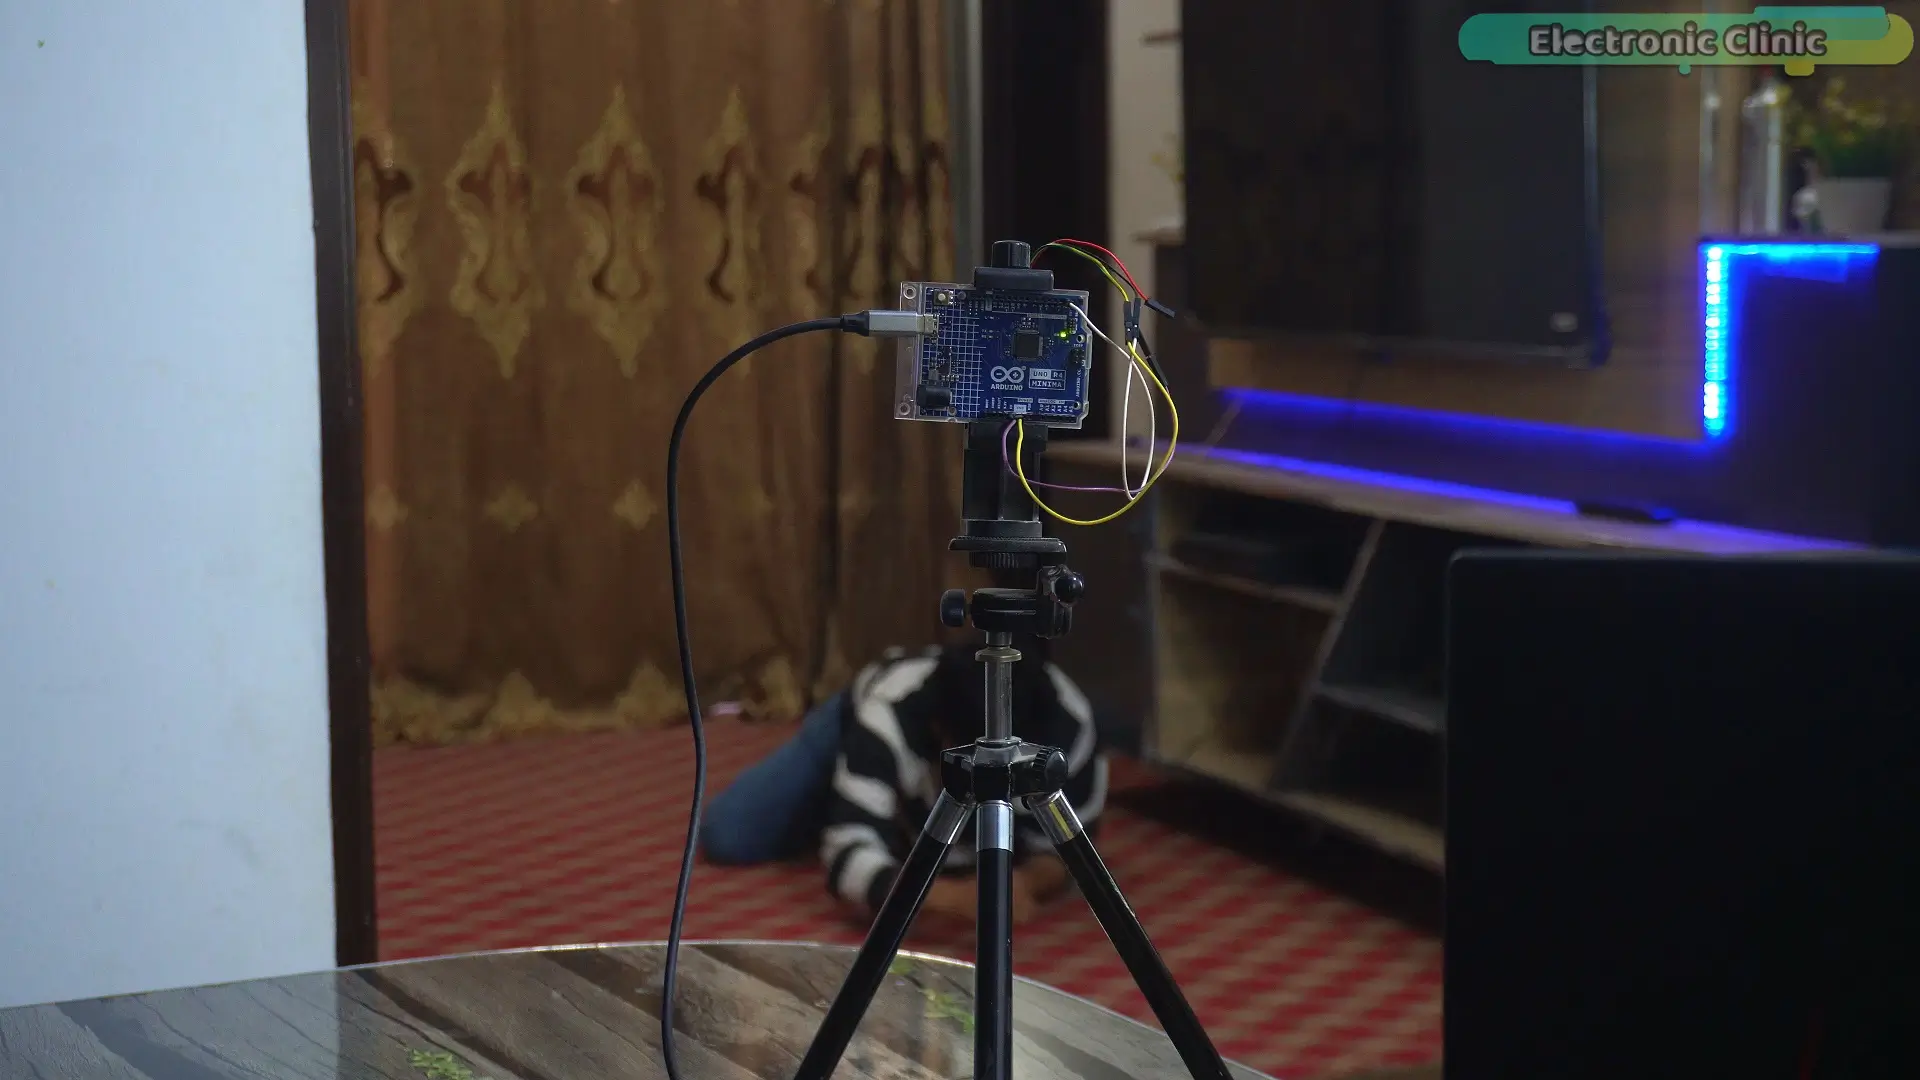
like a soldier…
Now obviously…this sensor is not designed for this kind of scenario…
But that’s exactly what makes this test interesting…
Can it still detect a human…in such an unusual position?
Alright… let’s find out…
…wait… WHAT?!
No way…
It actually detected me…
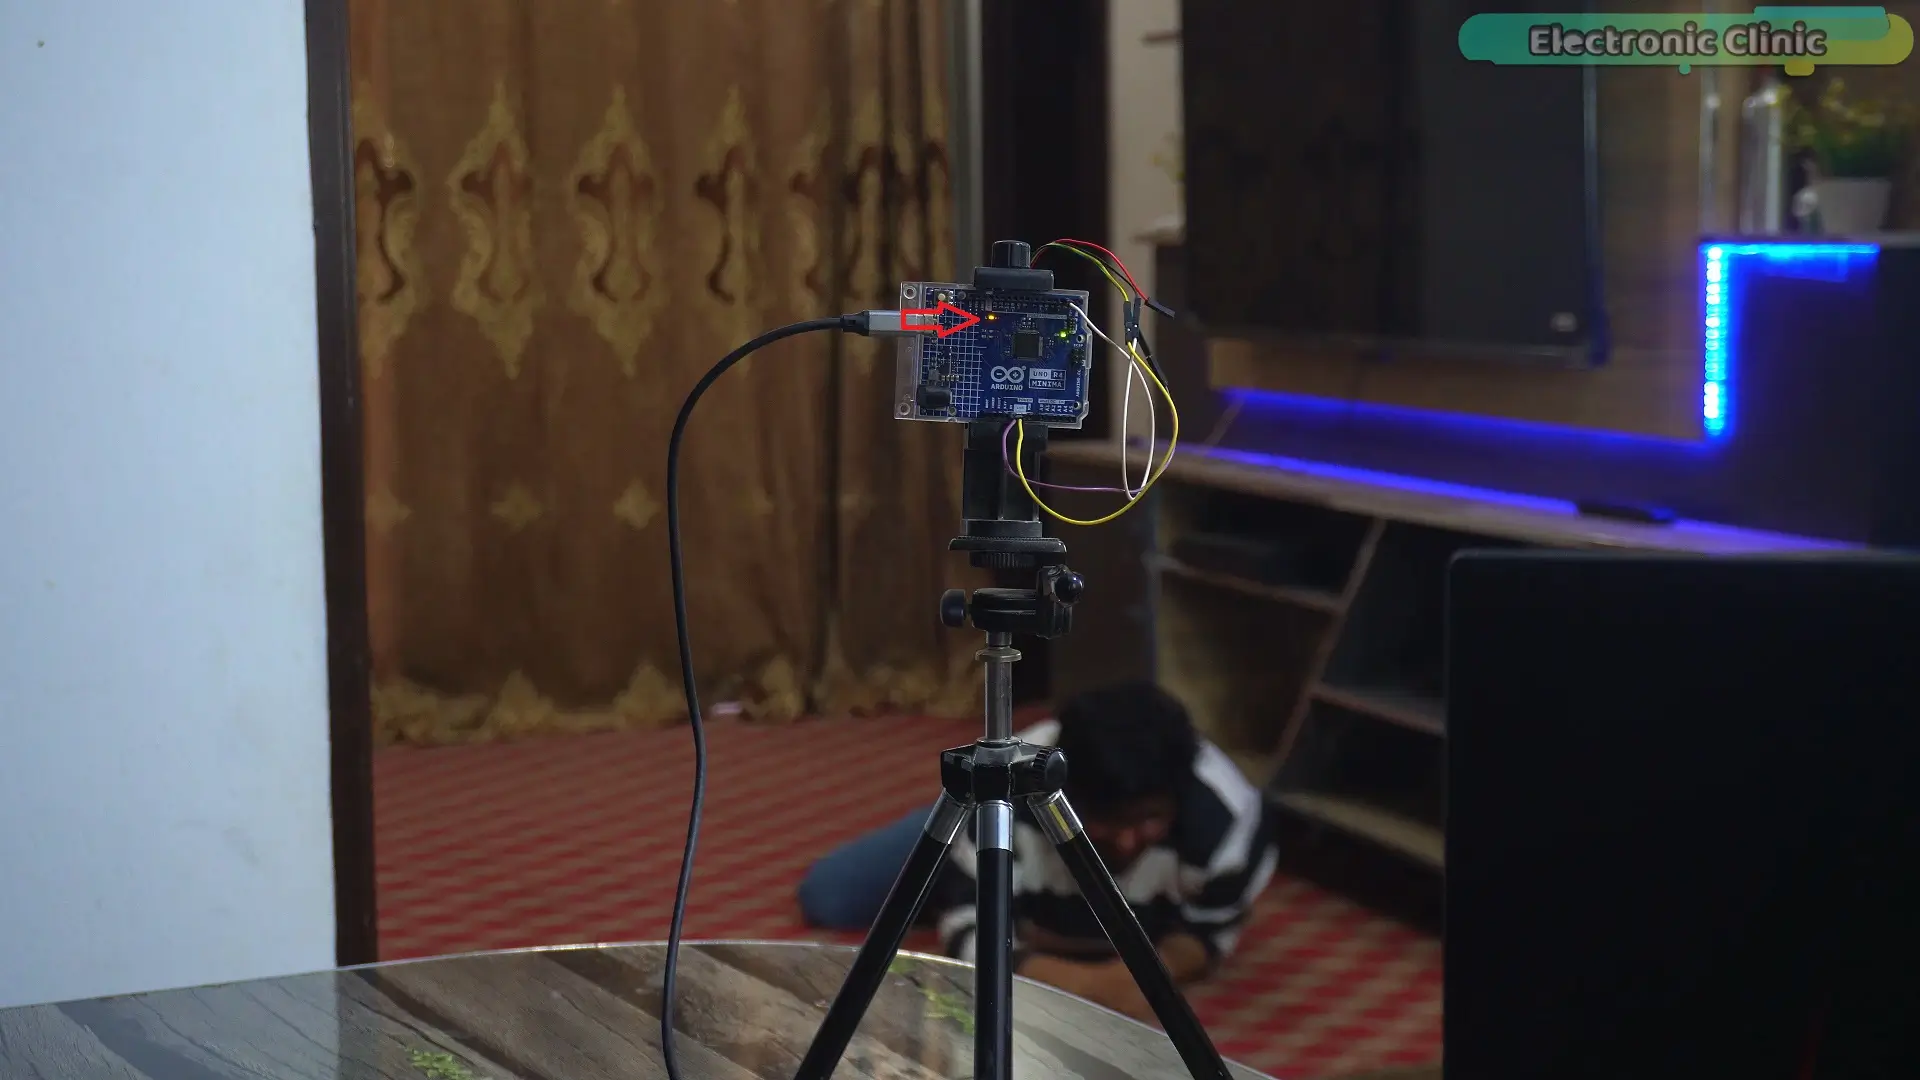
That’s insane…
I genuinely did not expect this…
If it can detect me… while I am crawling on the floor…
Then detecting a person sitting on the floor…
should be super easy…
So… let’s test that too
Human Detection sitting still on the Floor:
Now… I am going to sit on the floor…
I will try my best… to stay completely still…
Let’s see if it can still detect me…
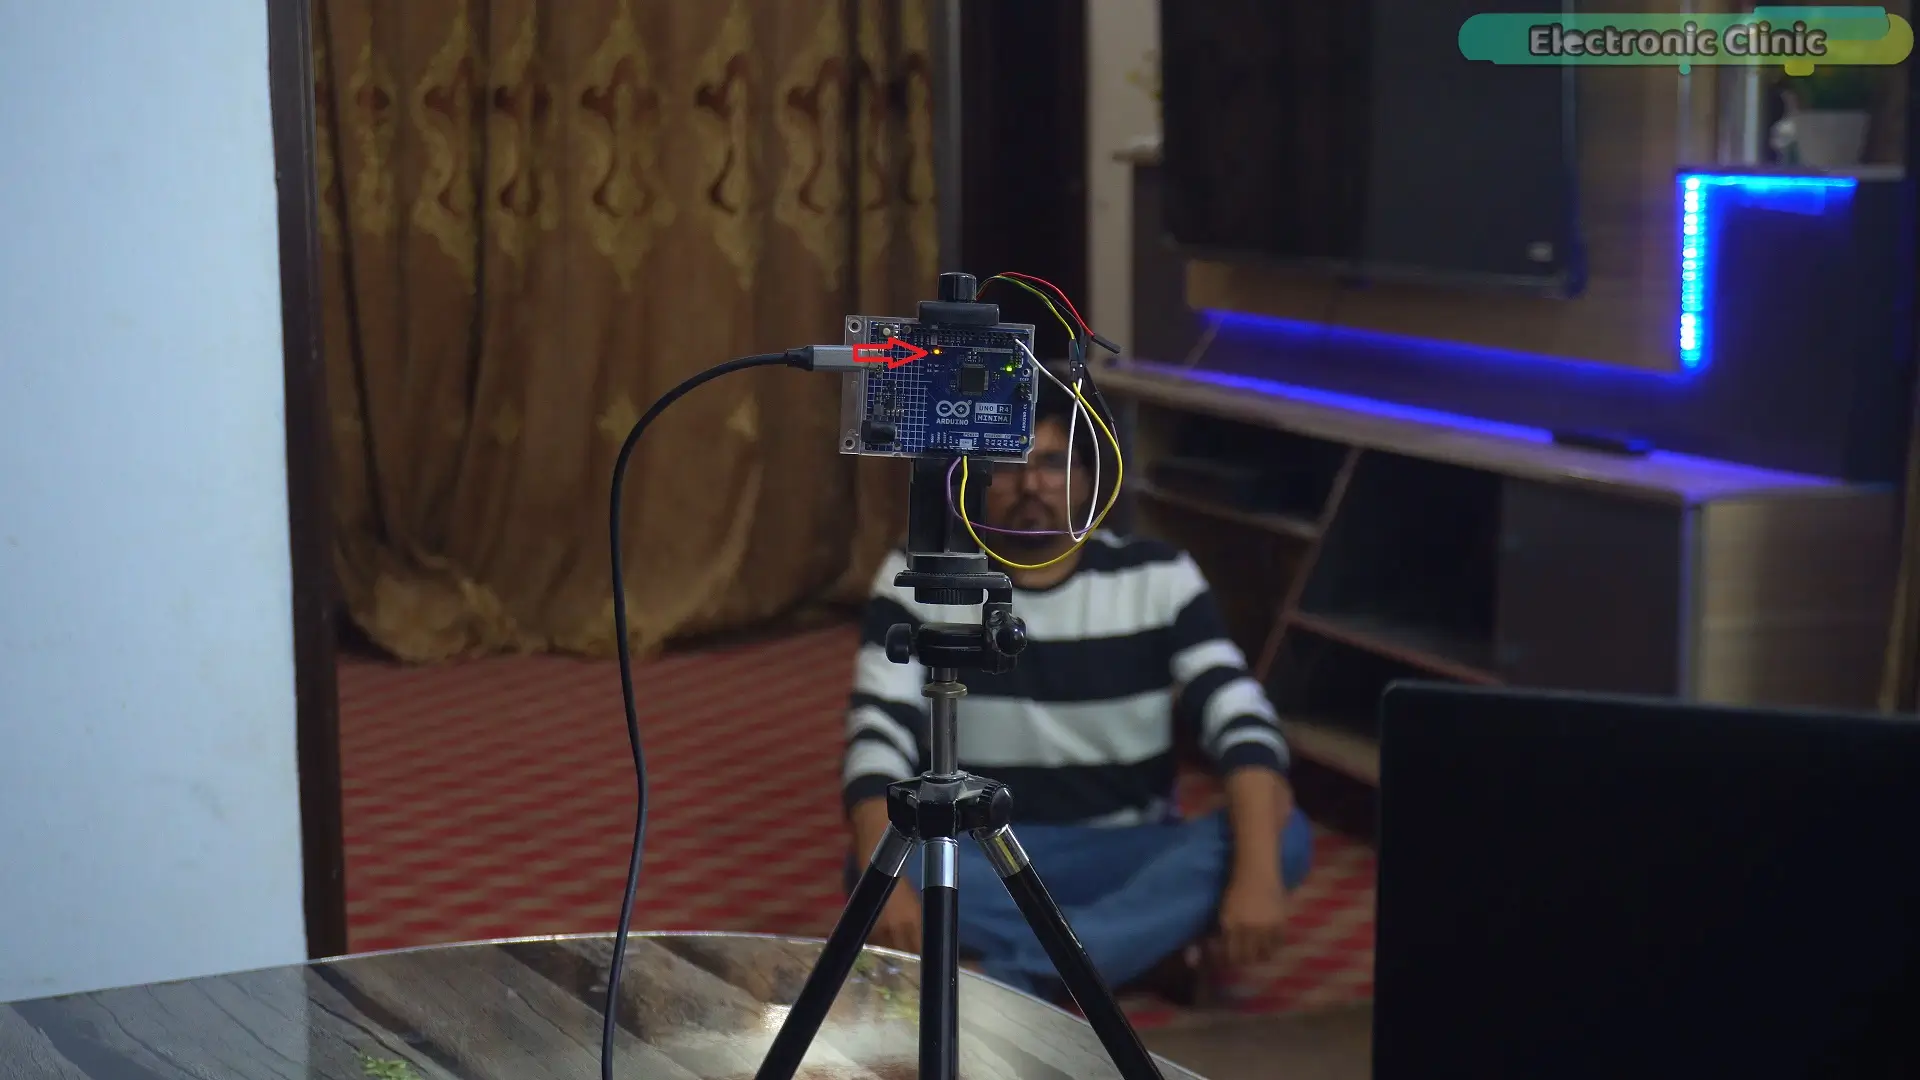
…nice…
The LED didn’t turn OFF… even once…
That’s really impressive
Human Detection behind cardboard…
I’m going to place a cardboard box right in front of the sensor…
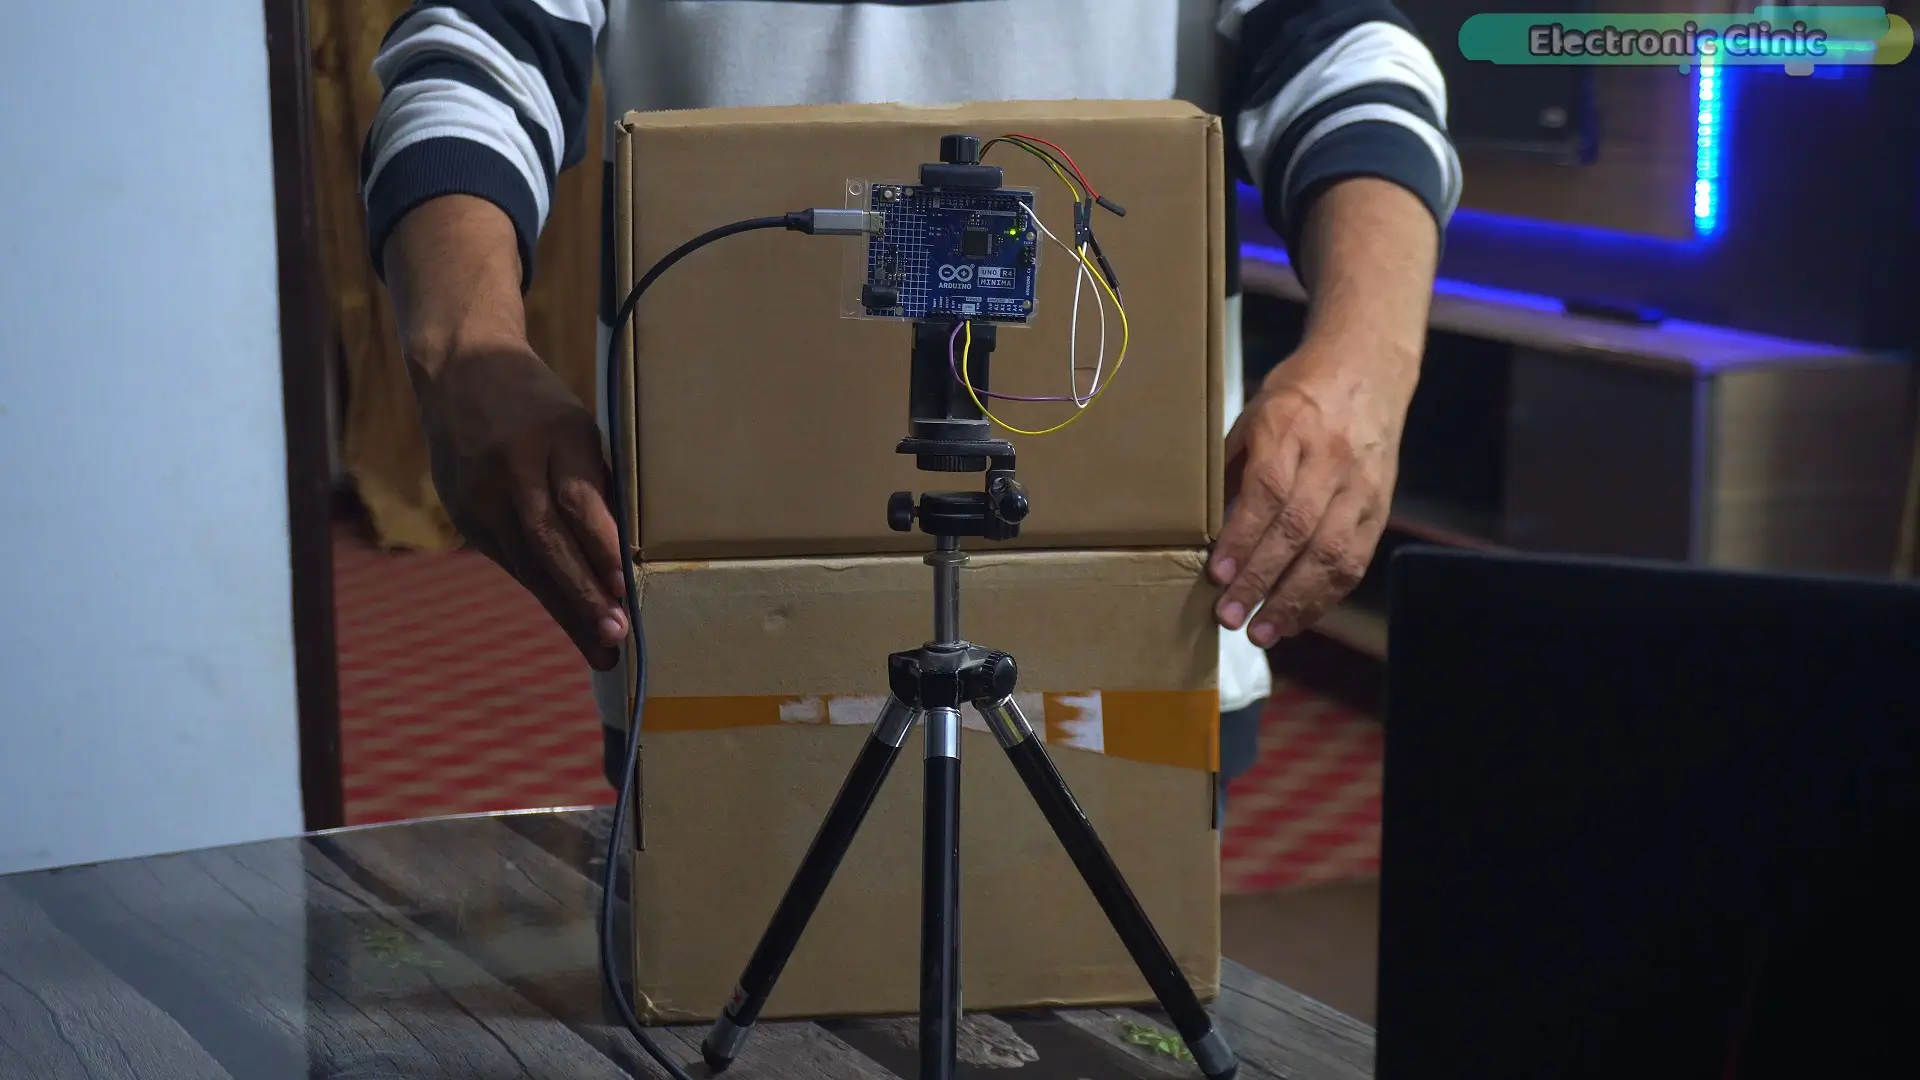
Now this is important…
Because sometimes… you don’t want the sensor to be visible…
You might hide it inside a box…
or use it for an invisible security system…
So the real question is…
can it still detect me…
through the cardboard?
Let’s find out…
Even through the cardboard…
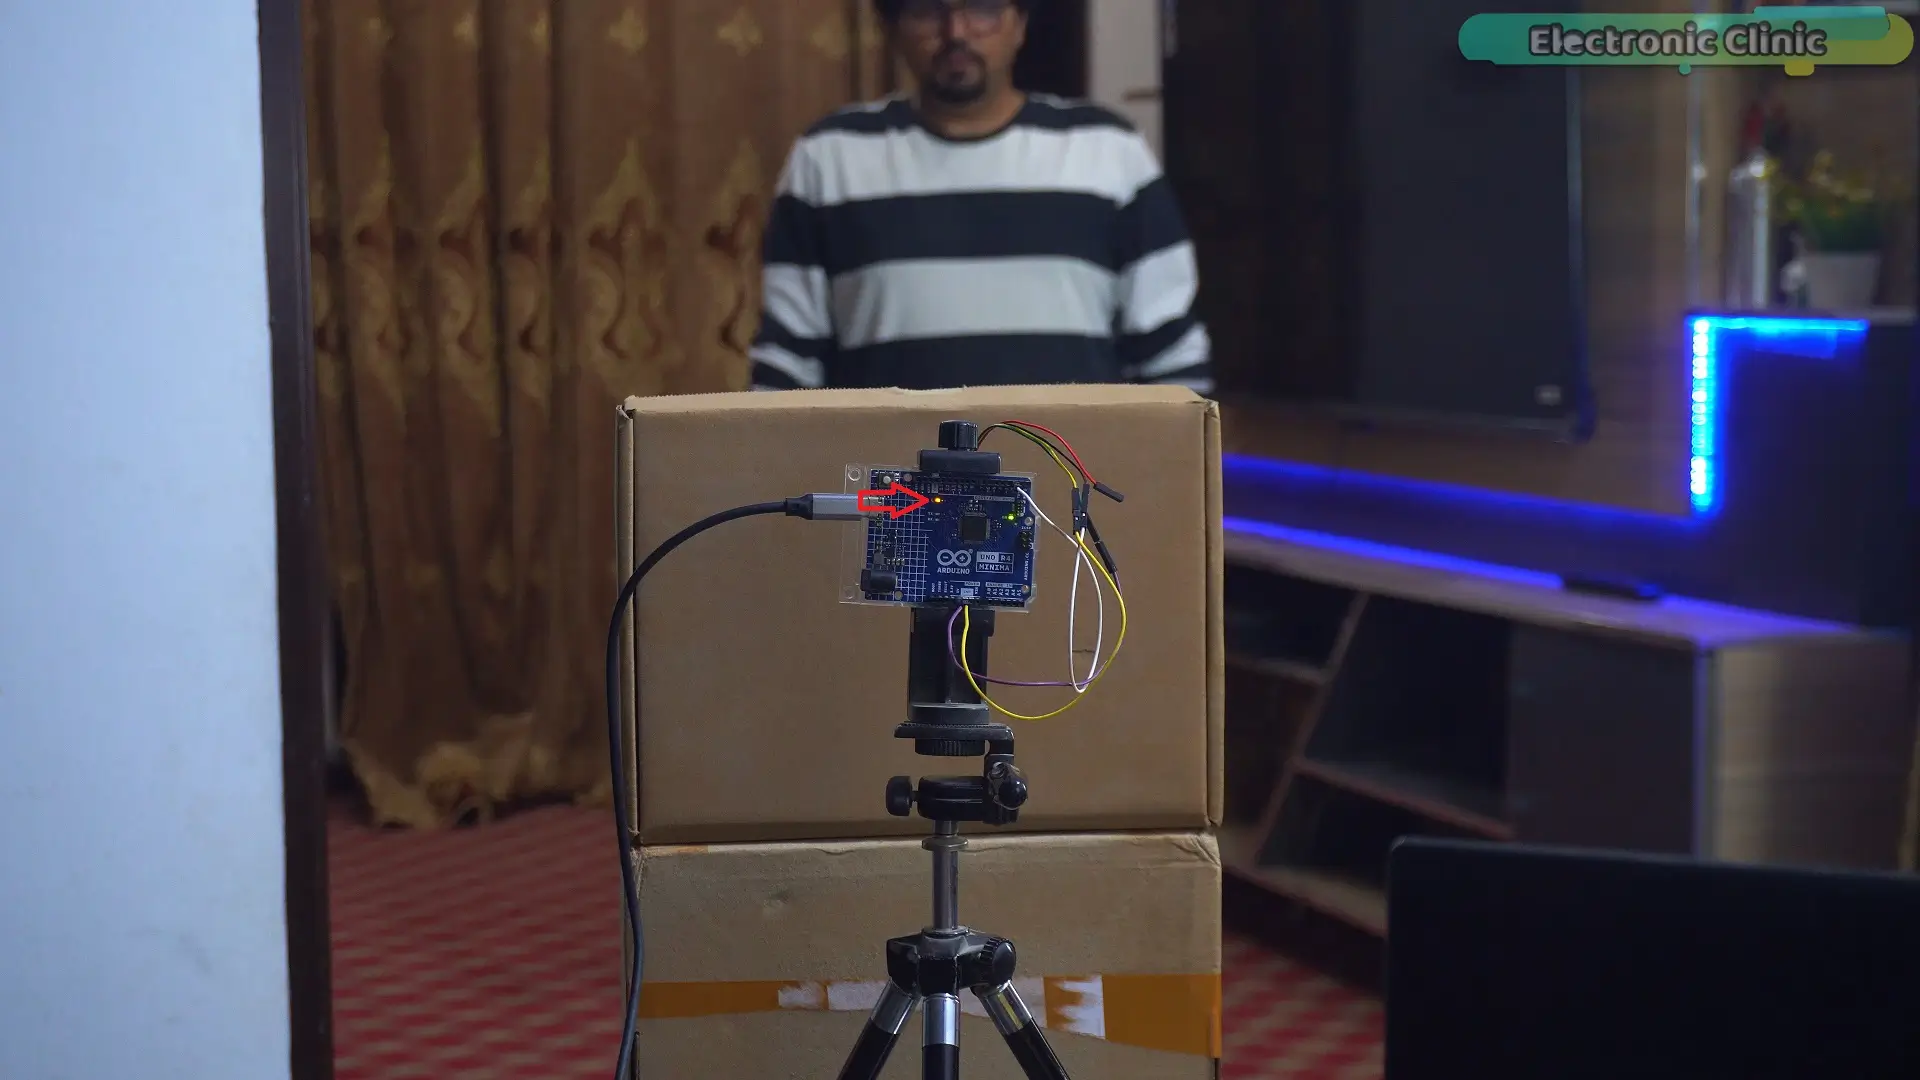
it didn’t miss me at all…
That’s really impressive…
There are so many boxes here…
I can place this sensor inside any one of them…
and monitor the entire area wirelessly…
without anyone even noticing…
Human Detection Behind Plastic…
Next… I am going to test it behind a plastic case…
This is also a very important test…
Because many of you want to use this sensor inside a box…
or an enclosure…
Especially for outdoor projects…
Where you need to protect the sensor…using a waterproof enclosure…
Now as you can see…this plastic case is completely covering the sensor…
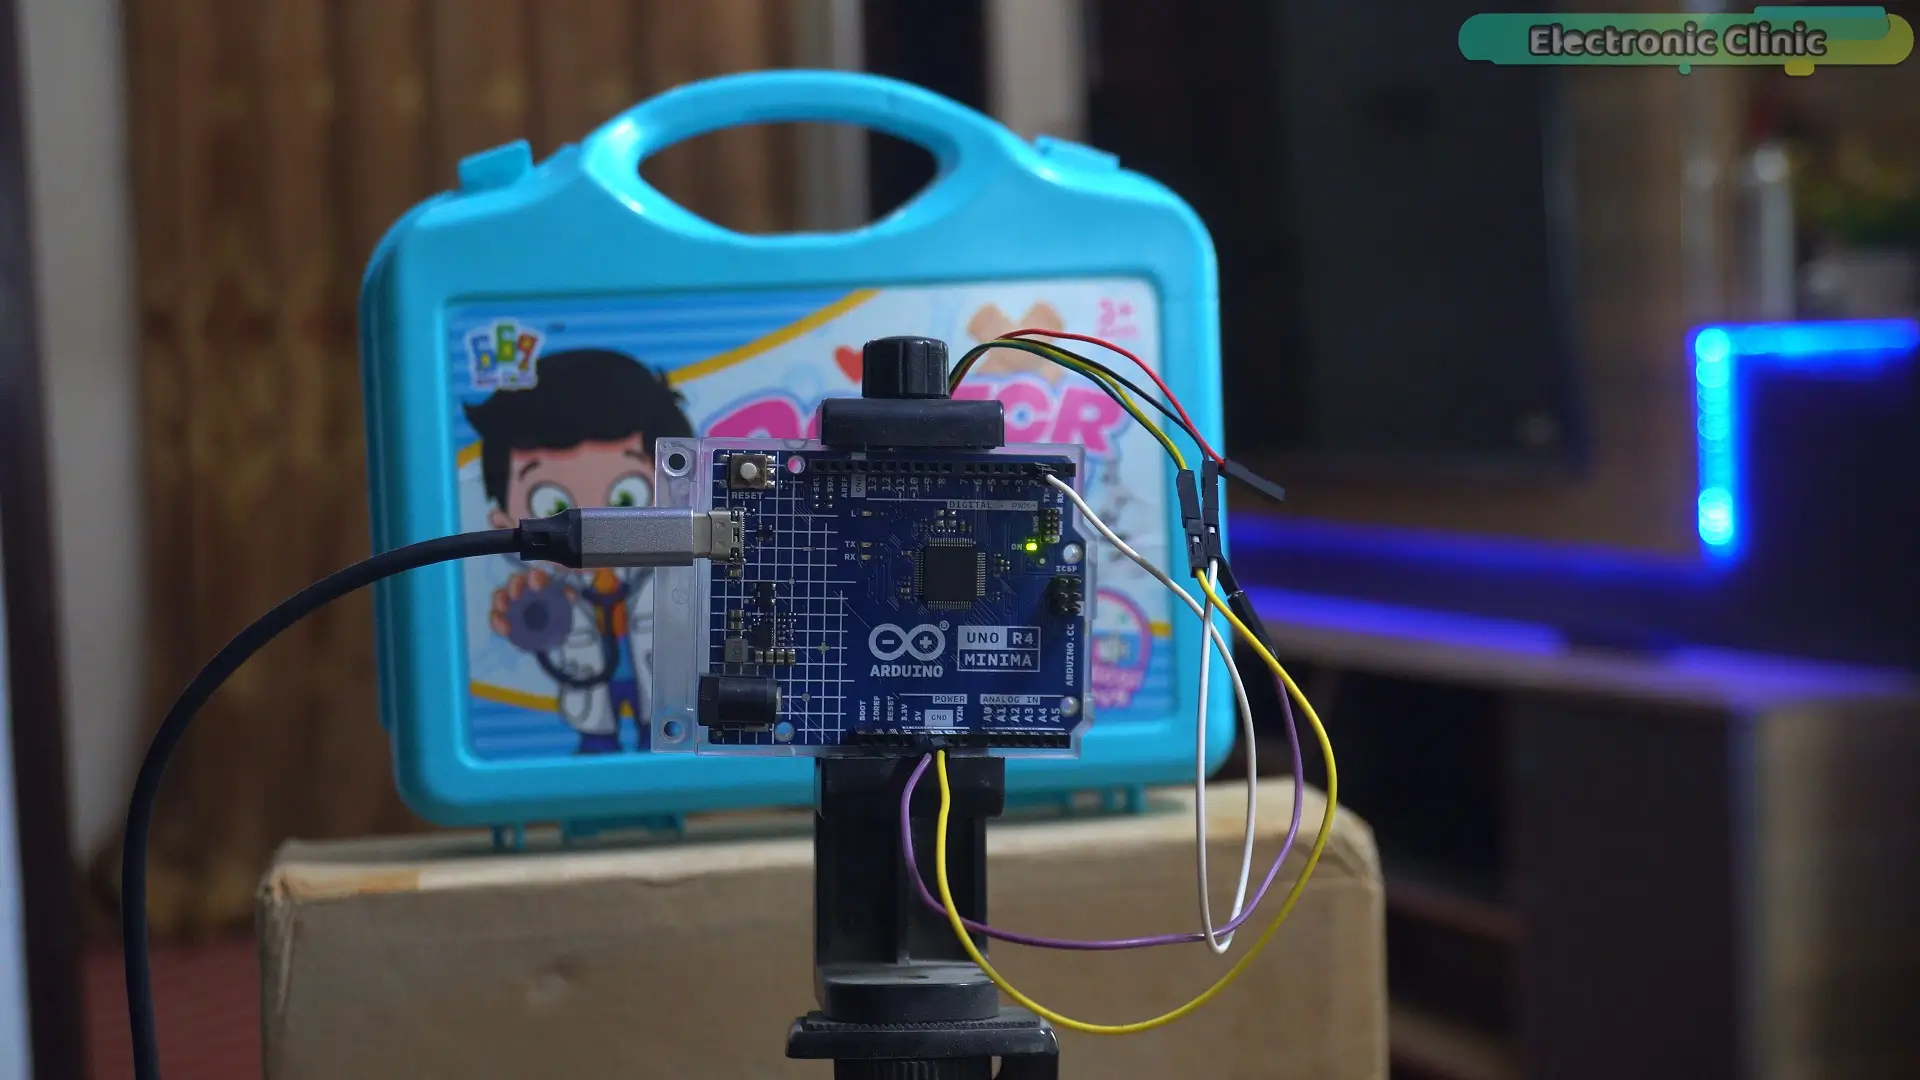
So the real question is…
can it still detect me…through this plastic casing?
Let’s find out…
…wow…
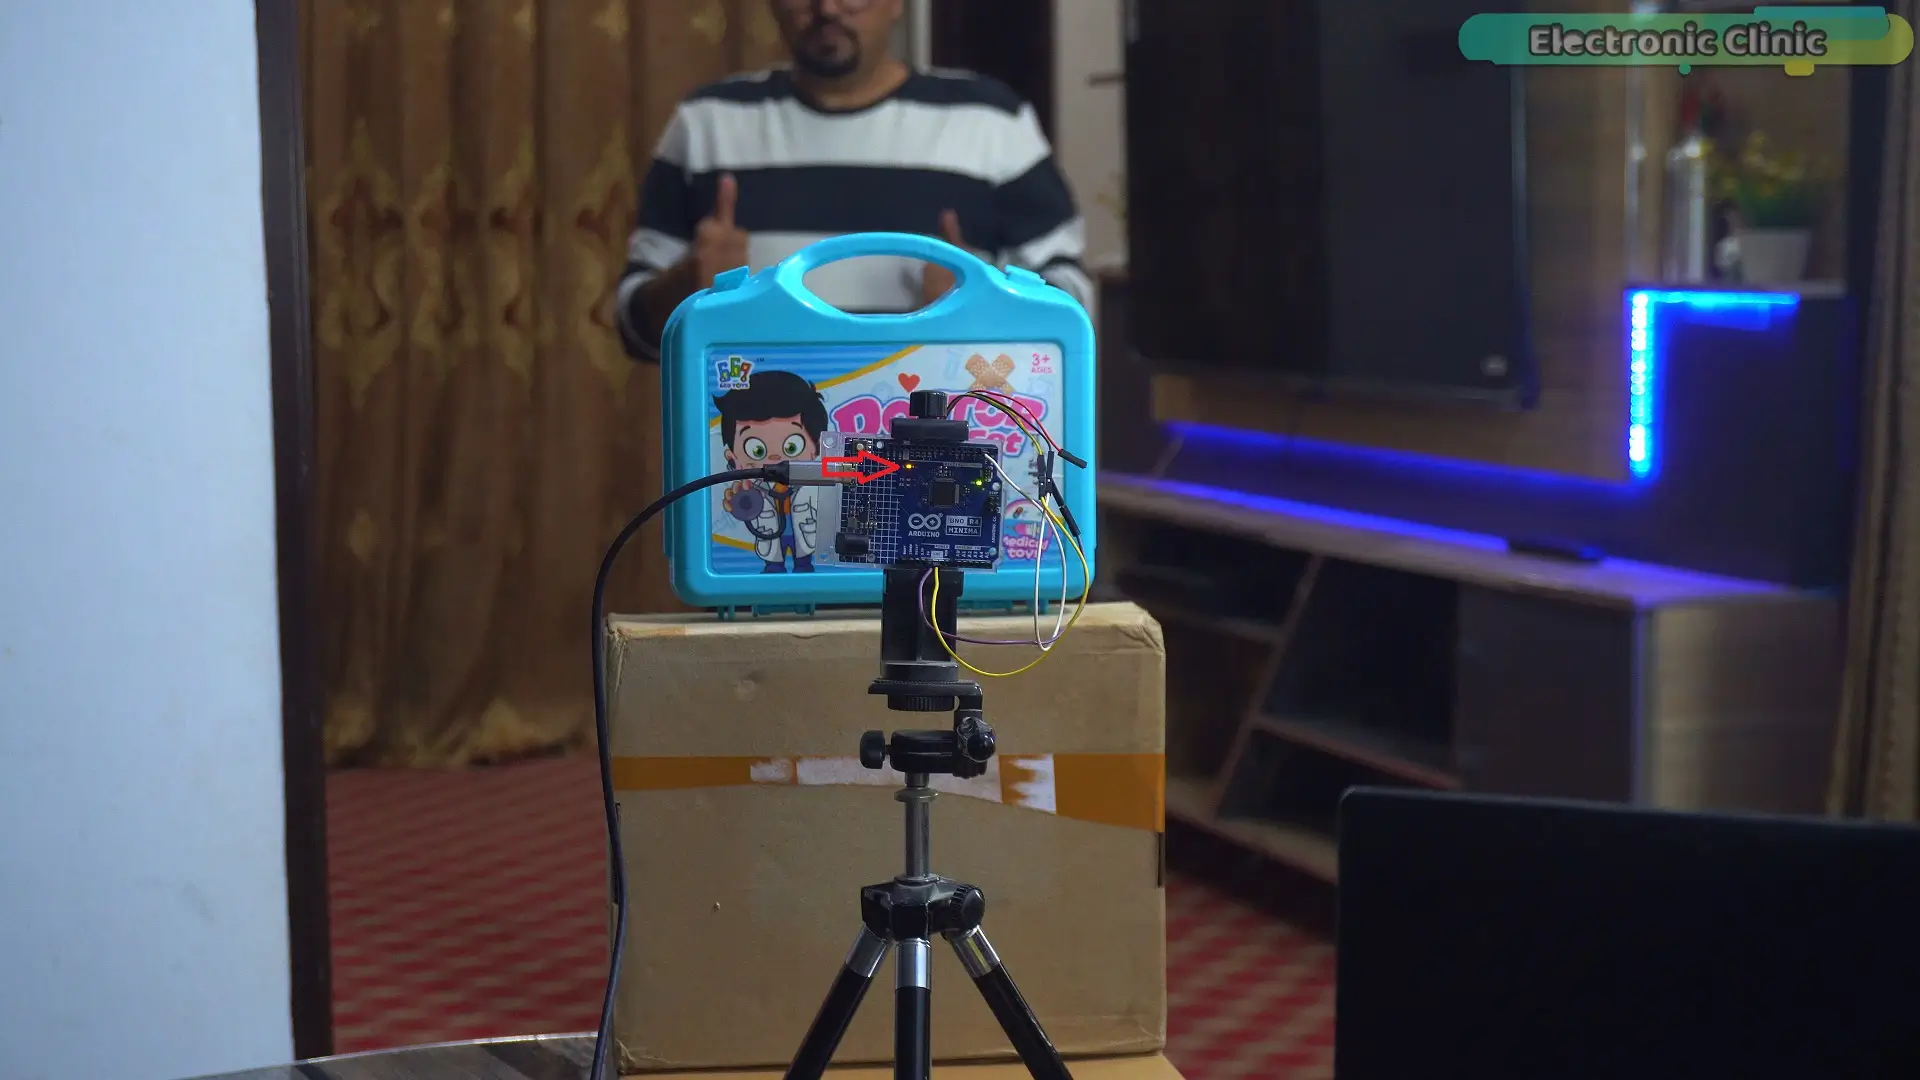
Amazing… it detected me so easily…
Human Detection behind hardboard sheets…
Next… we are going to test it behind a hardboard sheet…This is a very common material…
You will find it everywhere…in shops… offices… and homes…
Tables… cupboards… even media walls…are usually made from this…
So if the RD-03D can detect a human through this…that’s going to be really impressive…
You can use it for automation…or even for security…
Now as you can see…the hardboard sheet is completely blocking the sensor…
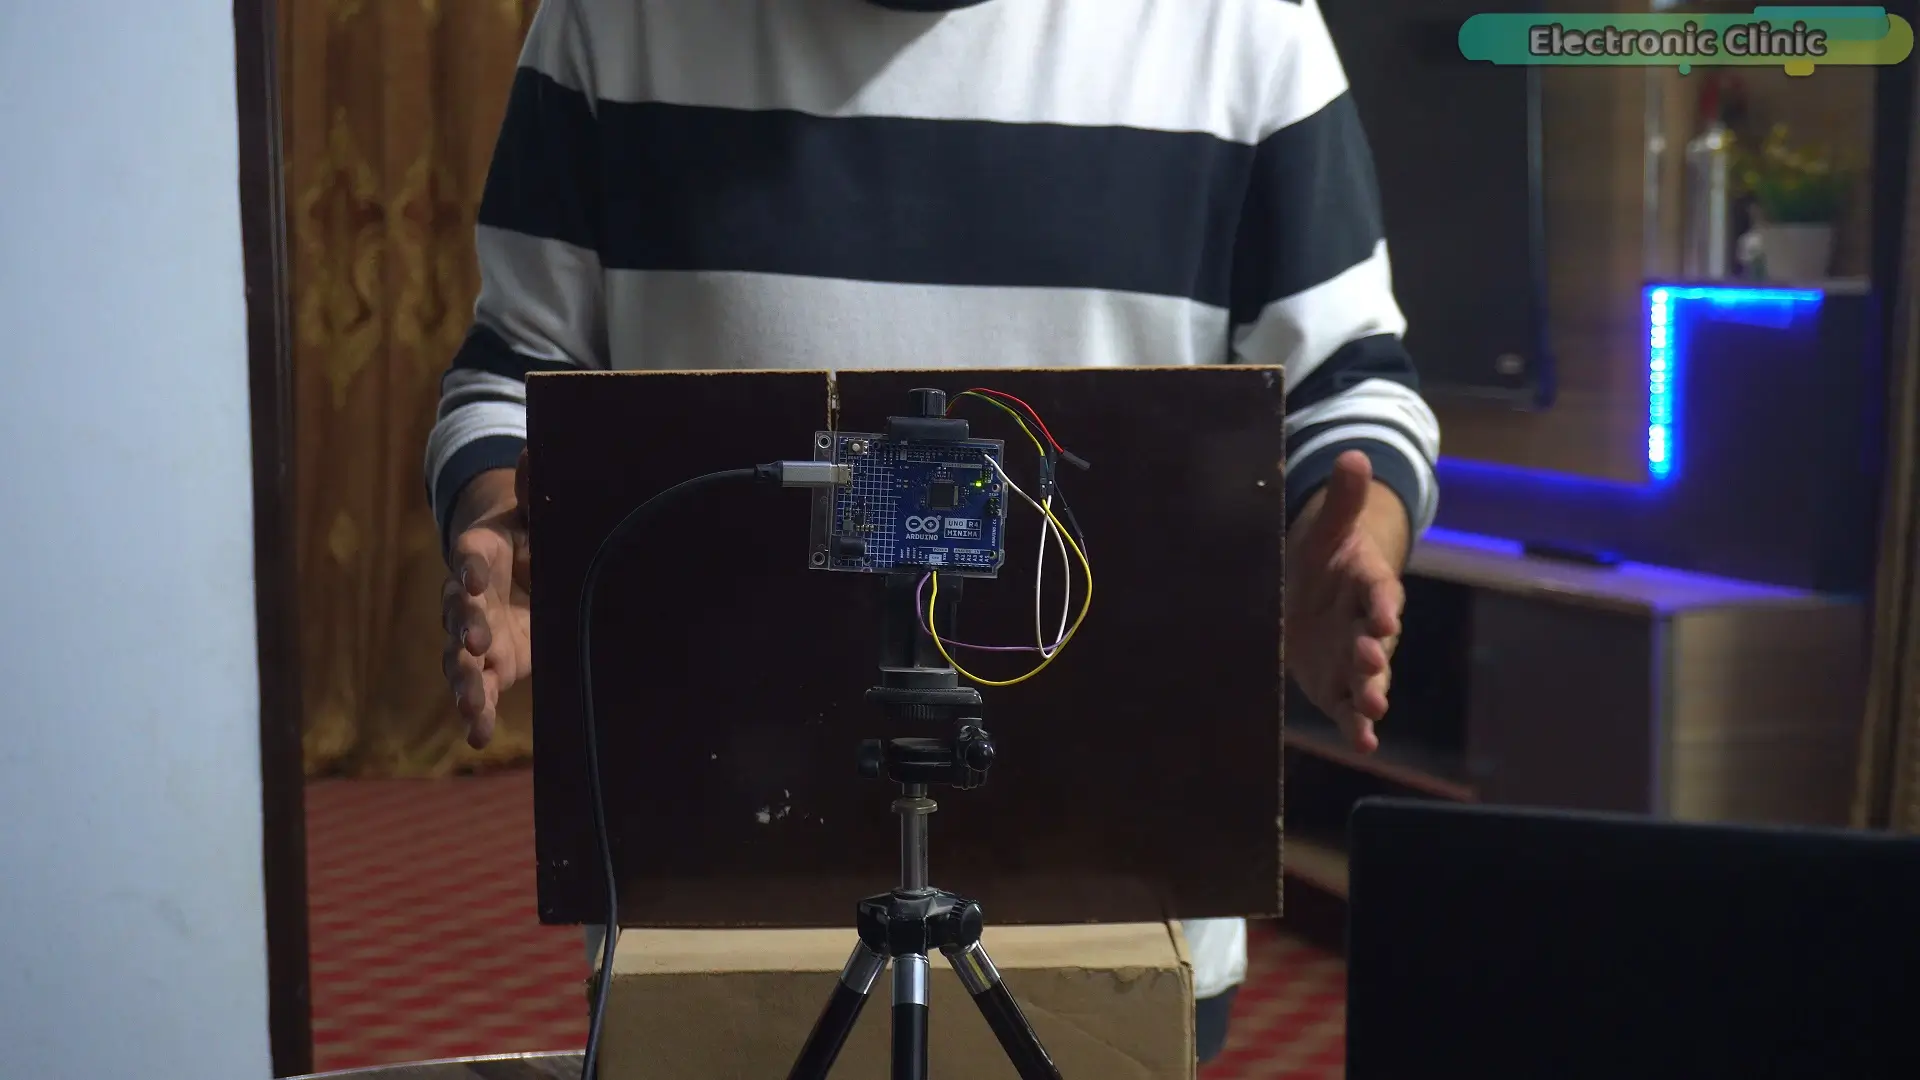
I am going to step into the detection area…
Let’s see if the LED turns ON…
…wow…
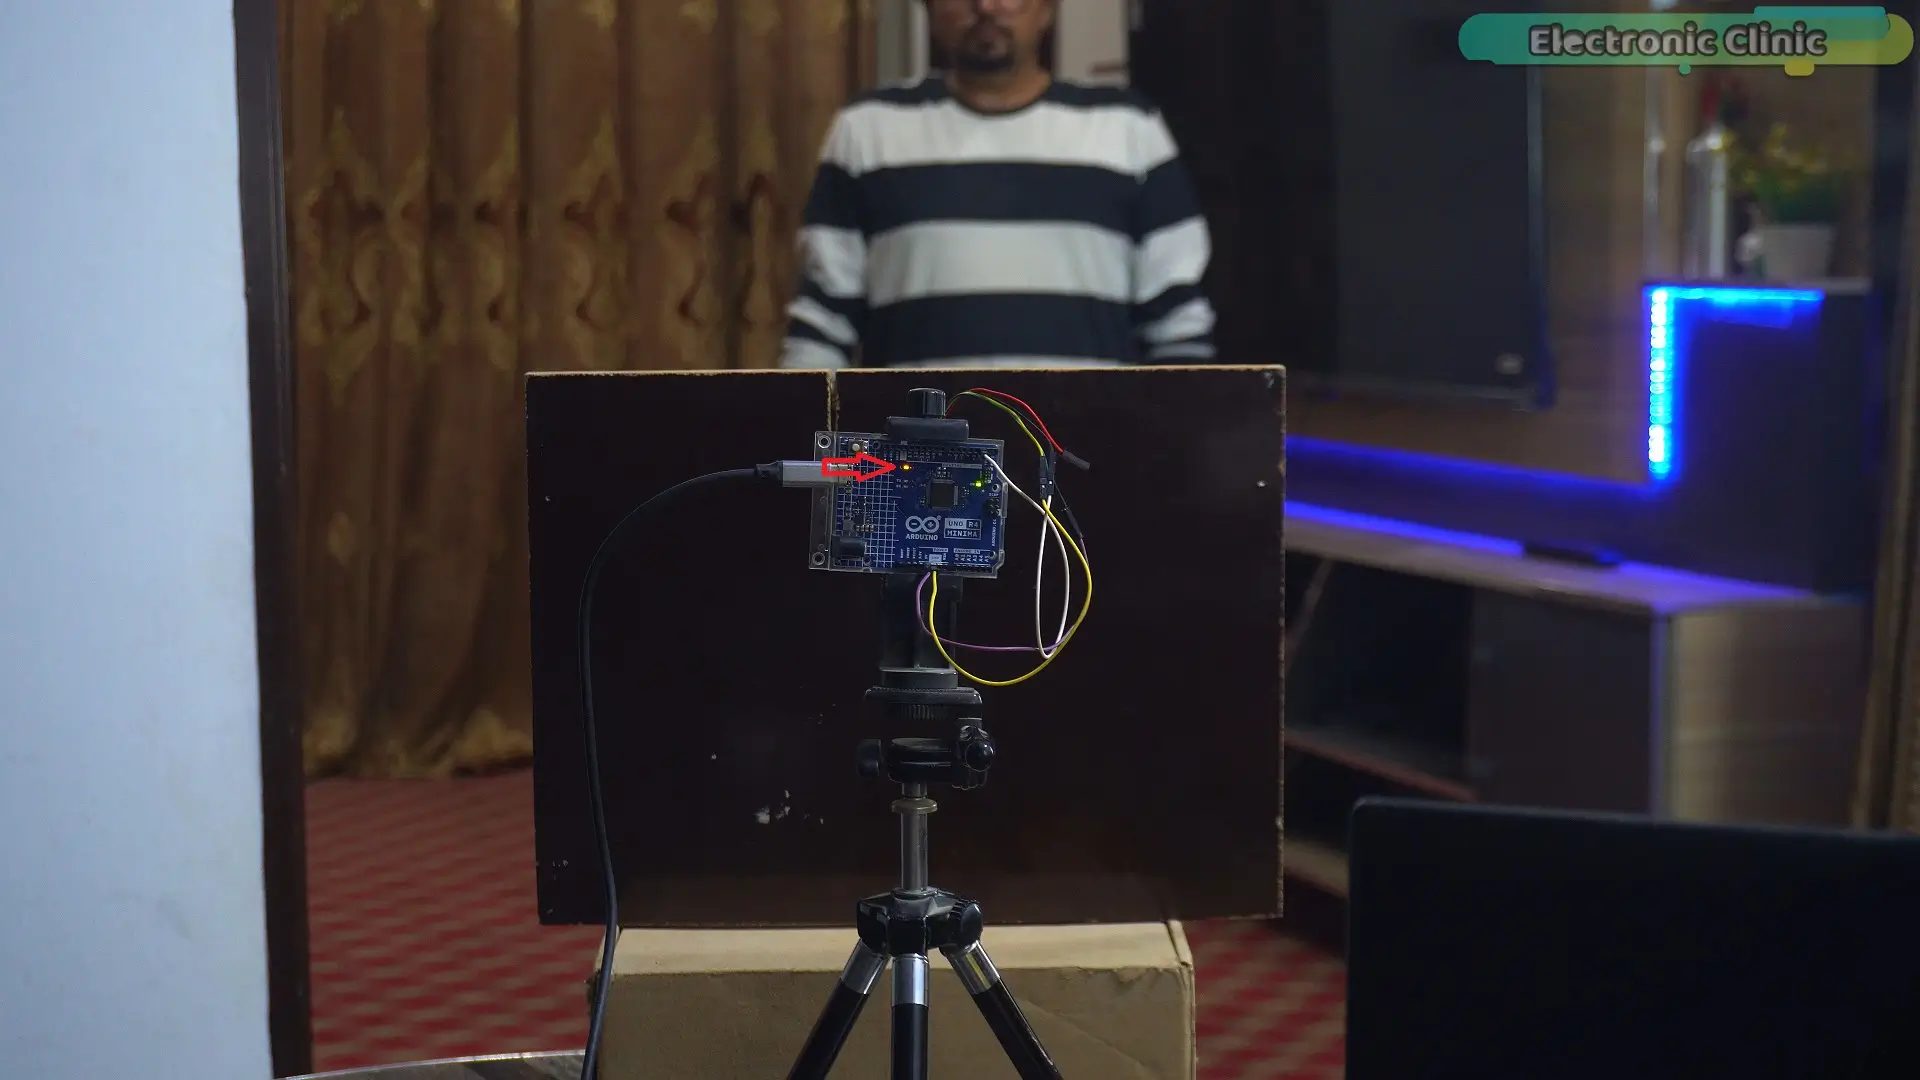
This is absolutely mind-blowing…
Even the hardboard sheet couldn’t stop it…
It still detected me perfectly
Human Detection through glass…
Next… we are going to test it behind glass…
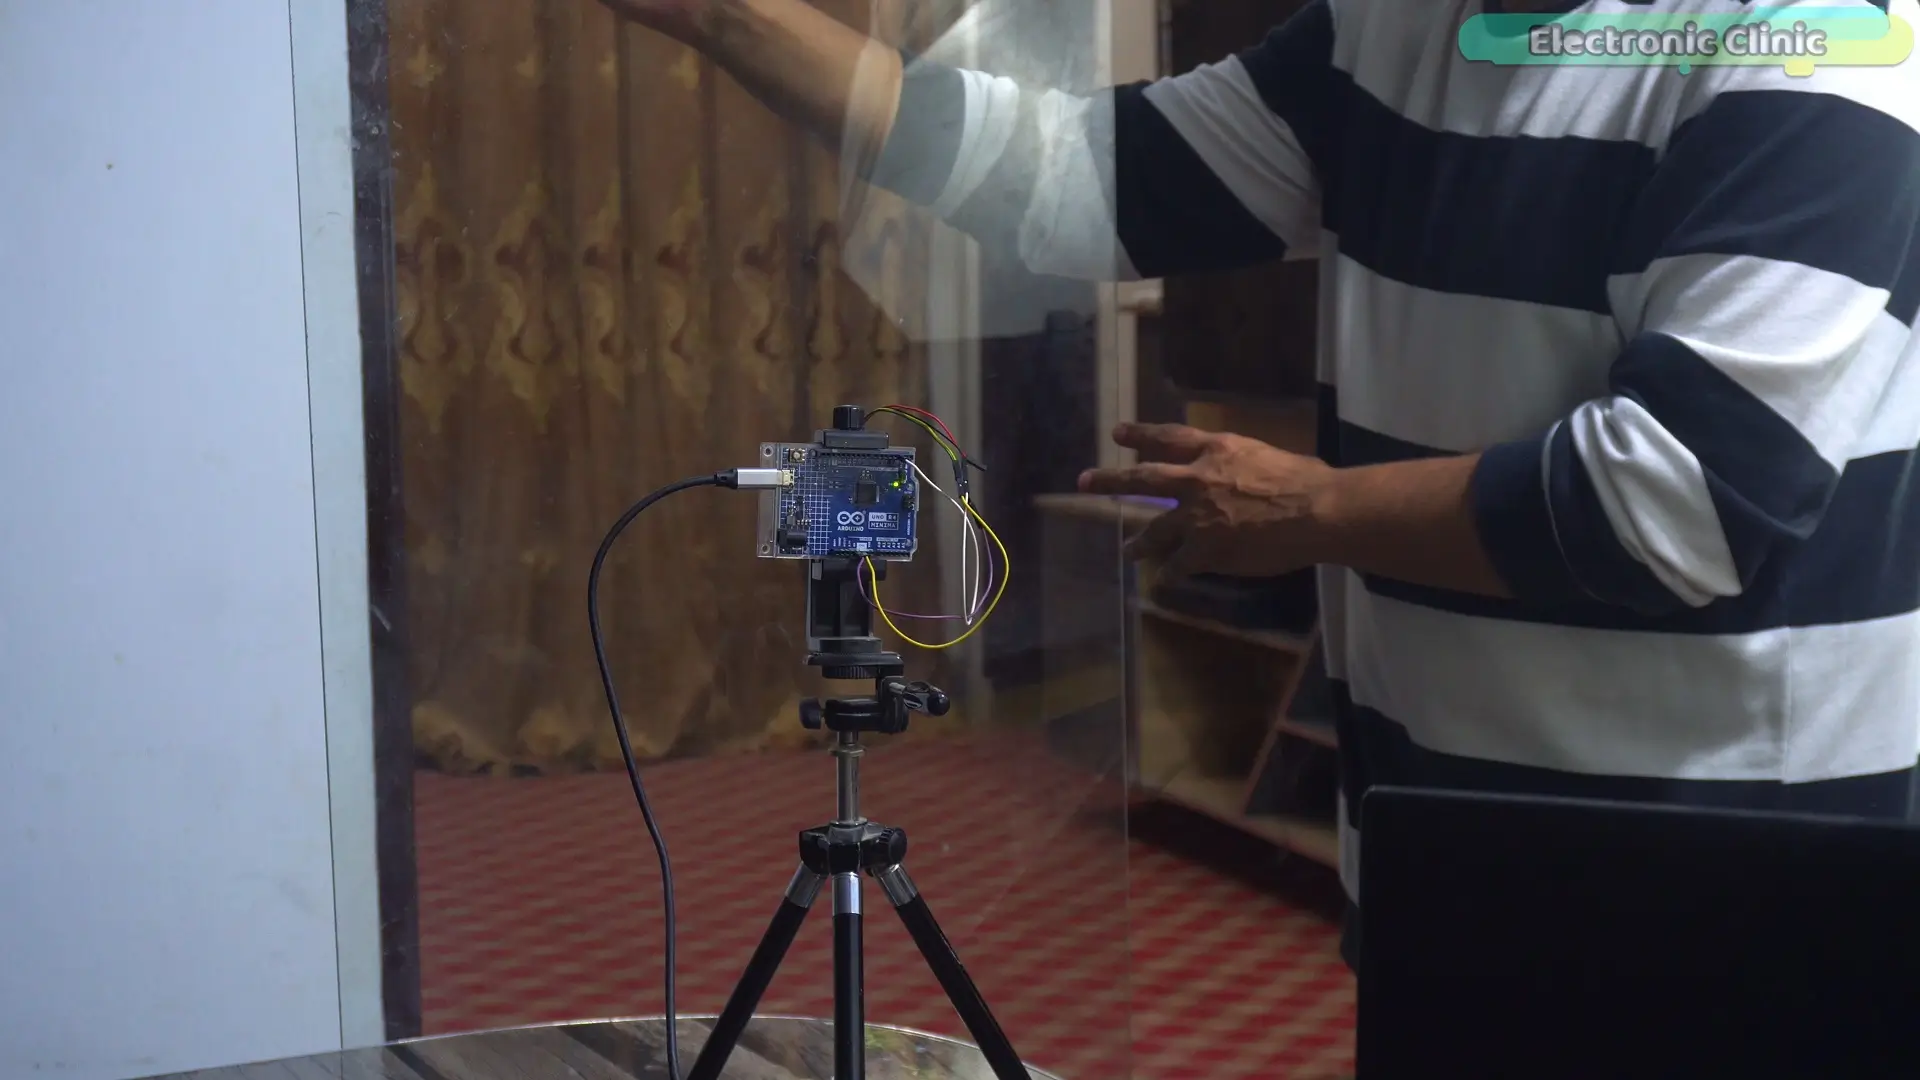
This test is very important…especially for business owners…
Like jewelry shops…
watch stores…
or any place where expensive items are displayed…
Usually… these items are kept inside glass display cabinets…
So if you need a sensor…that can monitor human activity… from behind the glass…this becomes really useful for security…
Now let’s find out…can the RD-03D detect me…through the glass?
…wow…
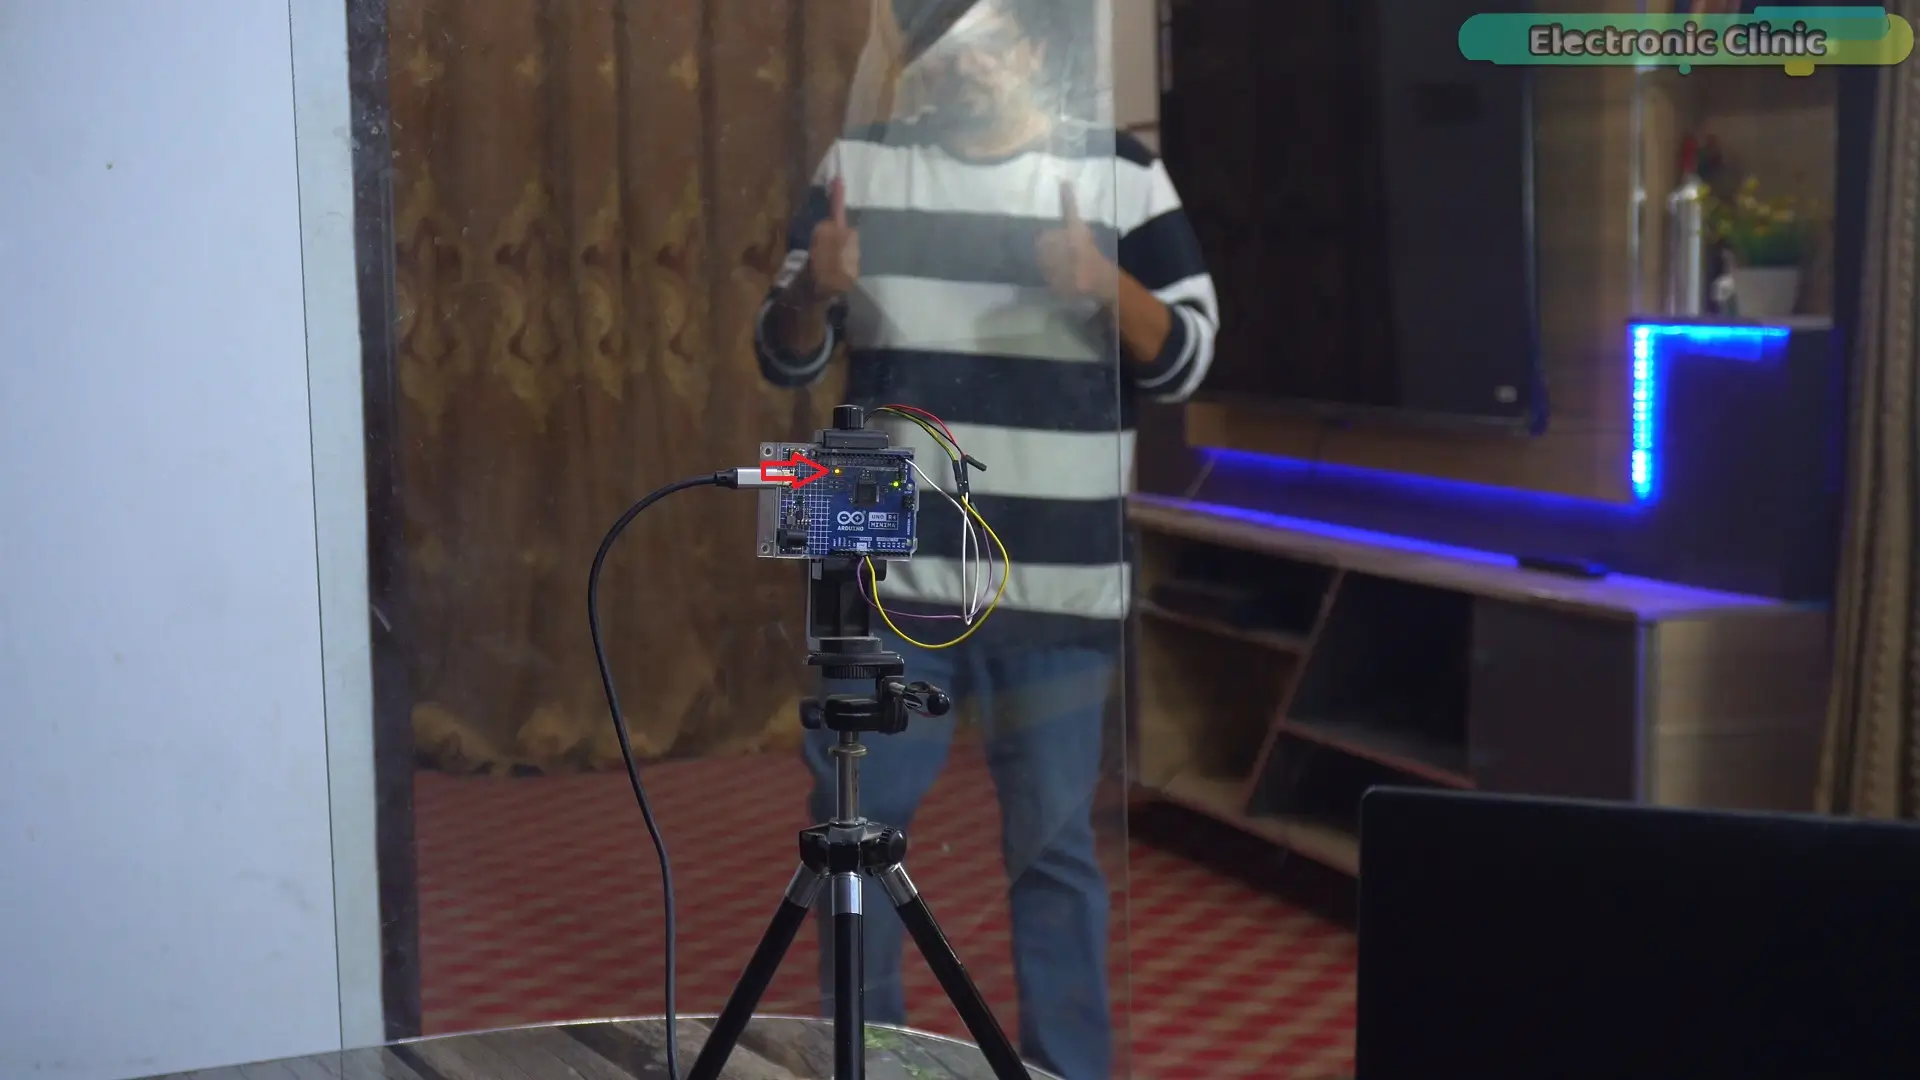
Amazing… it detected me without any issues…That’s really impressive
Human Detection behind Curtains
Next… I’m going to test it behind curtains…
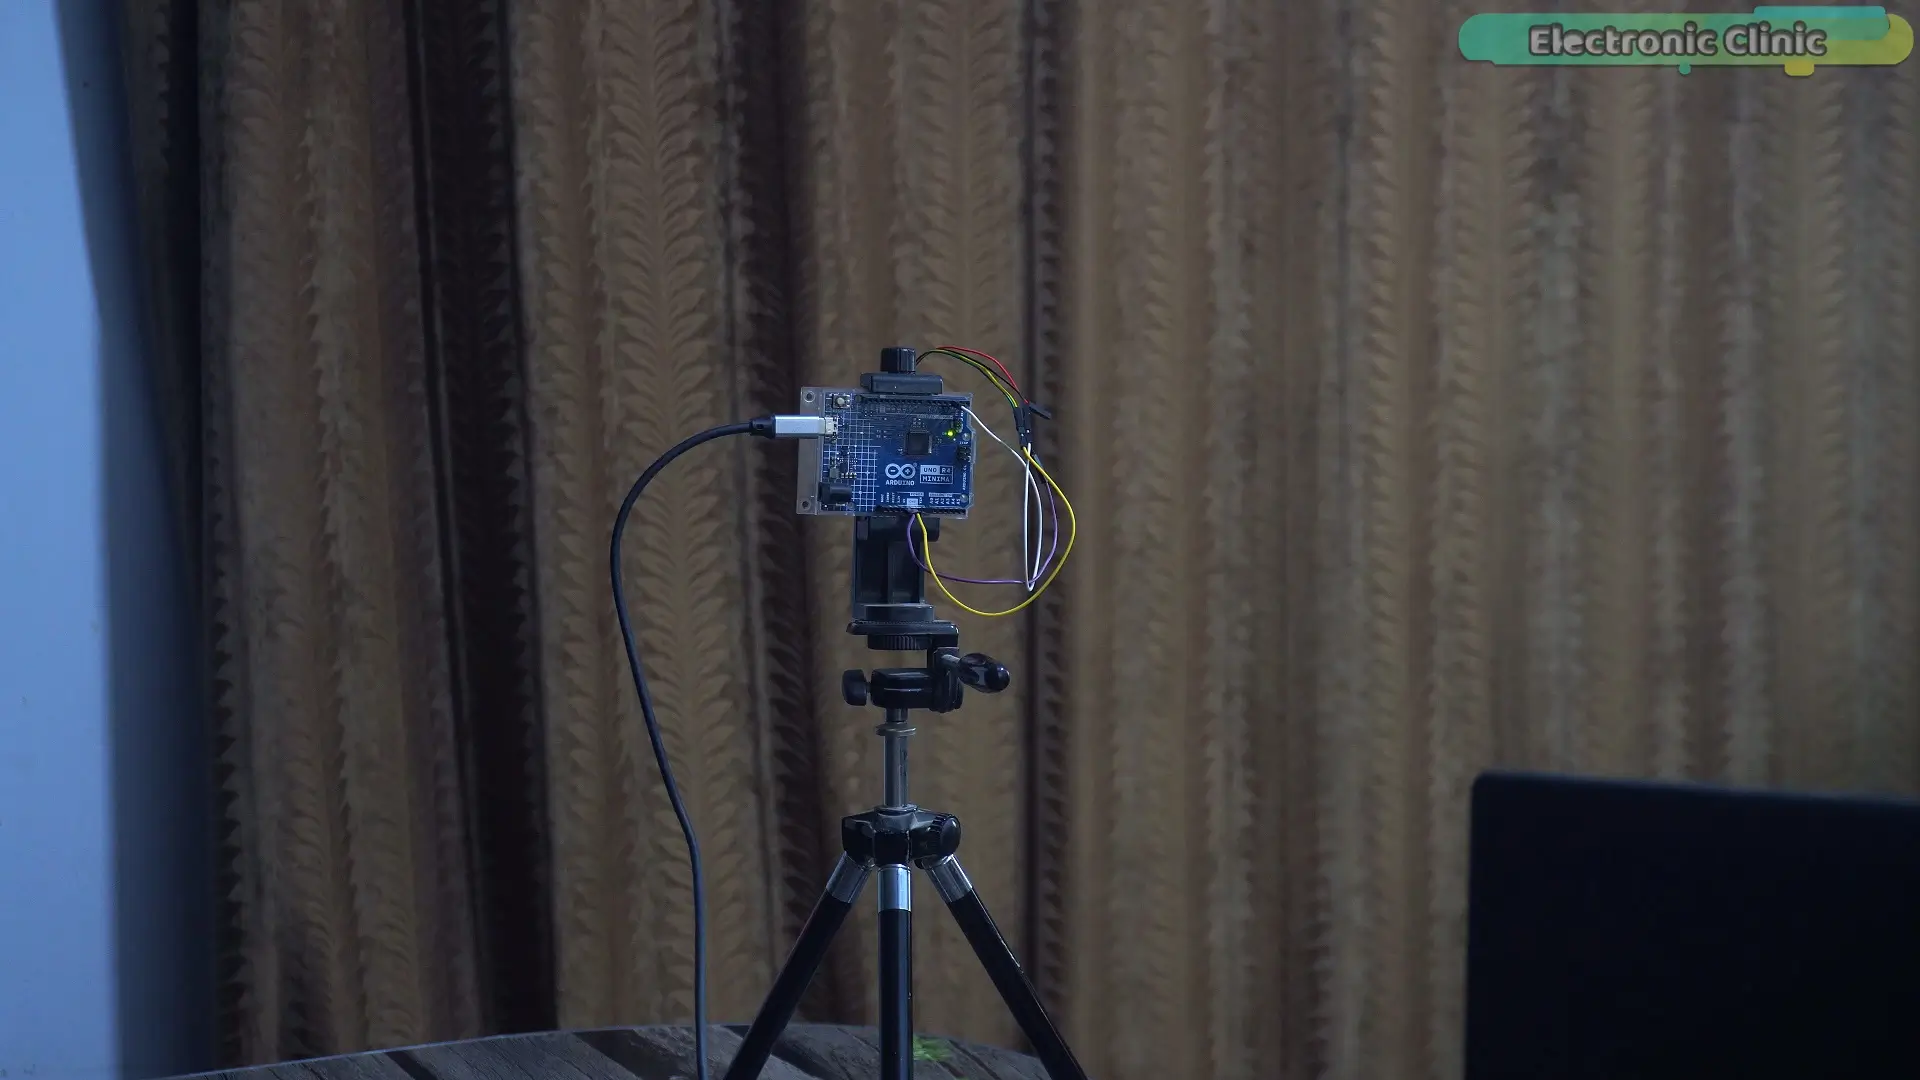
As you can see…there’s quite a distance between the sensor…and the curtain…
So let’s find out…can it detect me on the other side?
…look at that…
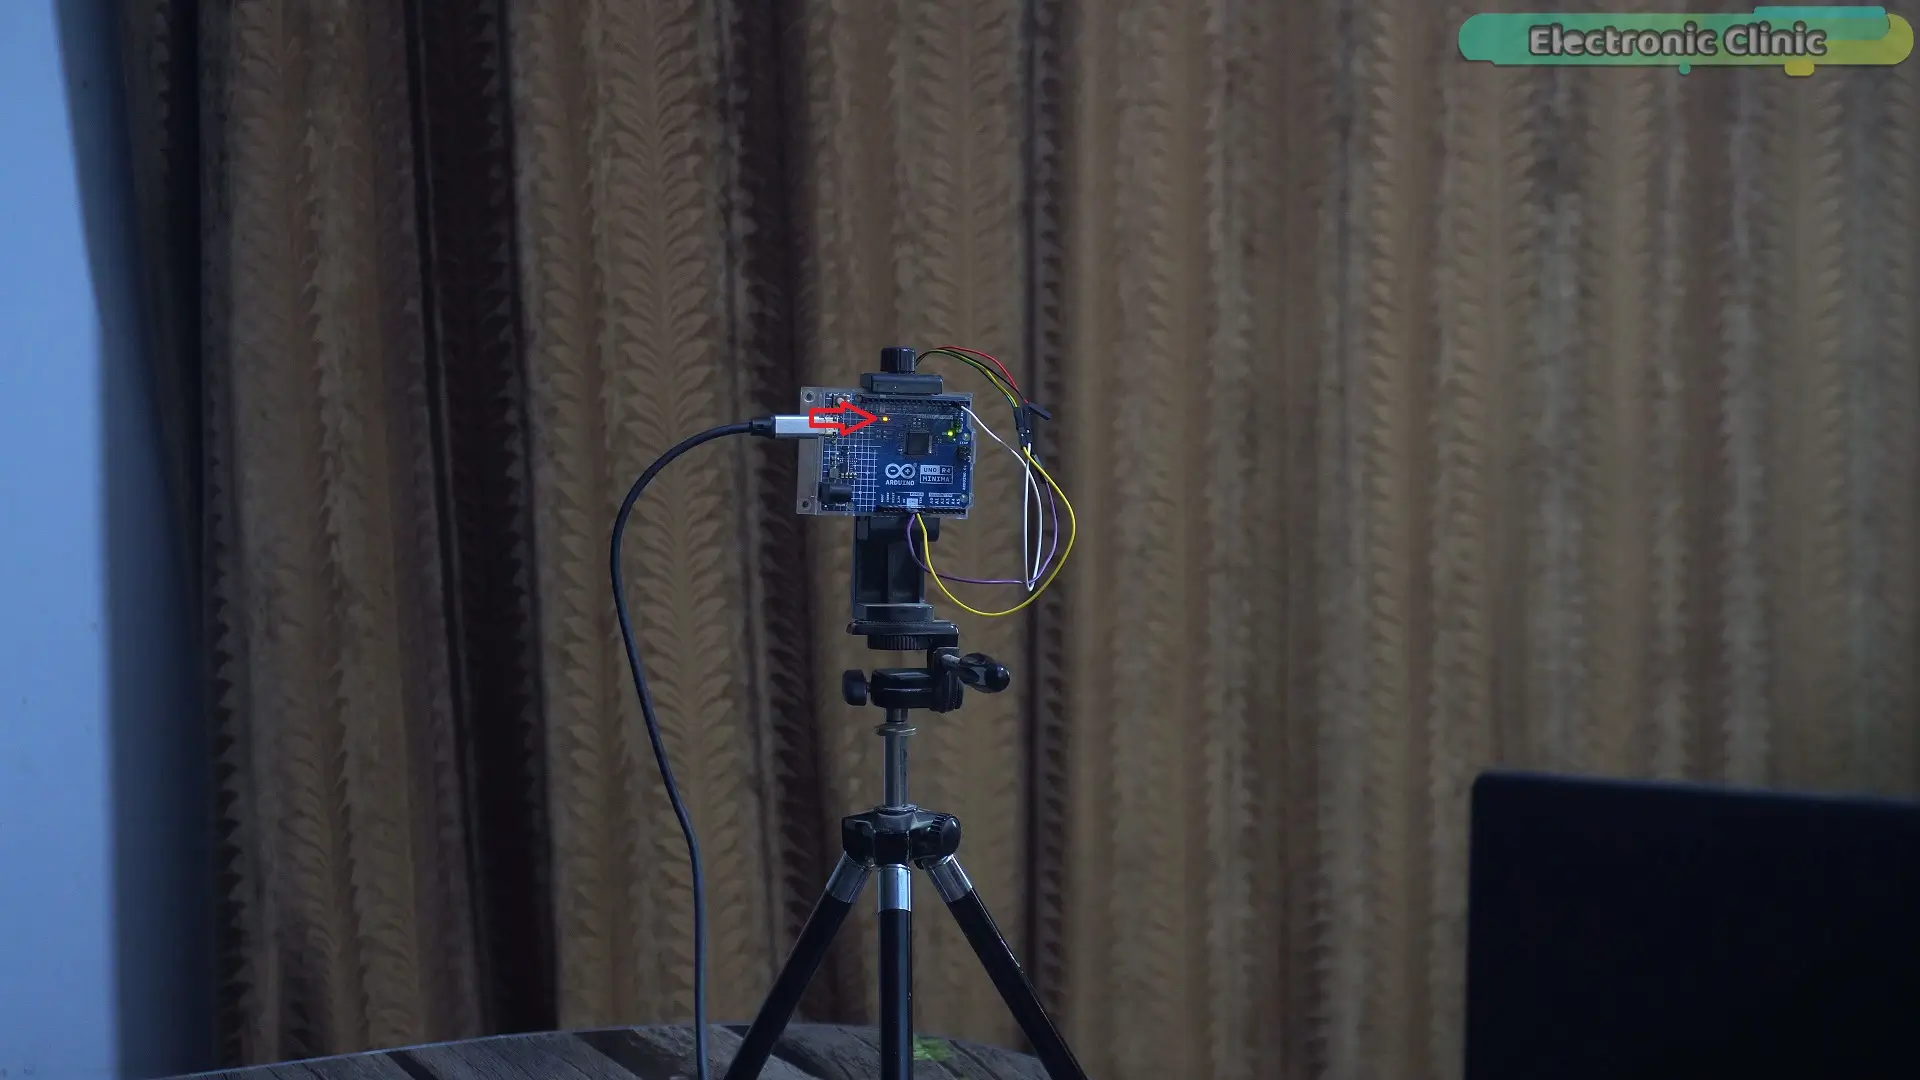
It detected me… even behind the curtains…
That’s really impressive…
Human Detection behind wooden door…
Now… I’m going to push it even harder…
This time… I’ll test it with this door…
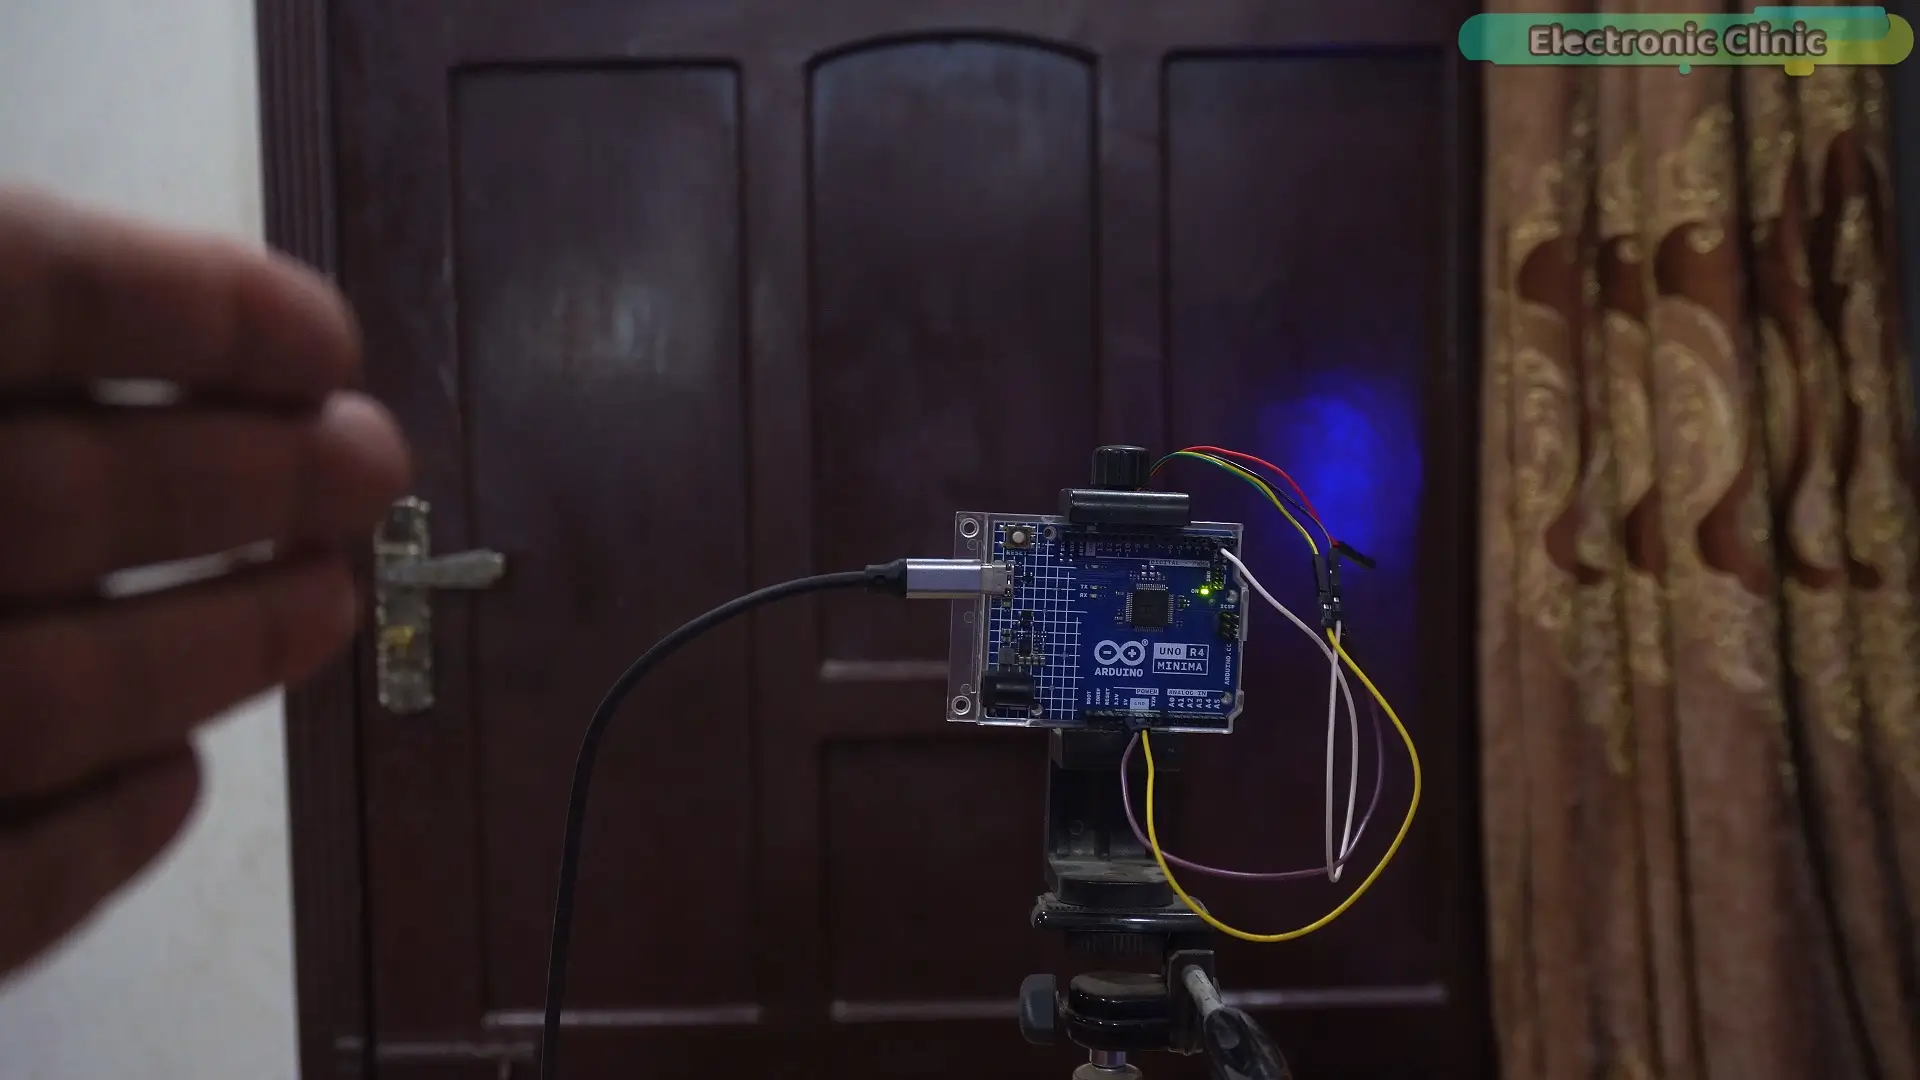
I want to check…if it can detect someone… standing behind the door…
And this door is quite thick…
Plus… this time…
I’ll also keep the sensor a bit farther away…
So this is a much tougher test…
Let’s go ahead… and find out…
It detected me…
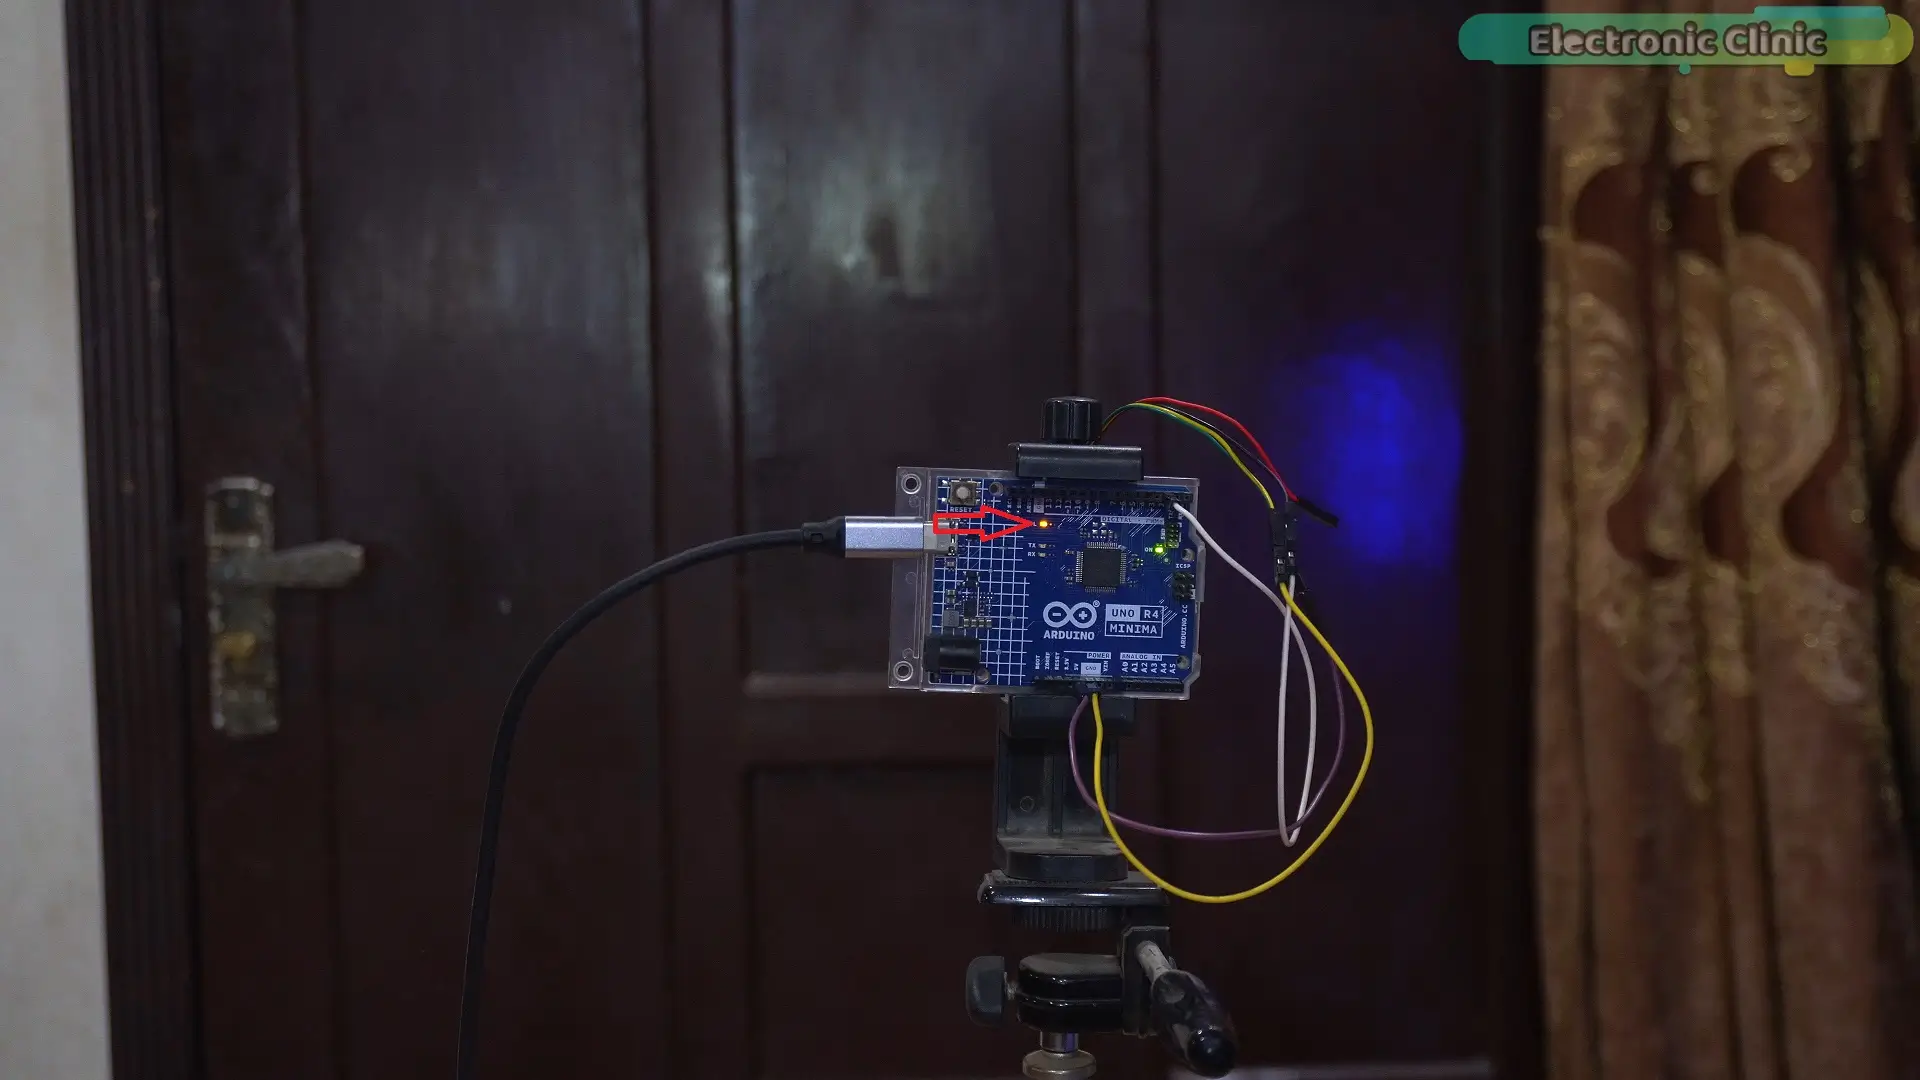
Even through the door…and from a greater distance…
That’s seriously impressive…
This sensor is way more powerful than I expected
Human Detection Behind walls…
Next… I’m going to test it behind a wall…
So far… most mmWave sensors have failed this test…
Let’s see… what happens this time…
…yeah…
Just like the others…RD-03D also couldn’t detect me behind the wall…
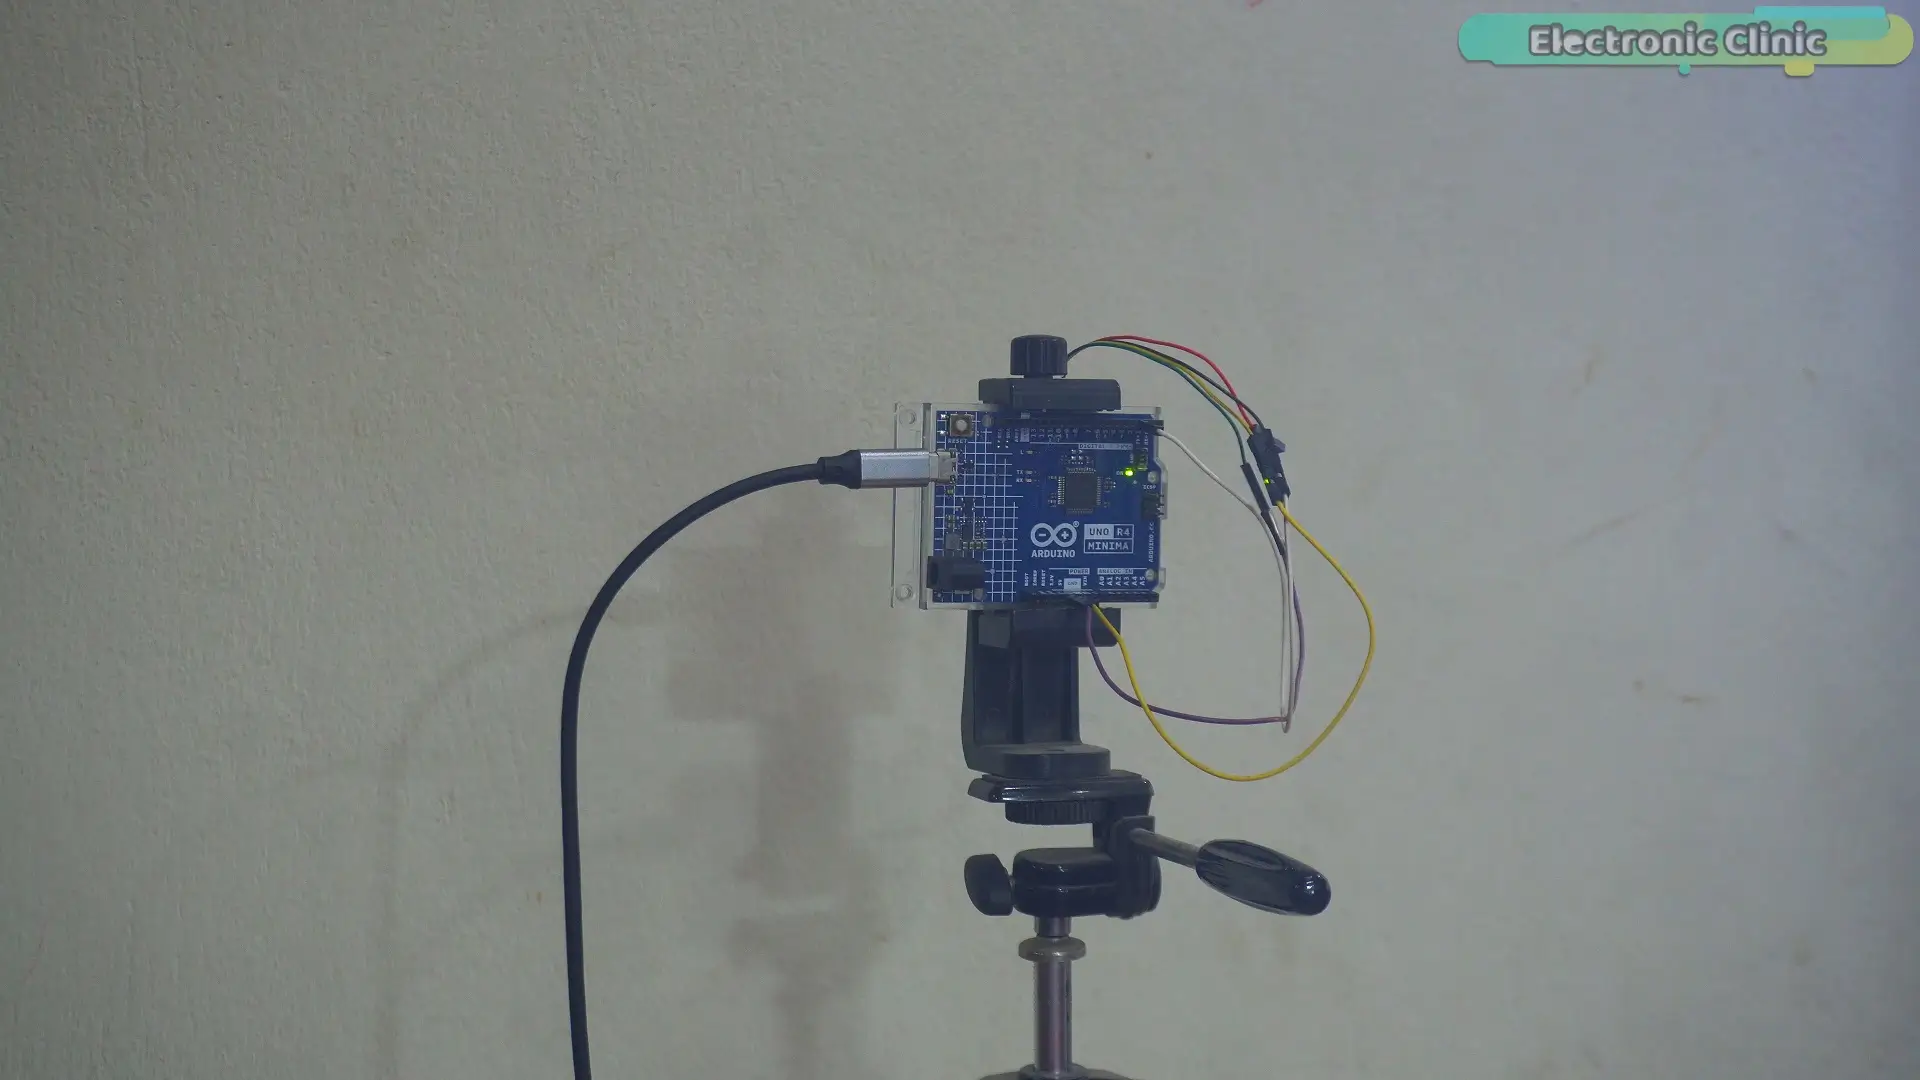
But overall…It performed really well with all the other materials…
Radar like Computer Application:
And to make this even more interesting…
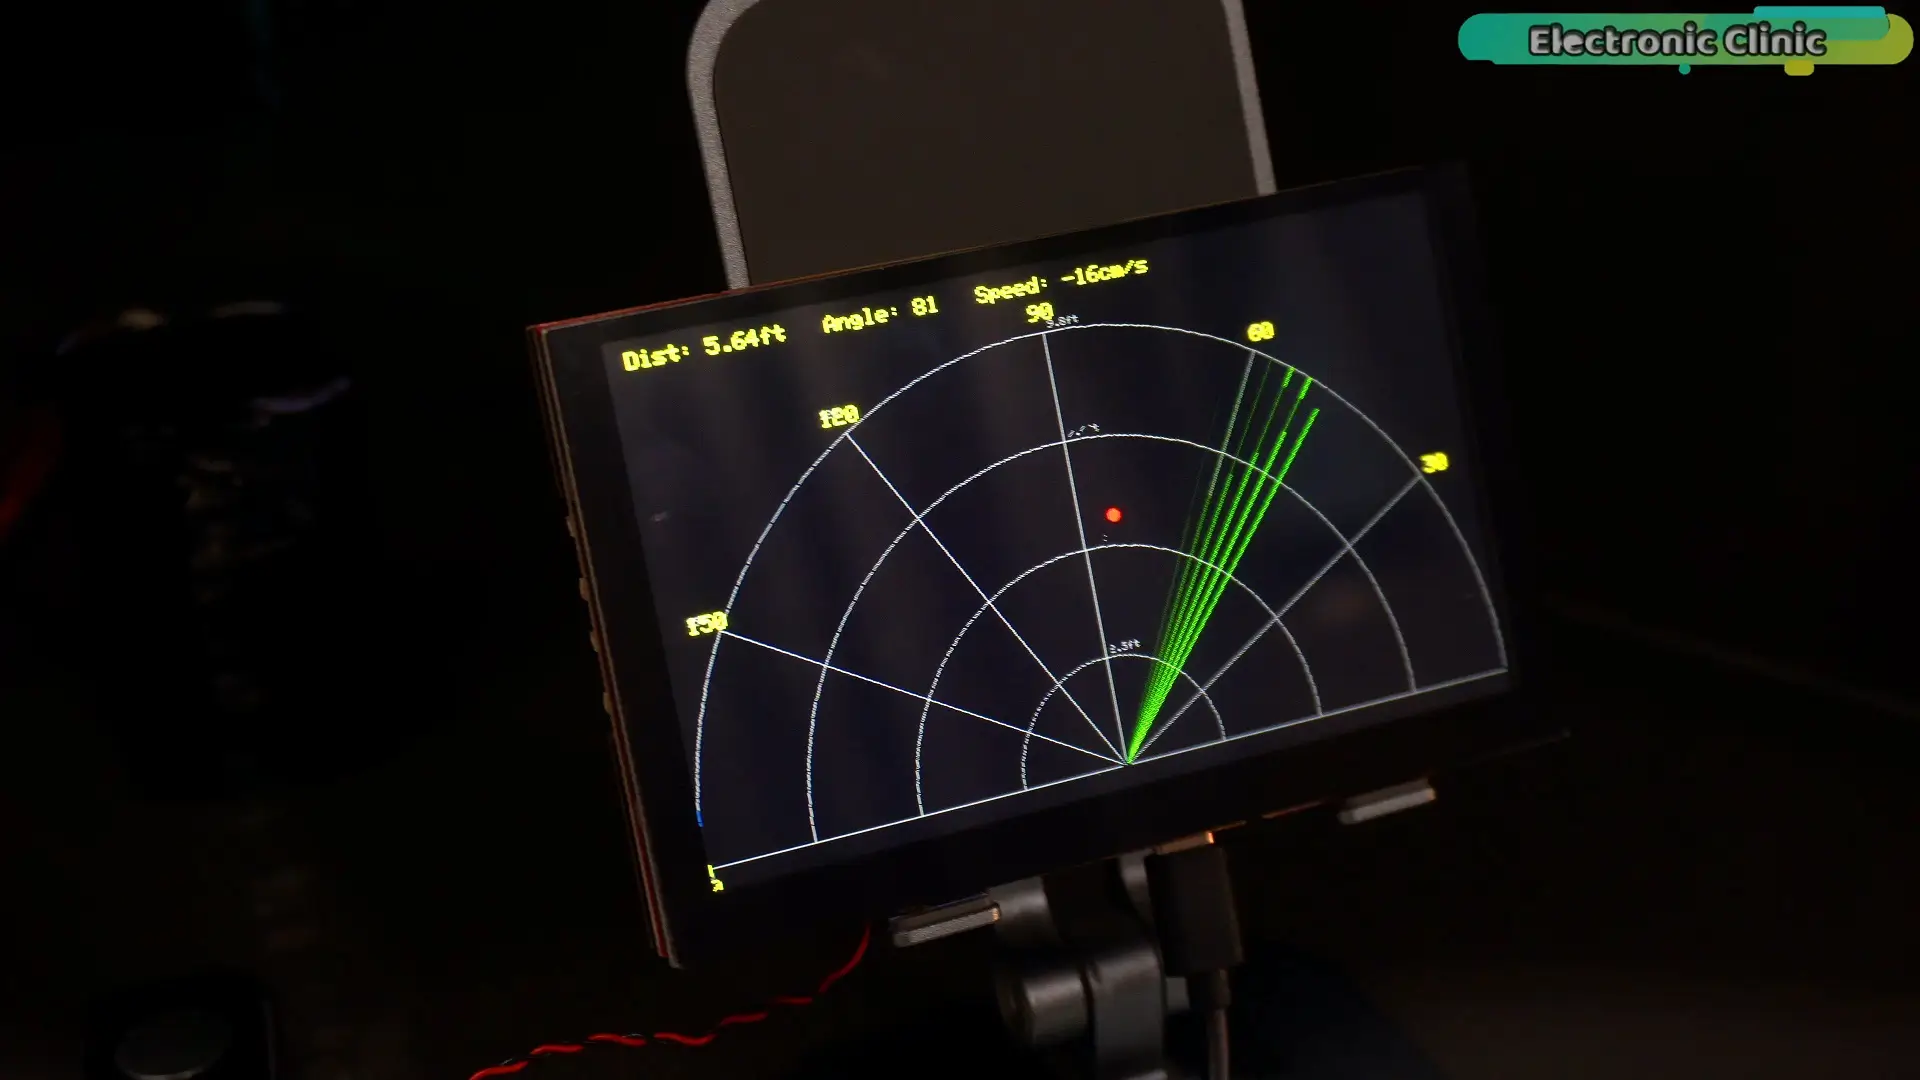
I created this radar-style interface…
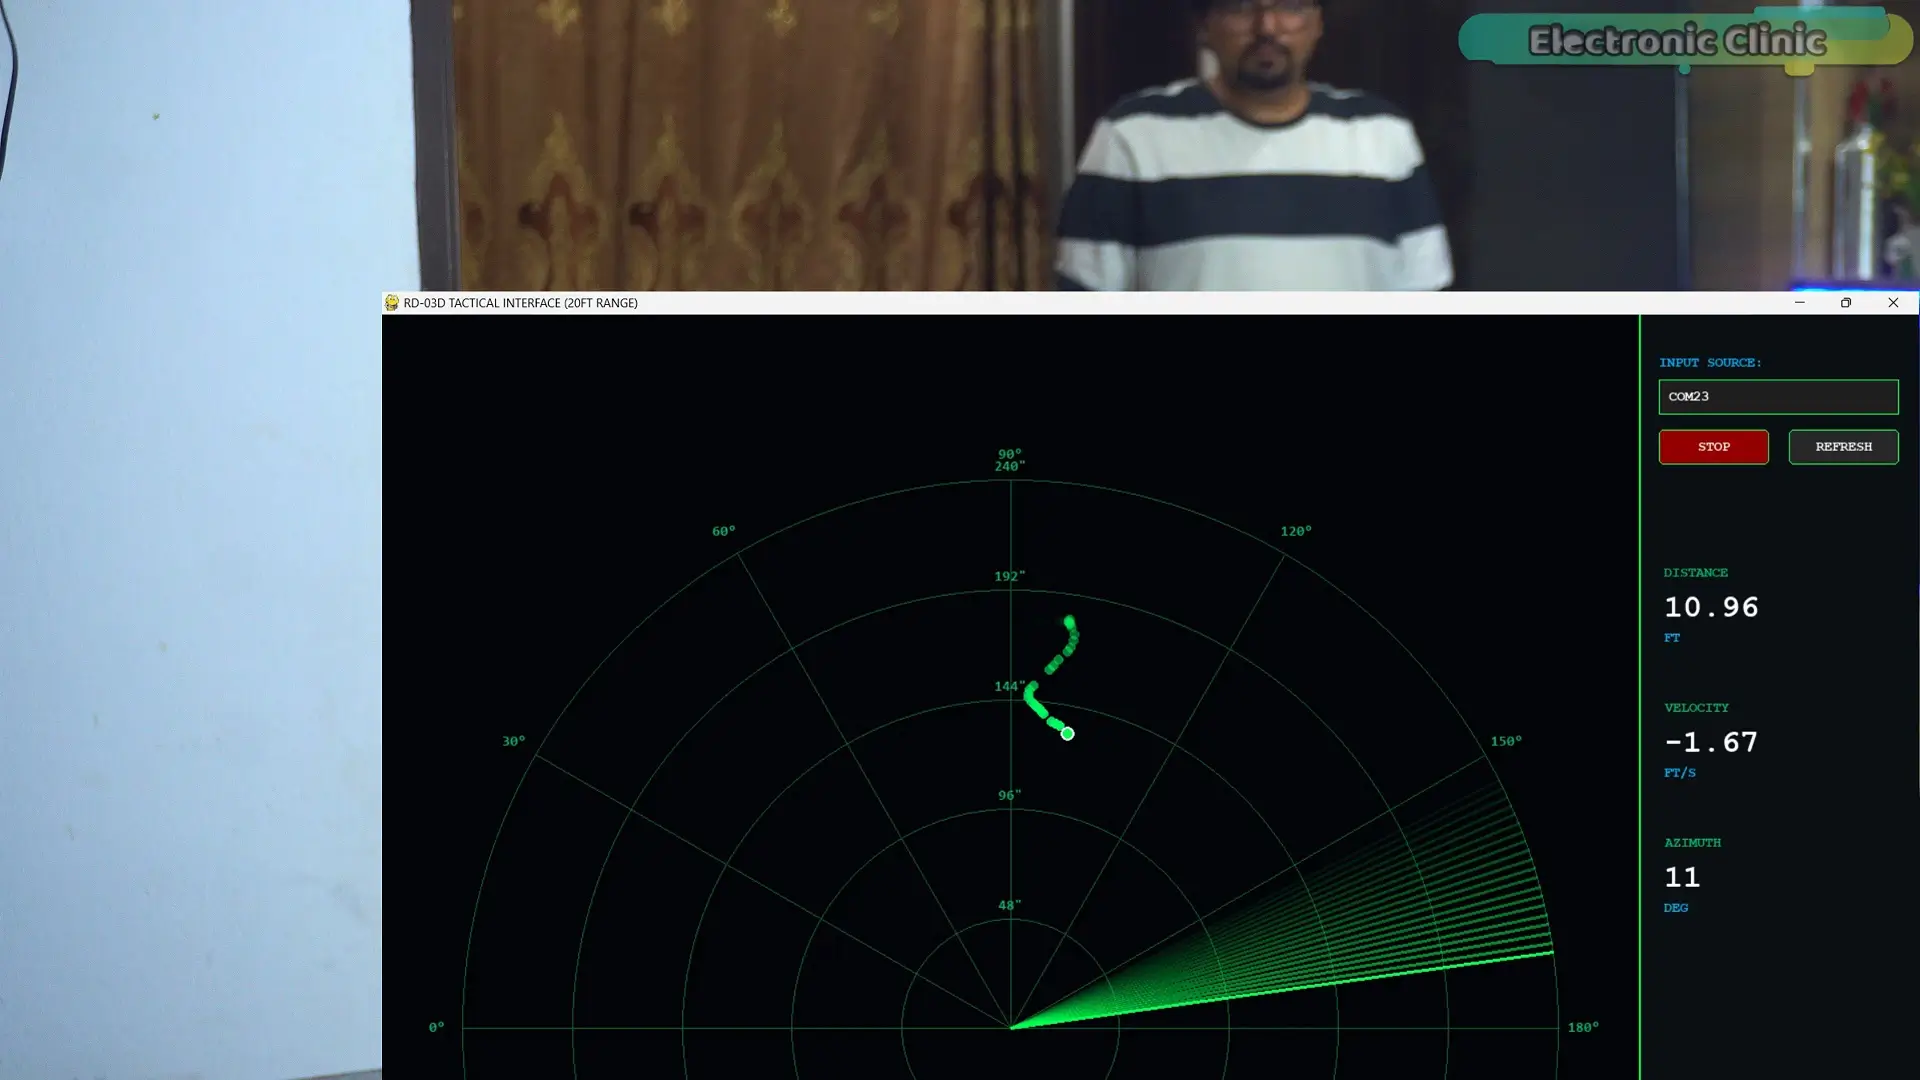
Now instead of just numbers…
you can actually see the person…
their position…
their movement…
everything… in real time…
It feels like a real radar system…
Just look at this, it can even track this little angel with such high level of accuracy.
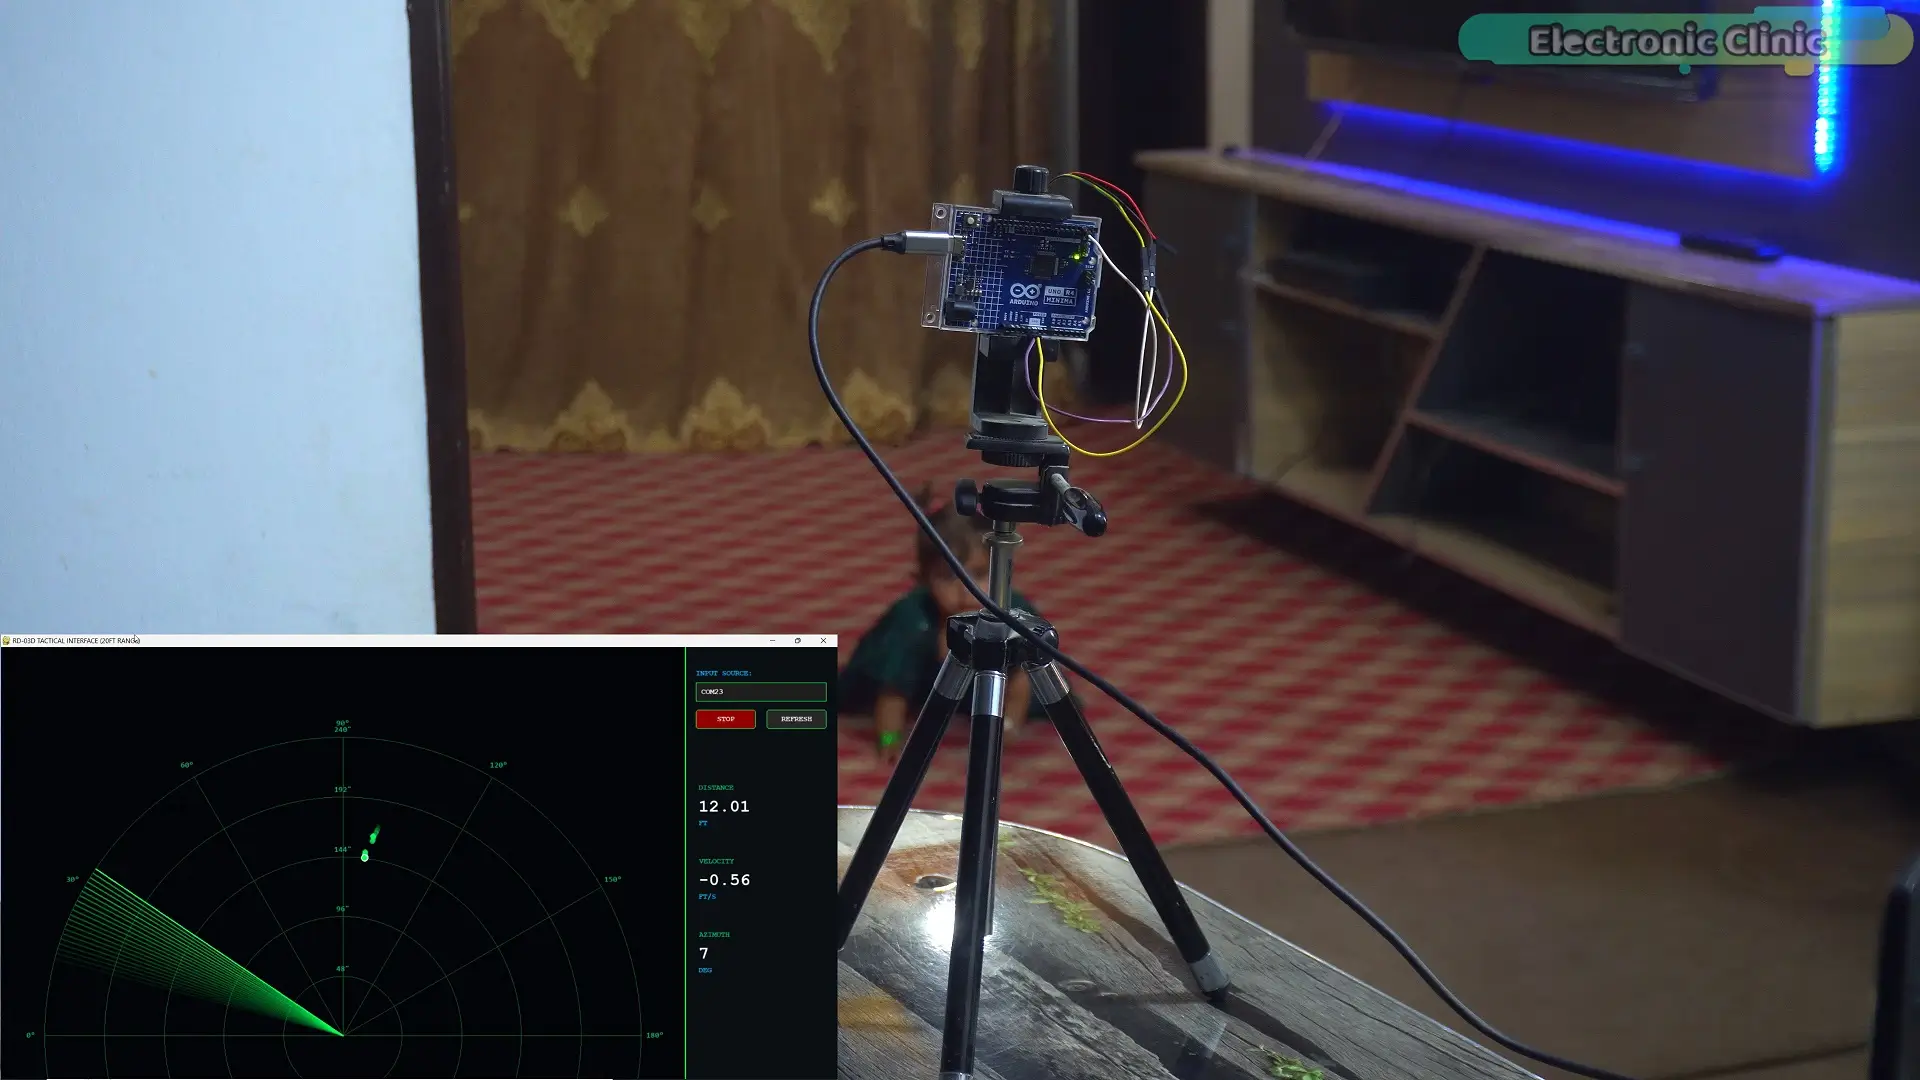
Now here’s something really cool…
If I stay completely still…
and another person starts moving…
the system immediately locks onto that person…
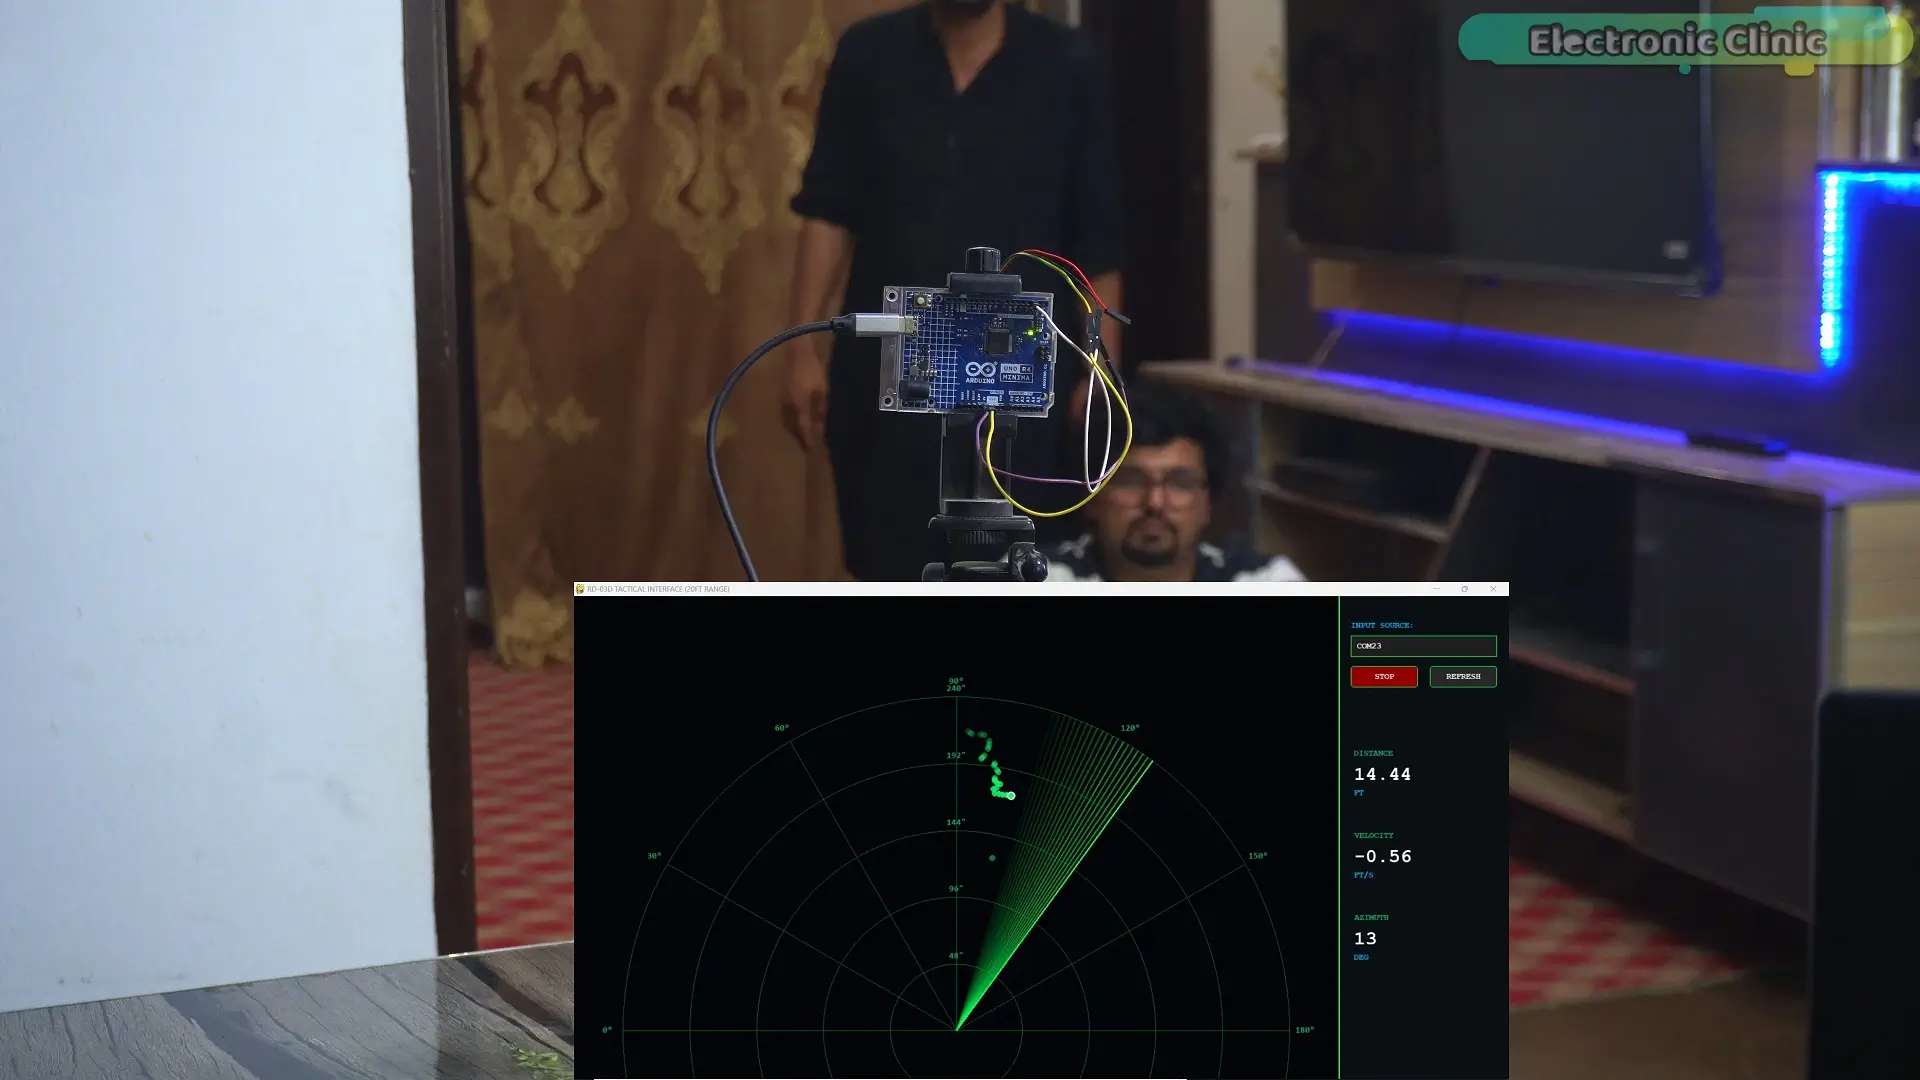
and starts tracking them…
That’s seriously impressive…
And if you want to take this even further…
like tracking multiple people in real time…
make sure you check out my first video
And here’s the crazy part…
the Arduino code behind this… is very simple…
Arduino Code:
|
1 2 3 4 5 6 7 8 9 10 11 12 13 14 15 16 17 18 19 20 |
#include <RadarSensor.h> RadarSensor radar(2, 3); void setup() { Serial.begin(115200); radar.begin(256000); } void loop() { if (radar.update()) { RadarTarget tgt = radar.getTarget(); // Format: X,Y,Distance,Angle,Speed Serial.print(tgt.x); Serial.print(","); Serial.print(tgt.y); Serial.print(","); Serial.print(tgt.distance); Serial.print(","); Serial.print(tgt.angle); Serial.print(","); Serial.println(tgt.speed); } } |
and if you want this radar software…
you can download the full Python code…
from my Patreon page.
In the next video… we’re taking this to the next level…
We’re going to combine this radar system… with LoRa…
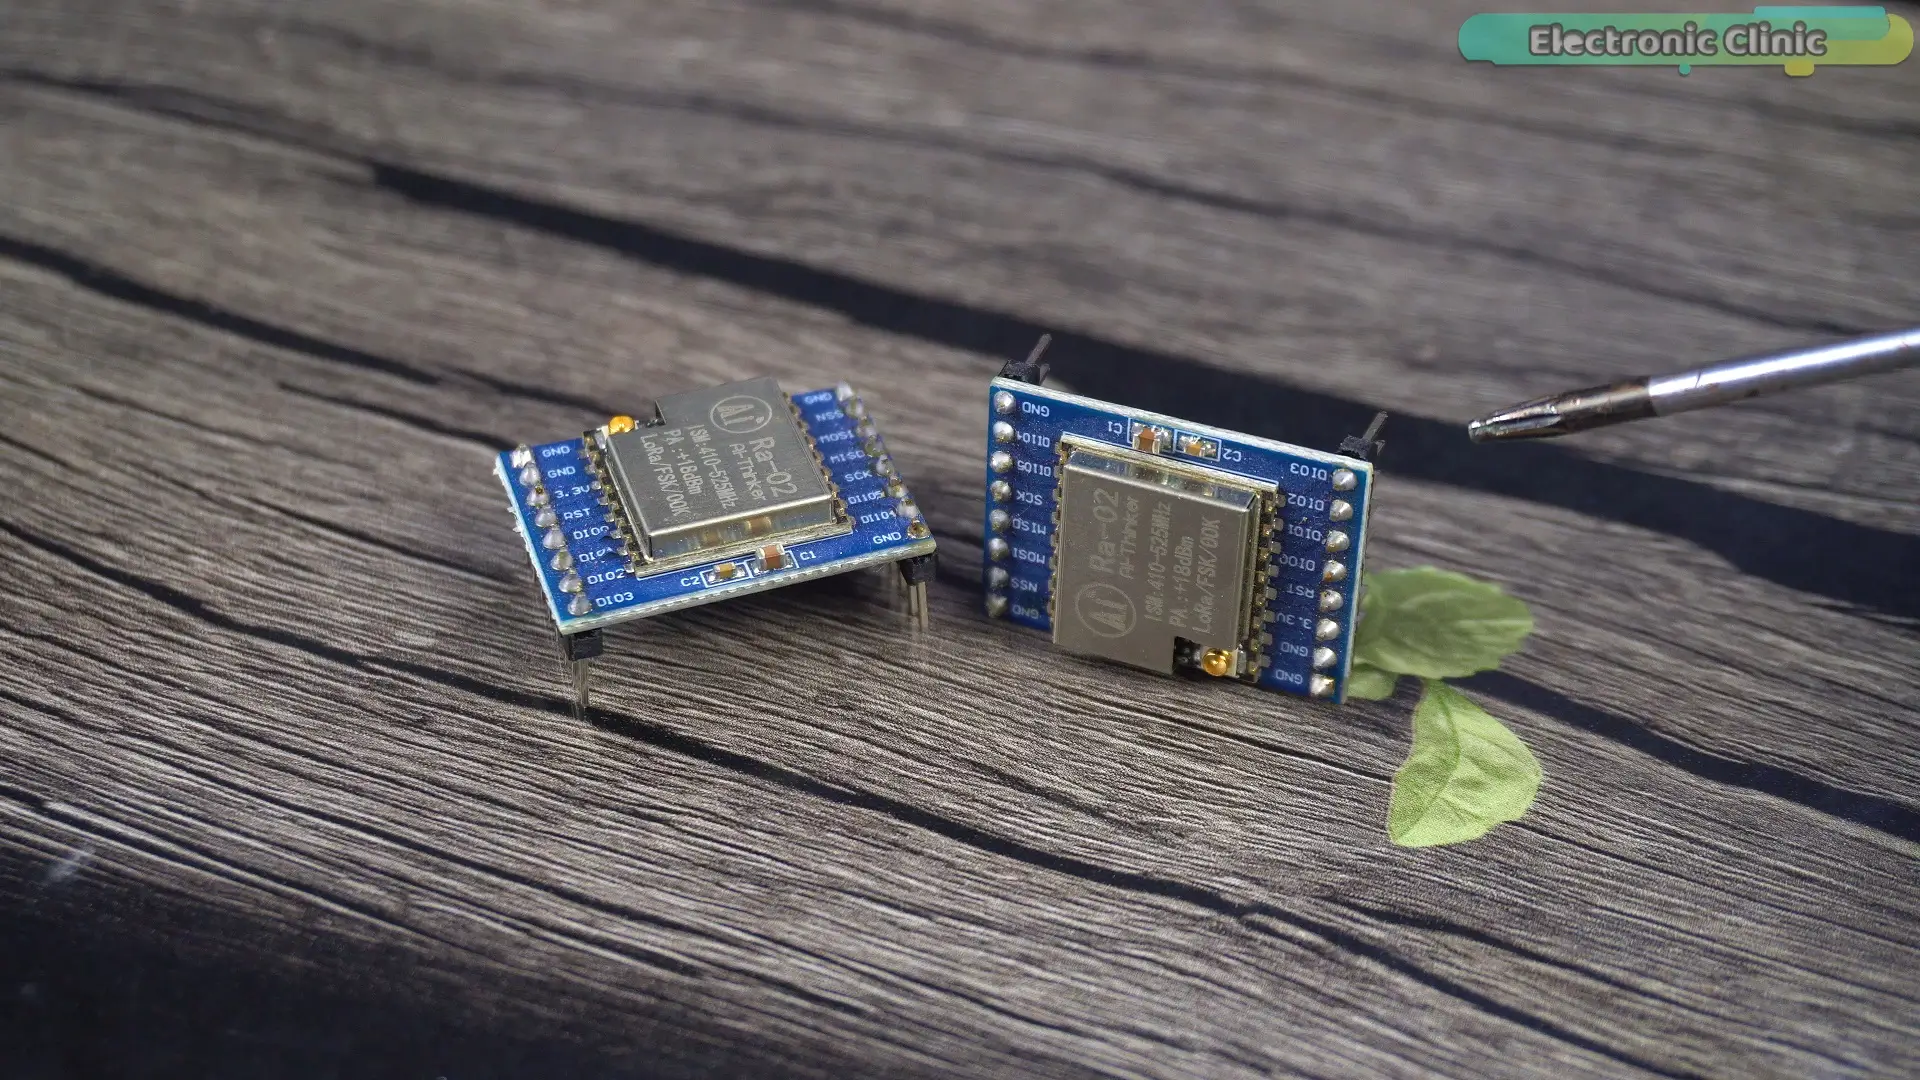
So now… you won’t be limited to short distances…
You’ll be able to monitor your property…
from really long distances…
No WiFi…
no internet…
So even if you’re in a remote area…
this system will still work perfectly…
And imagine this…
You can hide the sensor anywhere…
and monitor everything… from far away…
This is going to turn into a complete…
long-range security system…
And trust me… this one is going to be powerful
So, that’s all for now.
Support me on Patreon for more videos. I hope you like today’s episode. Like and share this video with your friends. See you in next episode and thanks for watching.
Support me on Patreon:
If you enjoy my work and find these projects helpful, please consider supporting me on Patreon. With just $1, you can get access to all project source codes, schematics, and extra resources that I share with my supporters. Your support helps me continue creating new electronics tutorials, experiments, and open projects for the community. Thank you so much for being part of this journey and for supporting my work!
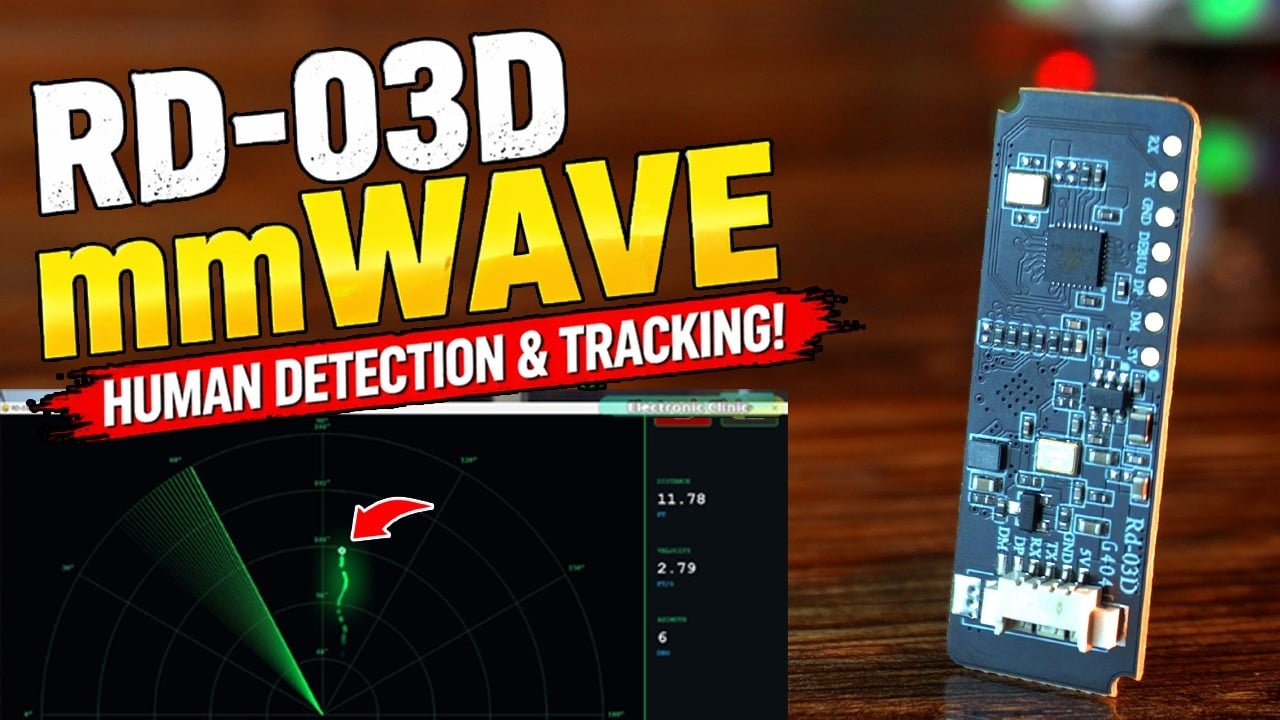
Watch Video Tutorial:
Discover more from Electronic Clinic
Subscribe to get the latest posts sent to your email.



Great mmWave radar test — the see-through demo results are impressive. Thanks for the detailed write-up!