Speech to Text using ESP32 S3 | ElevanLabs Ai
Last Updated on September 17, 2026 by Engr. Shahzada Fahad
Table of Contents
Description:
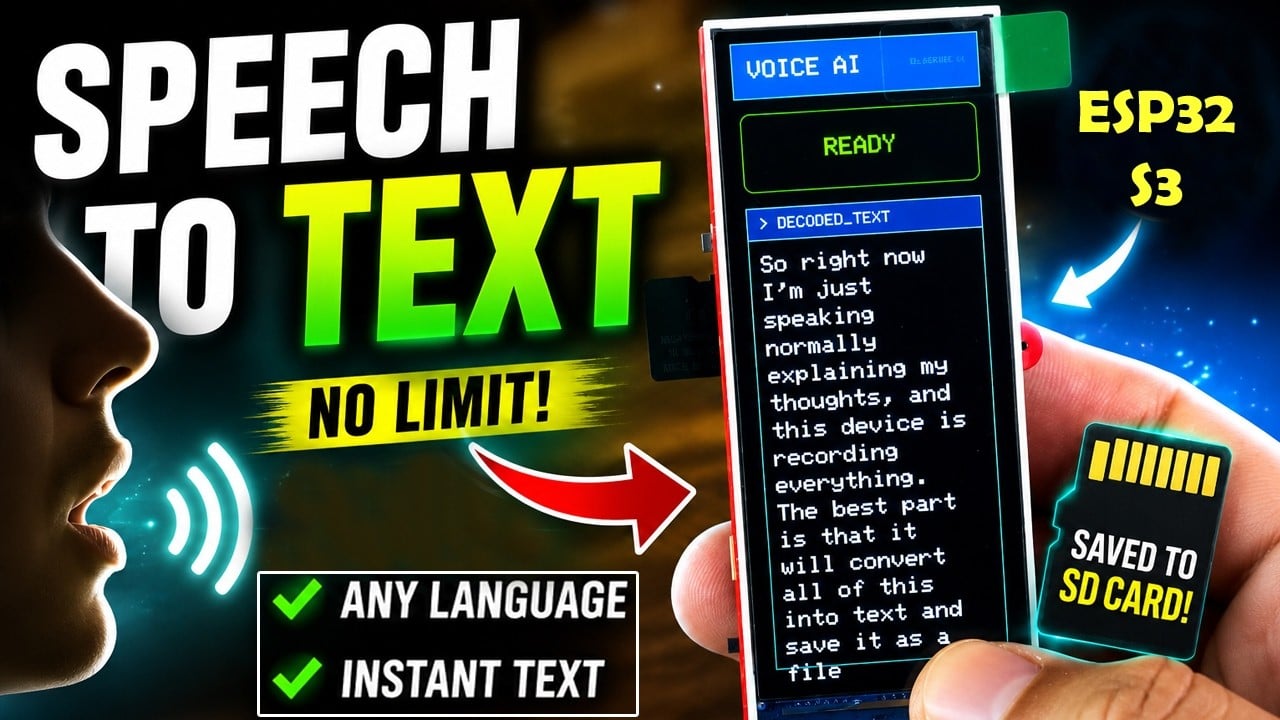
Imagine… you just shake a device…
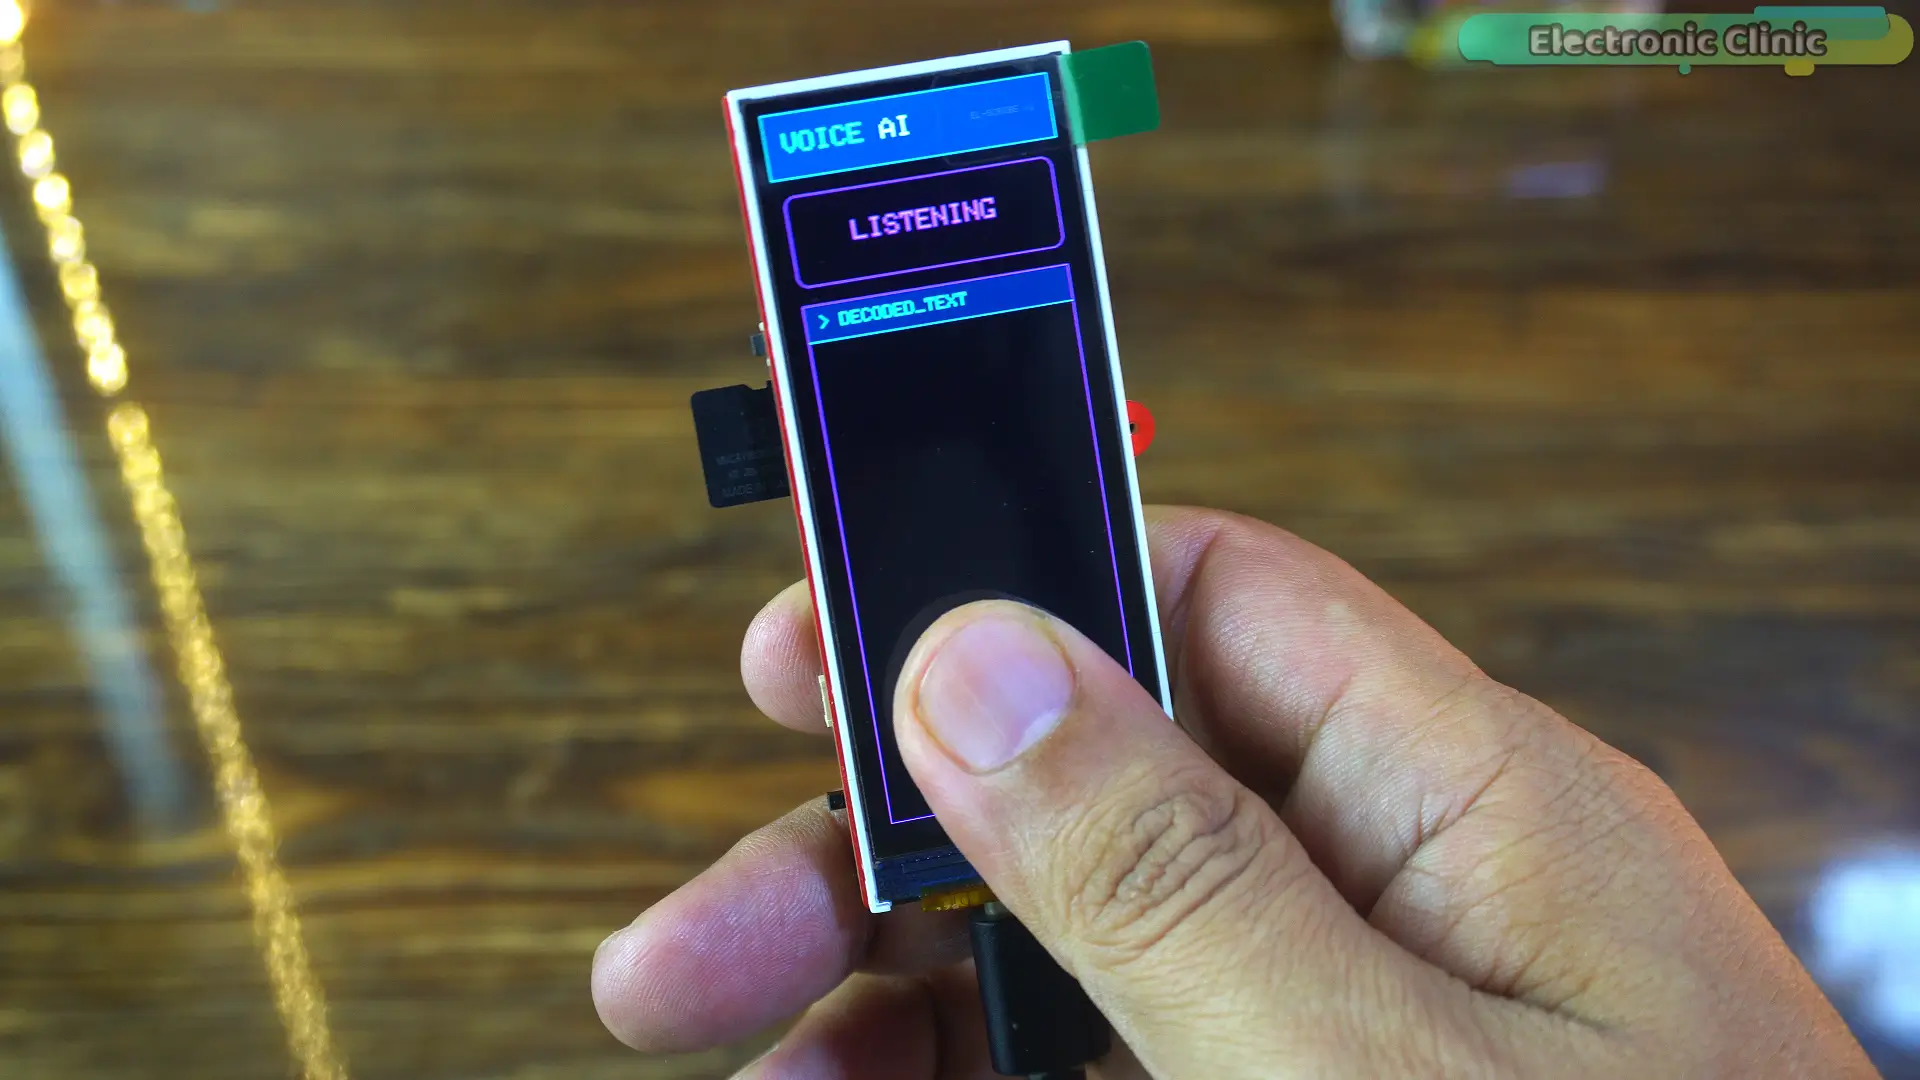
speak anything… any language…
and it instantly converts your voice into clean English text…
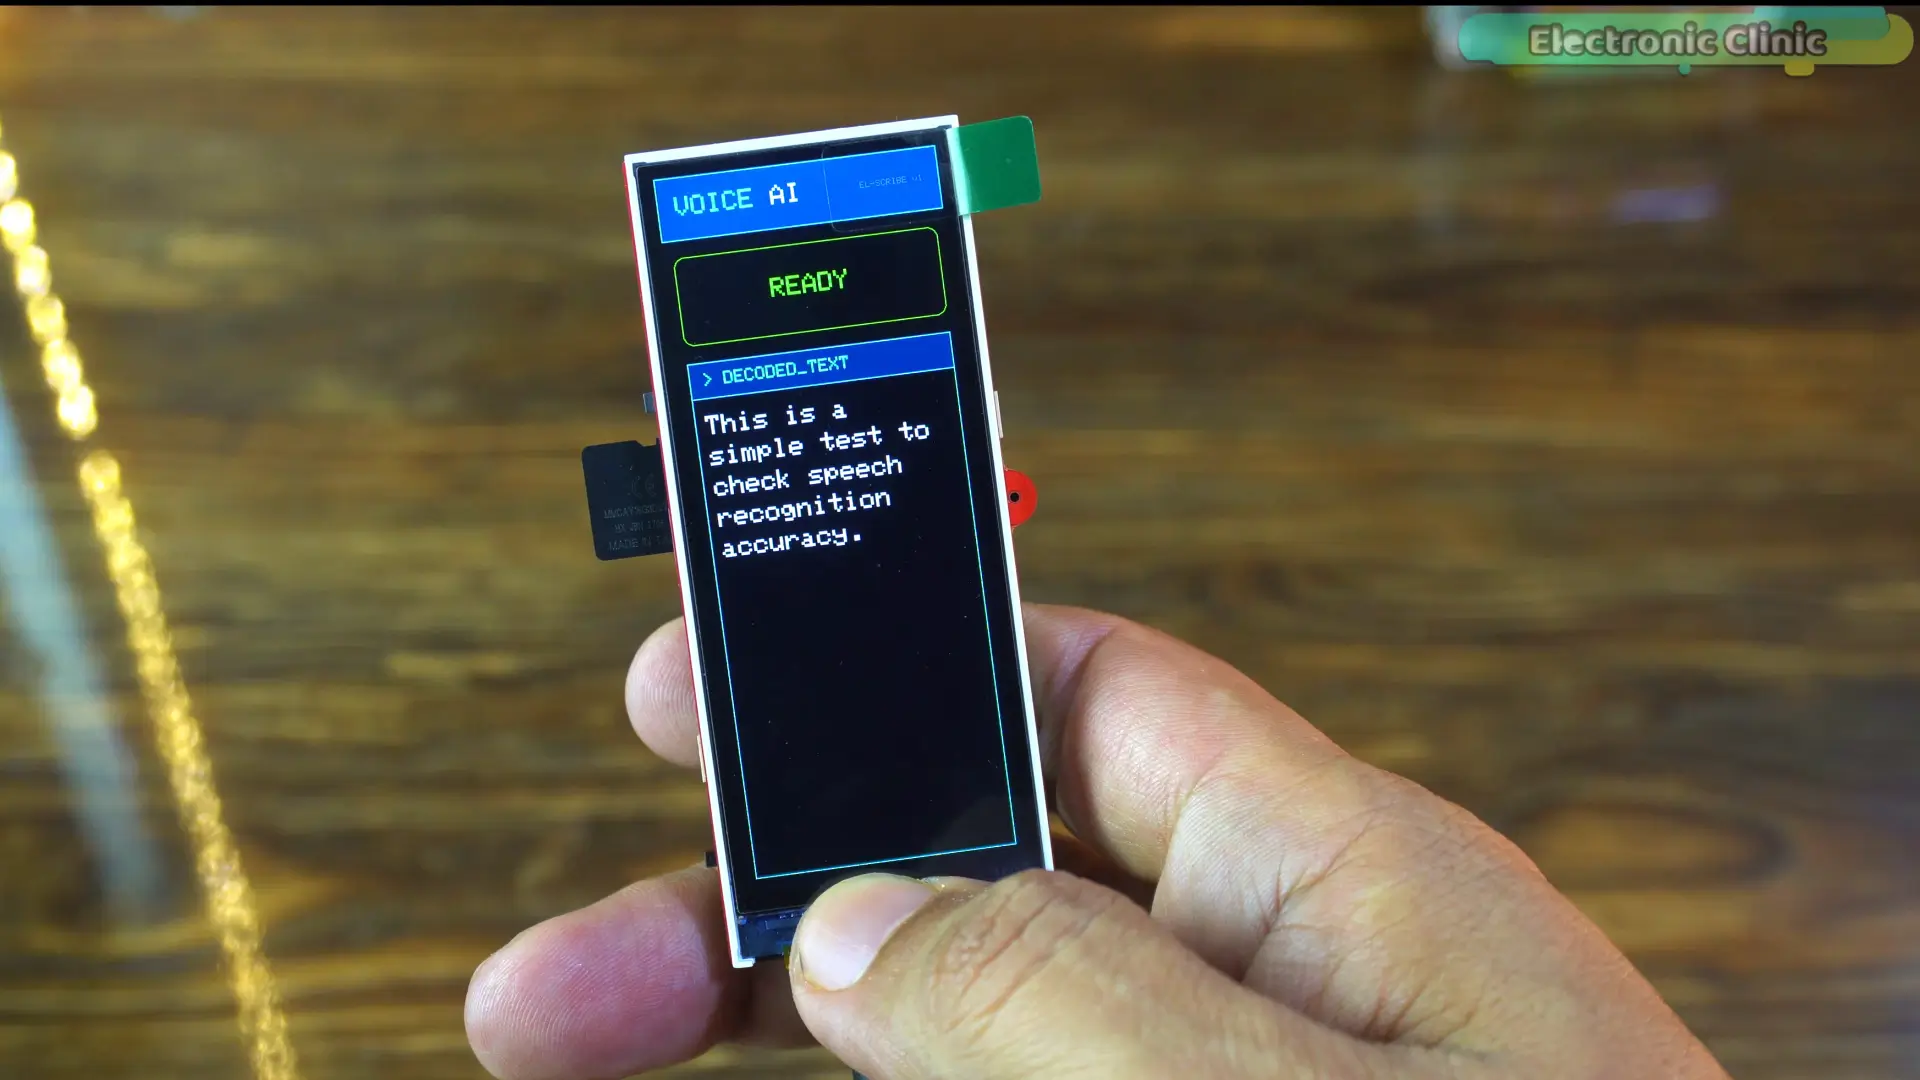
right in front of you.
And what if I told you… there’s no limit…
Talk as long as you want…
it turns everything into text…
and saves it automatically to an SD card.
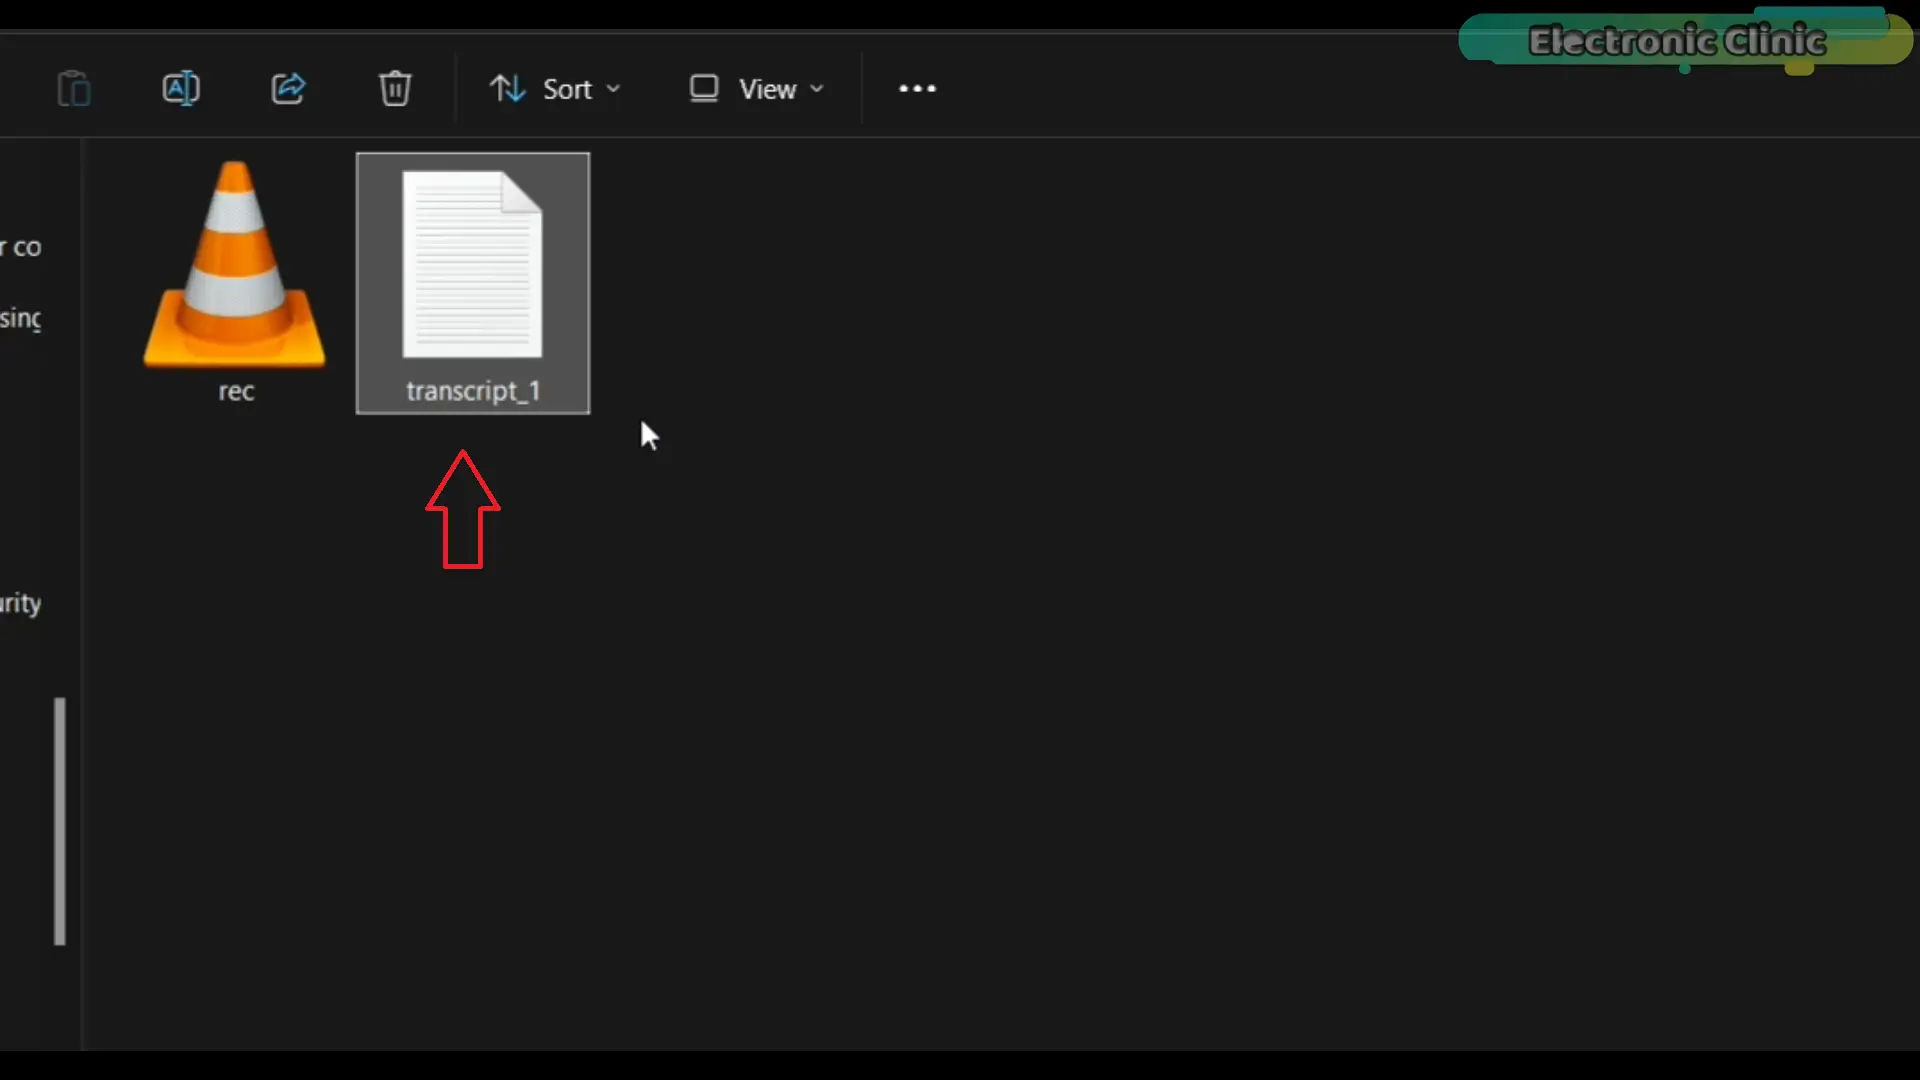
No phone. No keyboard. Just your voice.
In this article, I built a powerful Speech-to-Text AI device using the MaTouch ESP32 S3 Parallel TFT 3.16” ST7701S combined with ElevenLabs’ advanced voice AI.
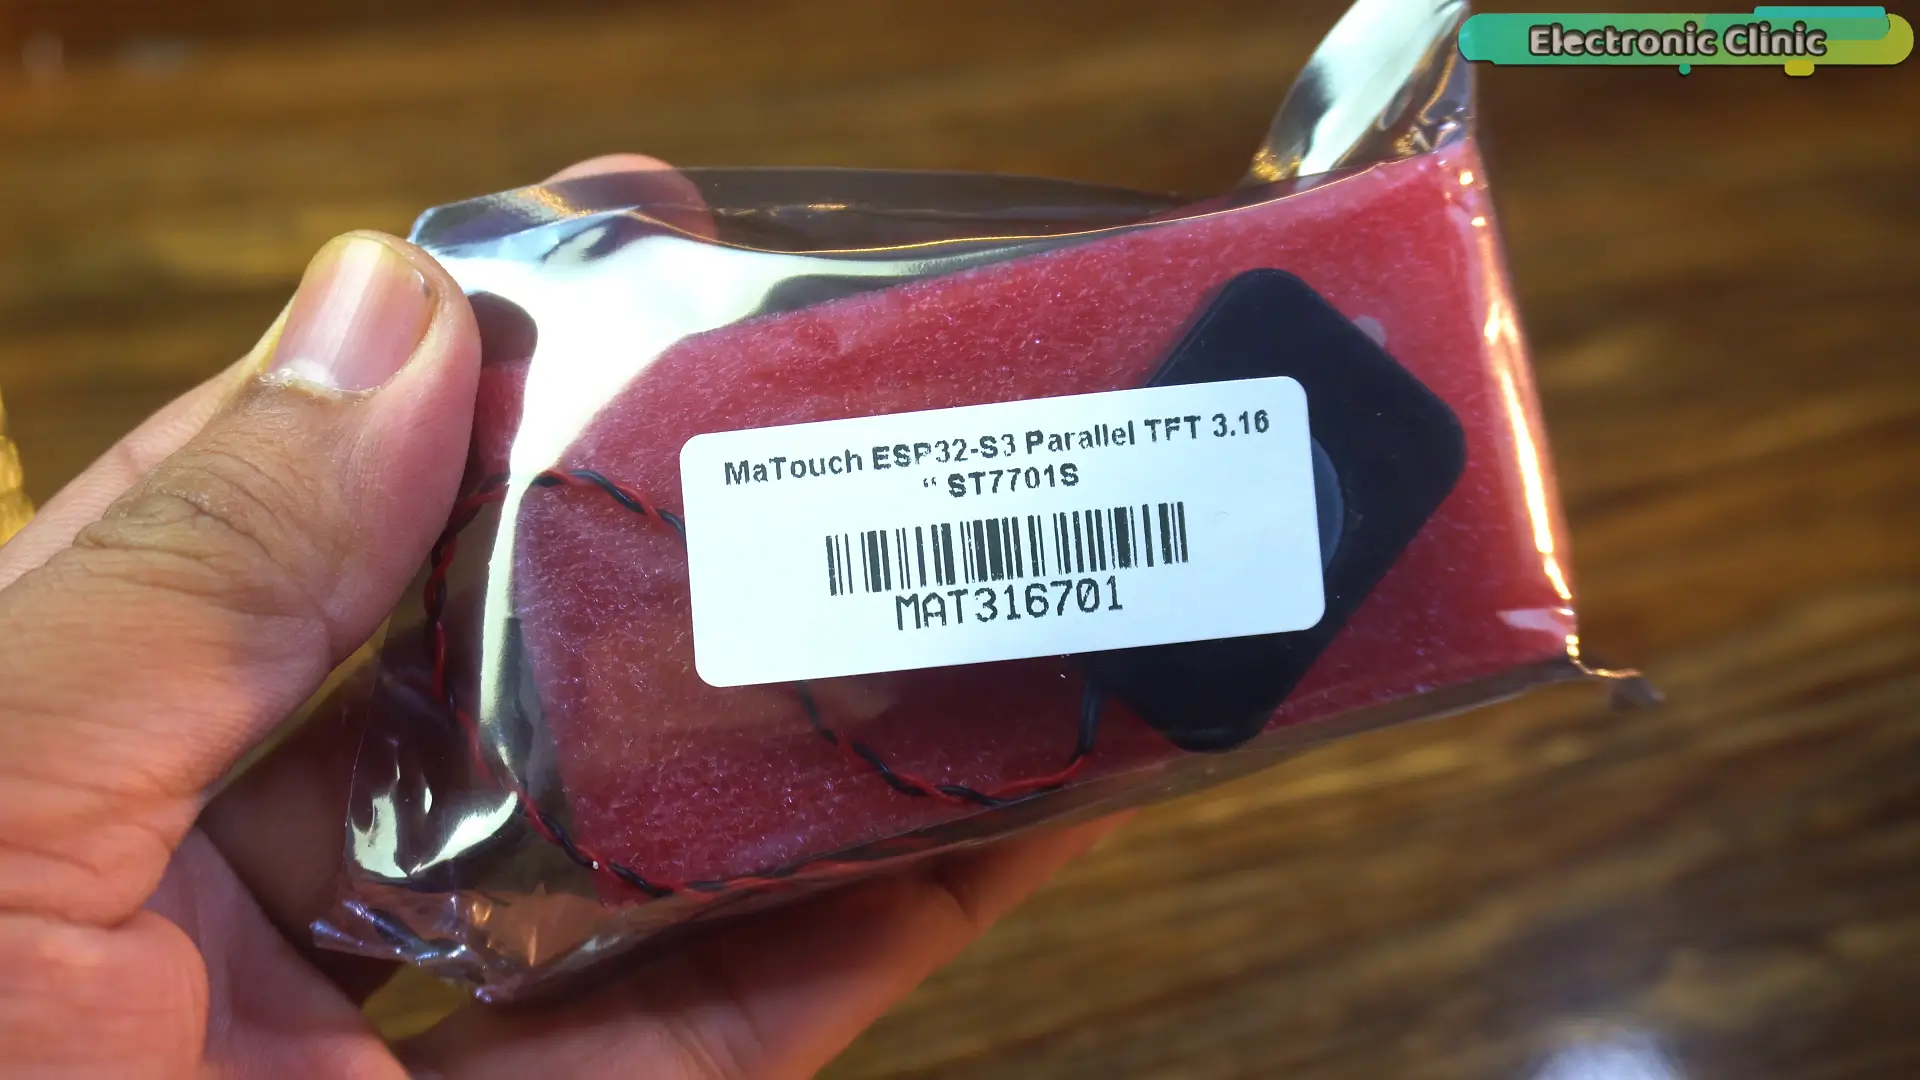
If you use this exact same development board, then believe me
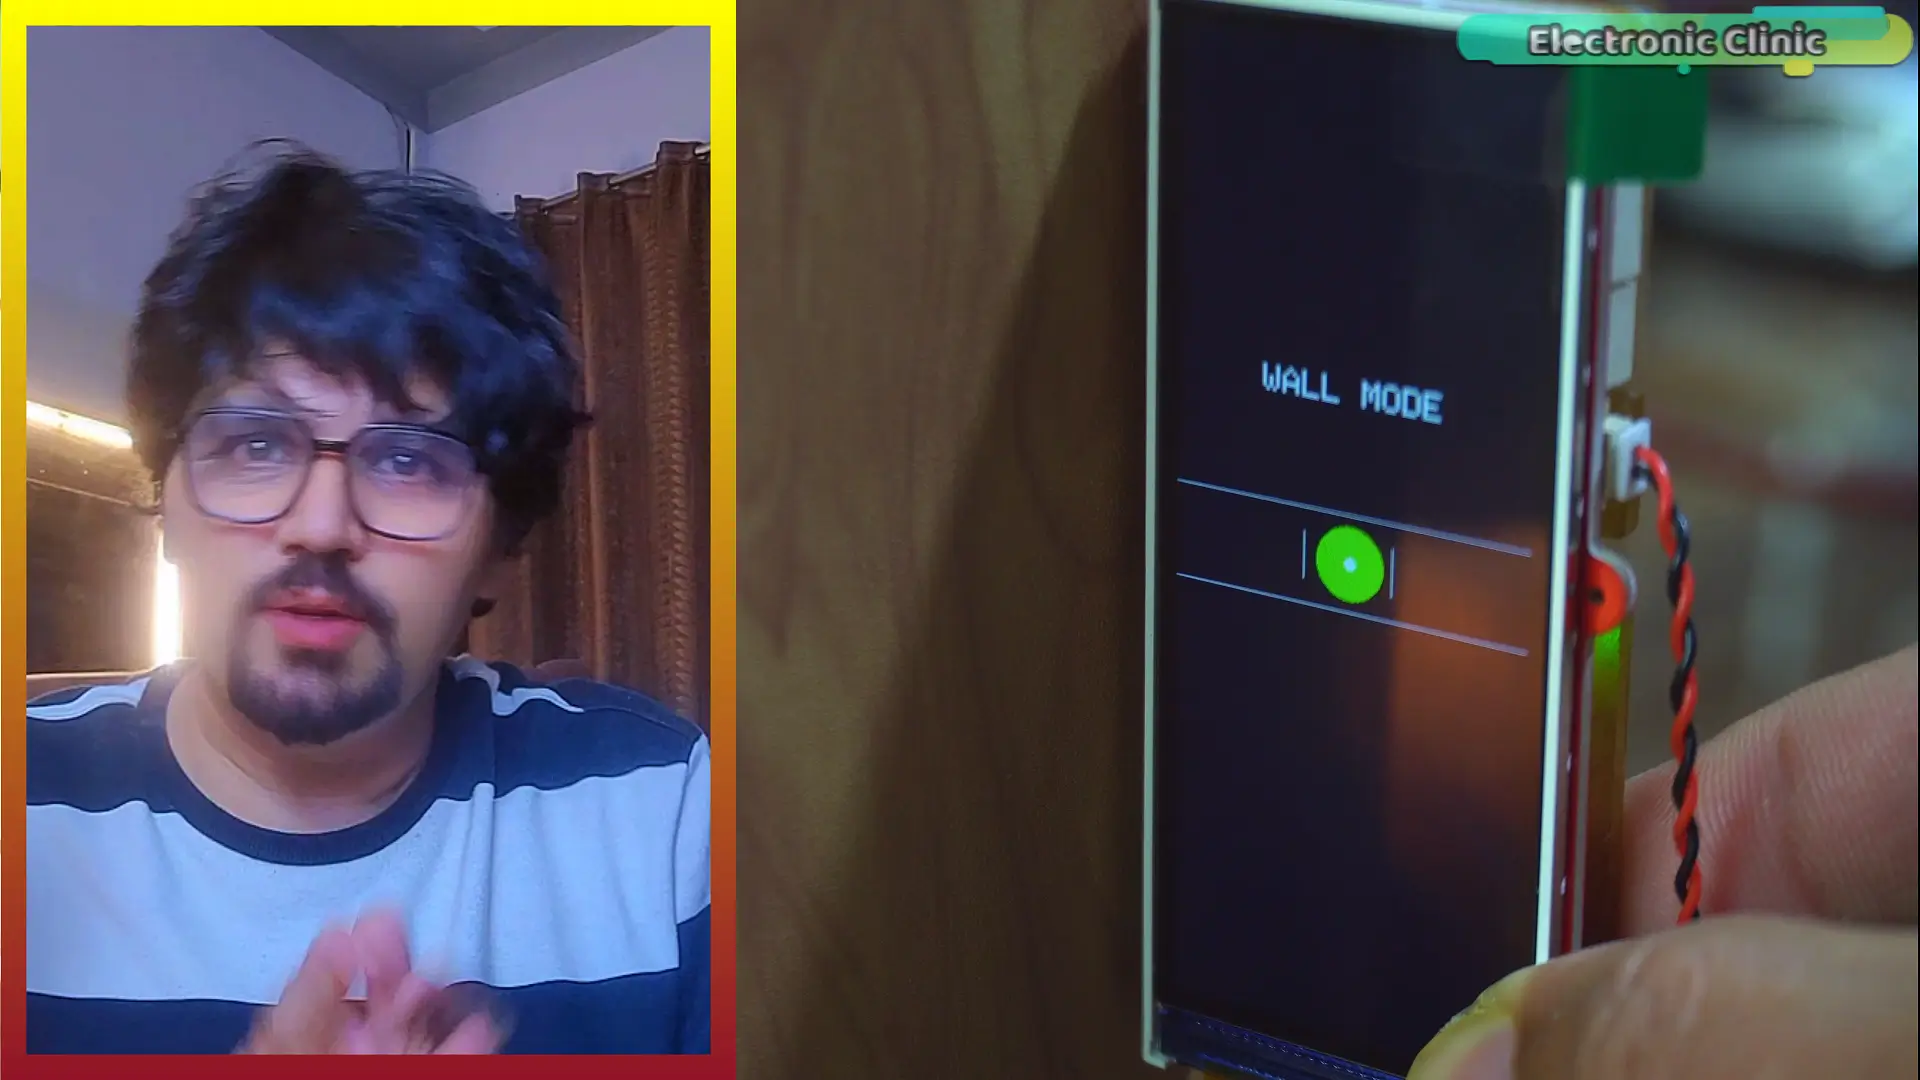
you will be able to master all kinds of AI models within just a few days. Because you won’t need to waste your time on wiring and soldering.
when you can have an IMU, gyroscope,
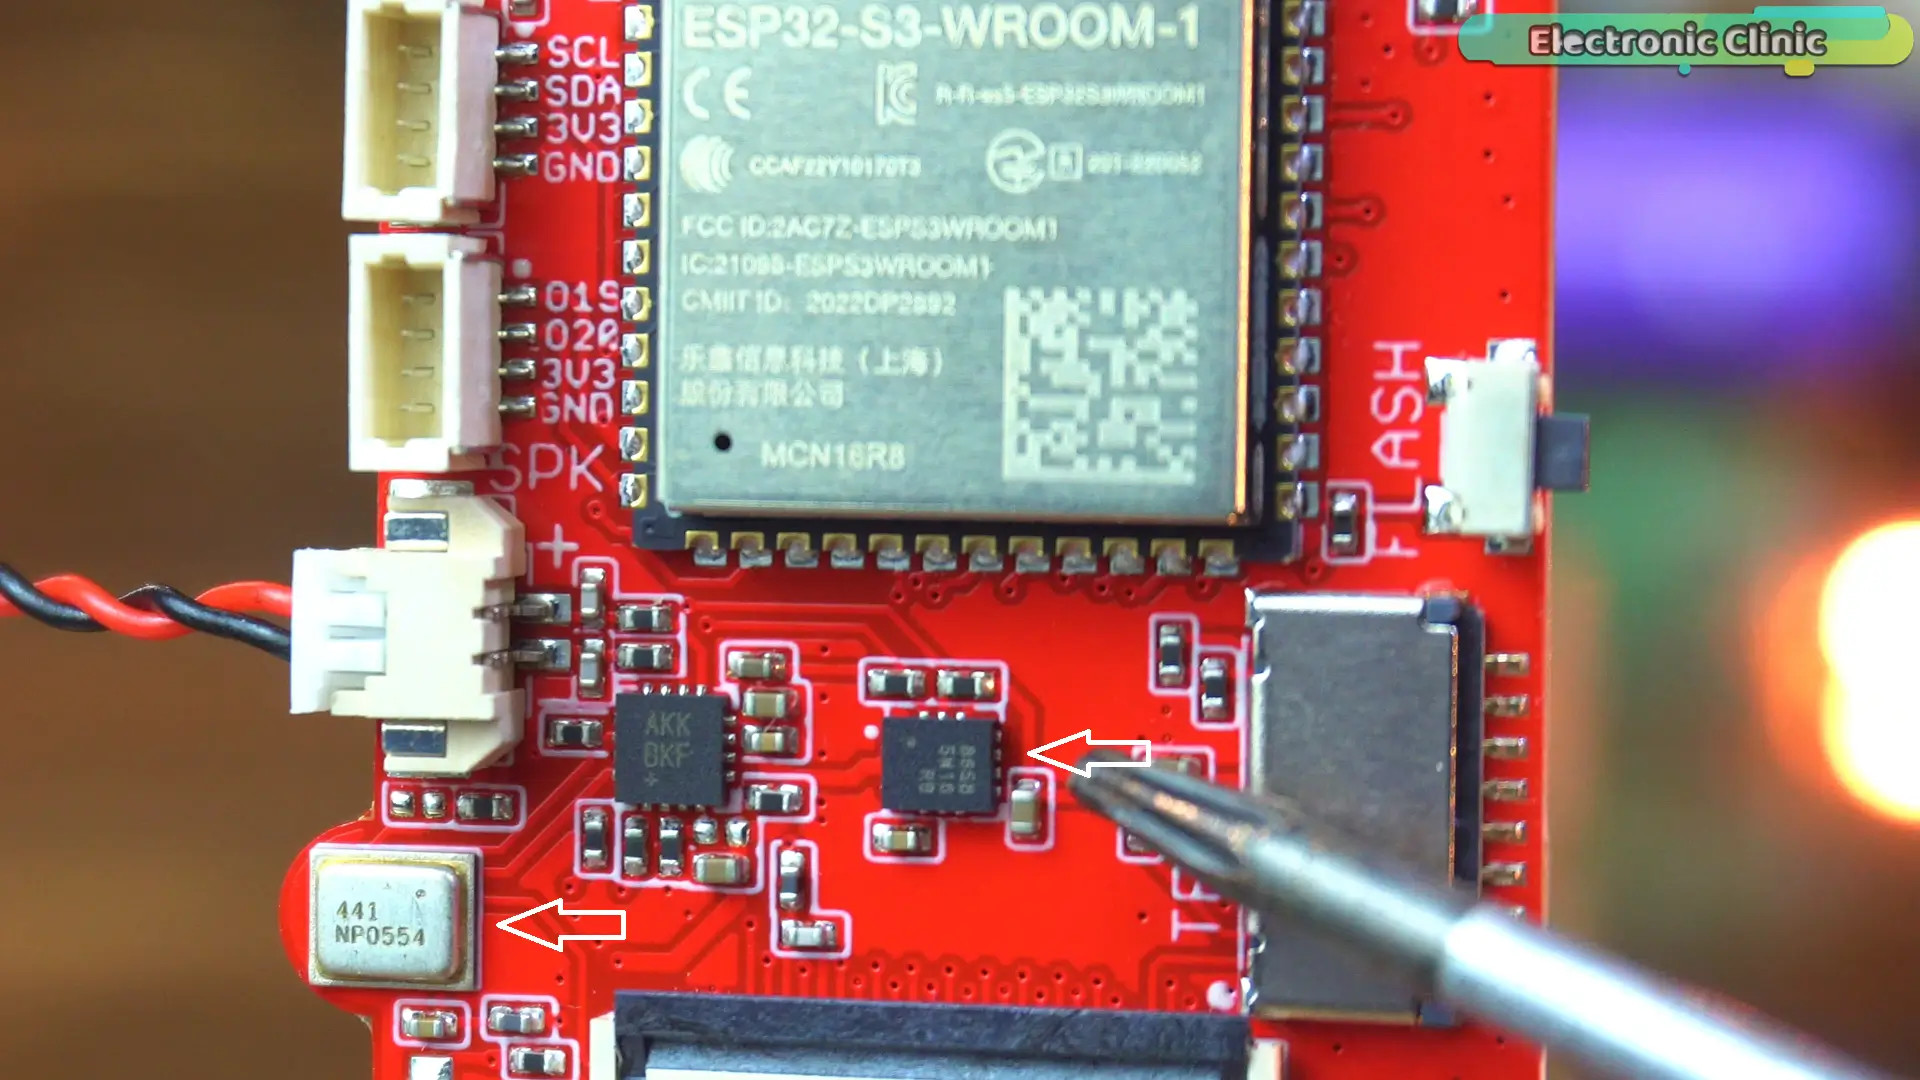
microphone, speaker, micro SD card slot,
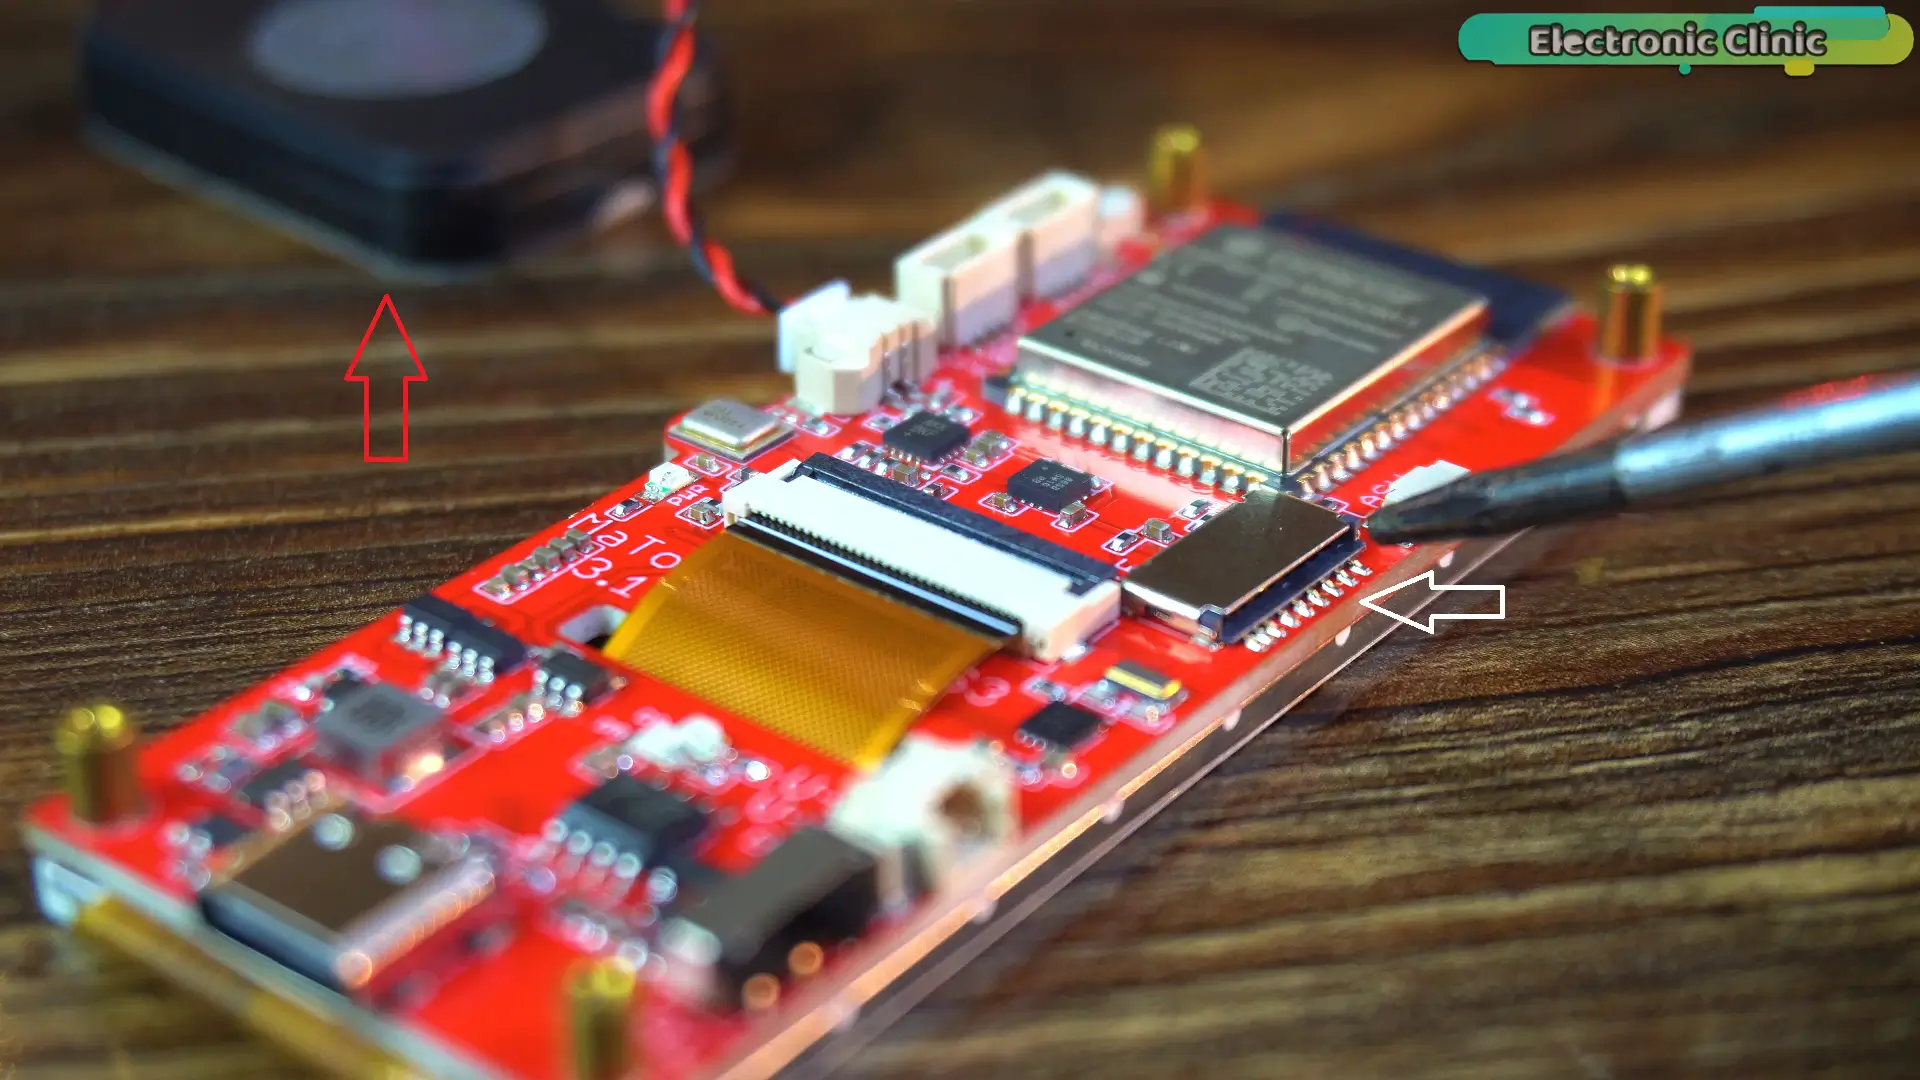
RTC chip, temperature sensor, a 3.16-inch display,
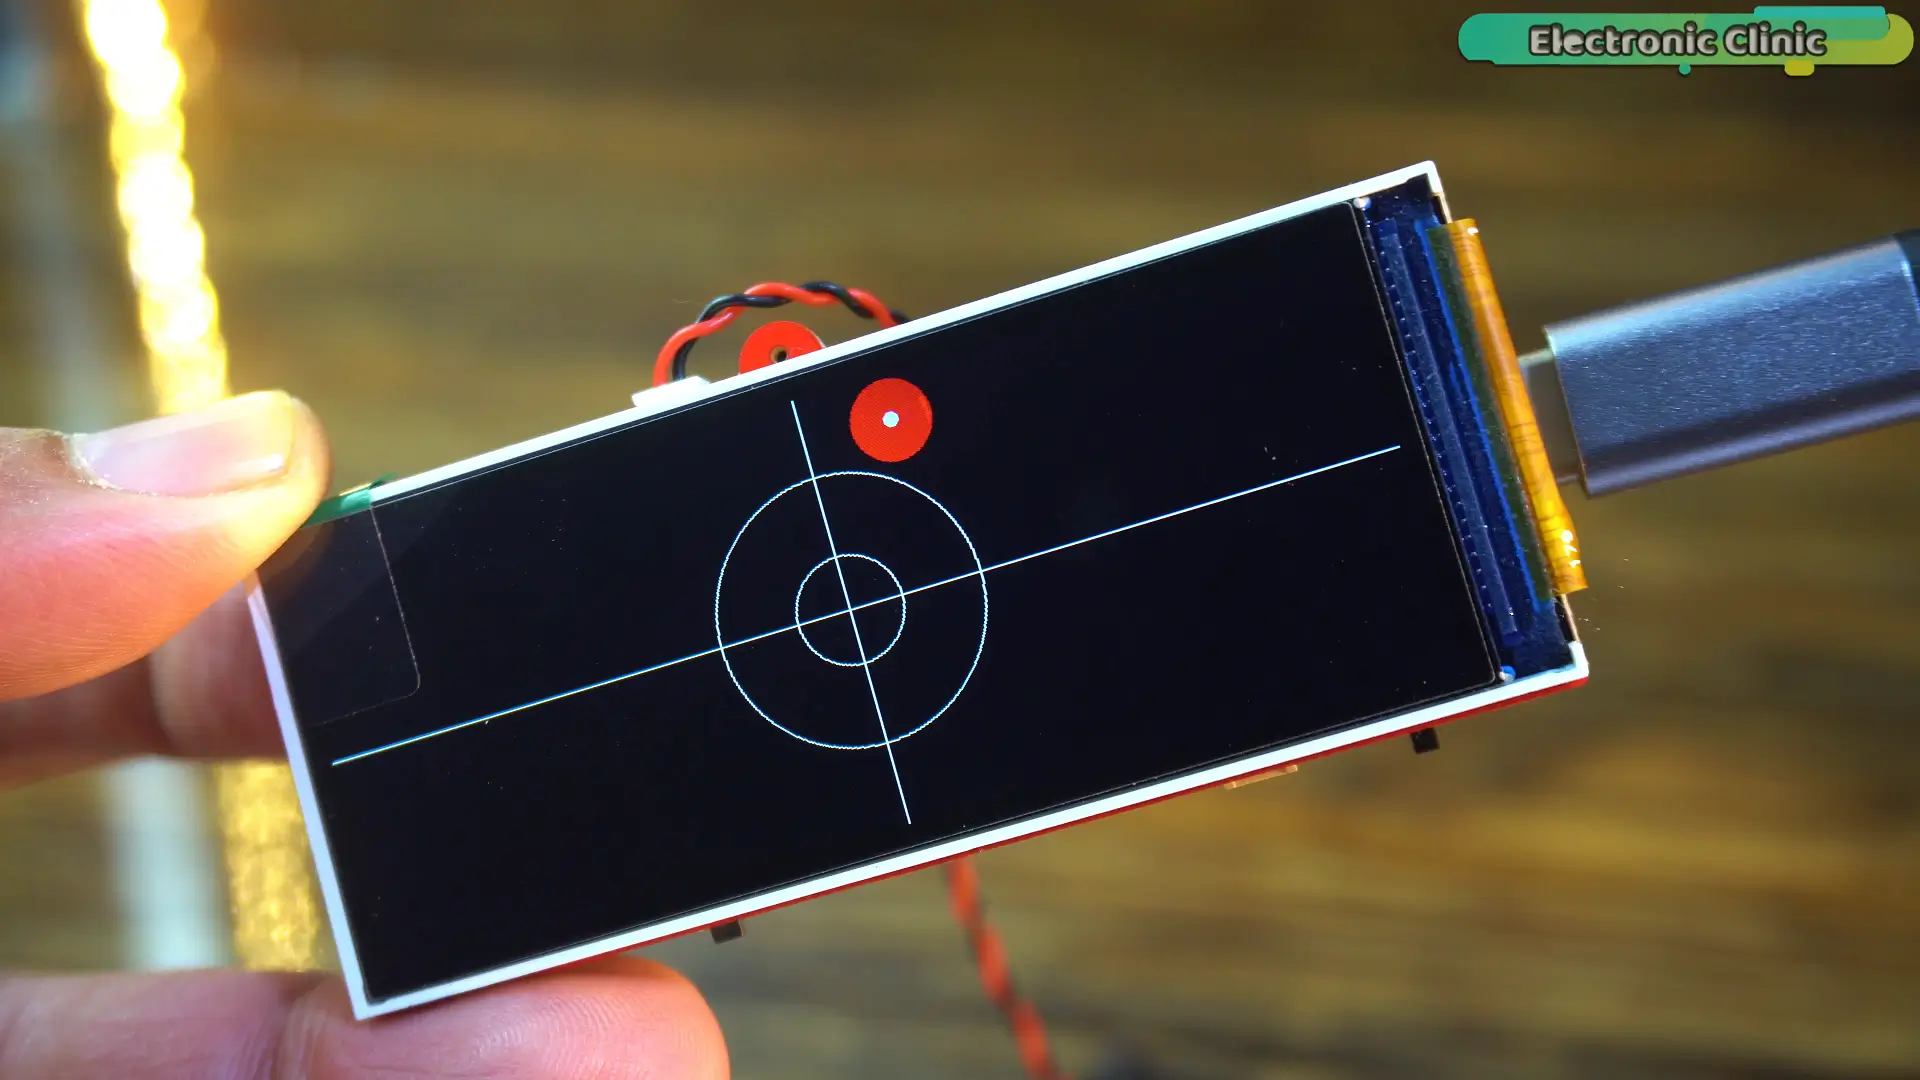
and the powerful ESP32-S3 with WiFi and Bluetooth 5.0
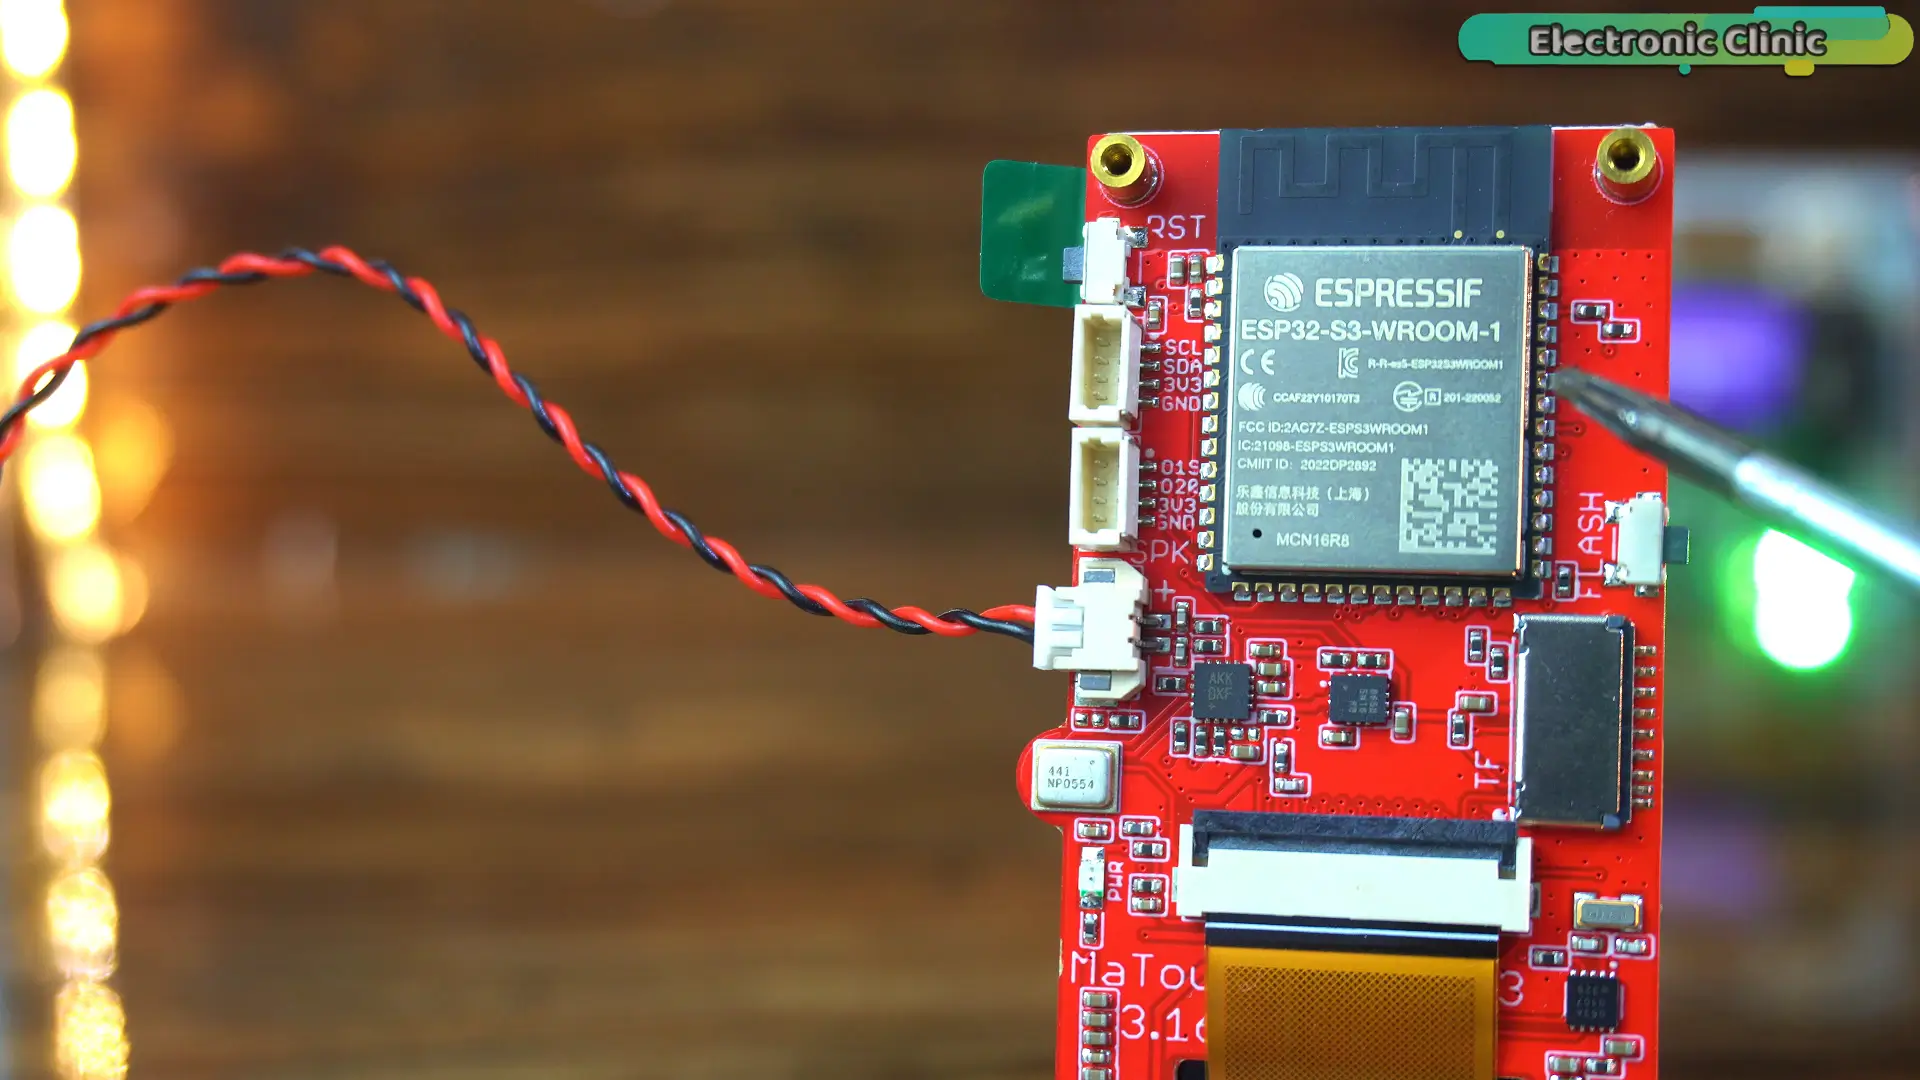
all on a single board, and far better in almost every way than the simple ESP32 Dev module.
This board is completely portable. It has a built-in lithium battery holder, and you don’t have to worry about safe charging because it comes with an onboard charging circuit that takes care of everything automatically. So many features packed into such a tiny board it’s honestly incredible.
And here’s the best part…
this board is completely open-source.
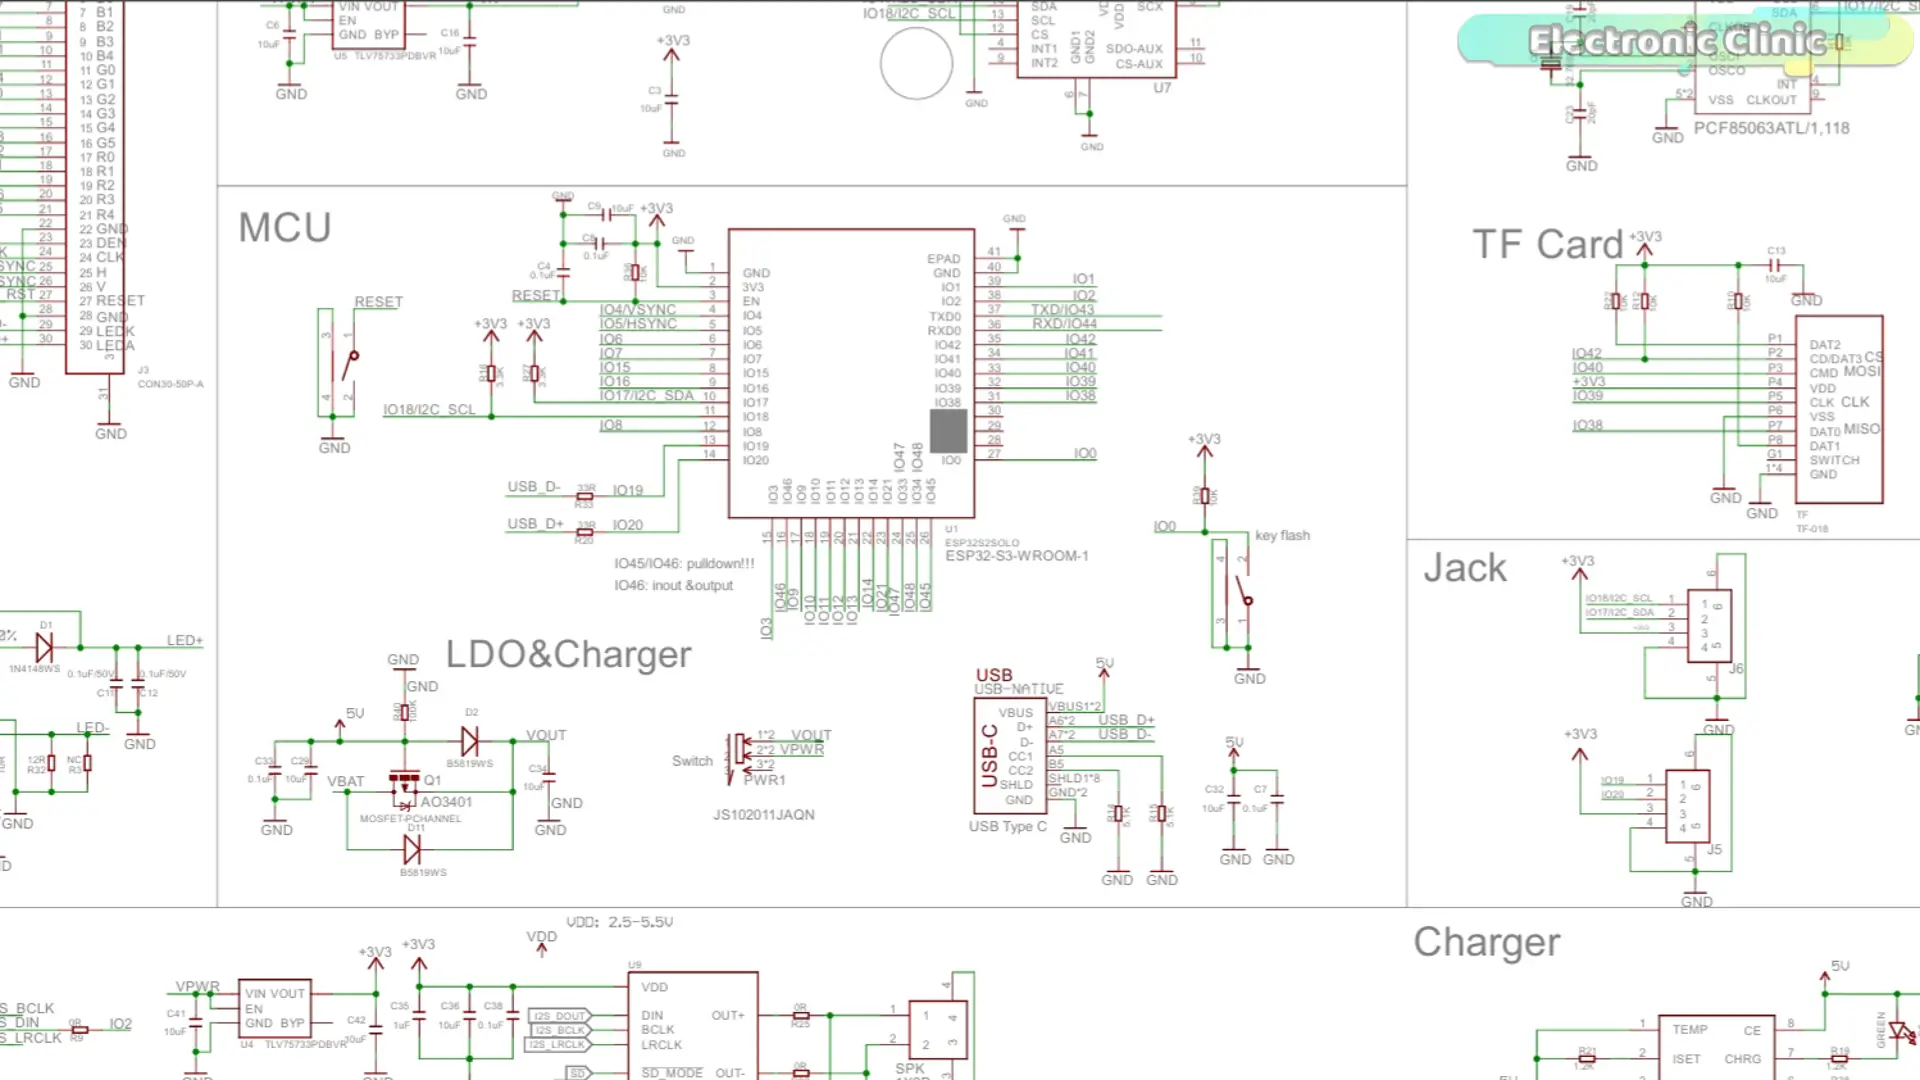
Which means… you can study the schematic…
and even build your own version of it.
And that’s exactly why… after a lot of testing and thinking…
I chose this board for you guys.
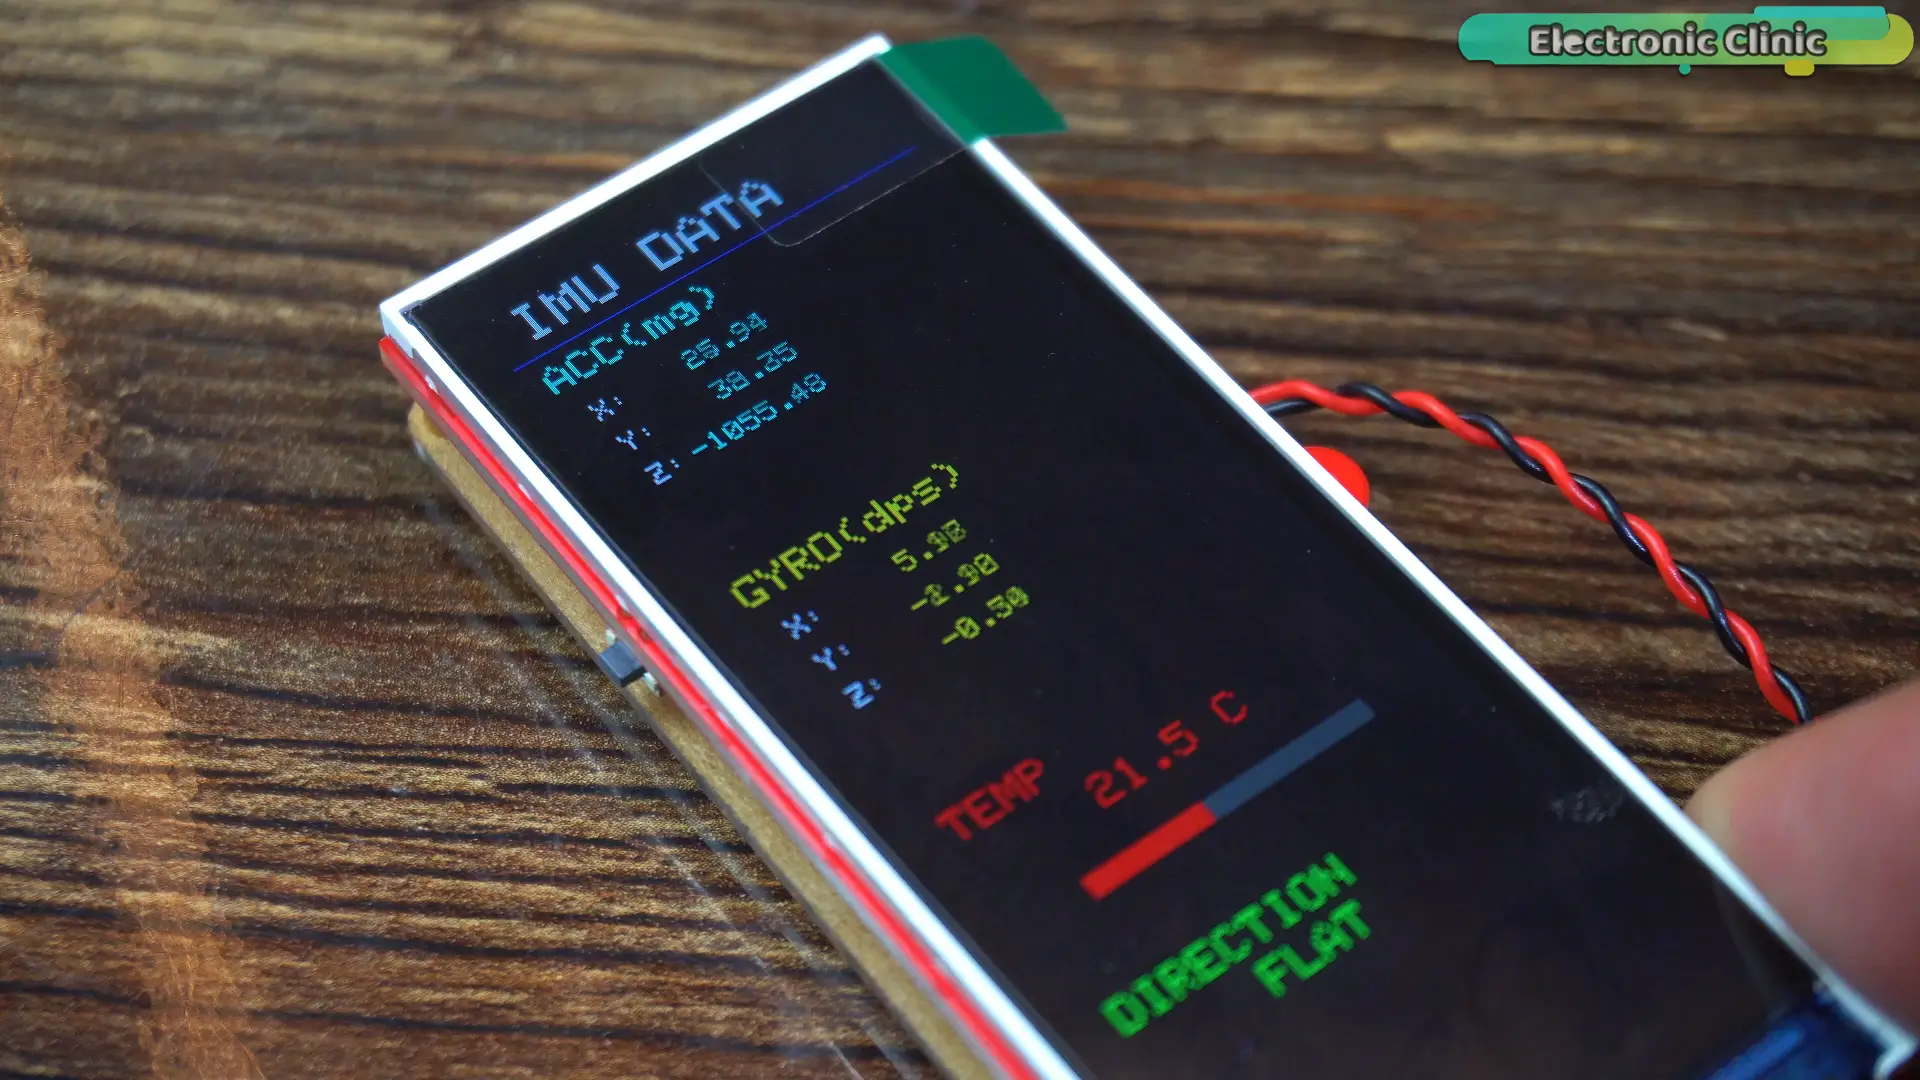
I have already made several articles on it…
I will link all of them in the description below.
Now… let’s talk about ElevenLabs.
So why ElevenLabs?
Why not other tools?
Because most Speech-to-Text systems work fine for short phrases…
But when you give them longer audio… they start missing words… or just stop working properly.
But ElevenLabs is different… it handles long recordings smoothly… and gives you clean, accurate text.
And I know a lot of you are wondering… is it free… or paid?
The good news is… you can start using it for free.
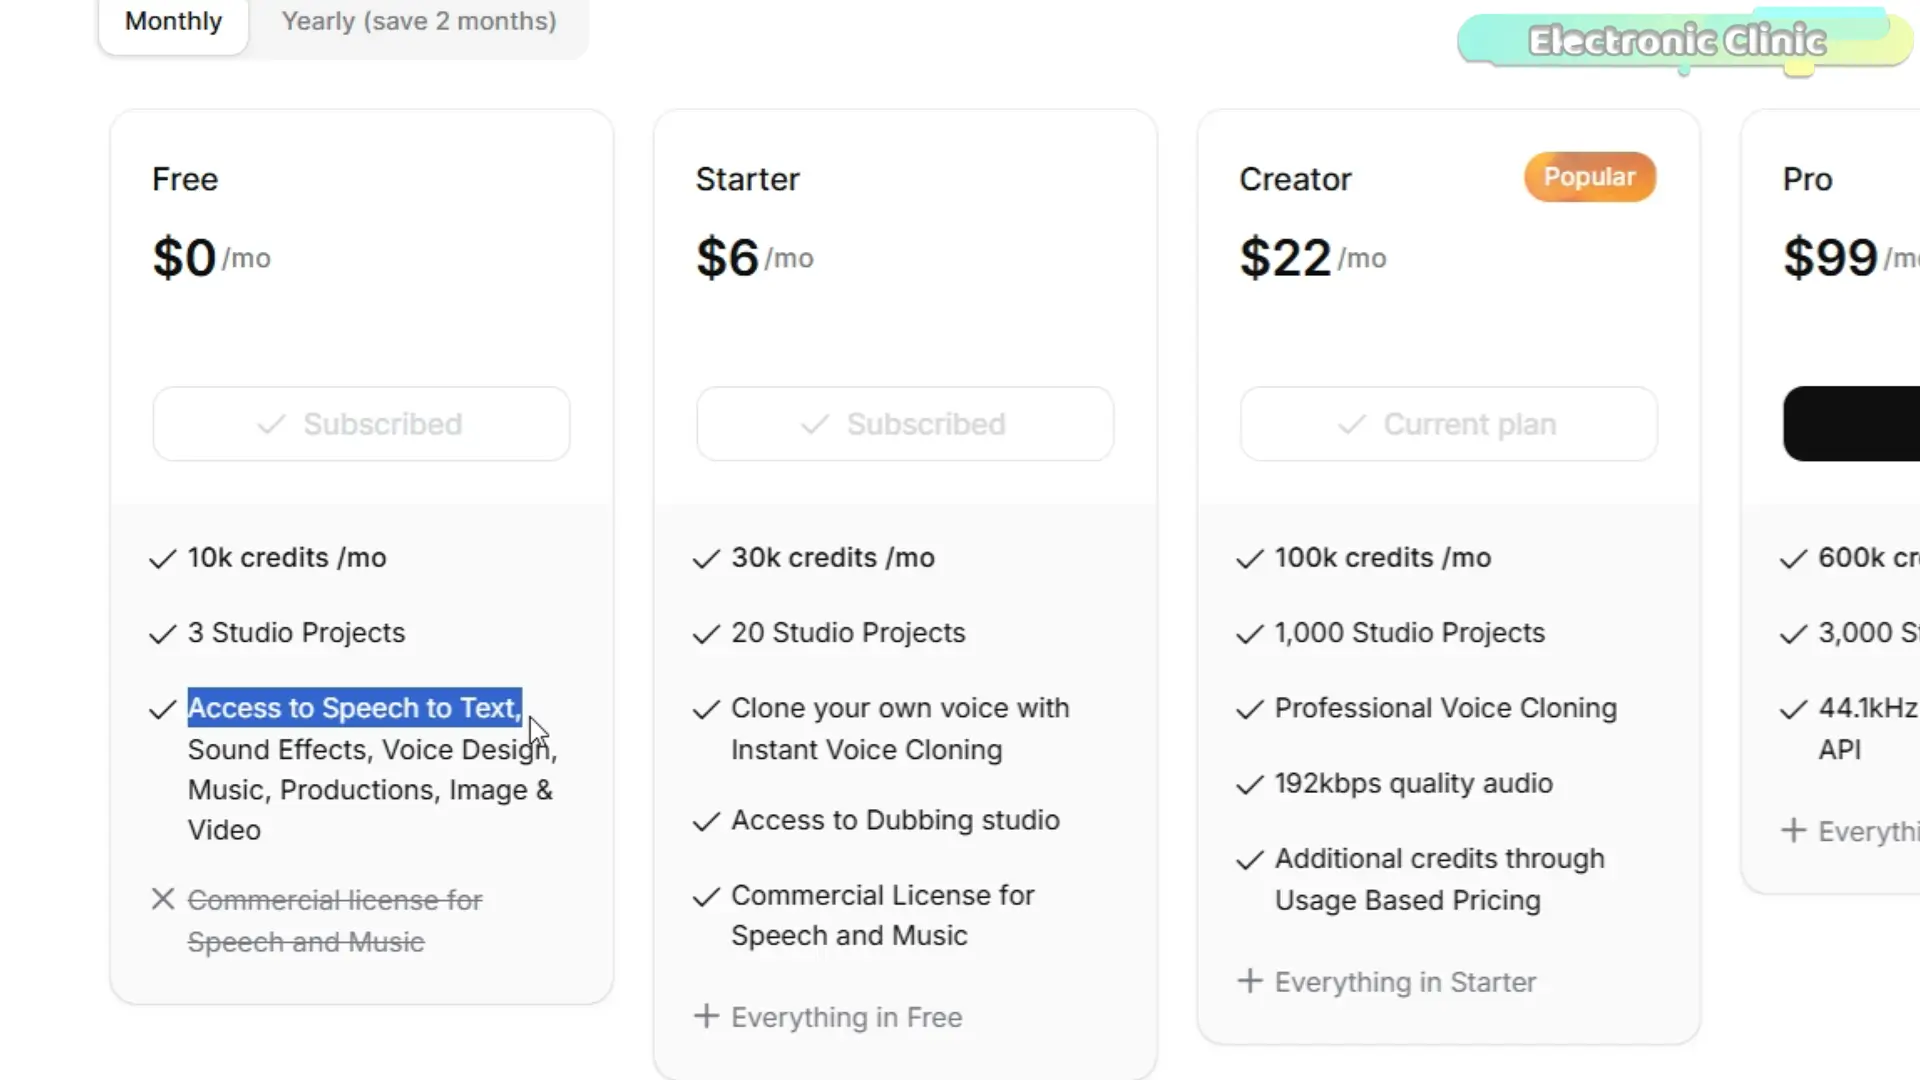
I am using the paid version right now… but the free plan works perfectly fine to get started.
Now let me show you how to get your API key…
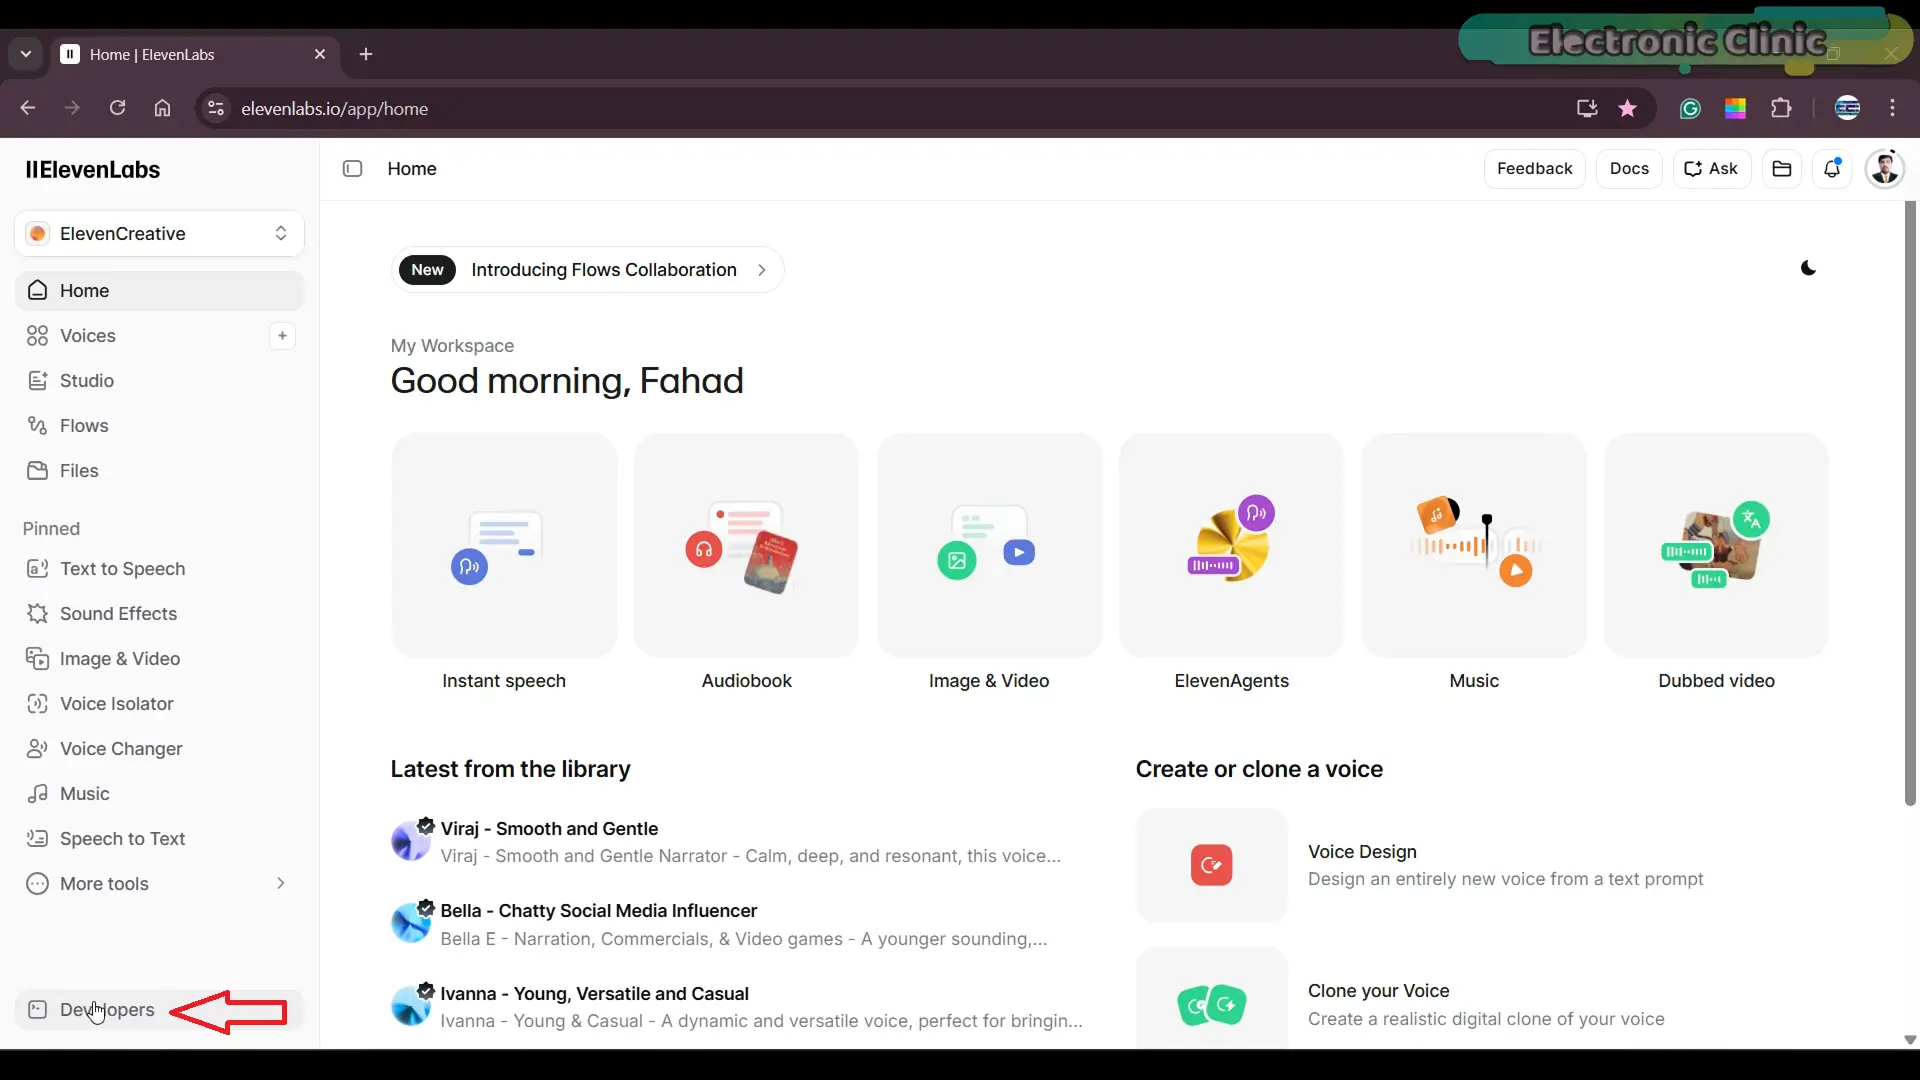
Once you log into your ElevenLabs account…
go to the bottom-left corner…
and click on ‘Developers’.
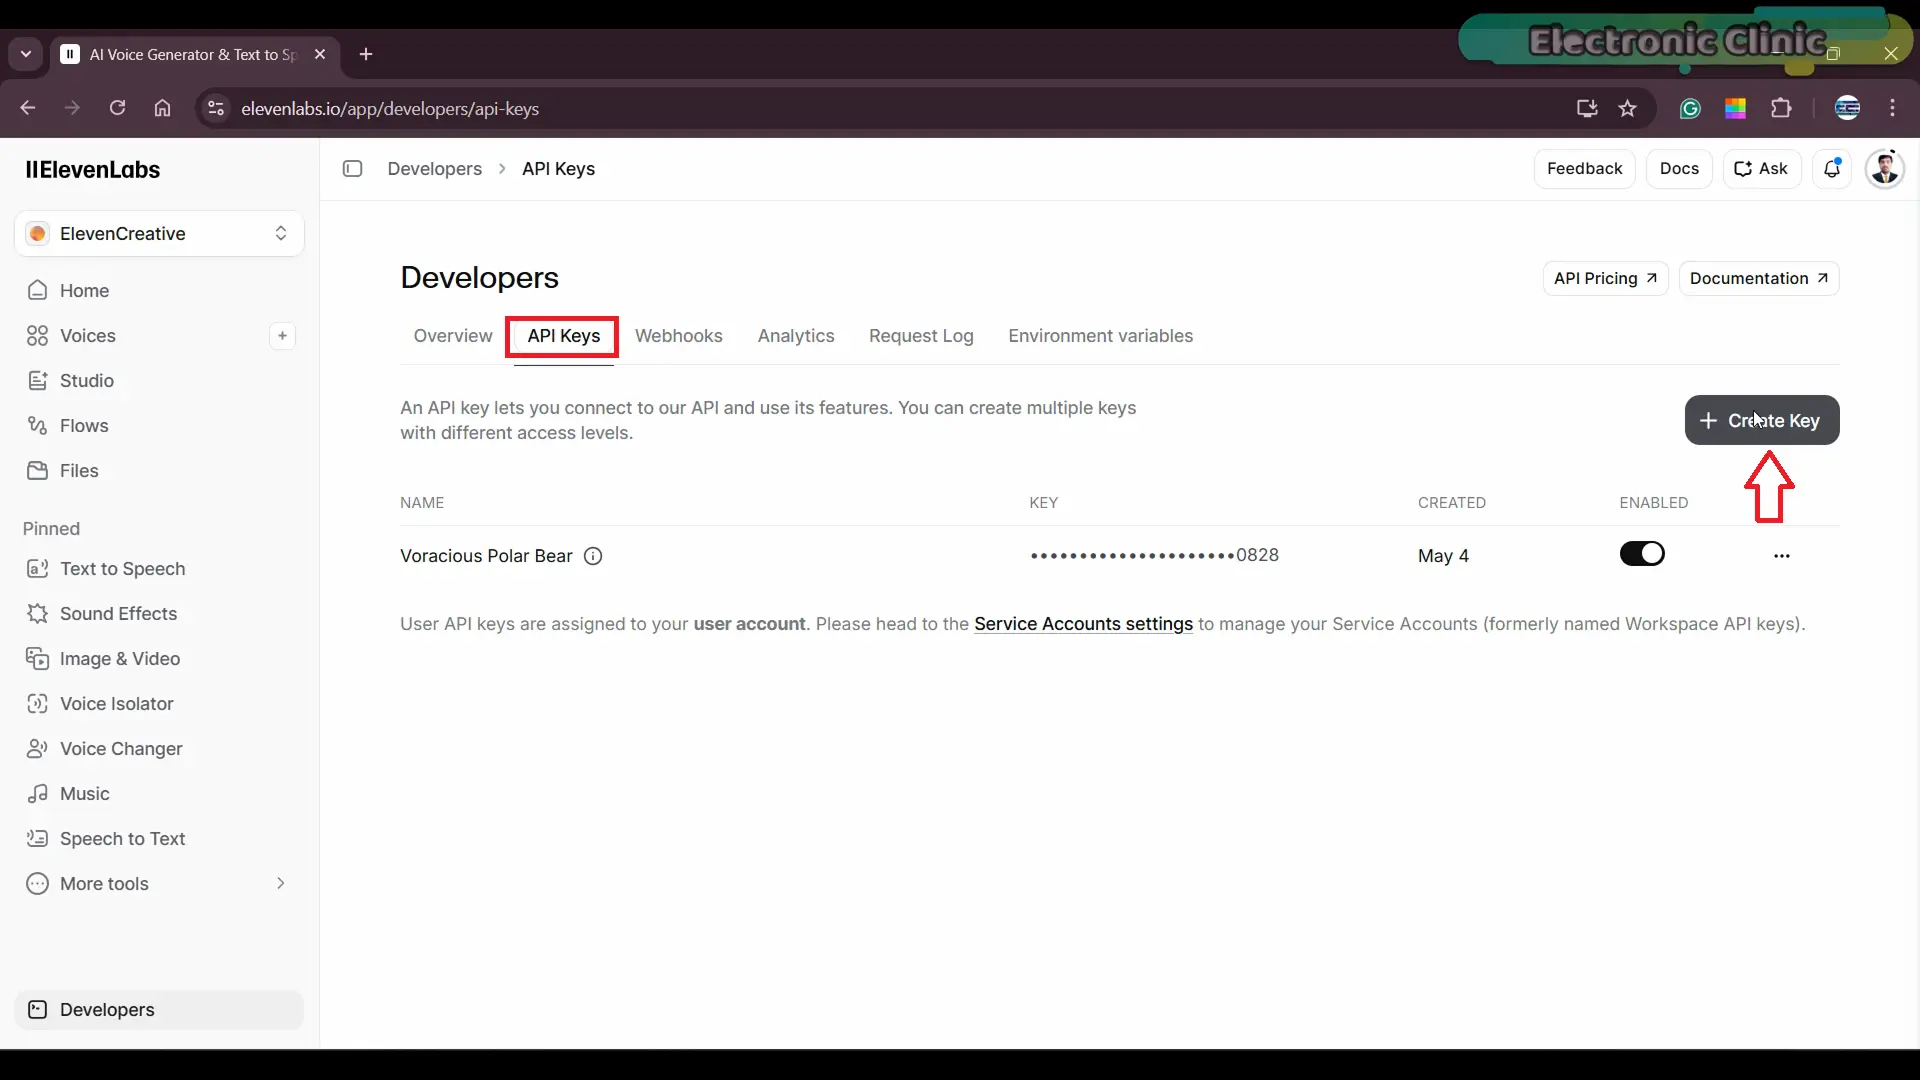
Then go to ‘API Keys’…
and click on ‘Create Key’.
Give your API key a name…
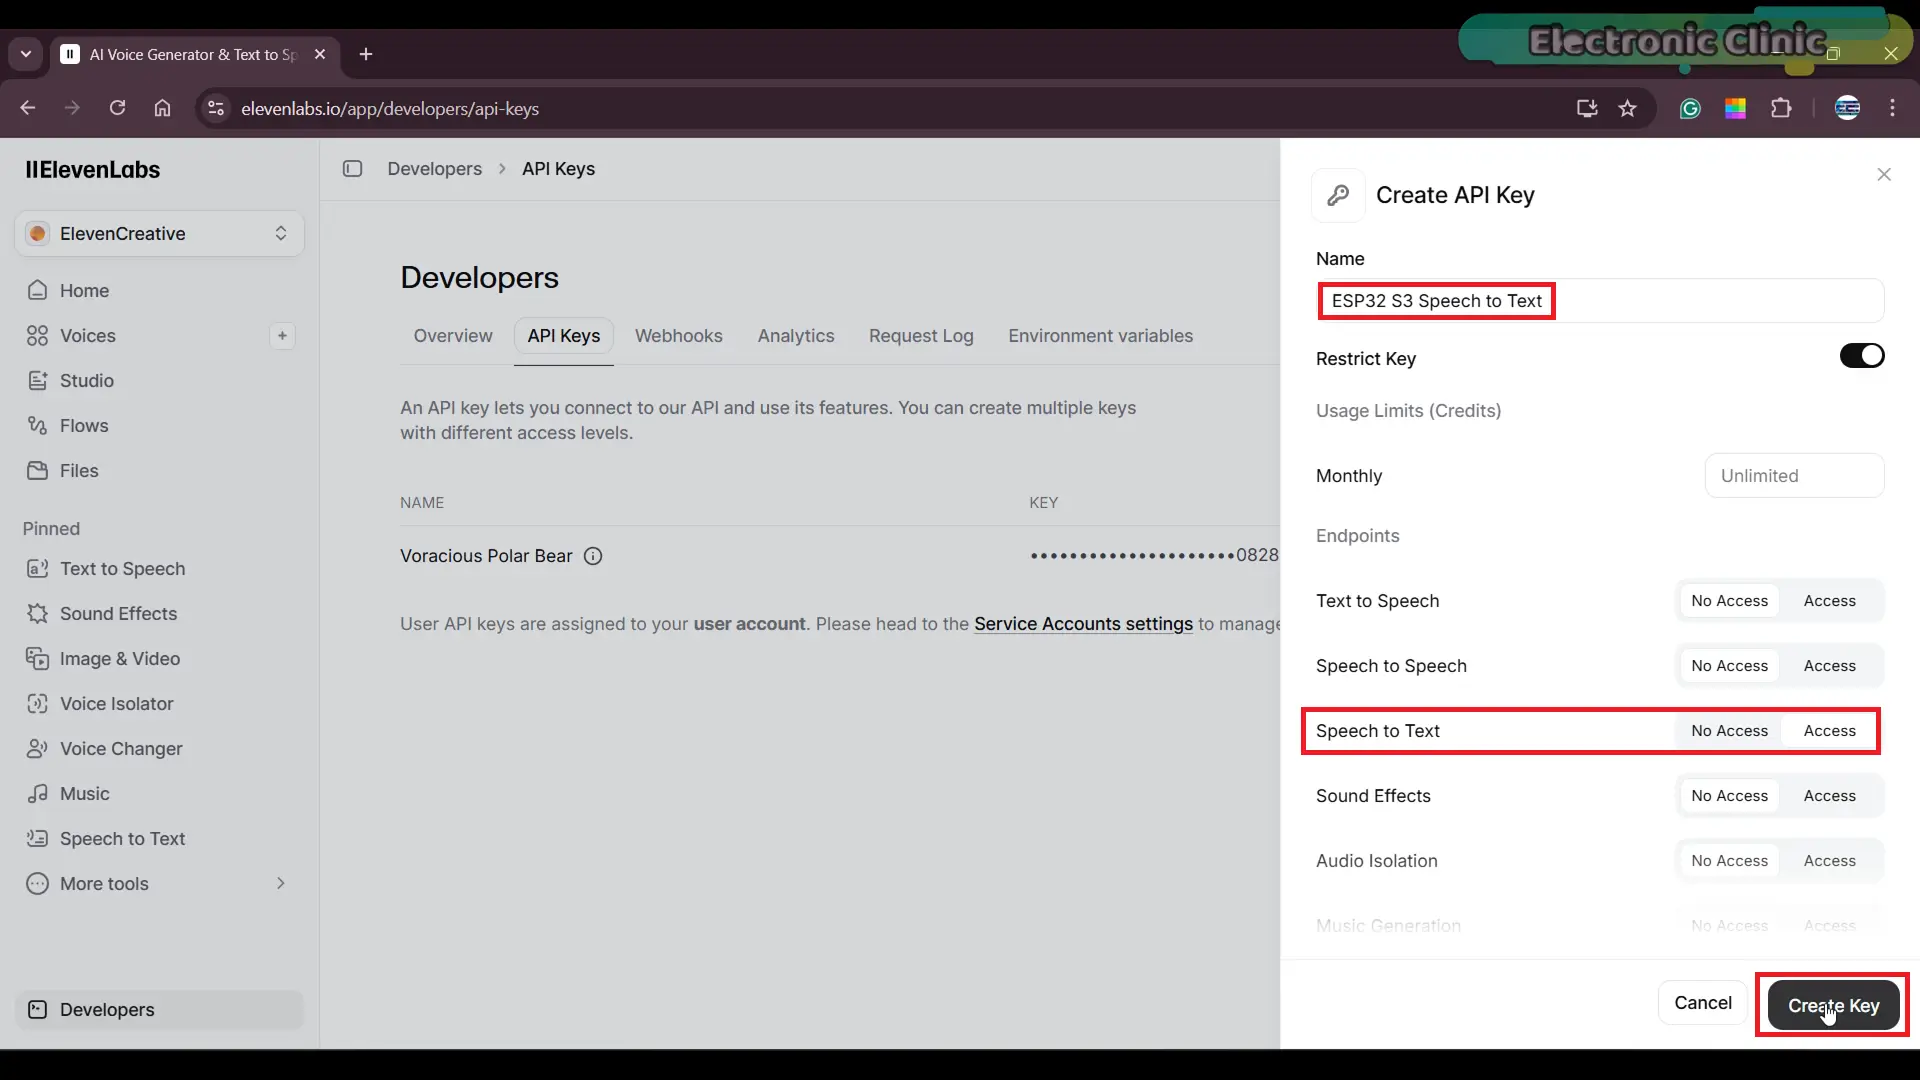
Next… select the services you want to use…
For example, I am using Speech-to-Text…
so I will enable that.
If you want to use other features later…
you can simply enable them here.
Then… click on ‘Create Key’…
And instantly… your API key is generated.
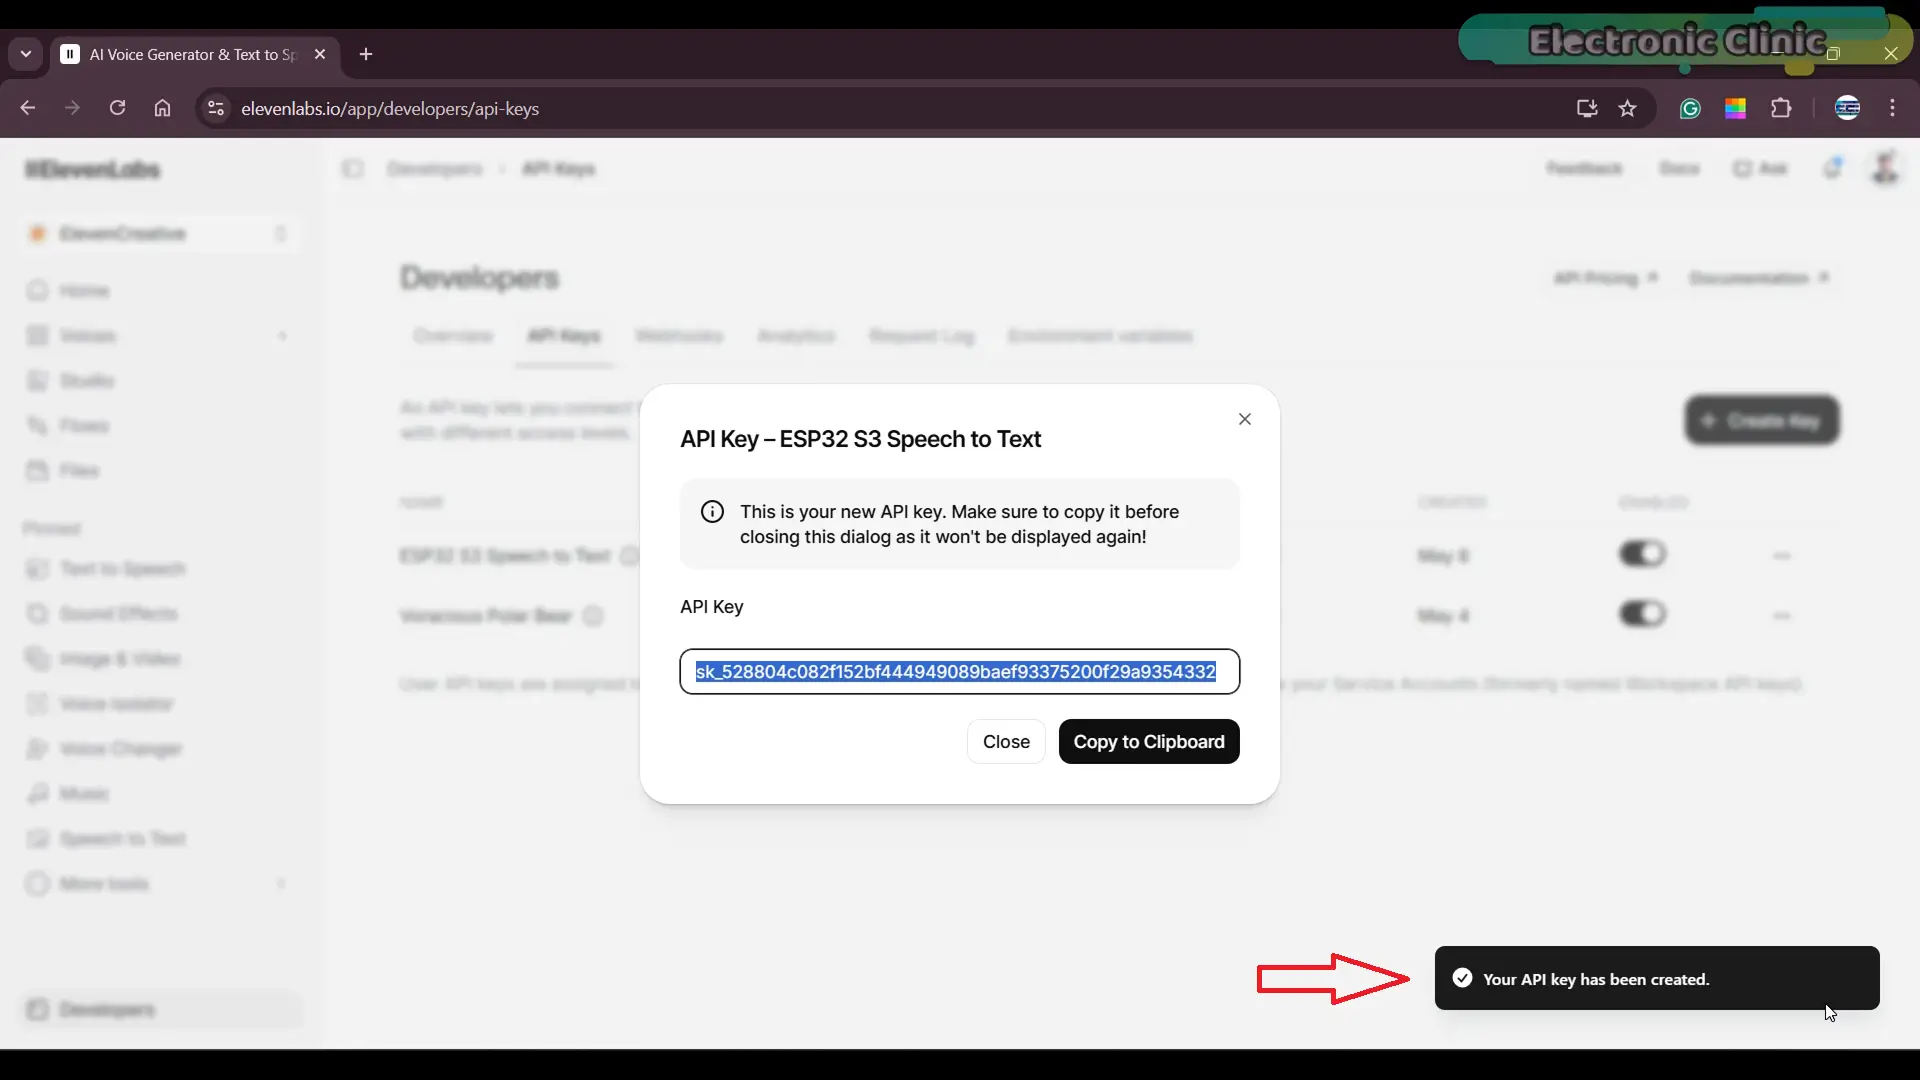
Now make sure you copy it and save it somewhere safe…
Because after this… you won’t be able to see it again.
And one important thing…
never share your API key publicly.
I have already created mine…
so I am just going to close this…
I will delete this one…
since I already have my API key…
and I have used it in the code.
Now… let’s move to the programming…
and see how everything works.
Speech To Text Programming:
First… let me quickly show you my software setup…
Right now… I am using Arduino IDE version 2.3.6…
and for the ESP32… I am using board package version 2.0.11.
First… we include all the required libraries…
#include <WiFi.h>
#include <HTTPClient.h>
#include <ArduinoJson.h>
#include <SPI.h>
#include <SD.h>
#include <driver/i2s.h>
#include <Arduino_GFX_Library.h>
#include <QMI8658.h>
I have already explained these libraries in my previous articles…
so I won’t go into too much detail here.
But just to give you a quick idea…
WiFi → for internet connection
HTTPClient → to send data to ElevenLabs
ArduinoJson → to read the response
SD + SPI → to save audio files
I2S → for microphone input
Display library → to show text on screen
IMU sensor → to detect shake
Next… we define WiFi credentials…
and the ElevenLabs API key…
const char* ssid = “fahad”;
const char* password = “fahad123”;
const char* elevenlabs_key = “sk_74fe6744a5ffbd2662ff6e978292b6ec2517a08bec090828”;
This API key is very important; because it connects our ESP32 to the ElevanLabs AI.
Here… we define all the pins…
#define I2S_BCLK 44
#define I2S_LRC 43
#define I2S_DIN 2
#define I2S_DOUT 19
#define SD_CS 42
#define SD_MOSI 40
#define SD_MISO 38
#define SD_SCK 39
#define TFT_BLK 46
#define SDA 17
#define SCL 18
These pins connect the microphone…
SD card… display… and sensors.
Next… we configure the audio…
#define SAMPLE_RATE 16000
#define BUFFER_SIZE 1024
We use 16 kHz sample rate…
which is good for voice recording.
Now we initialize the display…
Arduino_RGB_Display *gfx = new Arduino_RGB_Display(…);
This is where we show status messages…
and the final converted text.
bool isRecording = false;
String currentFilename = “/rec.wav”;
This tells us if recording is ON or OFF…
and where the audio is saved.
void updateStatus(String msg, uint16_t color)
This shows messages like LISTENING… DECODING…
void showTranscription(String text)
This displays the final text on screen.
if (!isRecording) {
recFile = SD.open(currentFilename, FILE_WRITE);
initMic();
isRecording = true;
}
When you shake the device first time…
recording starts… and audio is saved.
isRecording = false;
i2s_driver_uninstall(I2S_NUM_0);
Second shake… recording stops.
writeWavHeader(recFile, dataSize);
This makes the audio file valid…
so AI can read it.
http.begin(“https://api.elevenlabs.io/v1/speech-to-text”);
http.addHeader(“xi-api-key”, elevenlabs_key);
int code = http.POST(payload, totalLen);
Here we send the audio to ElevenLabs…
deserializeJson(doc, response);
return doc[“text”].as<String>();
AI sends back text…
and we extract it here.
showTranscription(result);
Finally… we display the text on screen.
if (deltaX > 1150)
This detects shake using IMU sensor.
So the full process is simple…
Shake… speak… shake again…
and your voice turns into text.
Uploading the Program:
To upload the program, here is what you need to do:
First, go to the Tools menu > Board > ESP32, and select ESP32S3 Dev Module.
Go back to the Tools Menu > Port, and choose the correct communication port.
Again to the tools menu > Flash Size, and select 16MB.
Again go to the Tools menu > Partition Scheme and select 16M Flash
And one last time, go to Tools Menu > PSRAM, and select OPI PSRAM.
Once these settings are done, you can simply click the Upload button.
As you can see, the program has been successfully uploaded.
Speech To Text Practical Demonstration:
For this demo, I am going to remove the speaker…
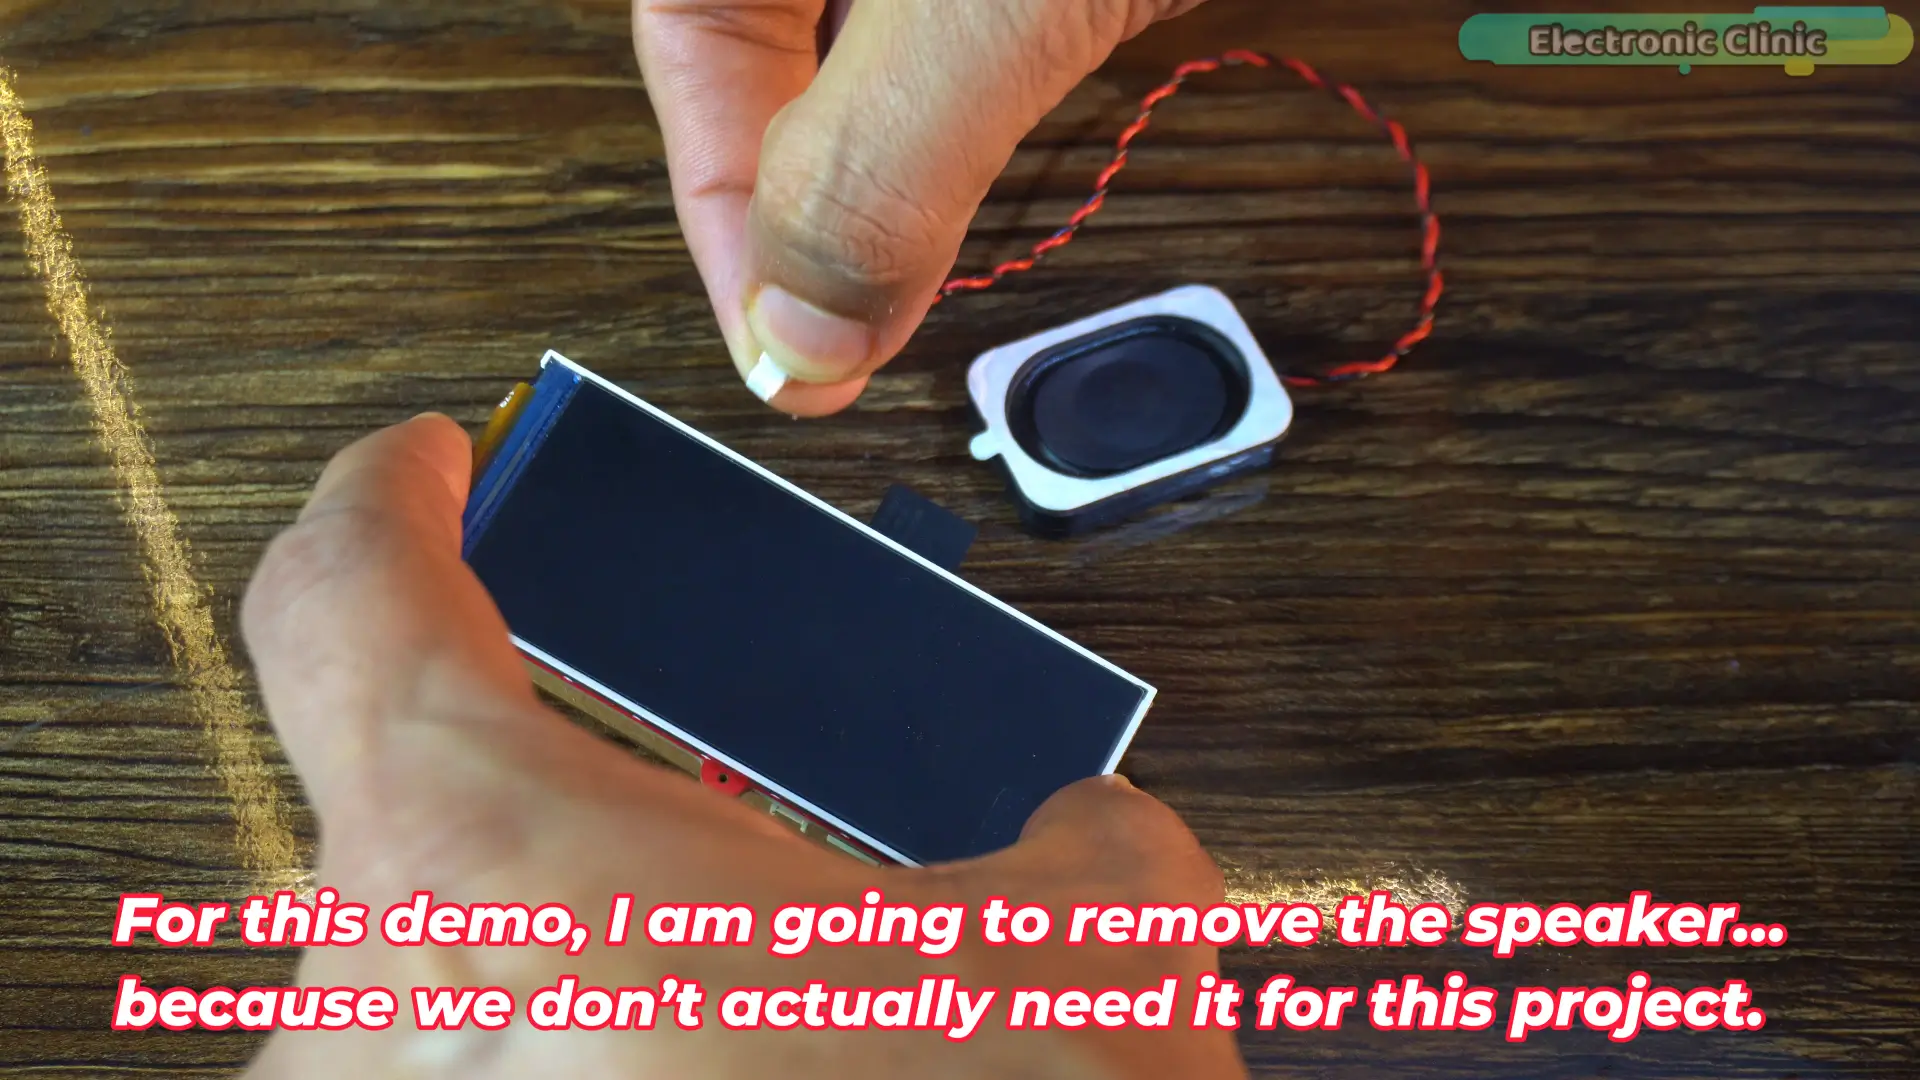
because we don’t actually need it for this project.
Alright… this is it… the device is fully ready… and already connected to WiFi.
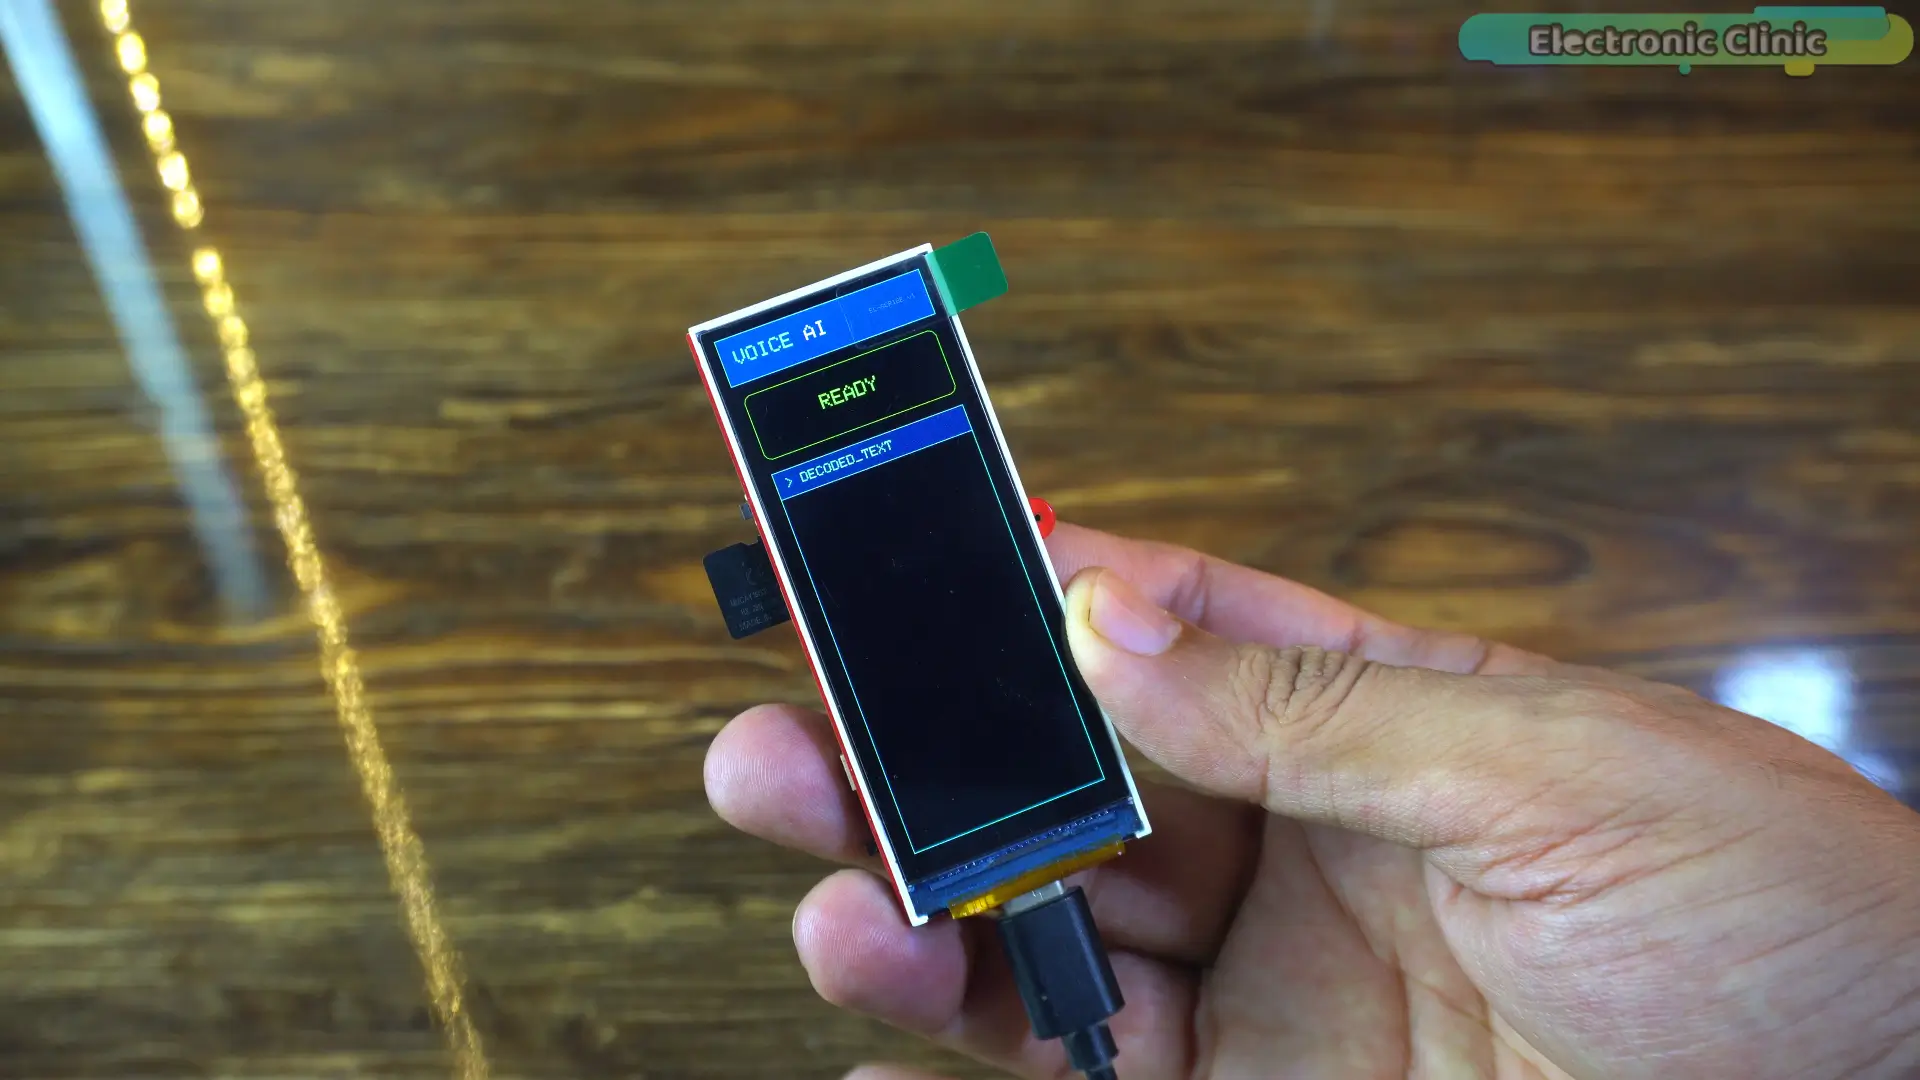
Right now… it’s just waiting for me to speak…
No buttons… no setup…
The moment I shake it… it starts listening…
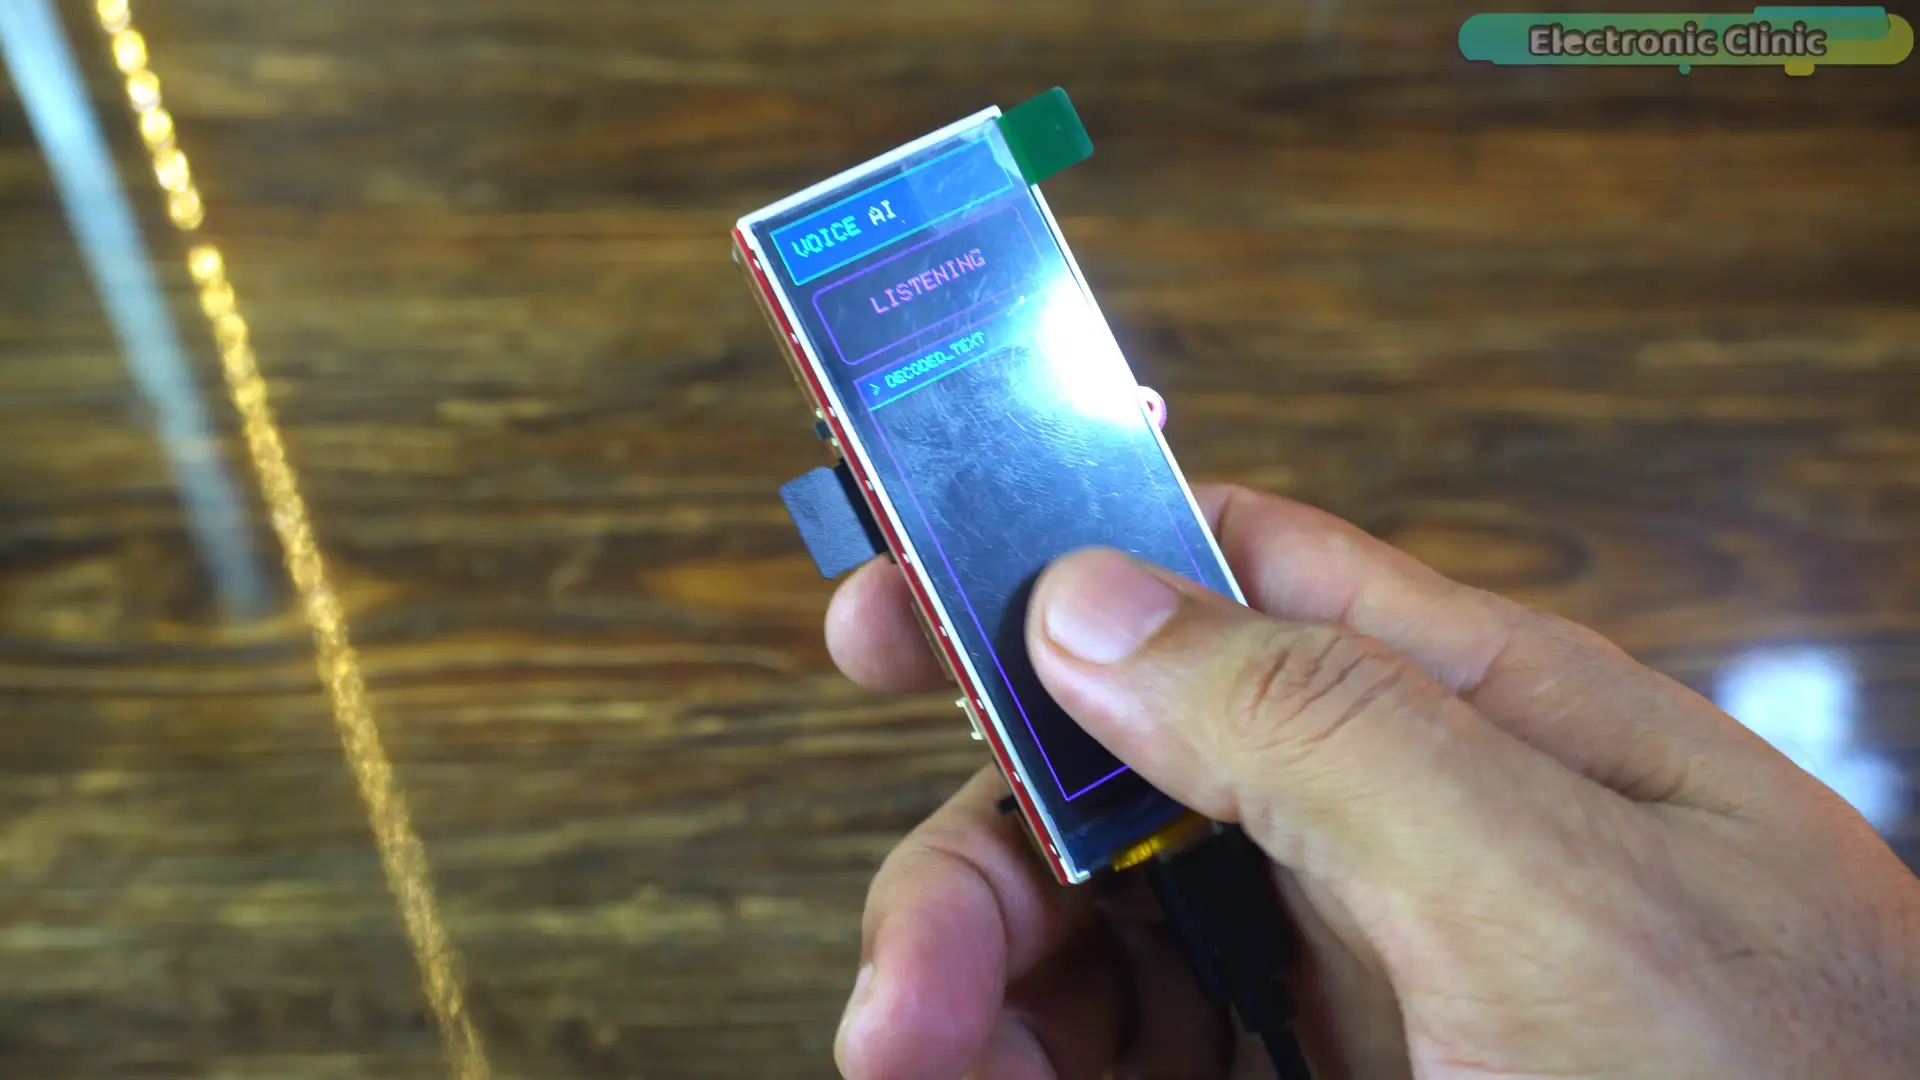
After I am done… I shake it again…
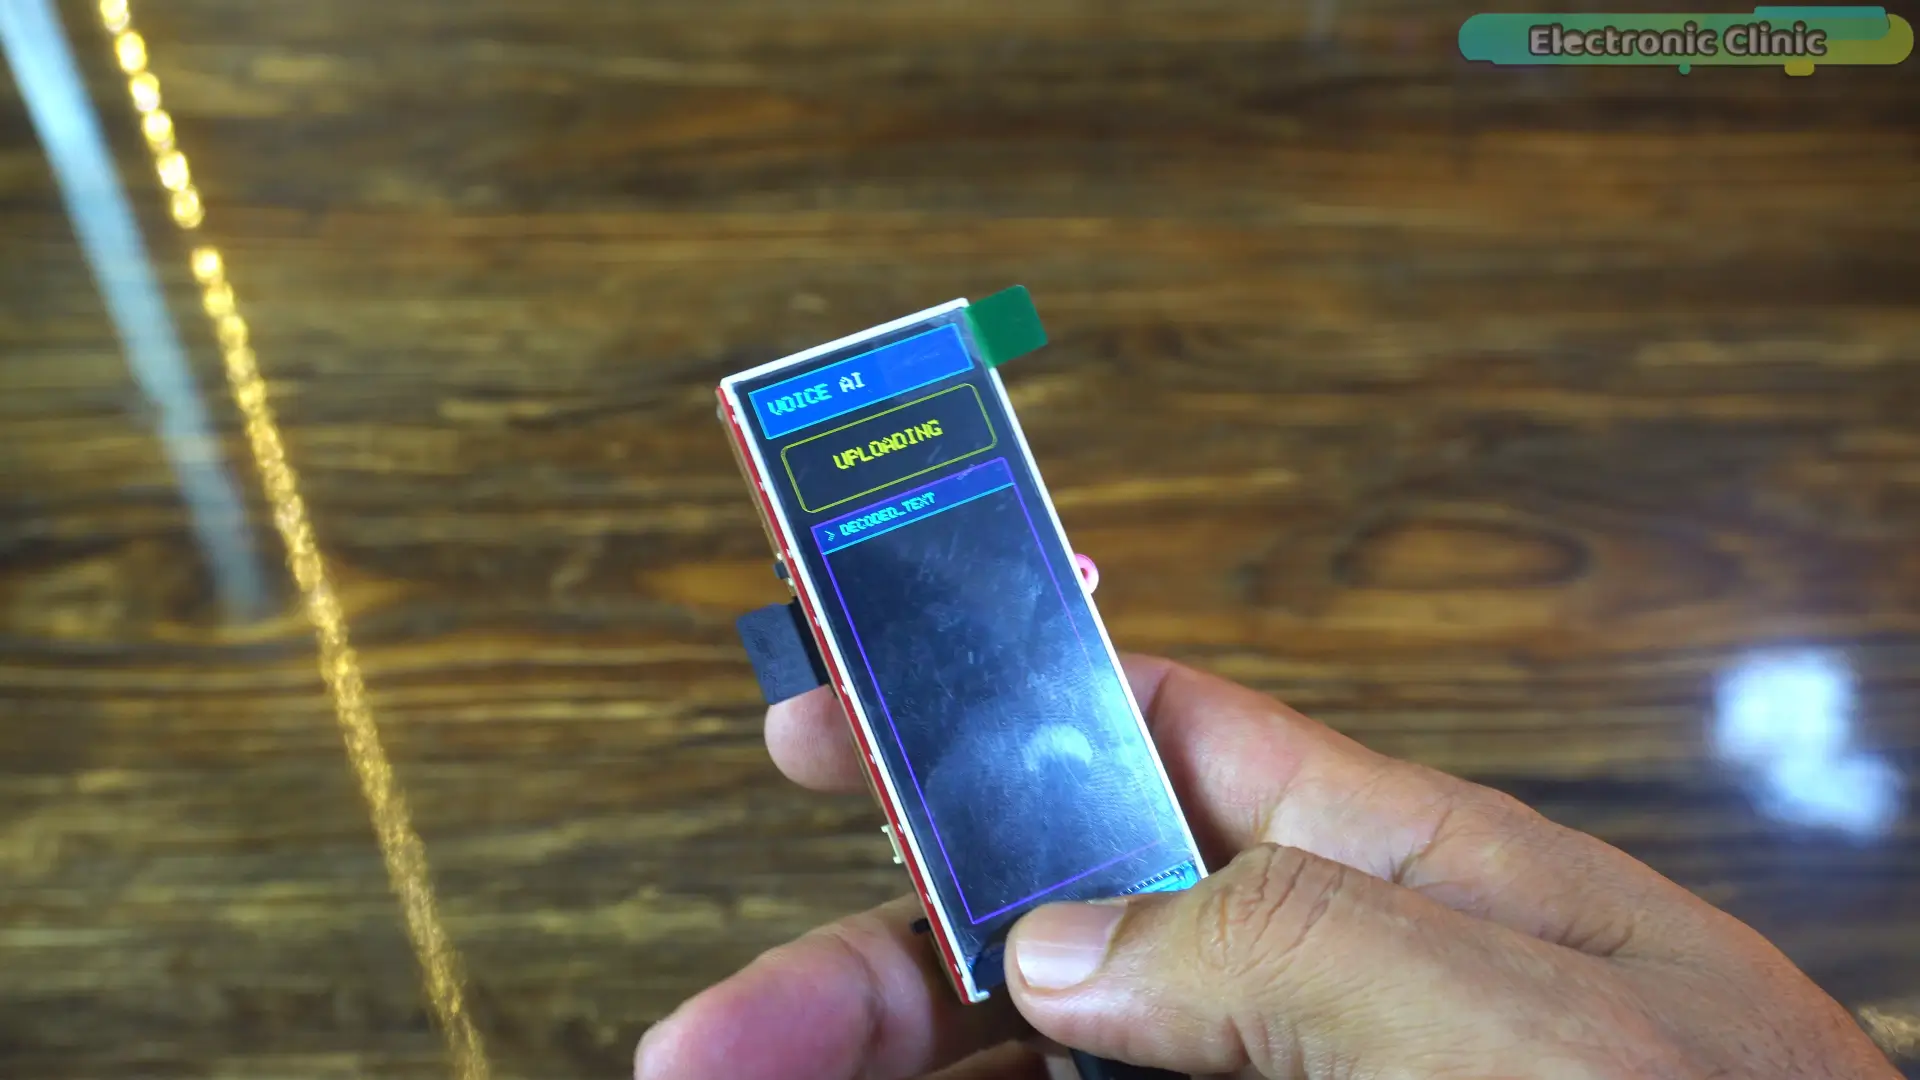
then it sends the audio to ElevenLabs…
and within a few seconds…
you will see the final text right here.
Let’s test it… and see how accurate it really is…
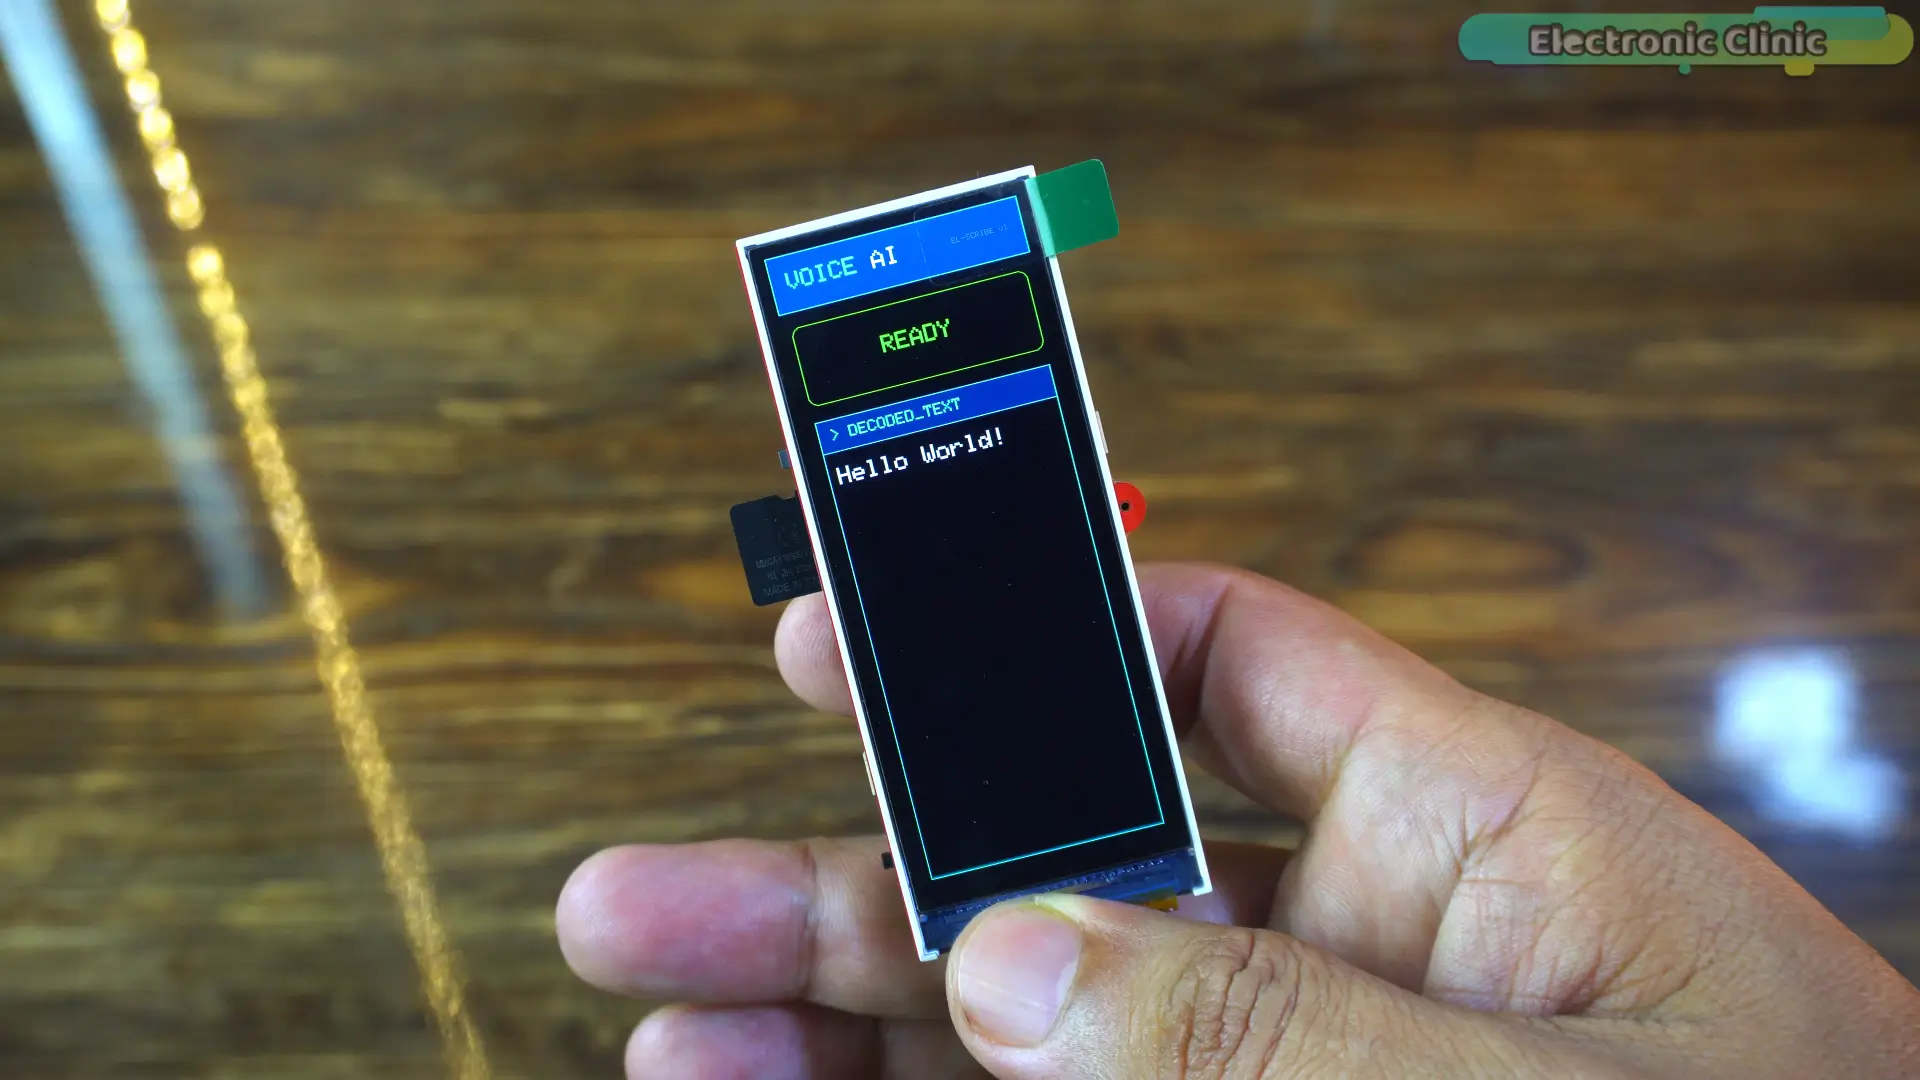
Hello world
Two or three words…
most Speech-to-Text models can handle that easily.
But the real challenge…
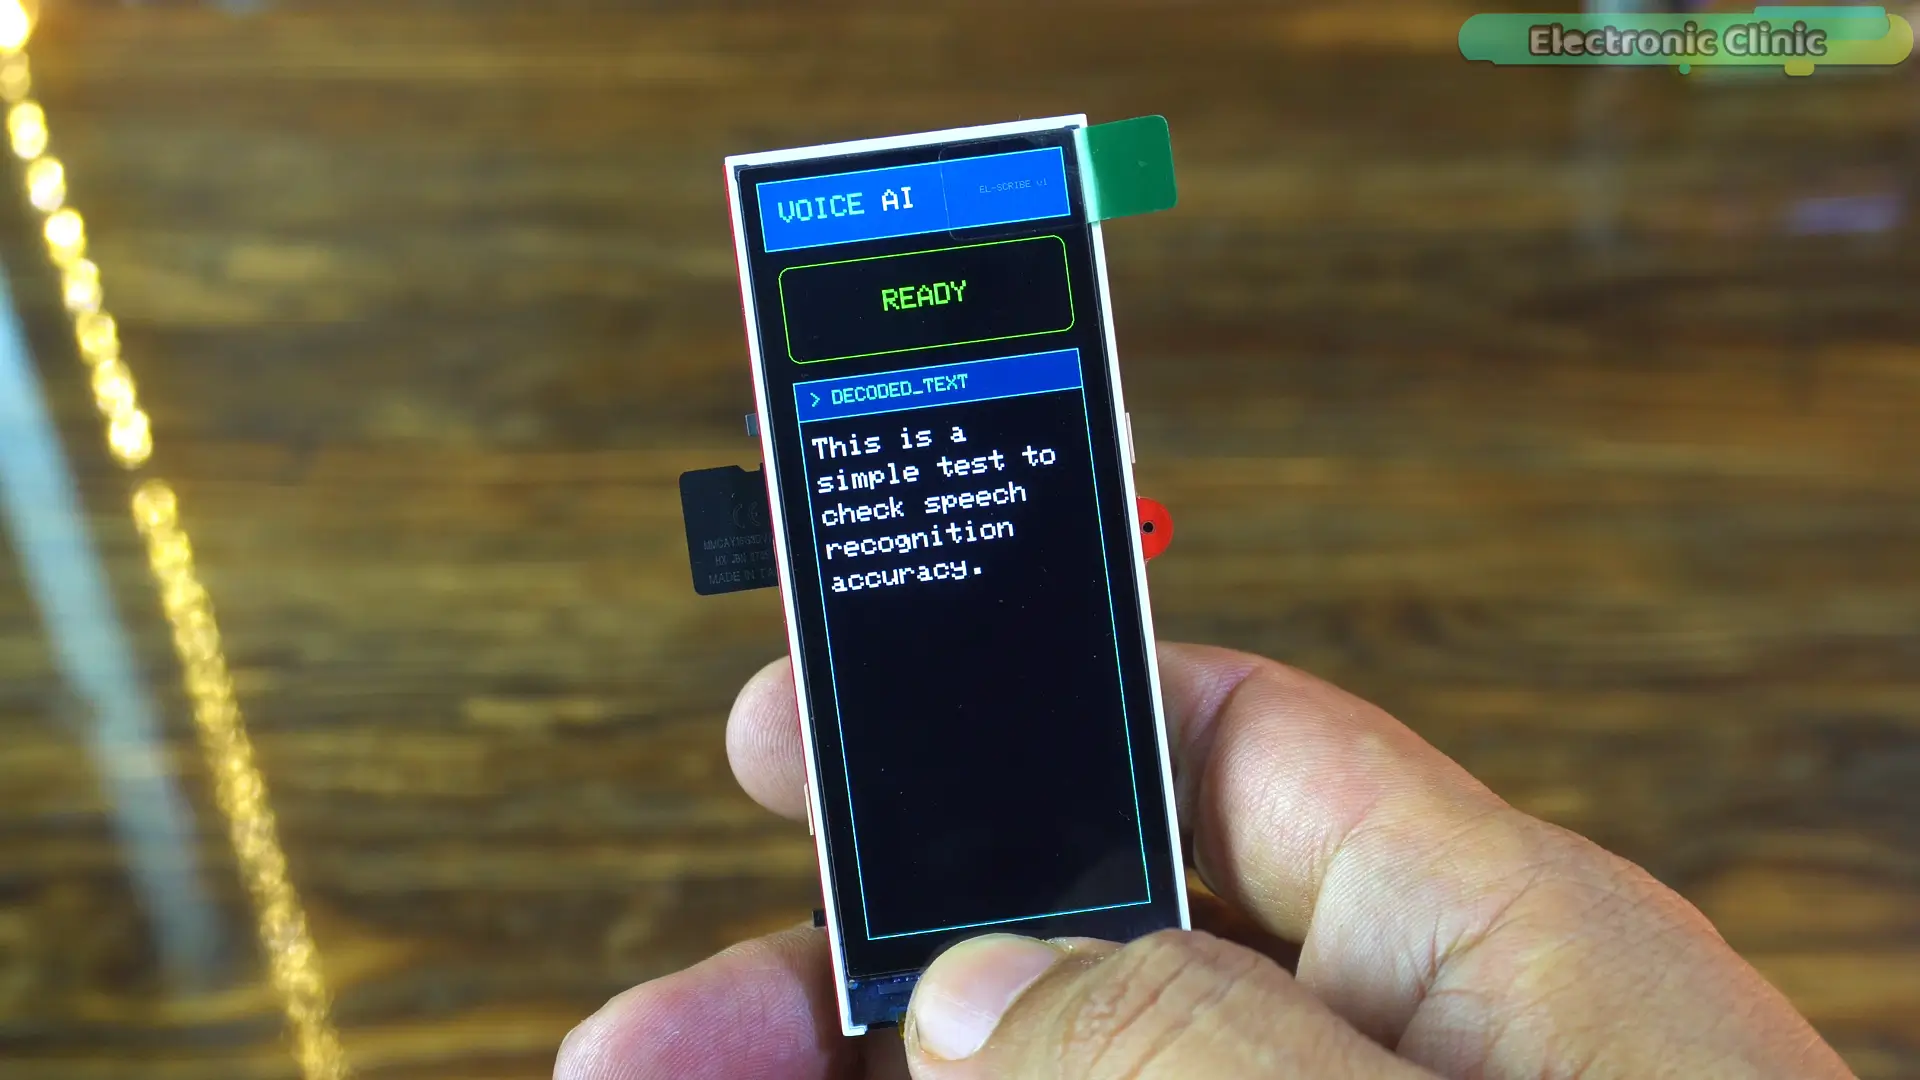
is when you start speaking longer sentences.
This is a simple test to check speech recognition accuracy.
Now let’s push it further…
This device records my voice, sends it to the cloud, and converts it into accurate text using AI, even when I speak longer sentences without stopping.
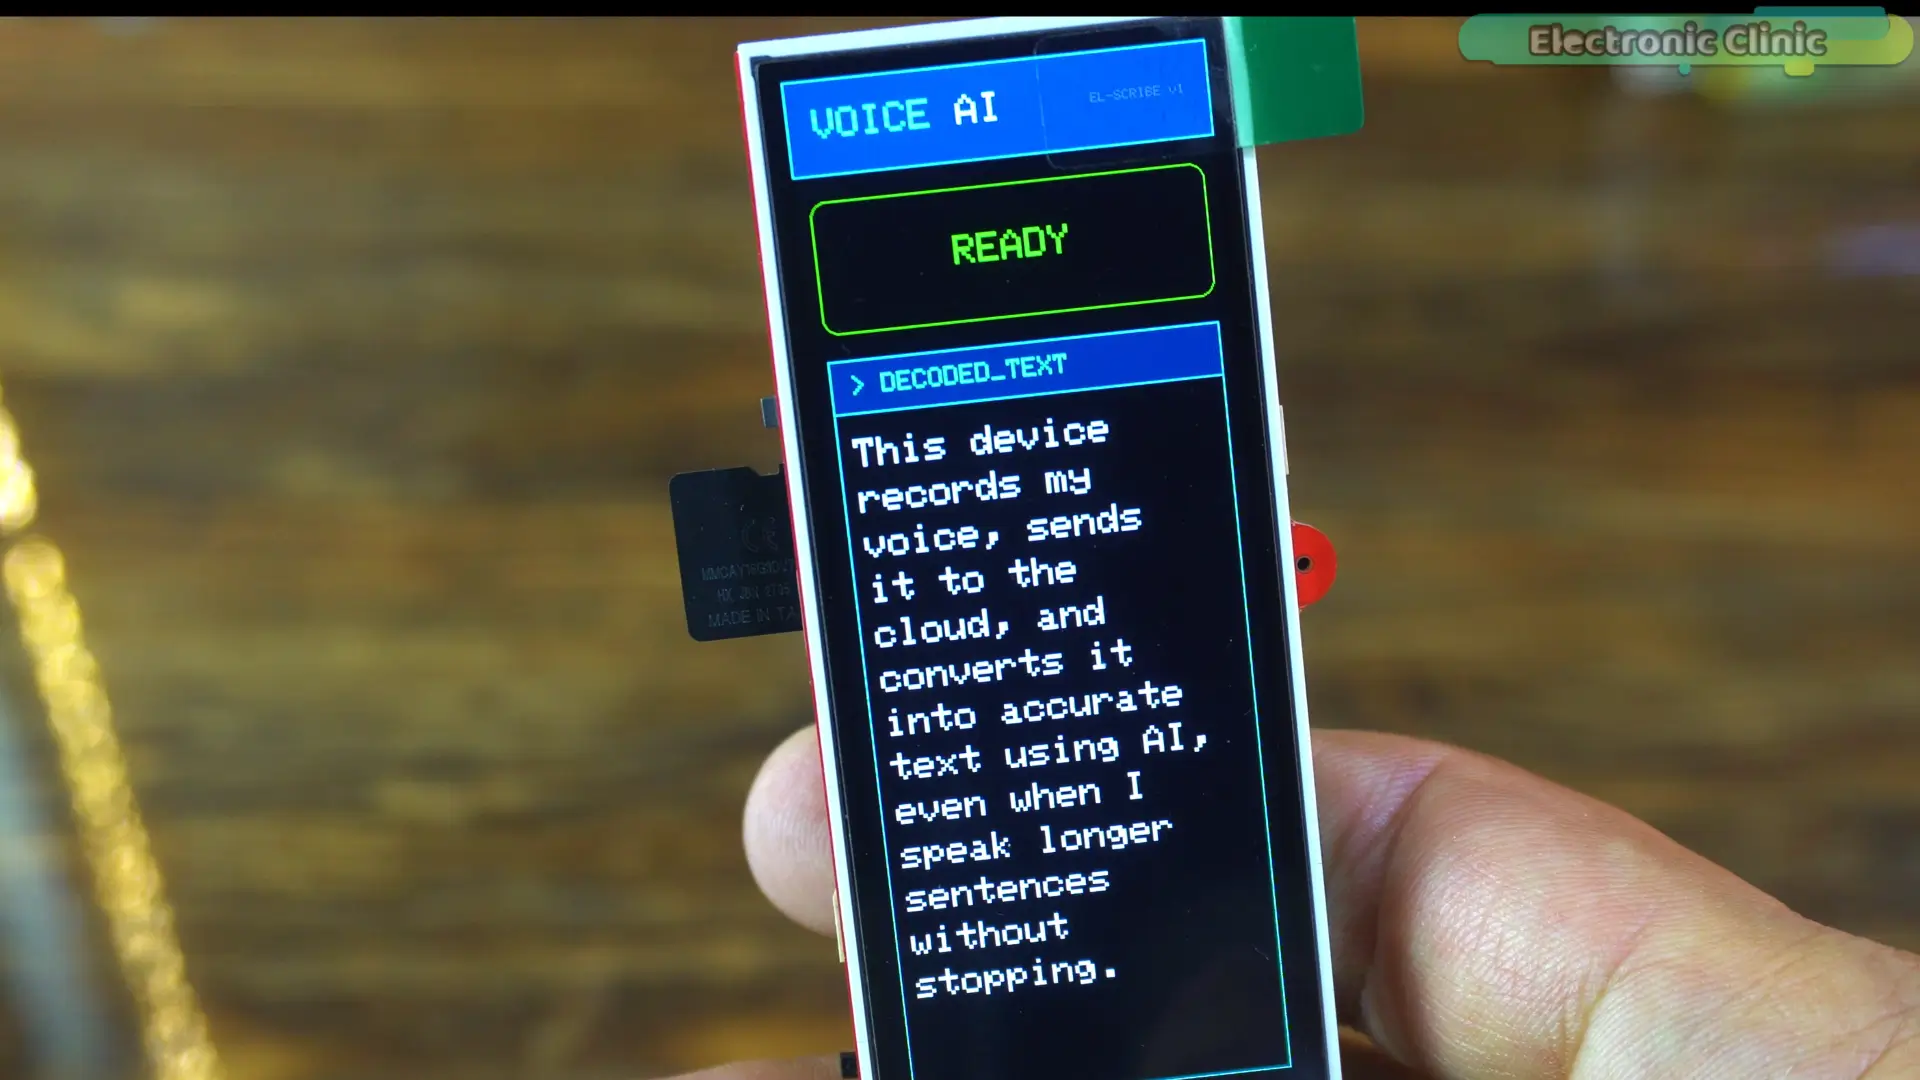
That’s impressive…
especially for a longer sentence.
Most models start struggling here…
but this handled it really well.
The output is clean…
and easy to read.
That’s pretty accurate… but what happens if we go even longer? Let’s check the second version… because this one is designed to handle extremely long speech. You can talk for minutes, explain full ideas, and it will convert everything into clean text. And the best part is, it doesn’t just display the text… it actually saves the entire transcription as a file on the SD card. This makes it incredibly useful, especially because the device is fully portable. You can carry it anywhere, speak anytime, and it will capture your thoughts without needing a laptop or phone. Imagine you’re building a project, working on an idea, or even planning a article… instead of stopping to write everything down, you just talk, and it automatically creates a text file for you. You can use it to write scripts, document your work, or save ideas instantly without starting from scratch. No typing, no interruptions… just speak, and everything is recorded and saved for you.
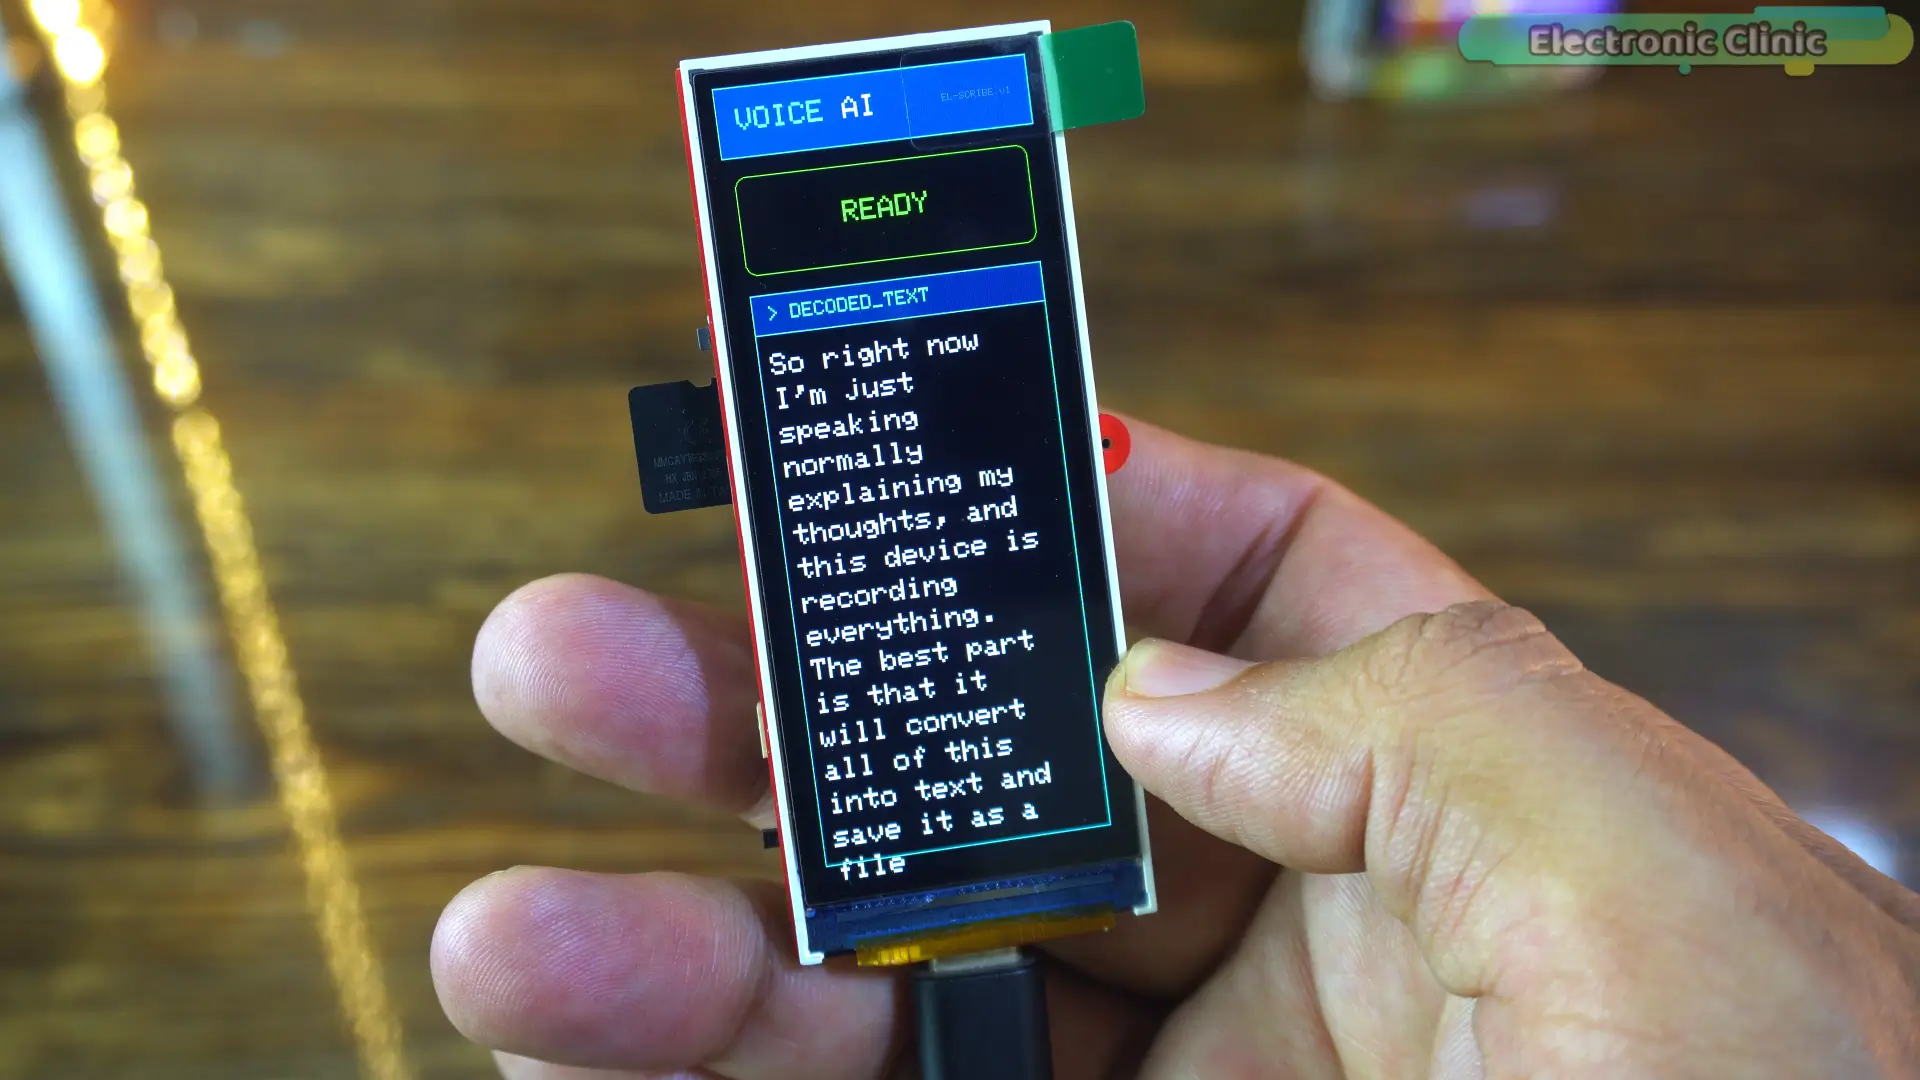
So right now I am just speaking normally, explaining my thoughts, and this device is recording everything. The best part is that it will convert all of this into text and save it as a file on the SD card. That means I don’t have to write anything manually, I can just talk and let the system handle everything for me, which is really useful when working on projects or creating content.
Now… let’s see if it actually saved the file…
And there it is…
the file is saved right here…
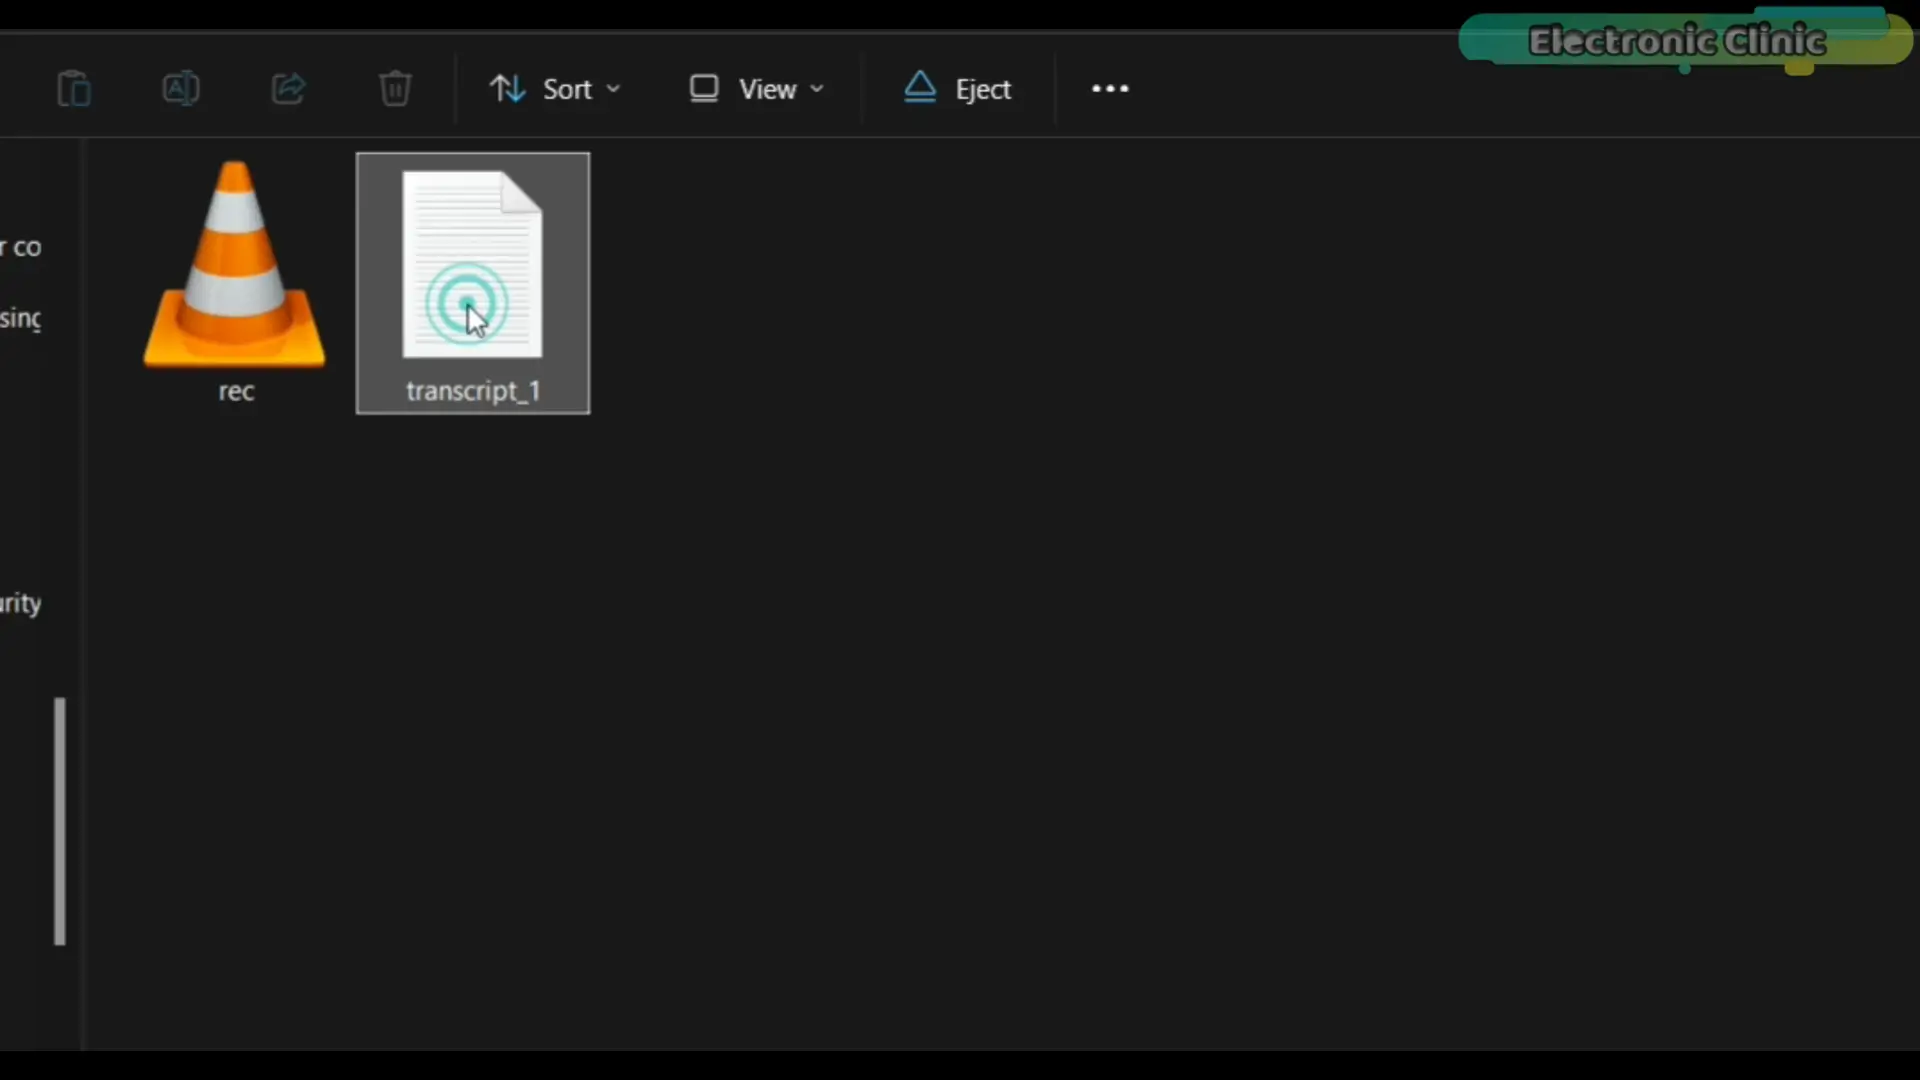
Let’s open it…
And yeah… this is everything I just said…
fully converted…
and saved automatically.
And honestly… this is where things start getting interesting.
Because in the next article,we are not stopping here…
We are going to combine this with DeepSeek V4…
and turn this into a real AI assistant…
Something way more powerful…
and something you probably haven’t seen running on a device like this.
So stay tuned… it’s going to be next level.
So, that’s all for now.
Amazon Links:
Other Tools and Components:
ESP32 WiFi + Bluetooth Module (Recommended)
Arduino Nano USB C type (Recommended)
*Please Note: These are affiliate links. I may make a commission if you buy the components through these links. I would appreciate your support in this way!
Support me on Patreon for more articles. I hope you like today’s episode. Like and share this article with your friends. See you in next episode and thanks for watching.
Support me on Patreon:
If you enjoy my work and find these projects helpful, please consider supporting me on Patreon. With just $1, you can get access to all project source codes, schematics, and extra resources that I share with my supporters. Your support helps me continue creating new electronics tutorials, experiments, and open projects for the community. Thank you so much for being part of this journey and for supporting my work!
Watch Video Tutorial:
Discover more from Electronic Clinic
Subscribe to get the latest posts sent to your email.