I Built a Solar Powered Water Tank Level Sensor Version 2 with Xiao ESP32C3 + BLE
Last Updated on September 13, 2026 by Engr. Shahzada Fahad
Table of Contents
Description:
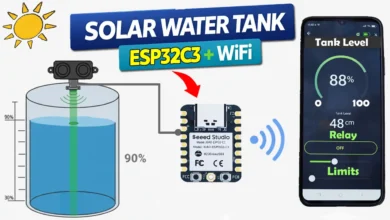
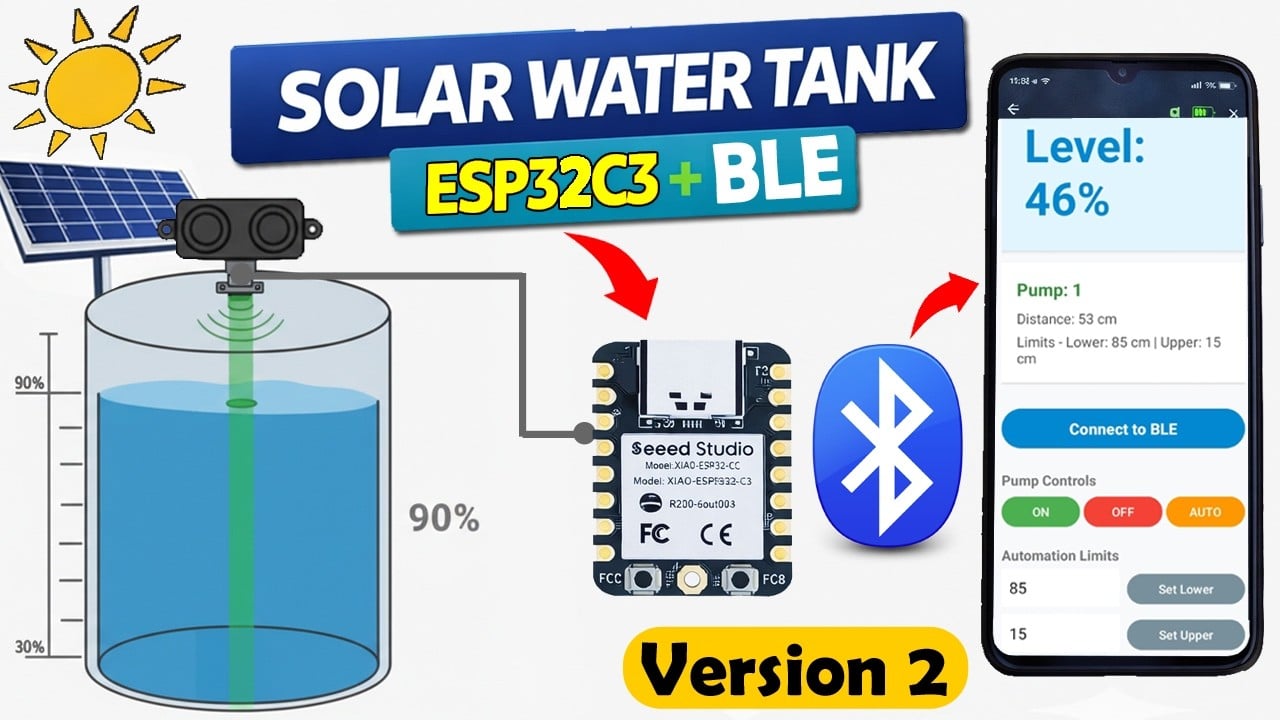
This is Version 2 of my Solar Powered Water Tank Level Sensor.
In this version, the system does not require WiFi.
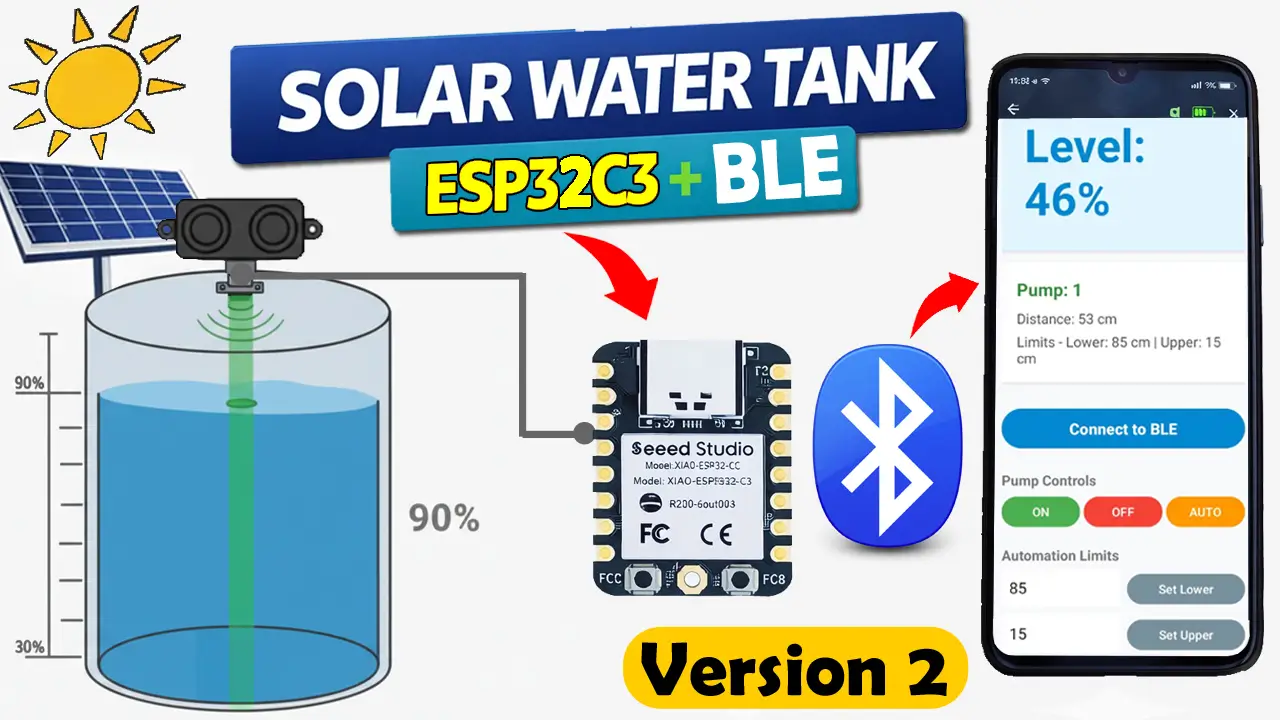
You can monitor your water tank level wirelessly using Bluetooth and a smartphone application.
Amazon Links:
A02YYUW Waterproof Ultrasonic Sensor (UART version)
Other Tools and Components:
ESP32 WiFi + Bluetooth Module (Recommended)
Arduino Nano USB C type (Recommended)
*Please Note: These are affiliate links. I may make a commission if you buy the components through these links. I would appreciate your support in this way!
You can easily implement this system in your home without any tension.
You can also sell this system on Amazon or other online platforms.
You can download the complete project from my Patreon page:
Arduino Code
Mobile Application Source Code
Circuit Diagram
PCB Design Files
Gerber Files
BOM
Pick and Place Files
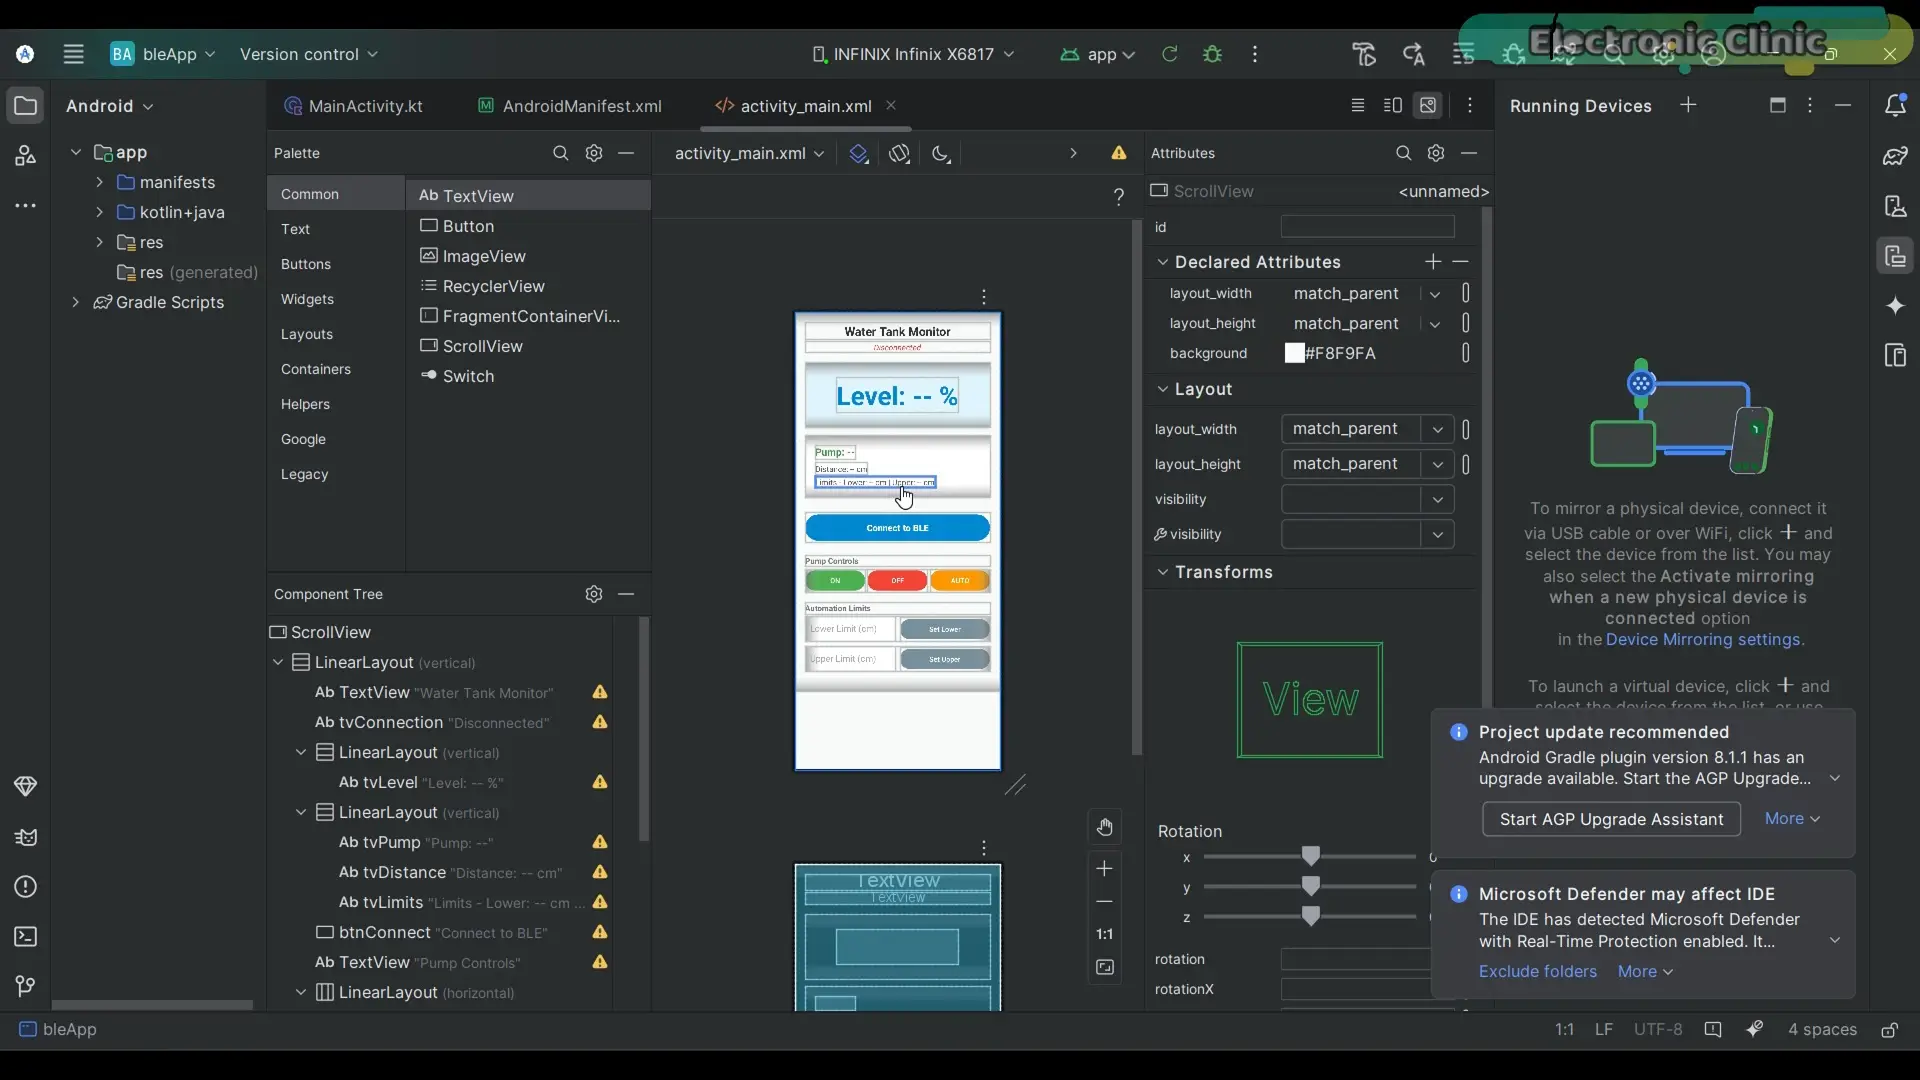
Later in the article, we will also open this application in Android Studio.
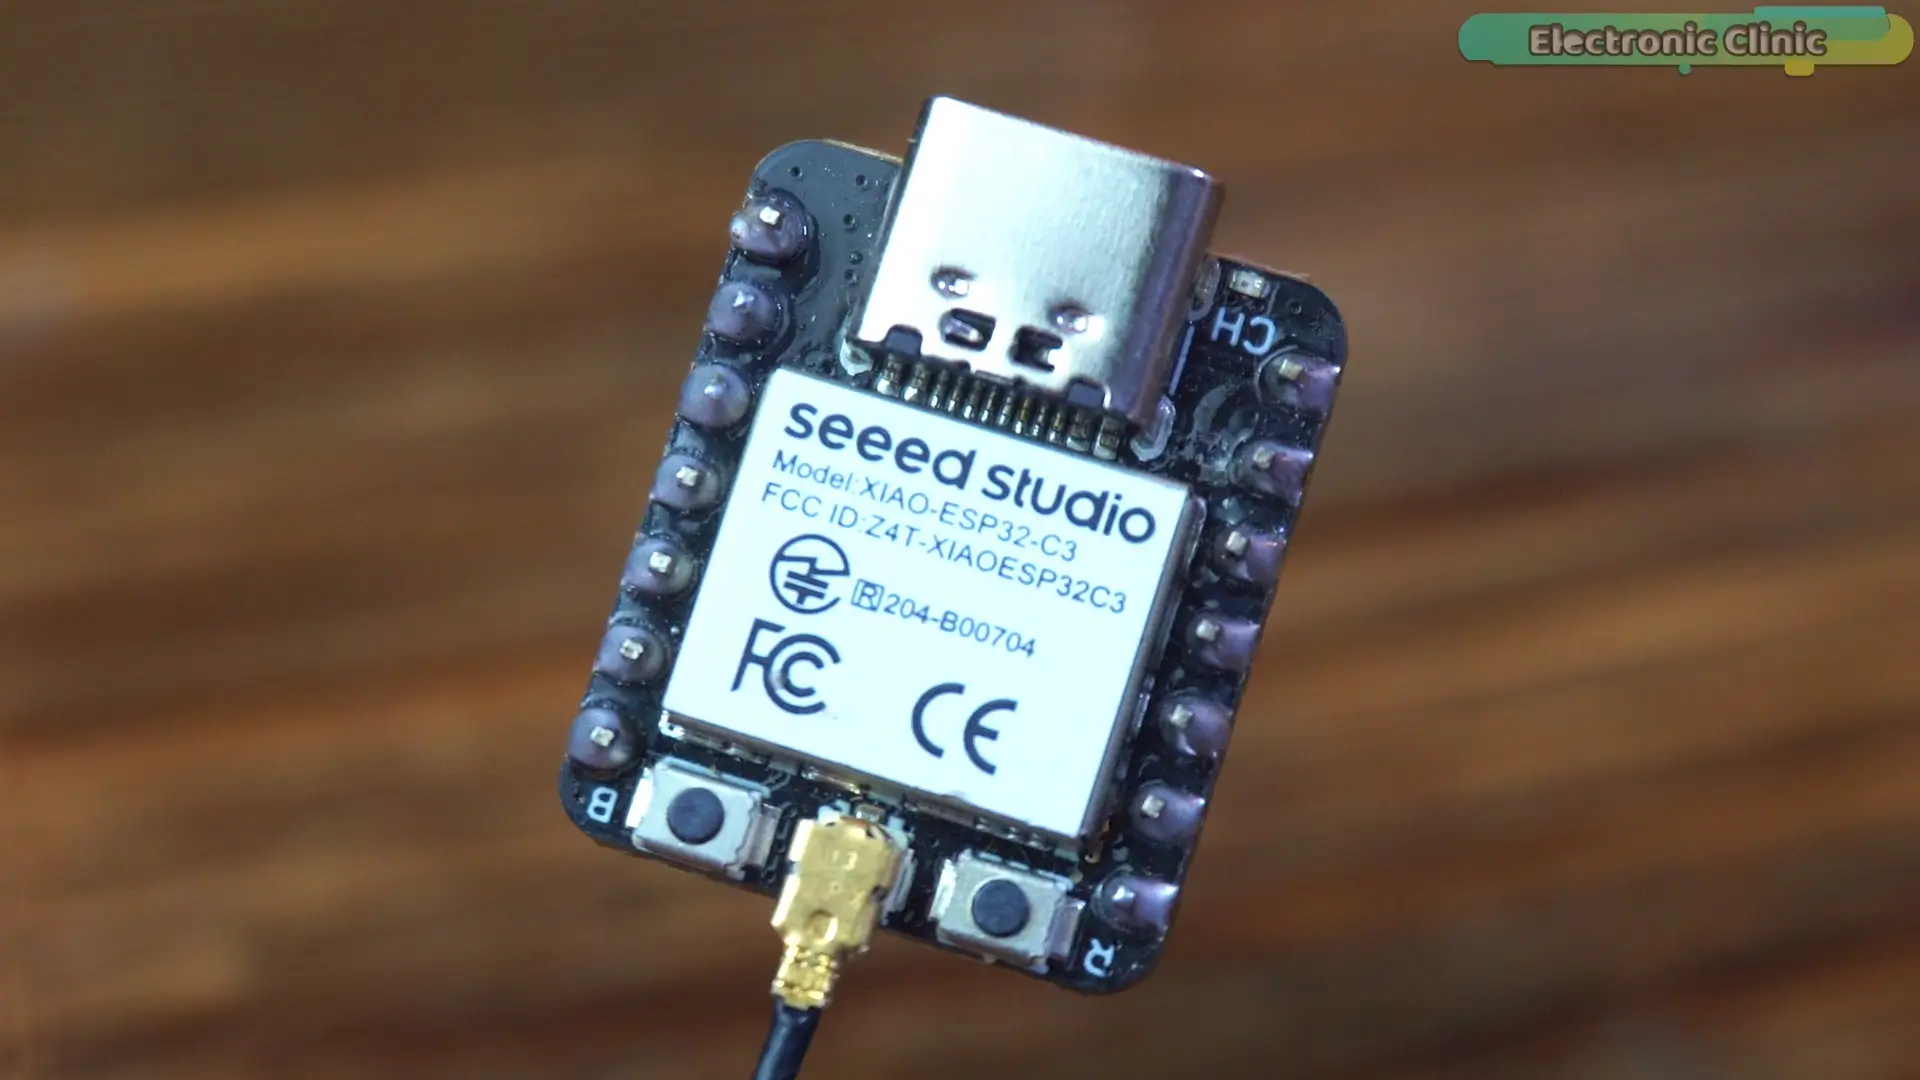
On the hardware side, everything remains exactly the same. I am still using my newly designed Development board which works perfectly with the Xiao Series of controller boards like Xiao ESP32C3, Xiao ESP32C5, Xiao ESP32C6.
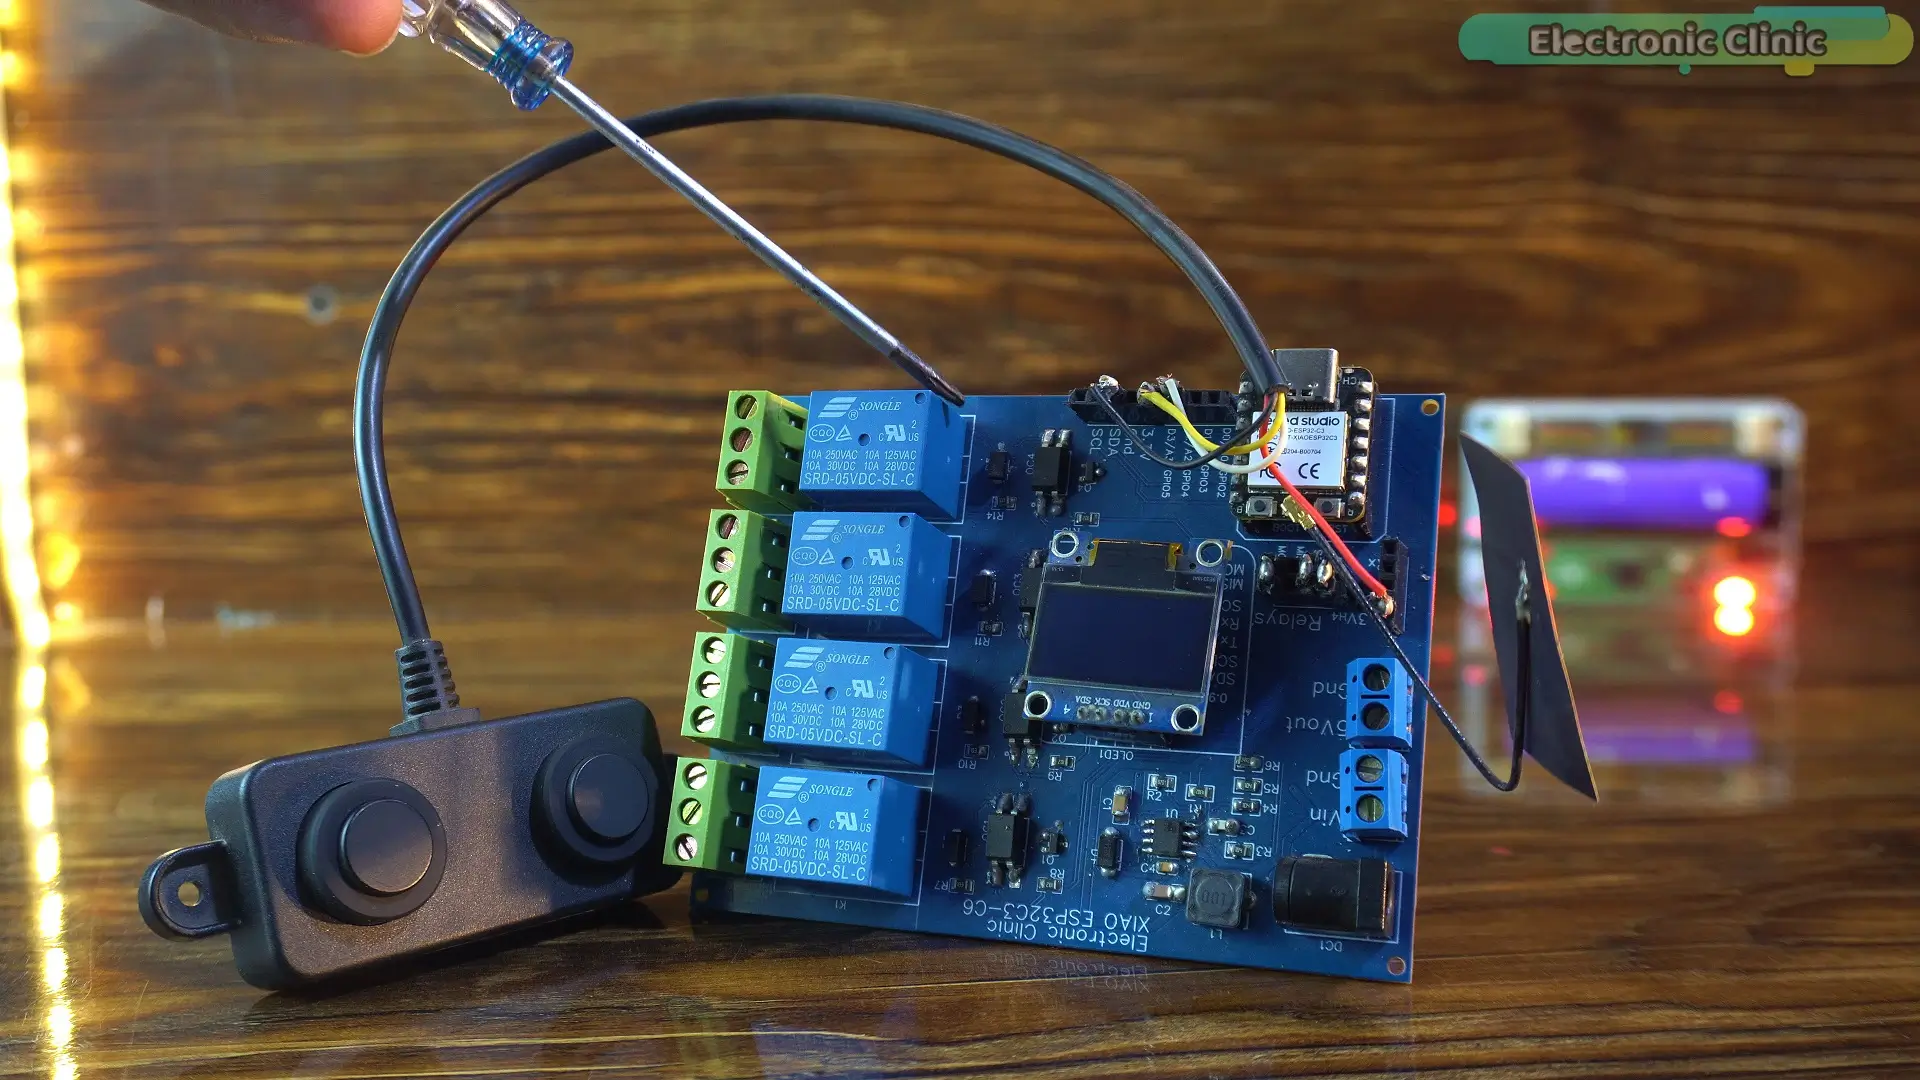
The only change is that I modified the code inside the Xiao ESP32C3, and I also designed my own smartphone application.
In Version 1, we were monitoring the water level using the Blynk mobile app. For that system, WiFi was required.
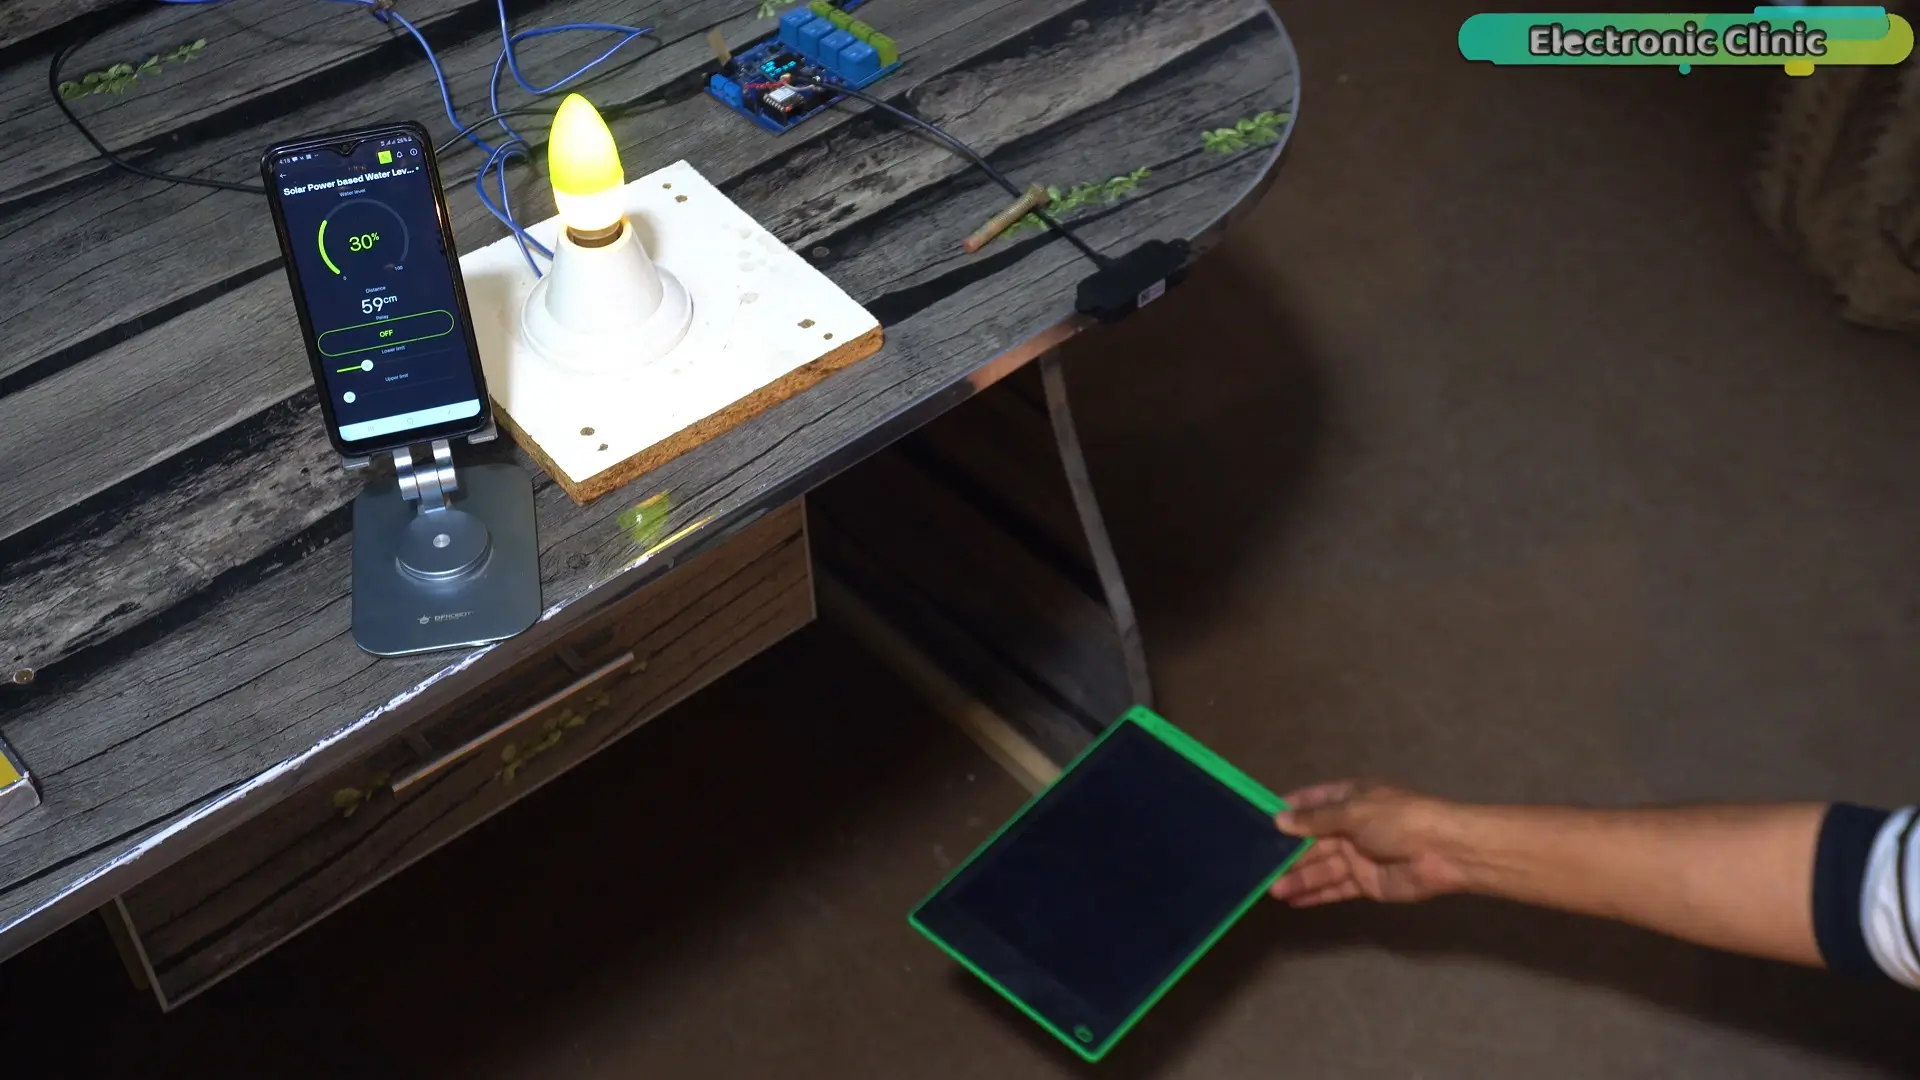
The advantage of that system was that we could monitor the water level from anywhere in the world.
But then a very interesting question came from many viewers.
What if someone does not use WiFi at all?
So I decided to create a second version of this system.
In this version, we can still monitor the water level wirelessly, but without relying on WiFi connectivity.
So first, let’s test the system, and after that we will discuss the technical details.
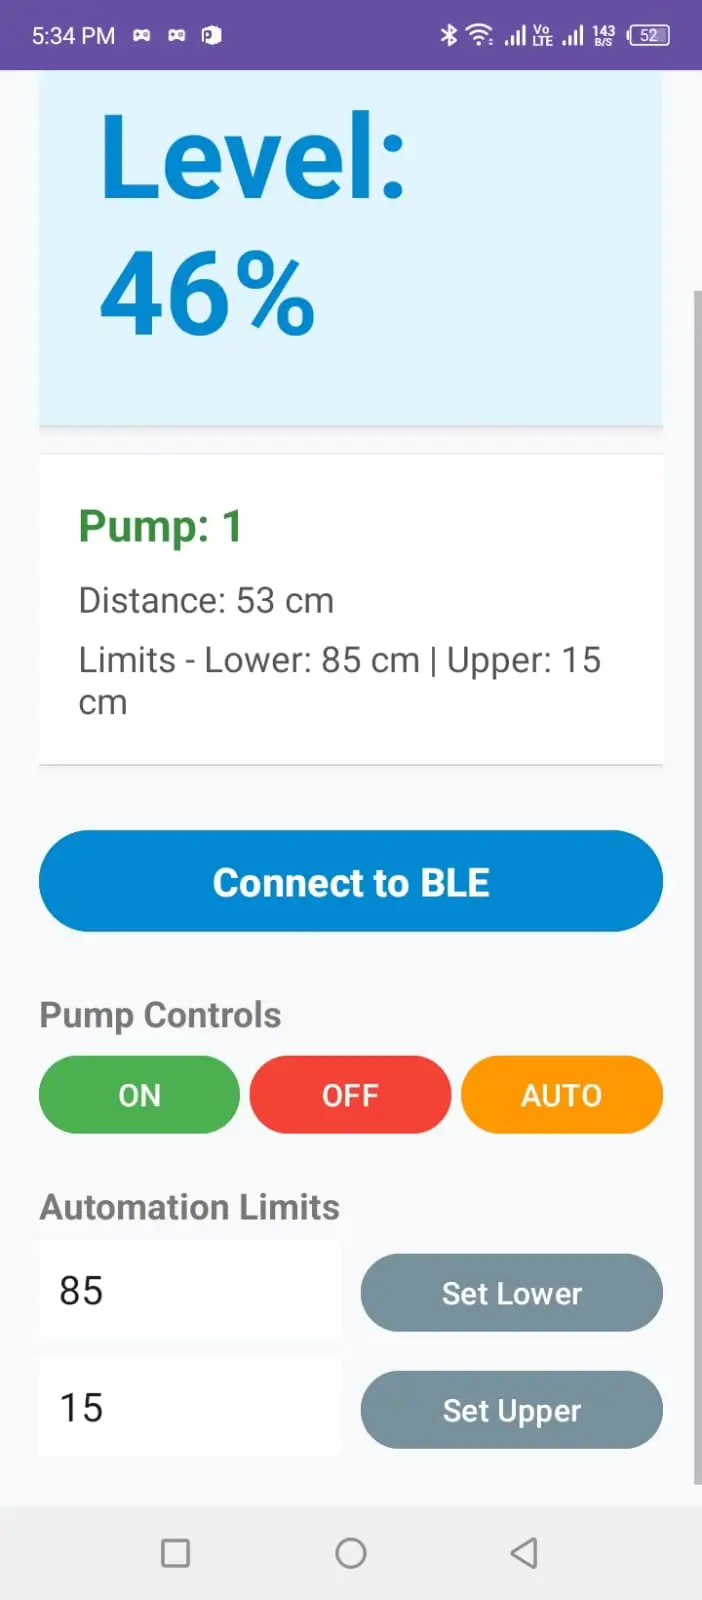
As you can see, I have made this application very user friendly.
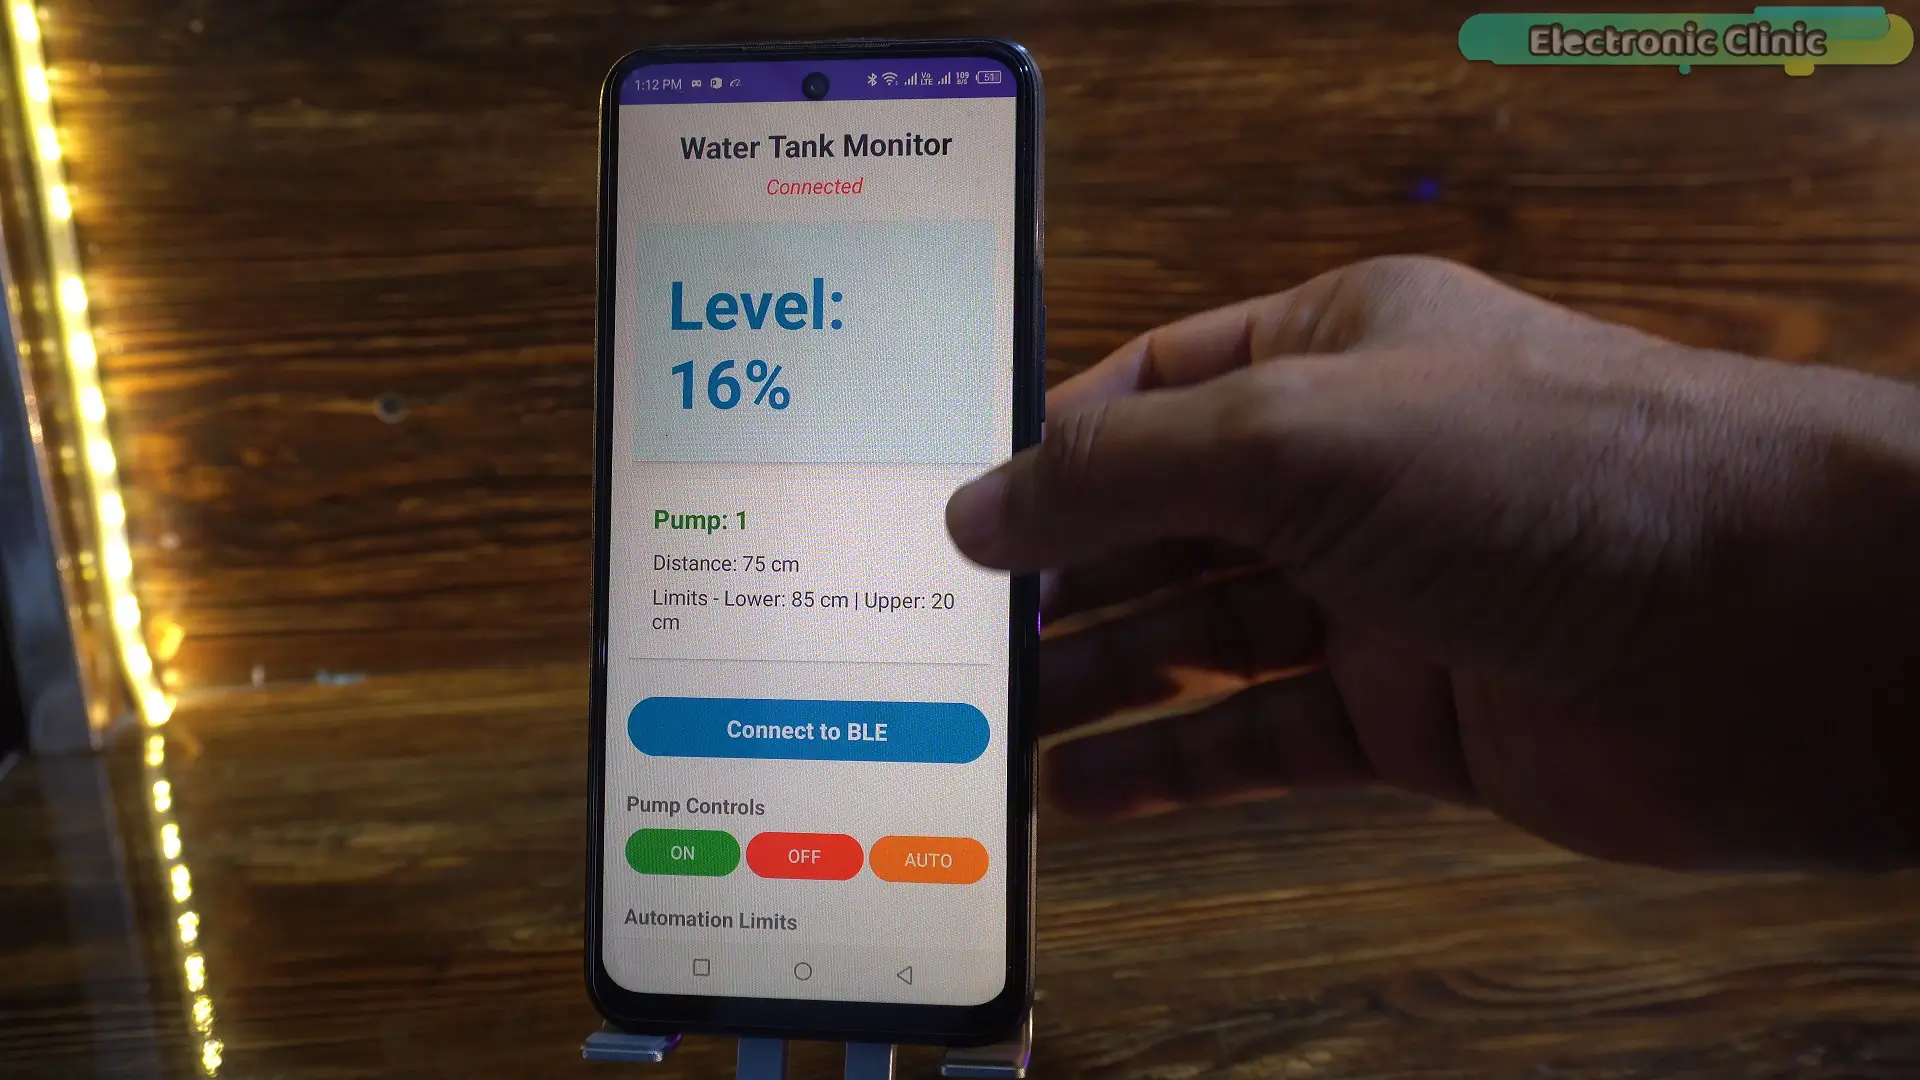
At the top, you can see the title “Water Tank Monitor.”
Below that, you can see the application status. Right now, the status is connected.
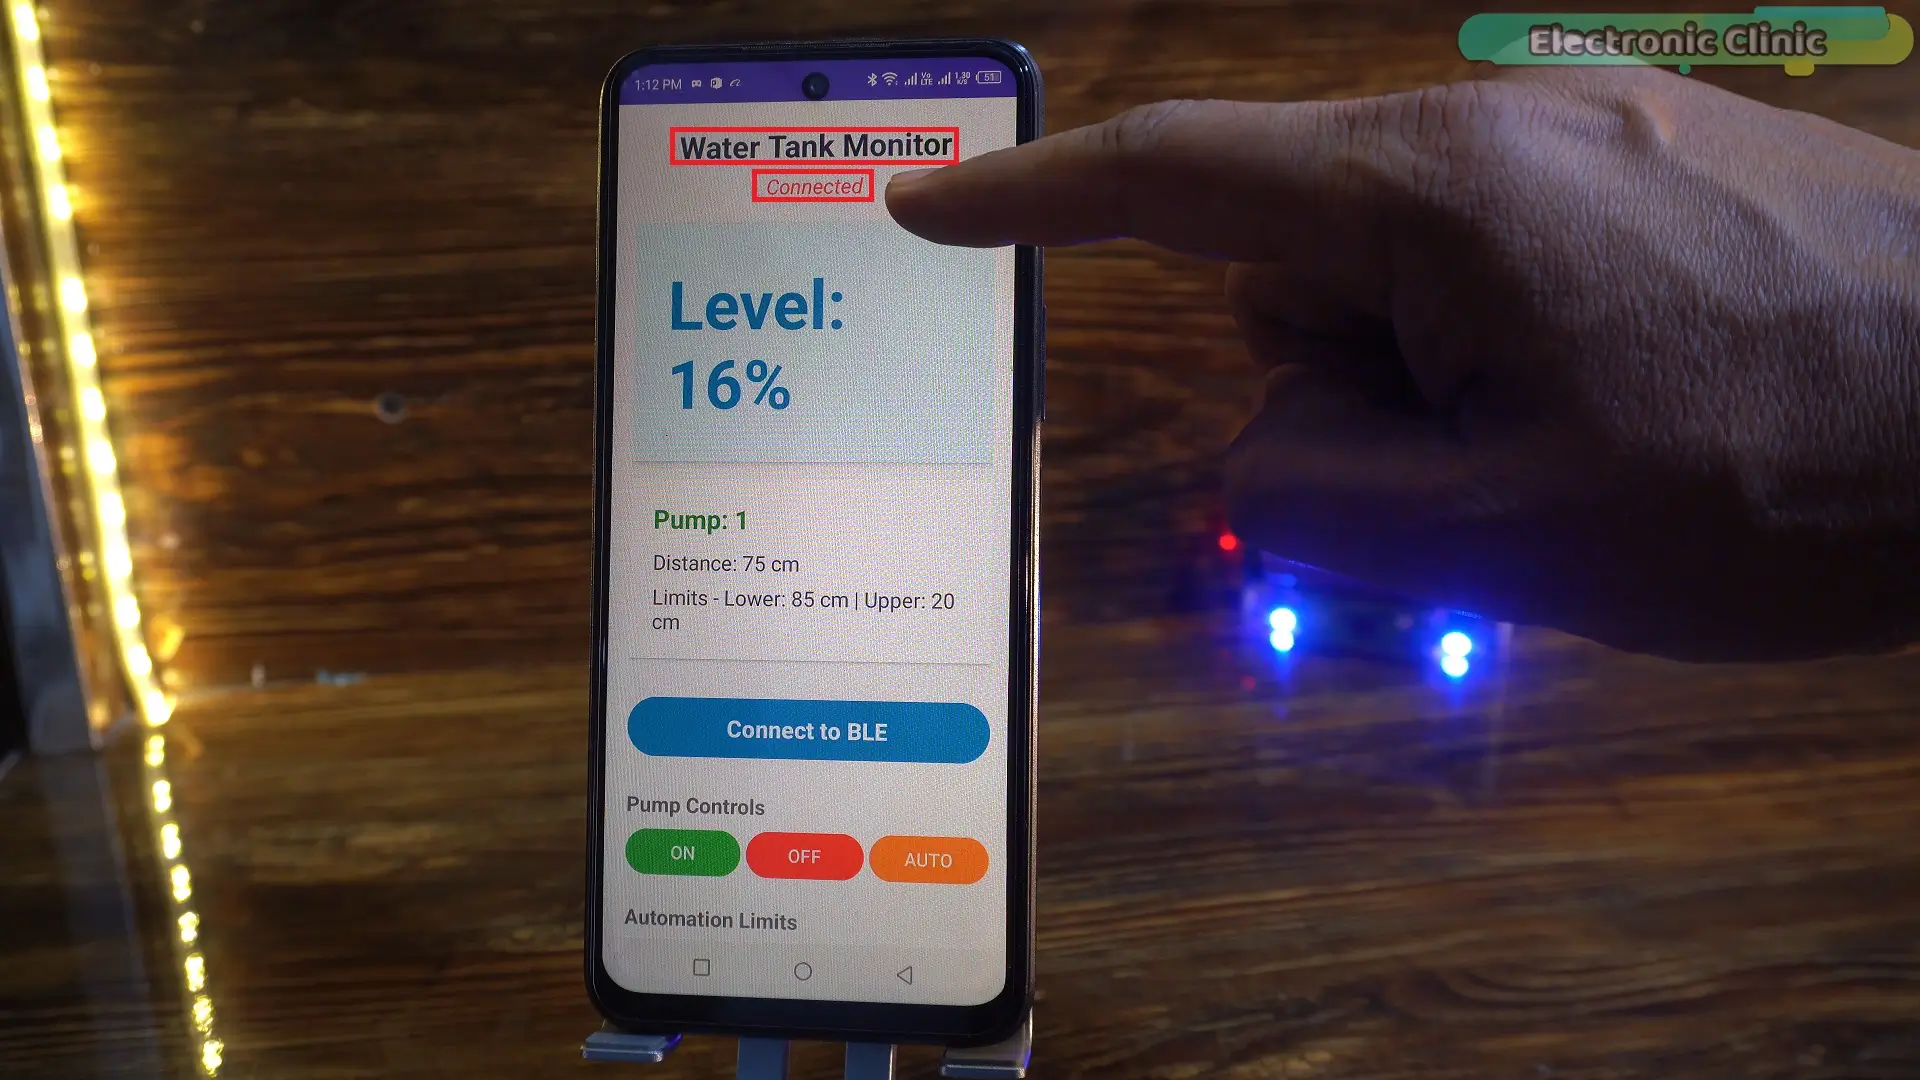
Here you can monitor the water level percentage in the tank.
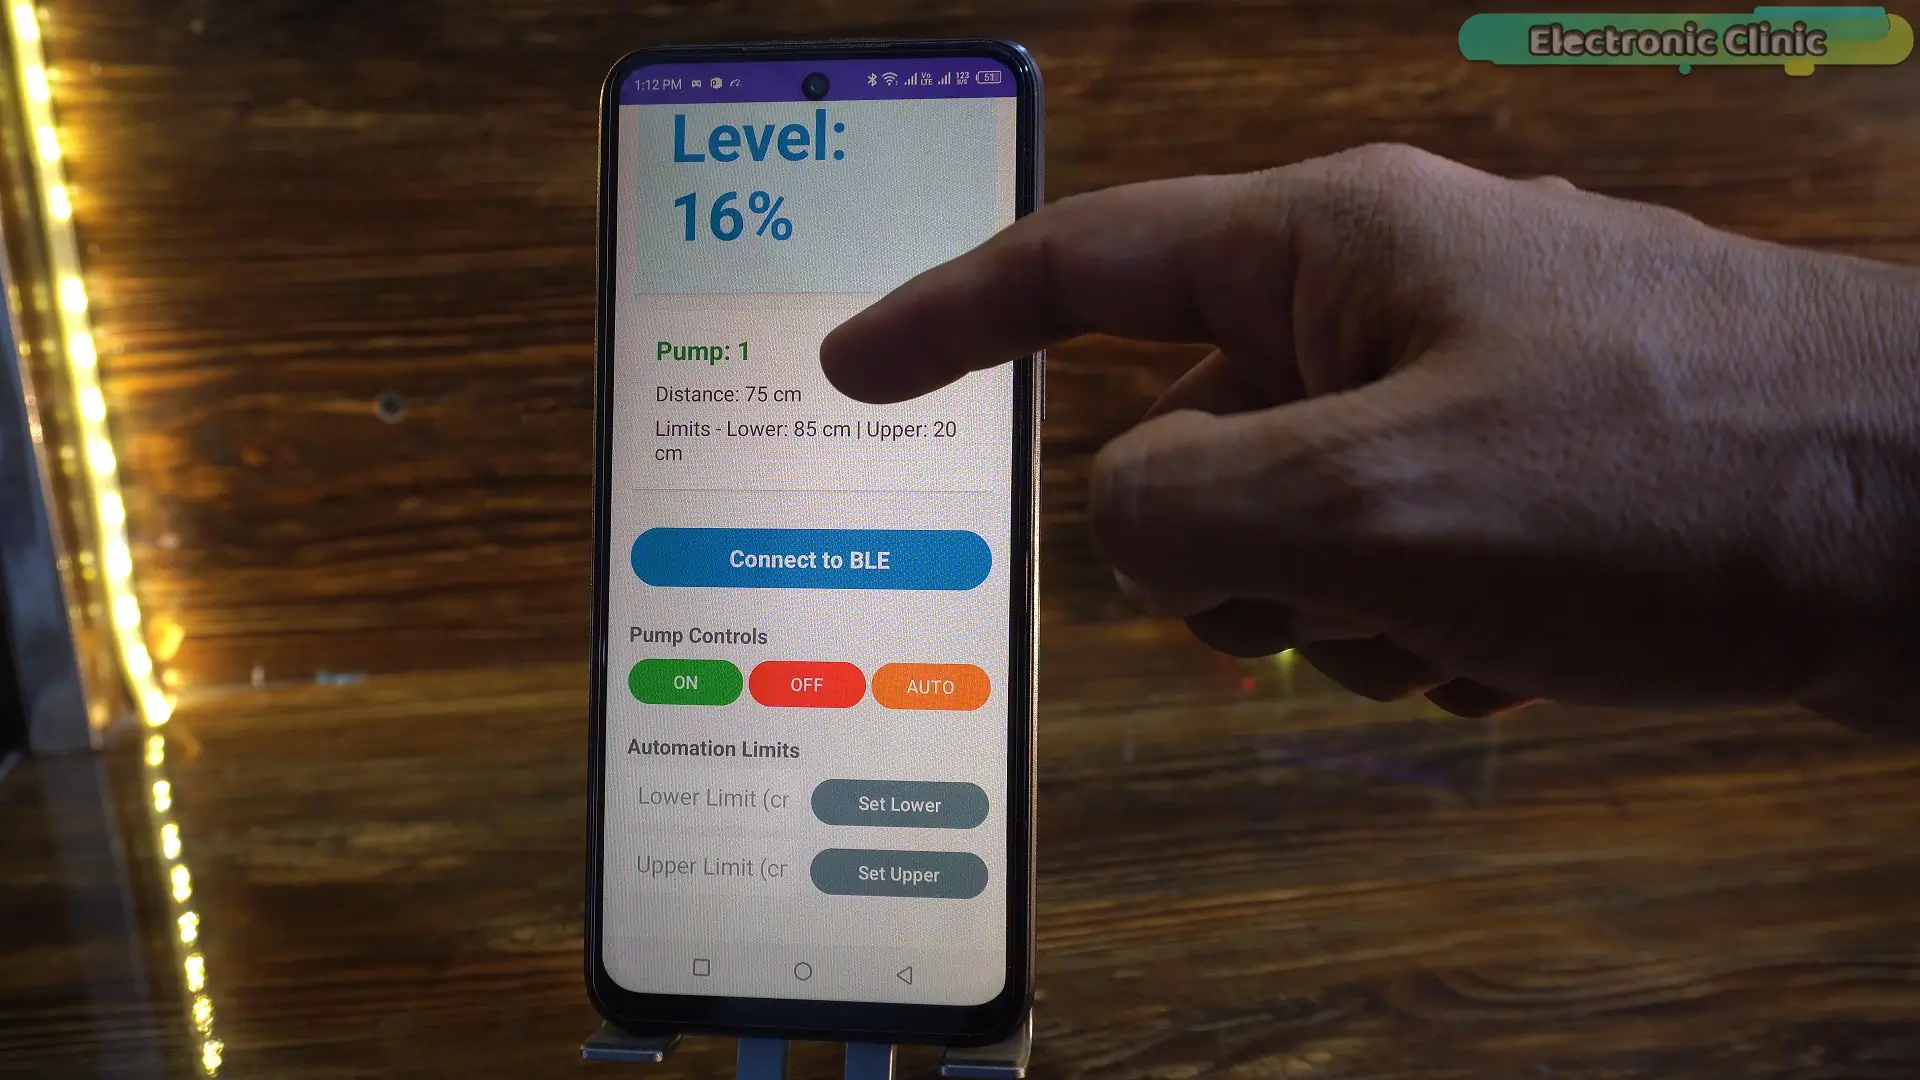
This shows the pump status. If the value is 1, it means the water pump is ON. And if the value is 0, it means the water pump is OFF.
Below that, you can also see the actual distance in centimeters.
And below that; you can see the lower and upper limits of the water tank.
I already explained these limits in detail in Version 1 of this project.
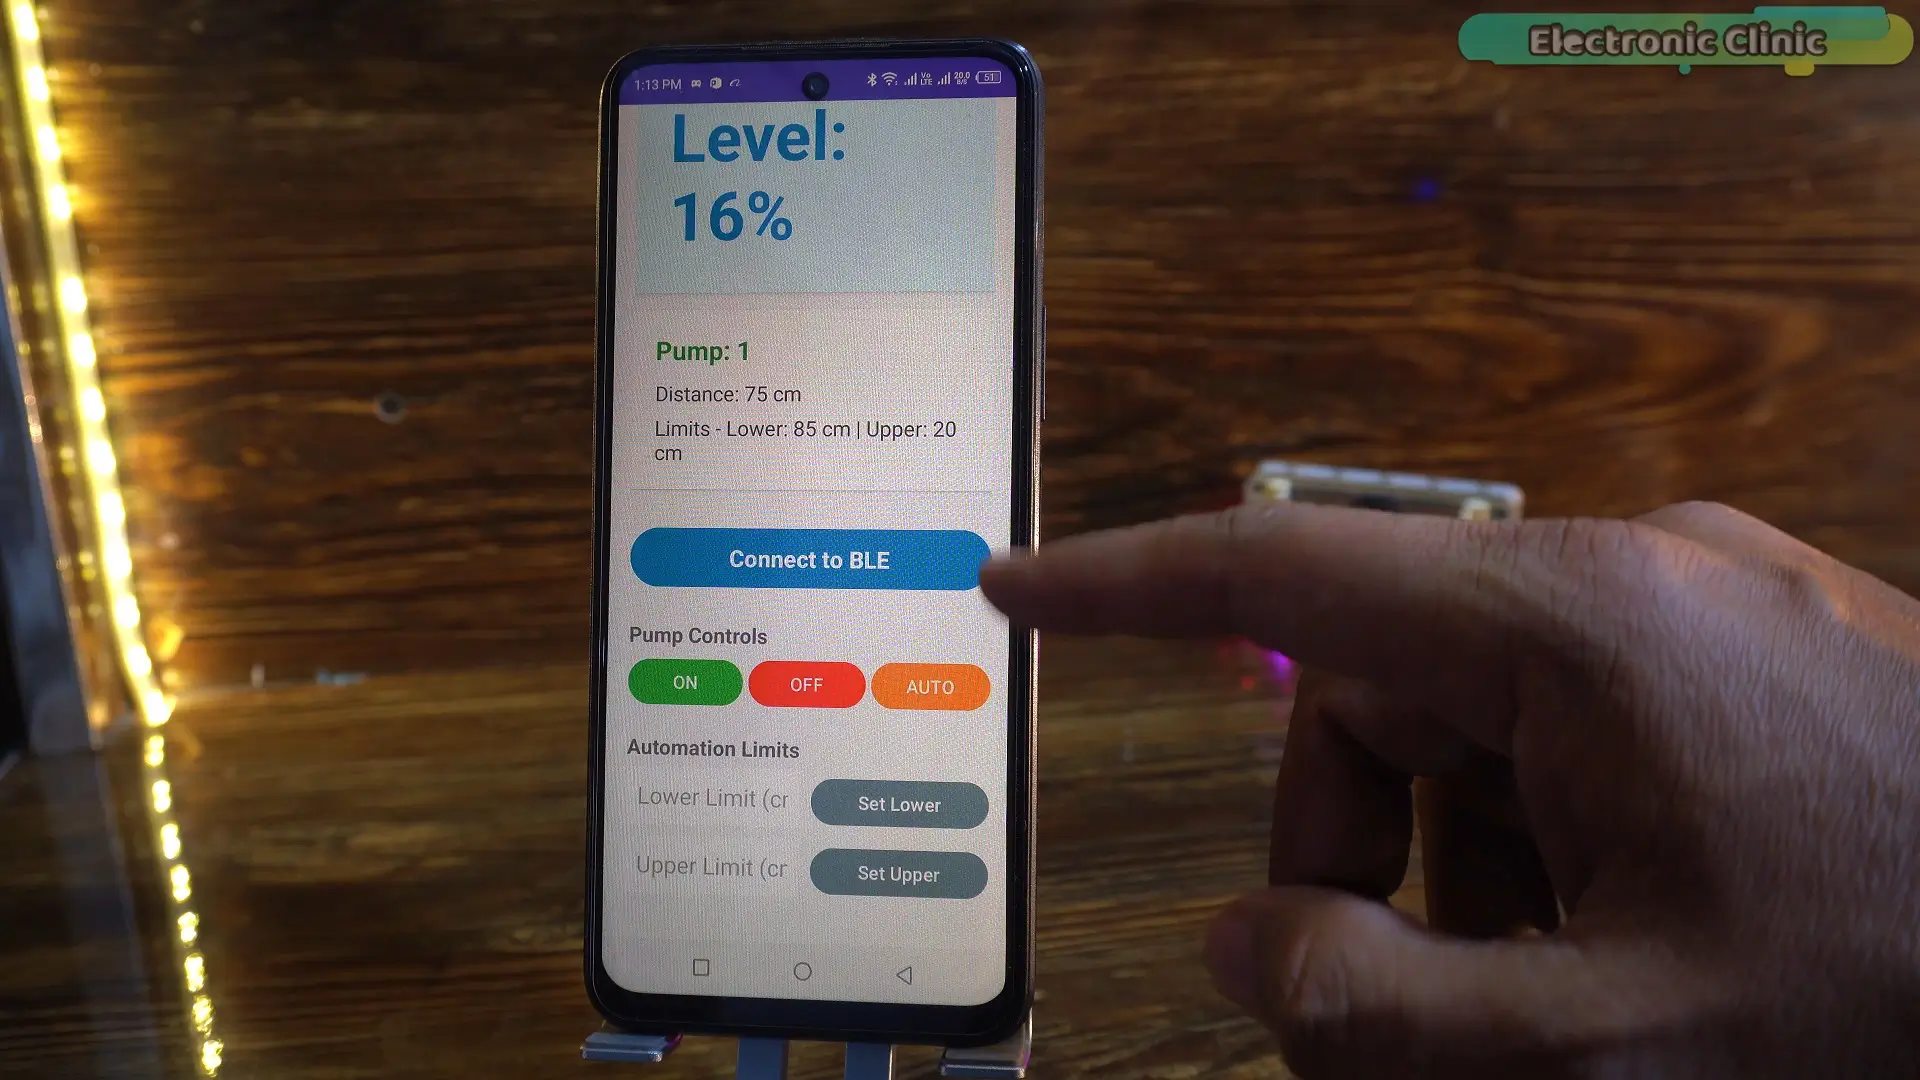
You can use this “Connect to BLE” button to connect the application with the hardware. If the status shows disconnected, you can press this button to connect the application to the hardware.
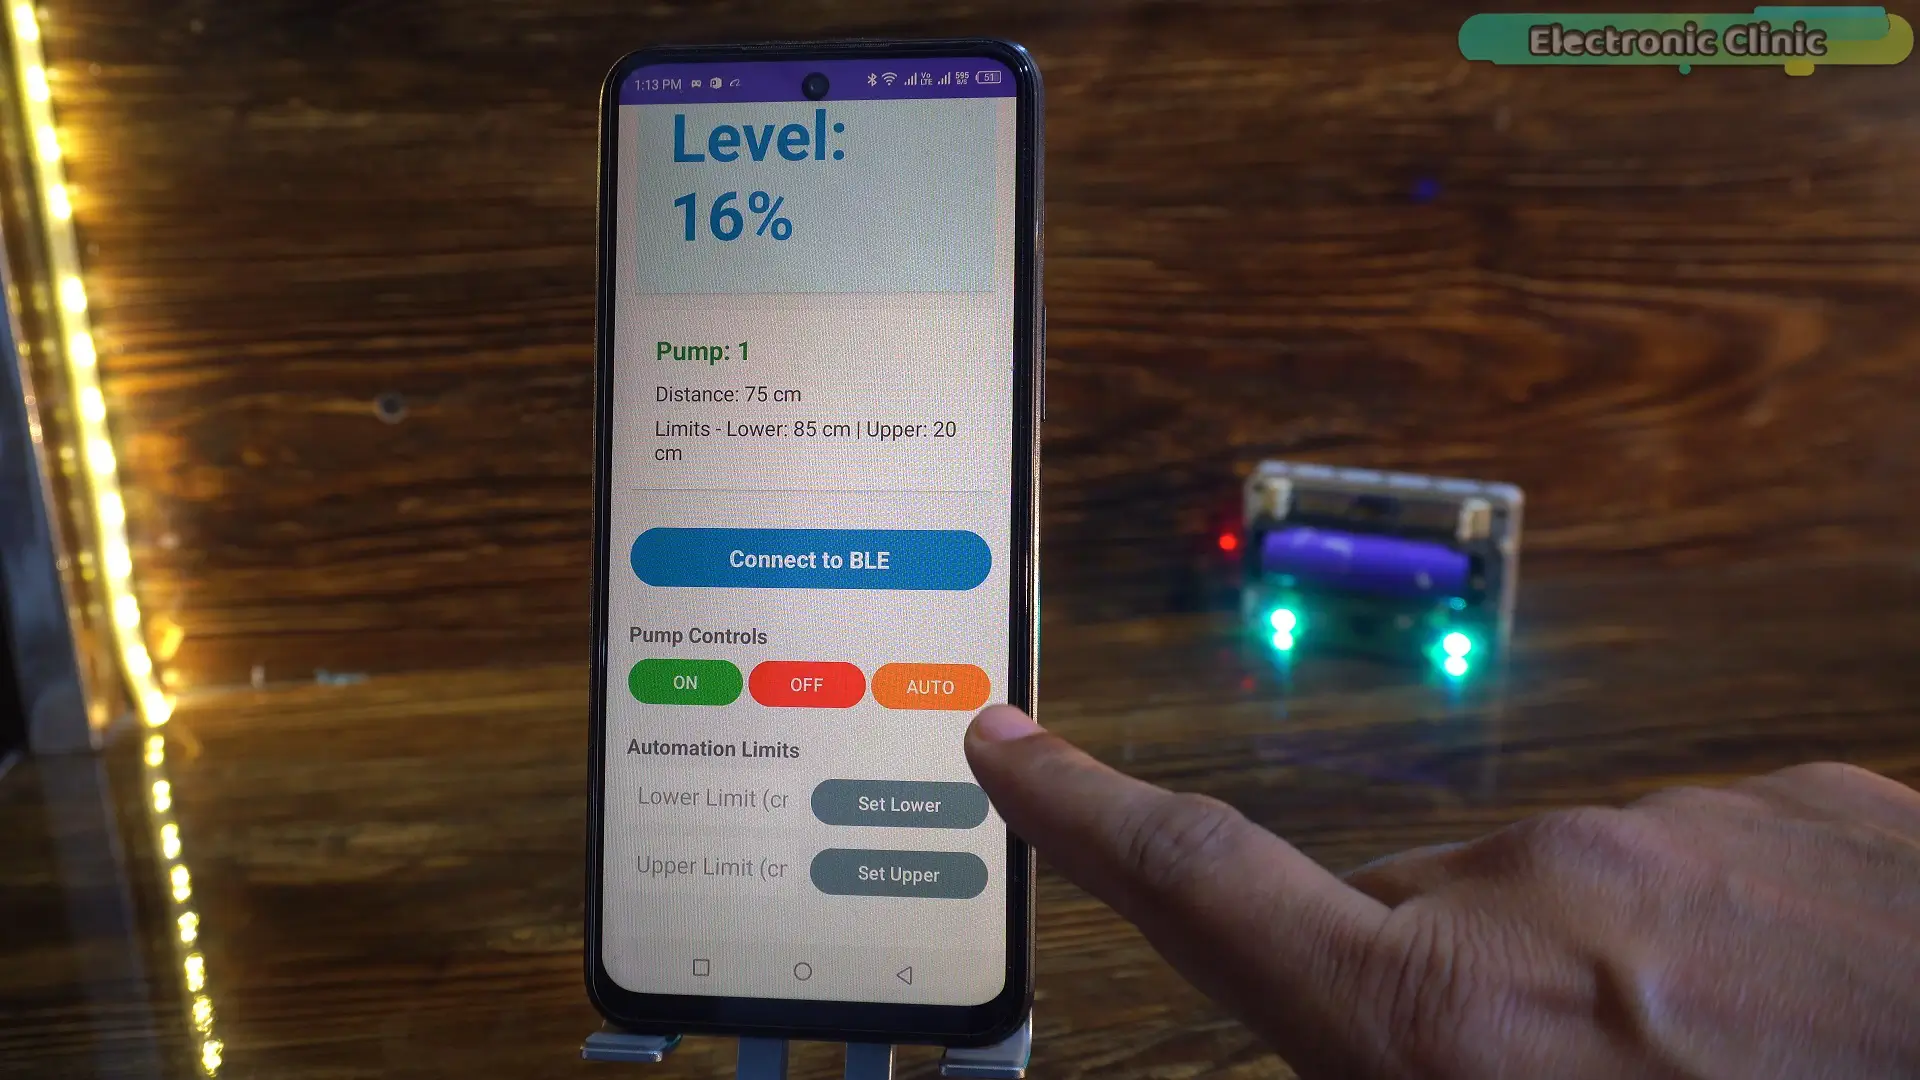
These are the pump control buttons. Using these buttons, you can turn the pump ON or OFF.
And this AUTO button can be used in the future to switch between manual mode and auto mode.
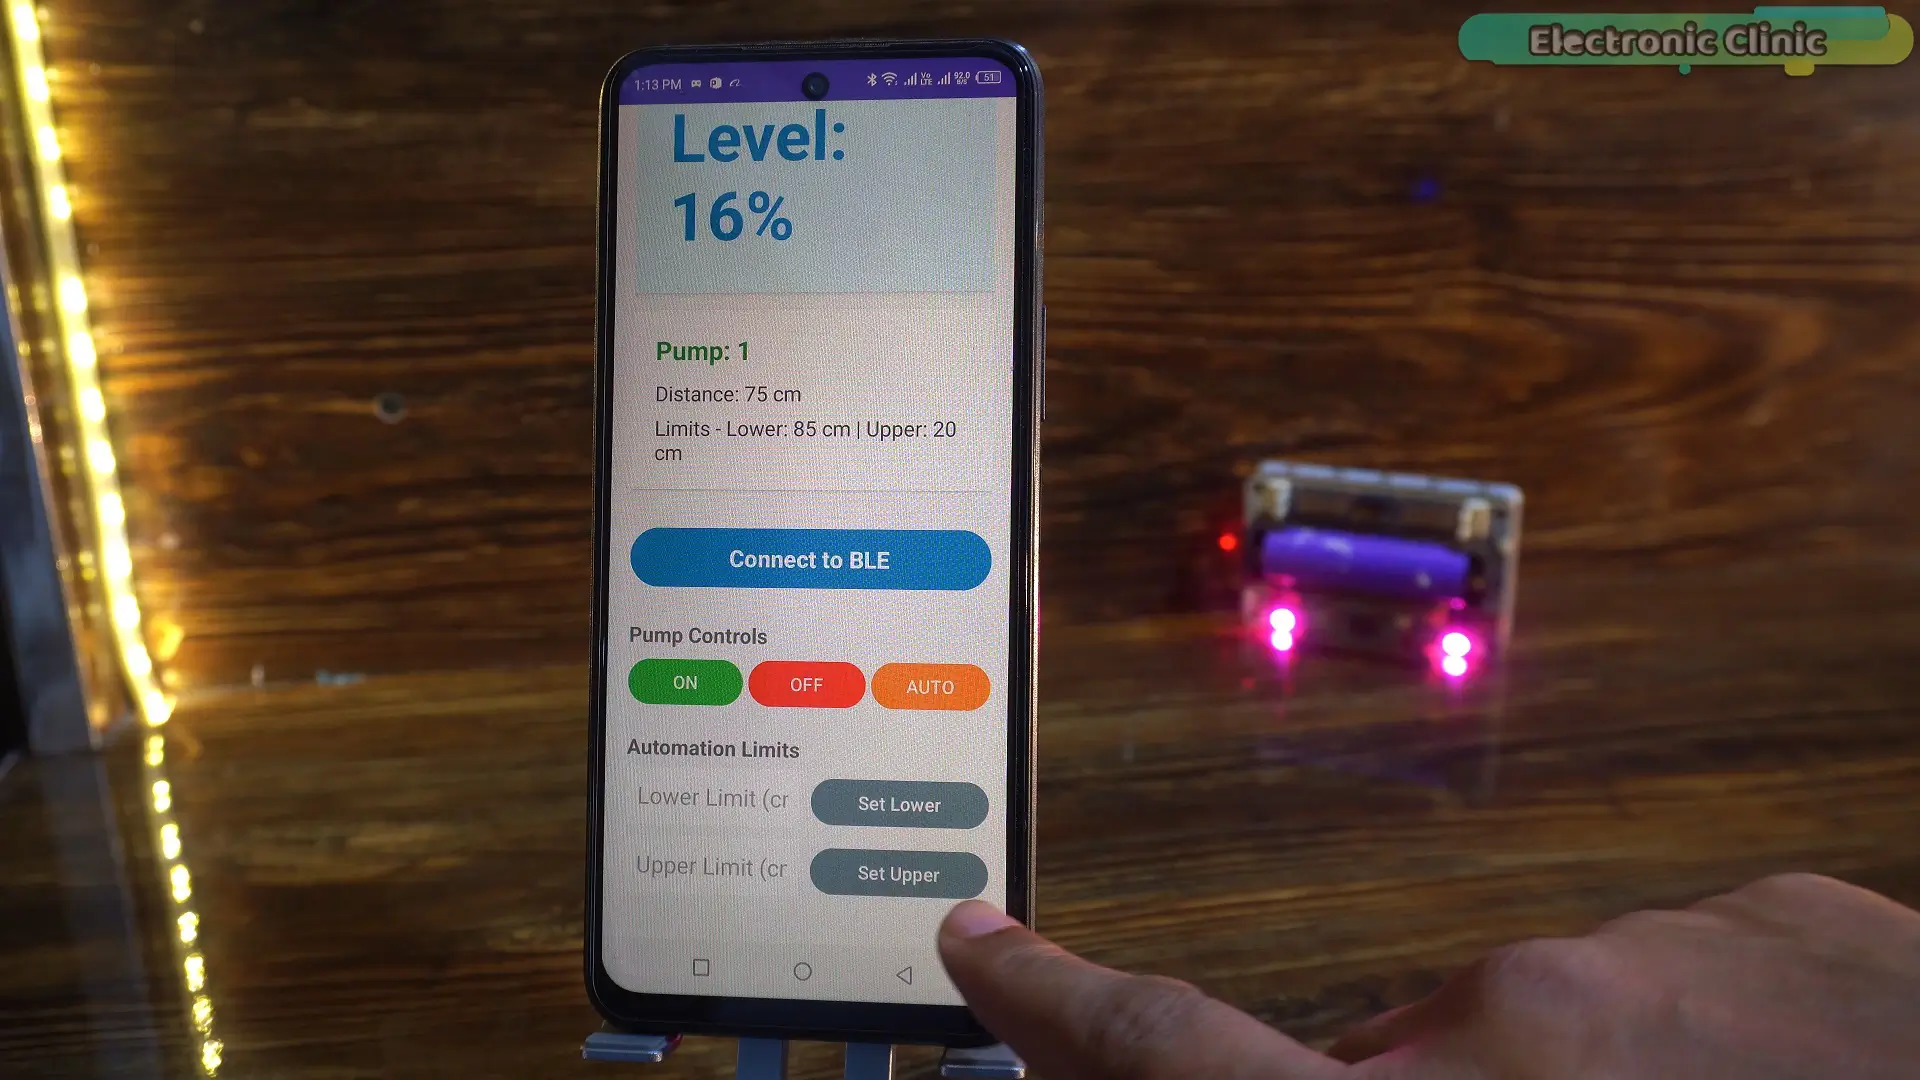
Here at the bottom, you can enter your own lower and upper limits. The advantage of these limits is that you can use this system with any size of water tank. So you do not need to go into the code to change these values. You can set these limits in real time.
Let me show you how it works.
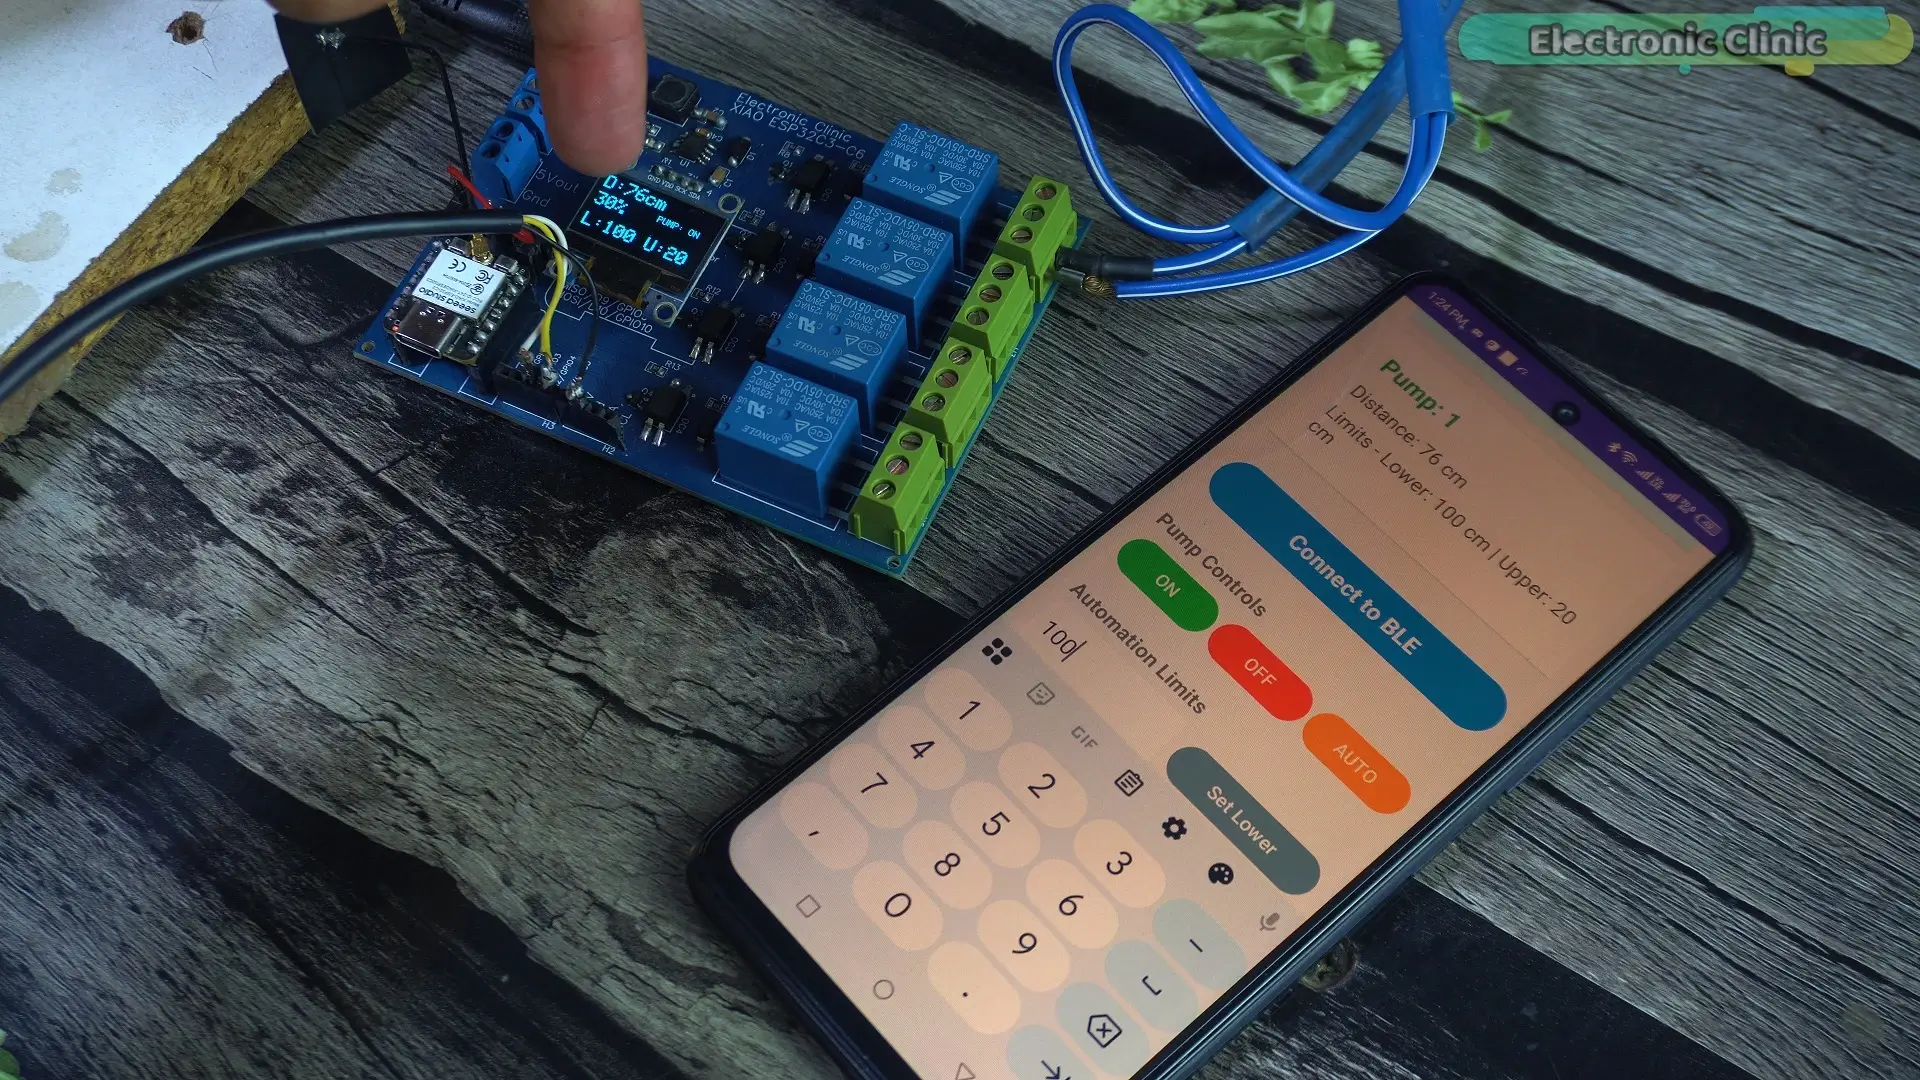
As you can see, when I pressed the button, the value immediately changed on the display.
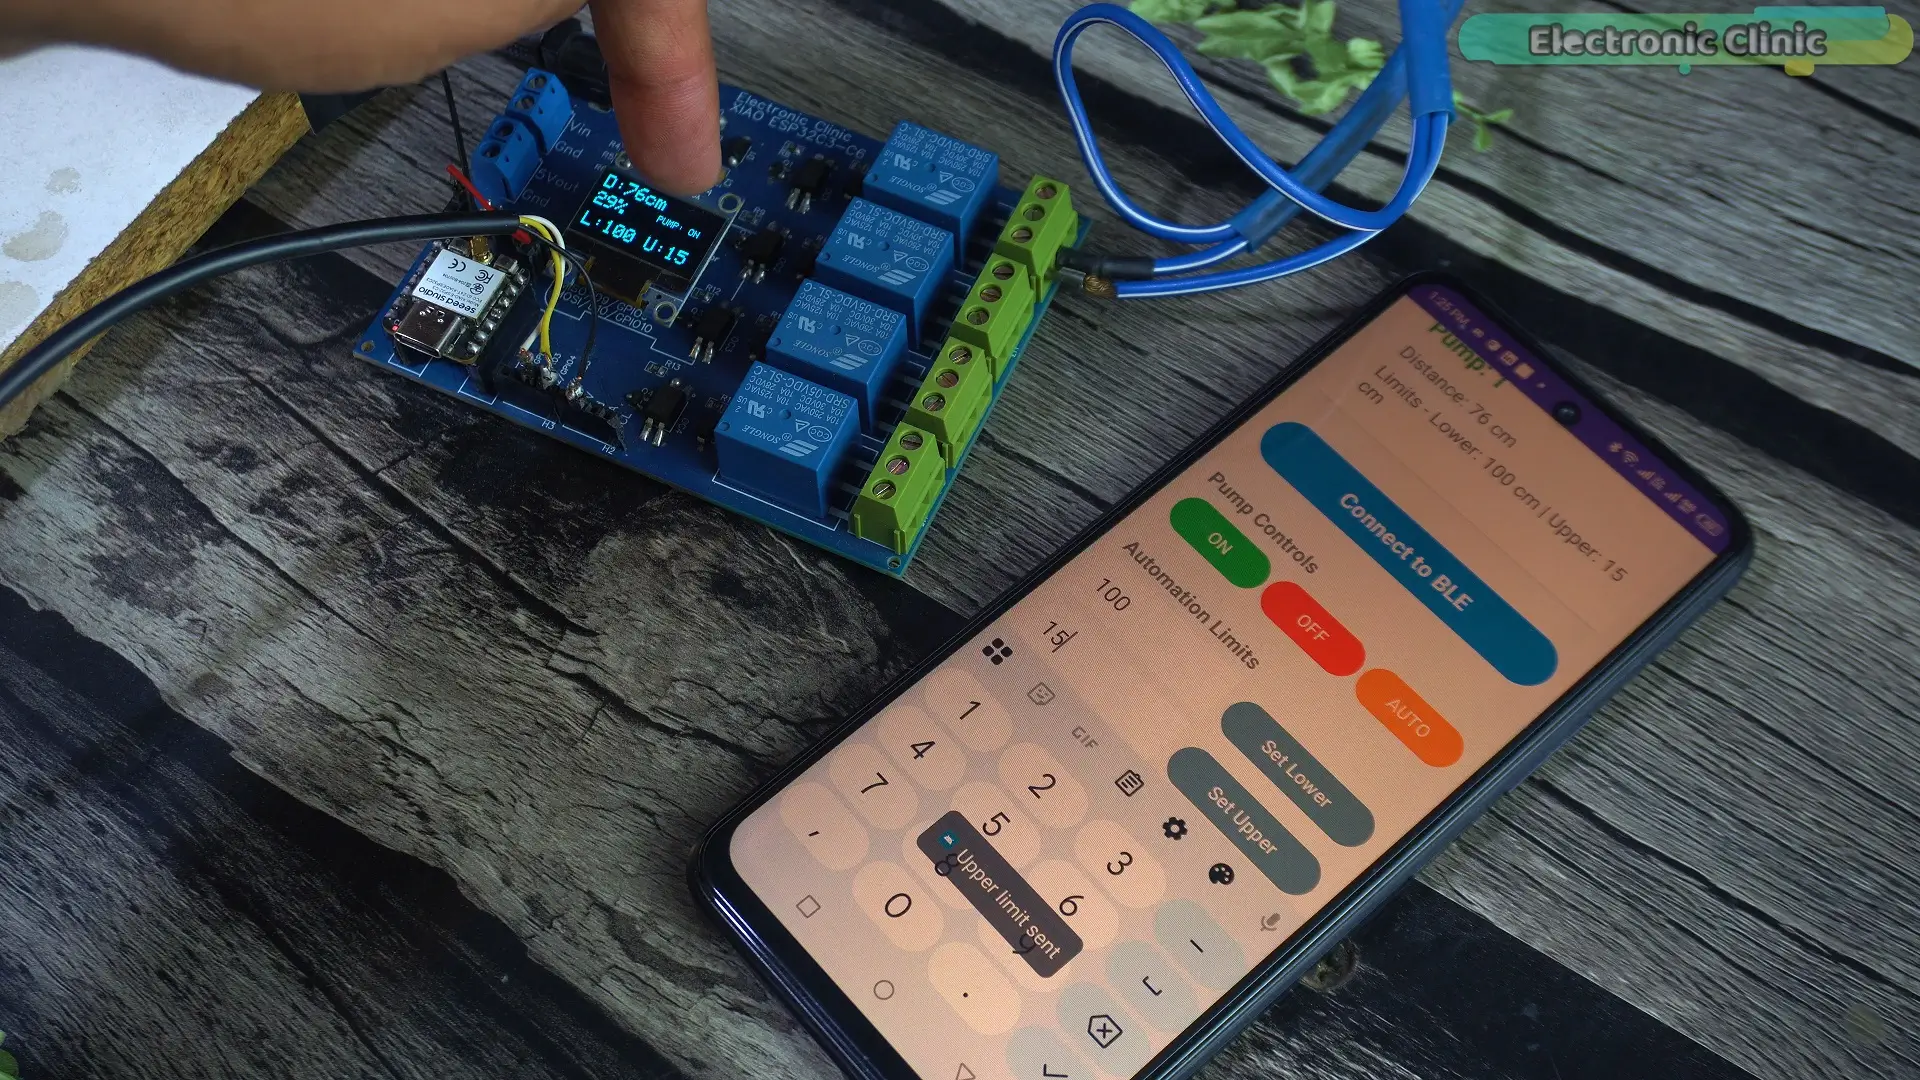
In the same way, I can also change the upper limit.
And let me tell you something important. These limits will not change unless we change them manually.
Even if you restart the controller,
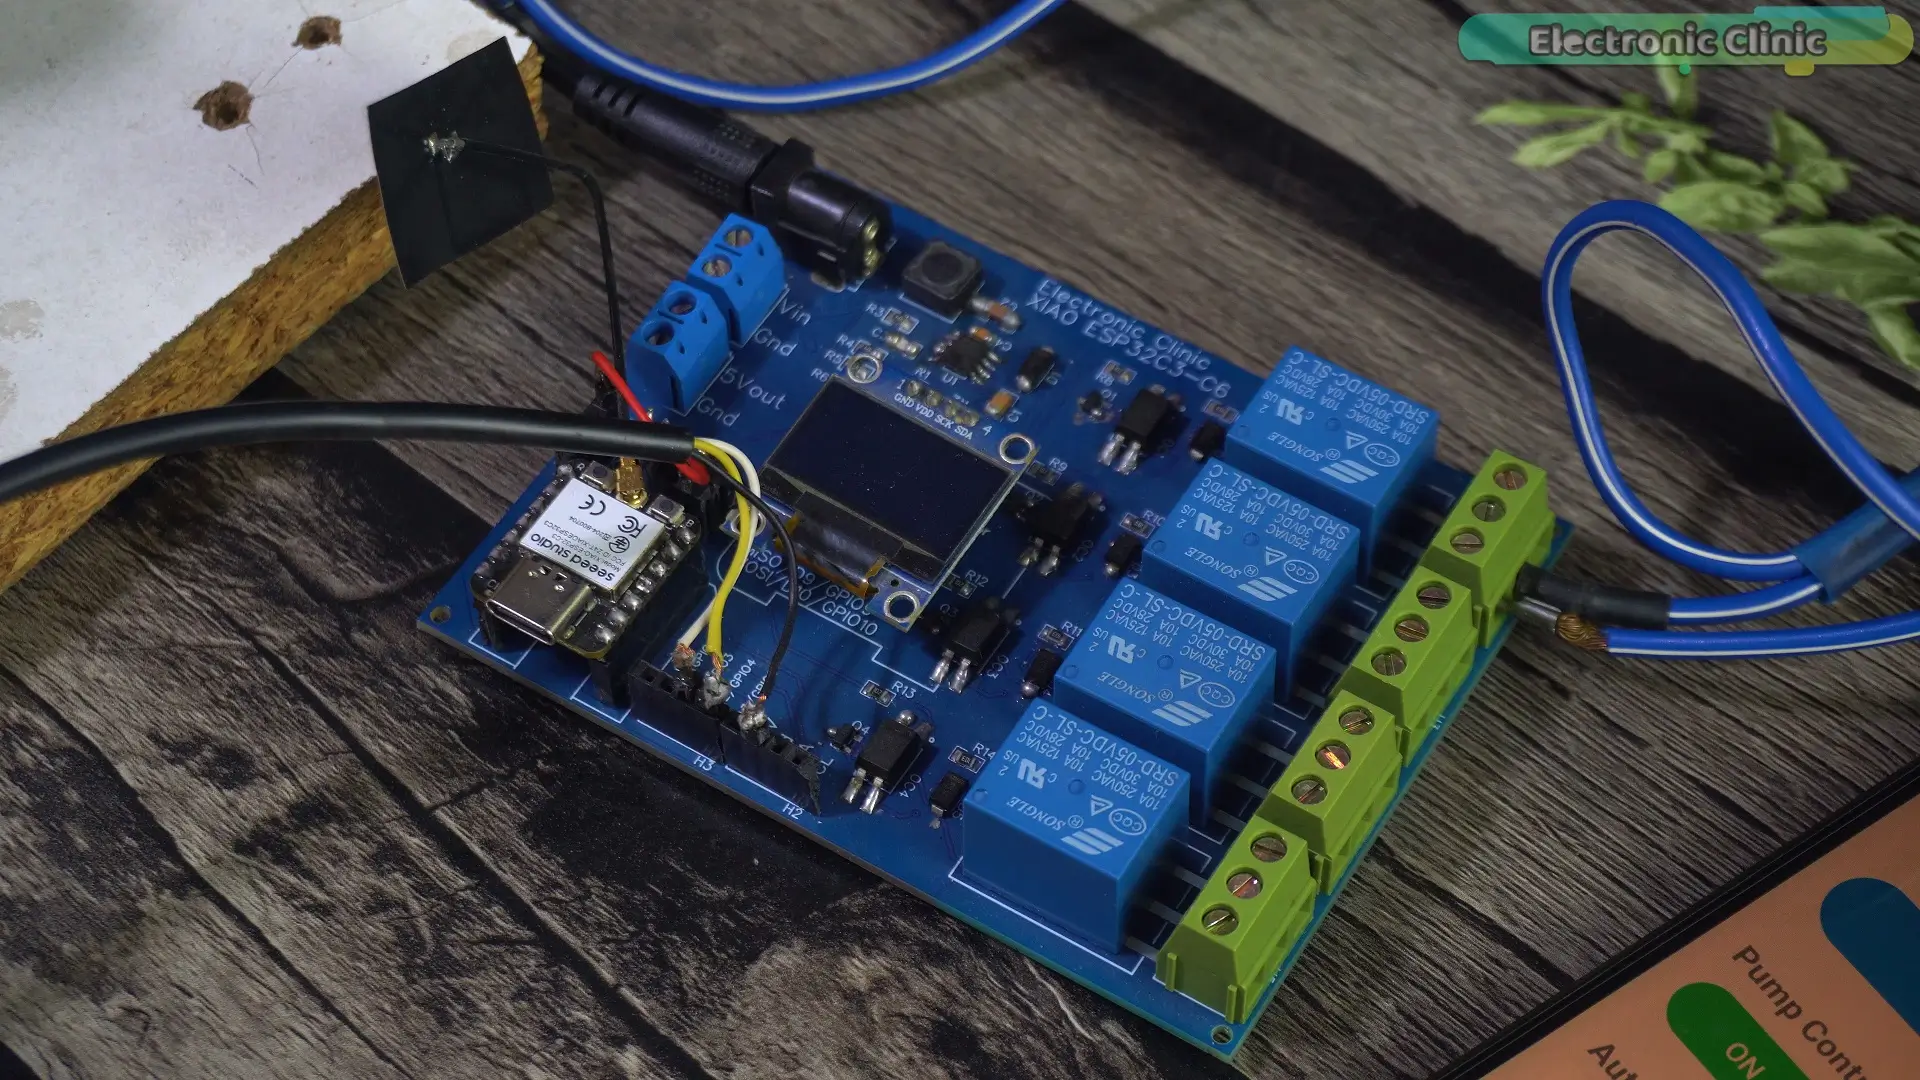
These values will not be lost.
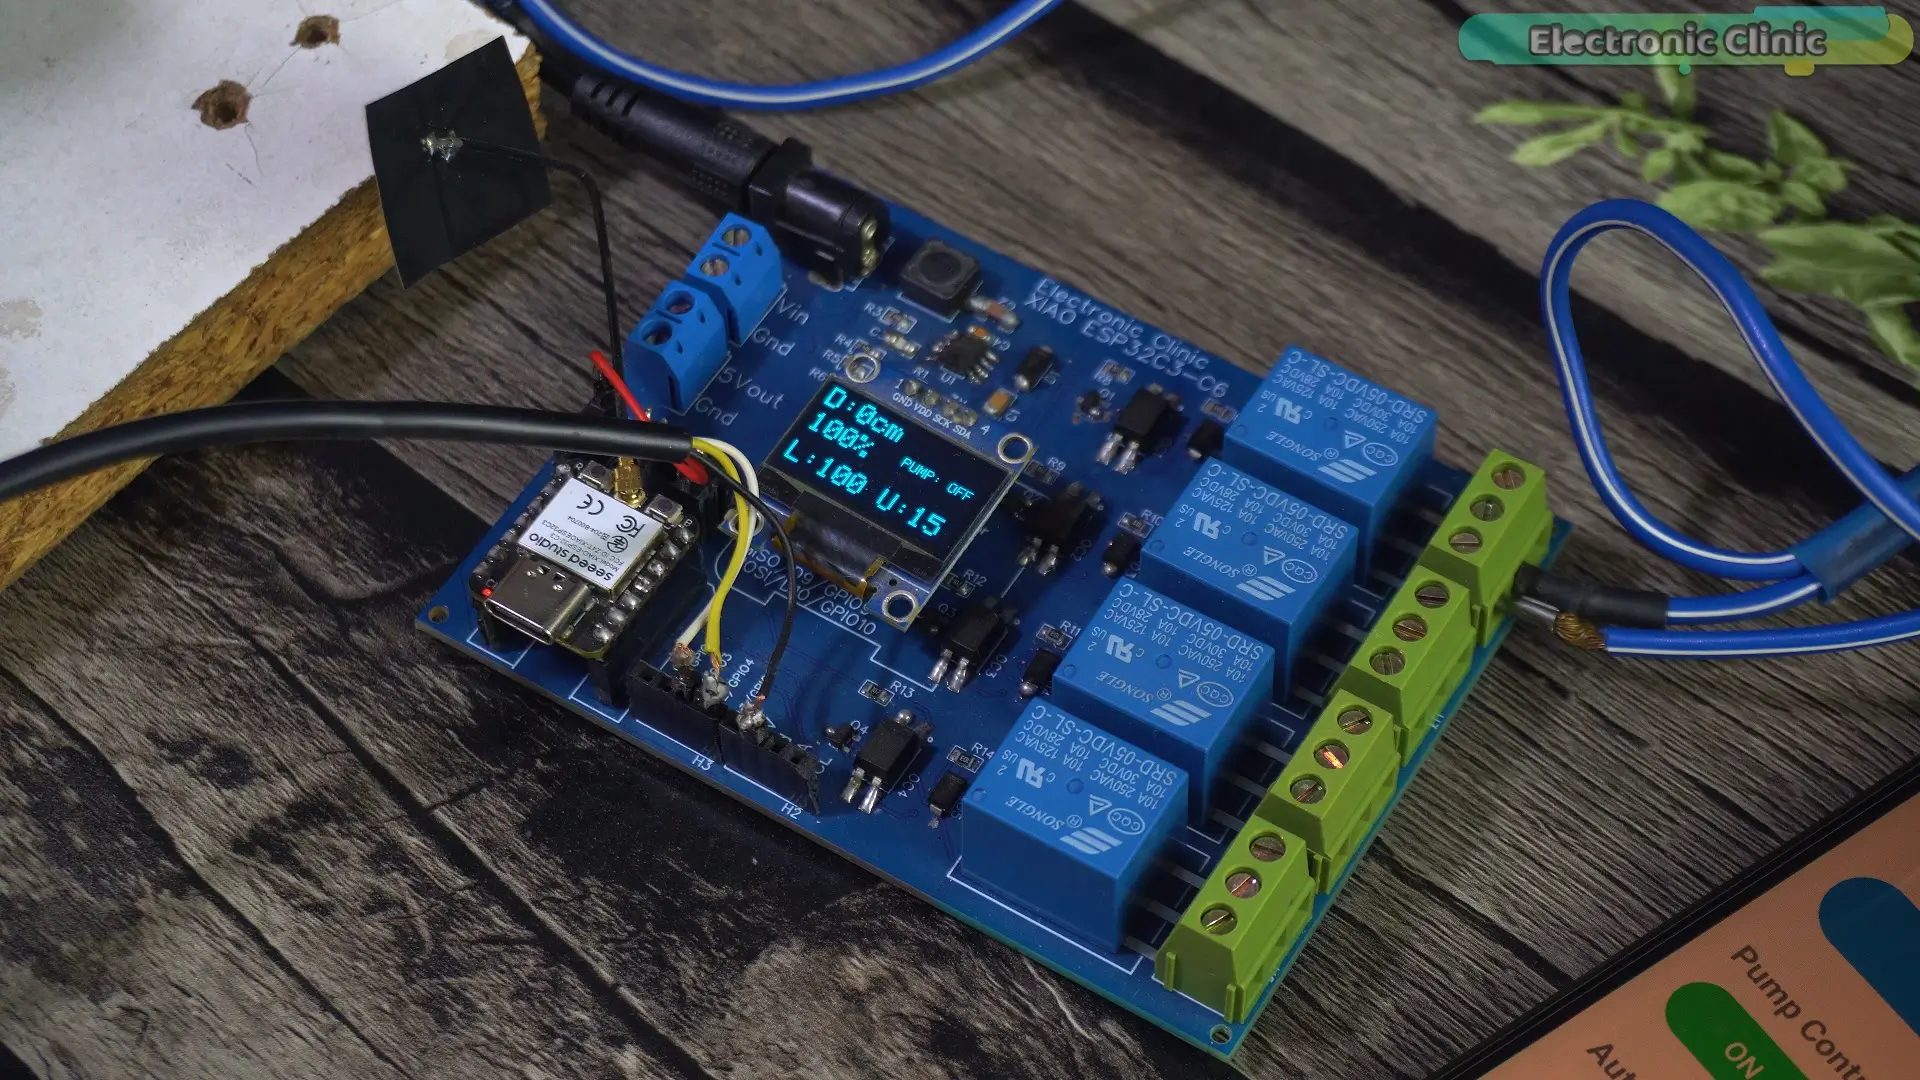
Because these values are saved in the EEPROM memory.
Now you understand how the application works.
So let’s go ahead and test the system.
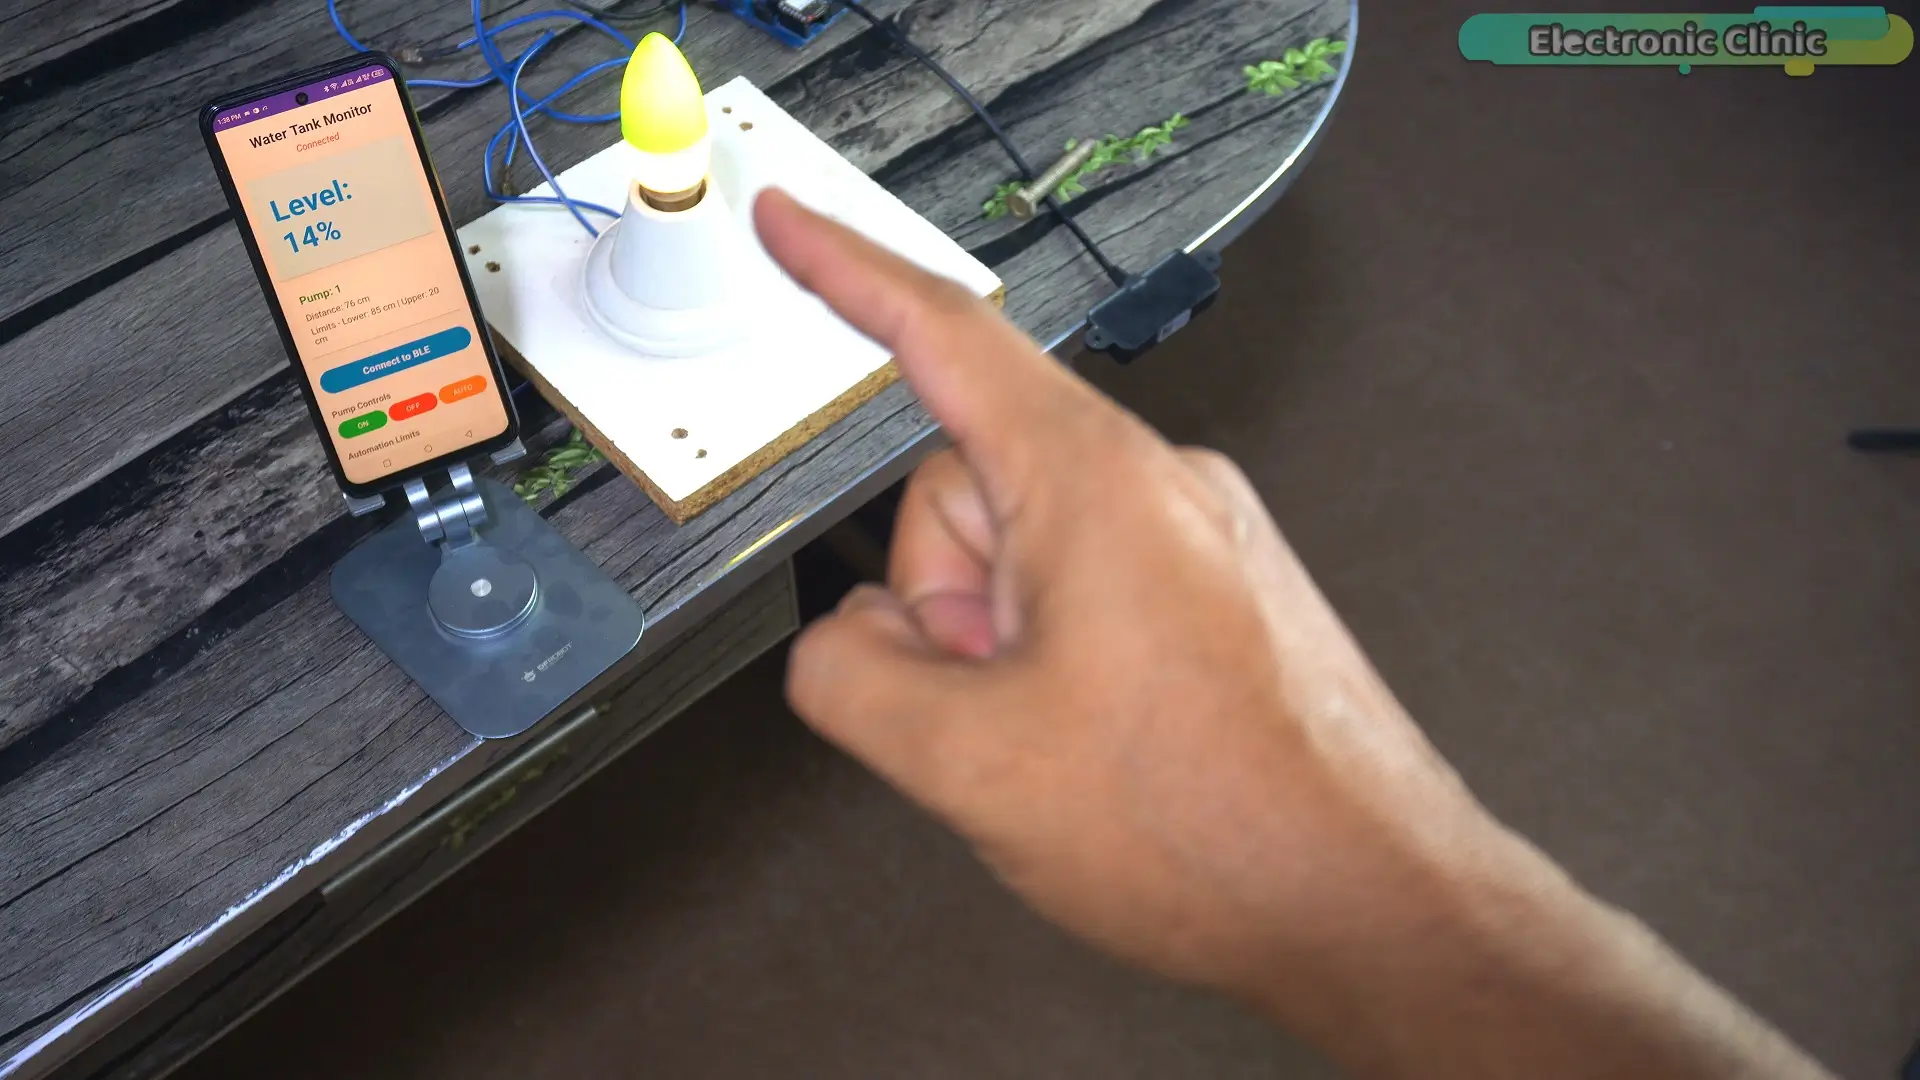
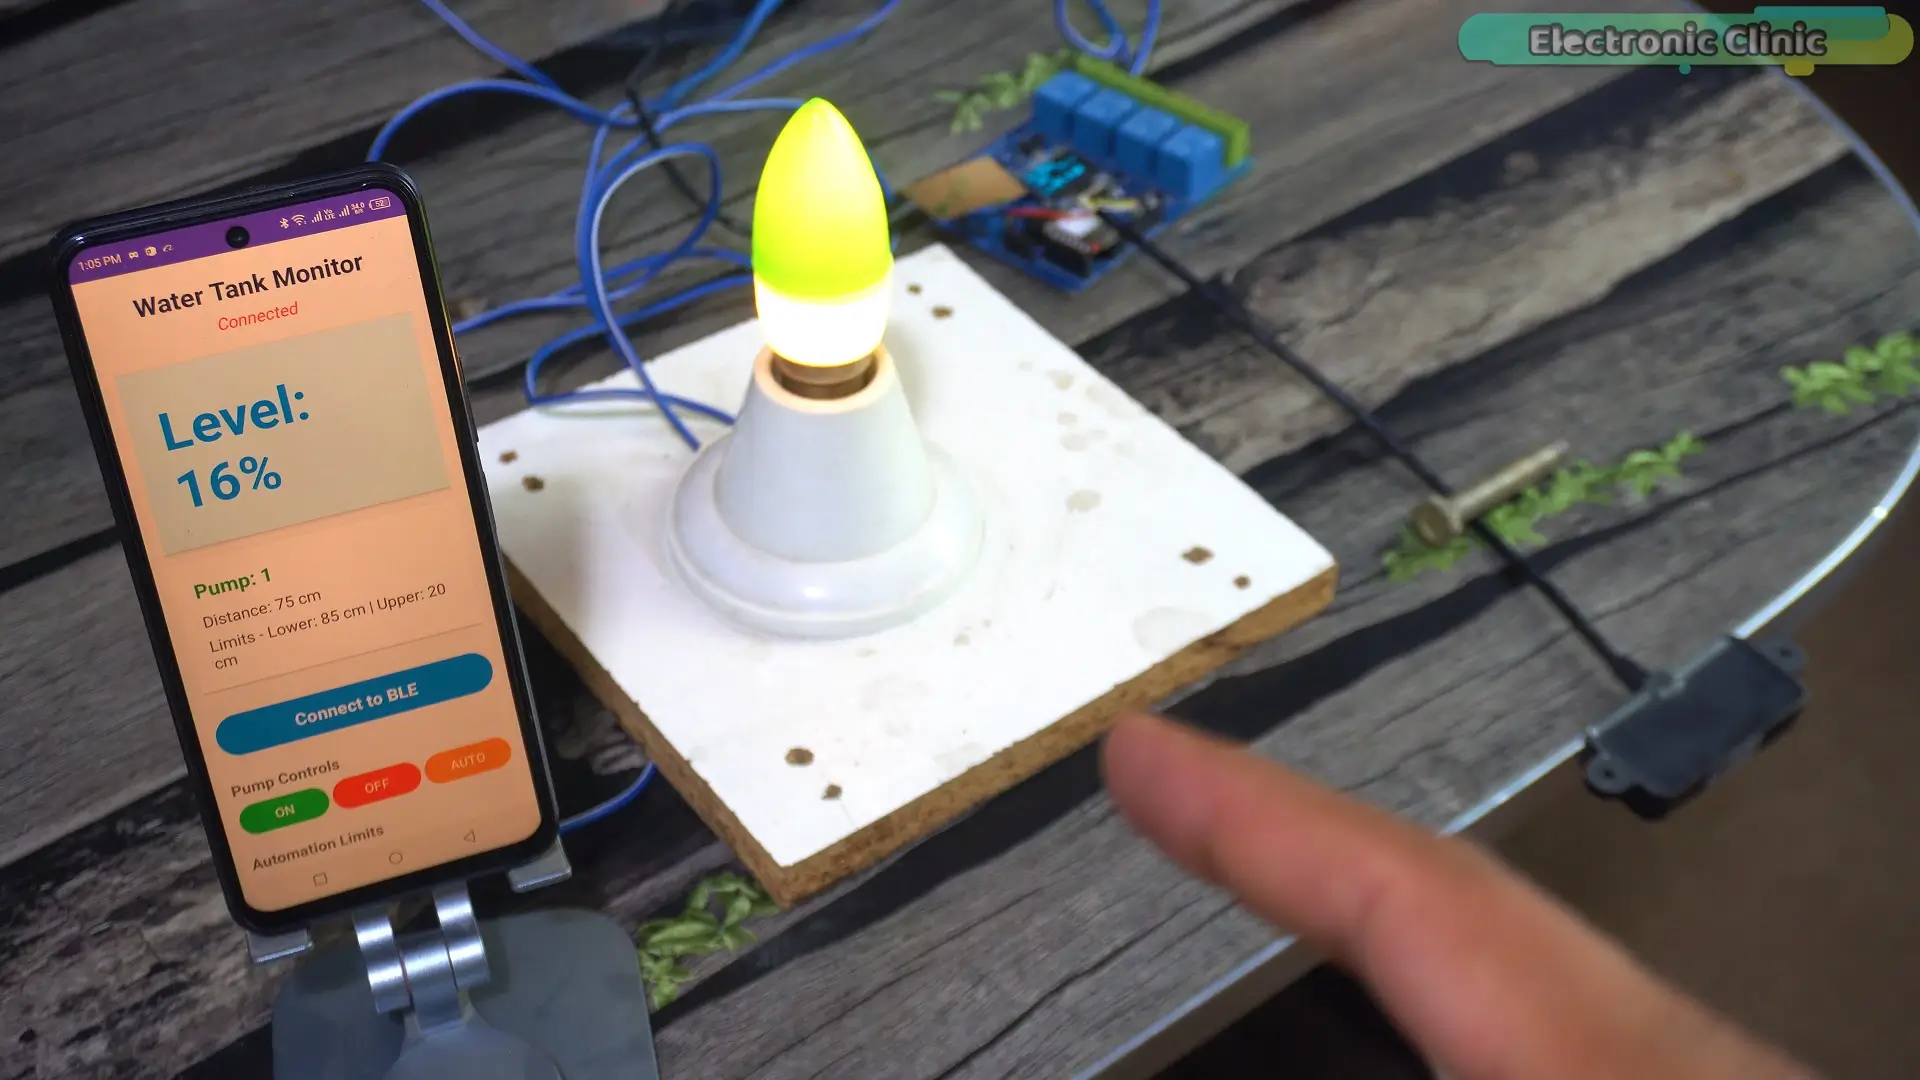
You can think of this bulb as a water pump.
The lower and upper limits are already set.
Now watch as I move this tablet. Think of it as the water level. The bulb is ON because the water level is below 20%.
It will remain ON until the water level increases above 85%.
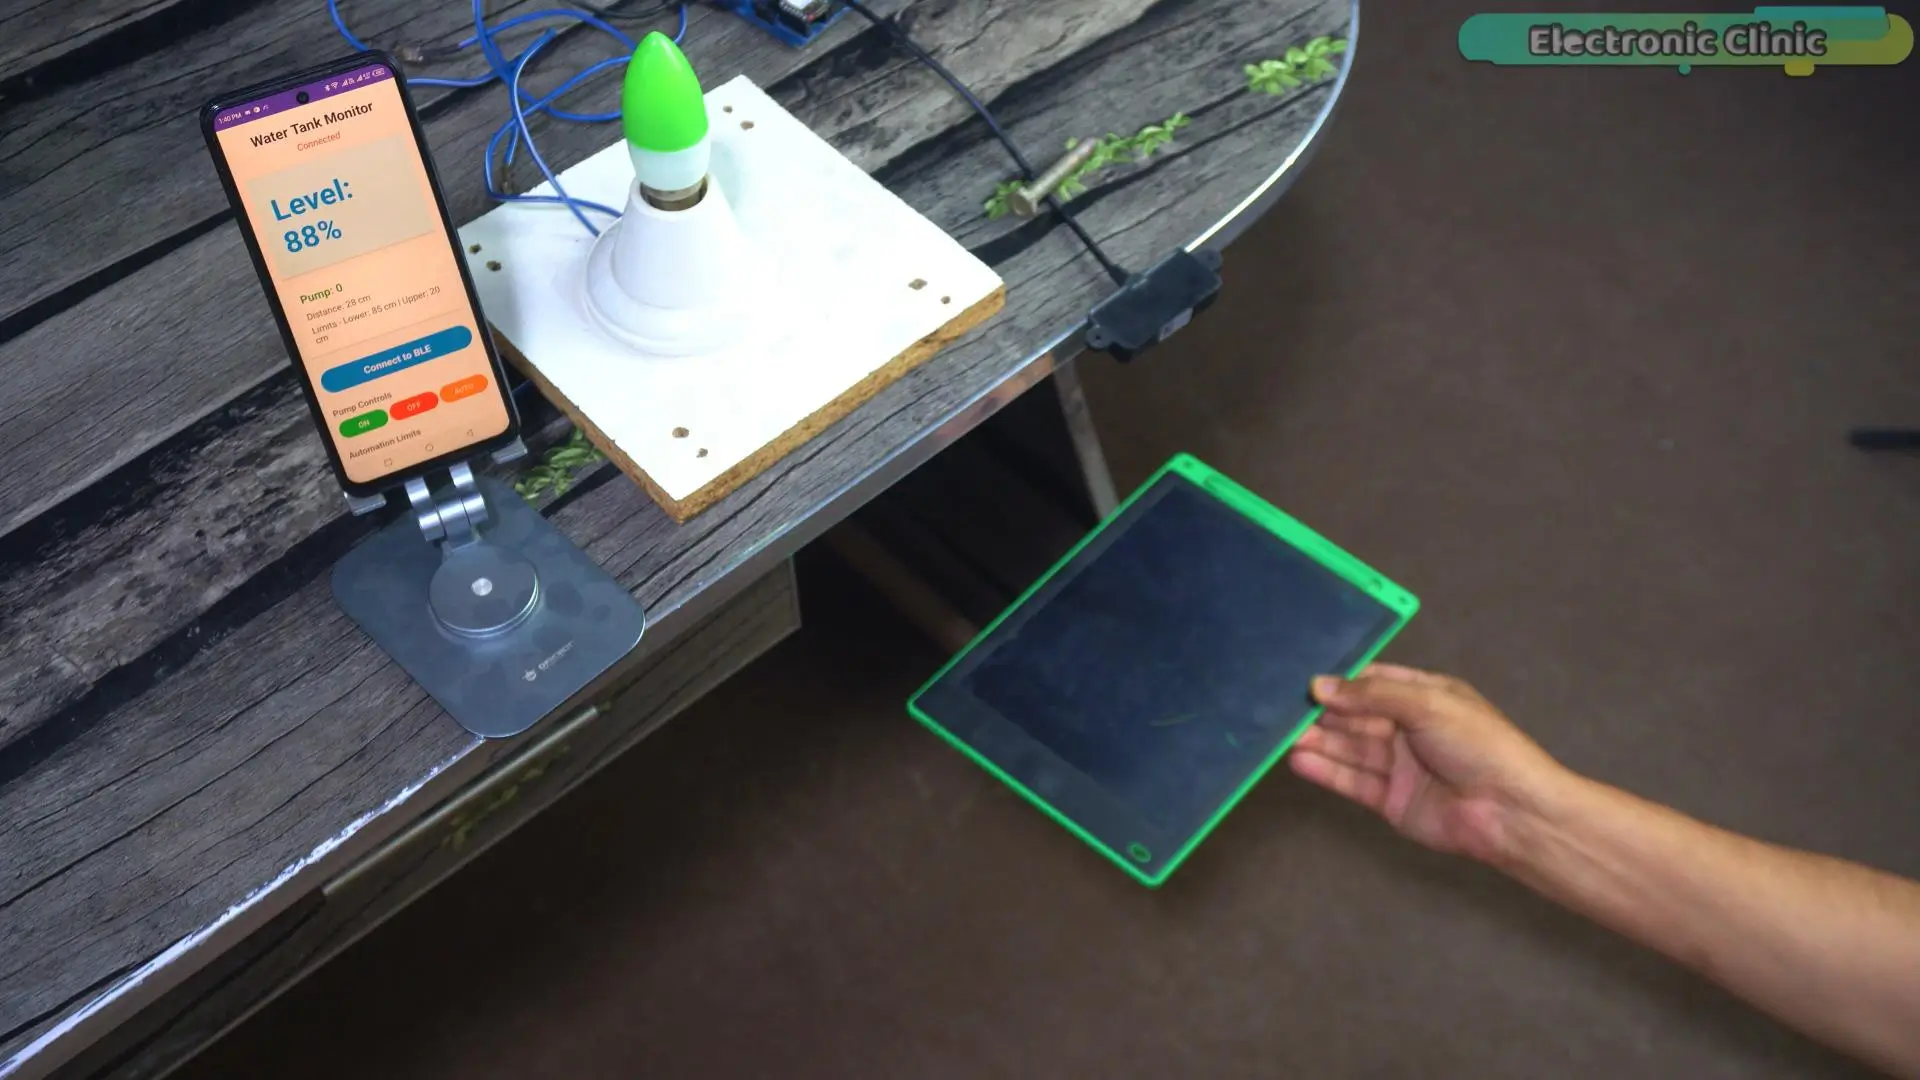
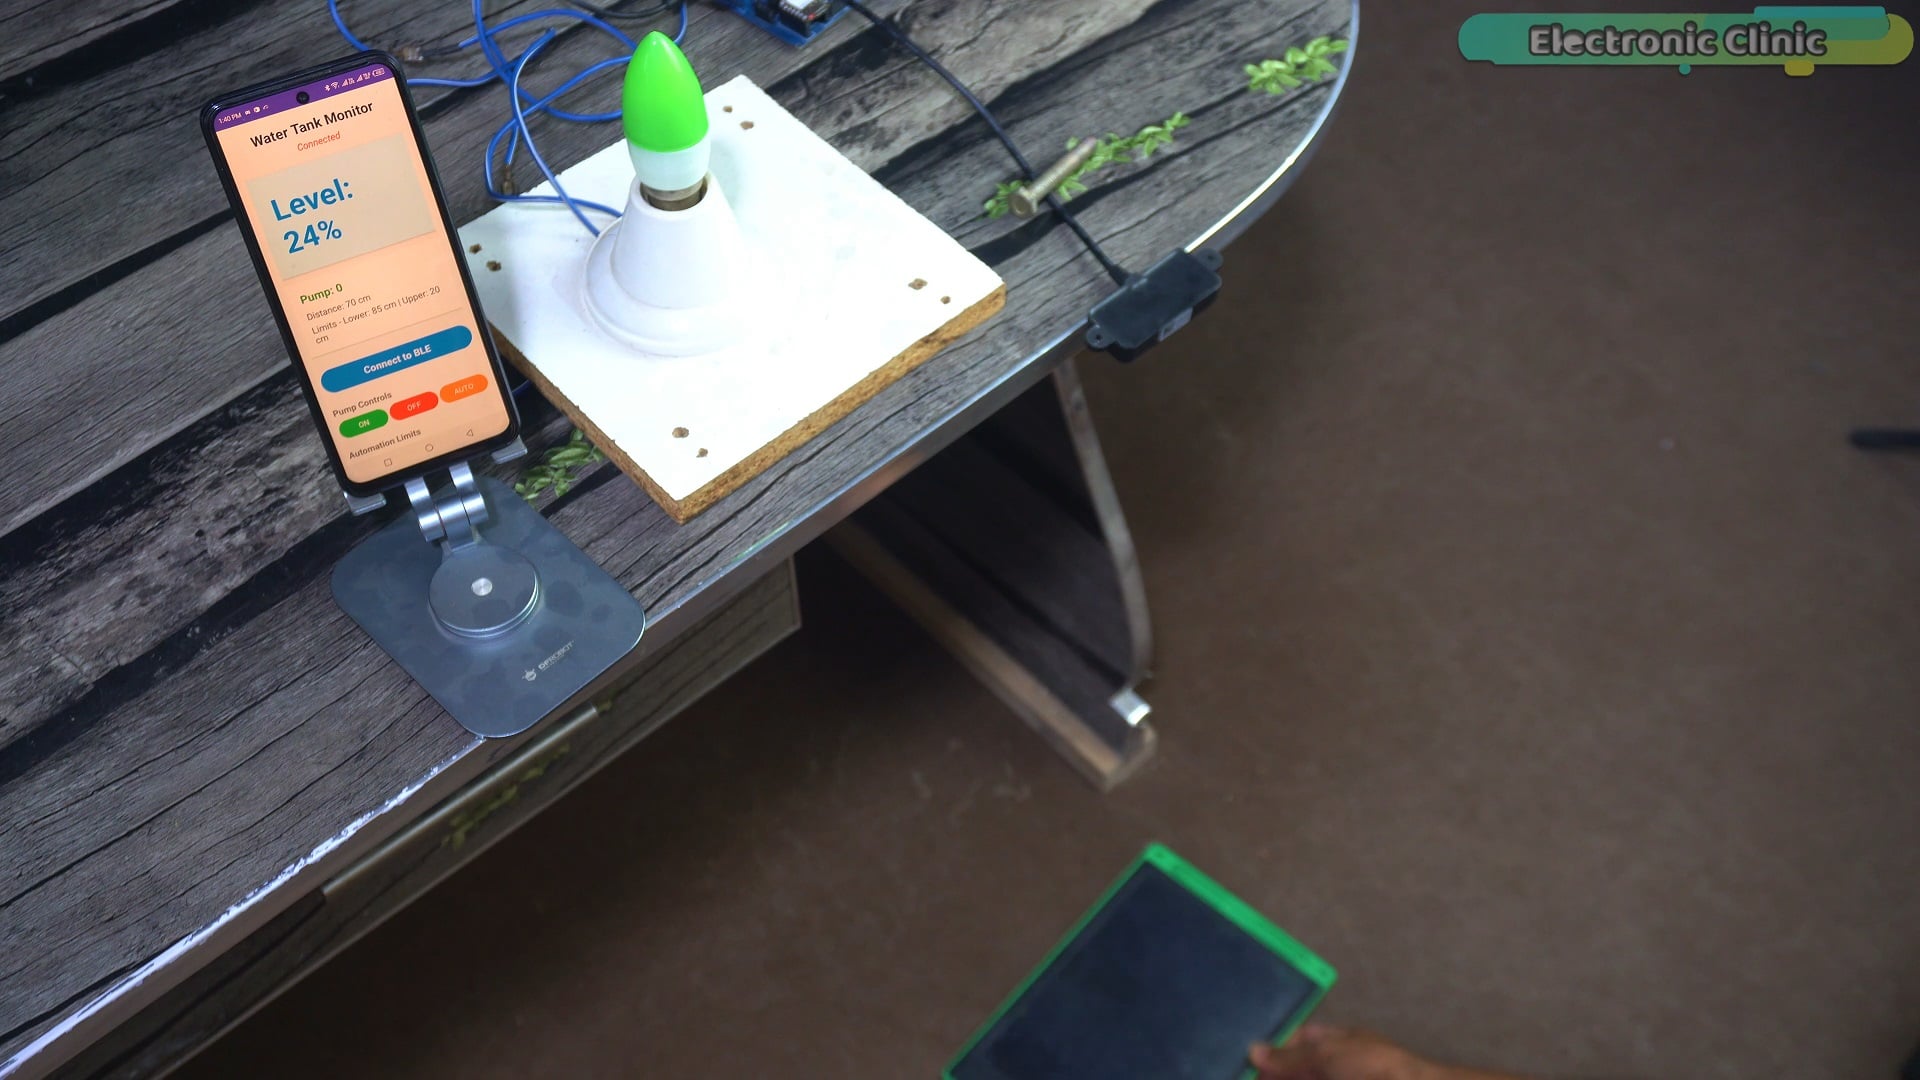
Now, the water pump will remain off until the water level decreases below 20%. As you can see, the entire system is working as expected.
Software Setup:
Next, I am going to show you my software setup and how to upload the program.
Right now, you can see that I am using Arduino IDE version 2.3.6.
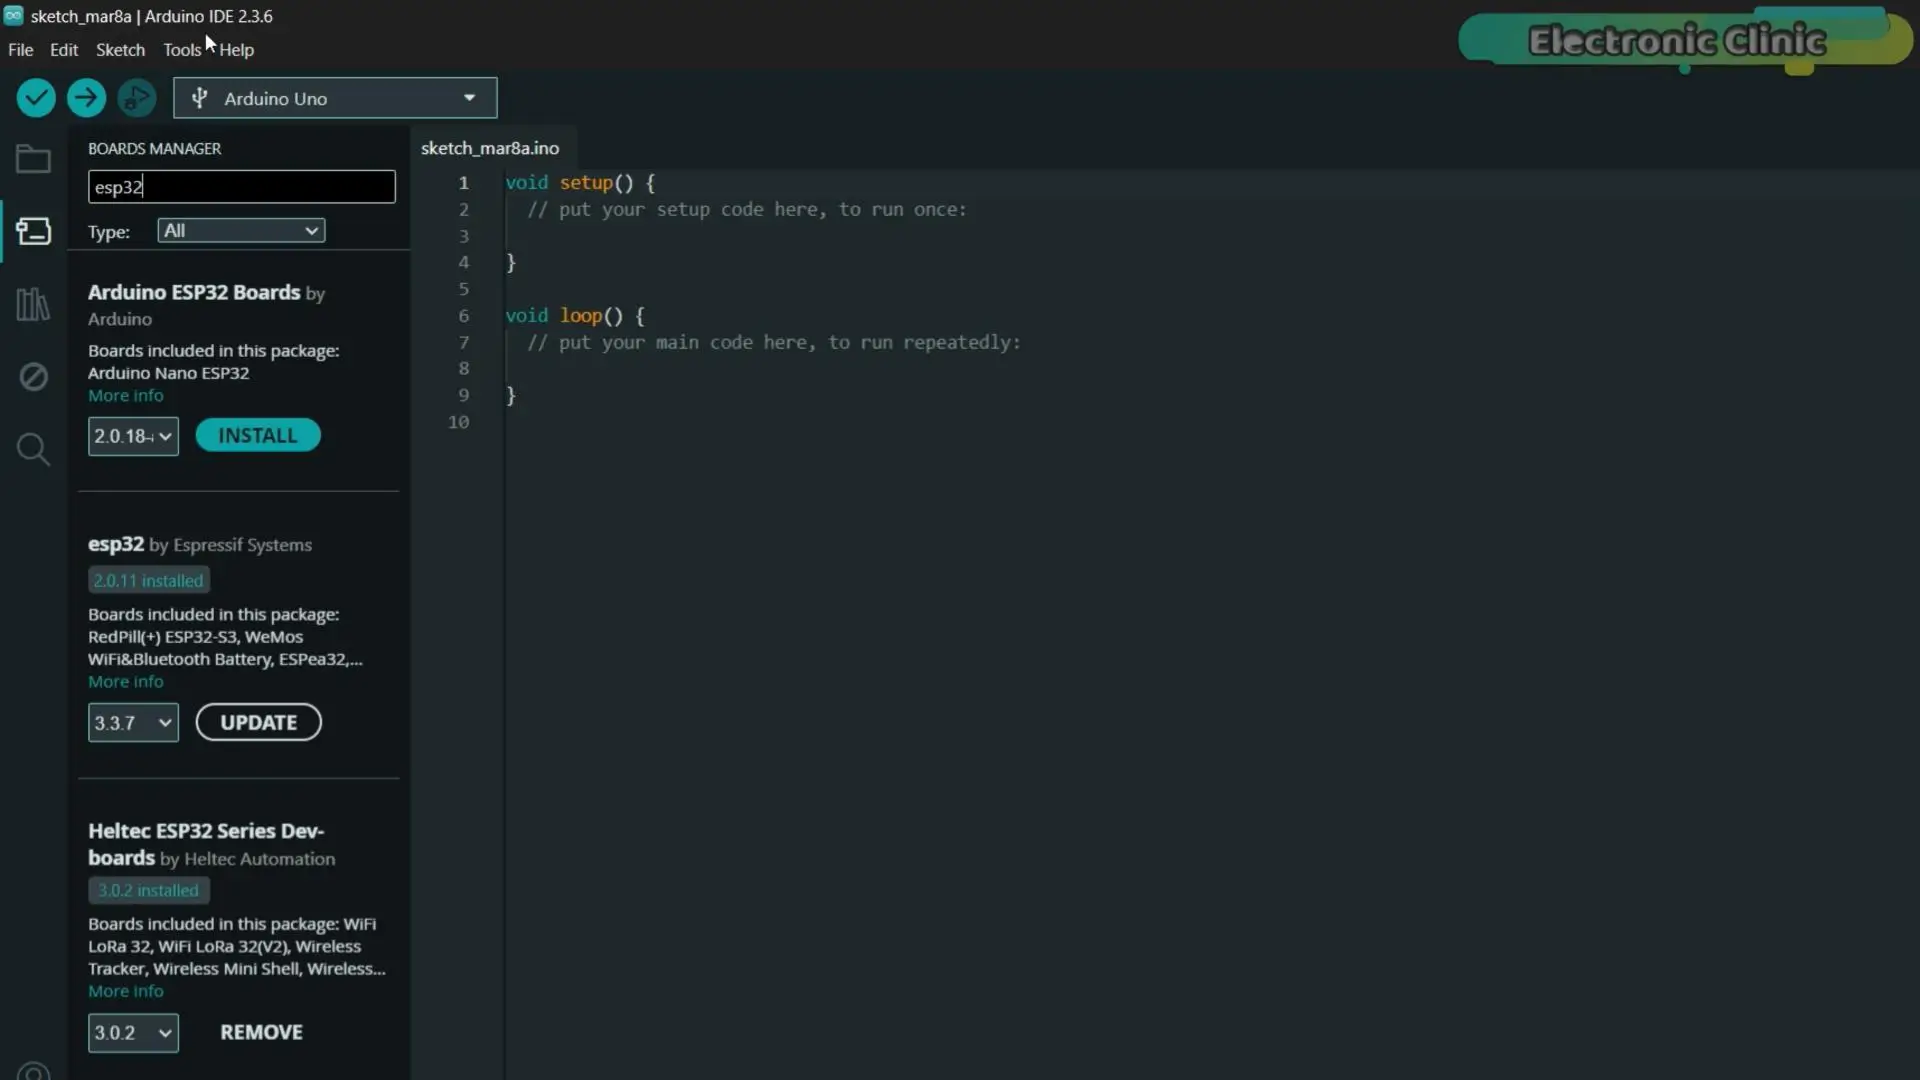
And I am using the ESP32 board package version 2.0.11 or I can also use a higher version.
If you use an older version, you may not find the Xiao ESP32C3 in the boards list.
Uploading the Code:
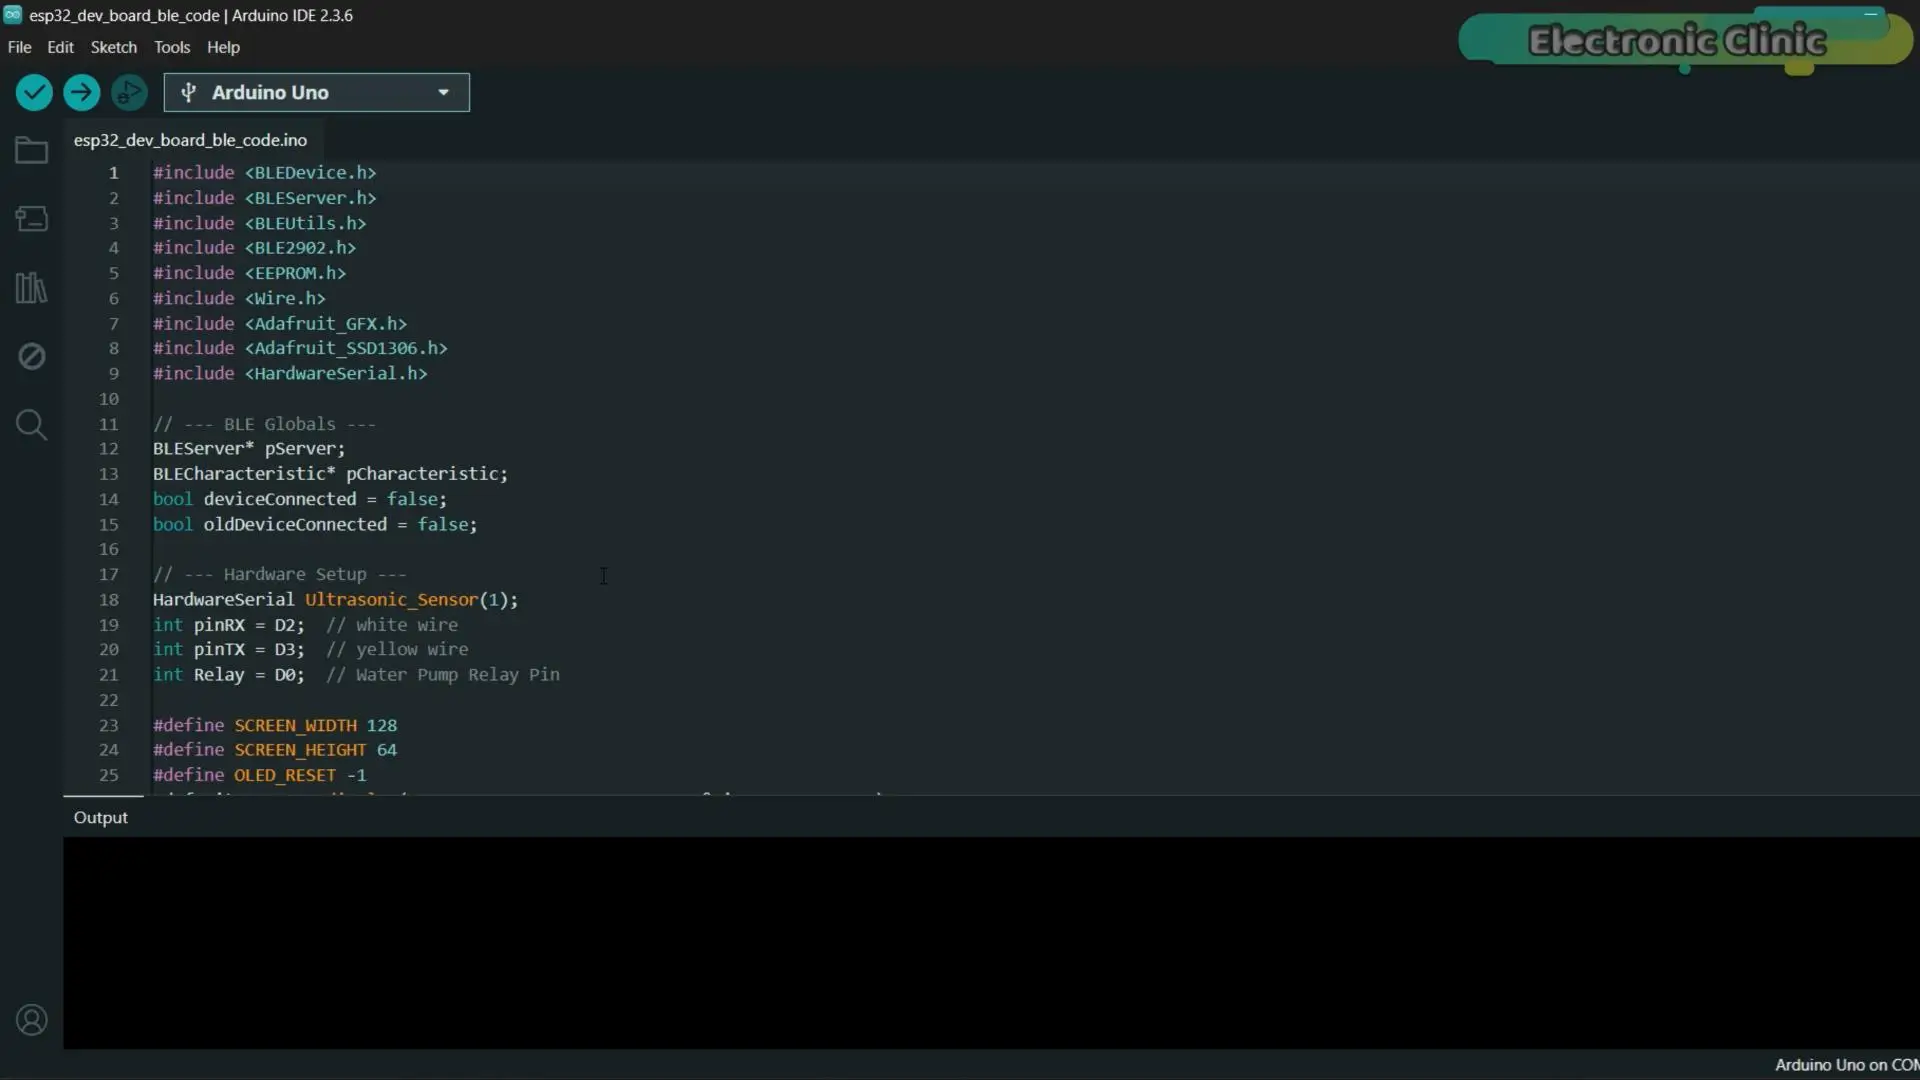
I have this code, which you can download from my Patreon page.
Water Level monitoring Smartphone App:
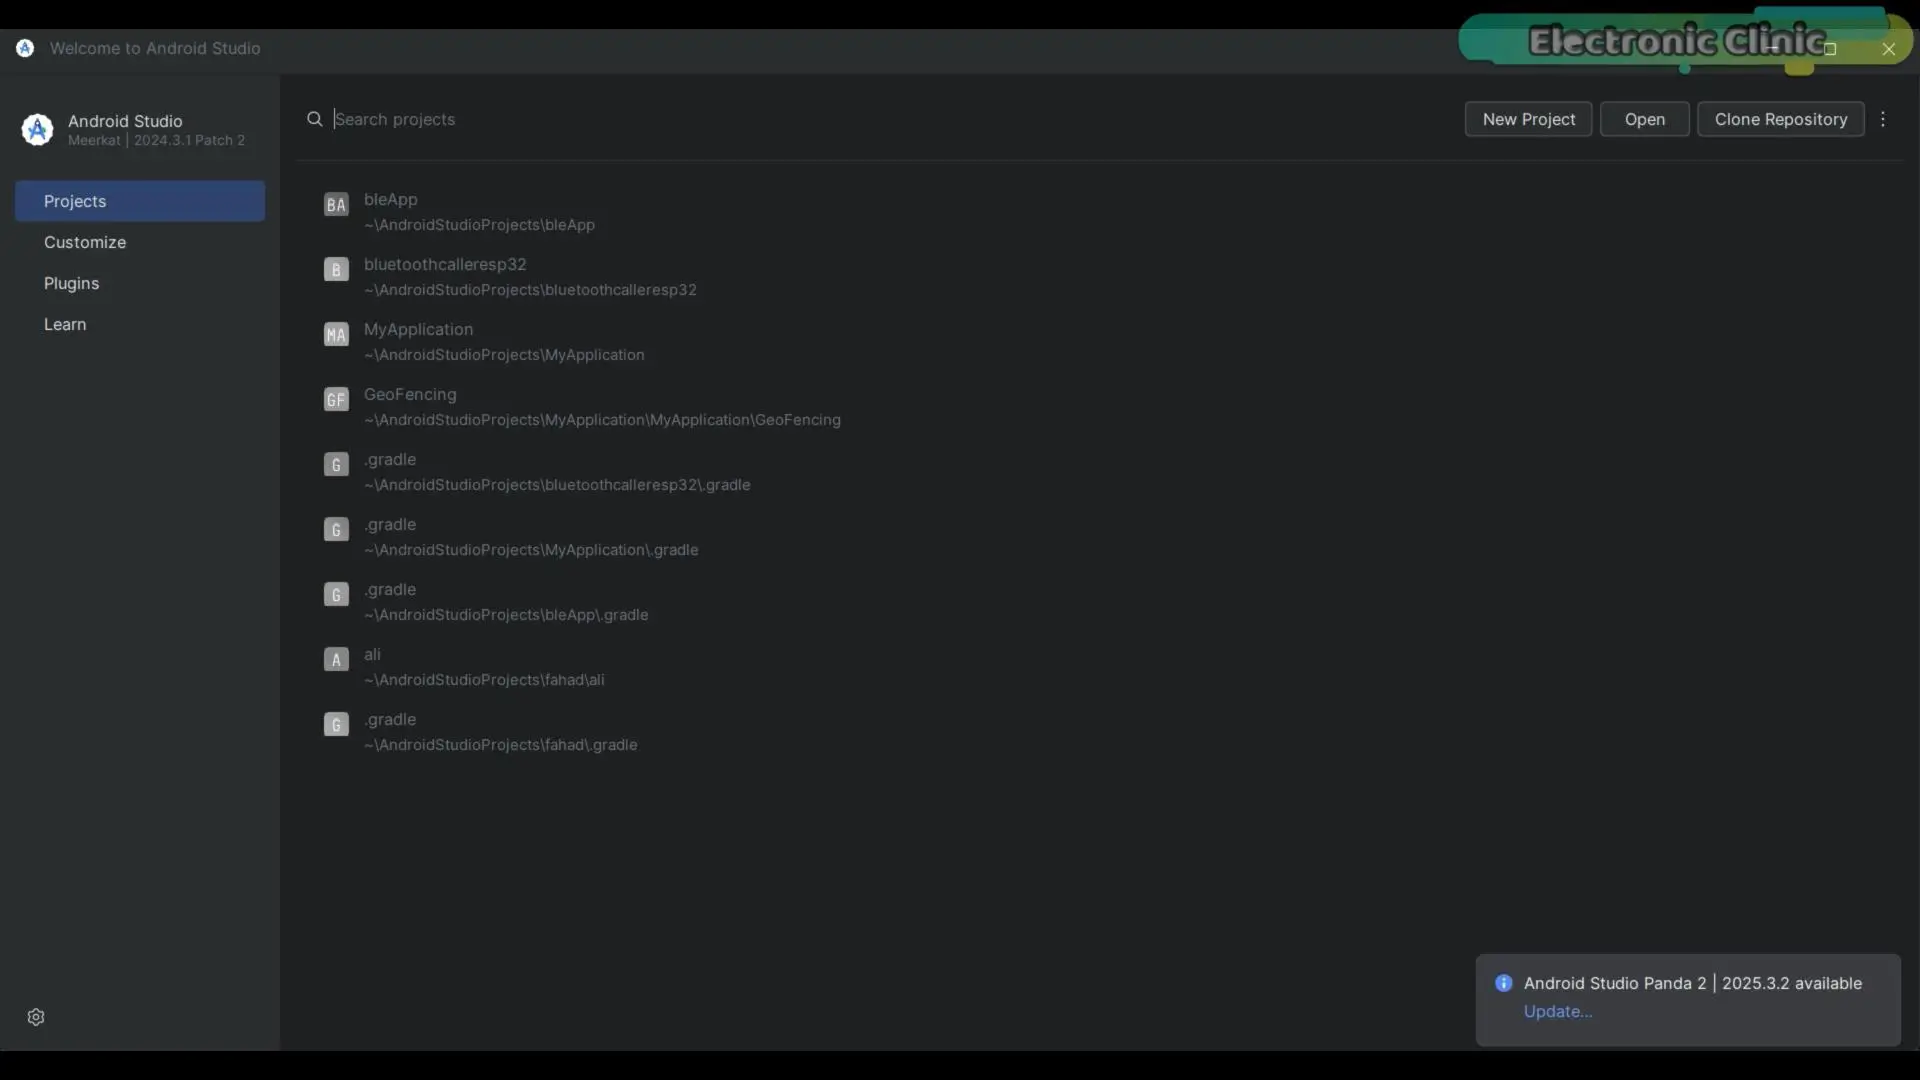
To open the application, first you need to install Android Studio.
You can find many videos on YouTube that show how to install Android Studio.
After opening it, you will see an interface like this on your screen.
After that, you need to download this app from my Patreon page.
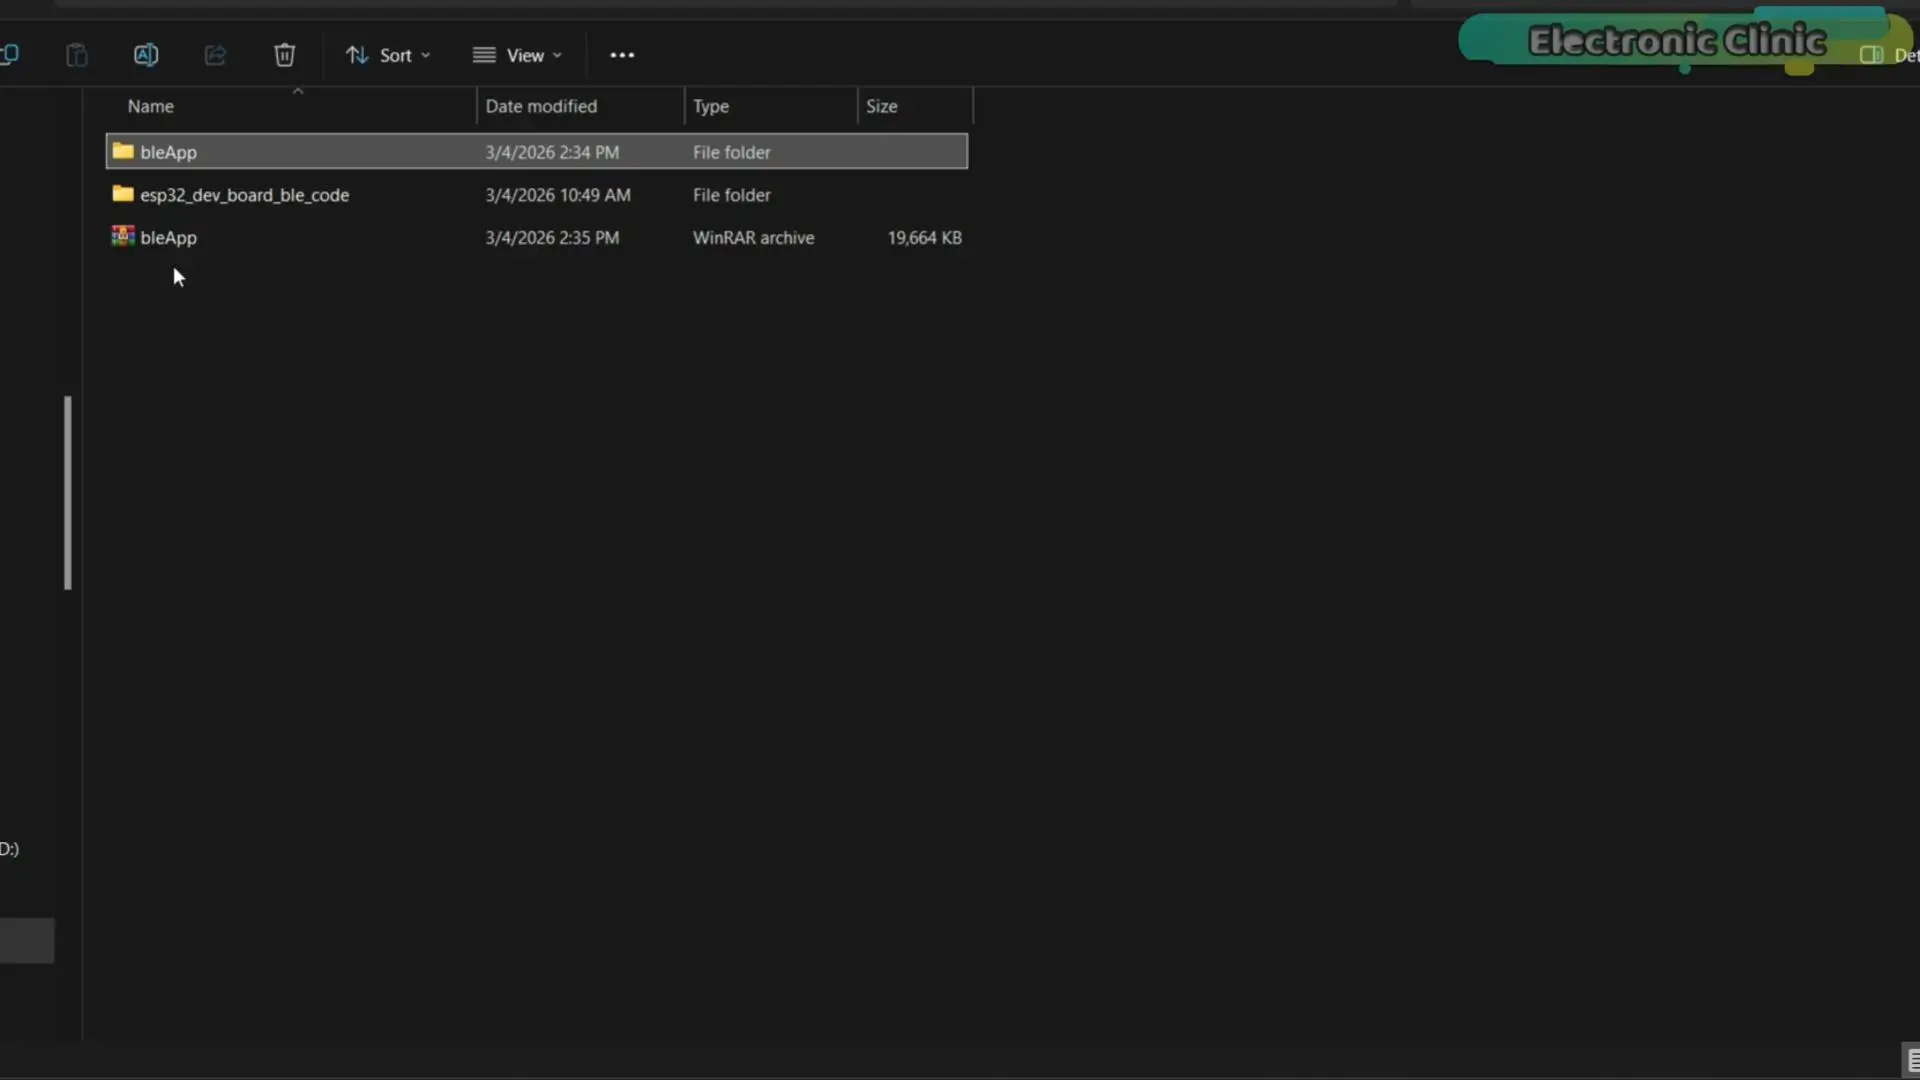
Then extract the downloaded file.
Next, you need to copy that folder…
- Next, go to the C Drive.
- Then open the Users folder.
- After that, open the OK folder.
- Now go to the AndroidStudioProjects folder.
- And paste the copied project folder here.
Next, connect your mobile phone to the system.
Now go back to Android Studio.
Click the Open button.
You should see the project folder here.
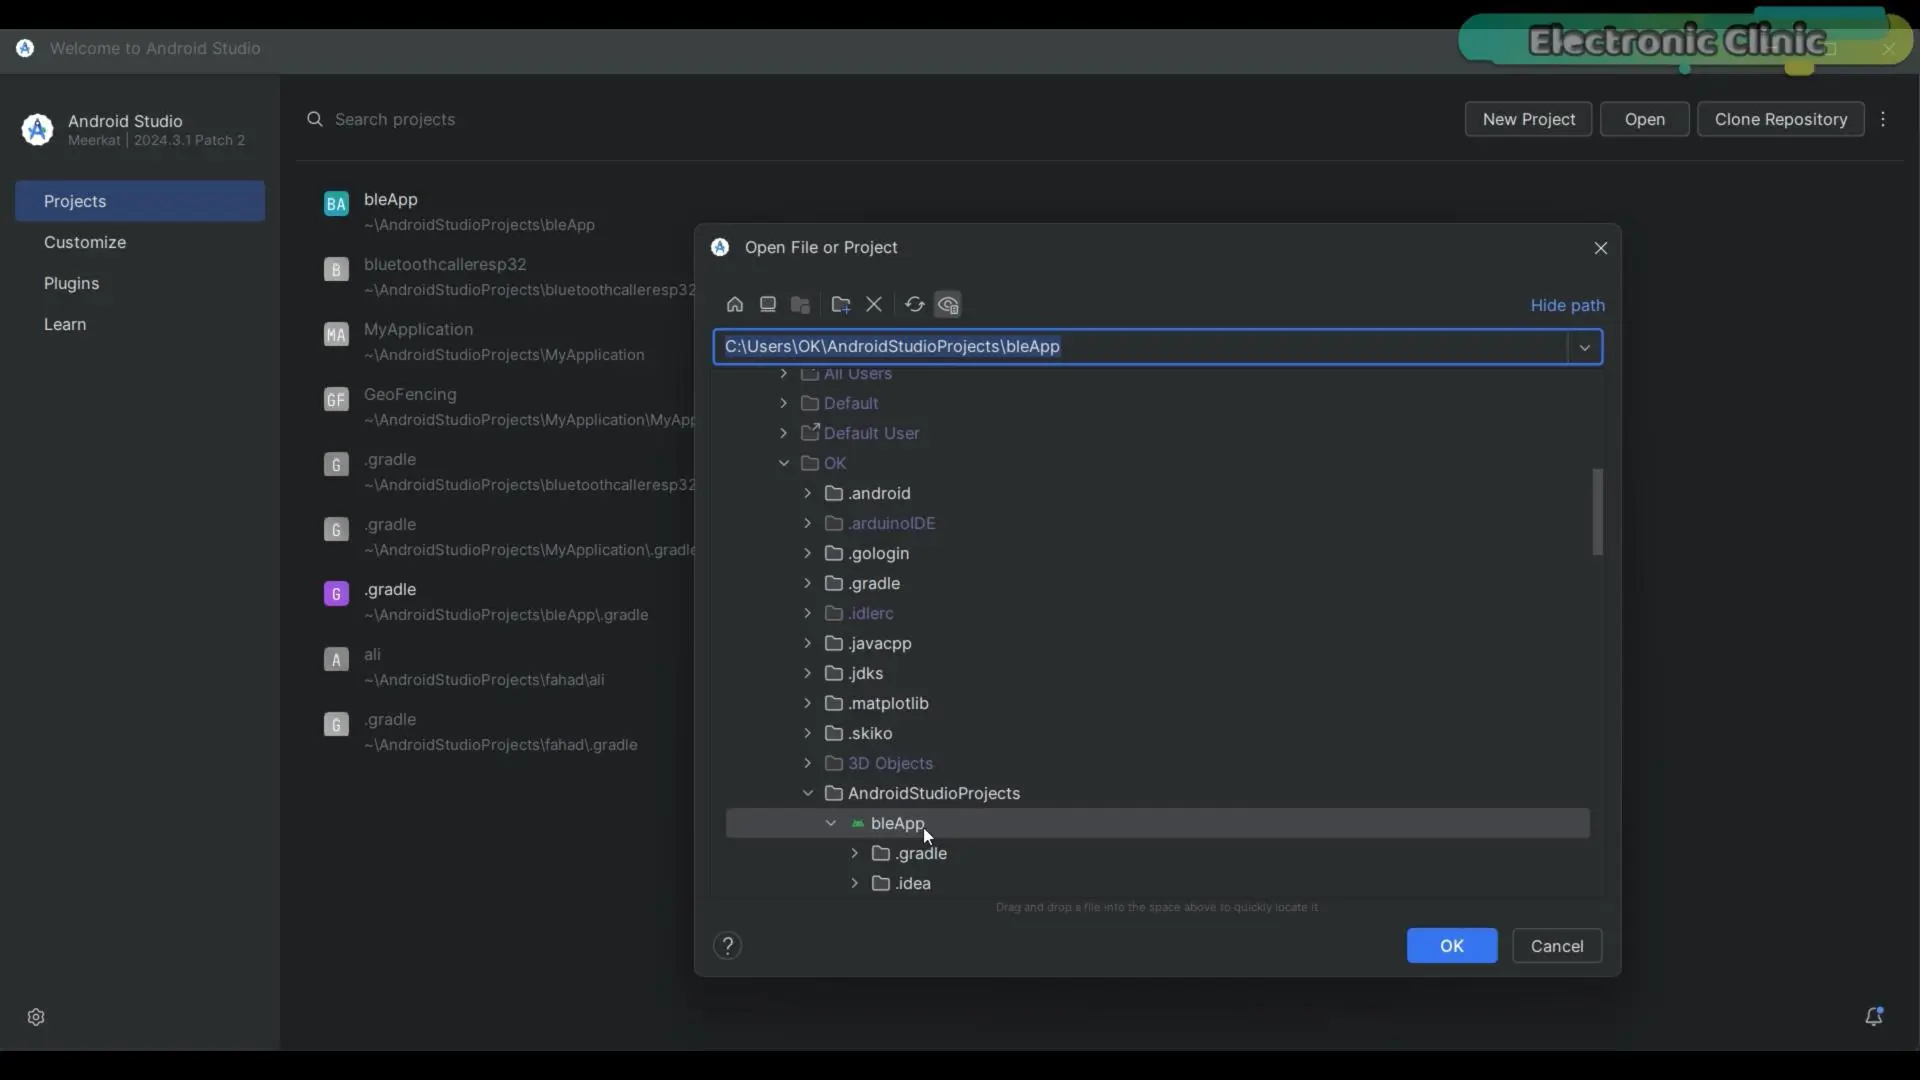
If you don’t see it, simply press the refresh button.
The folder will appear immediately.
Now select the folder and click the OK button.
From here you need to show some patience.
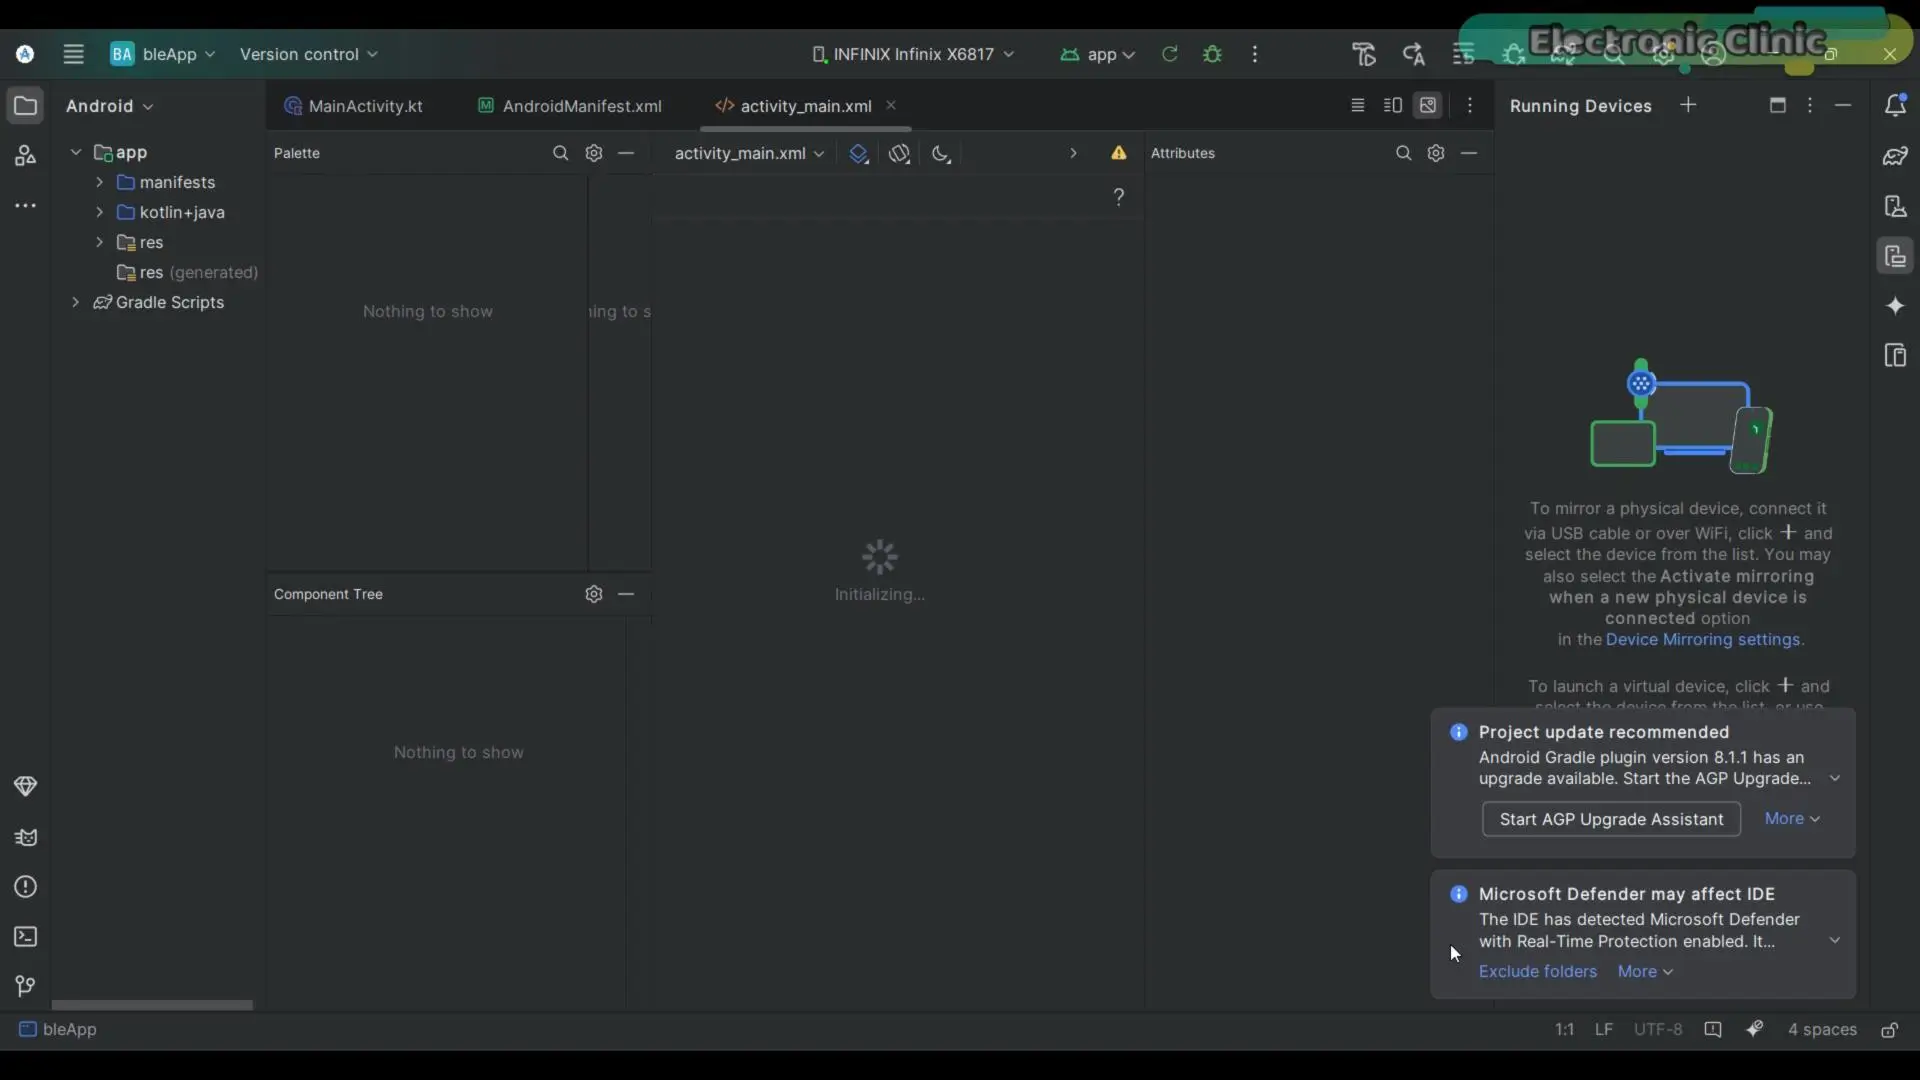
If you are using Android Studio for the first time, it may take some time because it will start downloading and installing some required files.
Once everything is finished, you will be able to see the application files.
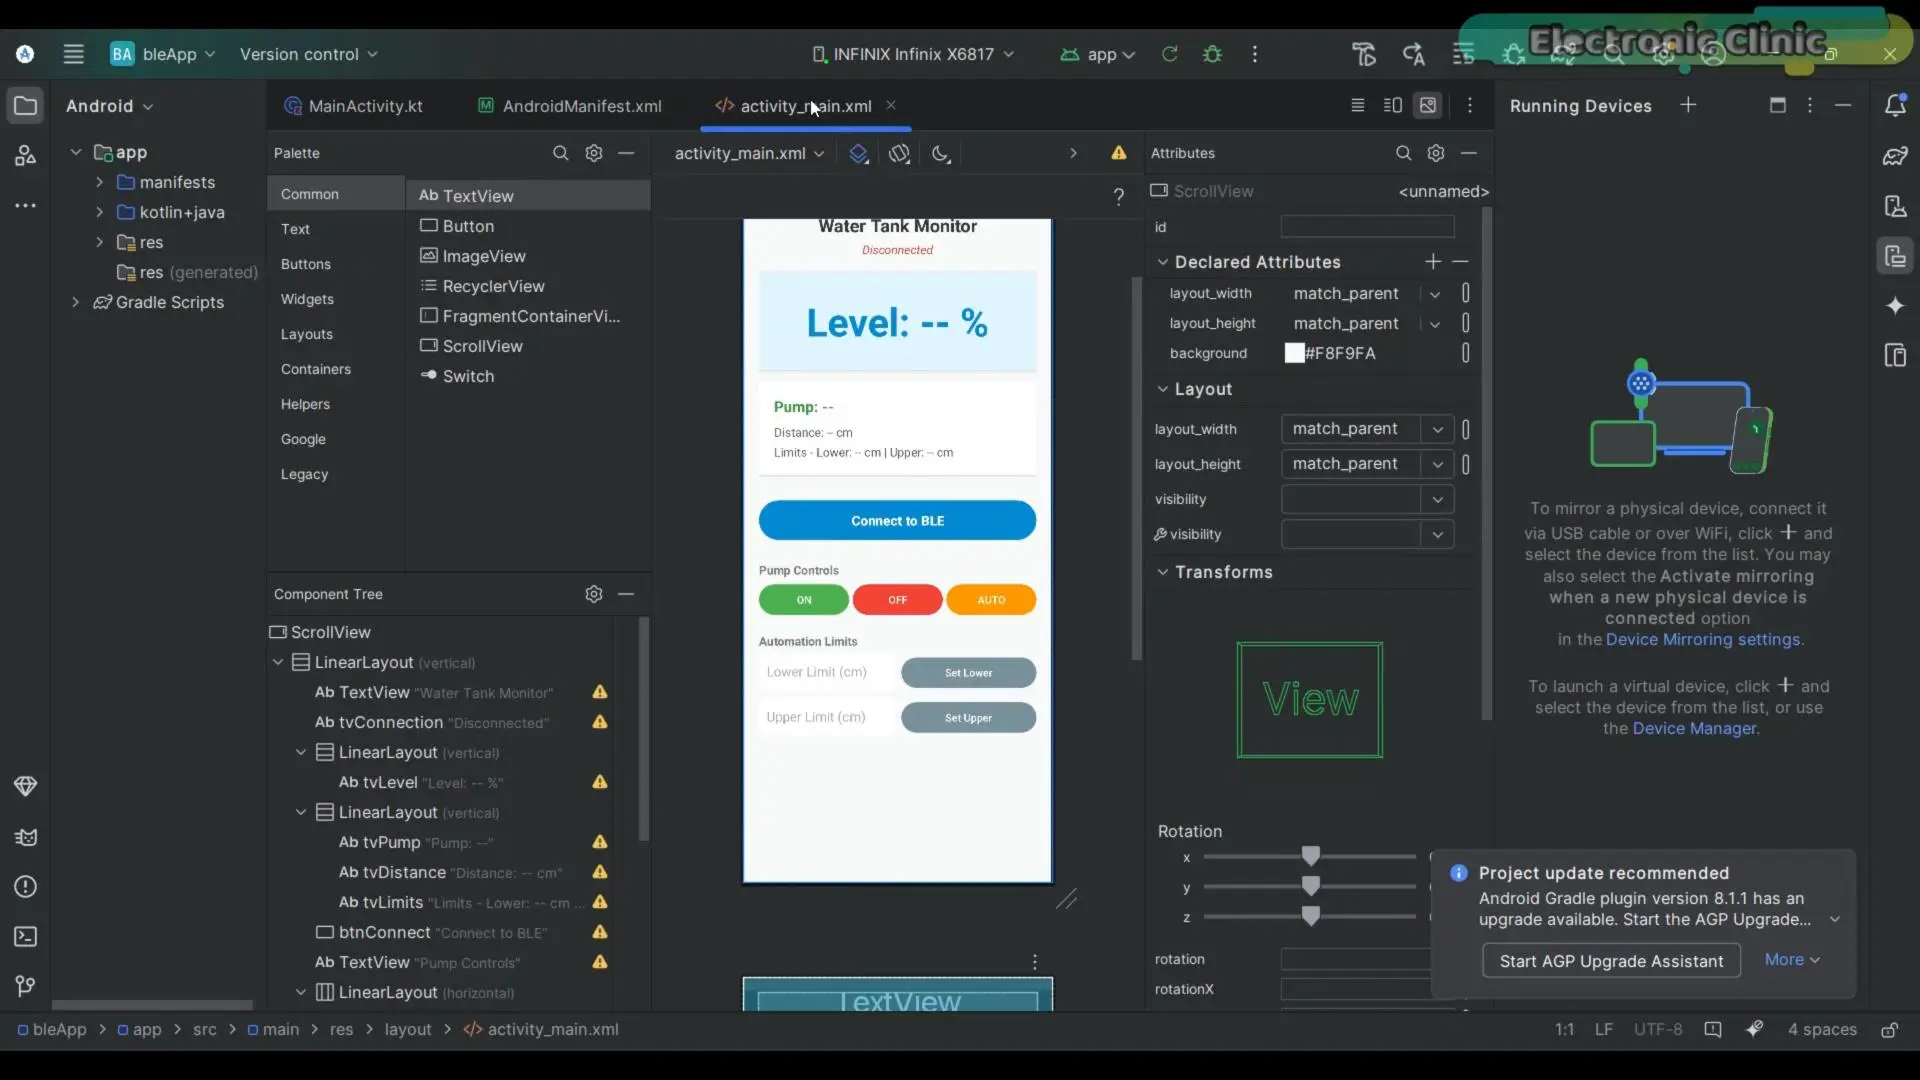
You should now be able to open these files.
To run this application on your mobile phone, click on the plus (+) button.
Then select your mobile phone.
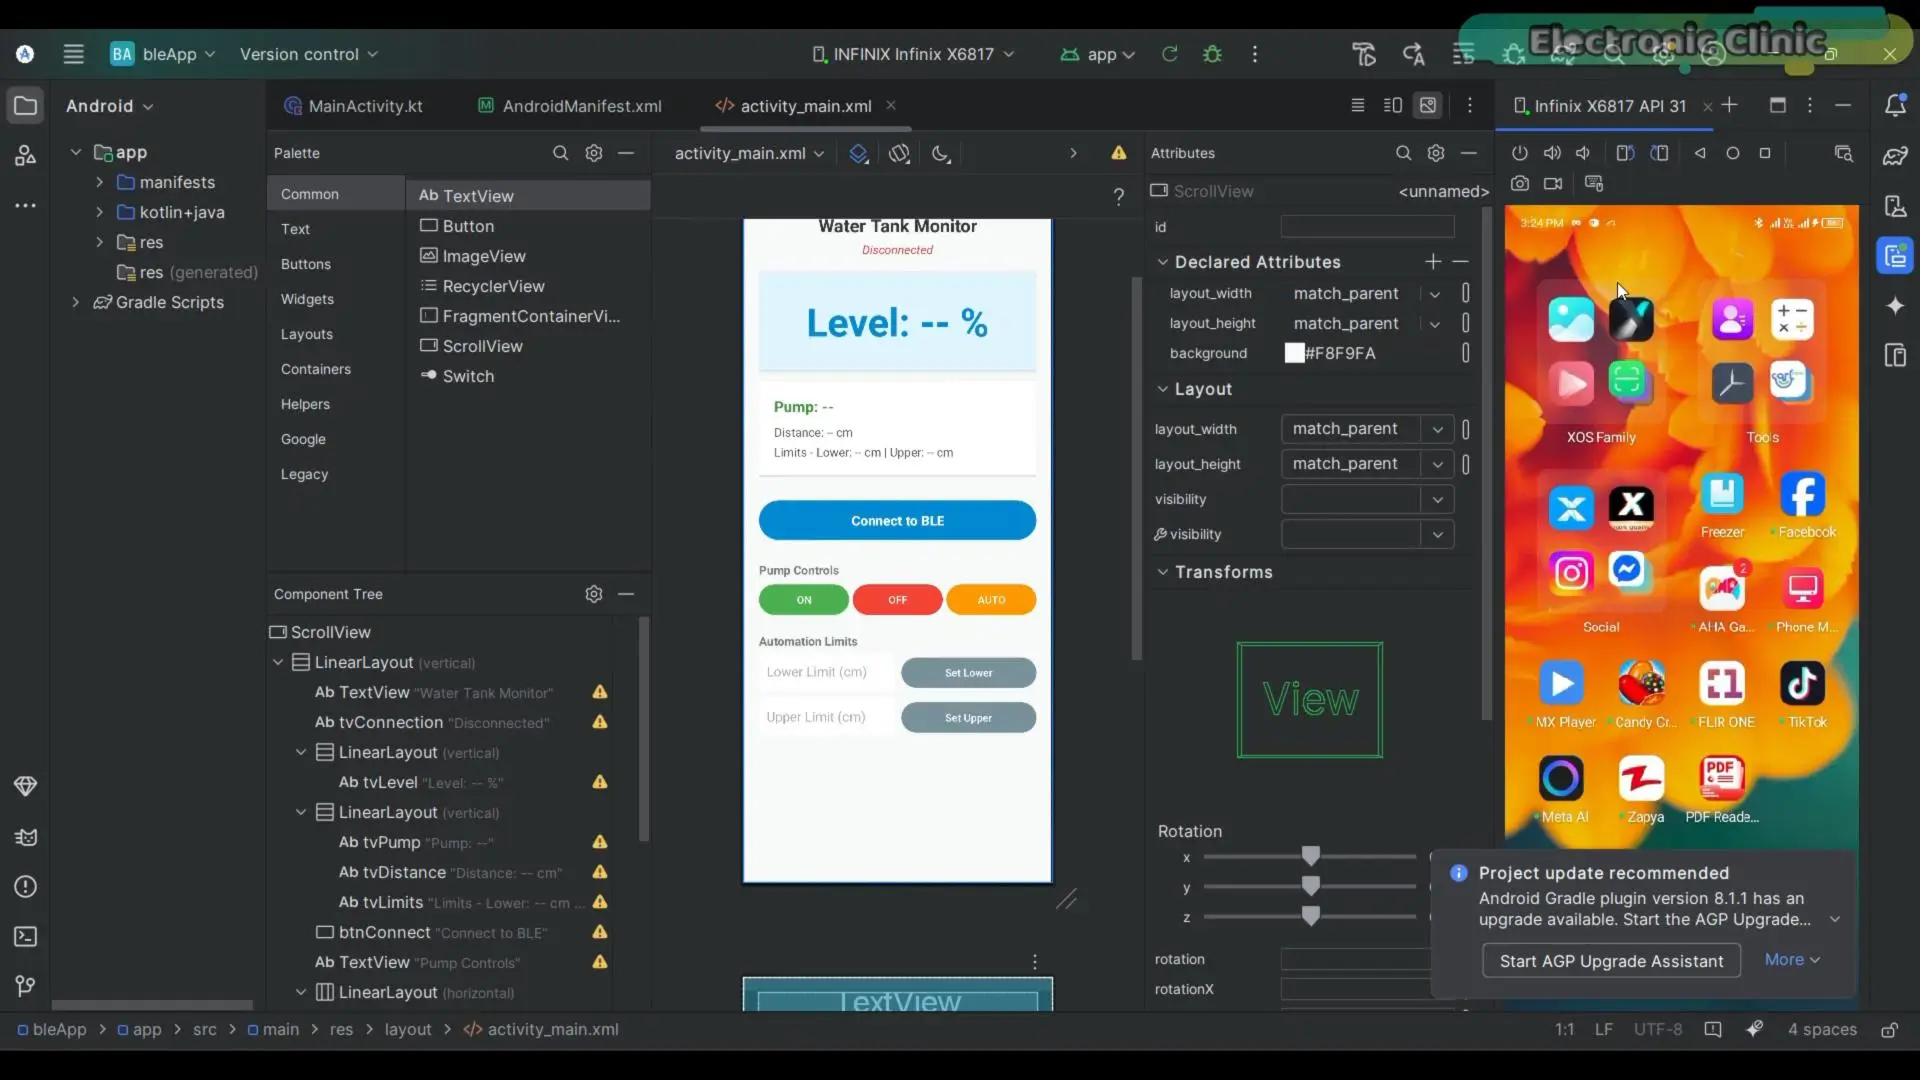
After that, simply run the application.
Now wait for the processing to complete.
And there you go… the application has opened.
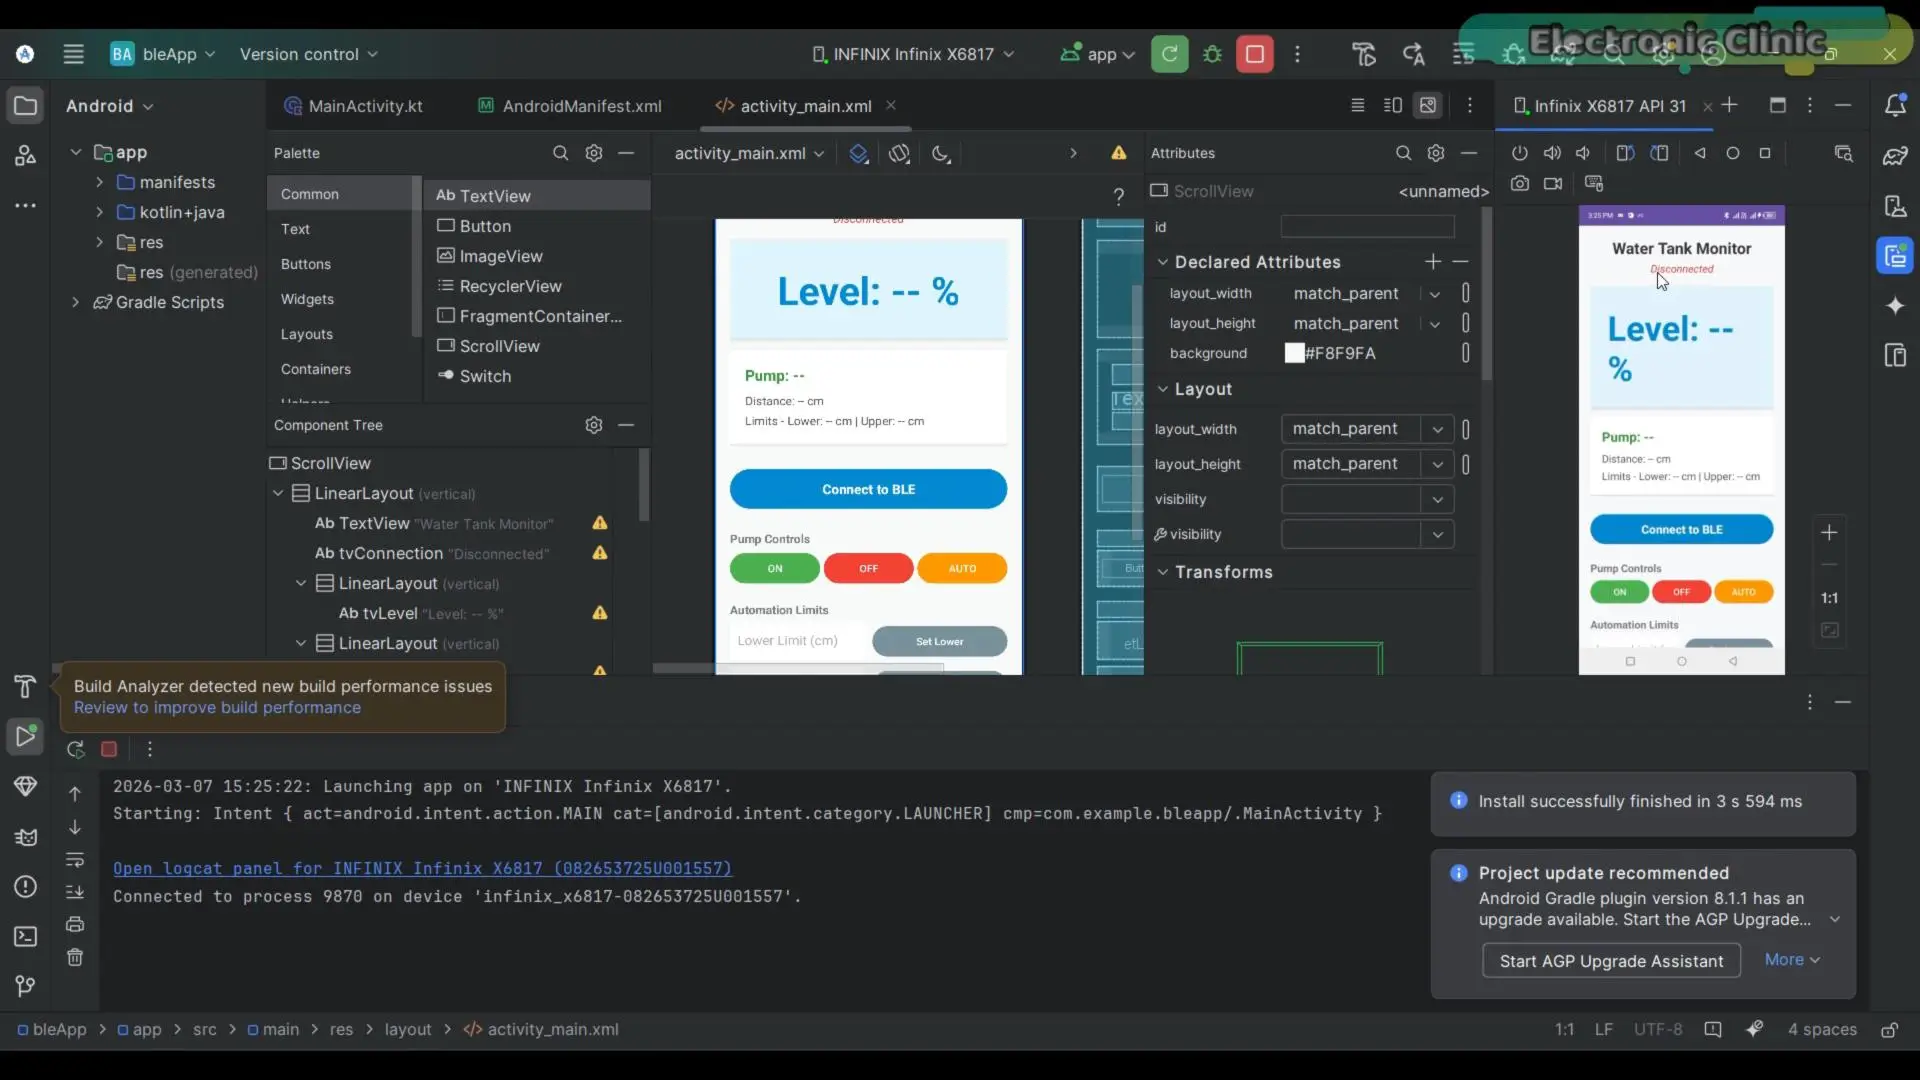
Right now the status is disconnected.
So let’s go ahead and connect it.
You can see the status immediately changes to connected.
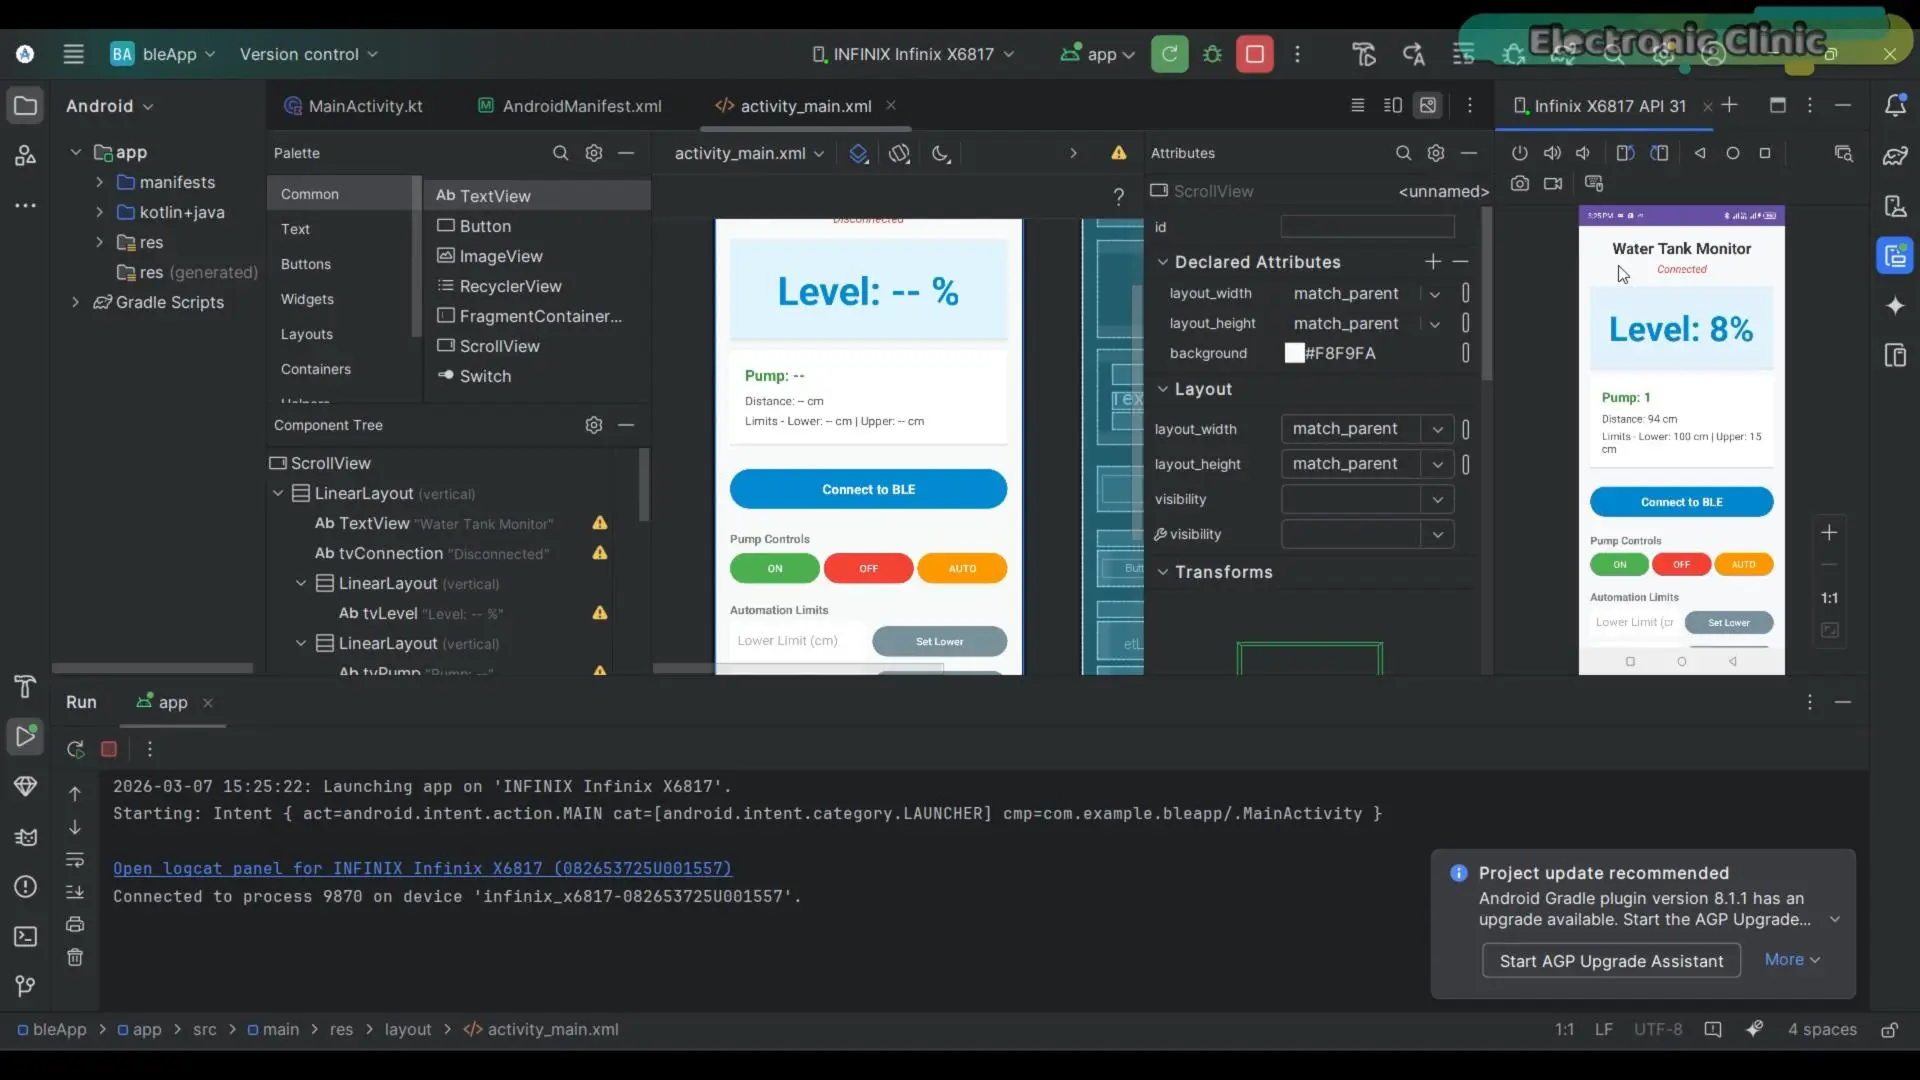
And now we can see the water level percentage in real time.
Let me change the distance by moving my hand near the sensor.
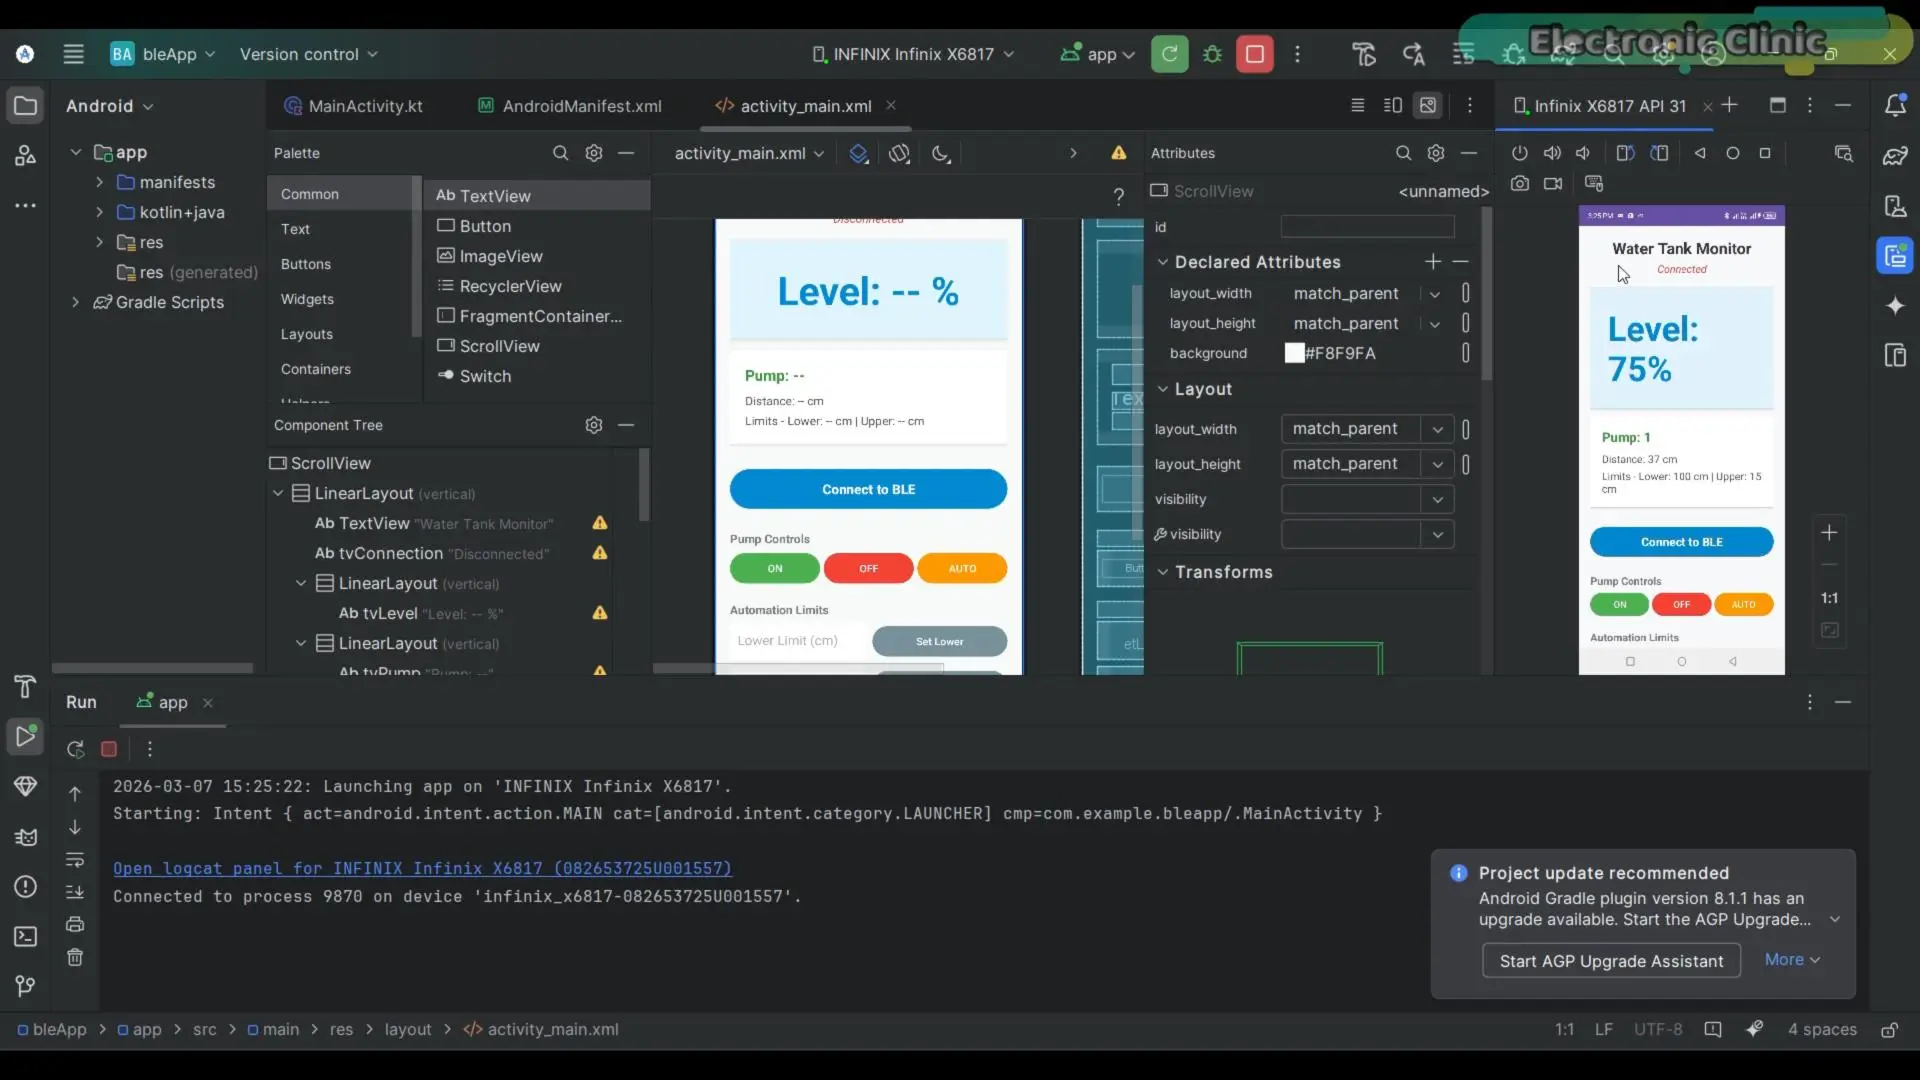
This is amazing… I can see the changes instantly on my mobile phone.
While working on the application, you do not always need to use your mobile phone.
You can also test the application directly on your computer.
Once your application is ready, simply stop the program.
During testing, the application is automatically installed on your mobile phone.
Now let’s run the application directly from the mobile phone.
And as you can see, it successfully connects to the system.
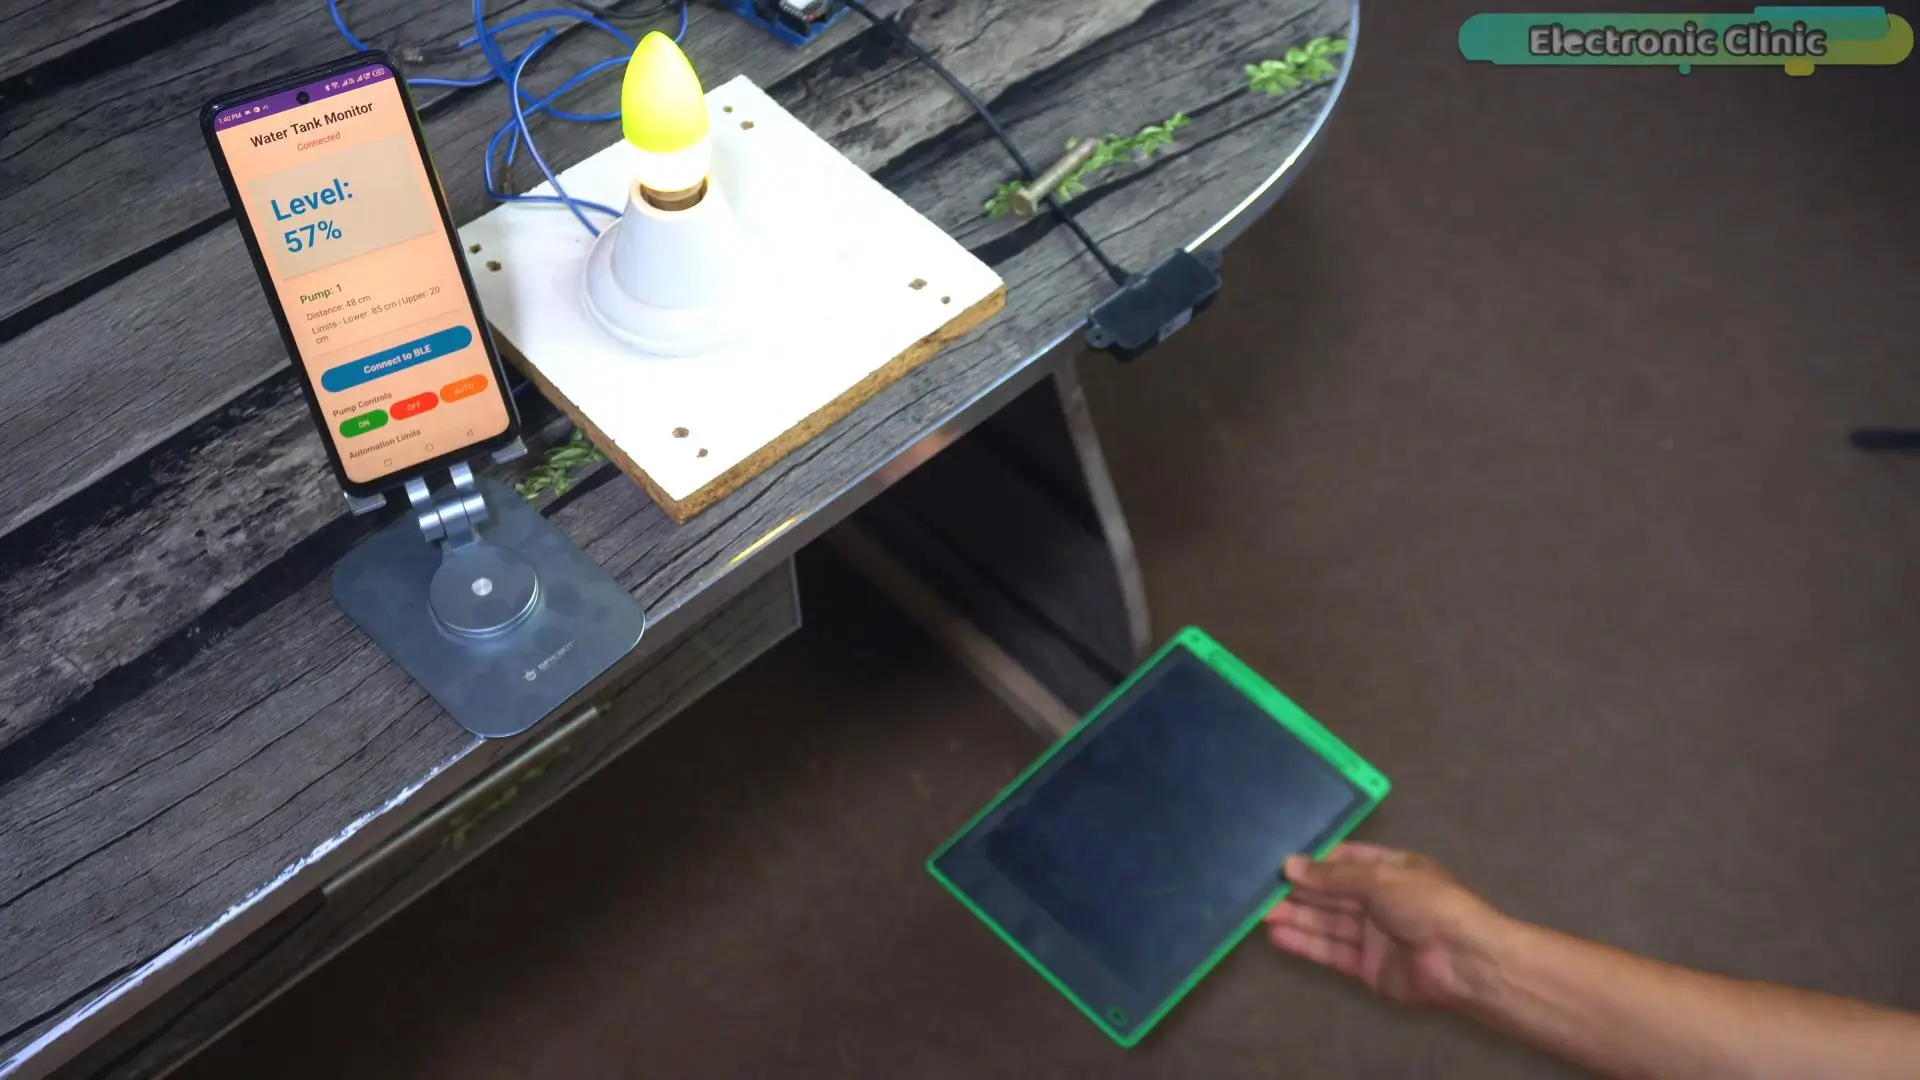
So, that’s all for now.
Support me on Patreon:
If you enjoy my work and find these projects helpful, please consider supporting me on Patreon. With just $1, you can get access to all project source codes, schematics, and extra resources that I share with my supporters. Your support helps me continue creating new electronics tutorials, experiments, and open projects for the community. Thank you so much for being part of this journey and for supporting my work!
Watch Video Tutorial:
Discover more from Electronic Clinic
Subscribe to get the latest posts sent to your email.