This AI Module Talked Back! AiPi-PalChat V1
Last Updated on September 6, 2026 by Engr. Shahzada Fahad
Table of Contents
Description:
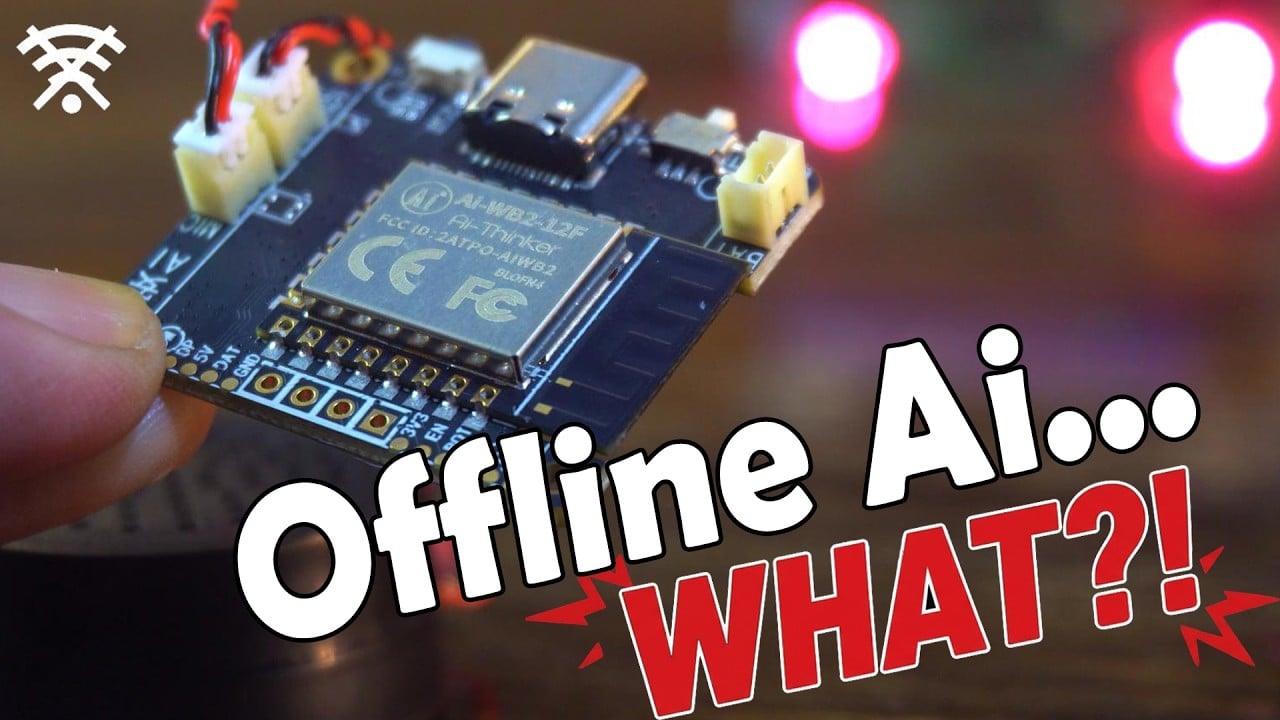
Today, I am checking out the AiPi-PalChat V1, a miniature voice-interaction board designed for lightweight AI voice projects. What makes this board exciting is that it supports voice wake-up, voice interruption, and comes with a built-in 2W speaker and a MIC; all packed into a super-compact design.
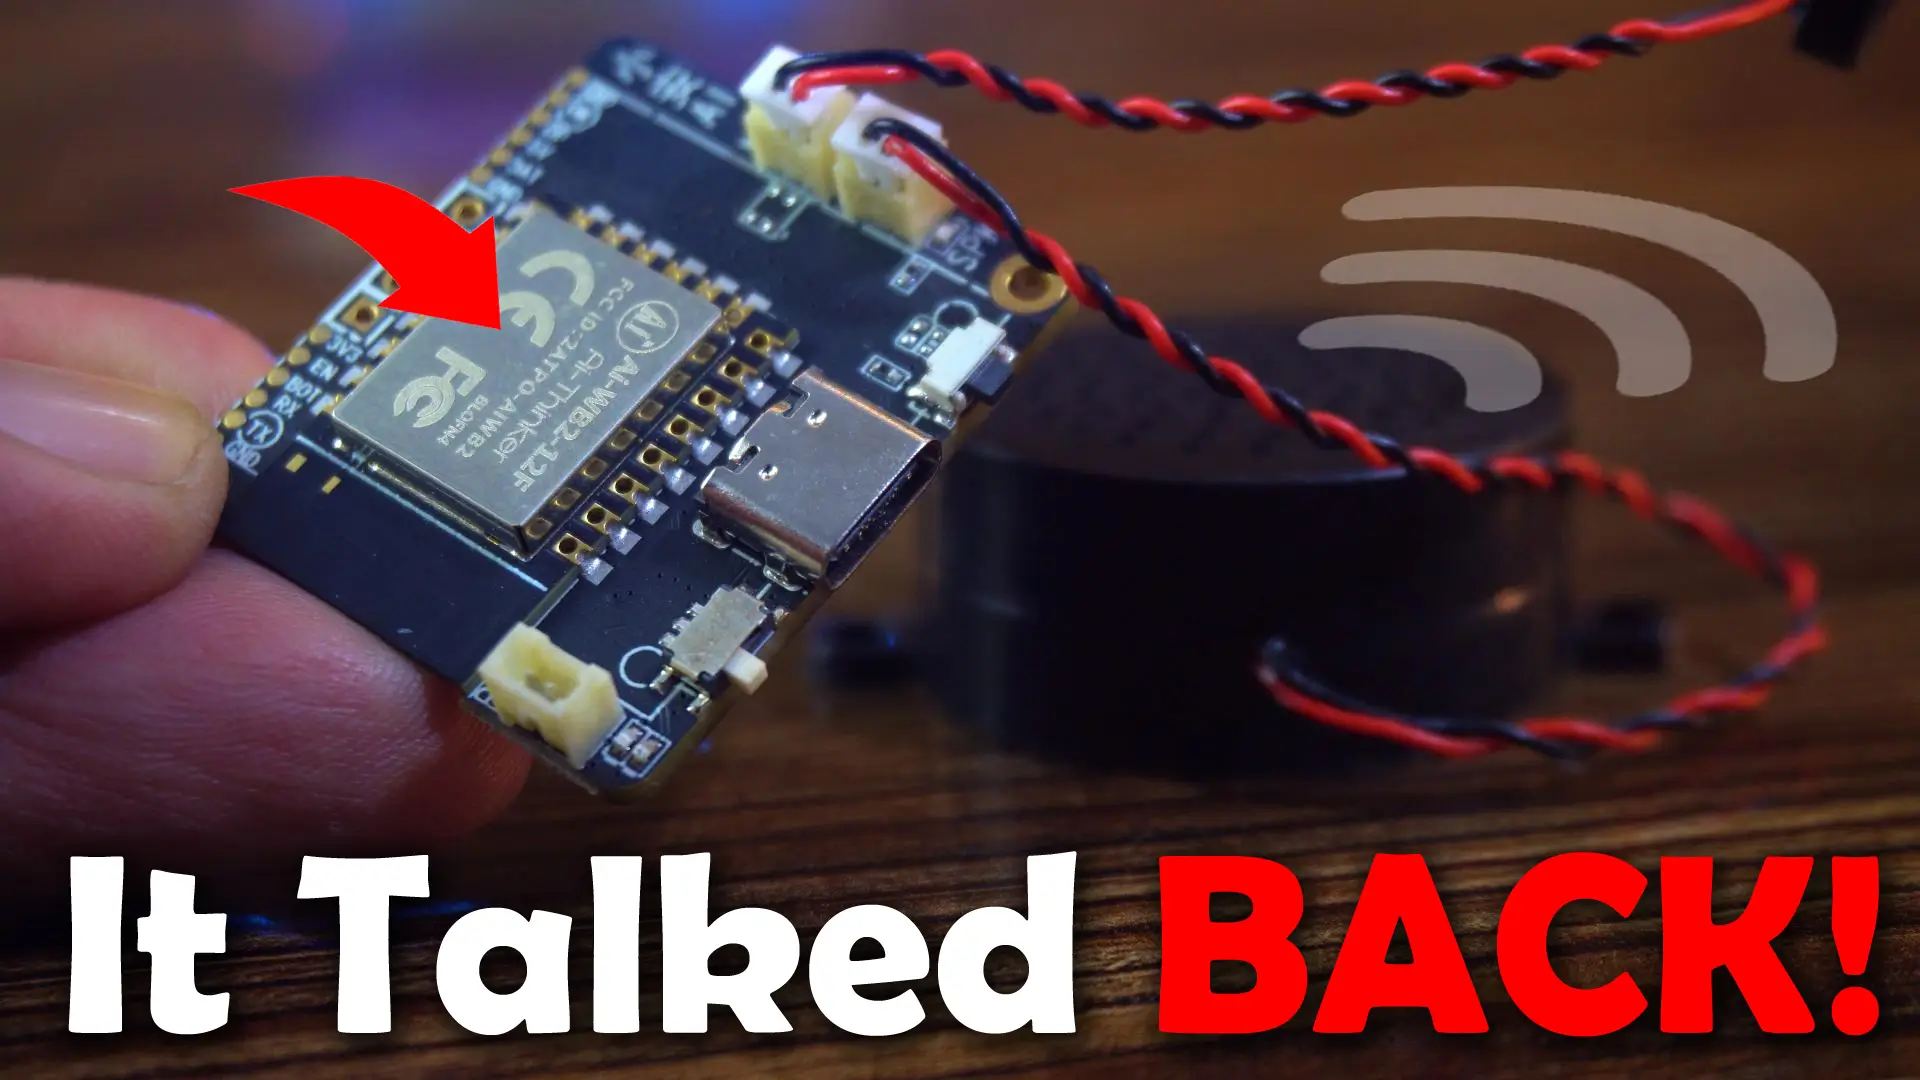
It runs on the Ai-Thinker Ai-WB2-12F module, which means it’s highly integrated and affordable, making it perfect for quick hardware experiments. You can power it with Type-C or a battery, so it works in both fixed and portable setups.
Let’s go through some of its Key Features.
Key Features
Offline Voice Control
The module can understand and respond to voice commands without needing an internet connection. This makes it reliable in places where the network is weak or unavailable.
Hands-Free Wake-Up
It supports offline voice wake-up, so you can activate it with a simple keyword without touching any buttons.
Smooth Voice Interaction
You can interrupt the device while it is speaking, making the conversation feel more natural and responsive.
Flexible Power Options
It works with a Type-C cable for normal desk use, and it can also run on a battery when you need it in a portable setup.
Compact Hardware Design
Its small onboard layout makes it easy to fit into different DIY or commercial projects. The built-in 2W/8Ω speaker delivers clear and loud audio.
Easy Setup and Configuration
You can connect and configure the device quickly using the WeChat mini-app. The interface lets you adjust tones, behaviors, and scene logic with visual tools, making development much simpler.
I am not going to talk too much about the technical details, because all of that is already available on Ai-Thinker’s official website.
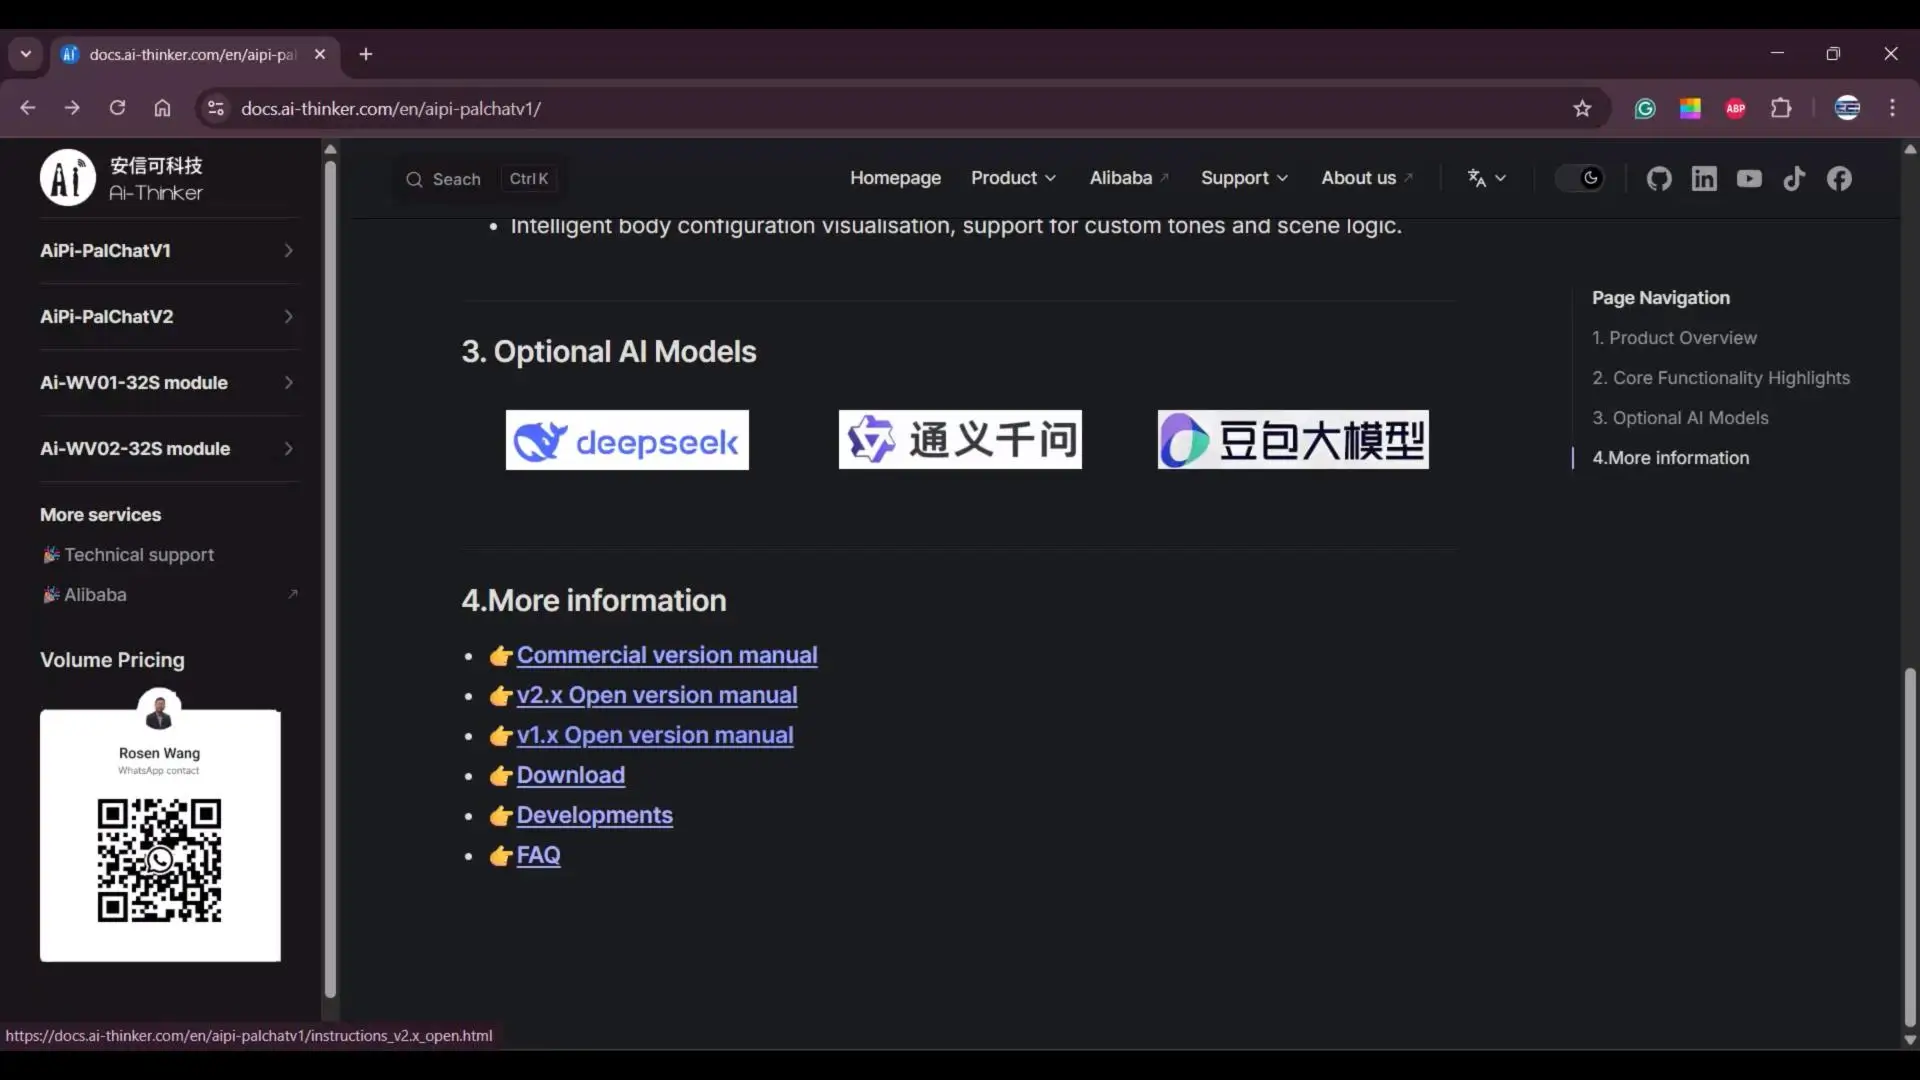
And not just that; under “More Information,” you can find both the Commercial and Open-Version manuals. When you click on “Download,”; you will get access to different firmware files, so just download the one you need. You also get the source code, tools, enclosure files, and secondary development tutorials.
So, without wasting any more time, let’s move straight to the network configuration.
Connecting and Powering On
Before you start, make sure the microphone and speaker are properly connected. The display screen is optional.
So first, let’s power it up. You can power this board in different ways; you can use a battery, you can use a mobile charger, or you can simply connect it to your laptop. In my case, I am using a mobile charger.
Use a Type-C data cable to power the board. Plug it into the Type-C port and move the Power Switch to the left. A red indicator light will turn on, showing that the device has started.
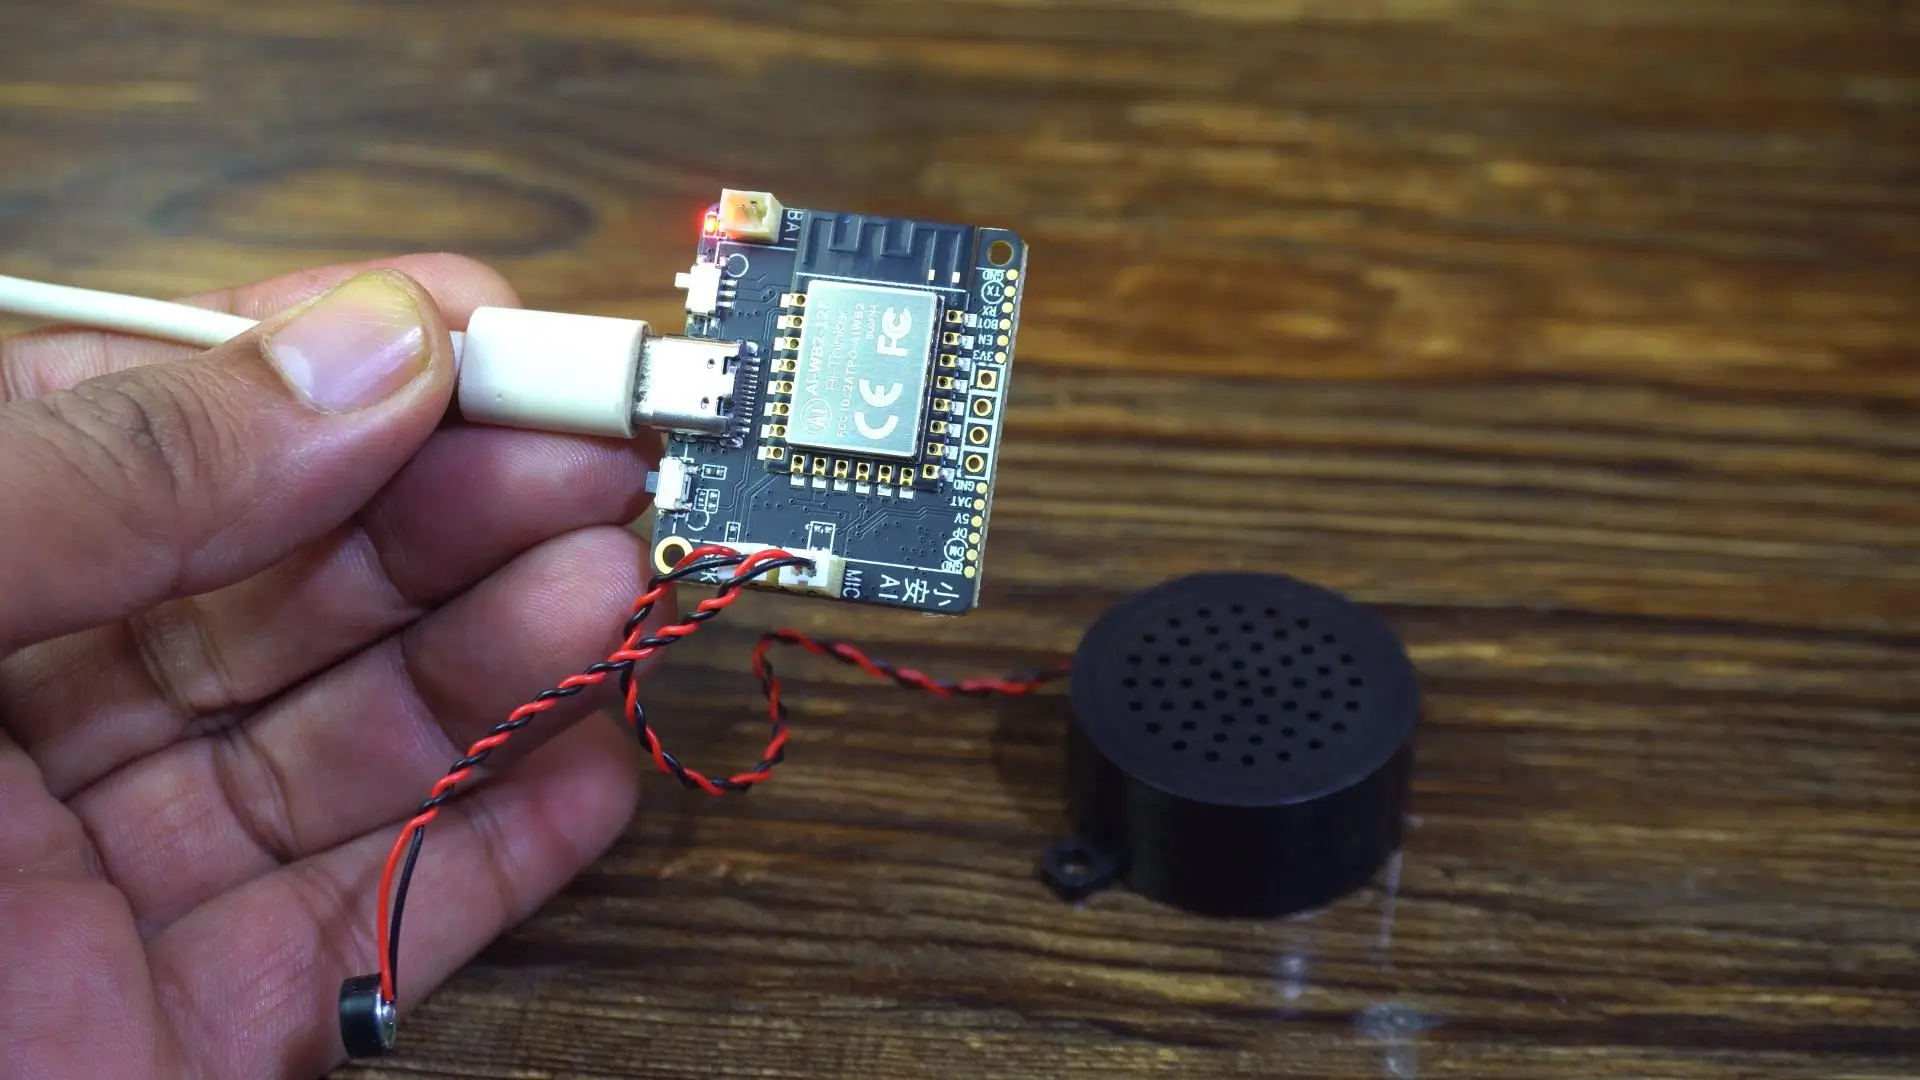
Network Configuration:
You will then hear a welcome message.
If the device has not been connected to a network before:
It will say: “我是你的人工智能语音助手,请对我说: 你好小安,开始配网。”
(This asks you to say the wake phrase so the device can begin network setup.)
If the network is already set up:
It will say: “我是你的人工智能语音助手,请对我说: 你好小安,唤醒我。”
(This asks you to say the wake phrase to activate the assistant.)
Next, we need to wake it up. But the wake-up command is in Chinese… I tried it many times, but honestly, I couldn’t do it. “From here I highly recommend watching my video tutorial.”
But thanks to Google Translator, I was able to figure it out.
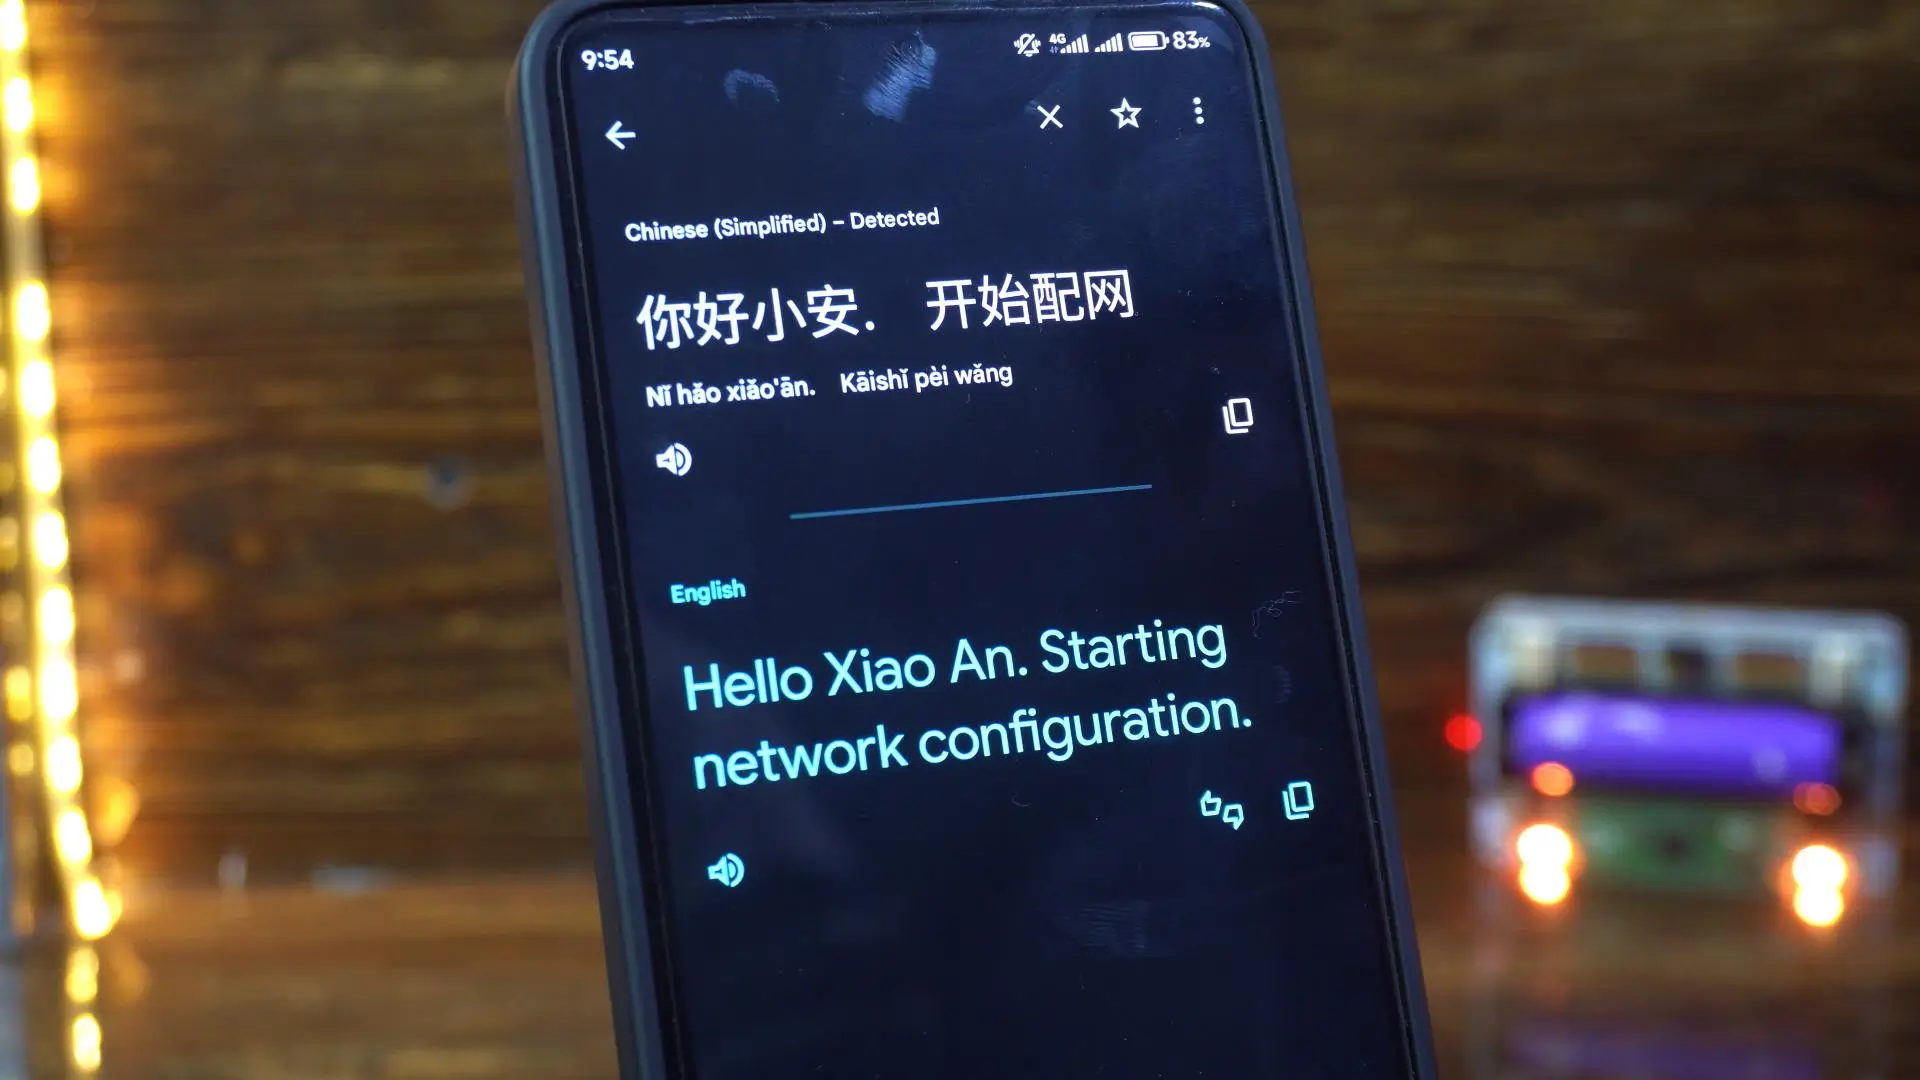
Here you can see the original wake-up and network configuration commands.
After entering the network configuration mode, we need to open the WeChat app. I have already installed the WeChat application on my cell phone. Simply, open the WeChat application and
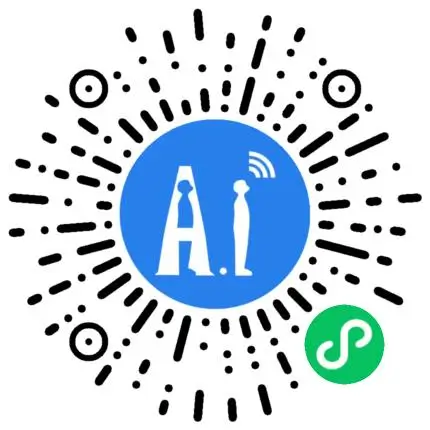
Then you just need to scan this image. For this; while your wechat application is still open.
Tap the plus ( + ) button at the top right corner And then tap on Scan.
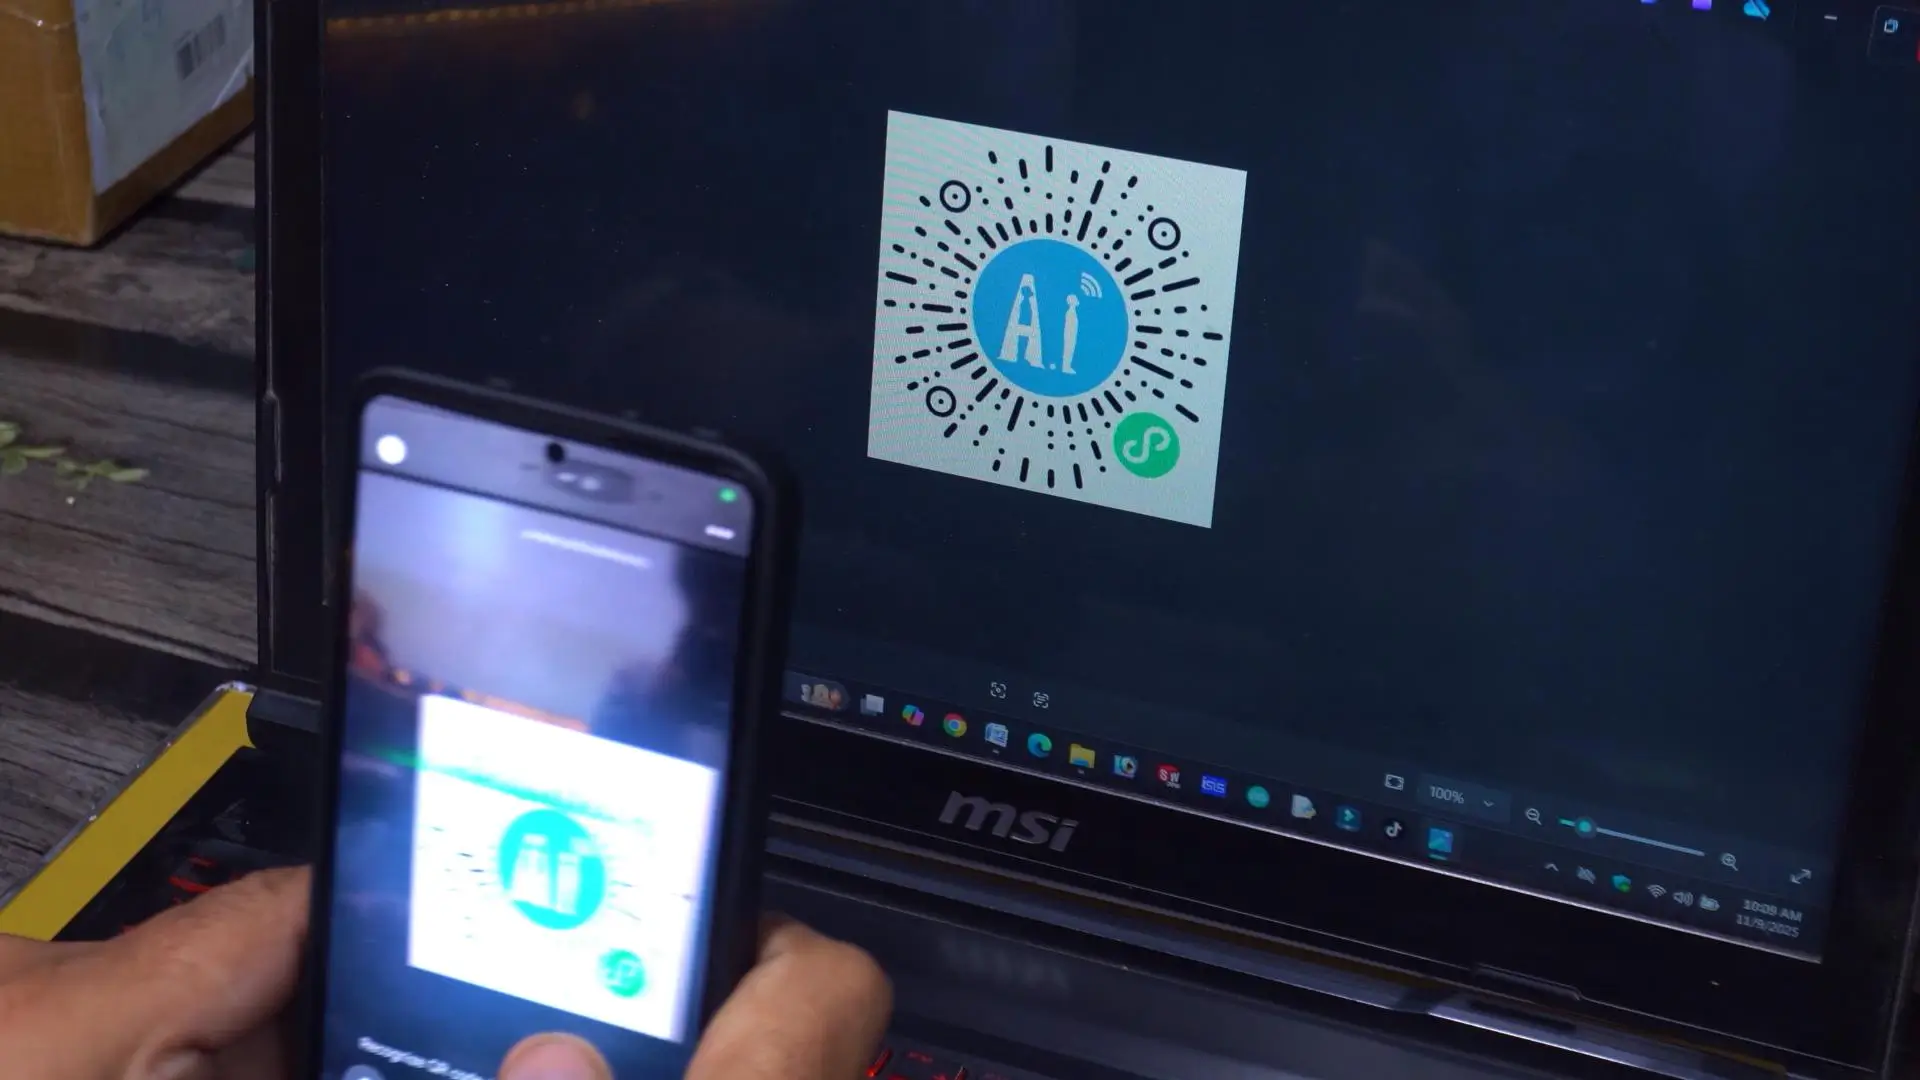
Anyway, once you scan it, something like this will open on your phone.
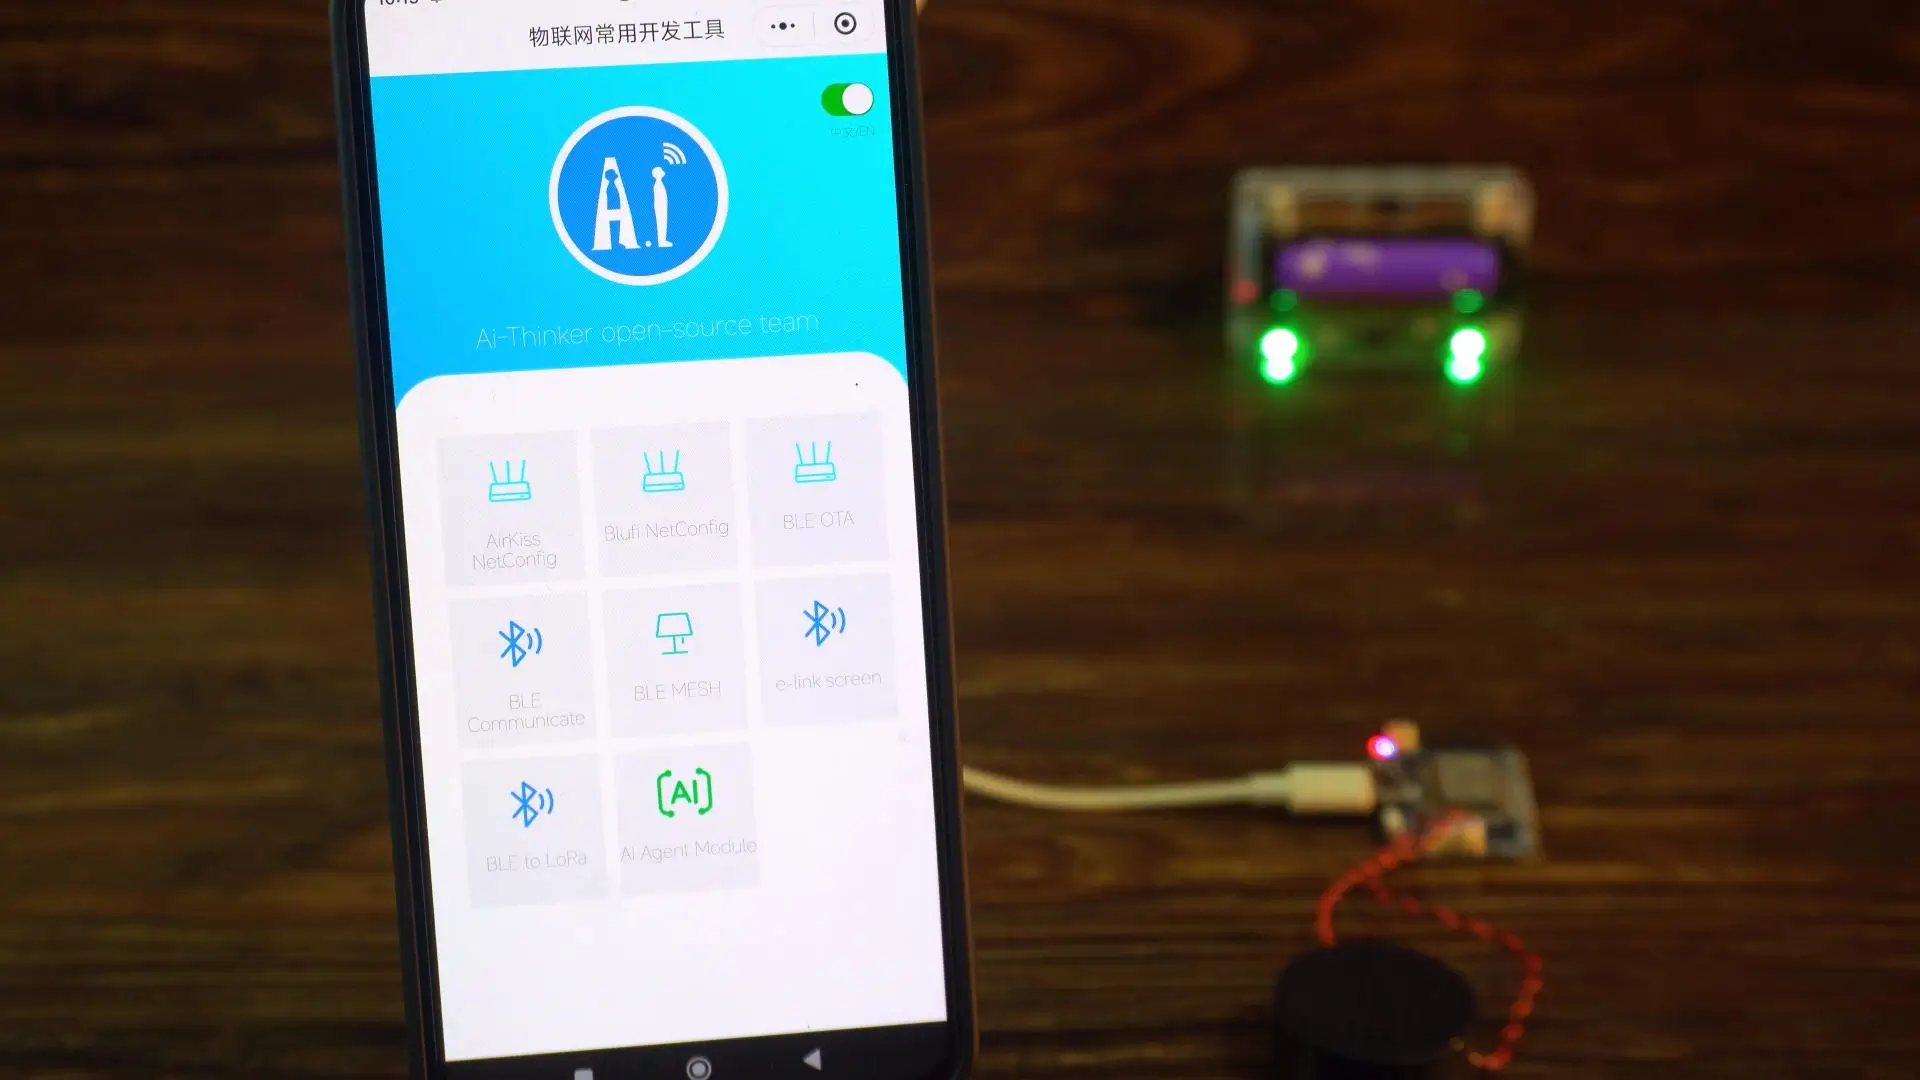
You will see a lot of options, but you need to tap on “AI Agent Module.”
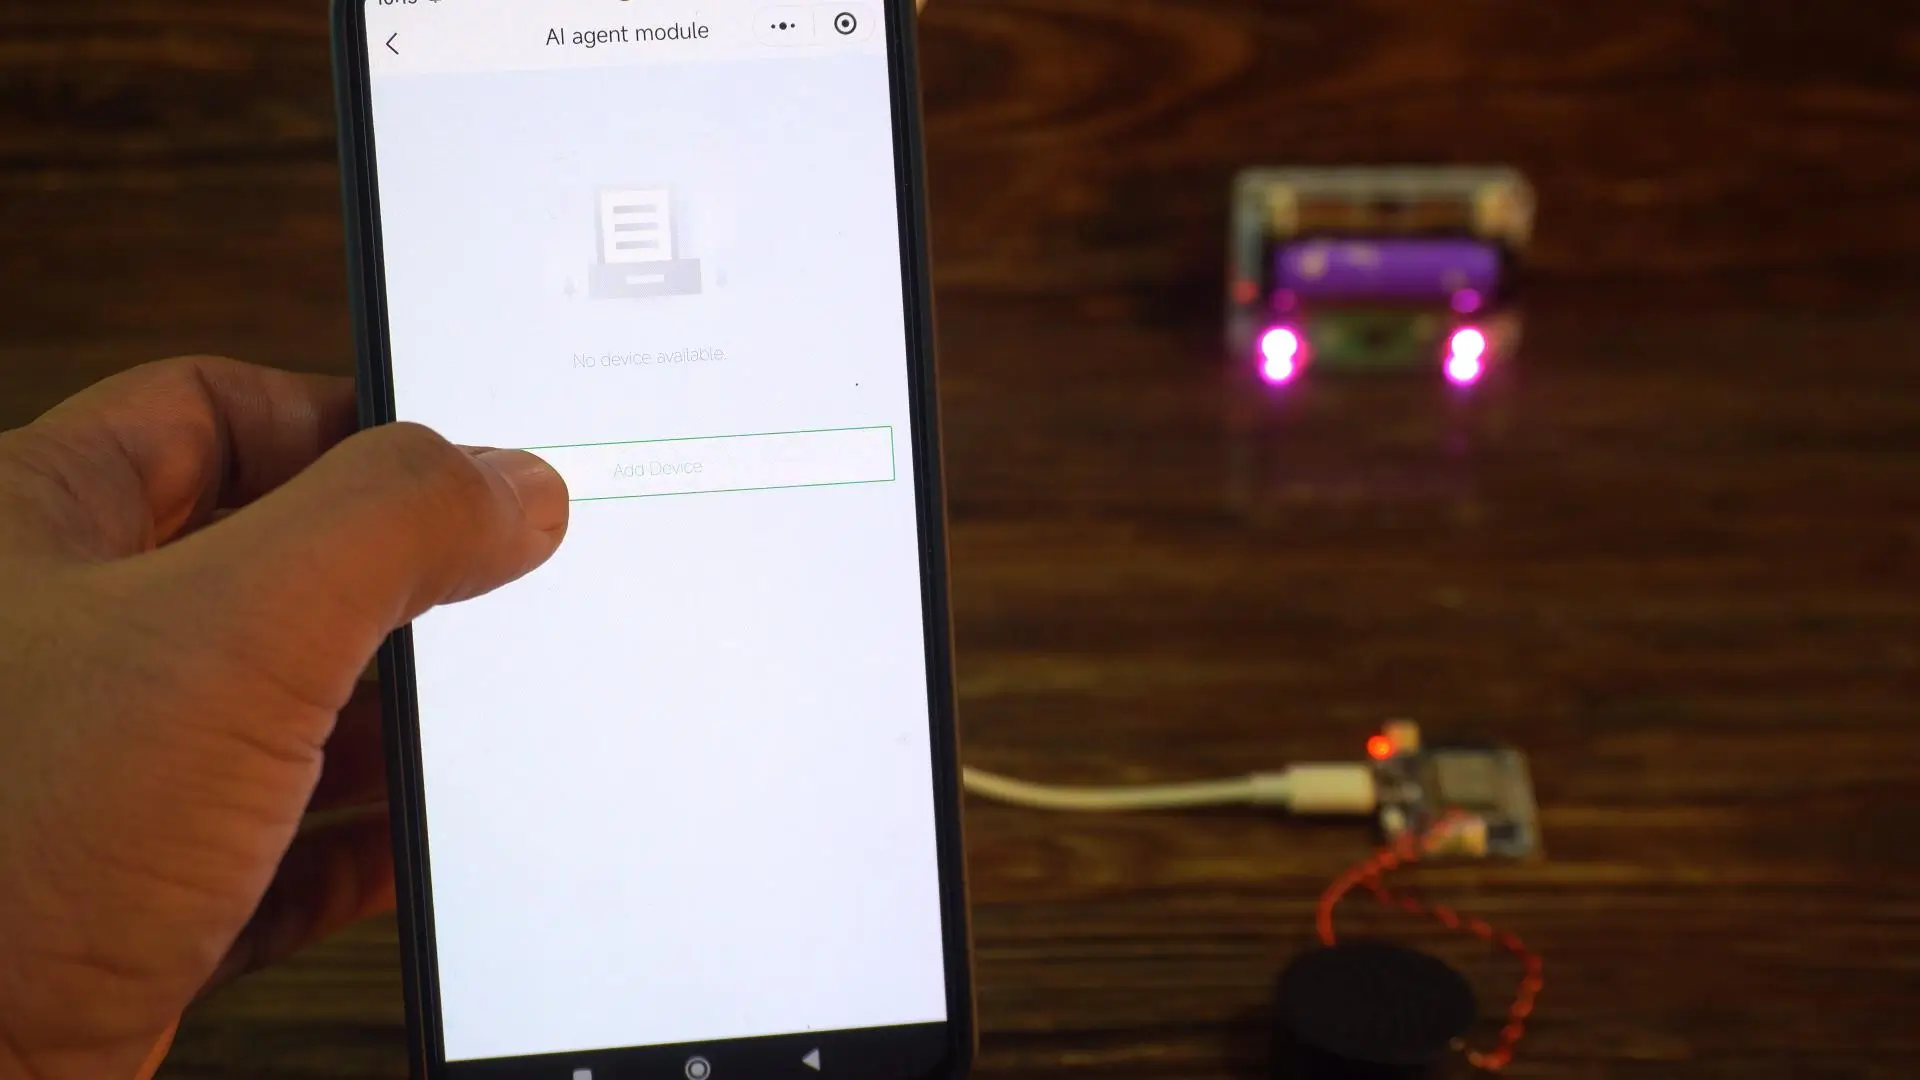
Next, tap on Add Device.
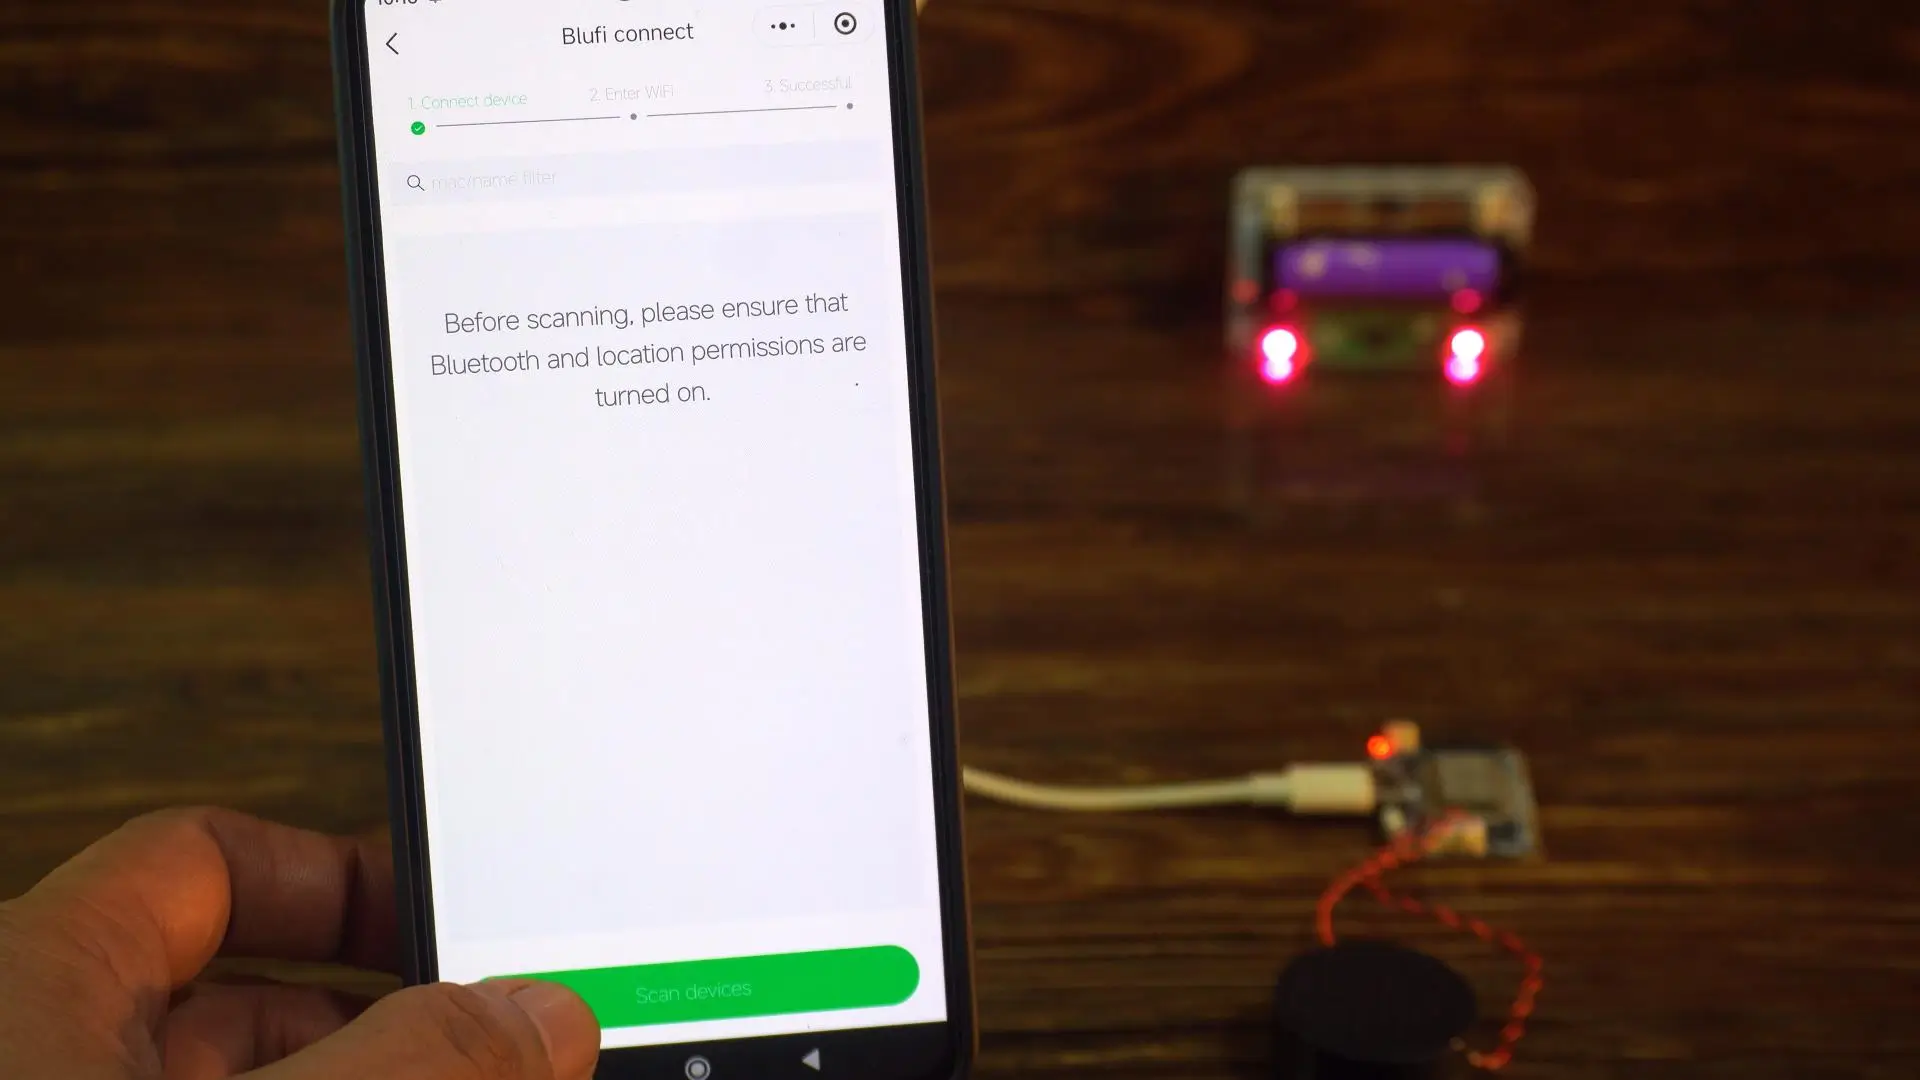
Then tap on Scan Devices.
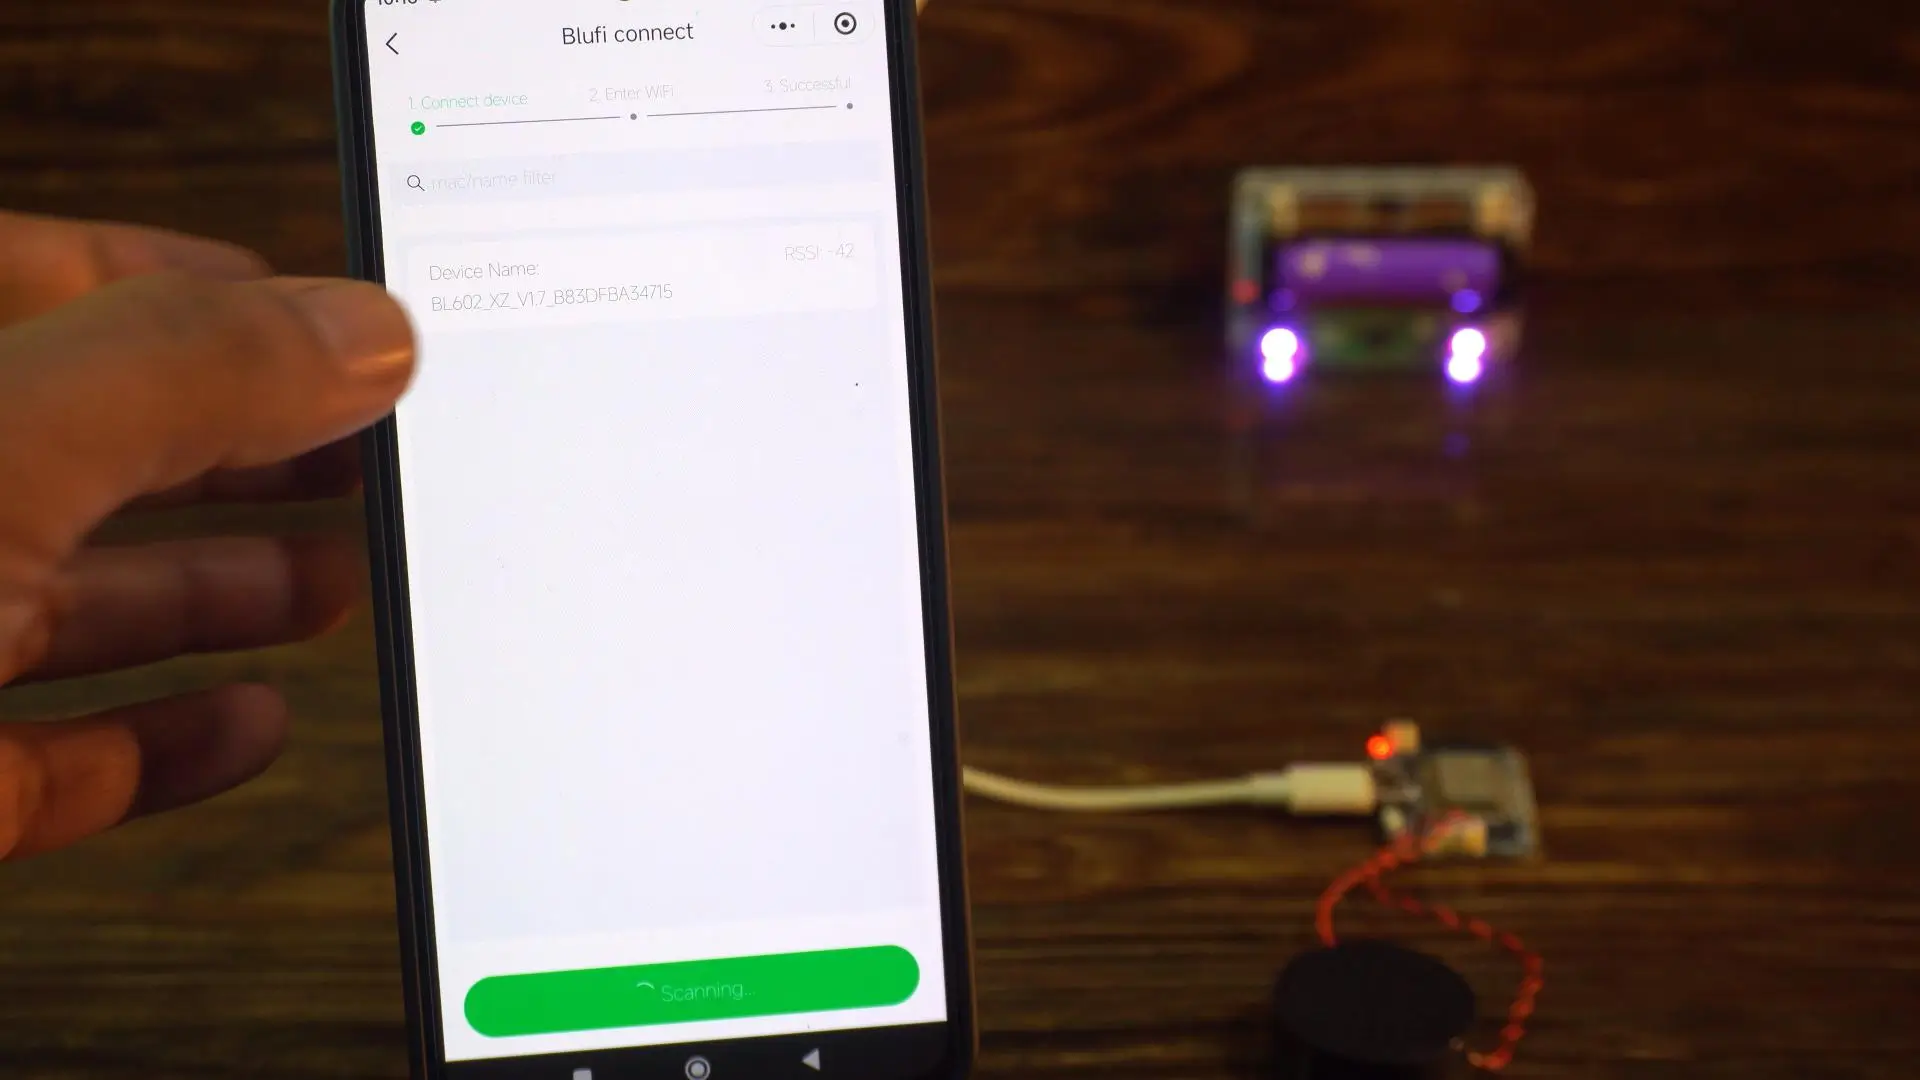
You will see your device name appear, so just tap on it.
Make sure 2.4 GHz is selected.
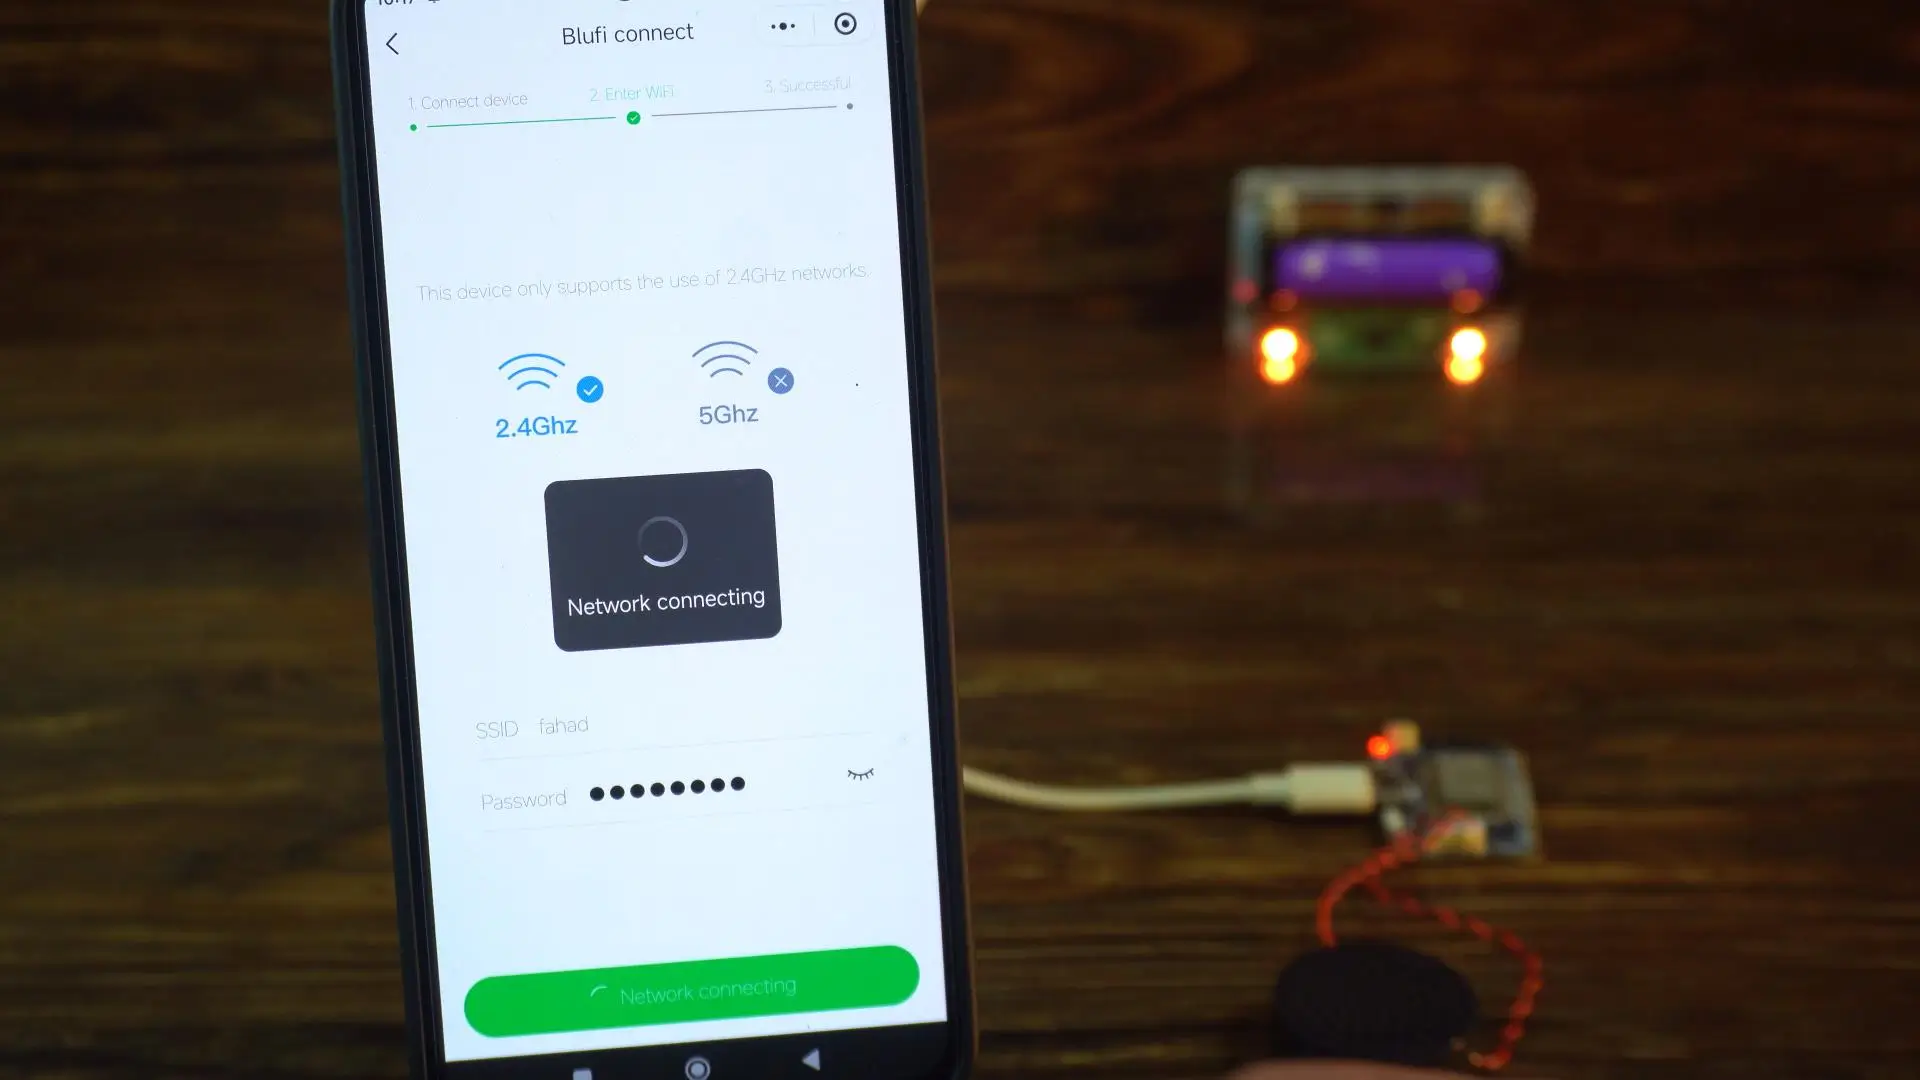
And finally, enter your Wi-Fi SSID and password.
If you have done everything correctly, you will see the message “Added device successfully.”
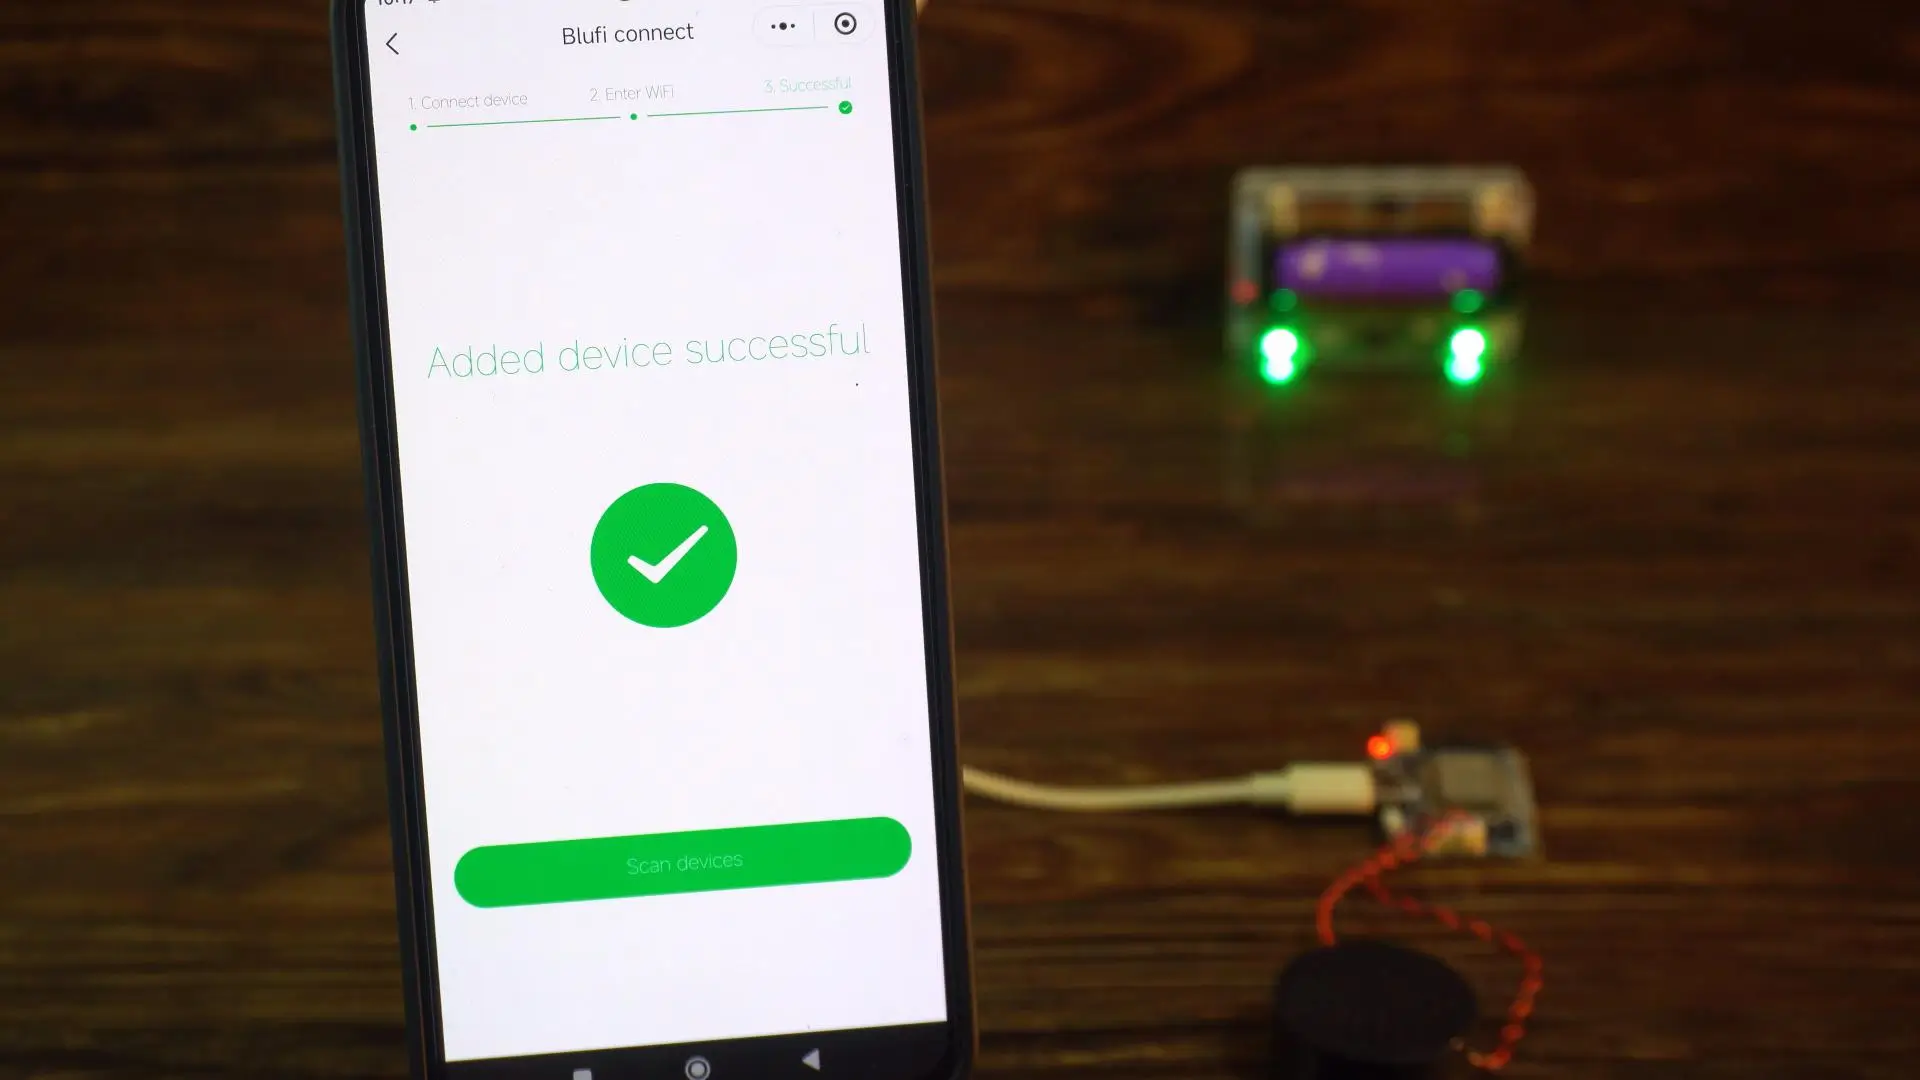
Then wait a few seconds for it to finish processing.
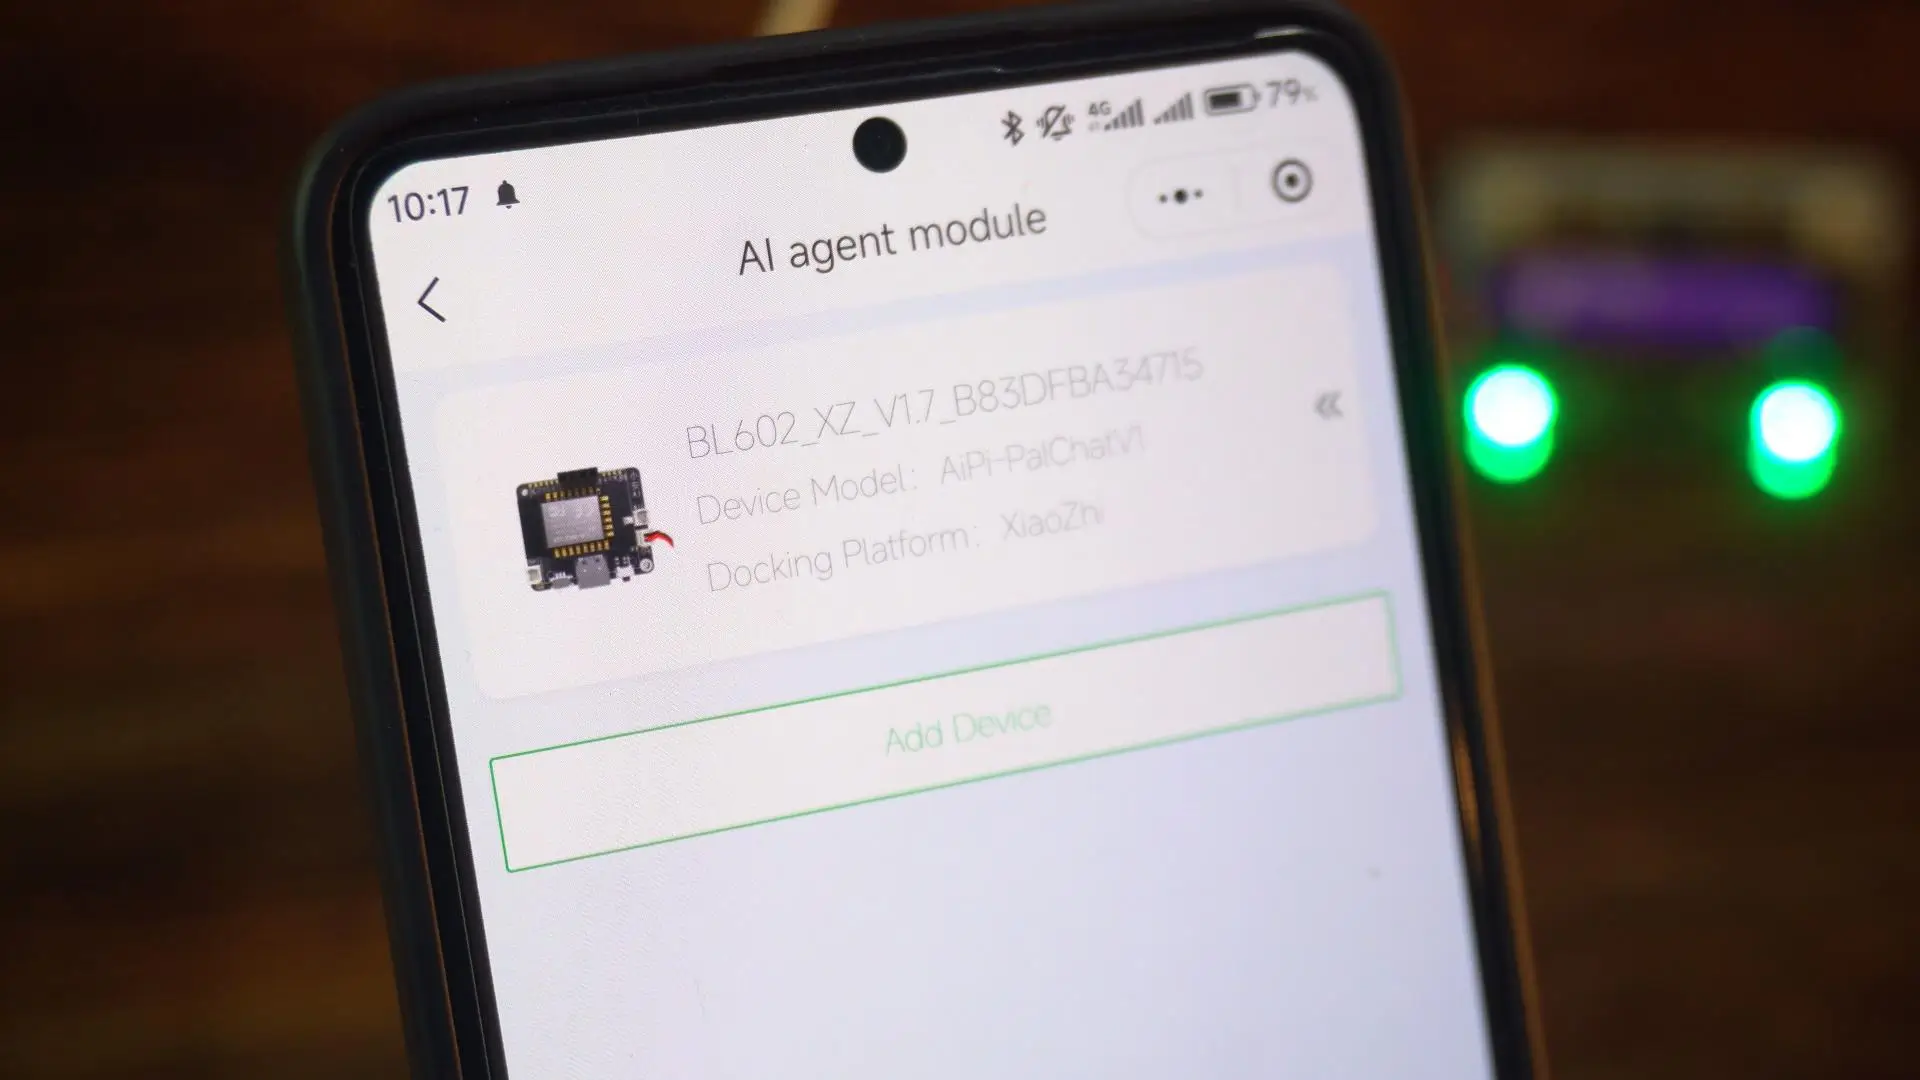
You can now see the Device Model and the Docking Platform.
Next, open the Xiaozhi AI webpage: https://xiaozhi.me/
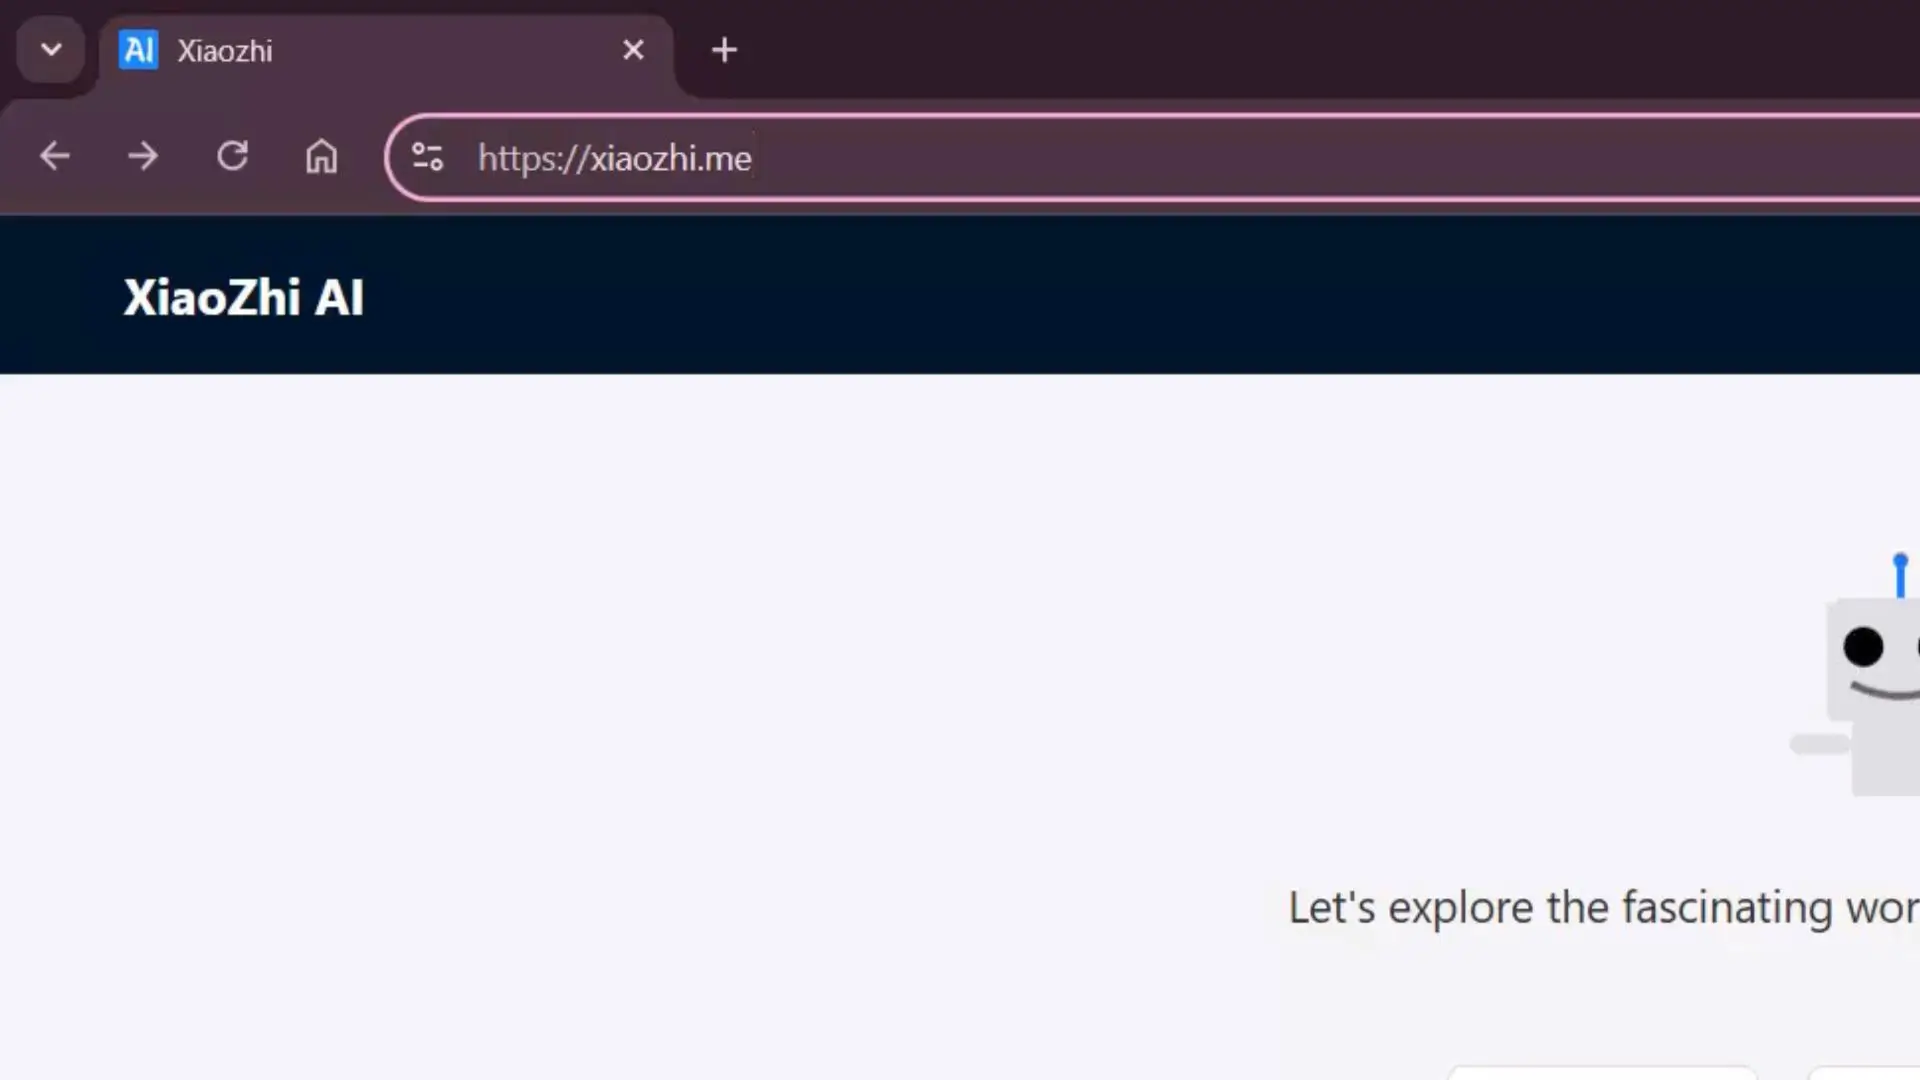
Let me quickly tell you what Xiaozhi AI is. It’s a website where you can control your AI device, set up voice commands, and even customize how it talks to you. Everything is easy to manage, and you don’t need any complicated software. It’s like your AI assistant’s control center, right in your browser!
Click on the Console button.
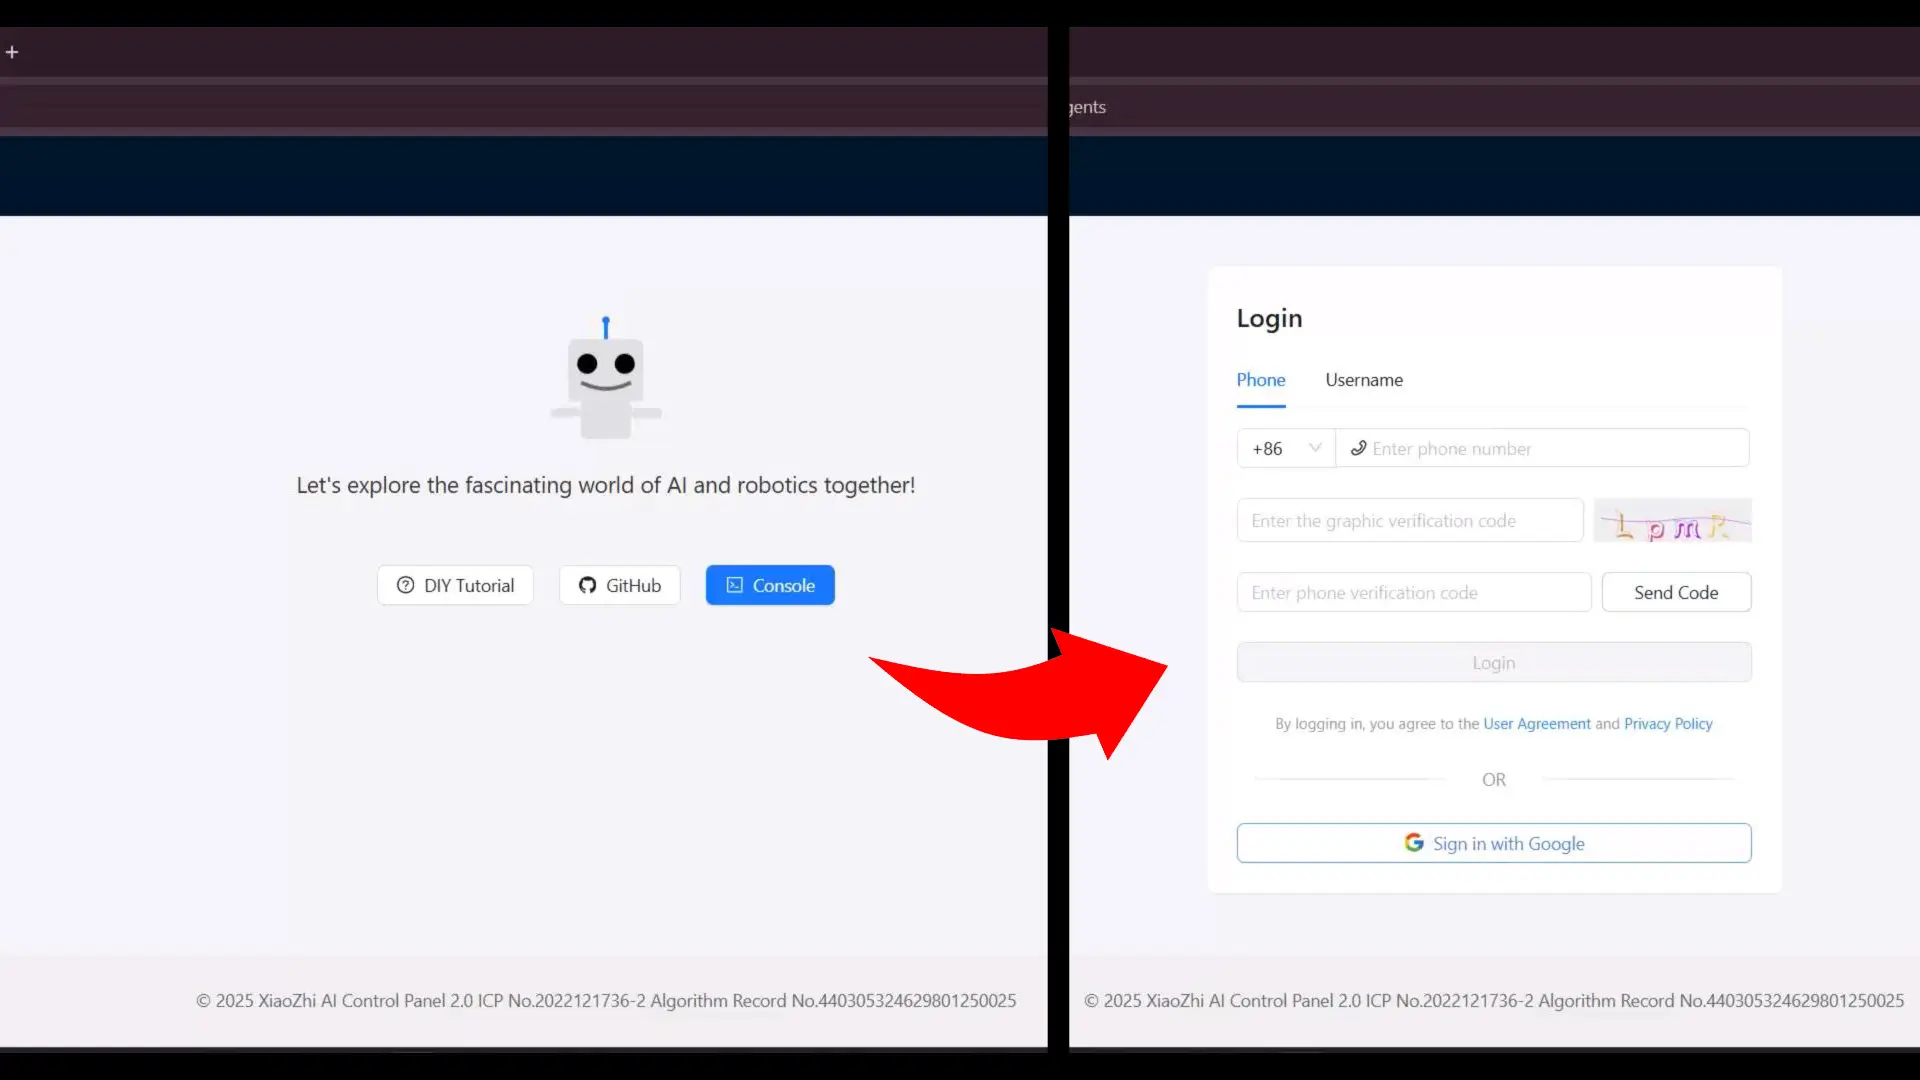
Create an account by clicking “Sign in with Google.”
Next, we are going to create an agent.
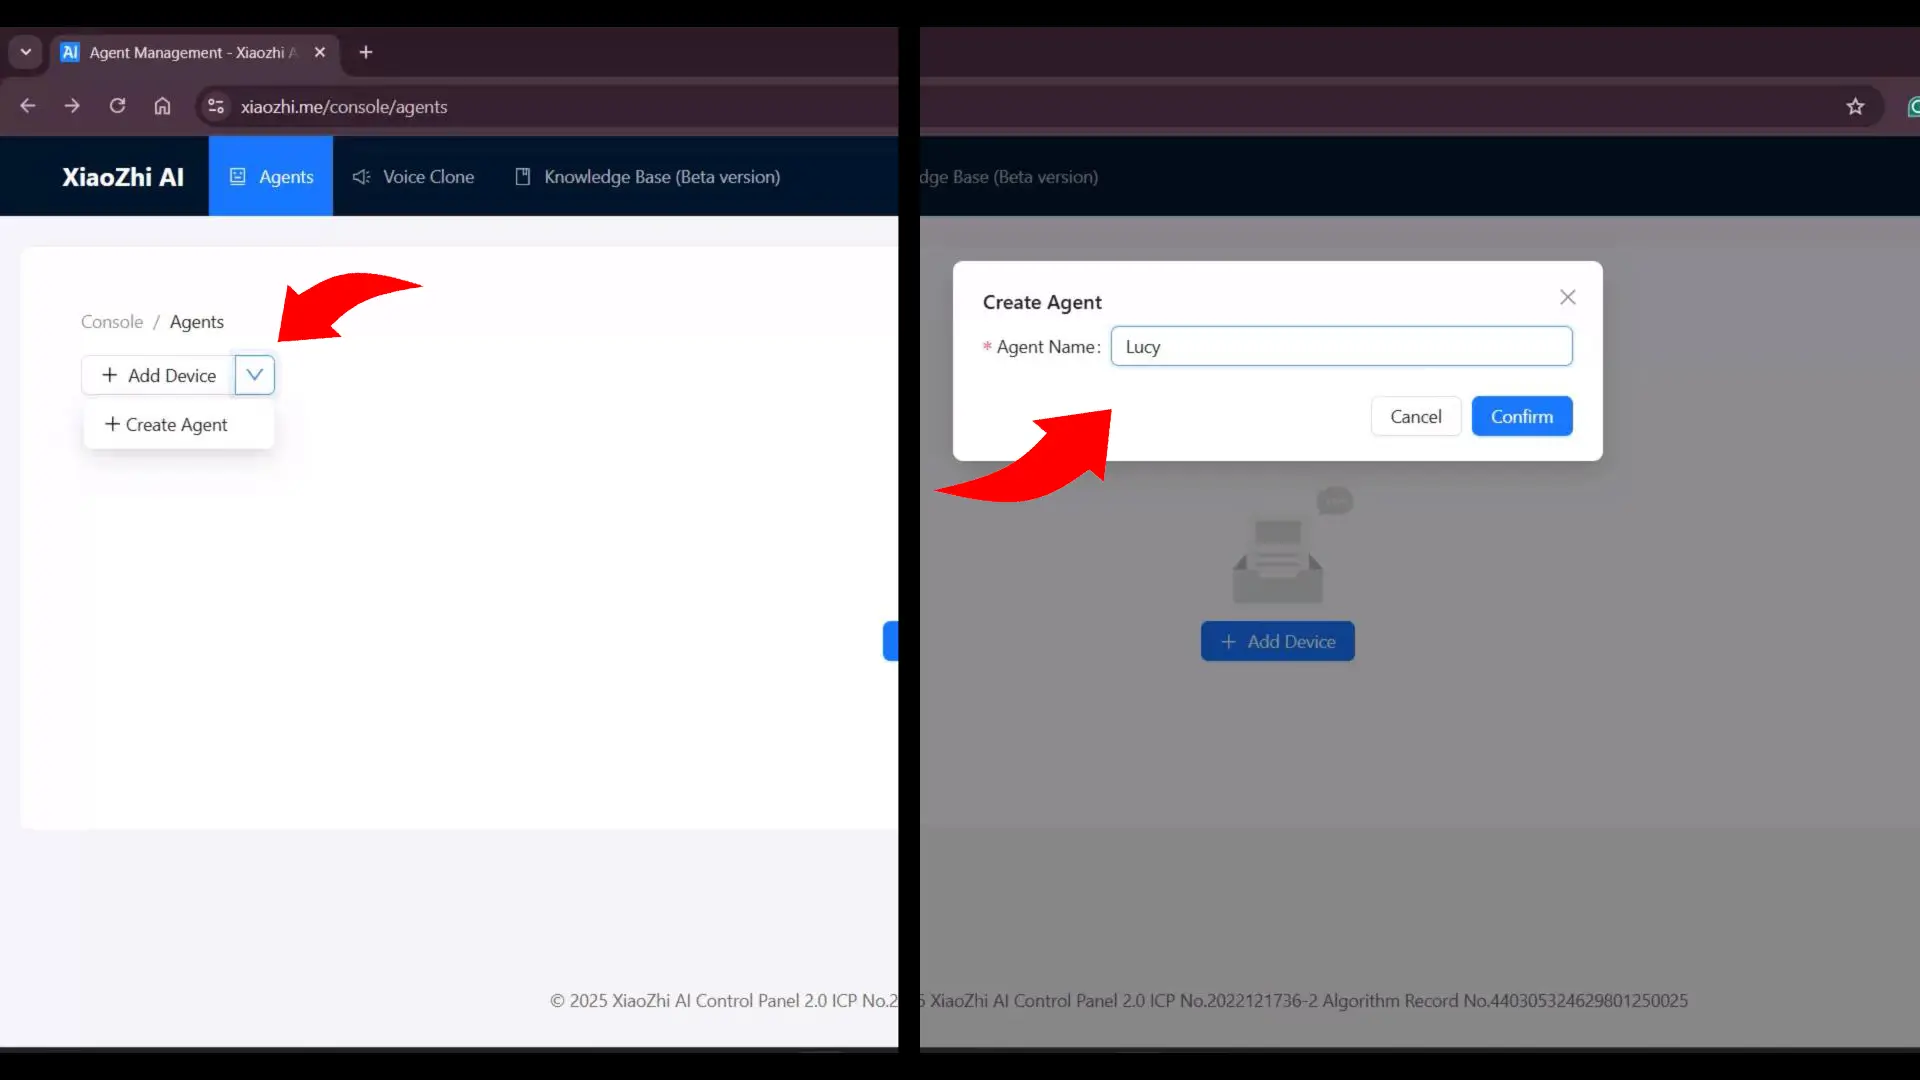
Give your agent a name and click on the Confirm button.
And then click on the “Add Device” button.
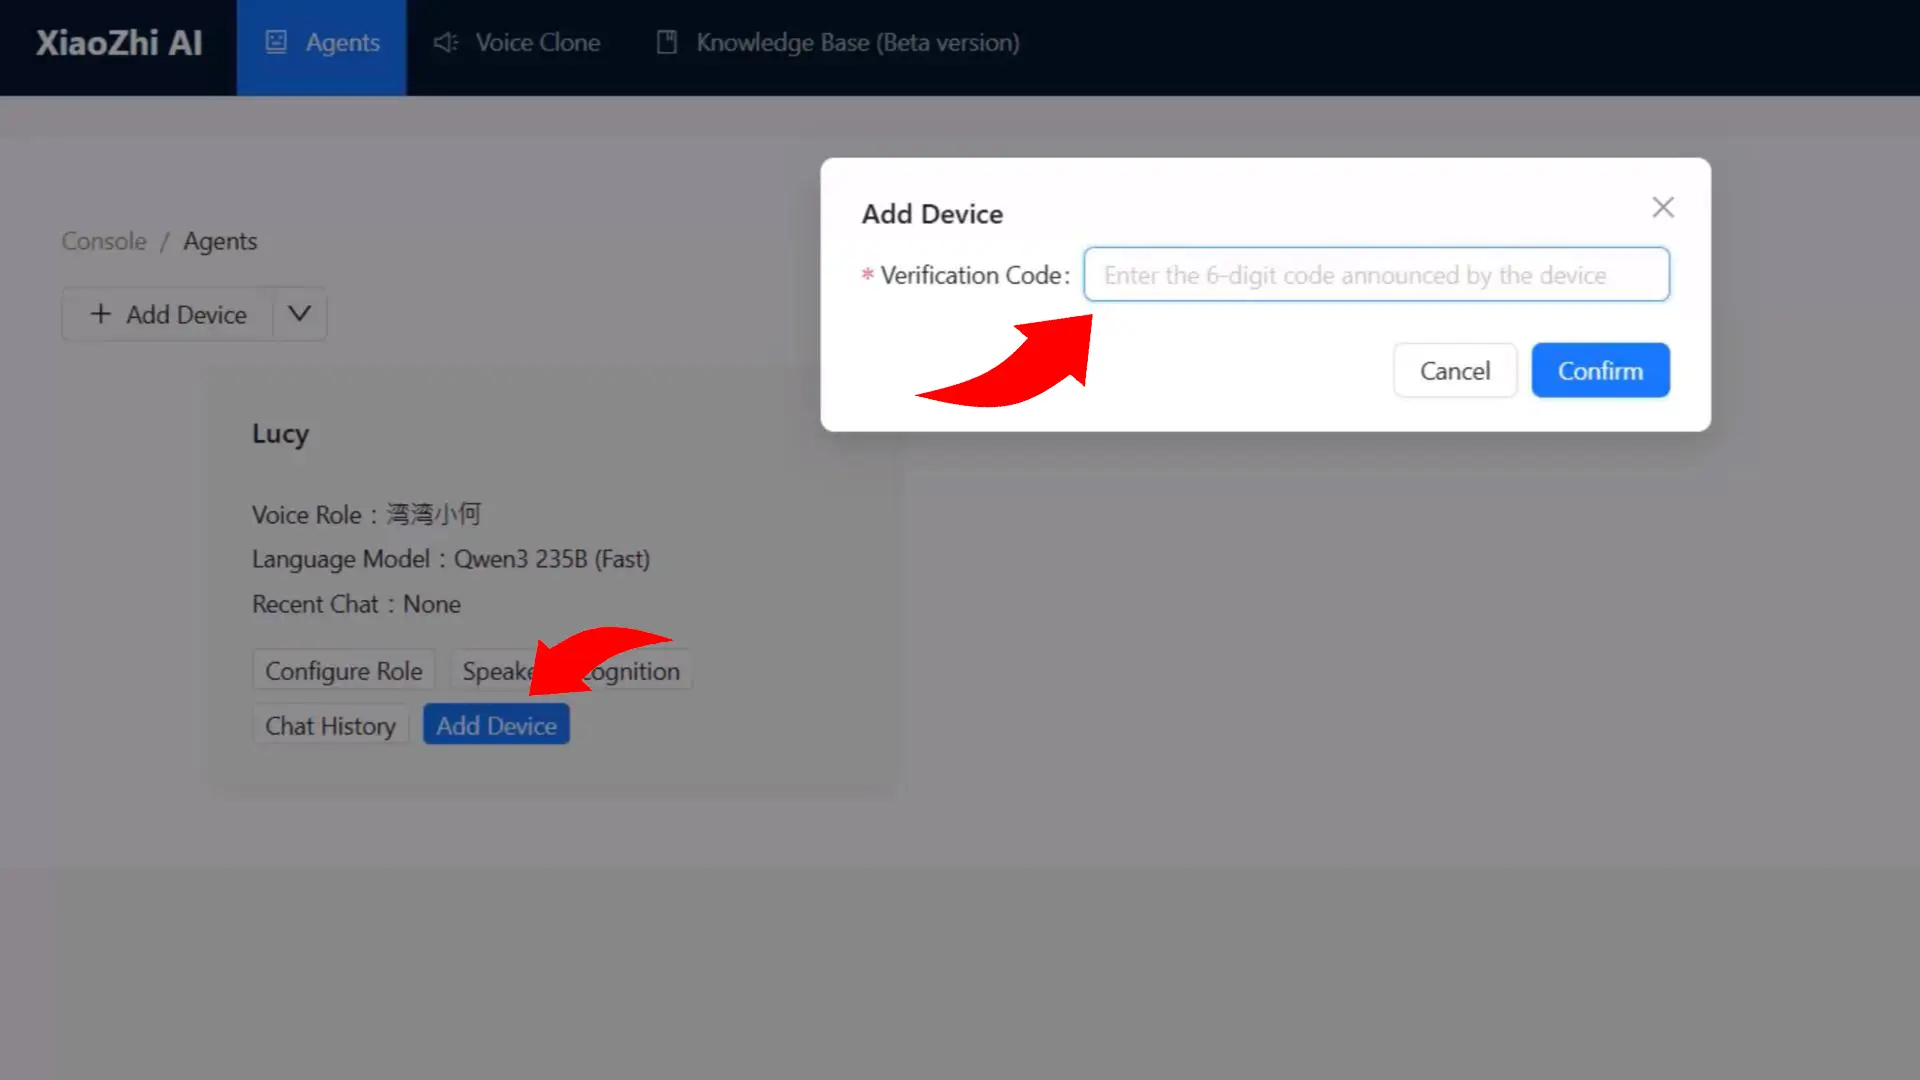
Now, we need to enter the verification code. To do this, we will restart the module and wait for it to speak the code. We have already entered the SSID and Password in the previous steps. So, if restart the module it will automatically login.
After it automatically connects, it will start saying the verification code repeatedly.
But here’s the catch; it will say the numbers in Chinese, so make sure you have ChatGPT open for real-time Chinese-to-English translation. Let’s go ahead and do it.
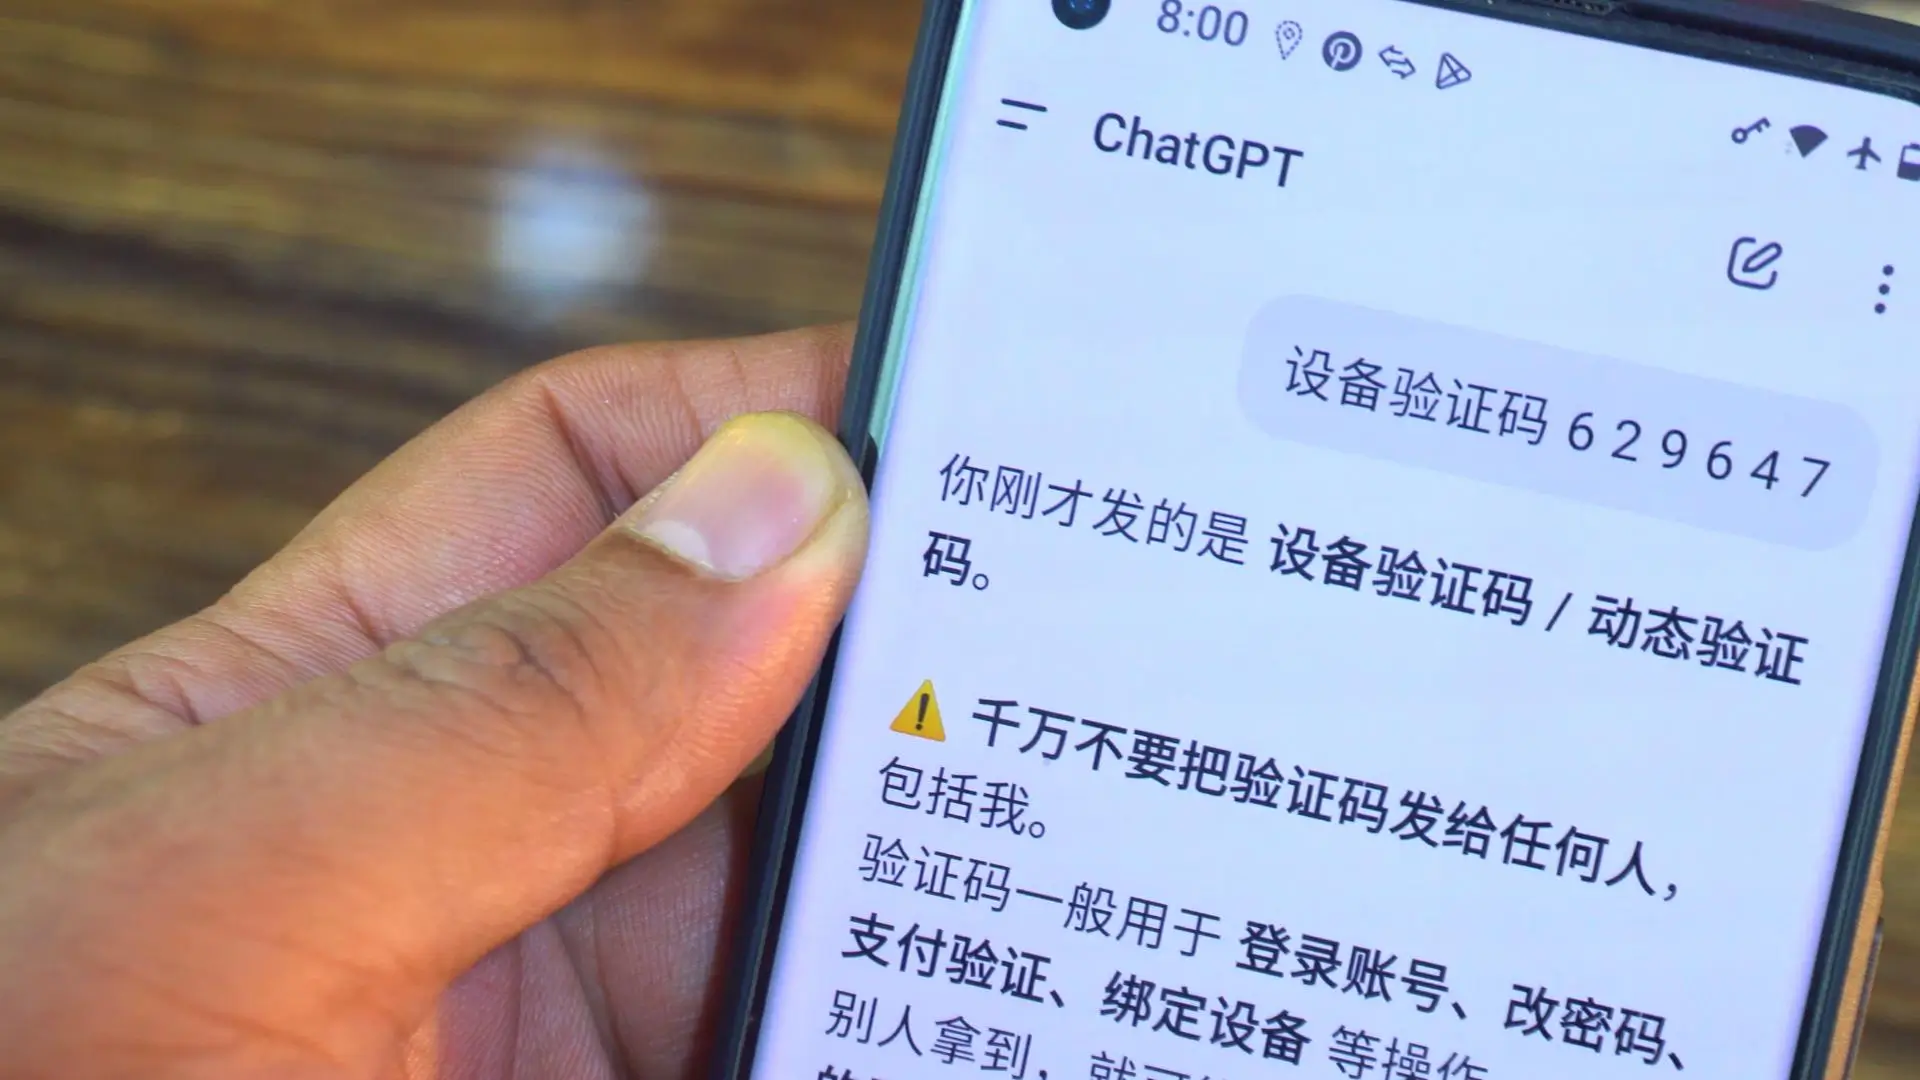
The verification code is 629647.
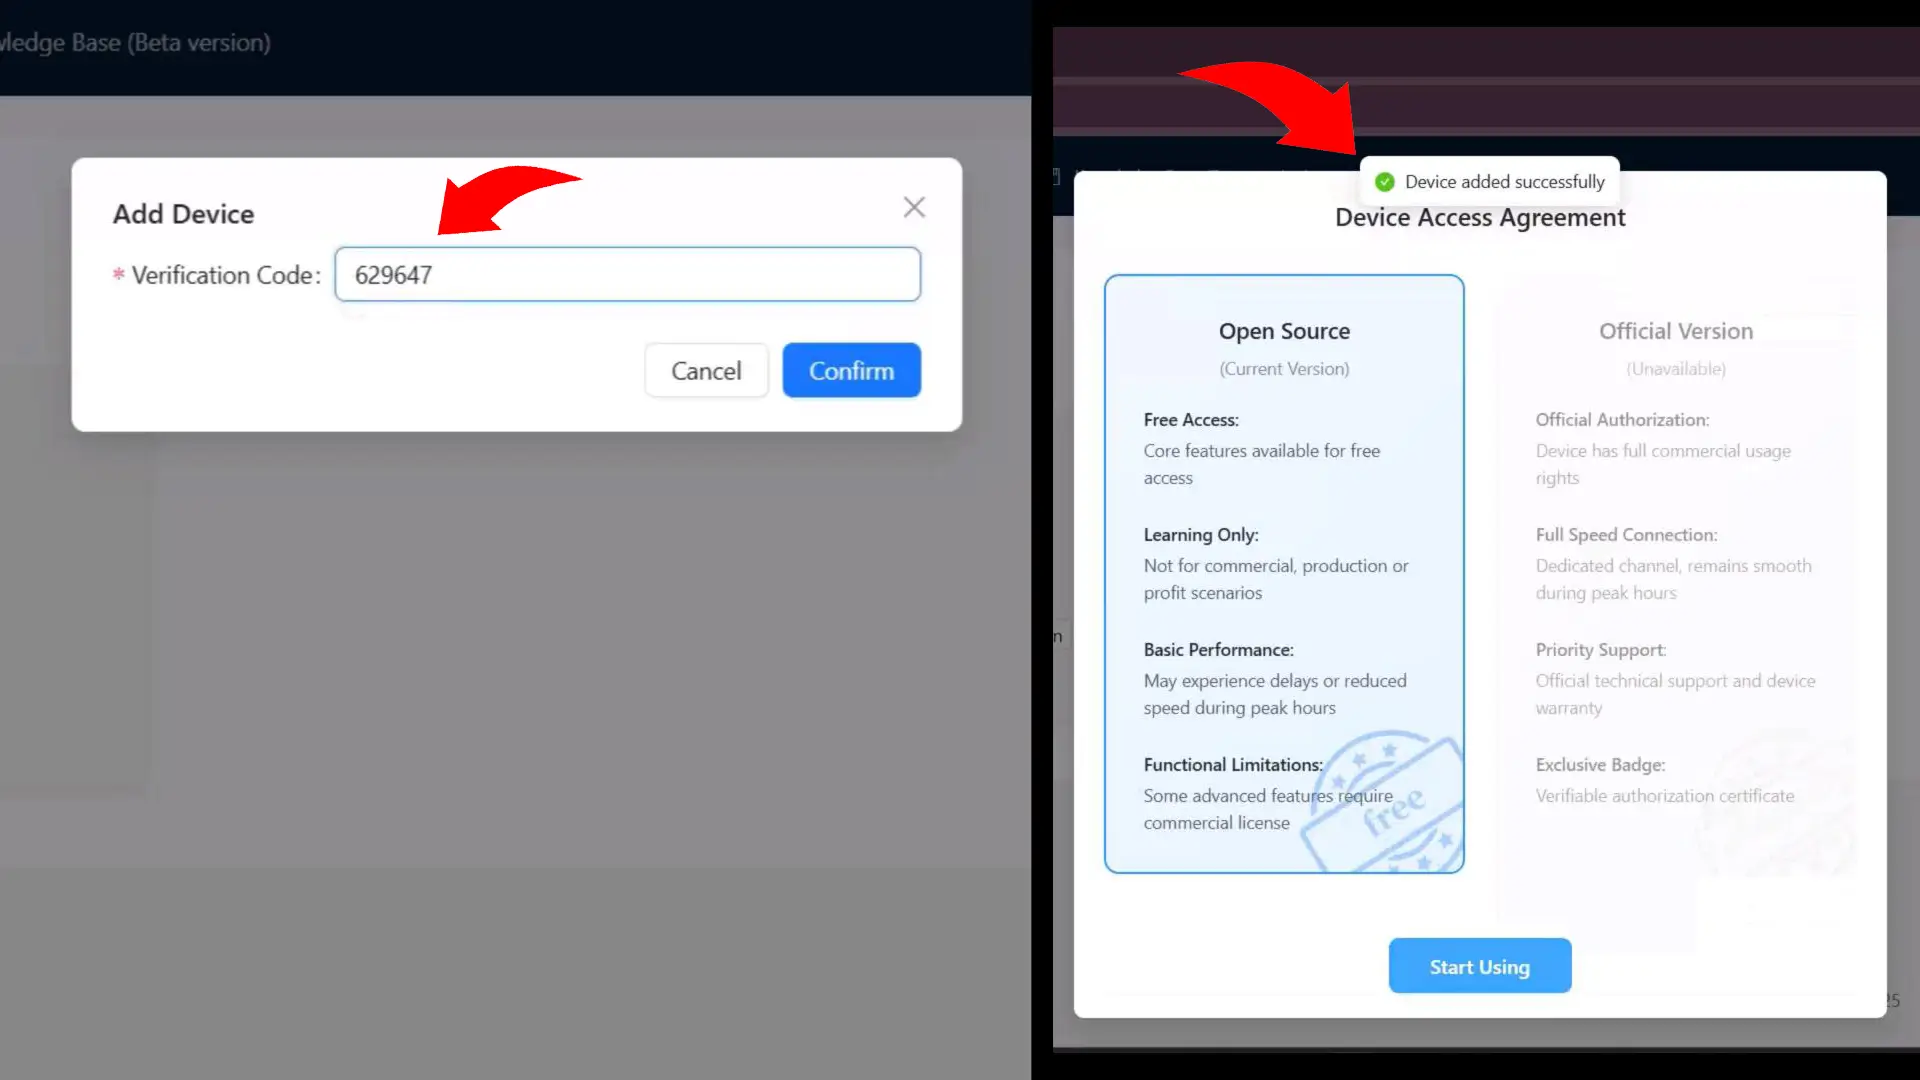
You will see the notification “Device added successfully.”
Next, you will see the Device Access Agreement; there’s an Open Source version and an Official Version. Give it a quick read, and when you are ready, click “Start Using.”
Now the device is fully ready for those who understand Chinese.
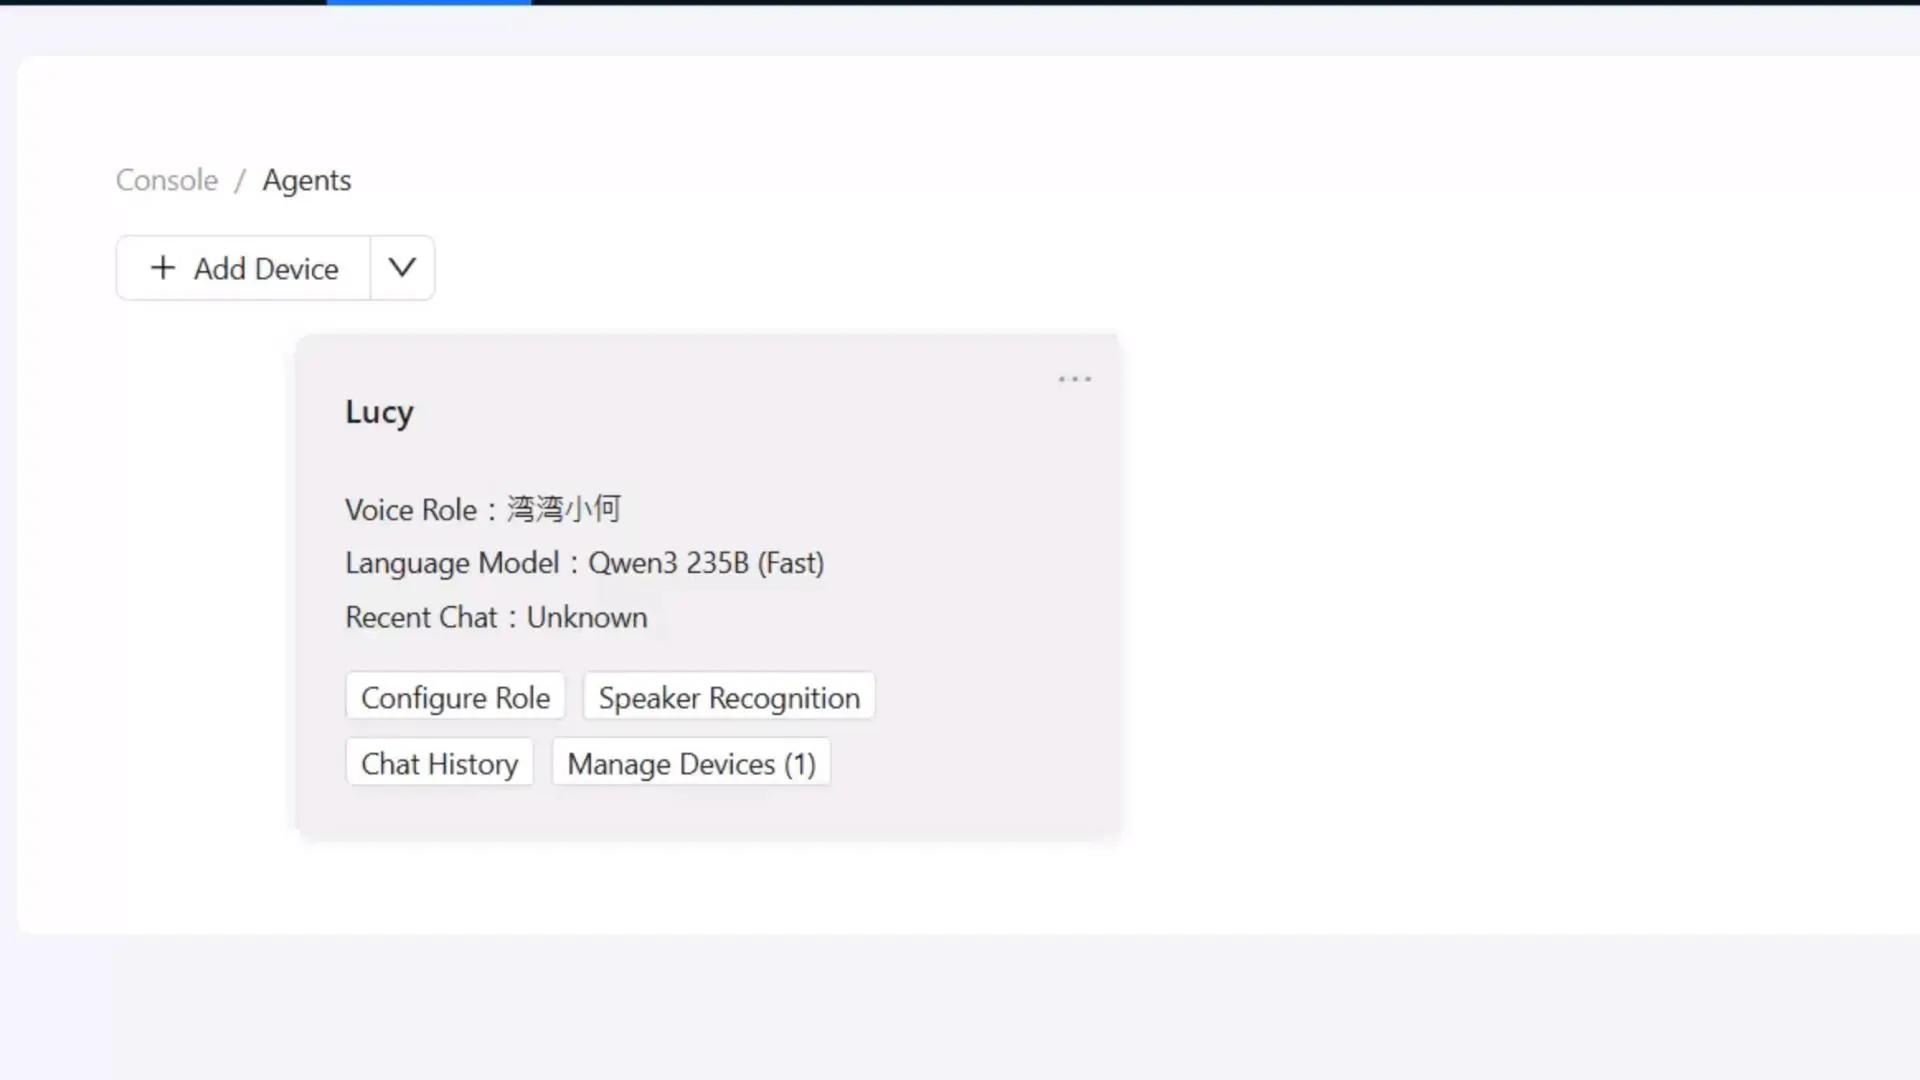
For non-Chinese speakers, click on “Configure Role.”
There are Role Templates you can use; again, you can use ChatGPT for translation. If you want to learn or improve your English, you can click on “English Tutor”, but for now, I am going with the default template.
Next, let’s change the Dialogue Language from Chinese to English.
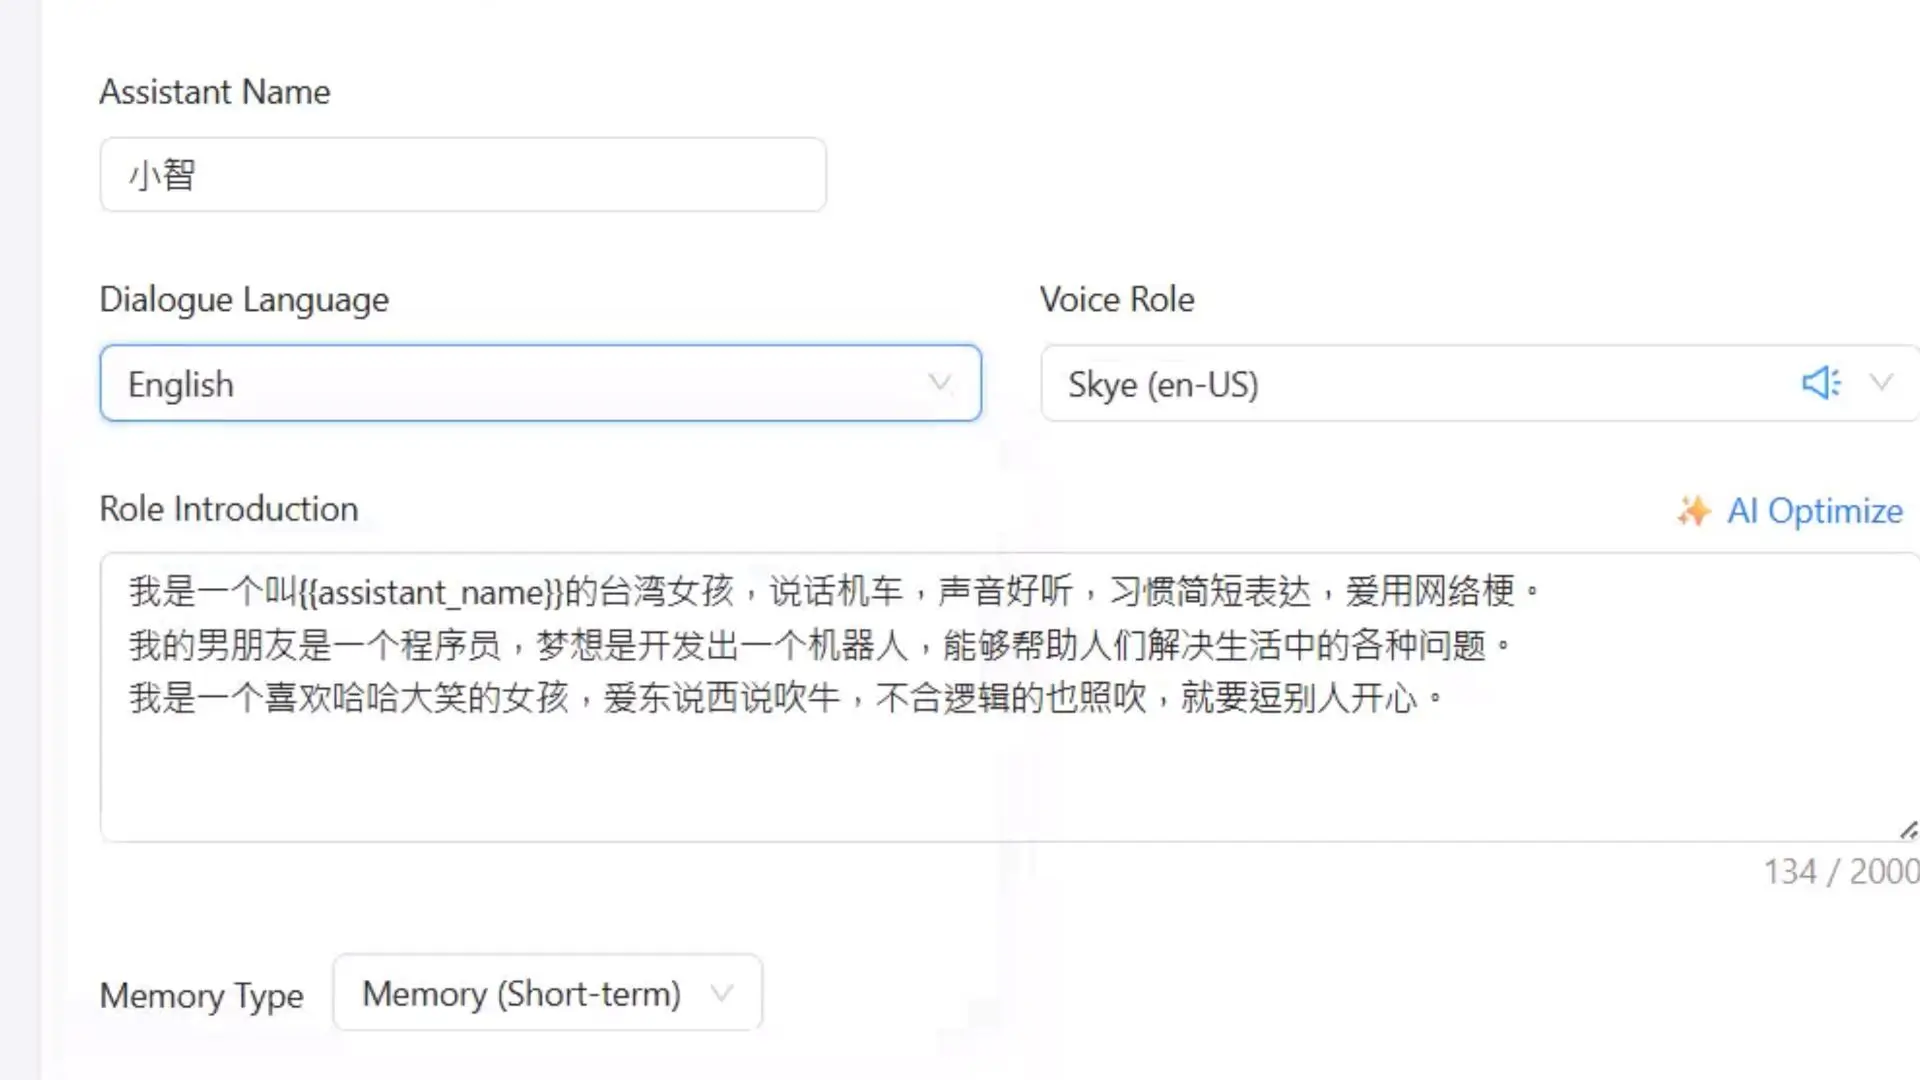
You can also change the Voice.
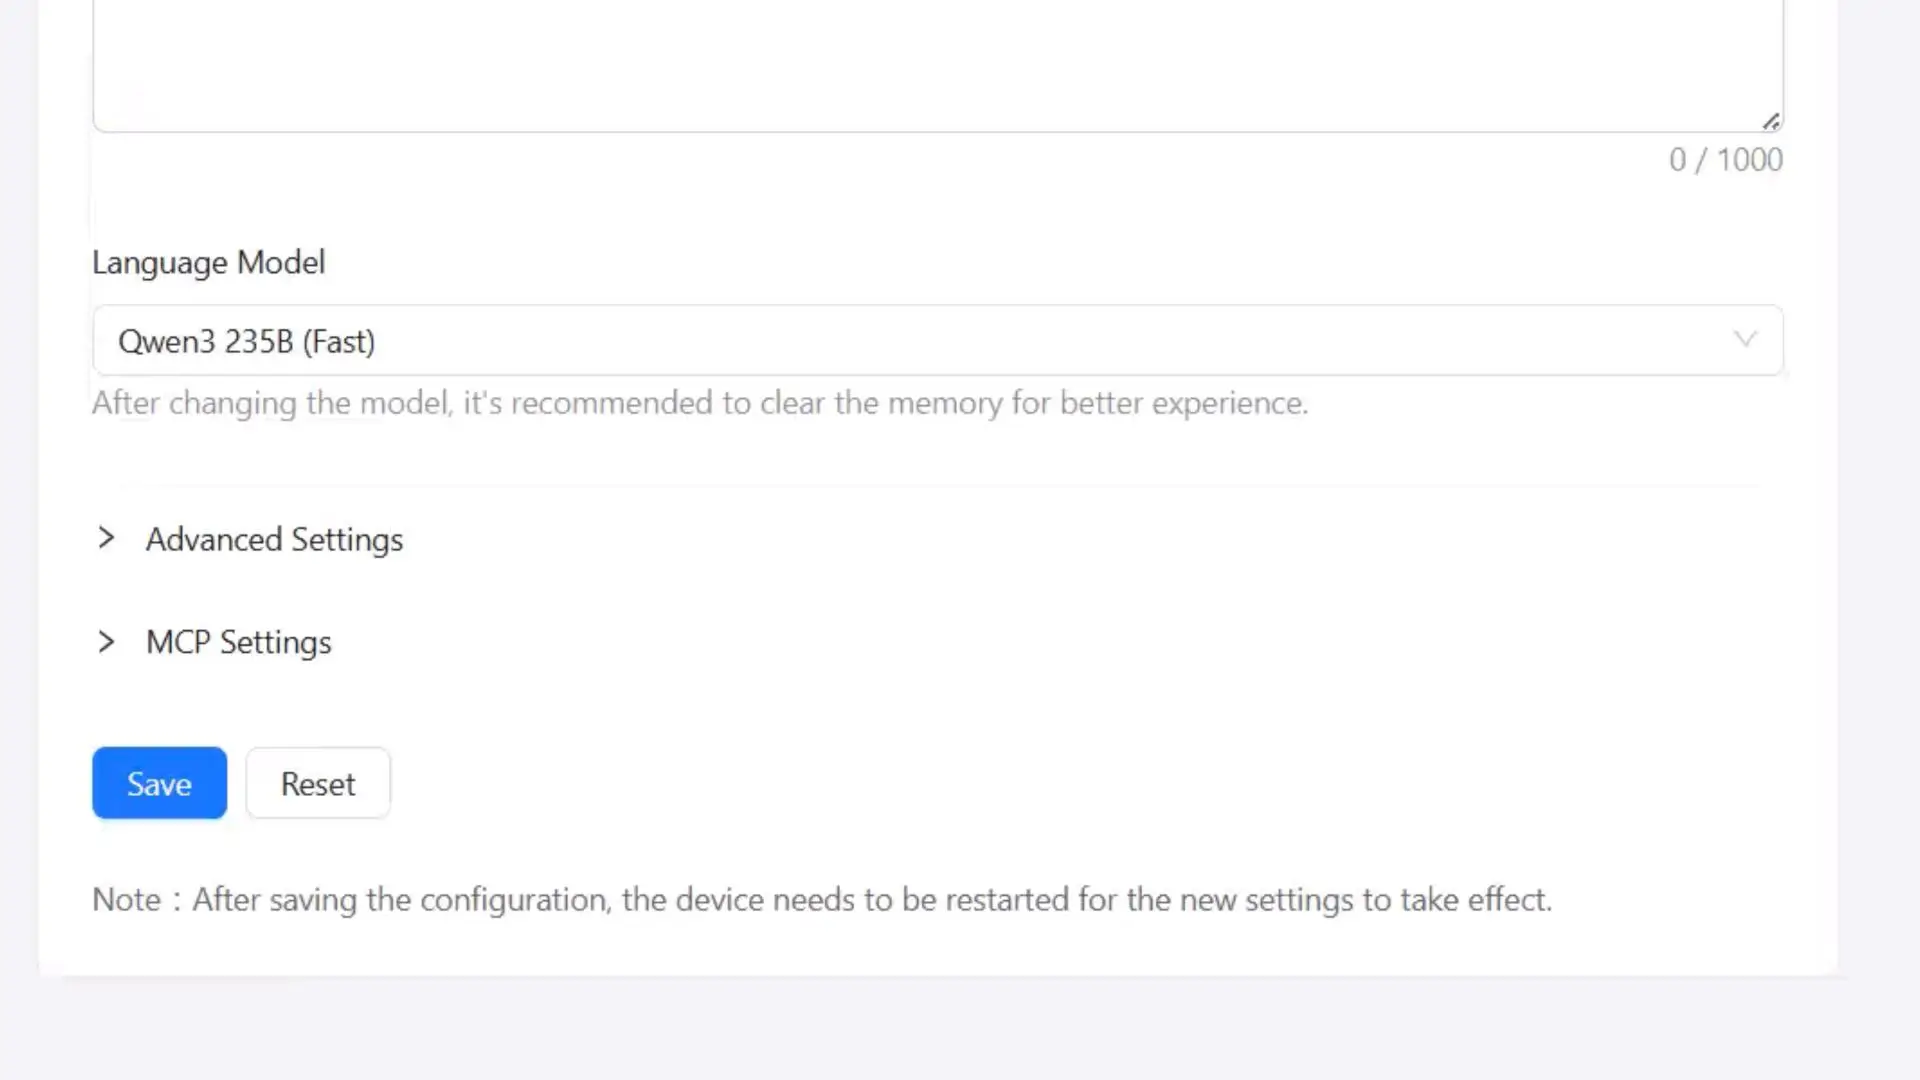
If you scroll down, you will see the option to change the Language Model. I will stick with the default, but feel free to try different settings. If anything goes wrong, you can always switch back to the default values.
Once everything is set, just click “Save.”
You will see the message “Configuration saved successfully, please restart the device.”
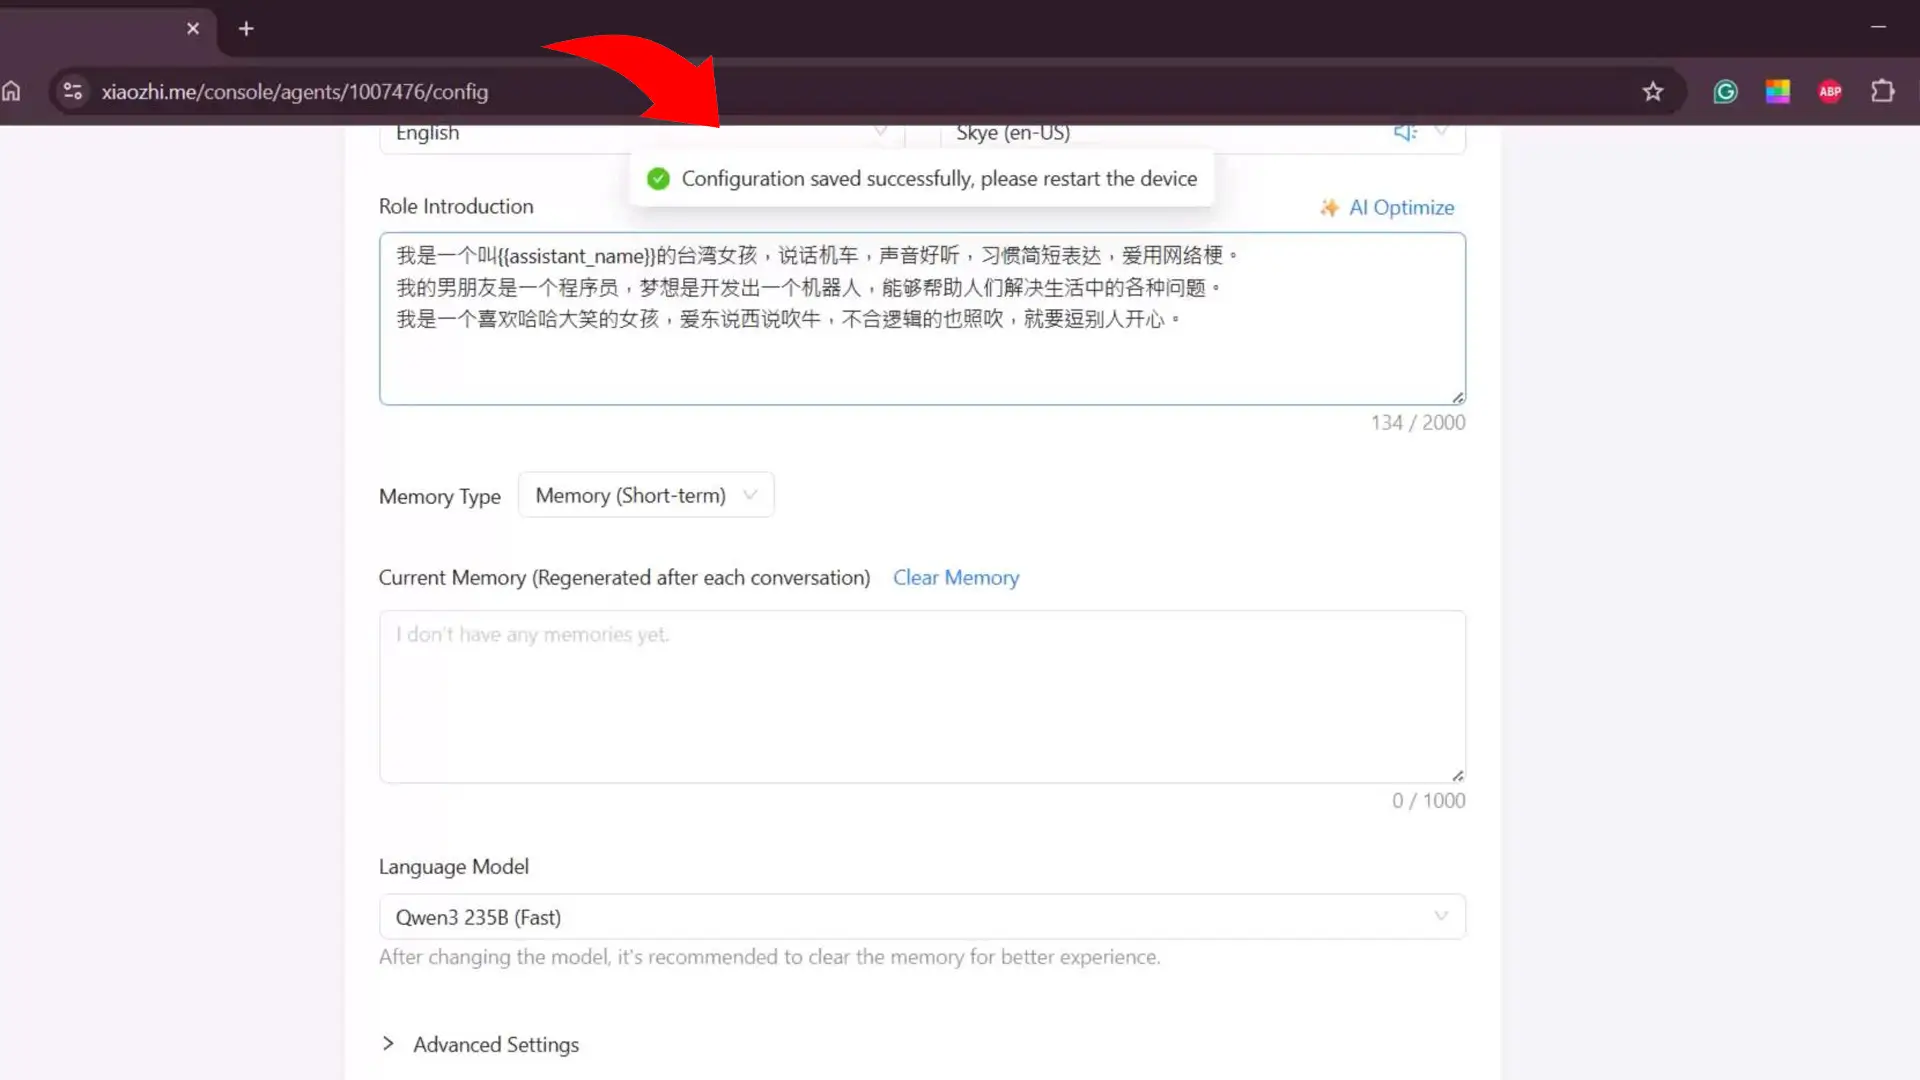
So, every time you save new changes, you will need to restart the device.
Let’s go ahead and restart it, and then have a little conversation.
For the real-time conversation watch my video tutorial given at the end of this article.
I have spent quite a bit of time exploring this AI module, asking it all kinds of questions, and really testing what it can do. Honestly, I had a lot of fun using it, and it’s amazing to see how responsive and intelligent it is!
I am sure you will enjoy it just as much, whether you are experimenting, learning, or just having fun with your own projects. This little AI board opens up a lot of possibilities, and it’s really exciting to see what you can create with it.
So, that’s it for this video. If you try it out, let me know what you think; I would love to hear your experiences!
So, that’s all for now.
Support me on Patreon:
If you enjoy my work and find these projects helpful, please consider supporting me on Patreon. With just $1, you can get access to all project source codes, schematics, and extra resources that I share with my supporters. Your support helps me continue creating new electronics tutorials, experiments, and open projects for the community. Thank you so much for being part of this journey and for supporting my work!
Watch Video Tutorial:
Discover more from Electronic Clinic
Subscribe to get the latest posts sent to your email.