LoRa mmWave Radar Human Tracking System with ESP32
Last Updated on September 3, 2026 by Engr. Shahzada Fahad
Table of Contents
Description:
You can’t hide… because today I built a long-range human tracking system using LoRa and the RD-03D mmWave radar sensor – capable of detecting and tracking people in real time from kilometers away, without WiFi, internet, or cameras.
Sounds impossible?
Well,
let me prove it.
This is the live radar interface.
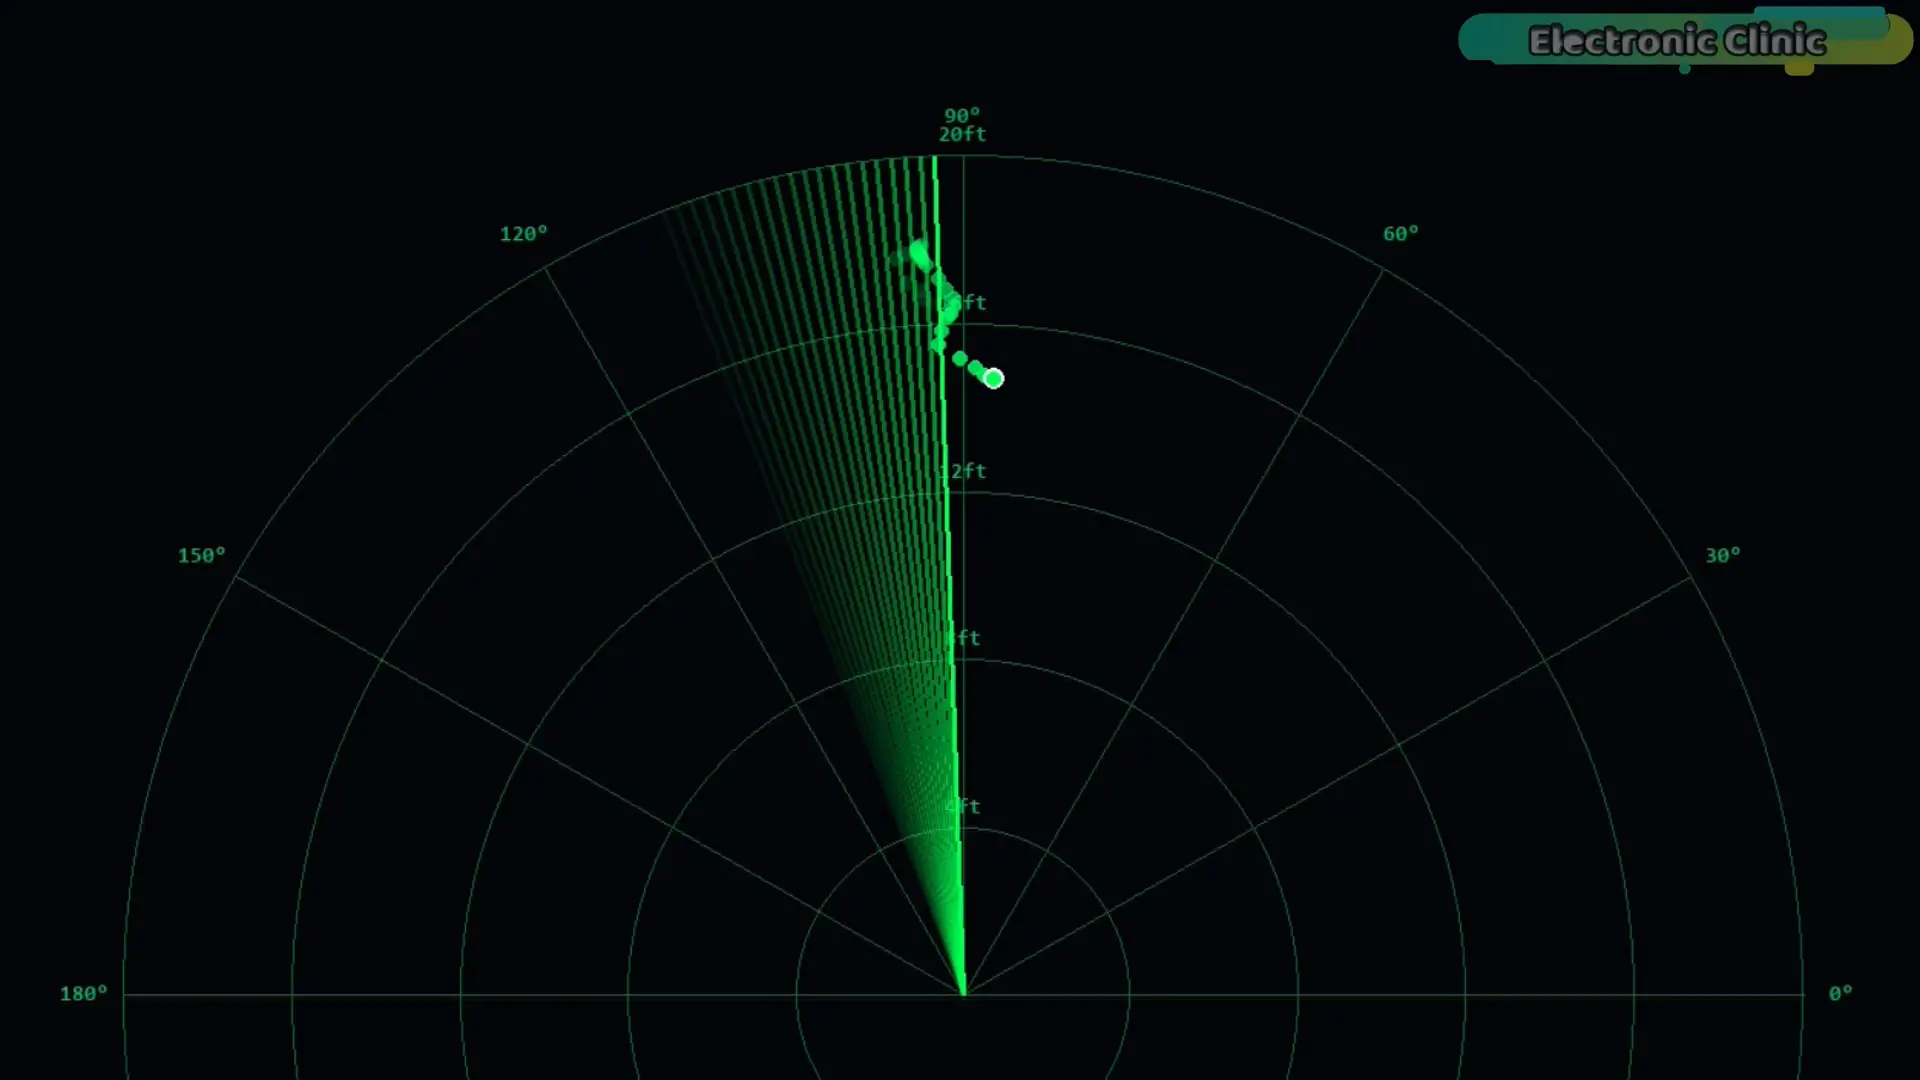
That dot right there?
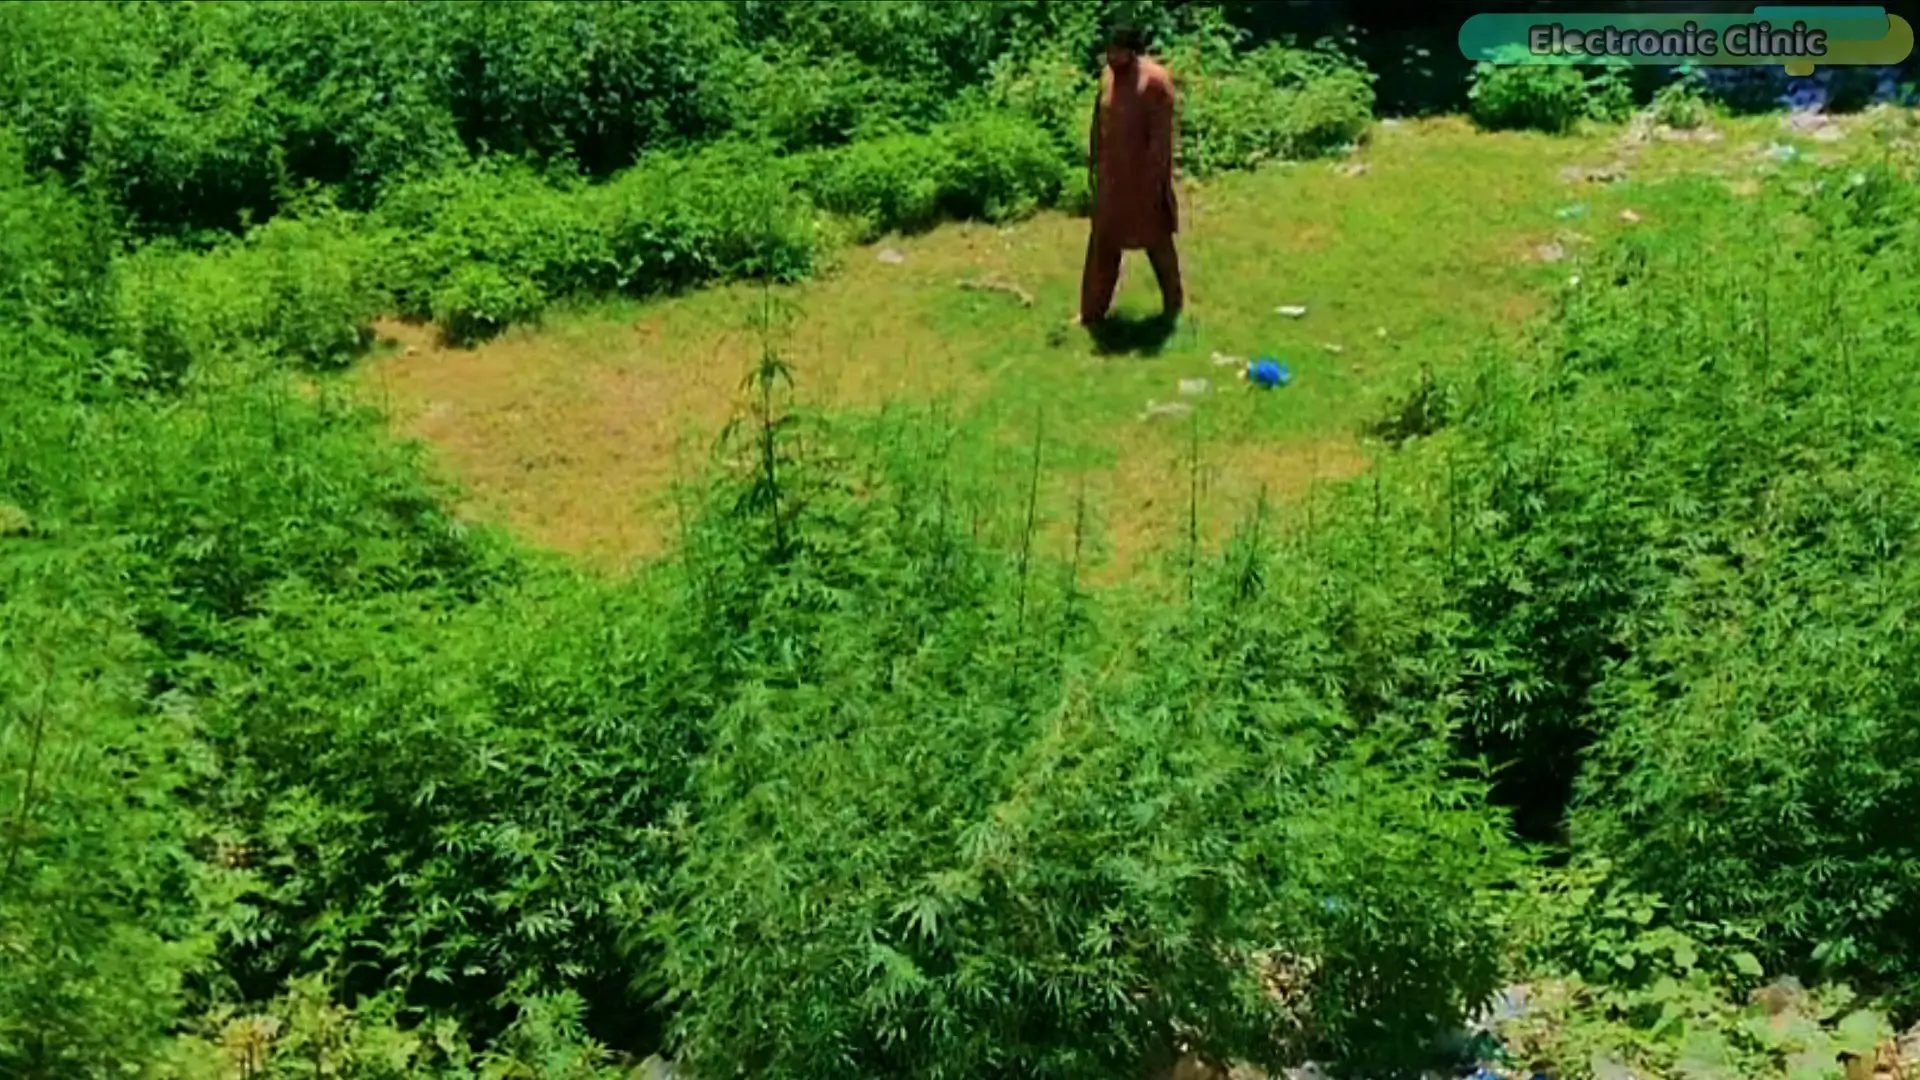
That’s my brother.
As he moves
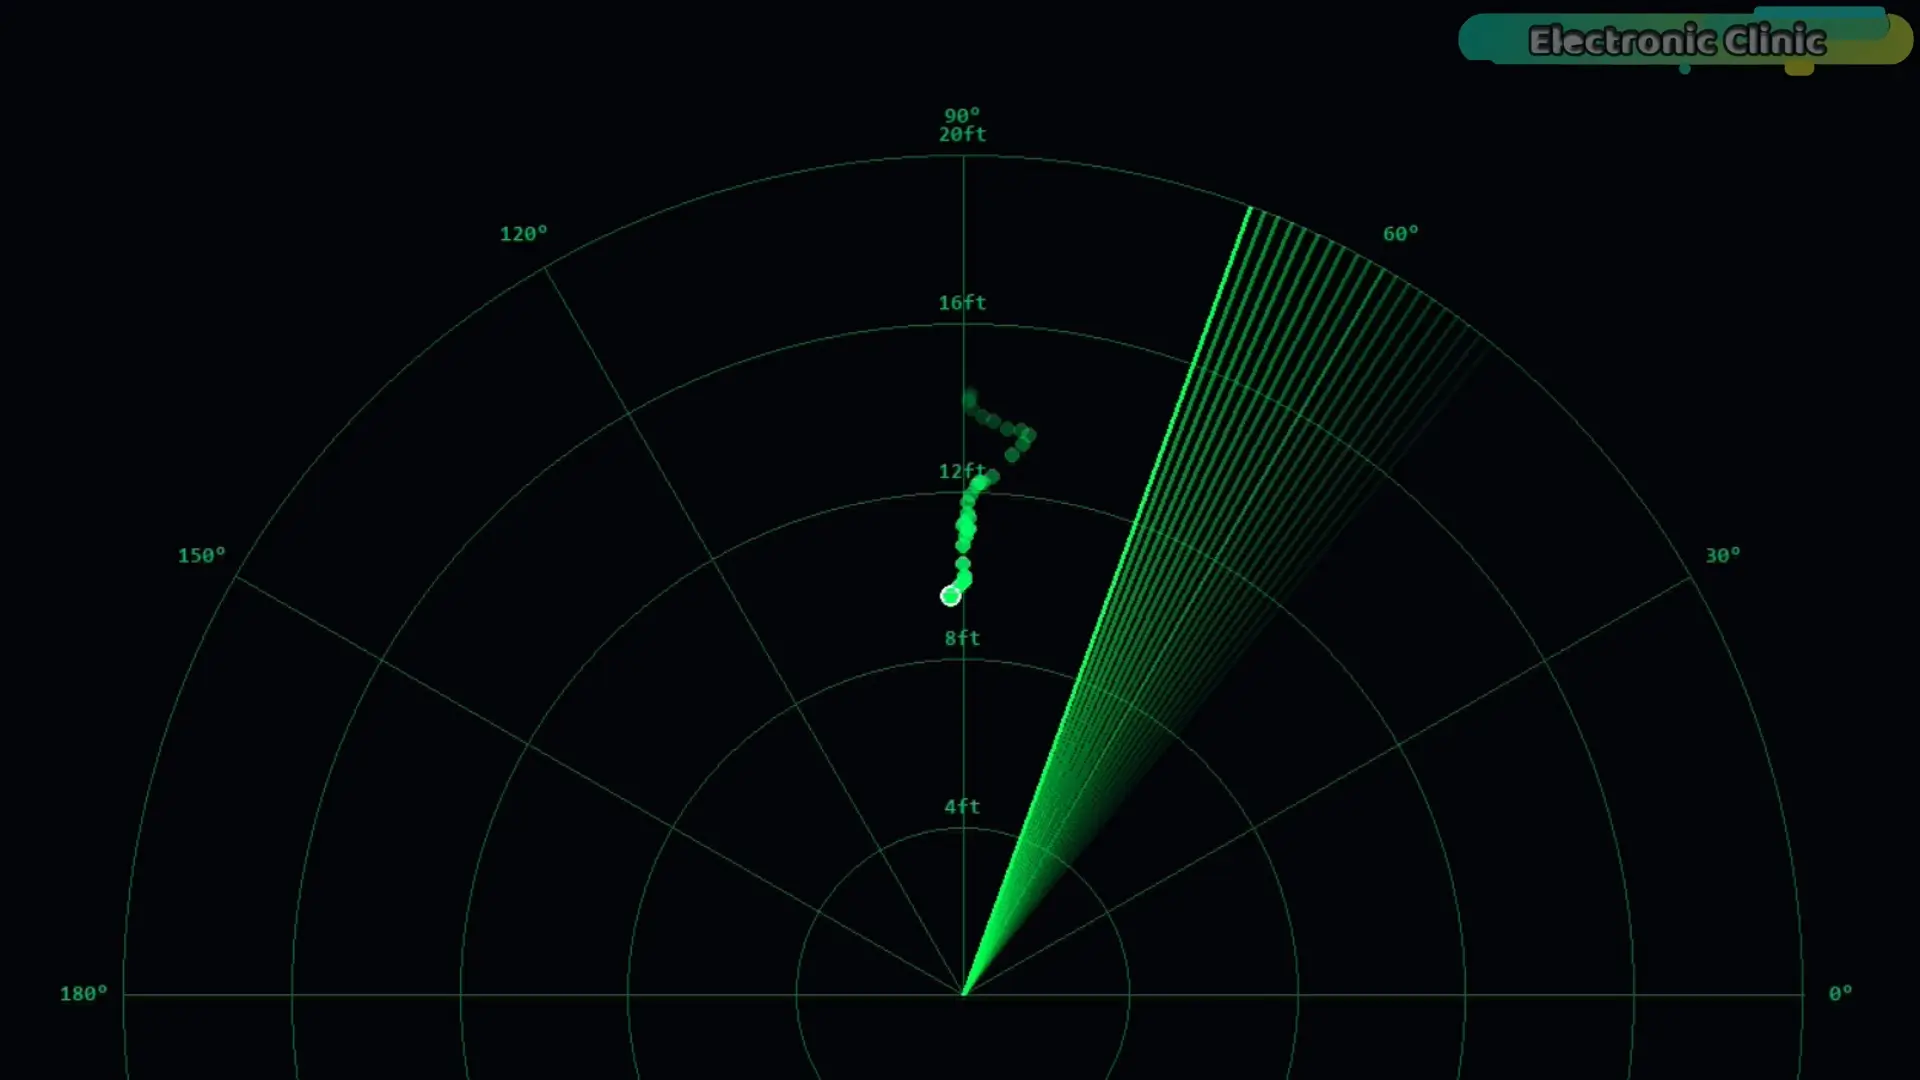
you can see the position updating in real time.
And the craziest part?
This data is coming from a sensor
placed far away
and transmitted over long distance.
Now imagine this
You place this system
in a completely remote location
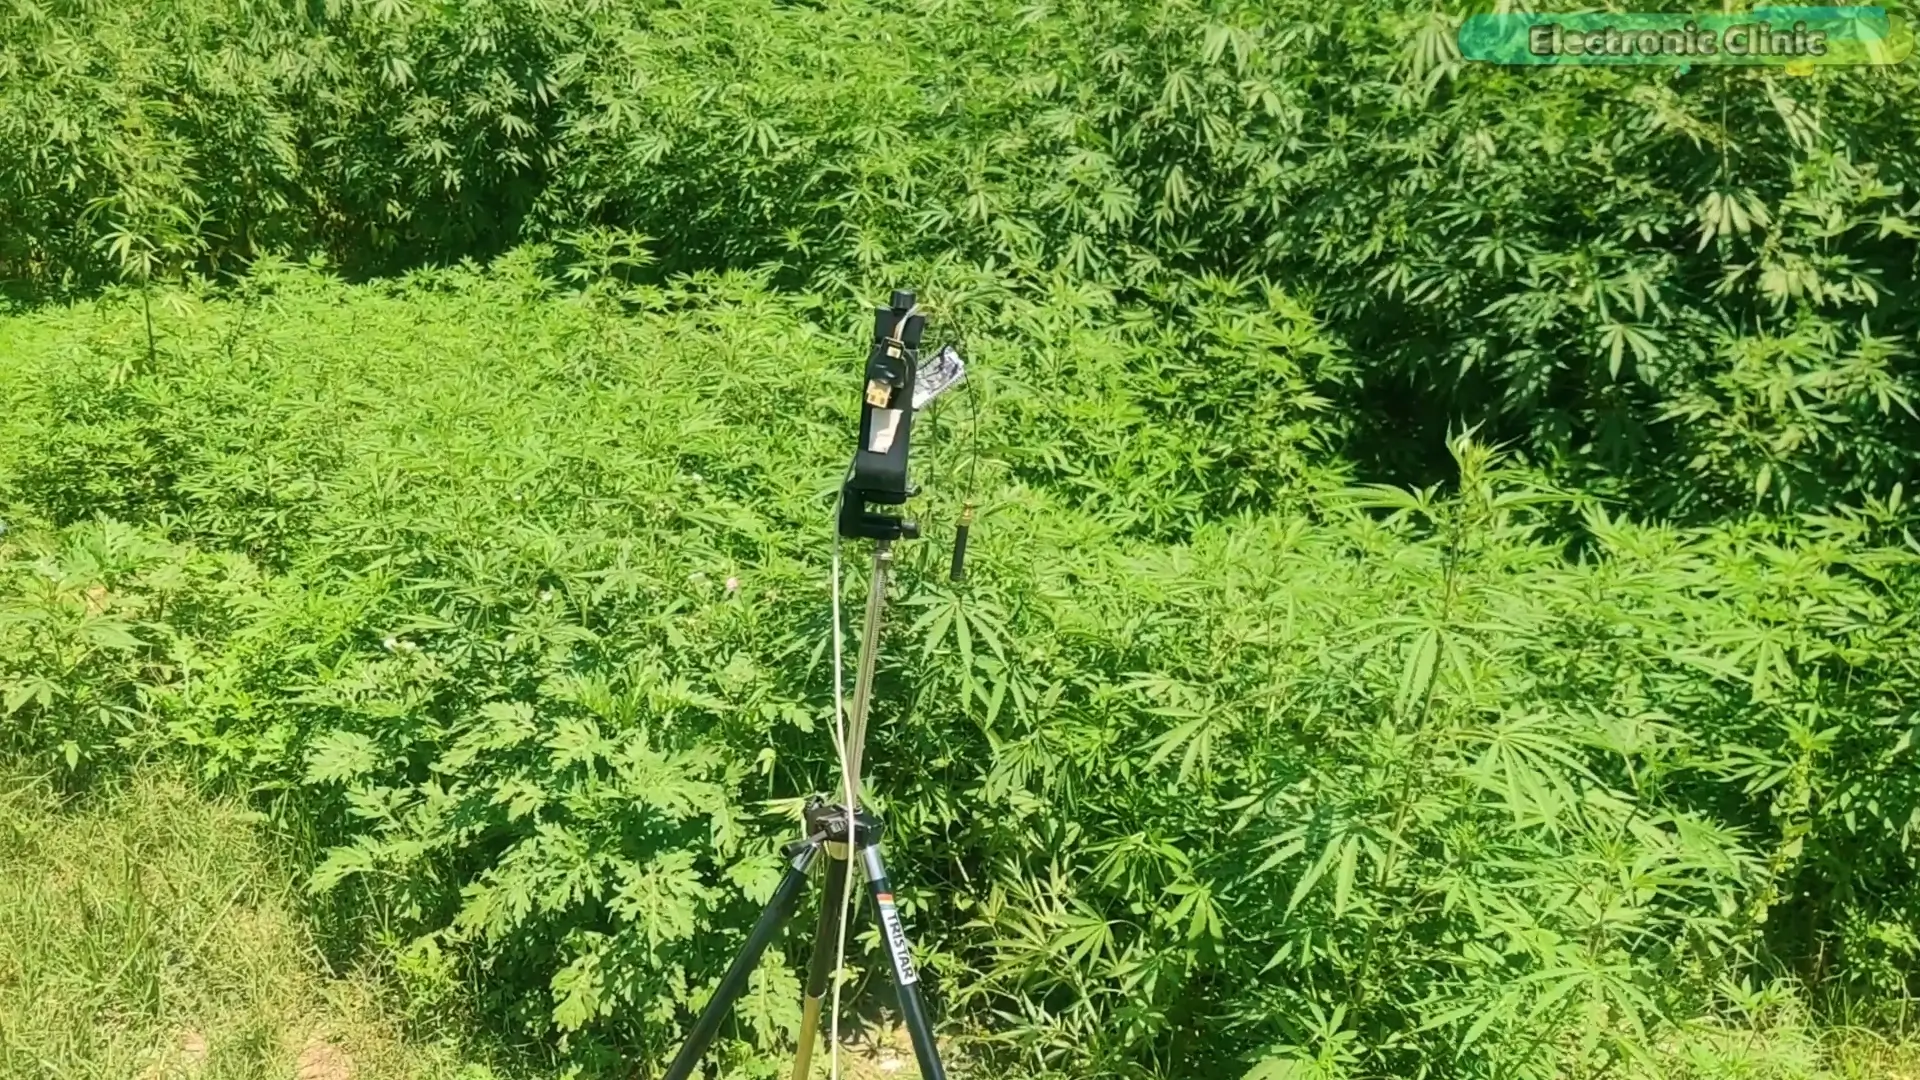
no internet.
no infrastructure.
and still you can monitor everything in real time.
But here’s where things get really interesting
Think about this for a second.
Most smart systems today depend on WiFi or Bluetooth.
But in real life, that’s a big limitation.
Bluetooth usually works within 10 to 30 meters
and WiFi typically covers around 50 to 100 meters.
And the bigger problem?
Many important places don’t even have internet access.
Places like:
- Farm
- Remote warehouses
- Construction sites
- Mountain areas
In these locations, running cables is expensive
and sometimes not even possible.
So instead of relying on internet
we use LoRa.
LoRa is built for long-range communication.
It can send data over several kilometers using very low power.
Which means
your system stays connected
even where everything else fails.

Now that solves the communication part.
But what about detection?
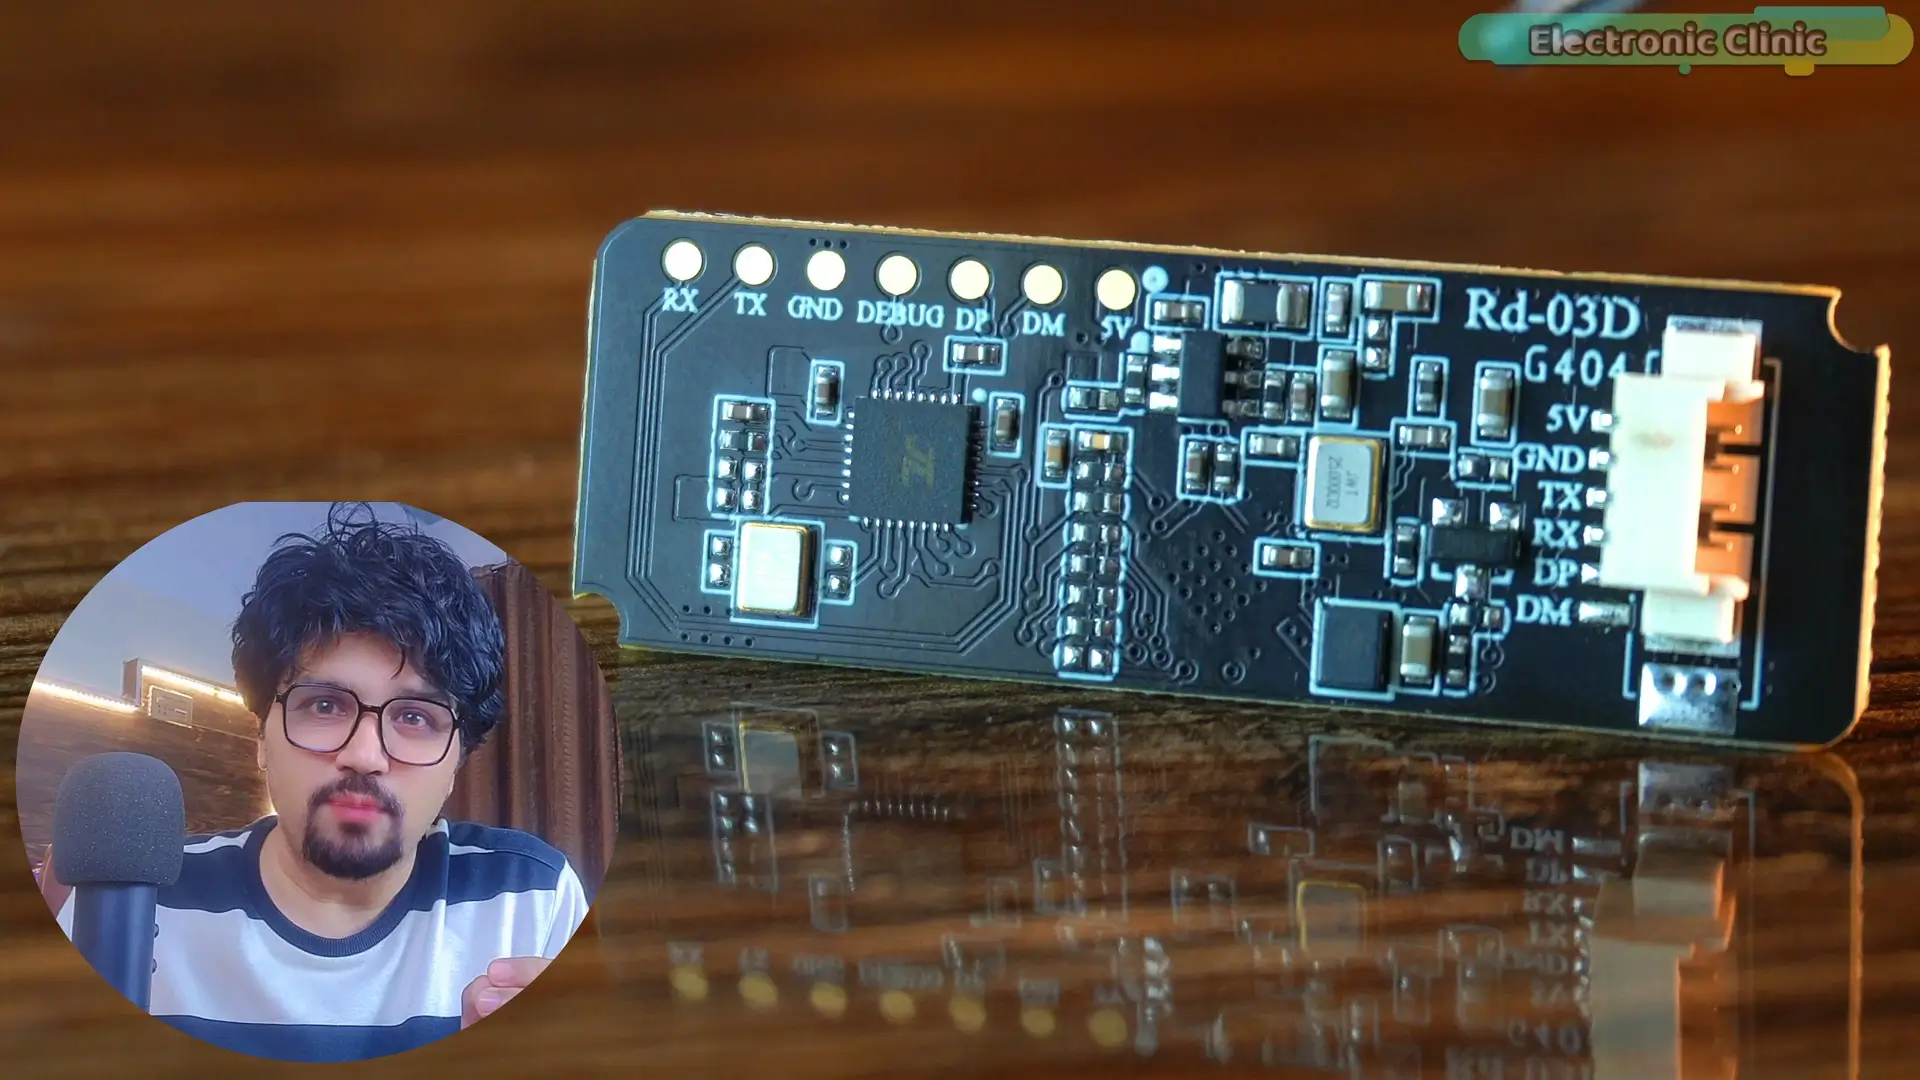
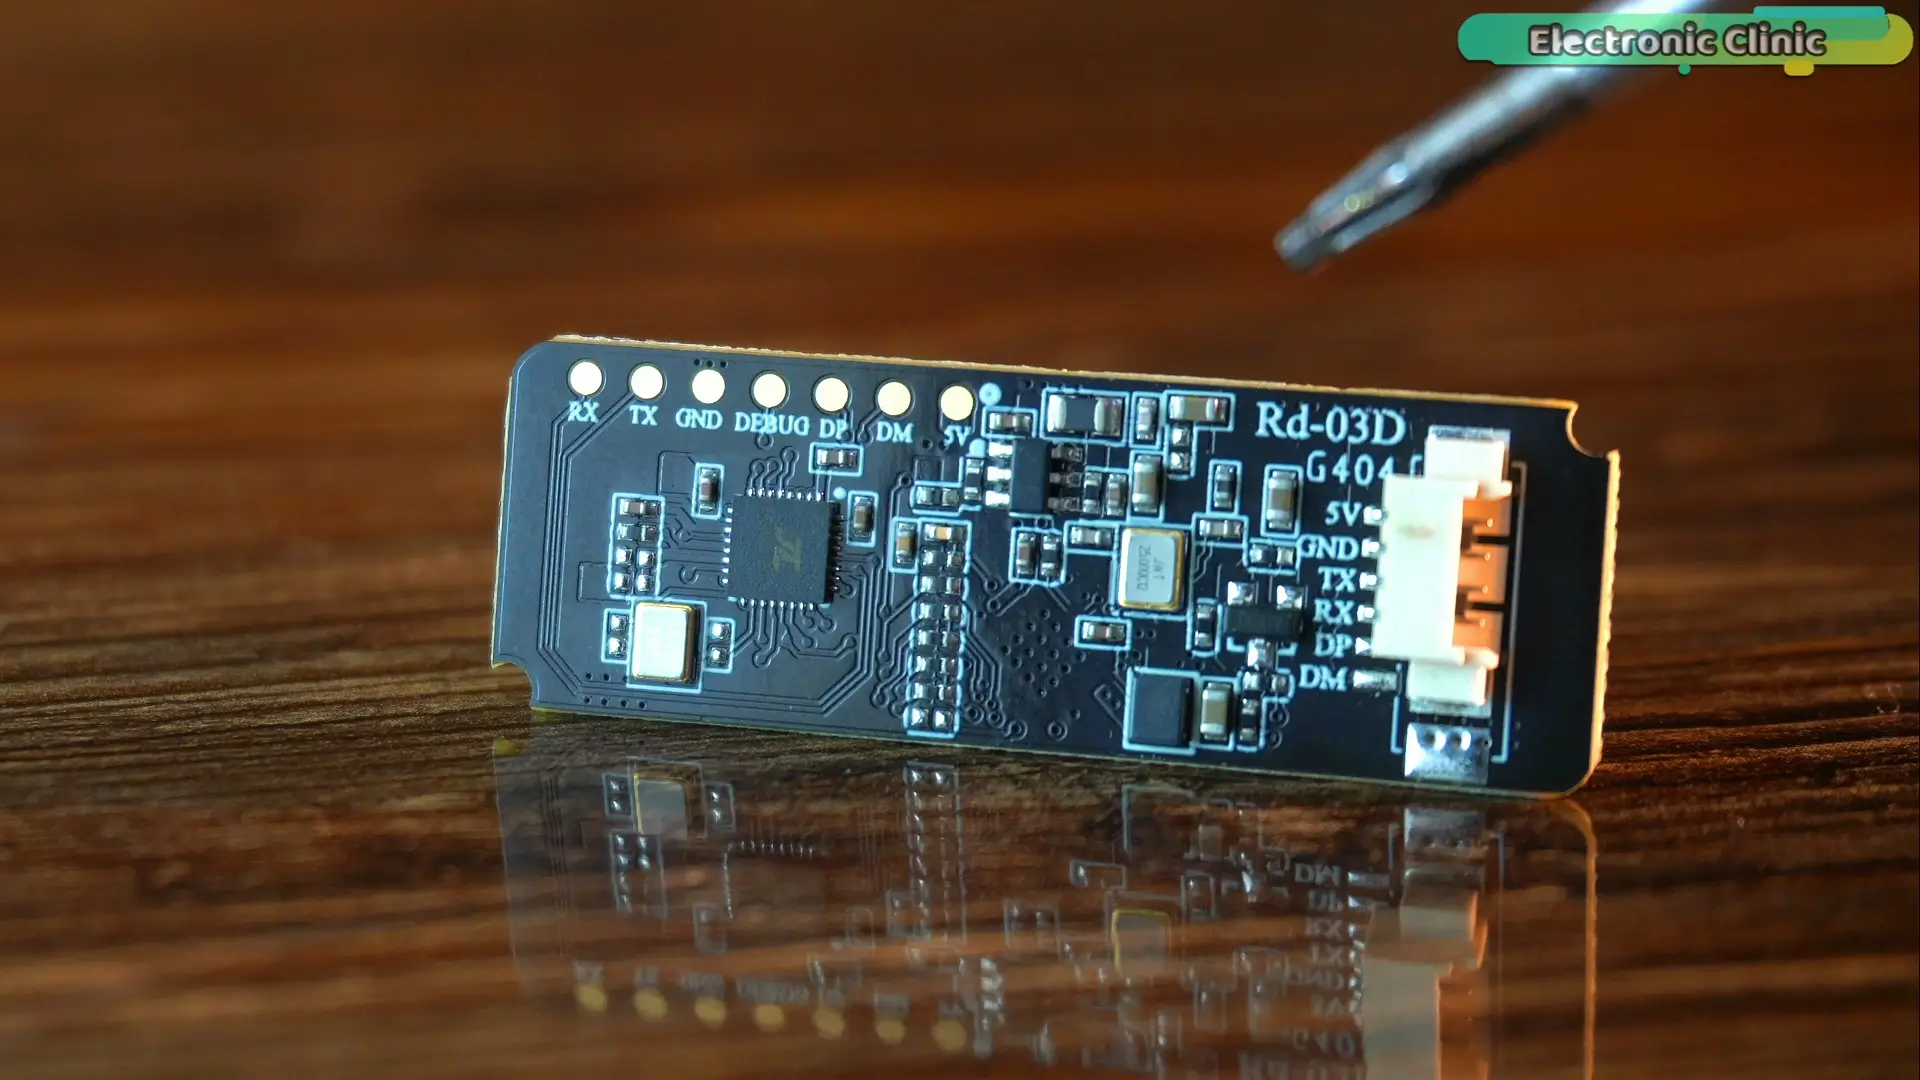
This is the RD-03D mmWave radar module.
Unlike traditional PIR sensors,
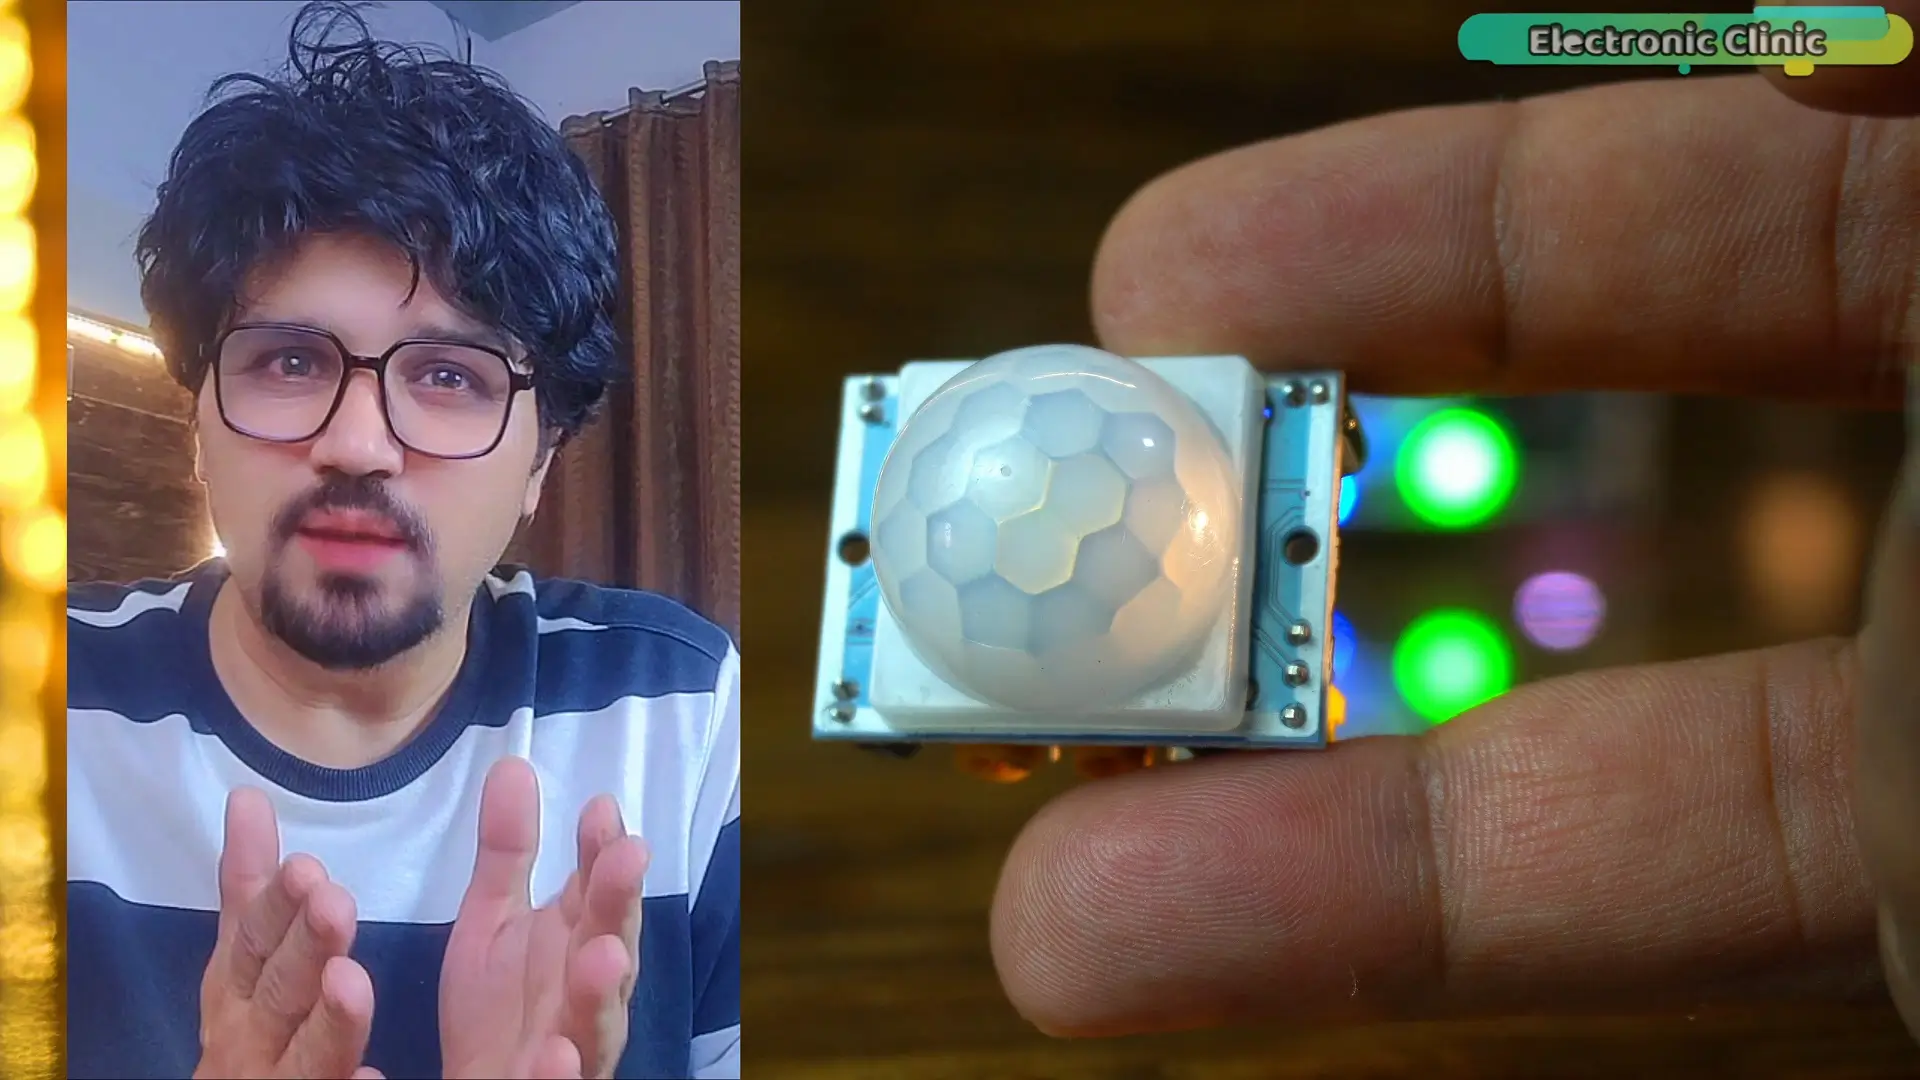
it doesn’t rely on heat
or light.
It uses radio waves to detect movement.
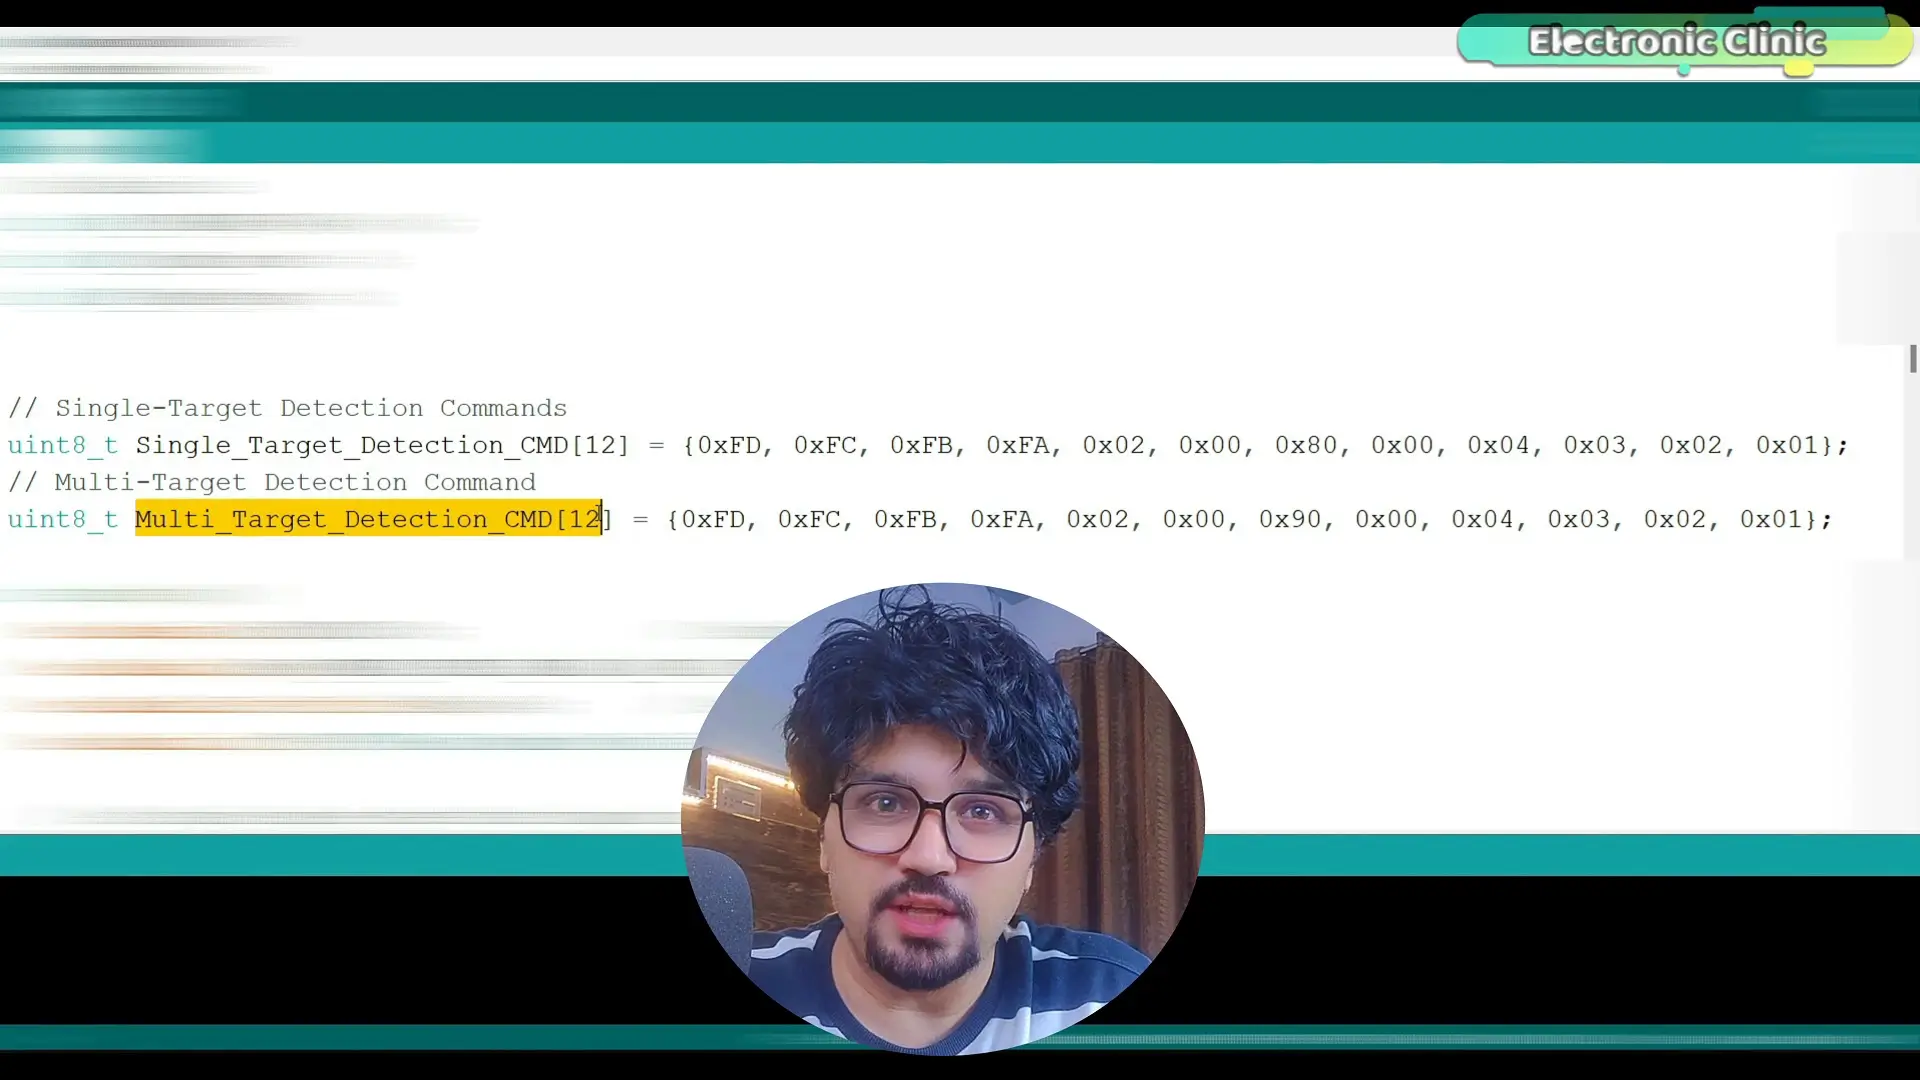
And it’s not like other mmWave radar modules, You can set its detection mode.
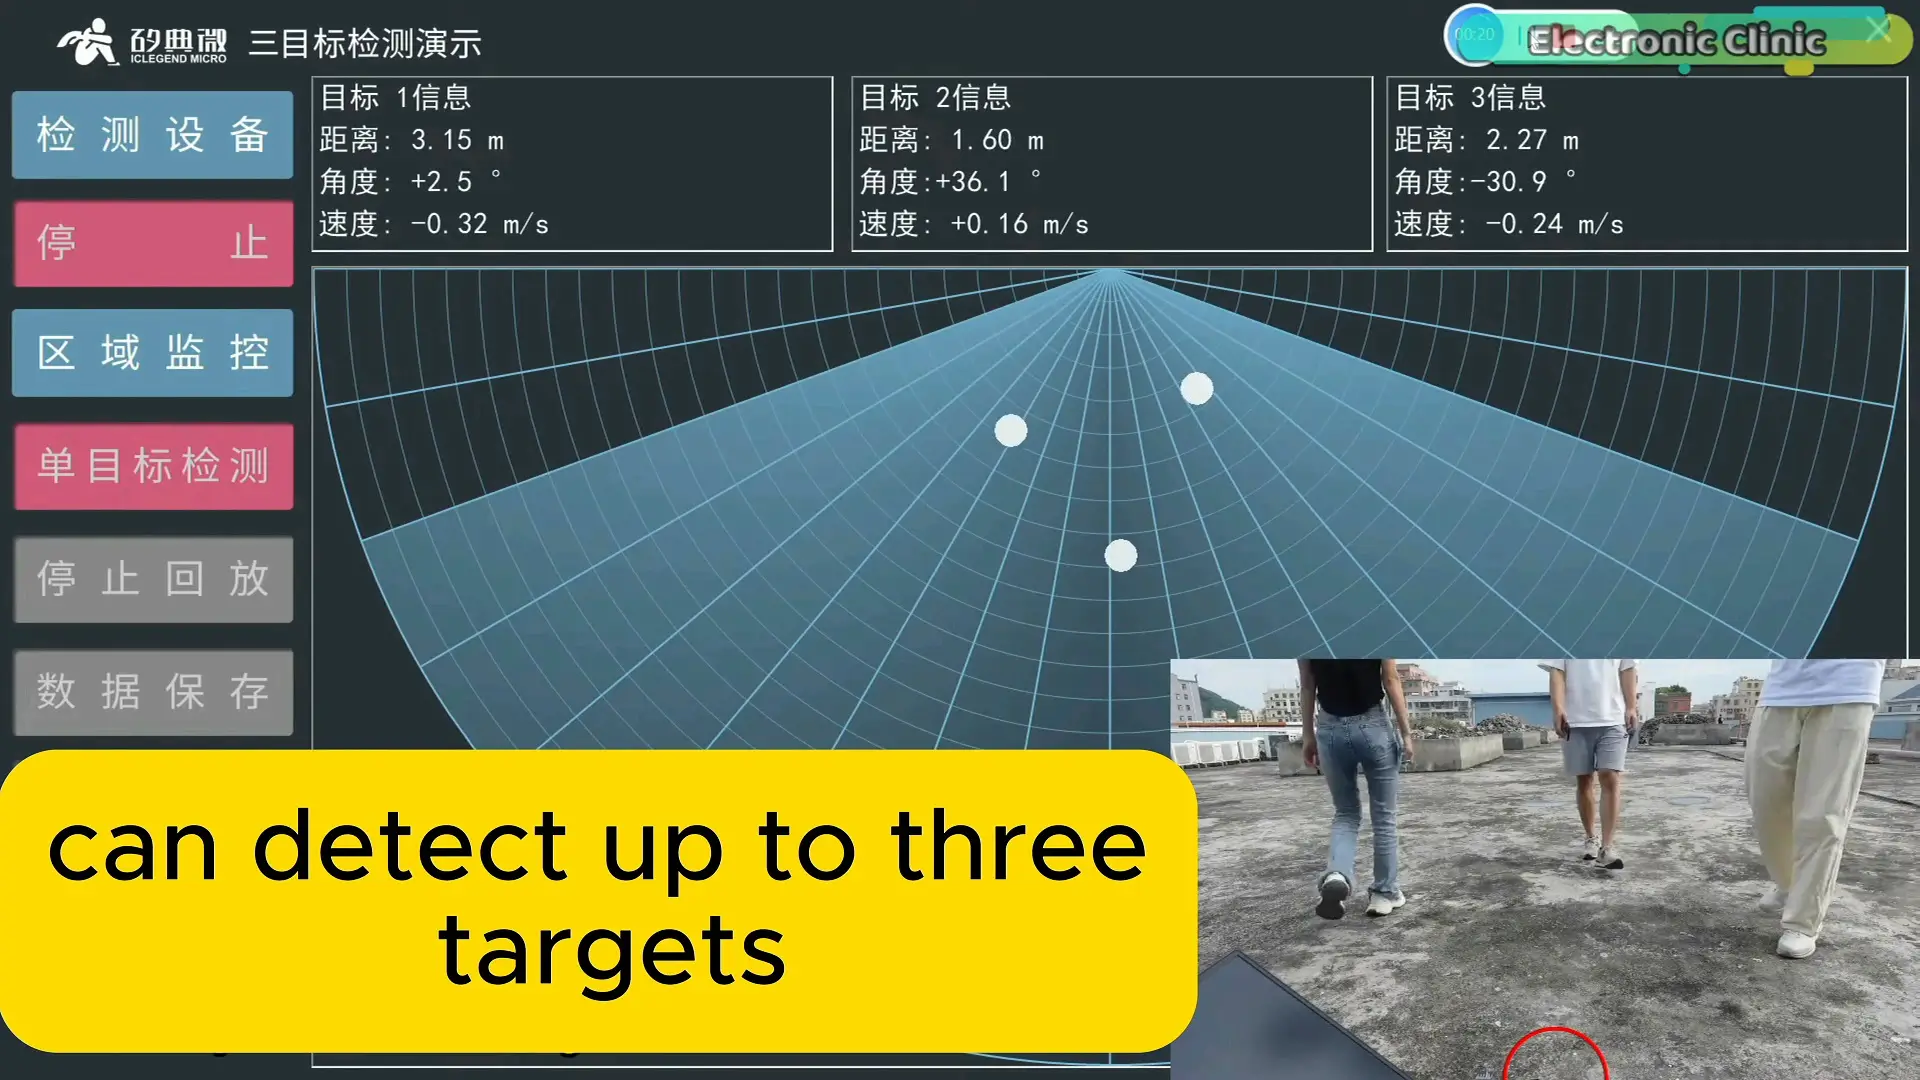
and track up to 3 moving targets at the same time.
It works:
In complete darkness.
In fog.
It can even see through many materials.
Cardboard,
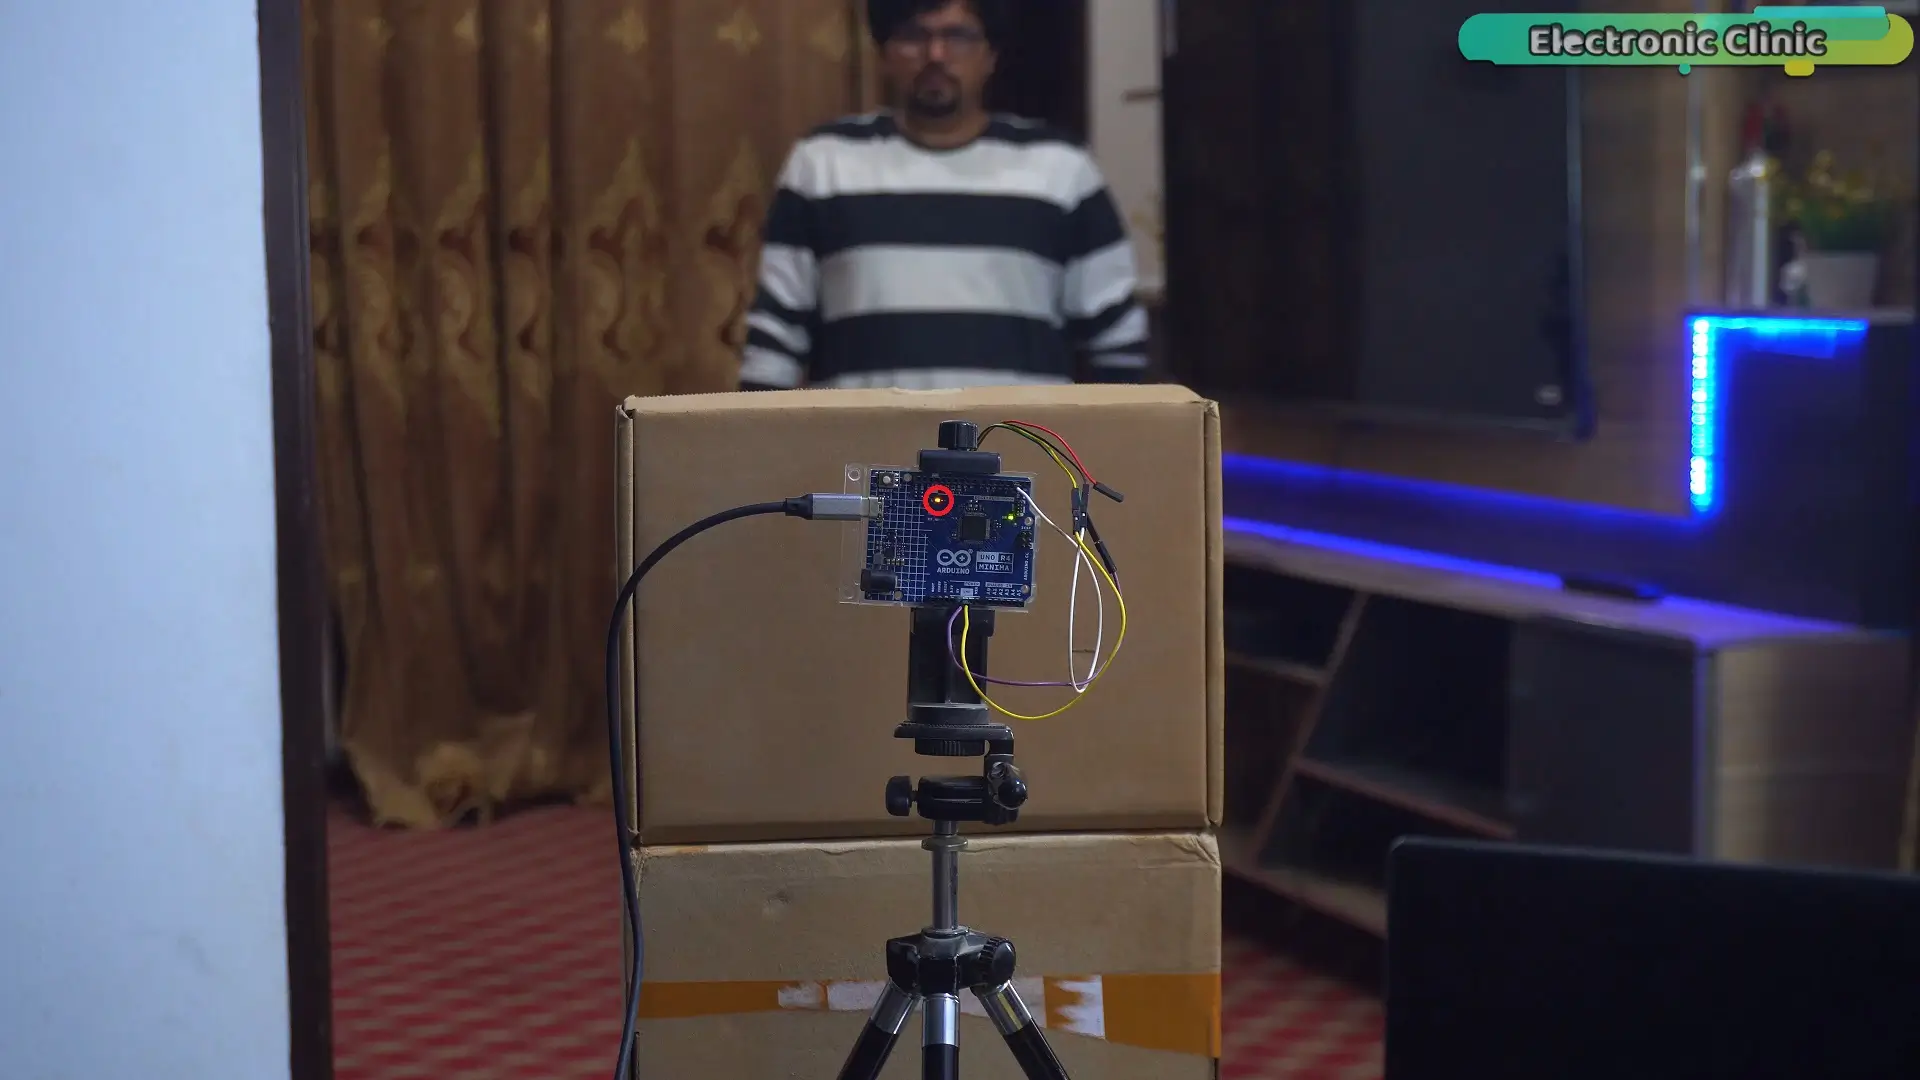
Hardboard,
Plastic,
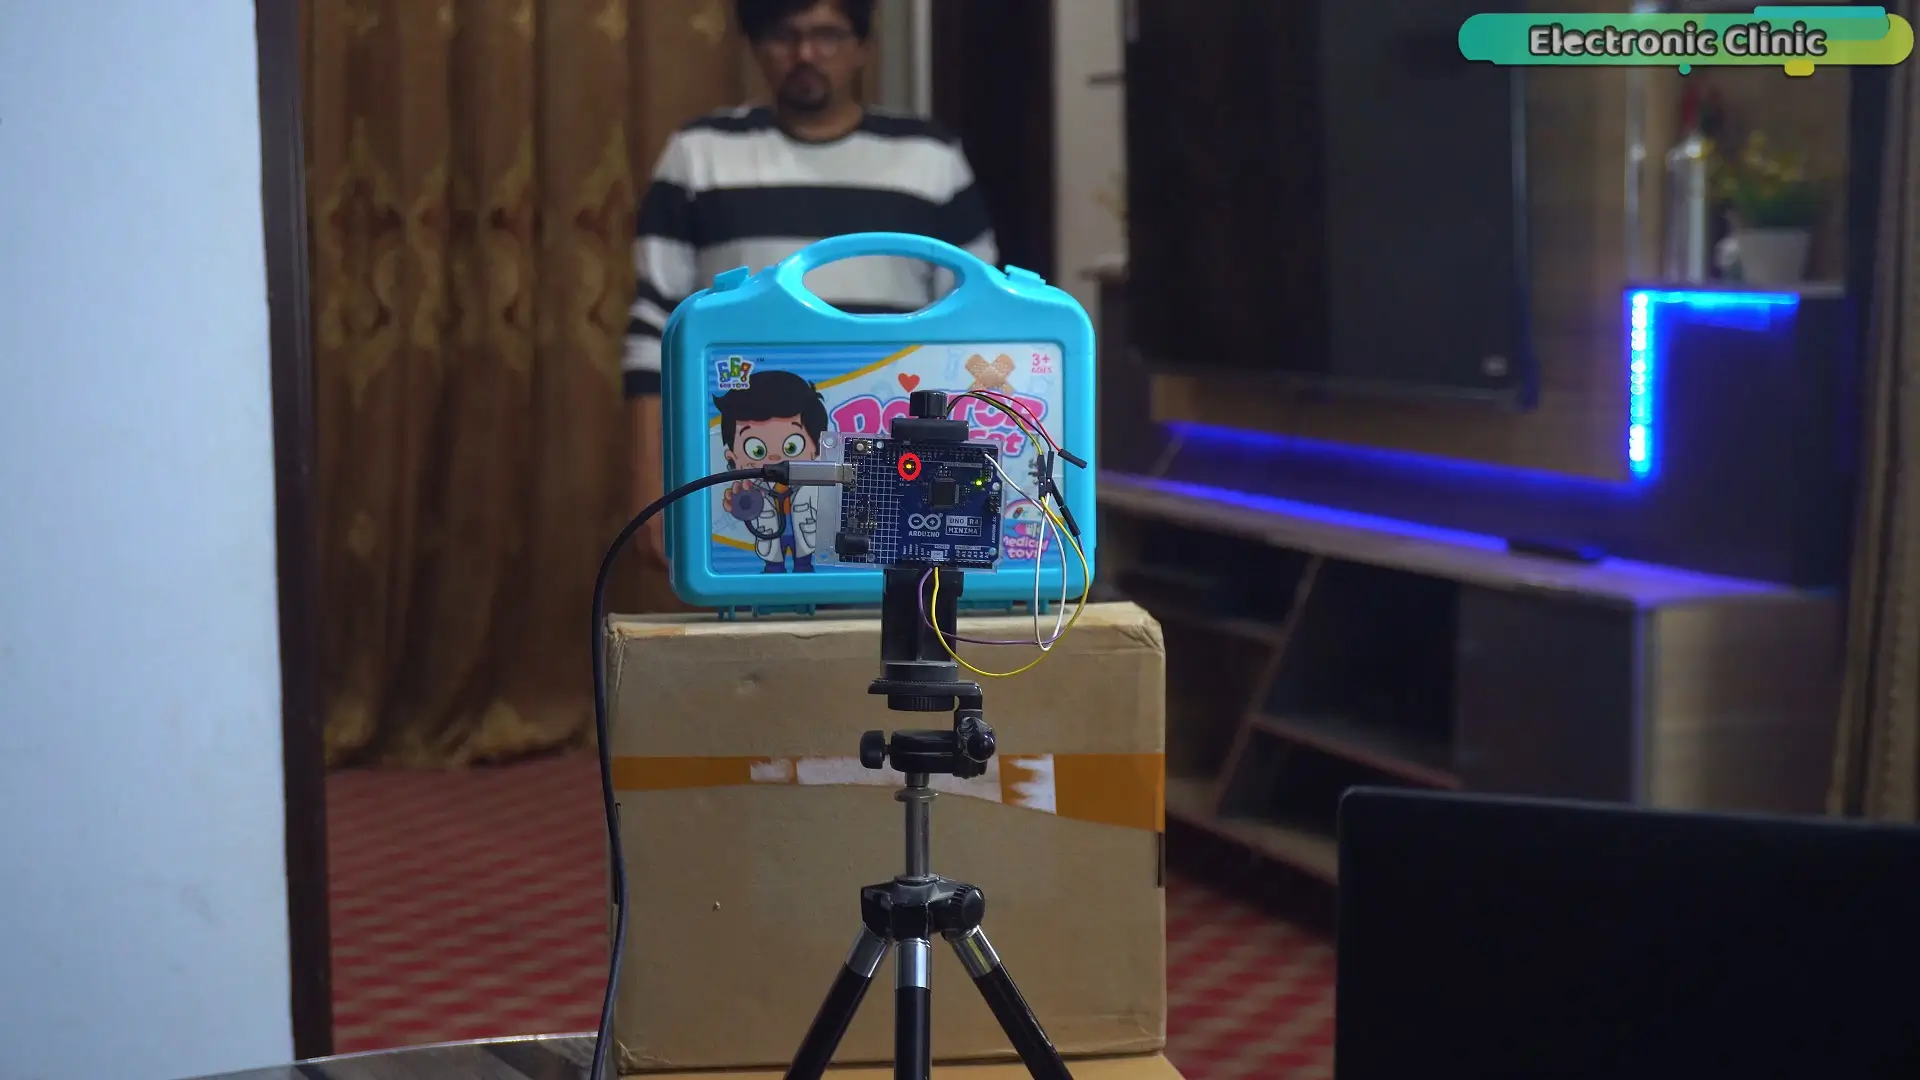
Glass,,
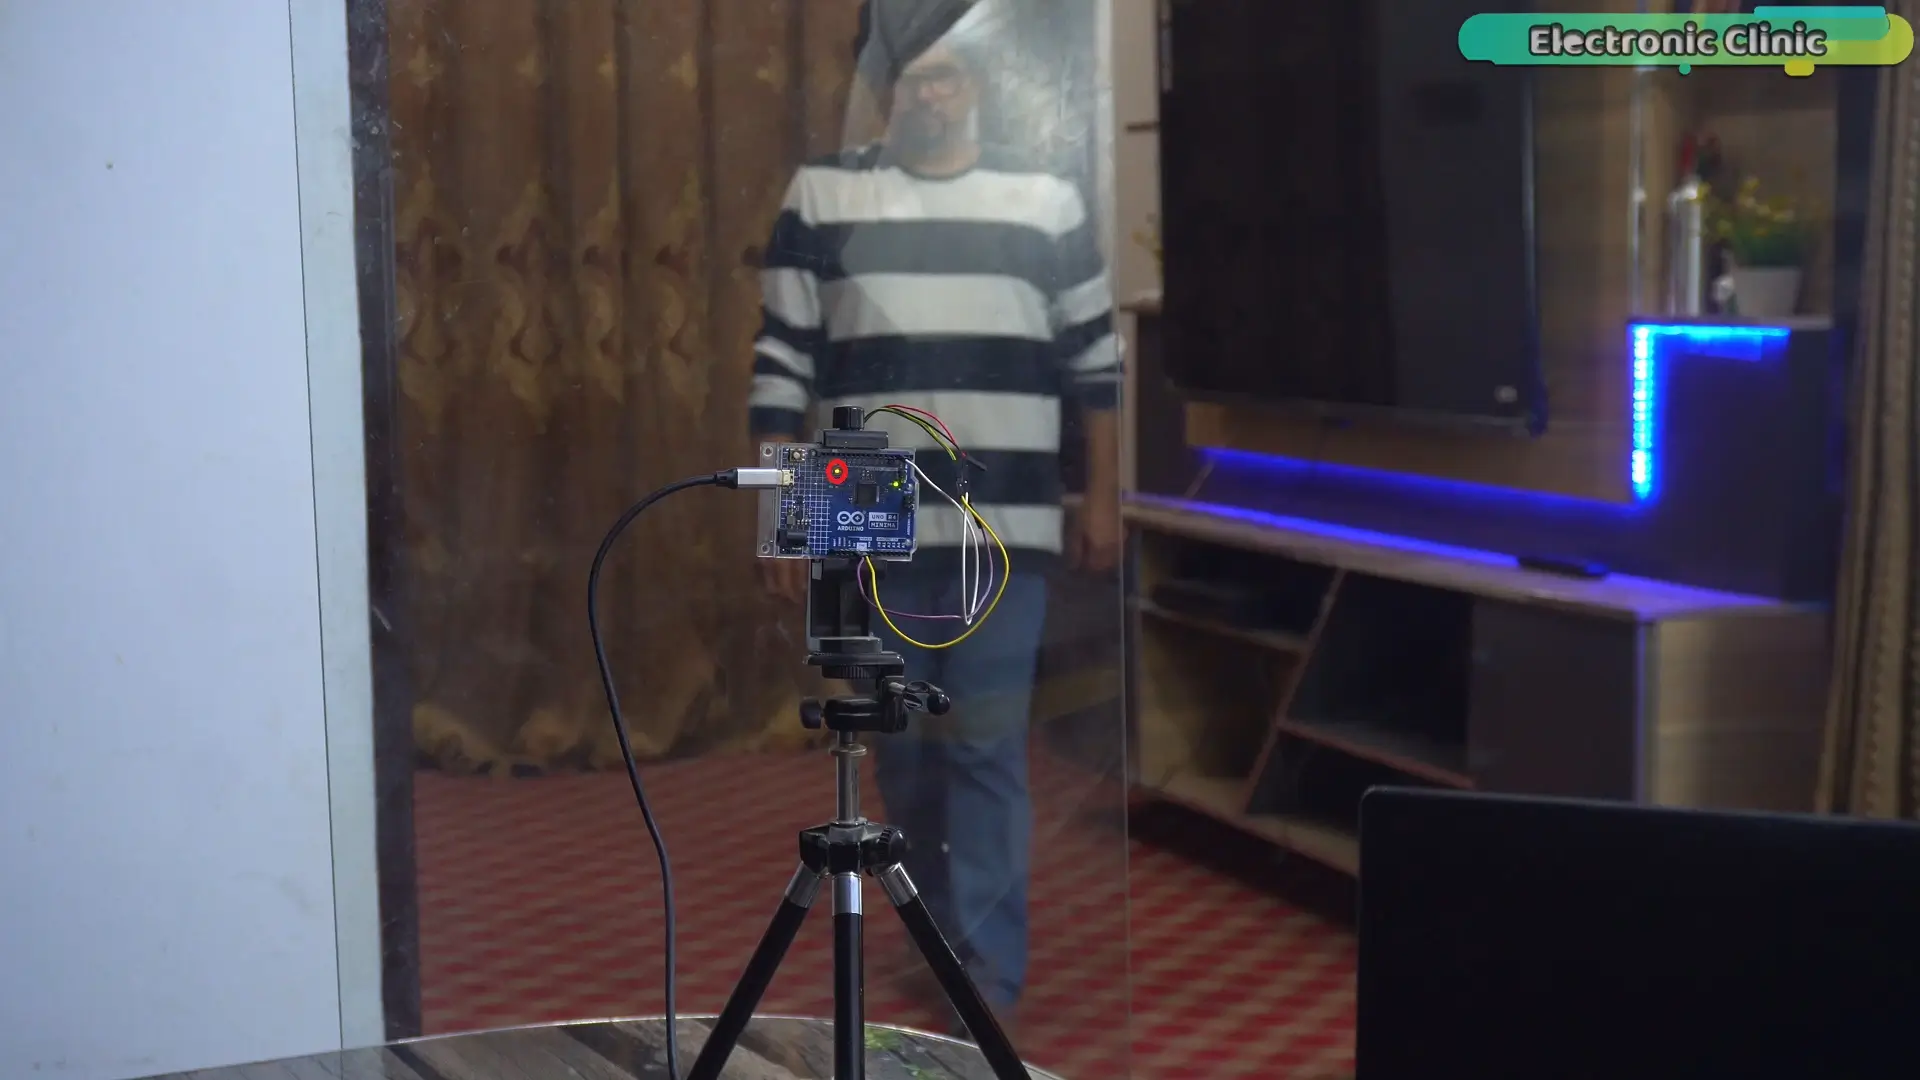
Curtains,
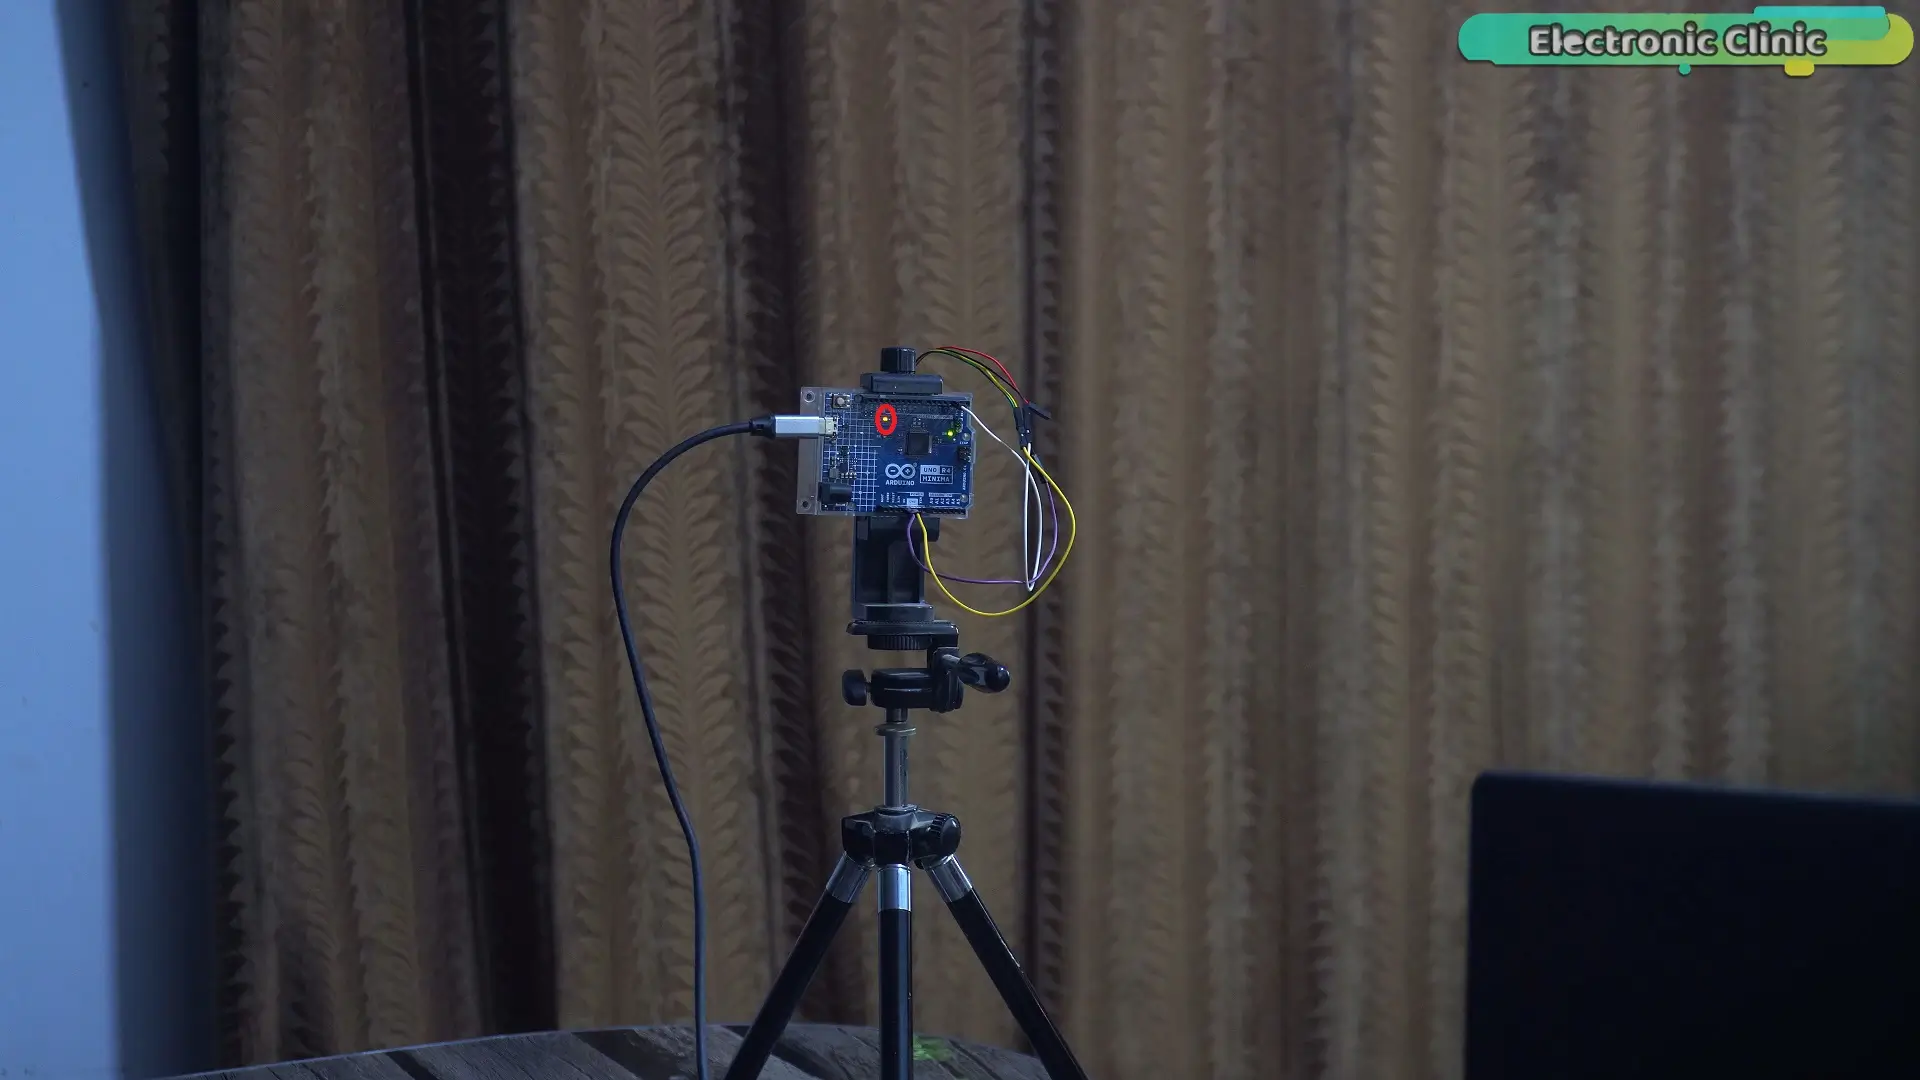
even wood,
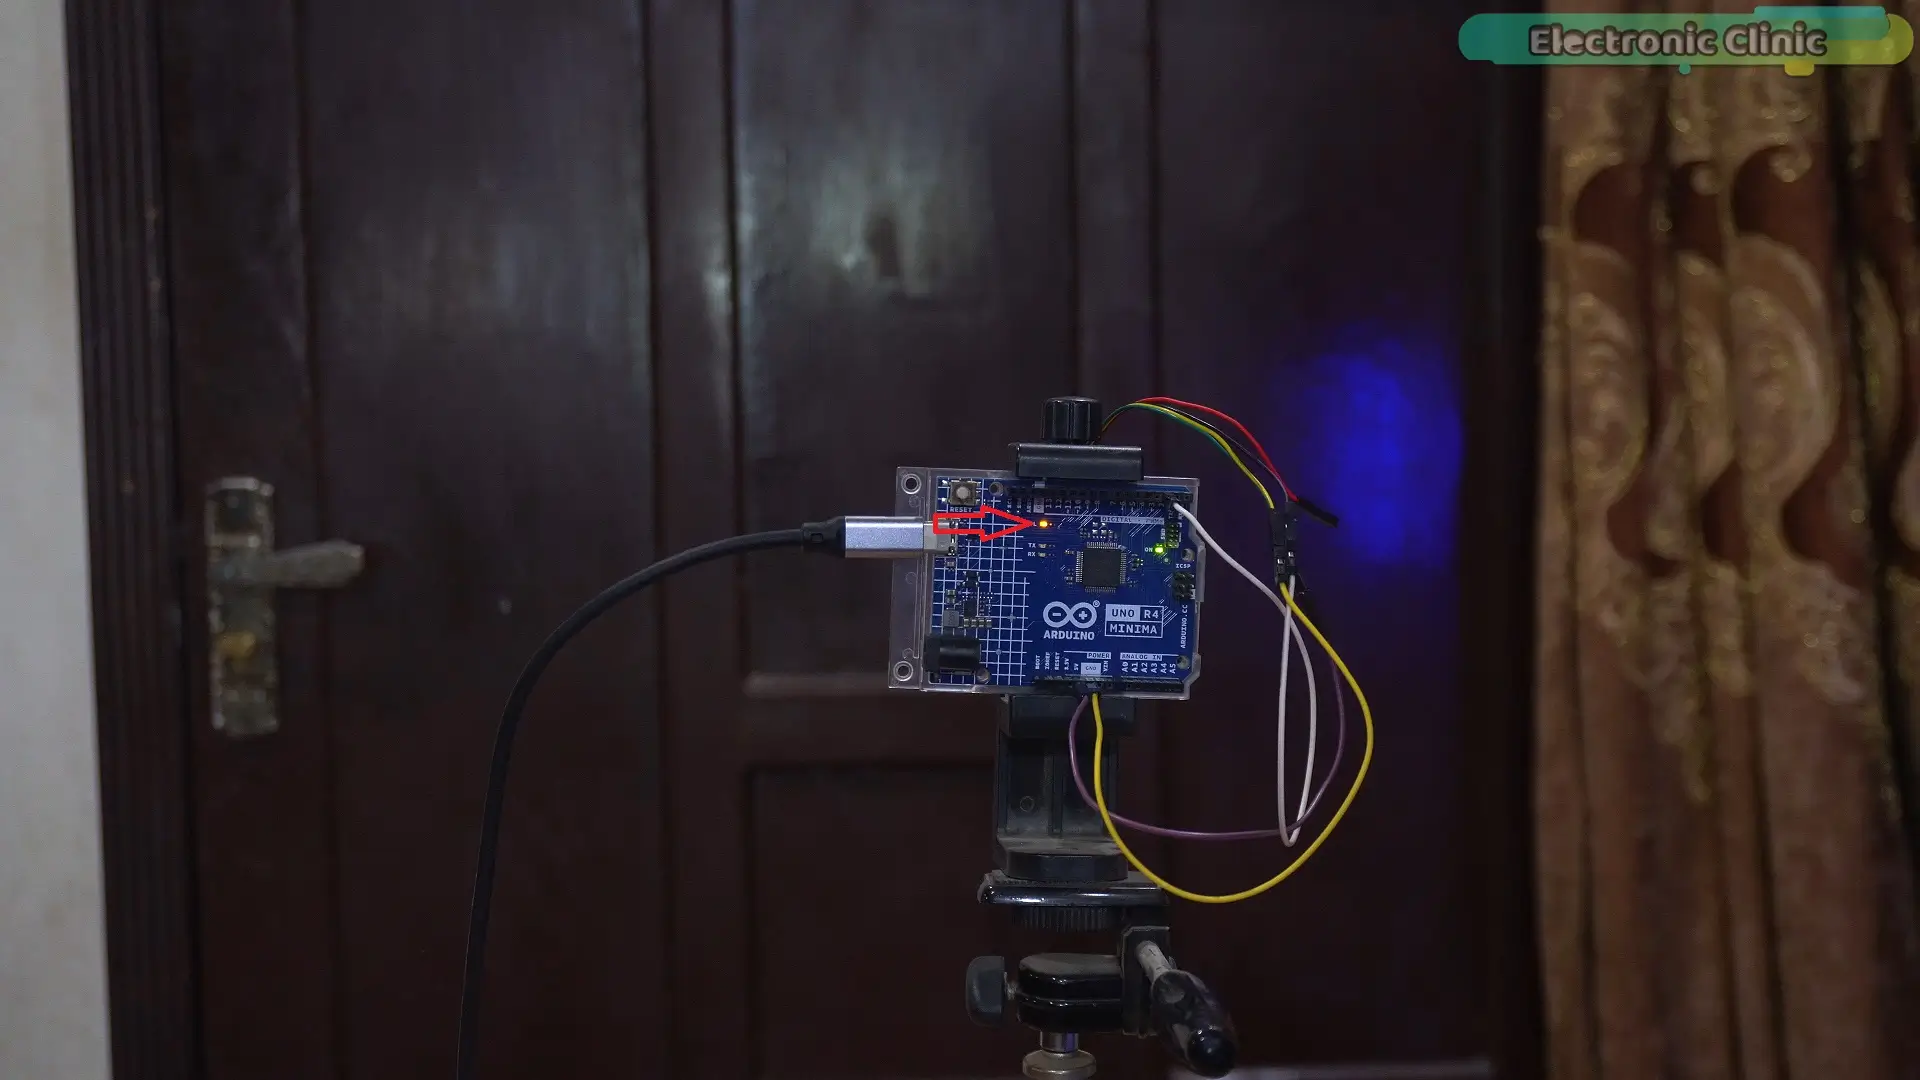
and many more.
And it can detect even the smallest movements.
It’s a true human presence sensor.
Standing still,
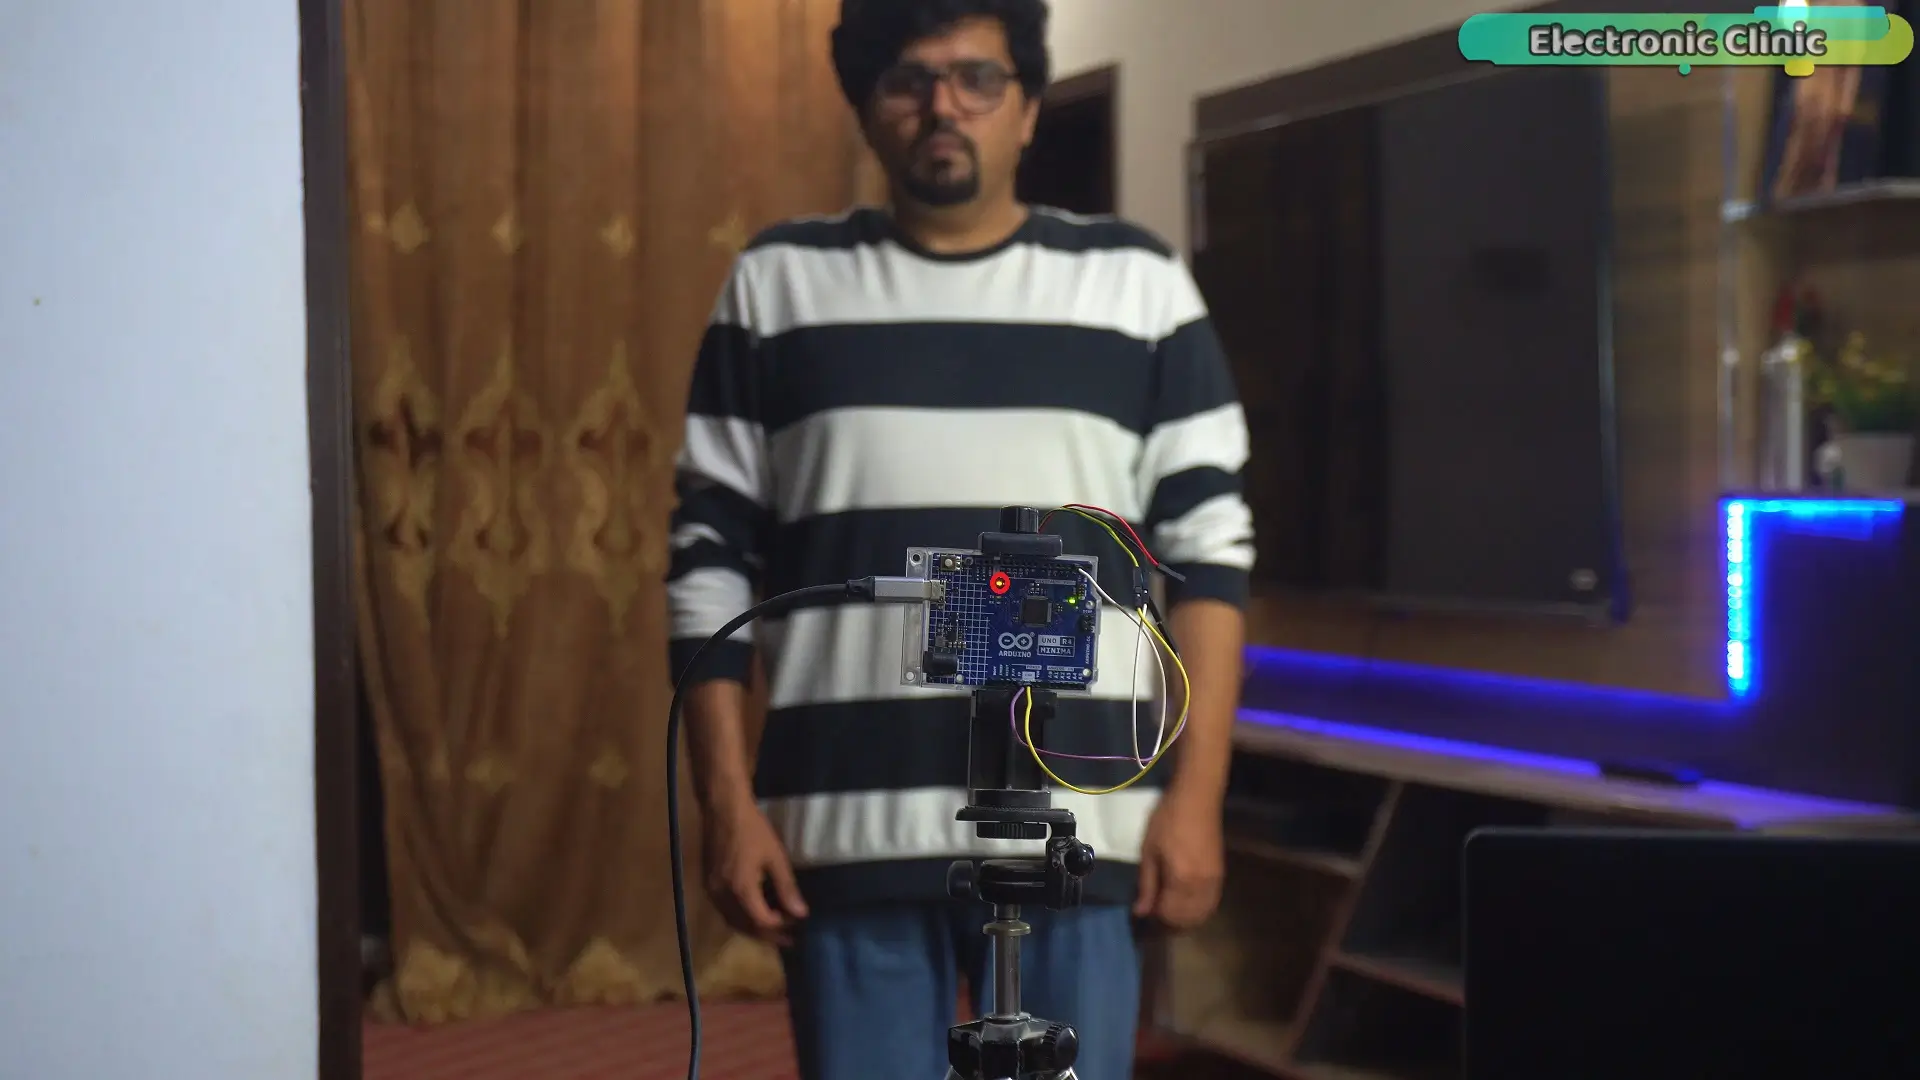
Sitting,
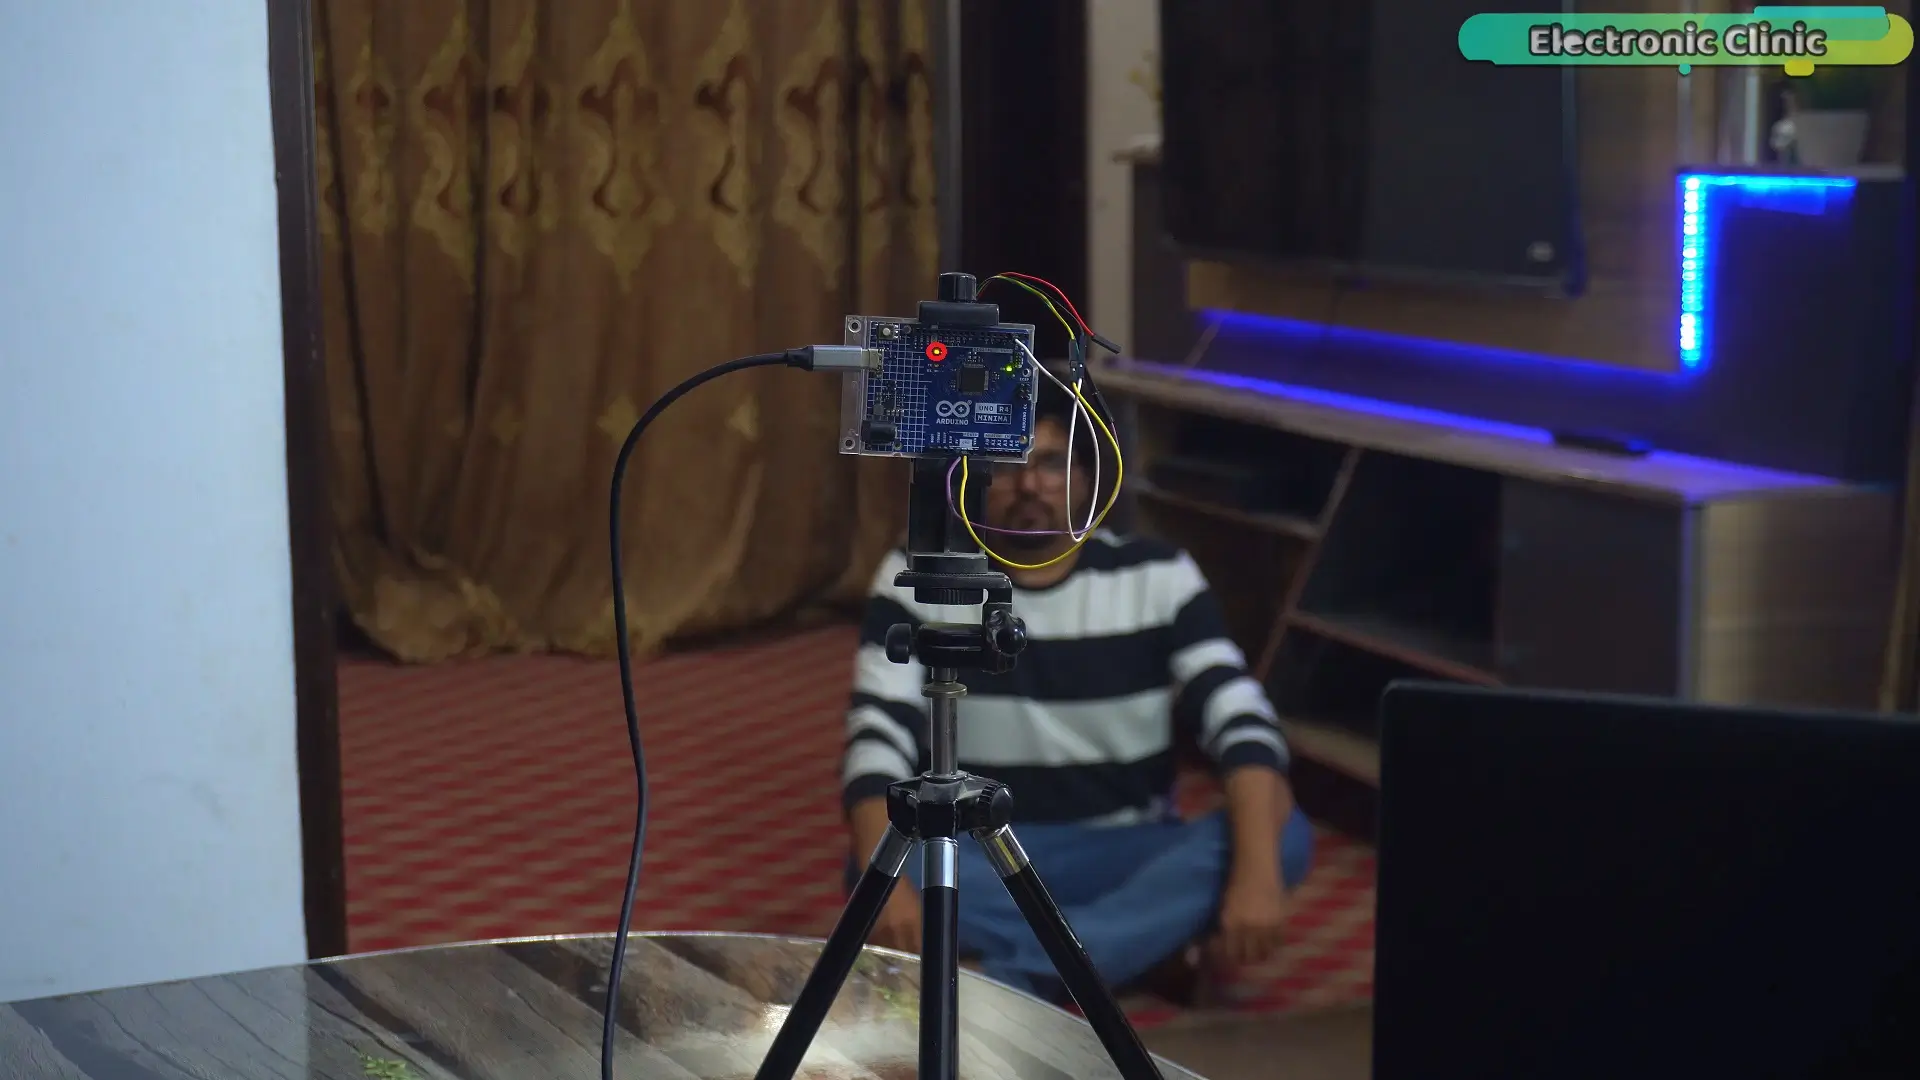
or even crawling,
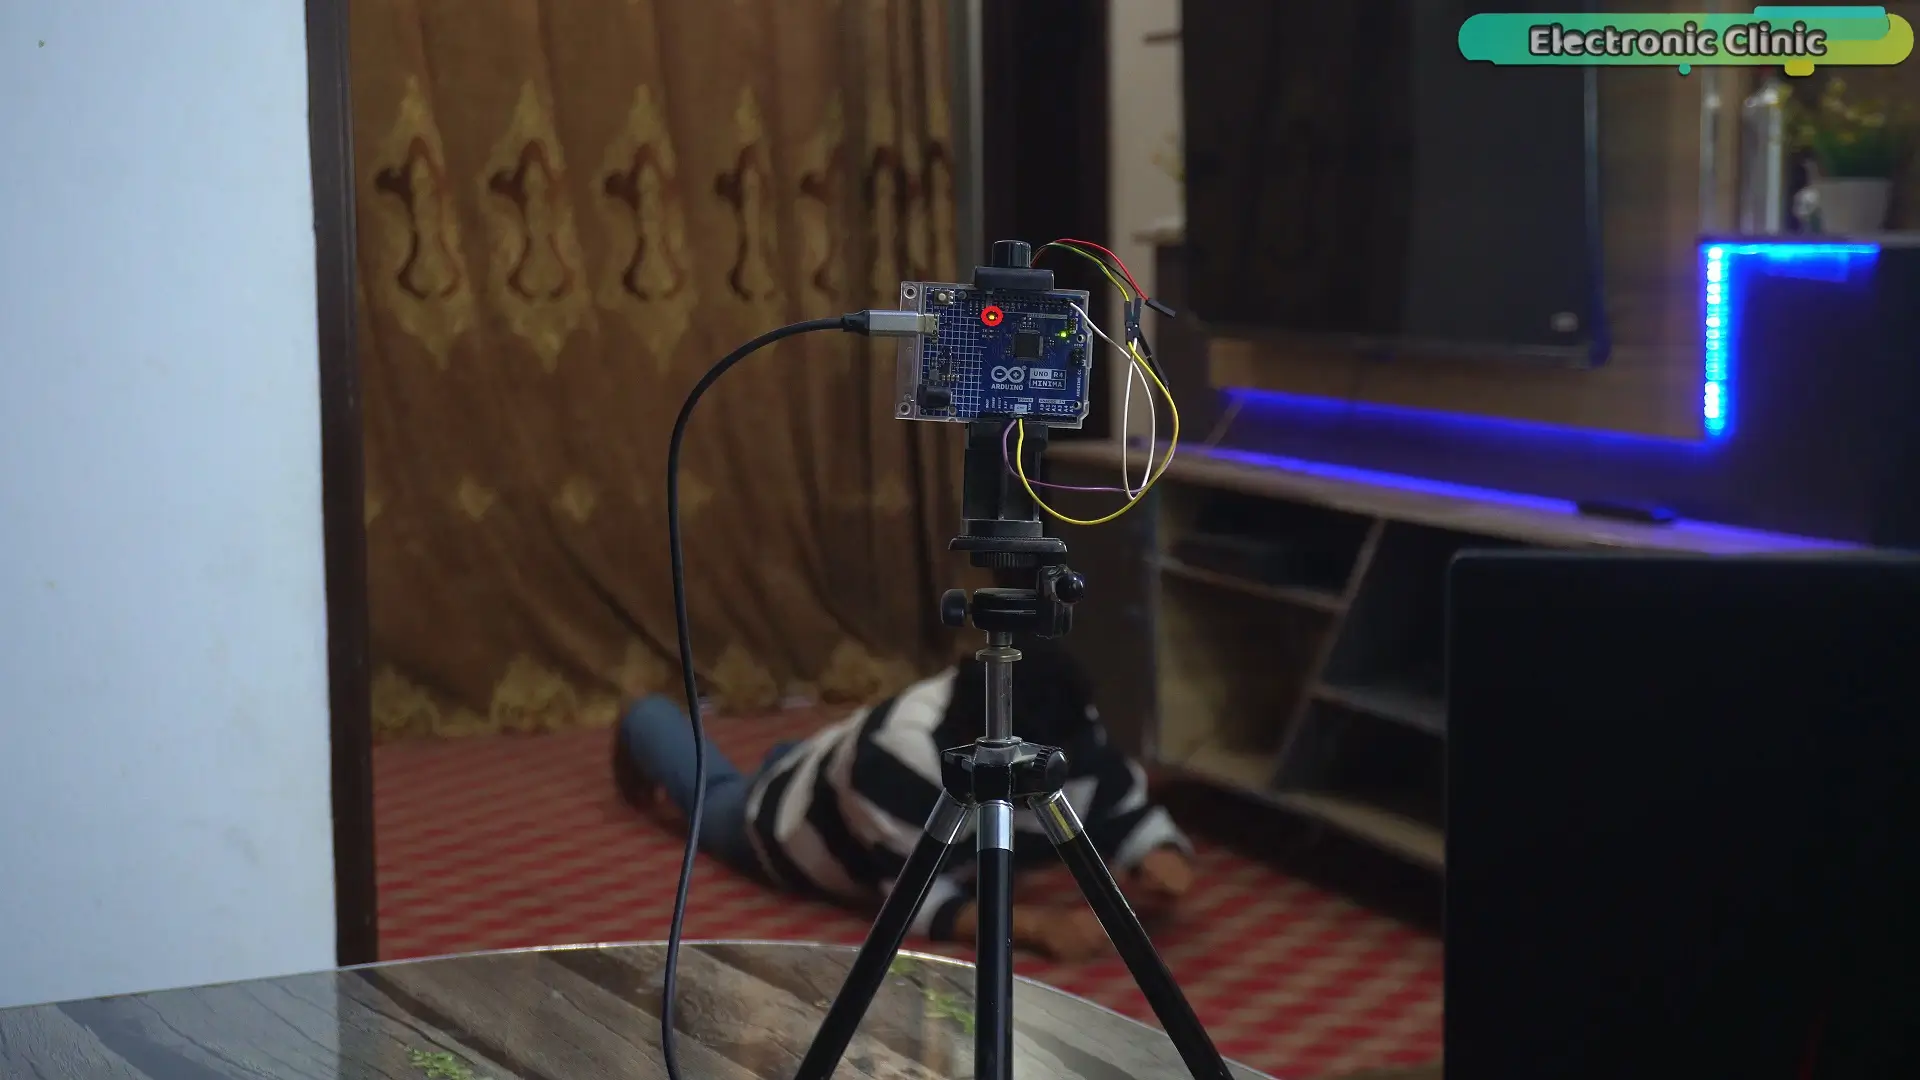
you can’t hide from it.
Now combine both technologies,
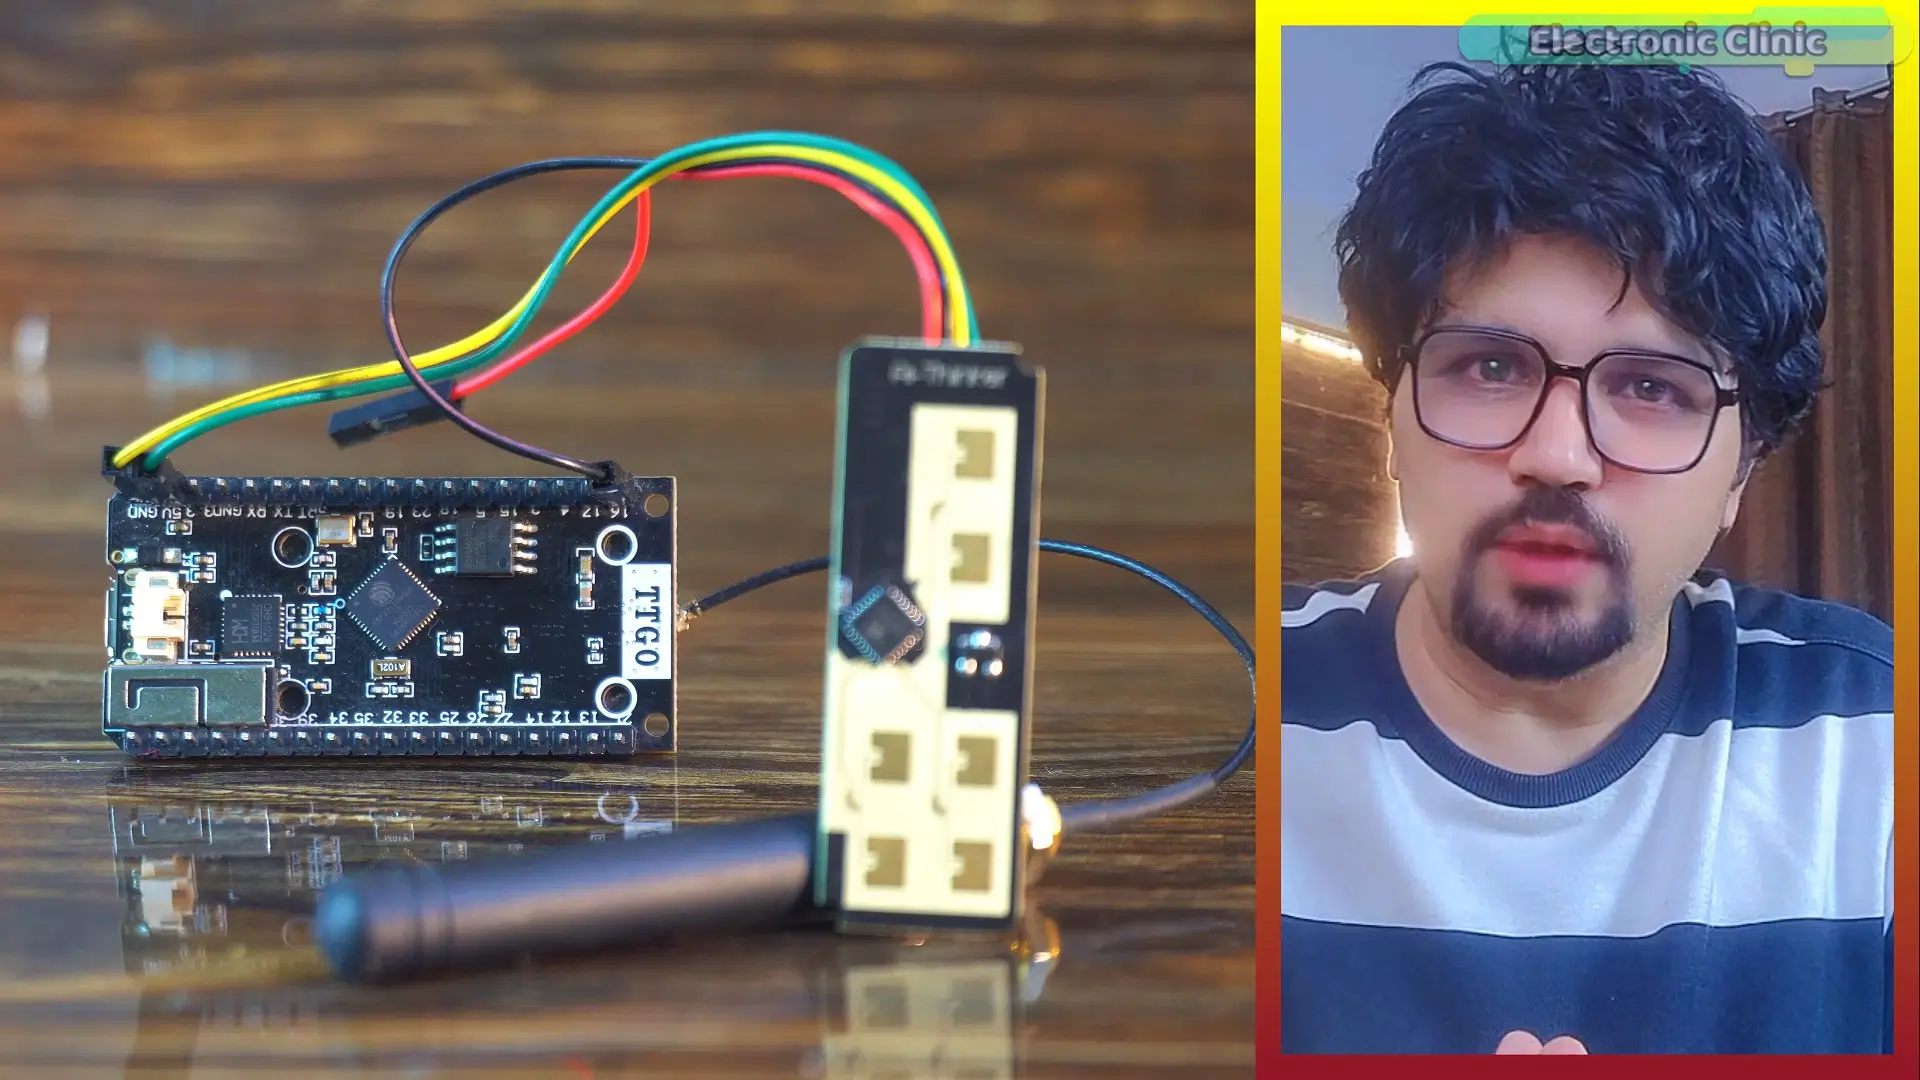
And you get something incredibly powerful.
A system that can:
Detect movement in real time,
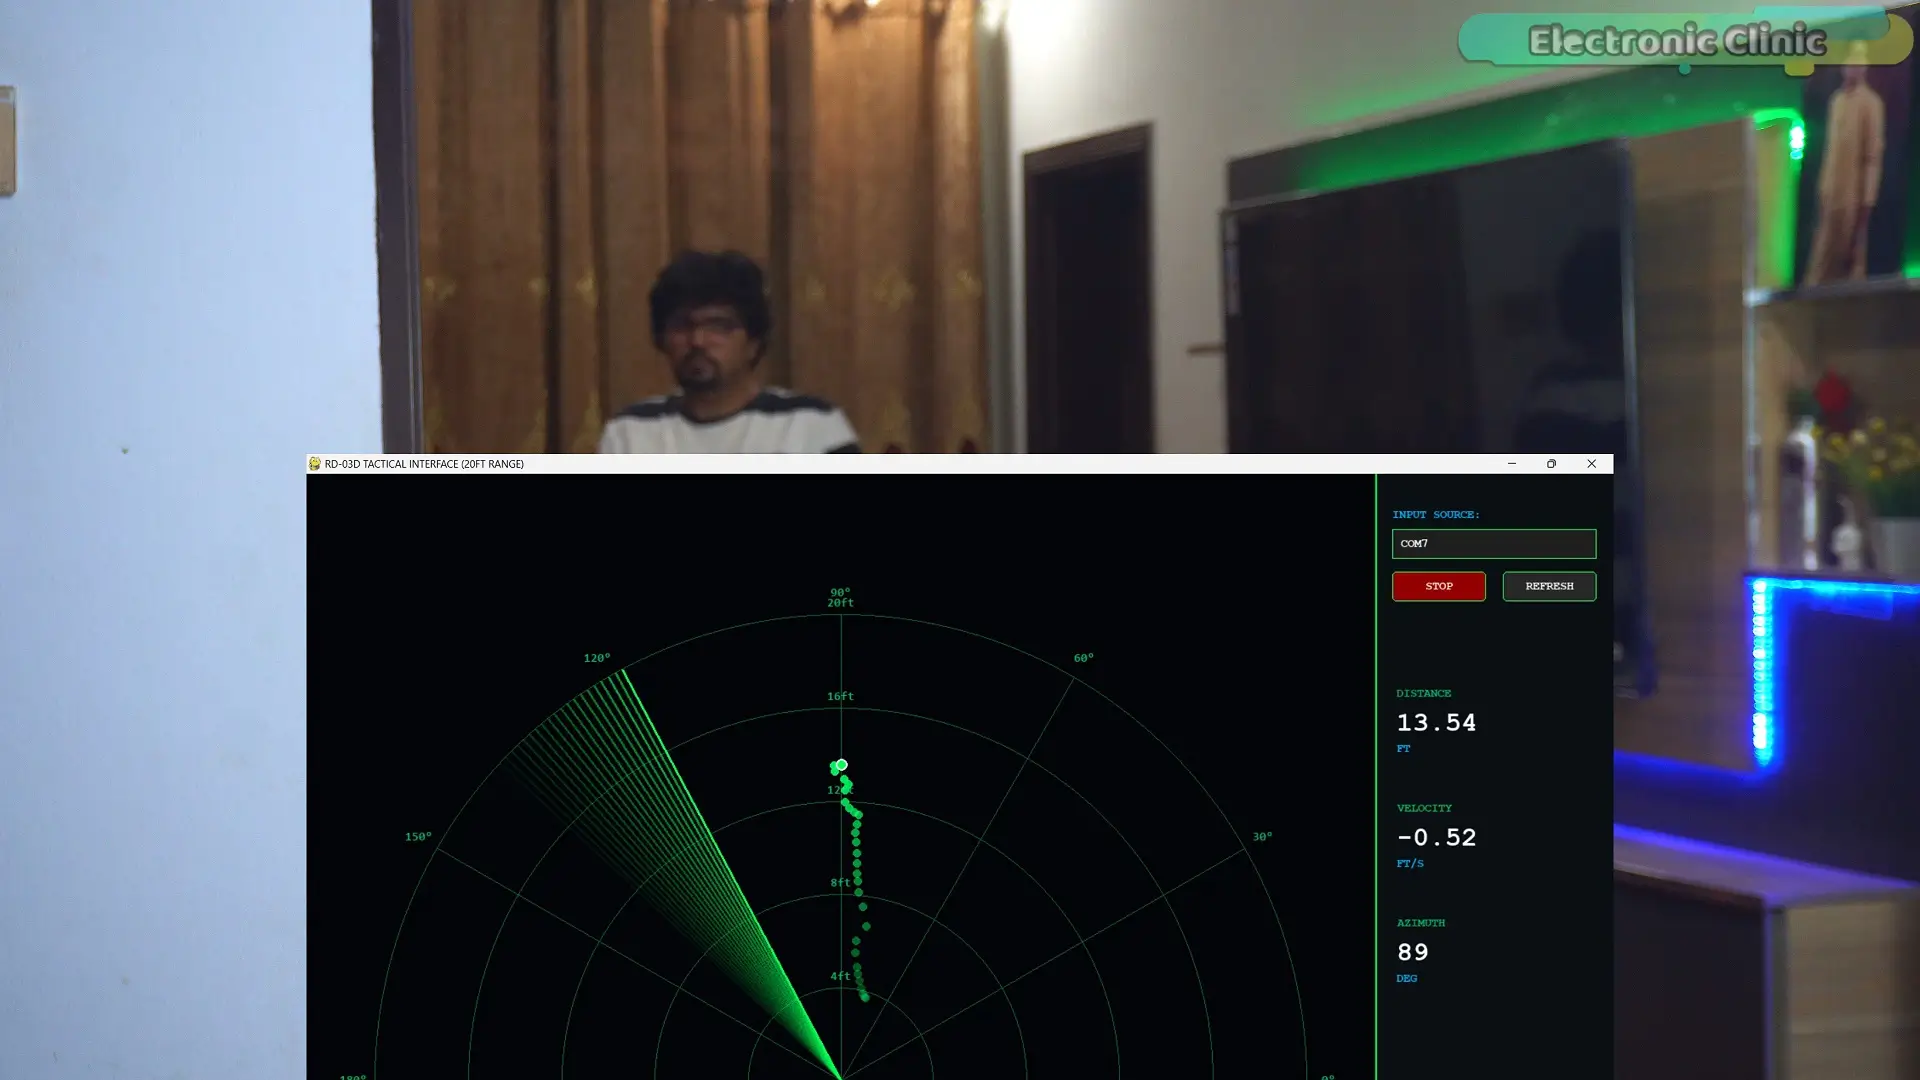
Track presence accurately,
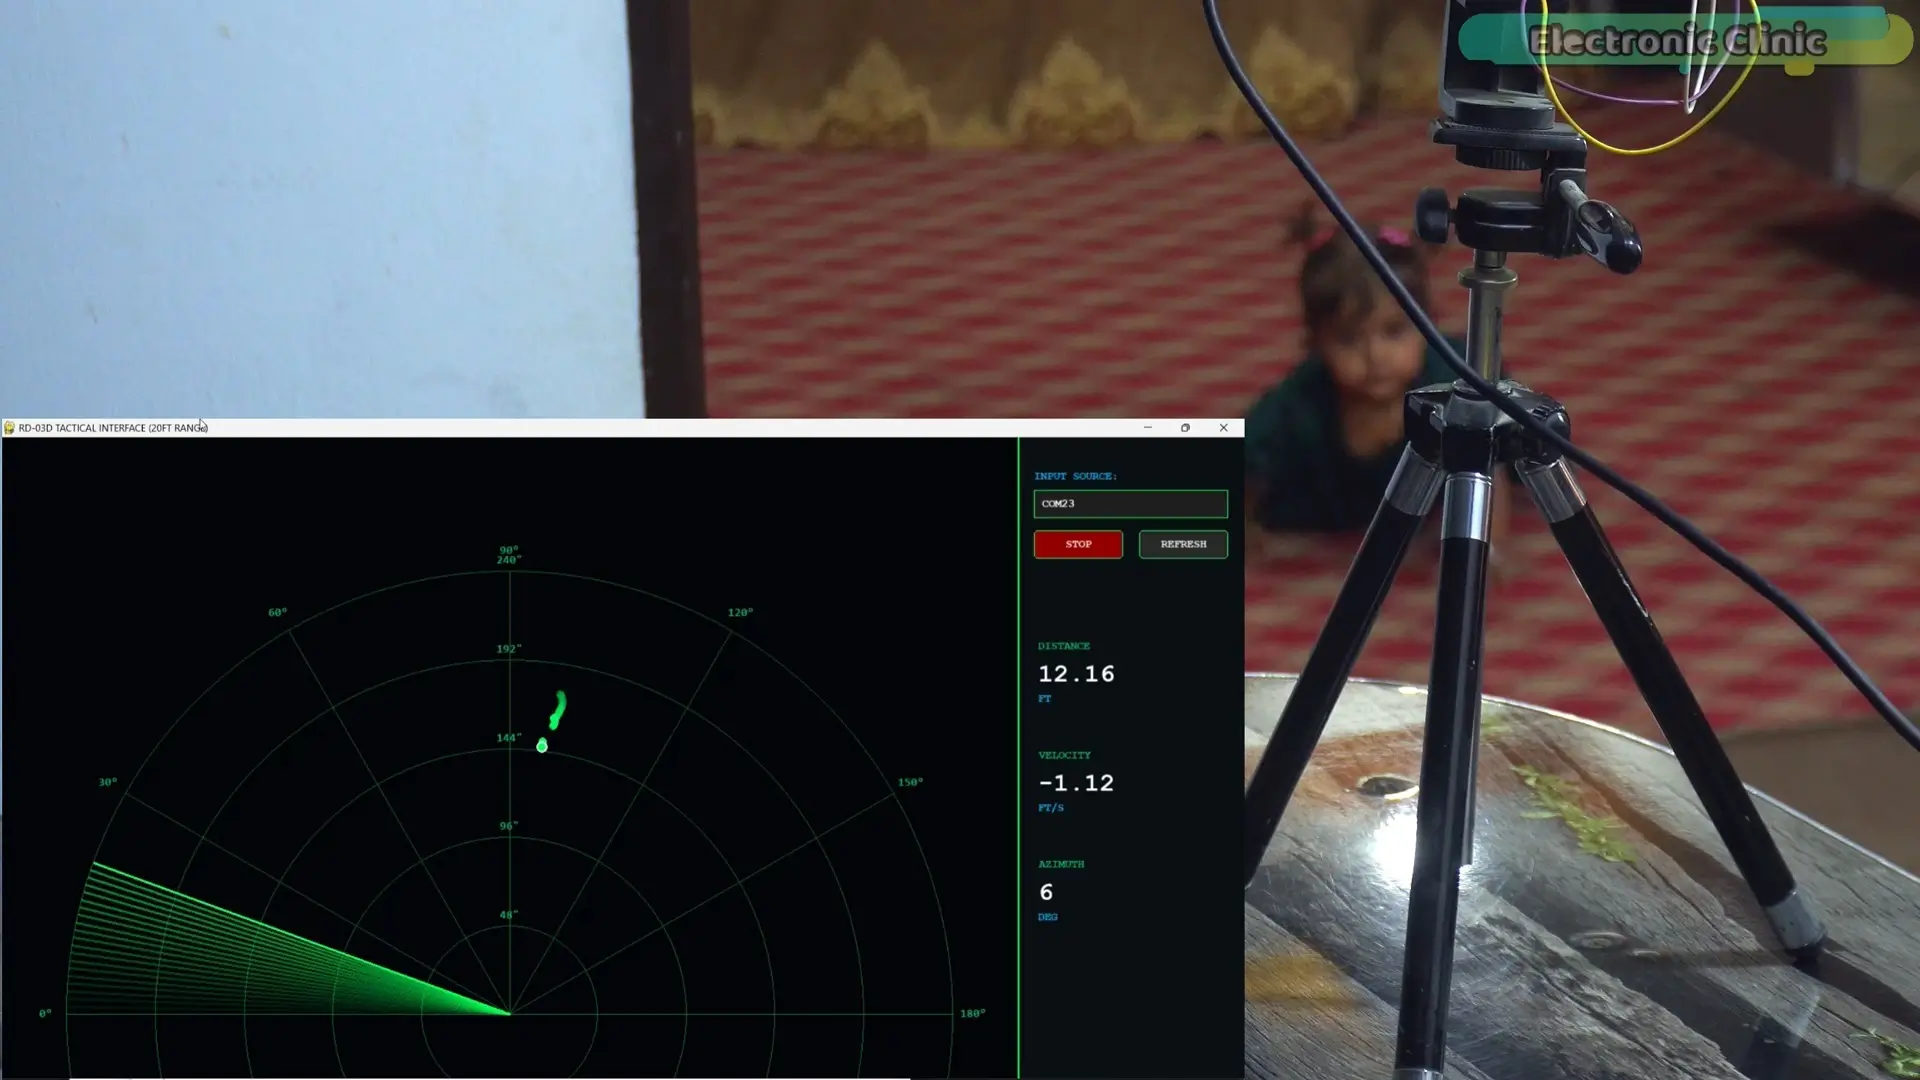
Send data over kilometers,
And work without any internet.
So why not use Bluetooth?
Because Bluetooth is short range.
It usually works within a few meters only.
So it’s not useful for remote monitoring.
And what about WiFi?
WiFi needs routers and internet access.
It also consumes more power
and has limited range.
So again… not ideal for remote locations.
But with LoRa…
You don’t need internet.
You don’t need routers.
Just two LoRa devices, and you can communicate over long distances.
Today, I am using a powerful mmWave radar sensor…
combined with LoRa communication…
to build a system that can detect motion
and send alerts over very long distances.
Even in places where nothing else works.
On the receiver side, we will monitor important data like
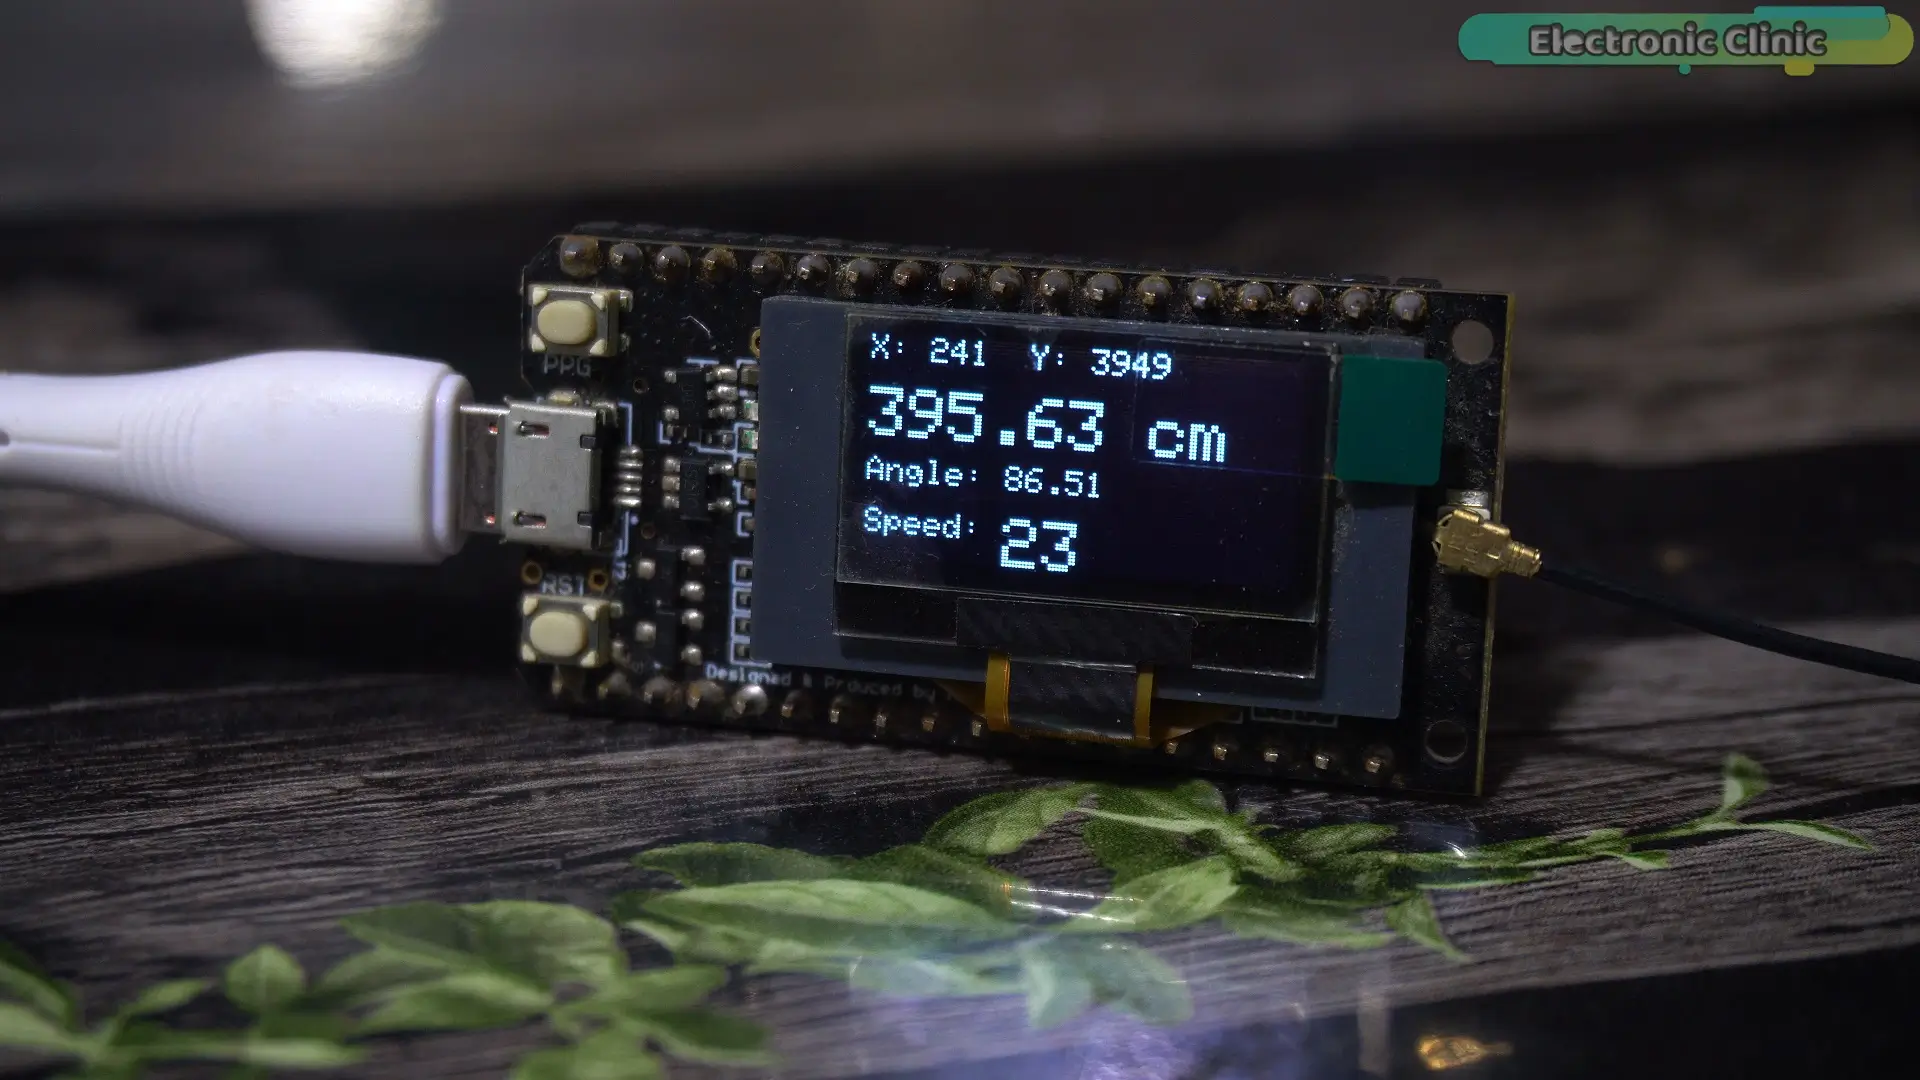
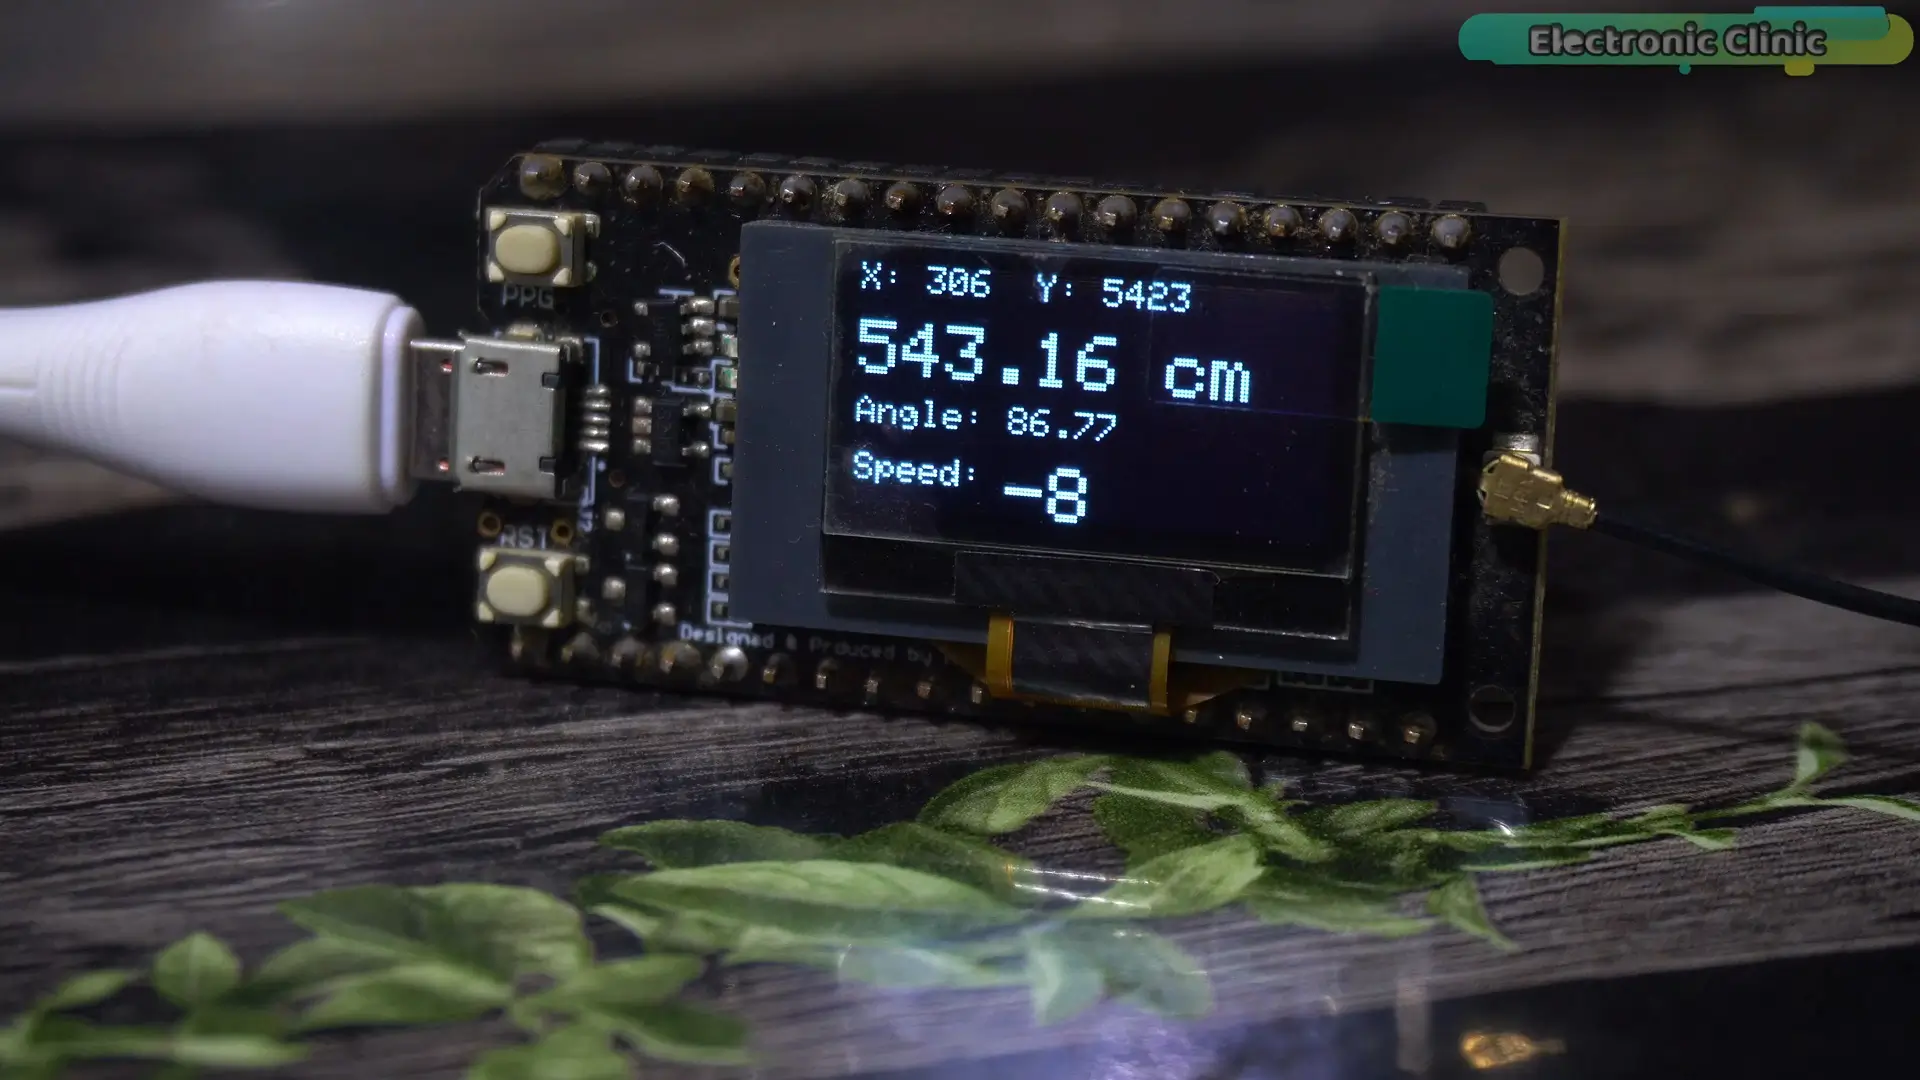
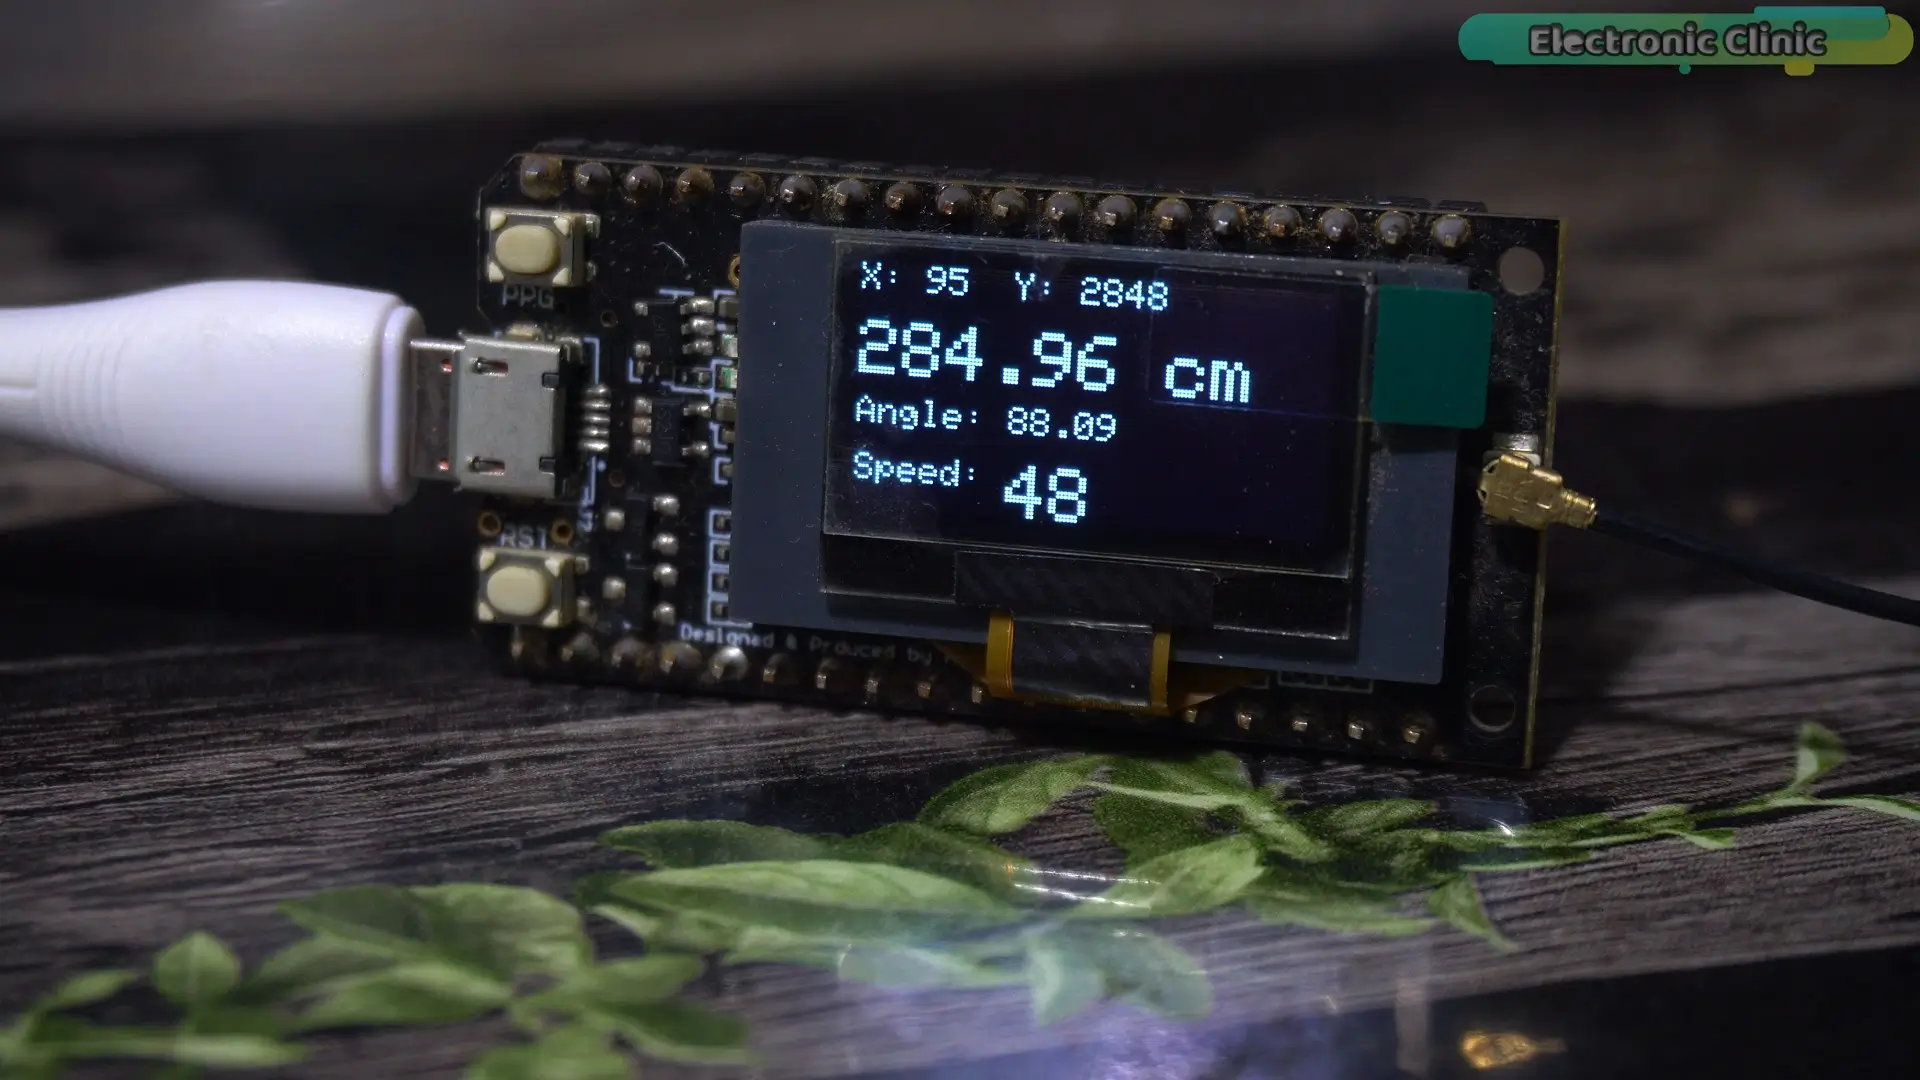
X, Y position, distance, angle, and speed,on an OLED display.
But that’s not all,
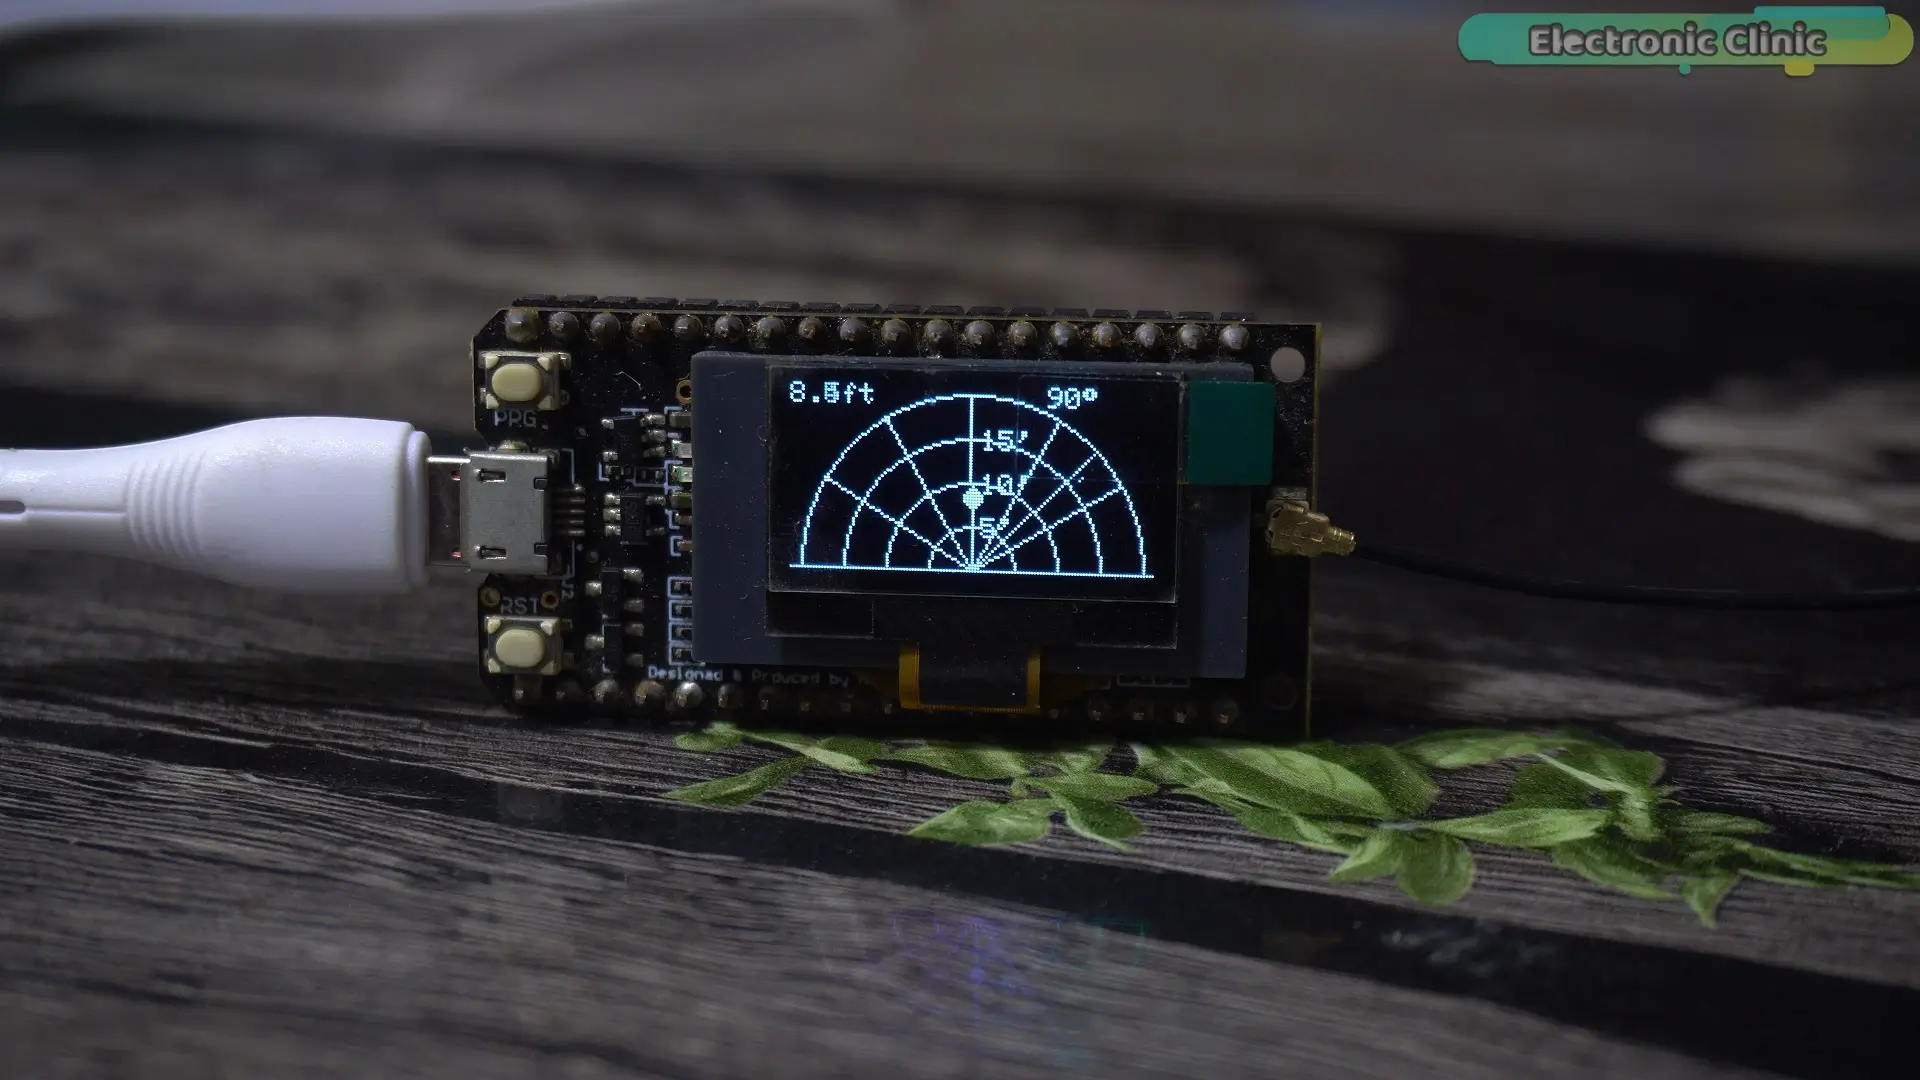
I have also created a real radar-style interface,
where you can visually see the exact position
of the detected person.
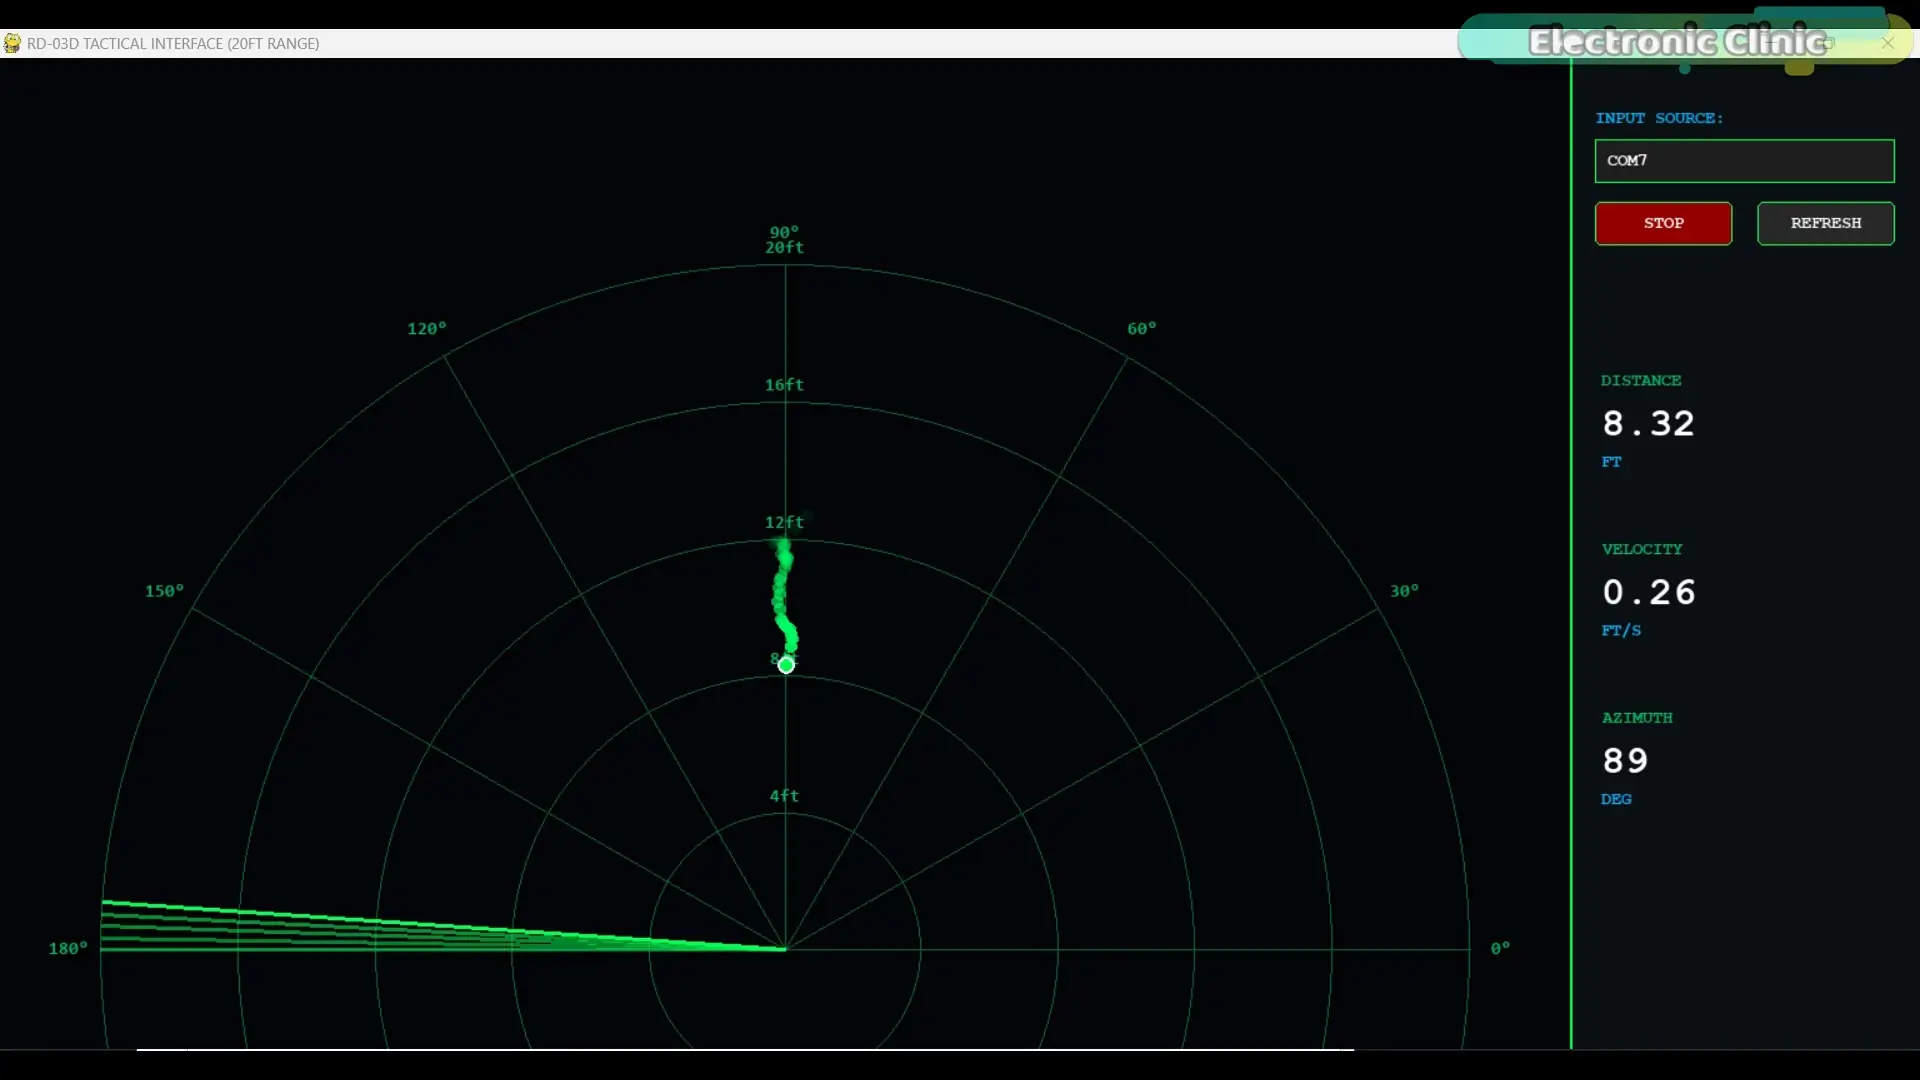
For those who don’t want to use a computer,
I have implemented the same radar interface
directly on the OLED display as well.
In this article, I will show you step by step:
- How to connect the mmWave sensor with the TTGO LoRa32.
- How to transmit data using LoRa.
- How to receive it on another device.
- How to send the received data to the computer software designed in python.
- How to make a radar like interface on the Oled display.
And how to test it in real-world conditions.
Amazon Links:
Other Tools and Components:
ESP32 WiFi + Bluetooth Module (Recommended)
Arduino Nano USB C type (Recommended)
*Please Note: These are affiliate links. I may make a commission if you buy the components through these links. I would appreciate your support in this way!
For this project, you will need:
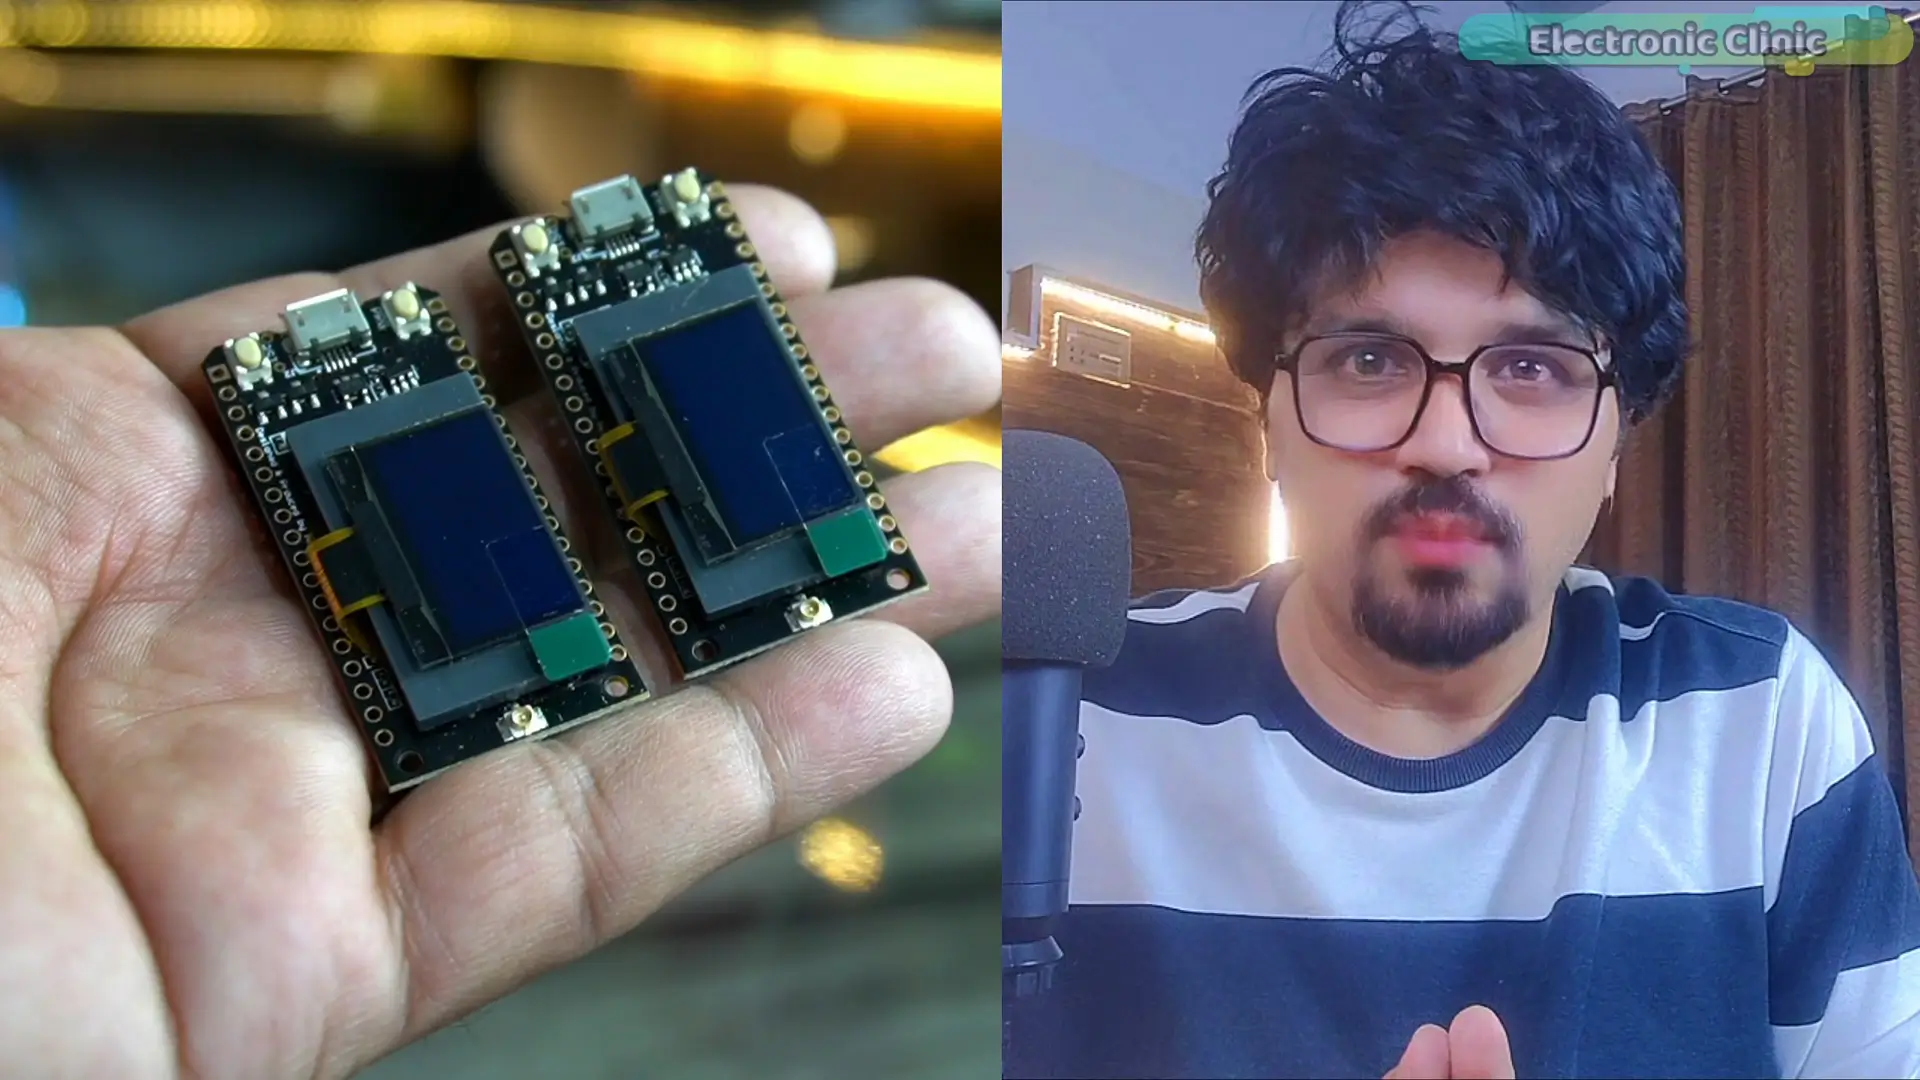
A pair of TTGO LoRa32 modules,
and an RD-03D mmWave radar sensor.
I recommend the TTGO LoRa32
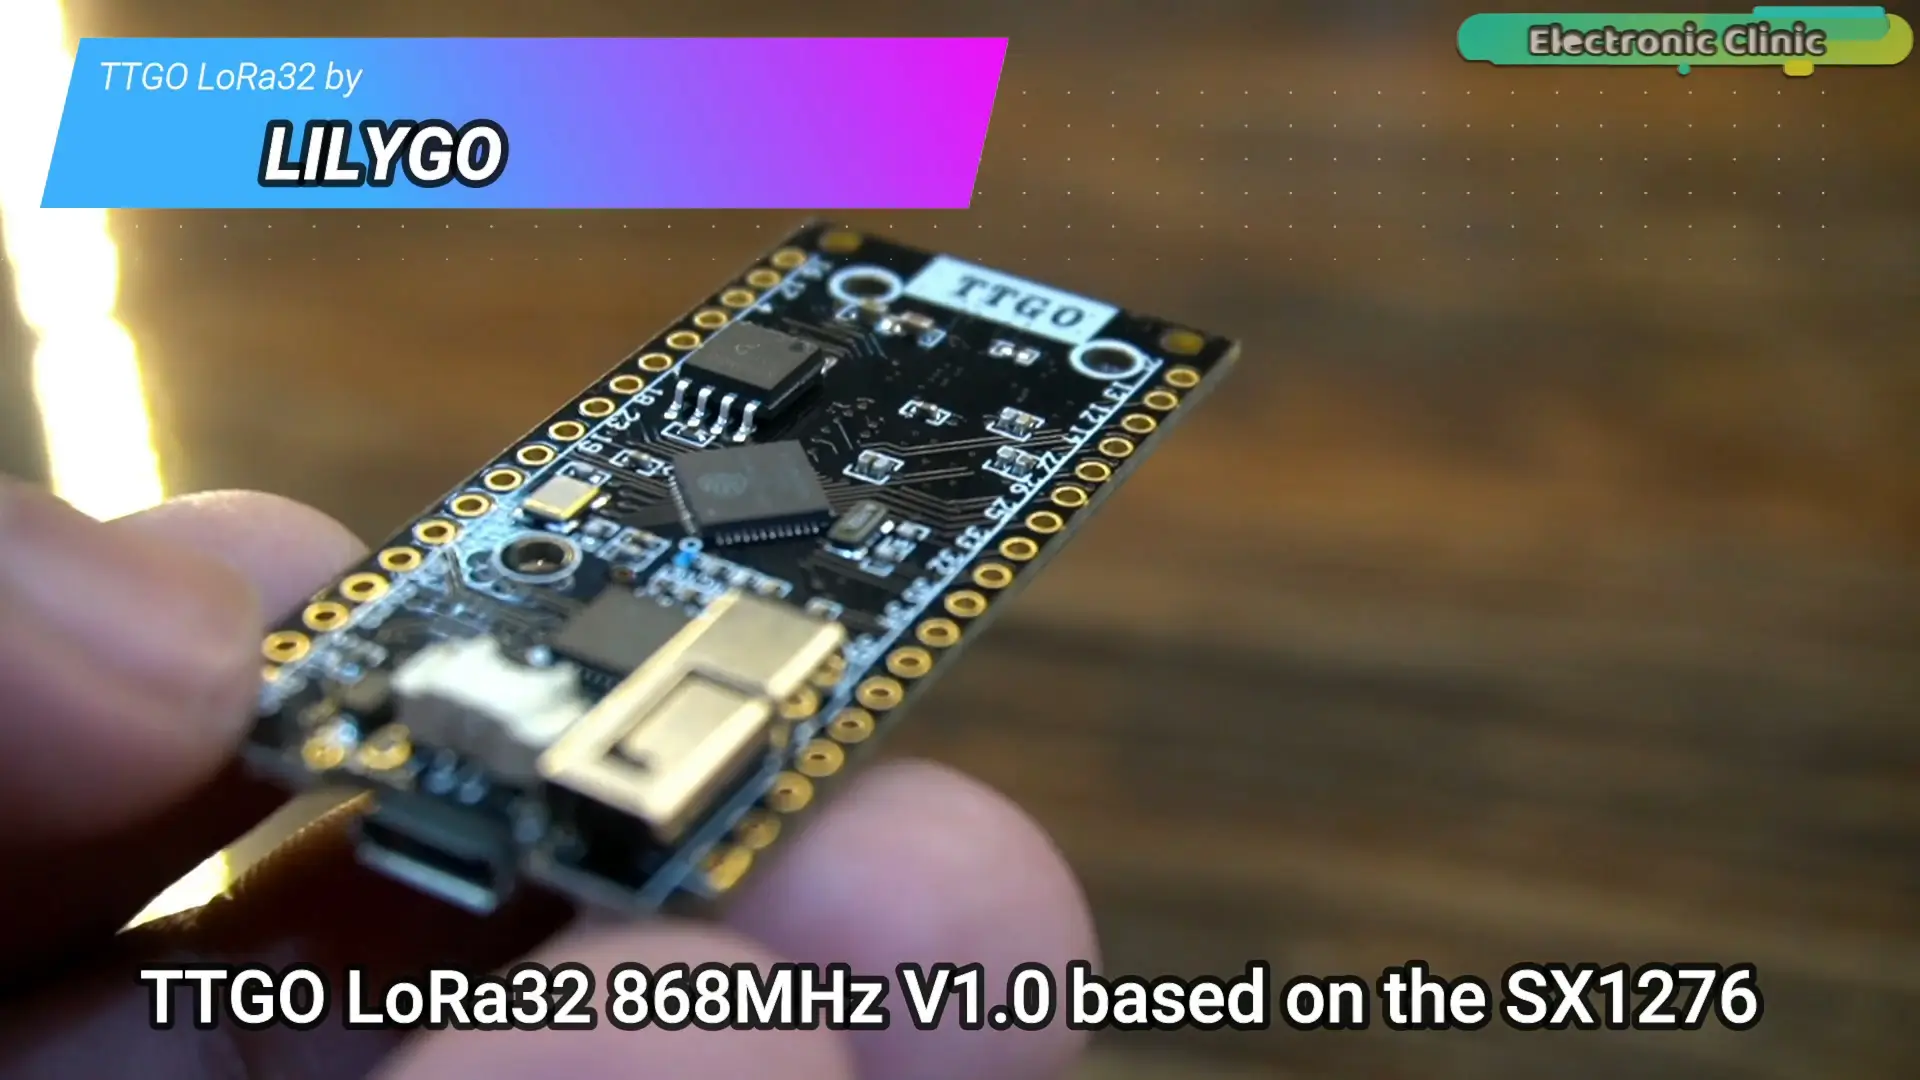
because it already comes with LoRa,
and a built-in OLED display.
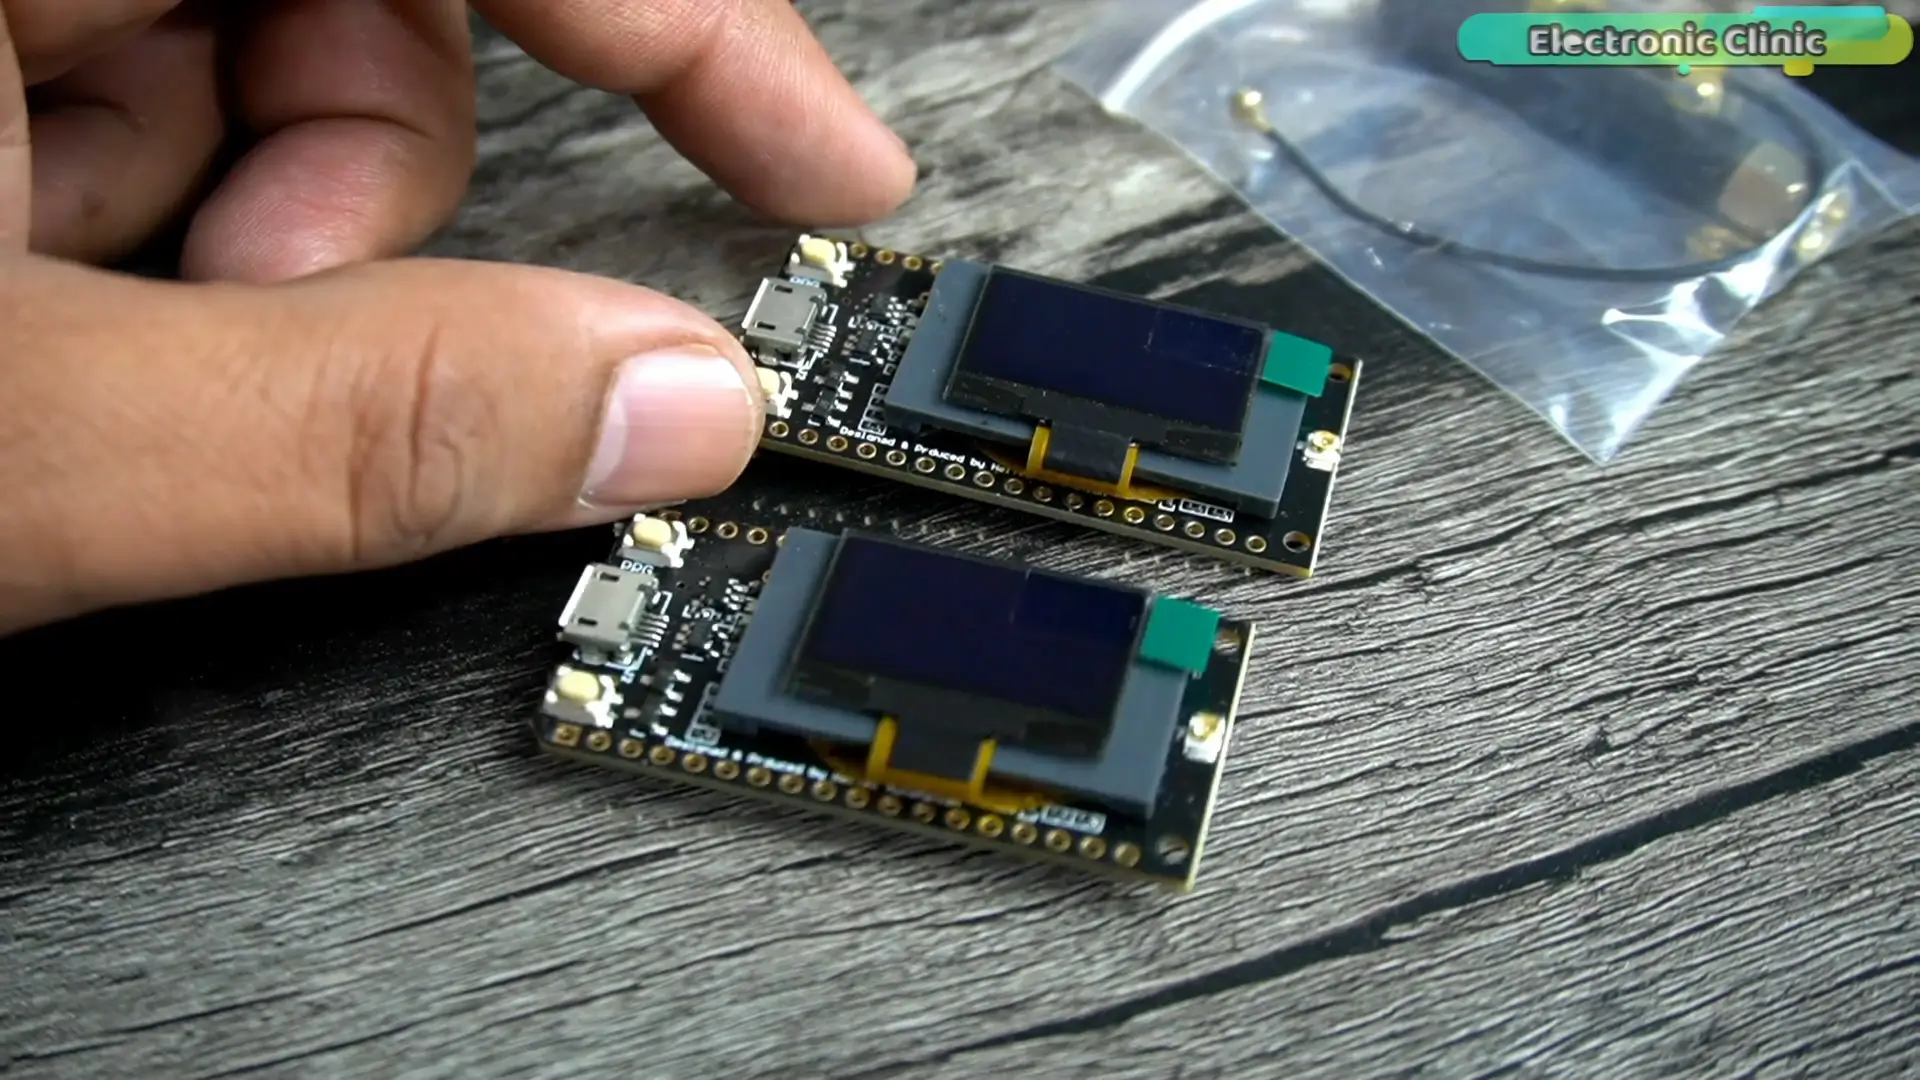
So you don’t need to connect any extra components.
And the RD-03D mmWave radar,
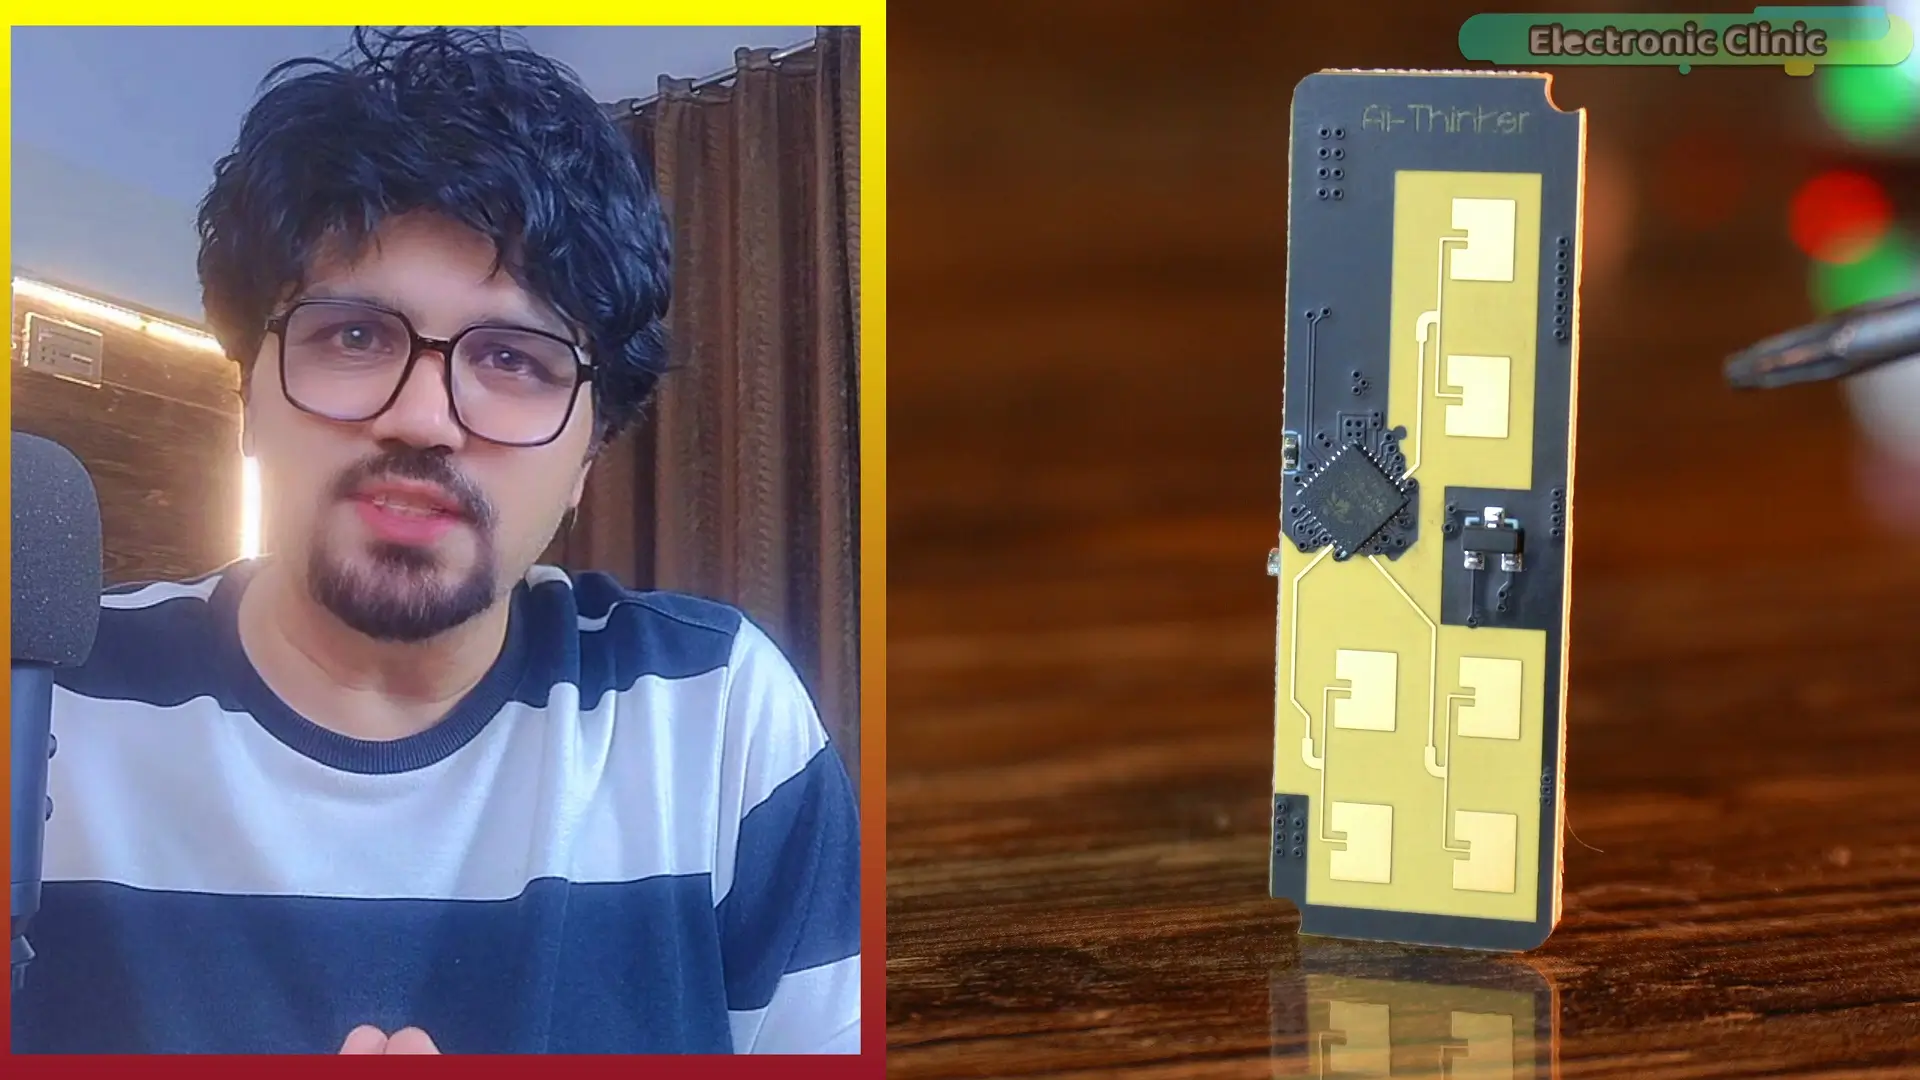
you already know how powerful this sensor is.
It can track up to 3 people in real time at the same time.
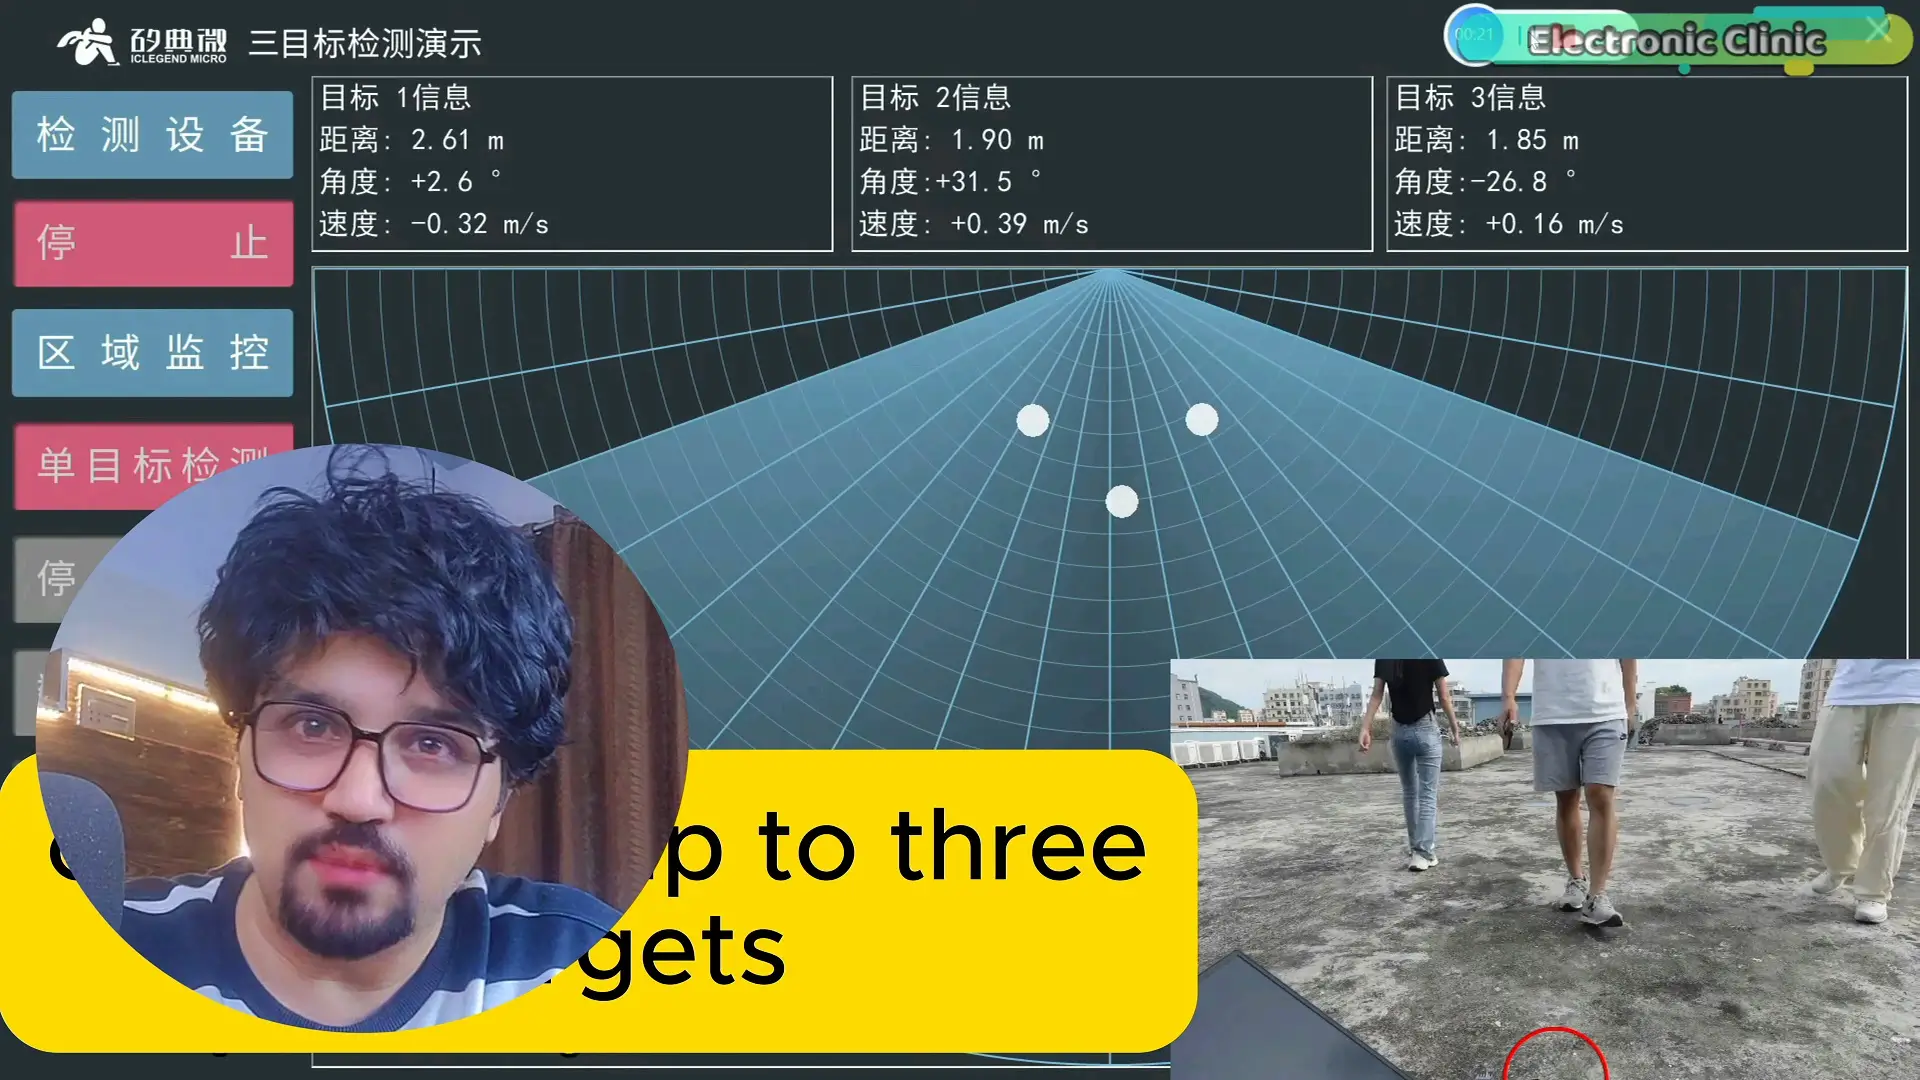
If you want to learn more about
the TTGO LoRa32 or the RD-03D radar in detail,
I highly recommend checking out my previous articles.
First, let’s start with the transmitter side.
Transmitter Side Wiring:
Connect the 5V and GND pins of the RD-03D mmWave radar module
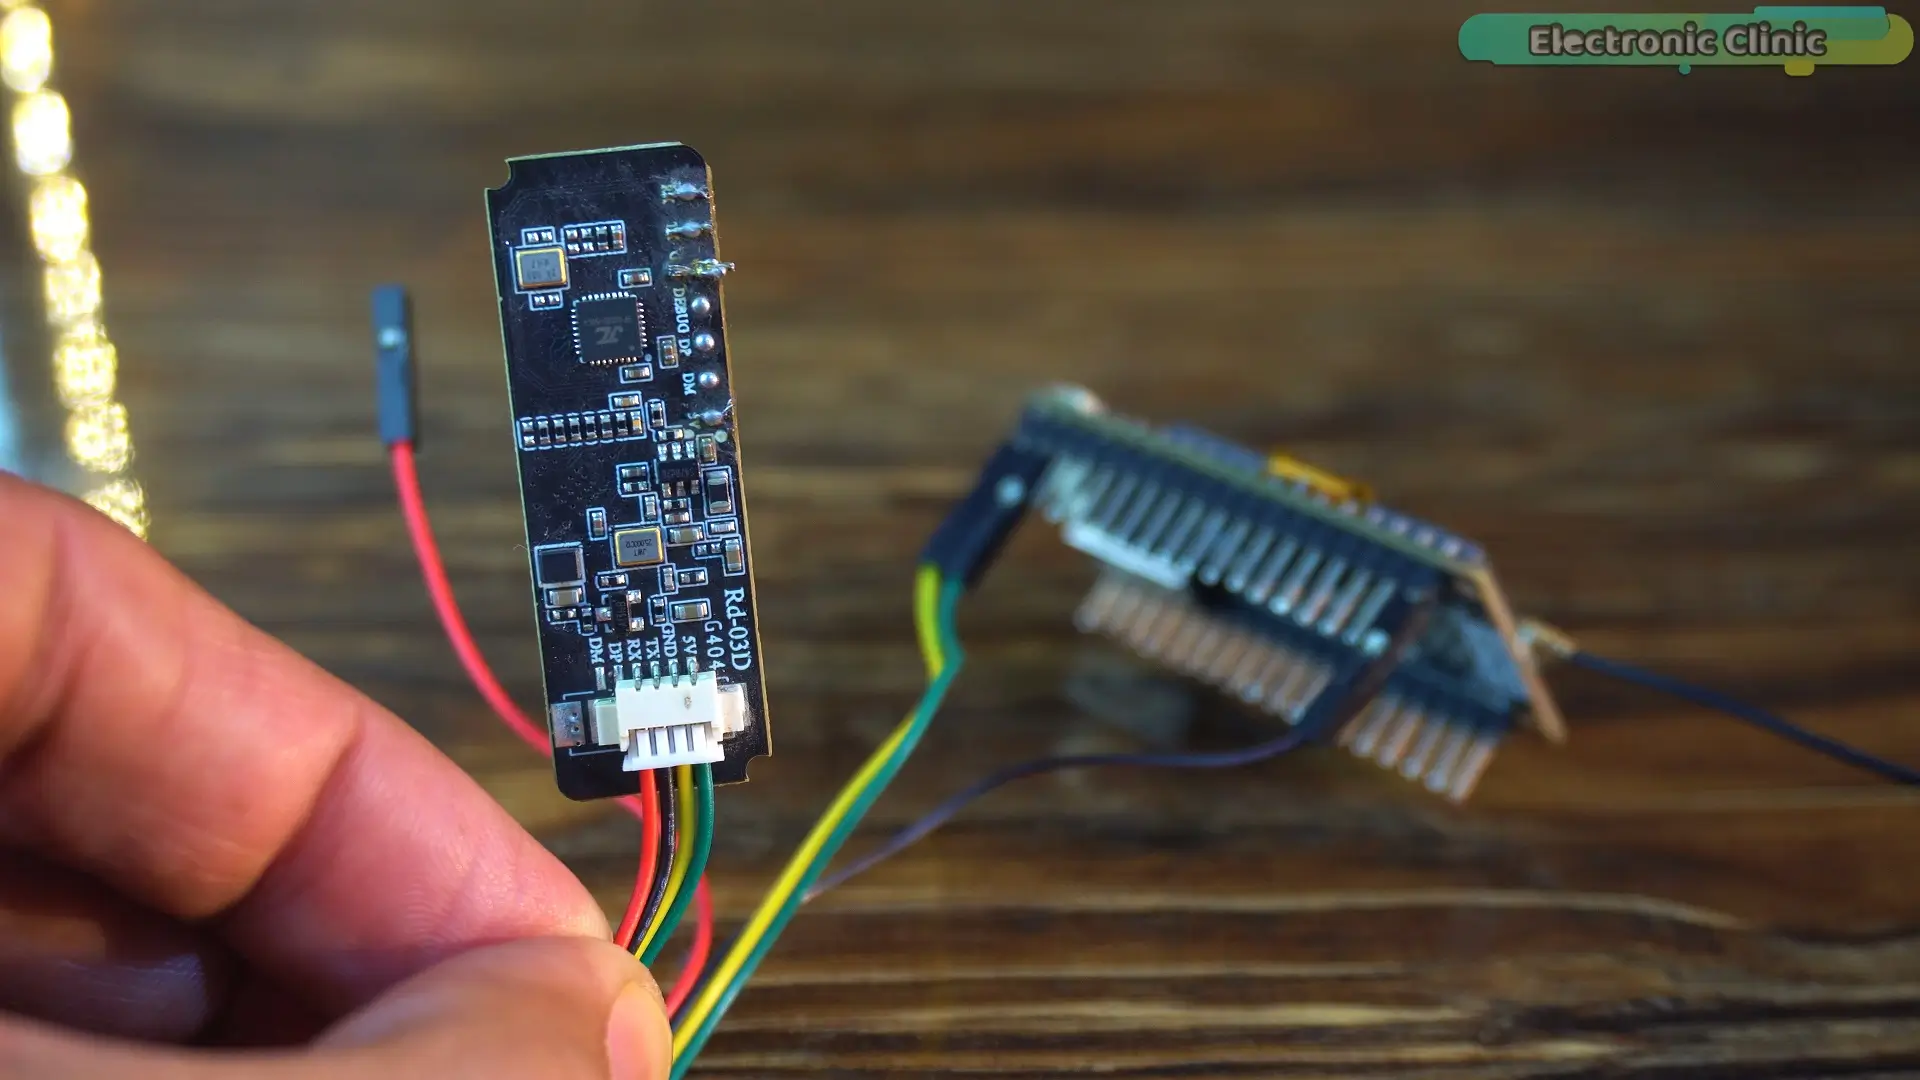
to the 5V and GND pins on the TTGO LoRa32.
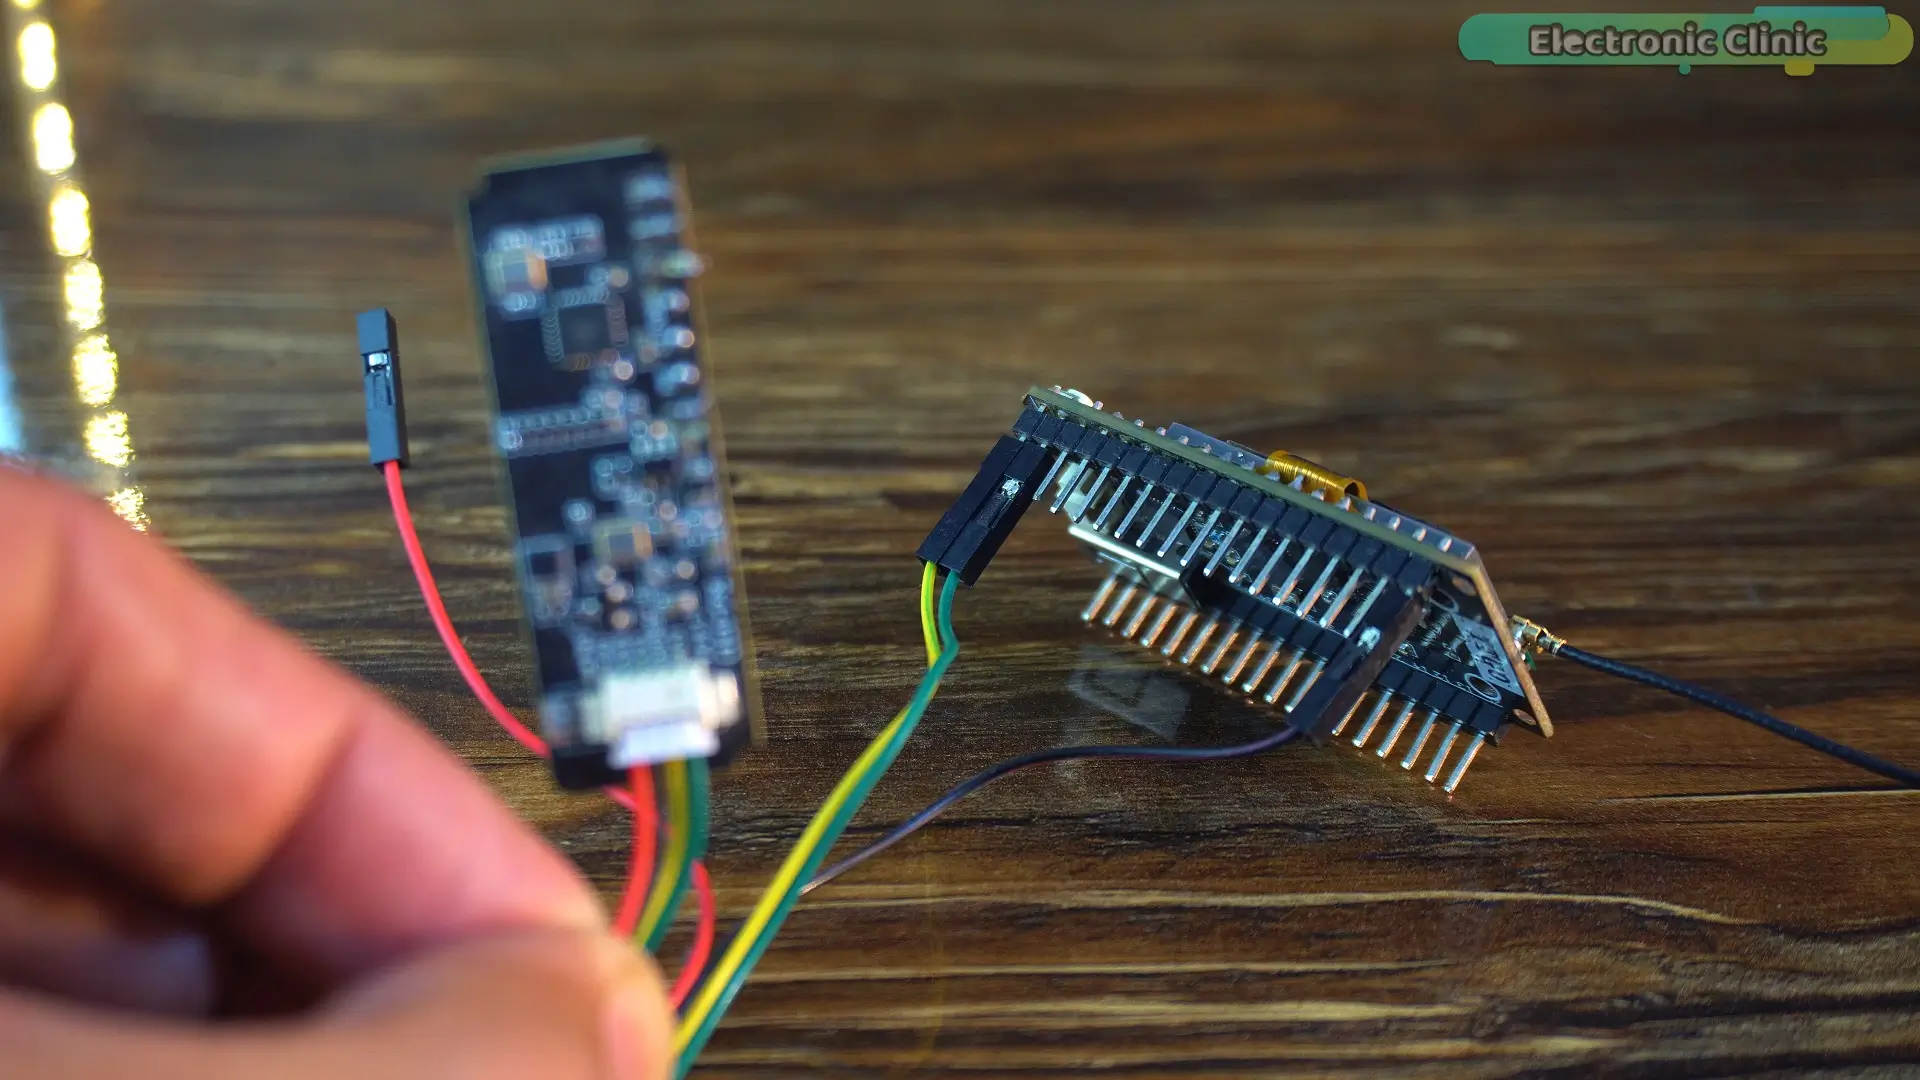
Then connect the TX pin of the radar module
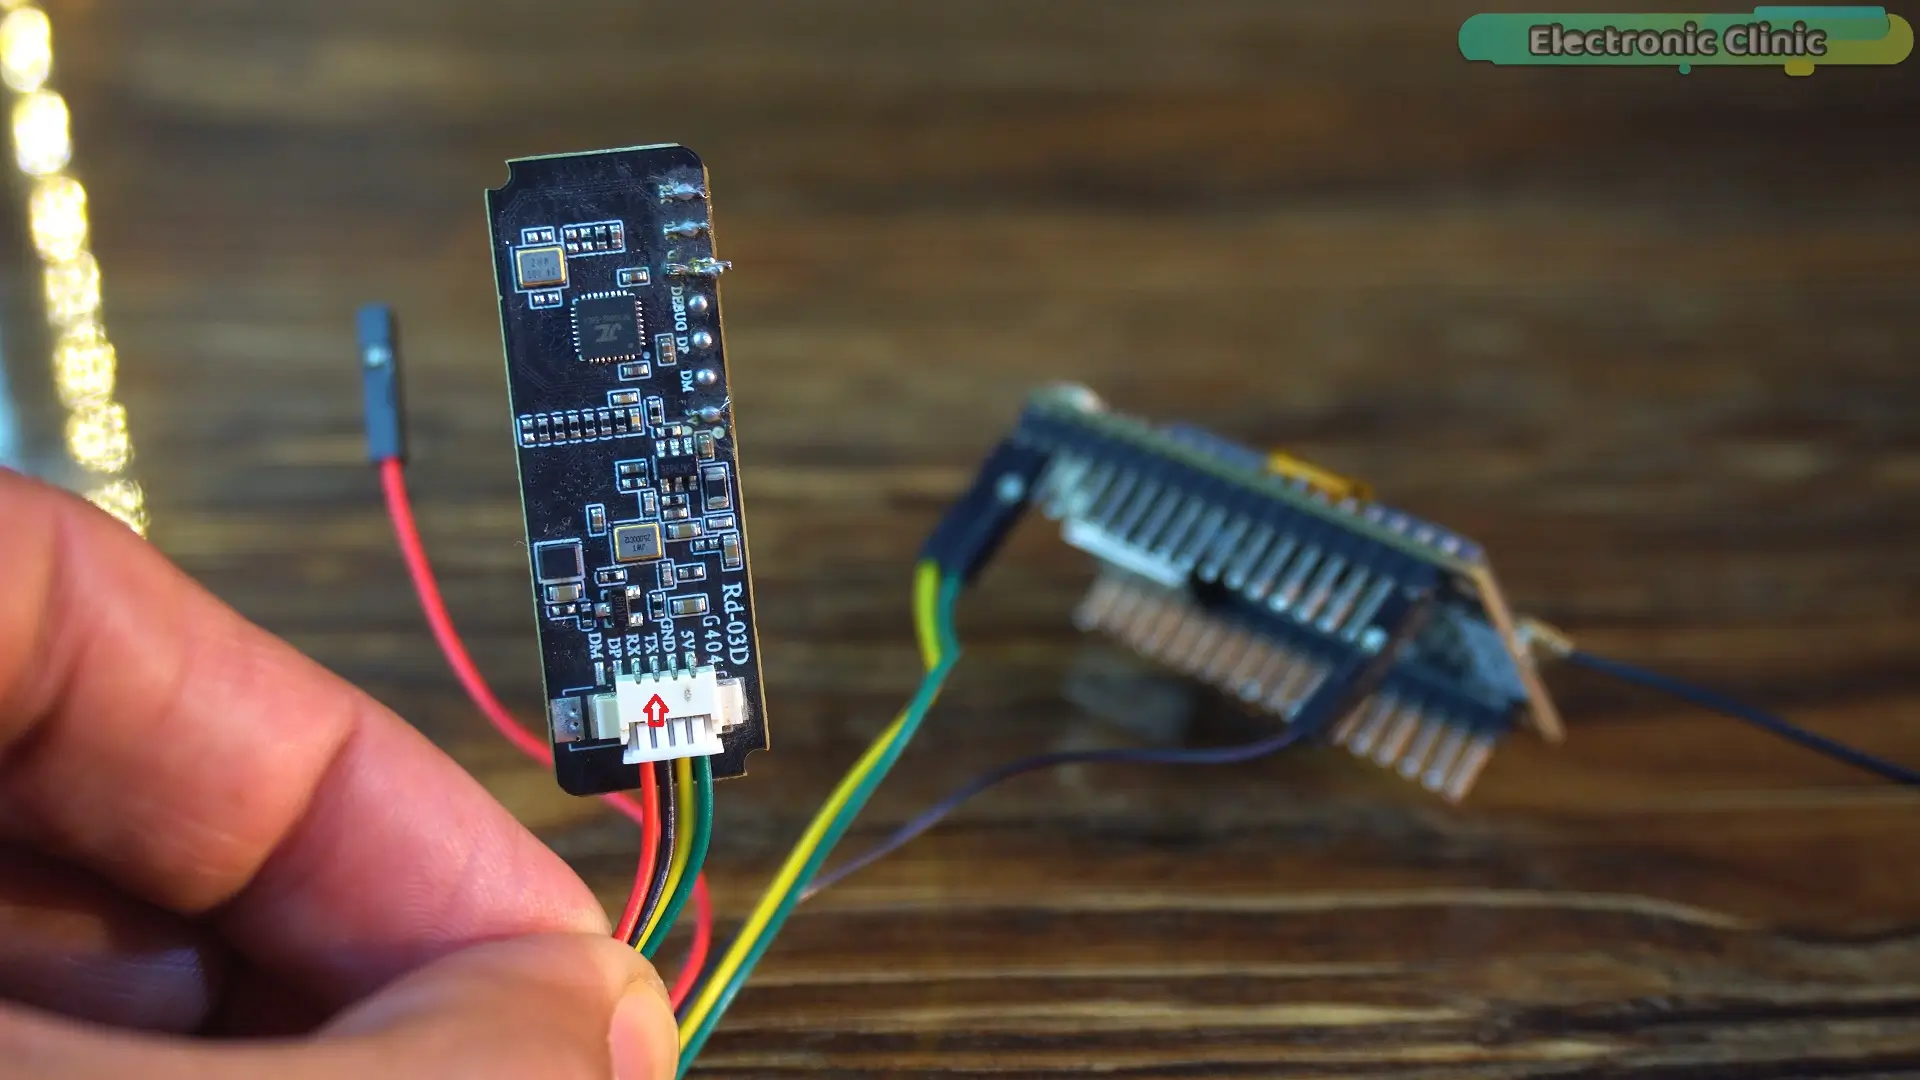
to GPIO16
on the TTGO LoRa32.
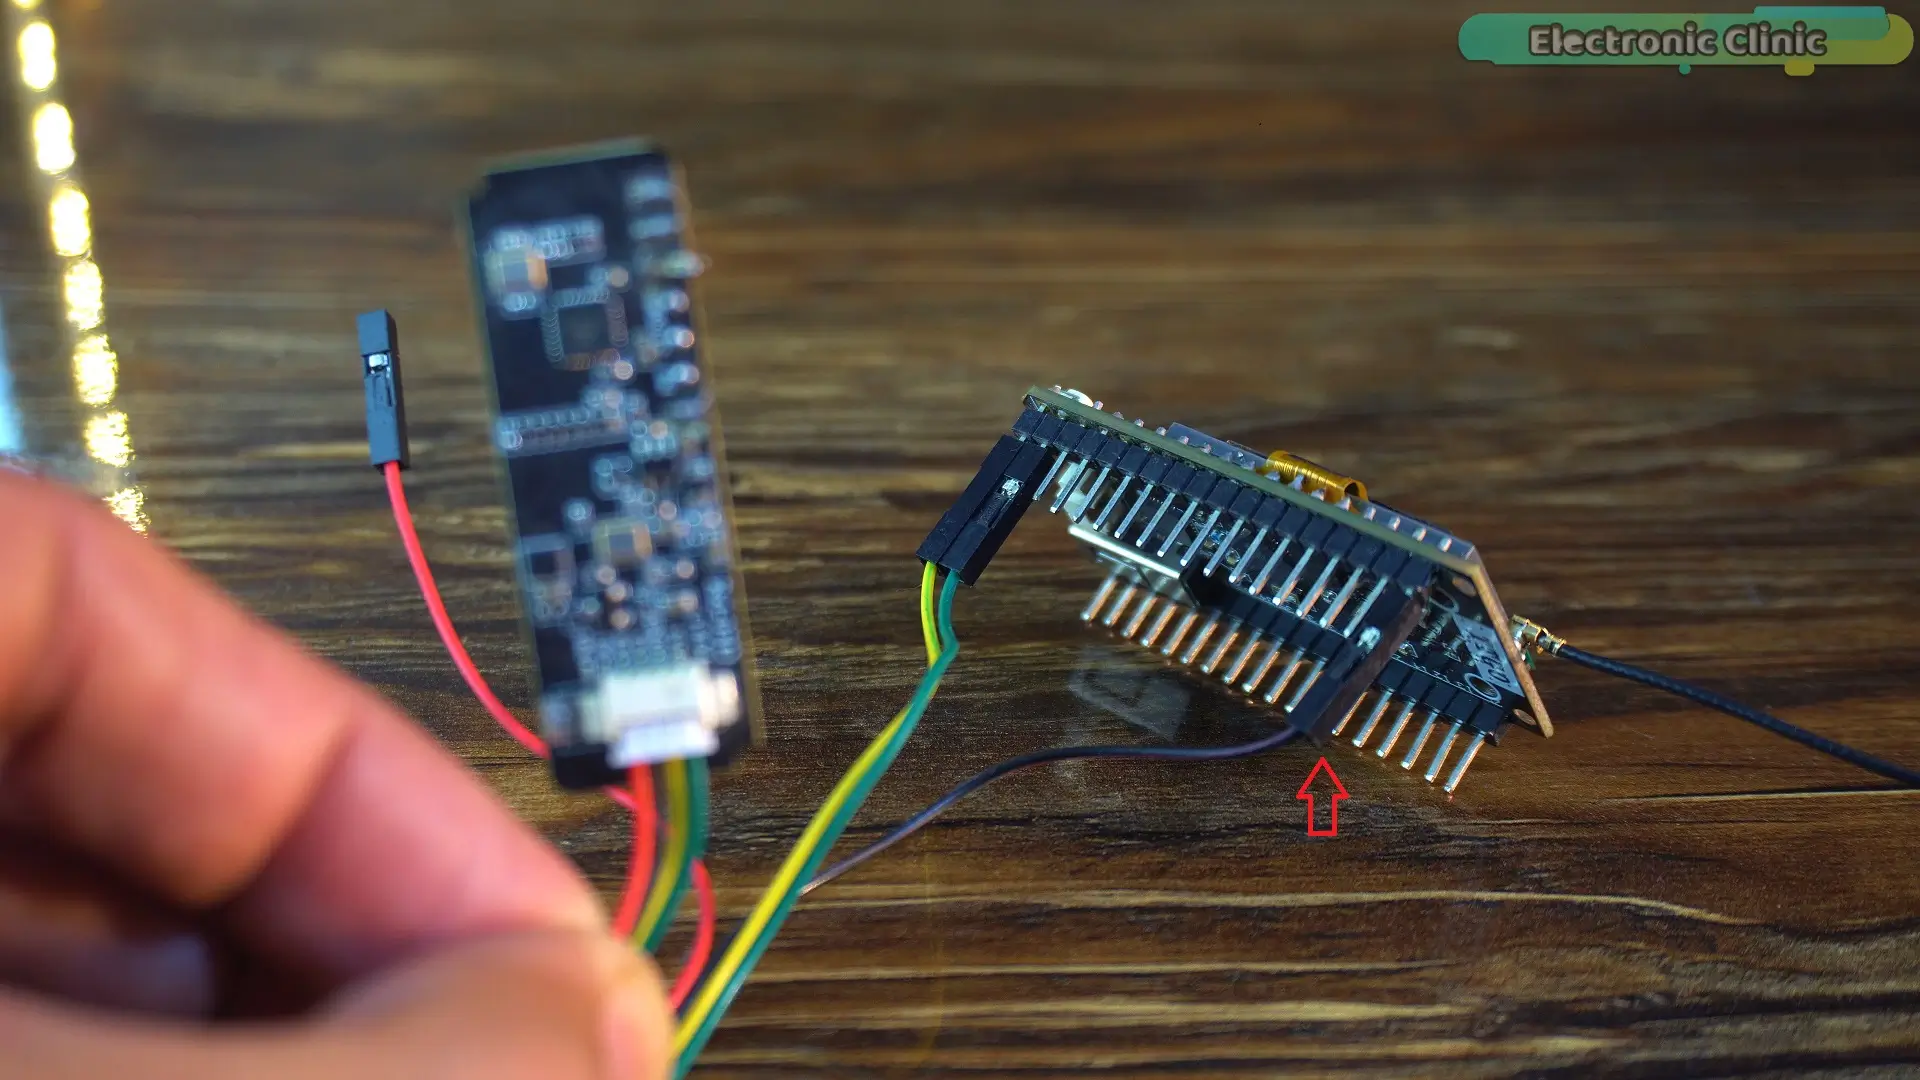
And that’s it for the transmitter wiring.
Now, on the receiver side
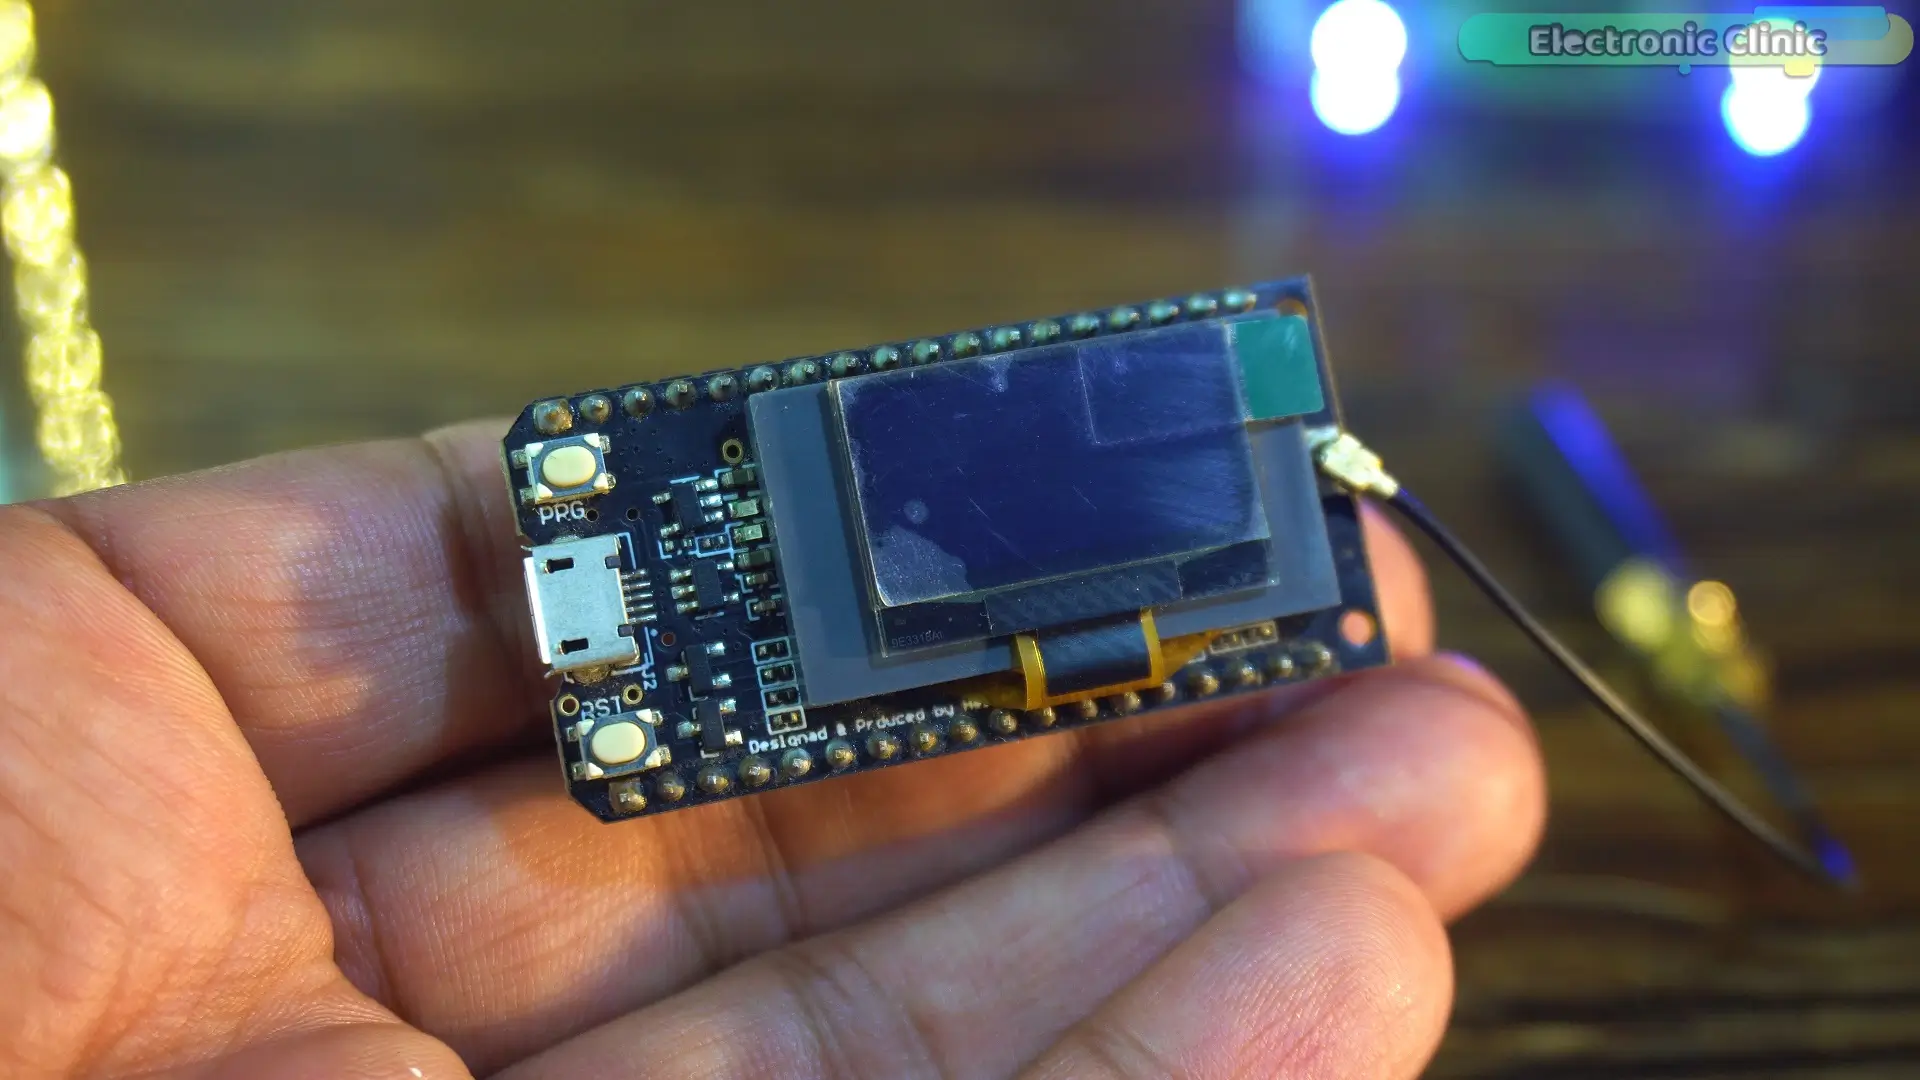
you don’t need to connect anything.
But if you want to take it a step further,
you can add a buzzer.
This way, whenever motion is detected,
the buzzer will alert you instantly.
Now, let’s go ahead and take a look at the programming.
RD-03D and ESP32 Programming:
This is the transmitter-side program,
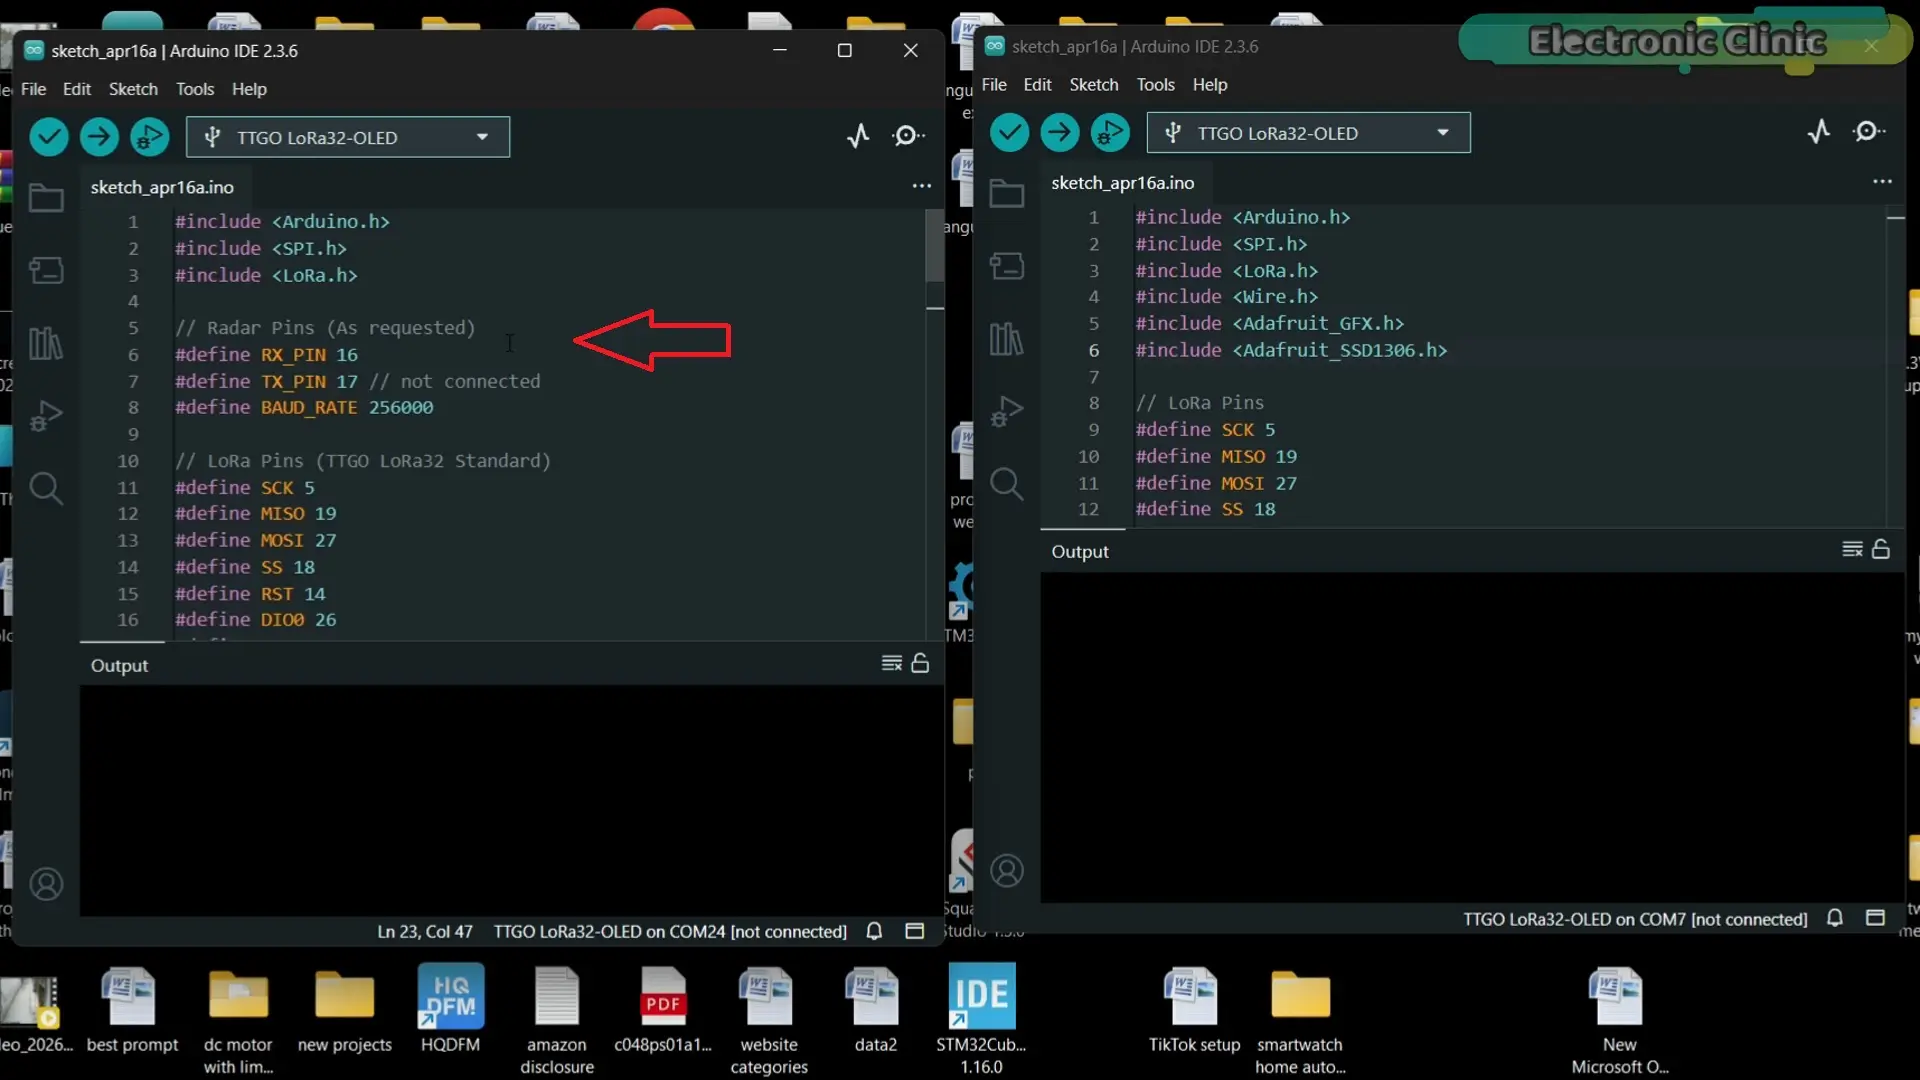
and this is the receiver-side program.
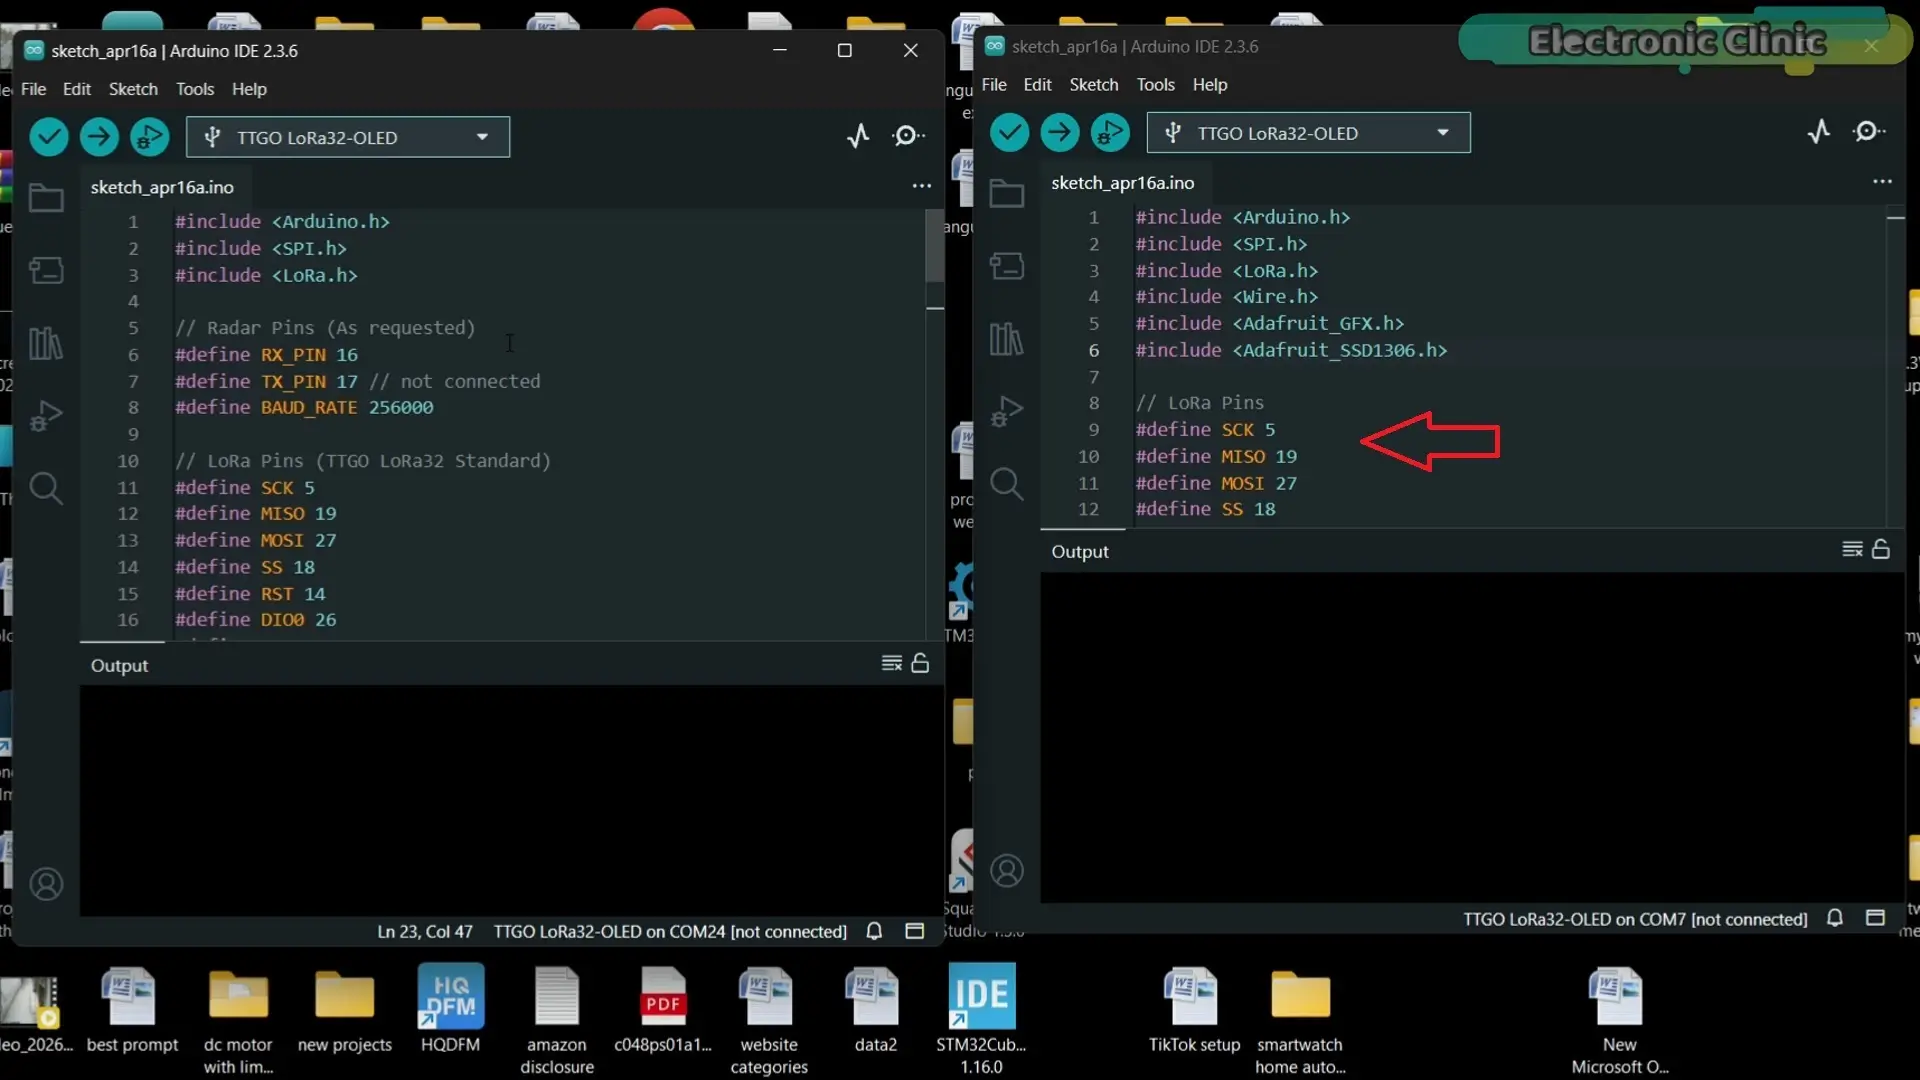
First, you need to install the required libraries.
So let’s do that.
Simply copy the library name,
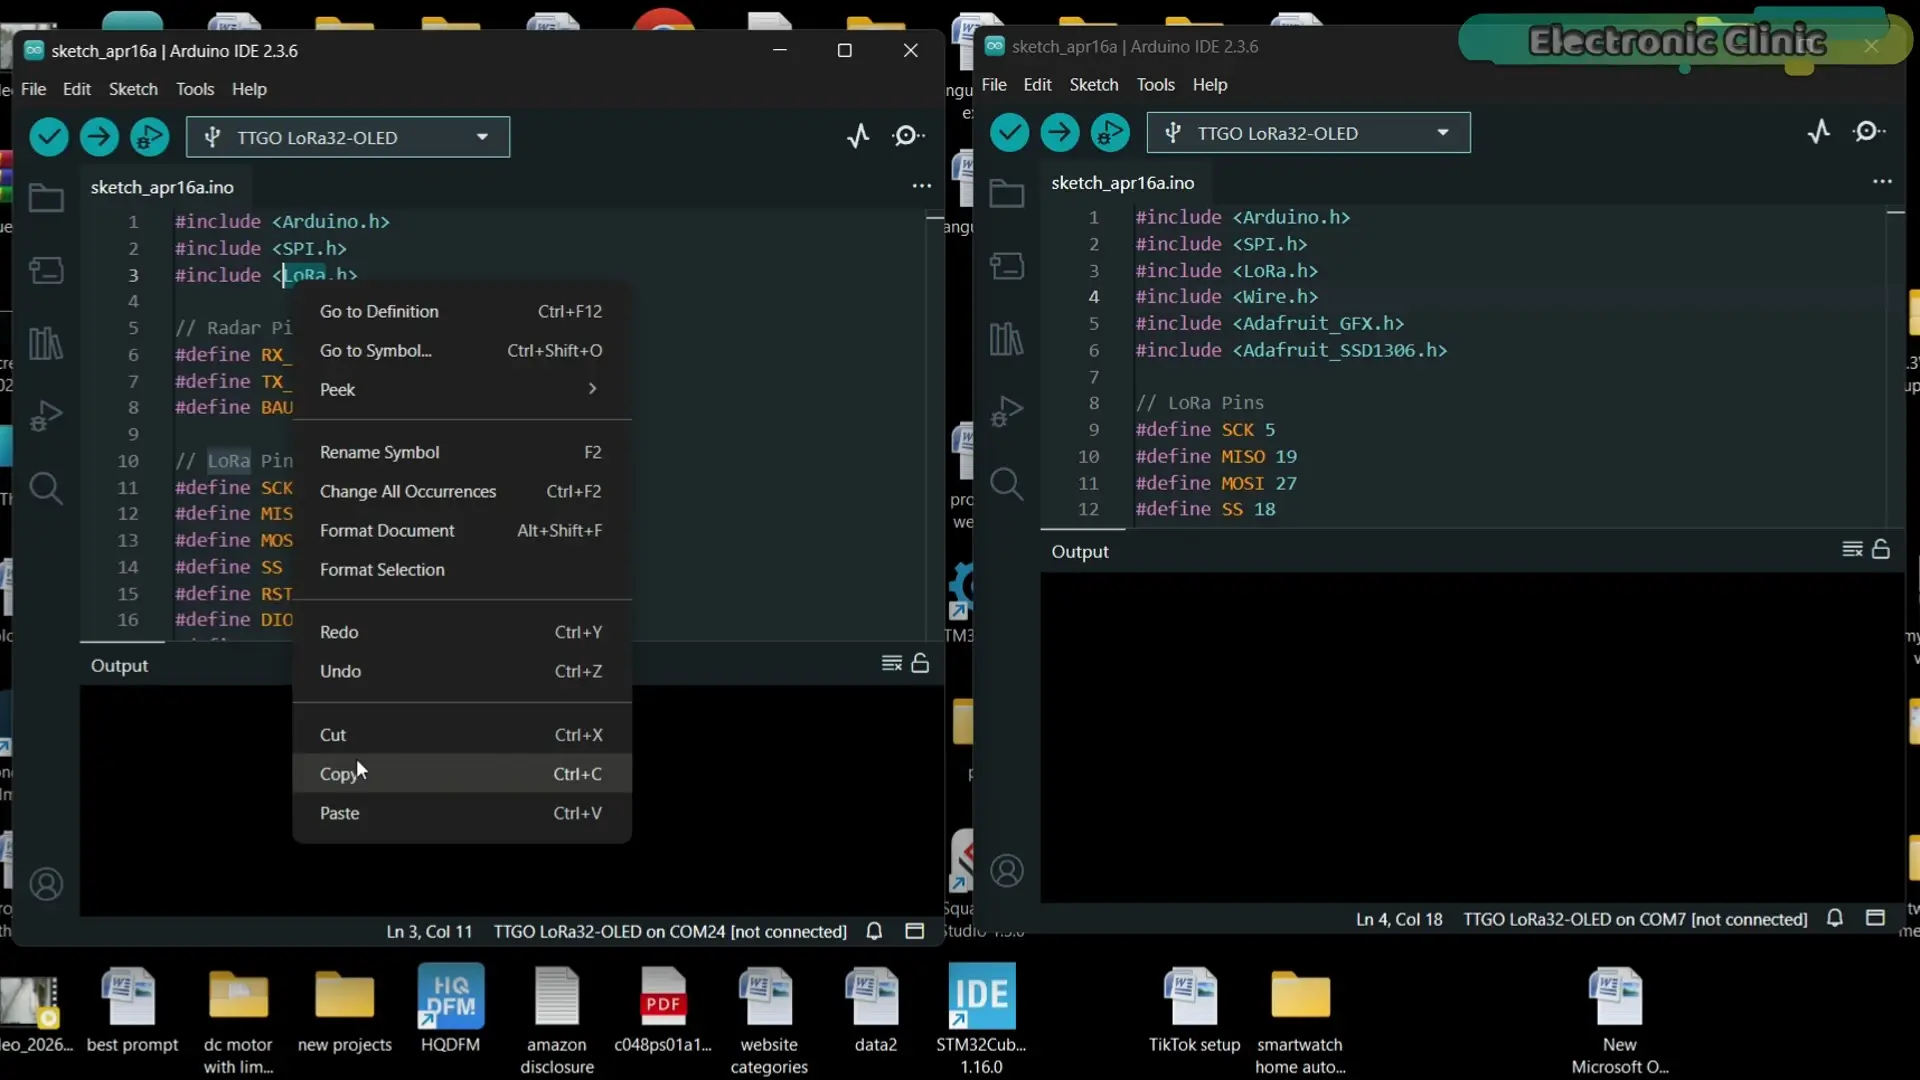
then open the Library Manager,
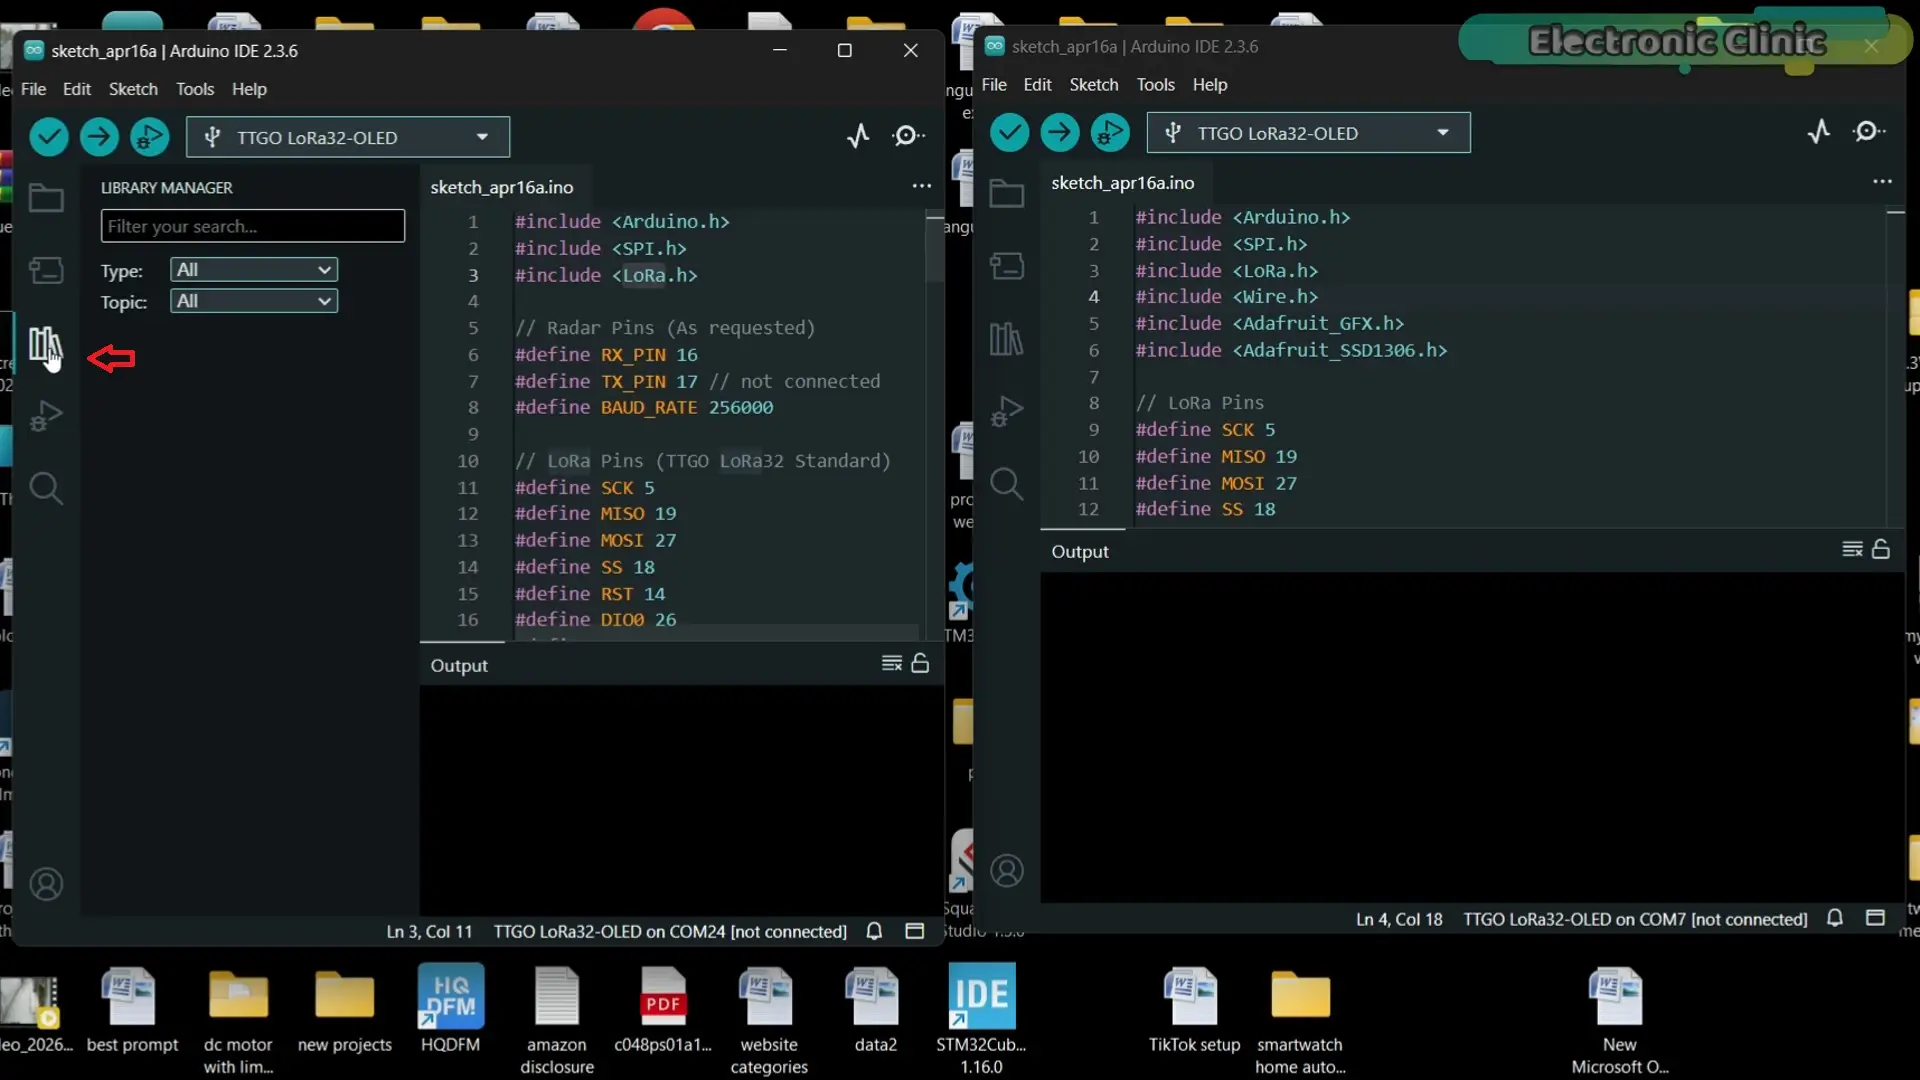
paste the name here,
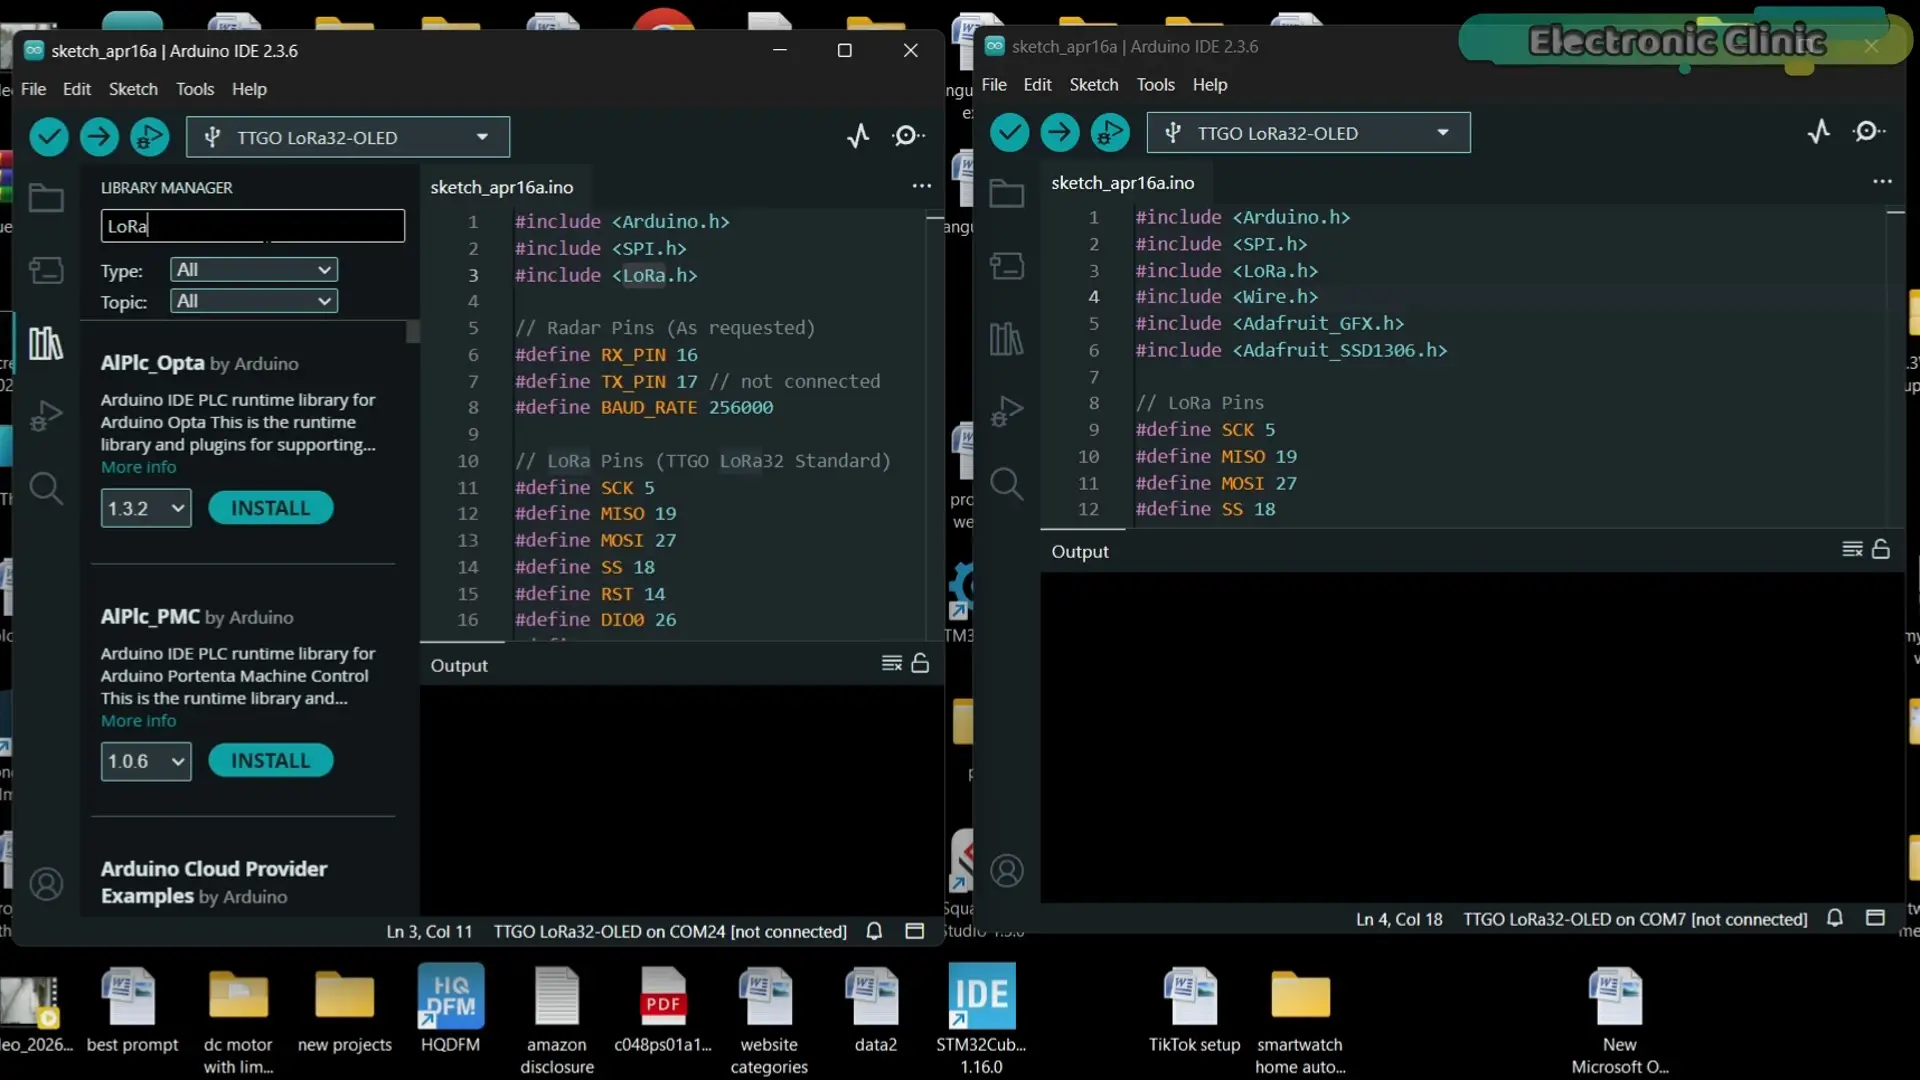
and install it.
As you can see,
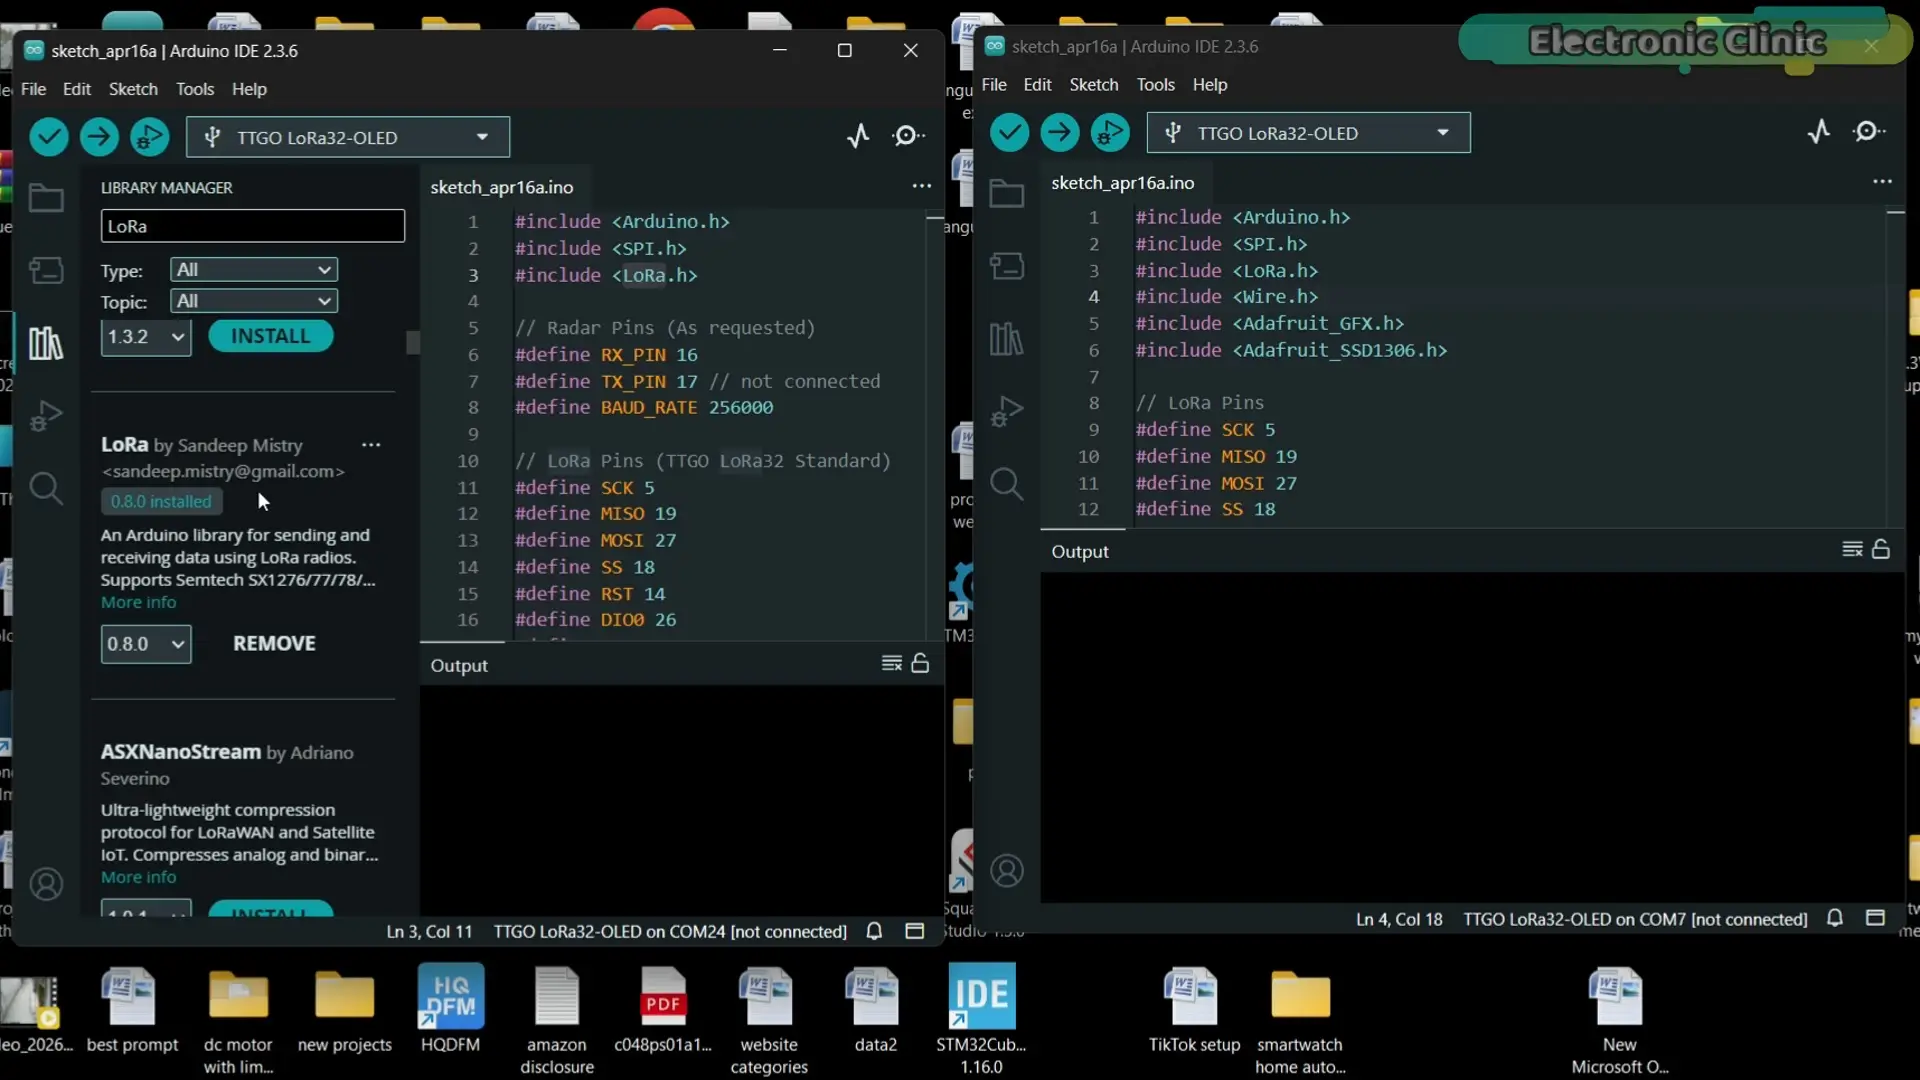
I have already installed it,
so I am not going to install it again.
Now just repeat the same steps for the remaining libraries. Watch the video tutorial.
Once you have installed all the libraries, you can go ahead and upload the programs.
Transmitter Side Code:
|
1 2 3 4 5 6 7 8 9 10 11 12 13 14 15 16 17 18 19 20 21 22 23 24 25 26 27 28 29 30 31 32 33 34 35 36 37 38 39 40 41 42 43 44 45 46 47 48 49 50 51 52 53 54 55 56 57 58 59 60 61 62 63 64 65 66 67 68 69 70 71 72 73 74 75 76 77 78 79 80 81 82 83 84 85 86 87 88 89 90 91 92 93 94 95 |
#include <Arduino.h> #include <SPI.h> #include <LoRa.h> // Radar Pins (As requested) #define RX_PIN 16 #define TX_PIN 17 // not connected #define BAUD_RATE 256000 // LoRa Pins (TTGO LoRa32 Standard) #define SCK 5 #define MISO 19 #define MOSI 27 #define SS 18 #define RST 14 #define DIO0 26 #define BAND 866E6 // Radar Data Variables uint8_t RX_BUF[64] = {0}; uint8_t RX_count = 0; int16_t target1_x = 0, target1_y = 0, target1_speed = 0; float target1_distance = 0, target1_angle = 0; // LoRa Protocol Variables byte localAddress = 0xBB; byte destination = 0xFF; byte msgCount = 0; uint8_t Single_Target_CMD[12] = {0xFD, 0xFC, 0xFB, 0xFA, 0x02, 0x00, 0x80, 0x00, 0x04, 0x03, 0x02, 0x01}; void processRadarData(); void sendLoRaPacket(); void setup() { Serial.begin(115200); // Debug // Initialize Radar Serial1.begin(BAUD_RATE, SERIAL_8N1, RX_PIN, TX_PIN); Serial1.write(Single_Target_CMD, sizeof(Single_Target_CMD)); // Initialize LoRa SPI.begin(SCK, MISO, MOSI, SS); LoRa.setPins(SS, RST, DIO0); if (!LoRa.begin(BAND)) { Serial.println("LoRa Init Failed"); while (1); } Serial.println("Transmitter Ready - Sending Radar Data via LoRa"); } void loop() { // 1. Read from Radar while (Serial1.available()) { uint8_t b = Serial1.read(); RX_BUF[RX_count++] = b; if (RX_count >= sizeof(RX_BUF)) RX_count = 0; // Check for Footer: 0x55 0xCC if (RX_count > 1 && RX_BUF[RX_count - 1] == 0xCC && RX_BUF[RX_count - 2] == 0x55) { processRadarData(); sendLoRaPacket(); // Send packet immediately after receiving radar frame } } } void processRadarData() { if (RX_count >= 30) { target1_x = (RX_BUF[4] | (RX_BUF[5] << 8)) - 0x200; target1_y = (RX_BUF[6] | (RX_BUF[7] << 8)) - 0x8000; target1_speed = (int16_t)(RX_BUF[8] | (RX_BUF[9] << 8)) - 0x10; target1_distance = sqrt(pow(target1_x, 2) + pow(target1_y, 2)) / 10.0; target1_angle = atan2(target1_y, target1_x) * 180.0 / PI; RX_count = 0; } } void sendLoRaPacket() { // Create CSV payload String payload = String(target1_x) + "," + String(target1_y) + "," + String(target1_distance) + "," + String(target1_angle) + "," + String(target1_speed); LoRa.beginPacket(); LoRa.write(destination); LoRa.write(localAddress); LoRa.write(msgCount++); LoRa.write(payload.length()); LoRa.print(payload); LoRa.endPacket(); } |
Receiver Side Code:
|
1 2 3 4 5 6 7 8 9 10 11 12 13 14 15 16 17 18 19 20 21 22 23 24 25 26 27 28 29 30 31 32 33 34 35 36 37 38 39 40 41 42 43 44 45 46 47 48 49 50 51 52 53 54 55 56 57 58 59 60 61 62 63 64 65 66 67 68 69 70 71 72 73 74 75 76 77 78 79 80 81 82 83 84 85 86 87 88 89 90 91 92 93 94 95 96 97 98 99 100 101 102 103 104 105 106 107 108 109 110 111 112 |
#include <Arduino.h> #include <SPI.h> #include <LoRa.h> #include <Wire.h> #include <Adafruit_GFX.h> #include <Adafruit_SSD1306.h> // LoRa Pins #define SCK 5 #define MISO 19 #define MOSI 27 #define SS 18 #define RST 14 #define DIO0 26 #define BAND 866E6 // OLED Pins #define OLED_SDA 4 #define OLED_SCL 15 #define OLED_RST 16 #define SCREEN_WIDTH 128 #define SCREEN_HEIGHT 64 Adafruit_SSD1306 display(SCREEN_WIDTH, SCREEN_HEIGHT, &Wire, OLED_RST); void setup() { Serial.begin(115200); // Serial to Radar Animation Software // Initialize OLED pinMode(OLED_RST, OUTPUT); digitalWrite(OLED_RST, LOW); delay(20); digitalWrite(OLED_RST, HIGH); Wire.begin(OLED_SDA, OLED_SCL); display.begin(SSD1306_SWITCHCAPVCC, 0x3C, false, false); display.clearDisplay(); display.setTextColor(WHITE); display.setCursor(0,0); display.println("Receiver Ready"); display.display(); // Initialize LoRa SPI.begin(SCK, MISO, MOSI, SS); LoRa.setPins(SS, RST, DIO0); if (!LoRa.begin(BAND)) { while (1); } } void loop() { int packetSize = LoRa.parsePacket(); if (packetSize) { // Read header LoRa.read(); // destination LoRa.read(); // sender LoRa.read(); // msgId byte incomingLength = LoRa.read(); String incoming = ""; while (LoRa.available()) { incoming += (char)LoRa.read(); } // Only parse if length matches if (incoming.length() == incomingLength) { parseAndOutput(incoming); } } } void parseAndOutput(String data) { // Find commas int c1 = data.indexOf(','); int c2 = data.indexOf(',', c1 + 1); int c3 = data.indexOf(',', c2 + 1); int c4 = data.indexOf(',', c3 + 1); if (c1 != -1 && c4 != -1) { String x = data.substring(0, c1); String y = data.substring(c1 + 1, c2); String dist = data.substring(c2 + 1, c3); String angle = data.substring(c3 + 1, c4); String speed = data.substring(c4 + 1); // 1. Output to Computer Software Serial.print(x); Serial.print(","); Serial.print(y); Serial.print(","); Serial.print(dist); Serial.print(","); Serial.print(angle); Serial.print(","); Serial.println(speed); // 2. Output to OLED display.clearDisplay(); display.setTextSize(1); display.setCursor(0,0); display.print("X: "); display.print(x); display.print(" Y: "); display.println(y); display.setCursor(0, 15); display.setTextSize(2); display.print(dist); display.println(" cm"); display.setTextSize(1); display.setCursor(0, 35); display.print("Angle: "); display.println(angle); display.setCursor(0, 50); display.print("Speed: "); display.setTextSize(2); display.println(speed); display.display(); } } |
I am not explaining the code here because I have already covered it in detail in my previous videos and articles.
If you want to learn how to use the RD-03D mmWave radar without relying on libraries, and how to access data directly from registers.
I highly recommend watching my getting started video on this sensor.
I have also explained how to use the TTGO LoRa32, along with its technical specifications.
Now for the practical implementation…
Let’s assume the transmitter is going to be installed in a location where power is not available.
So in that case, I am going to use a 4S lithium-ion battery pack…
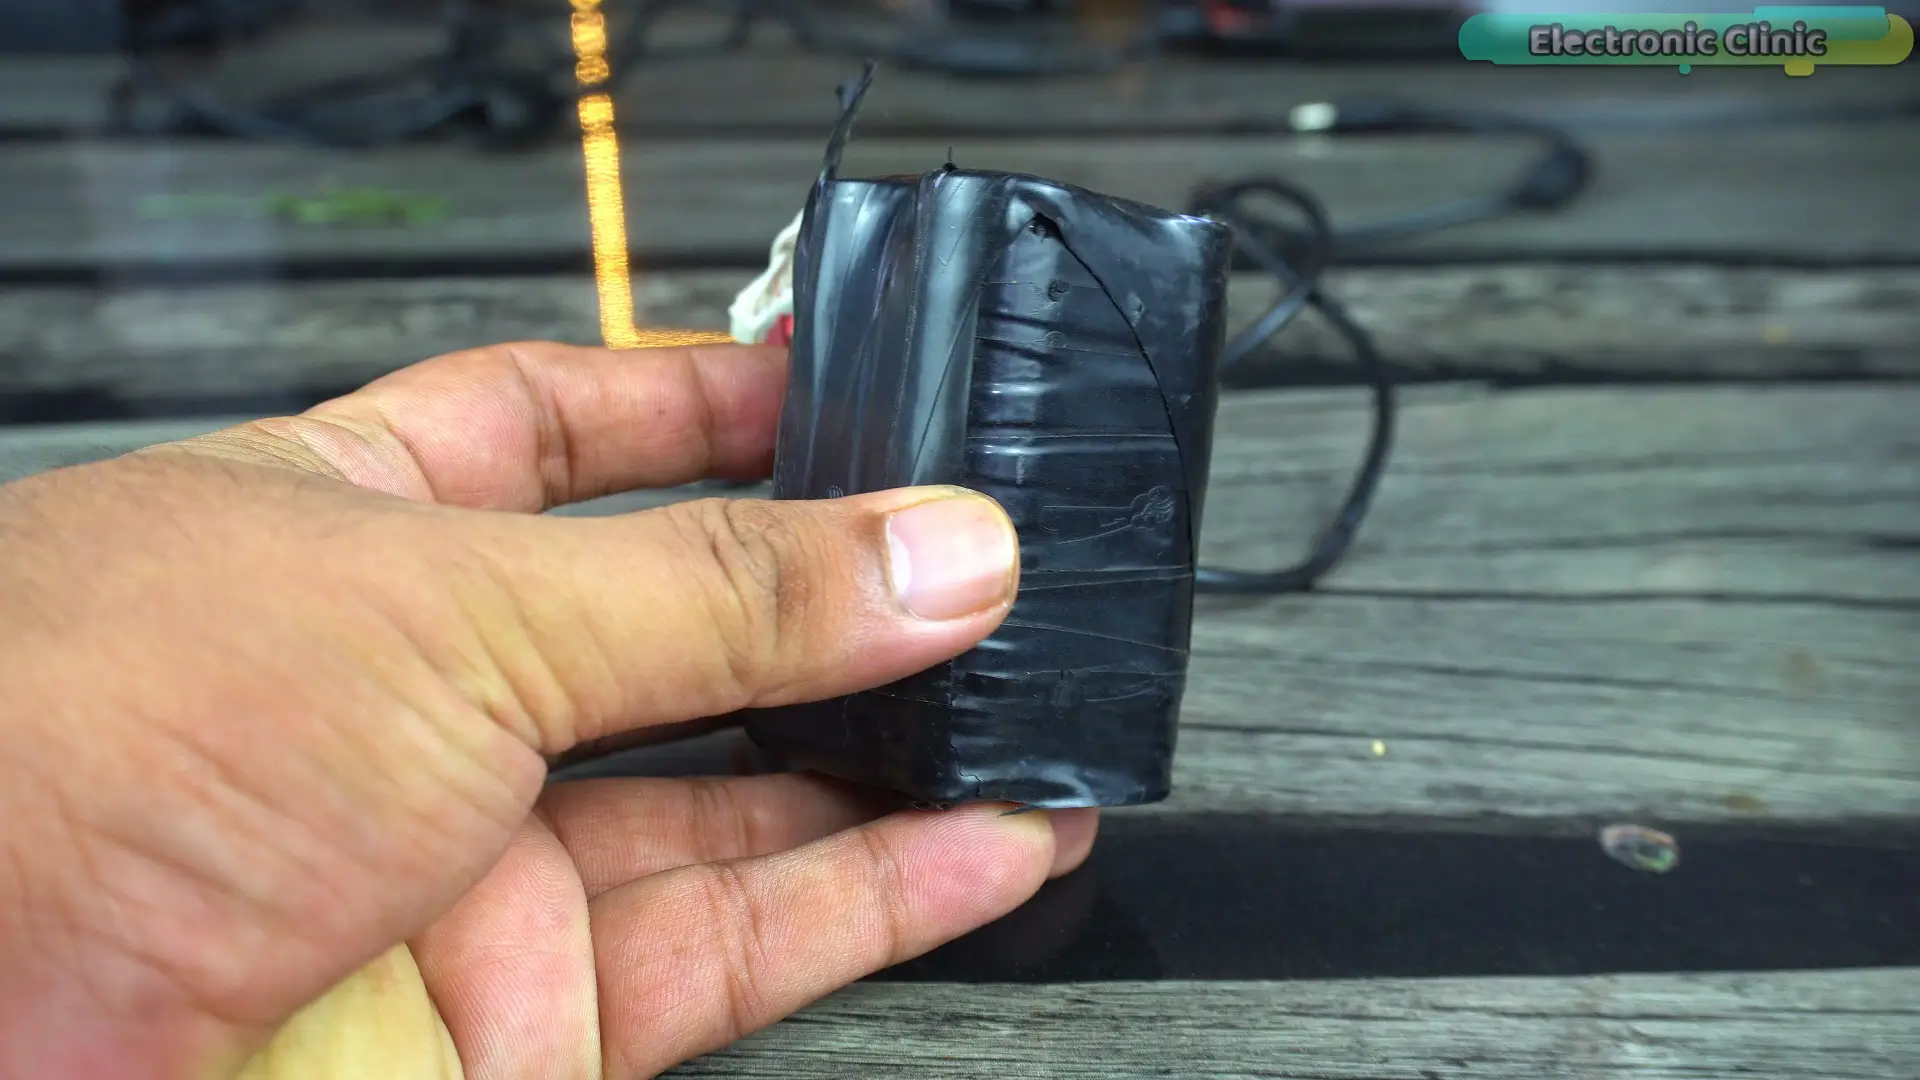
which I actually built a few years ago for my racing drone.
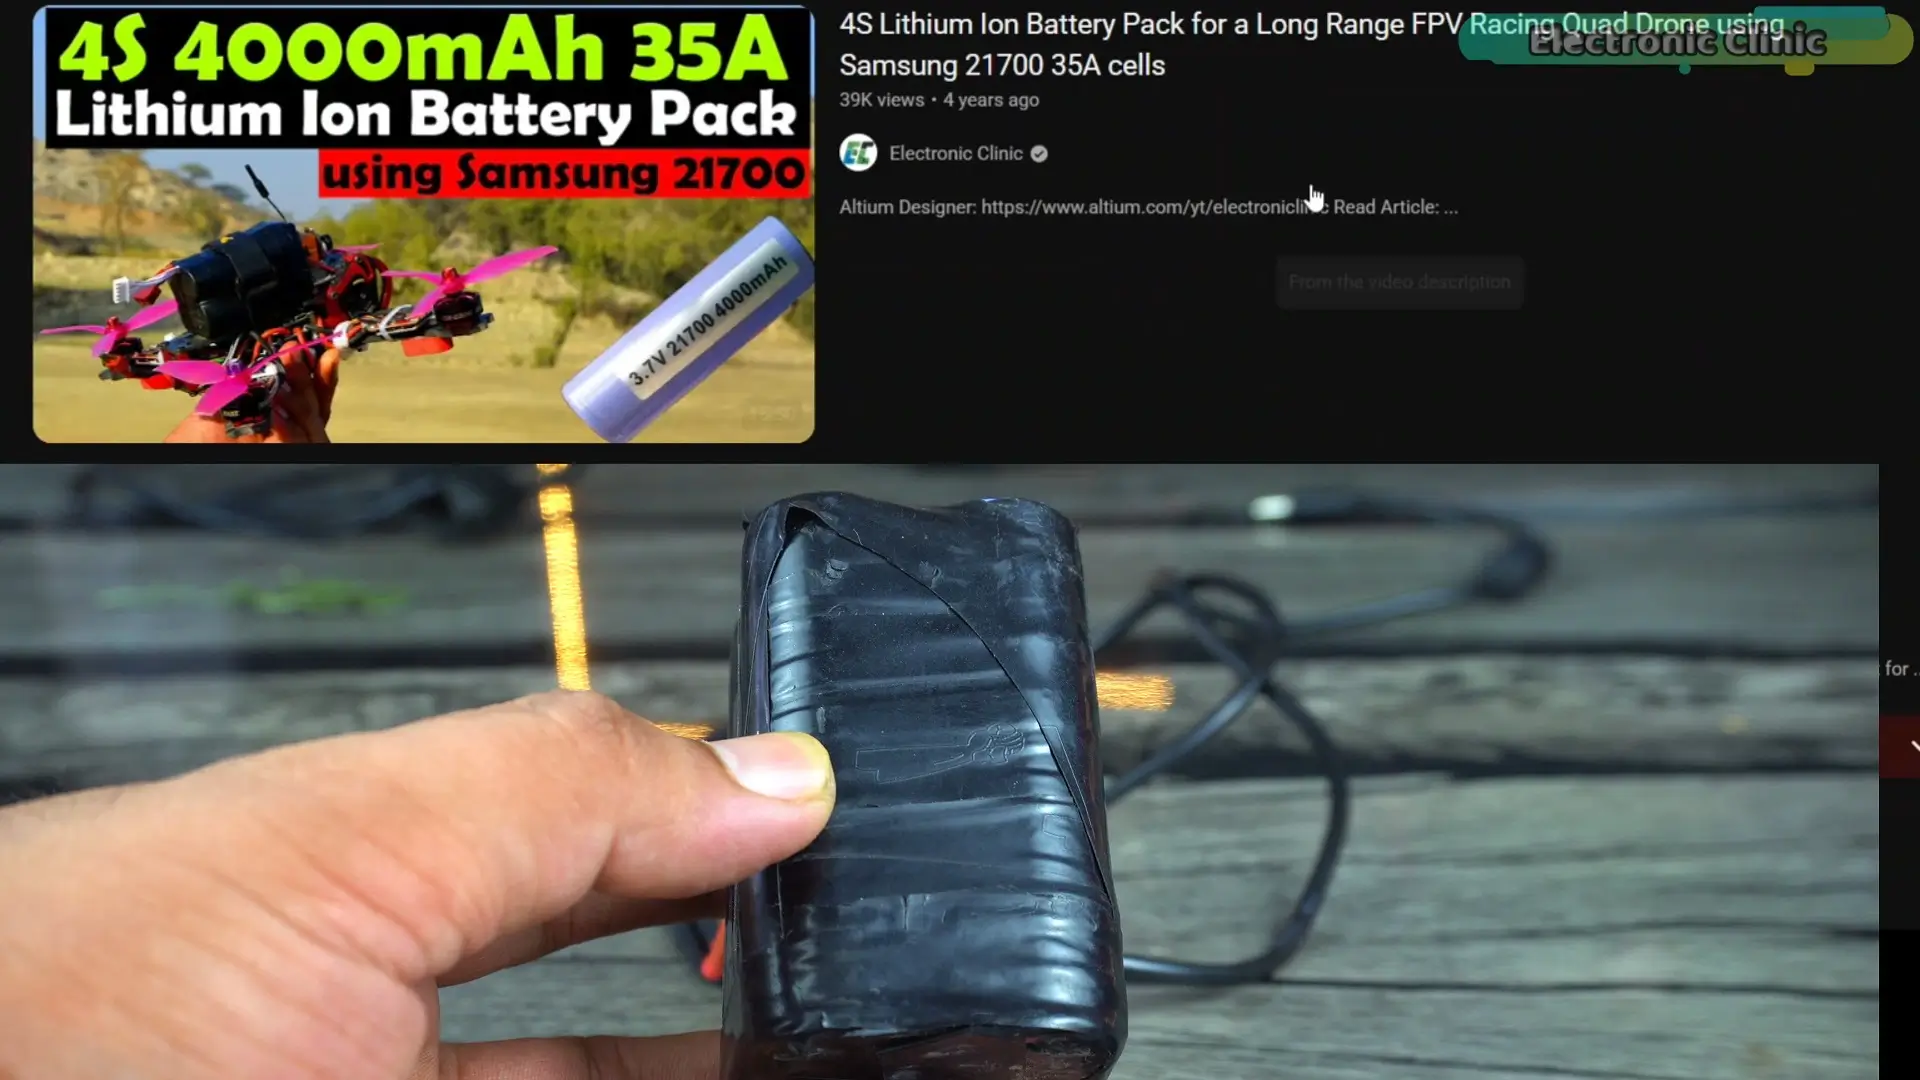
Along with that, I will use my custom-designed 5V, 3A power supply.
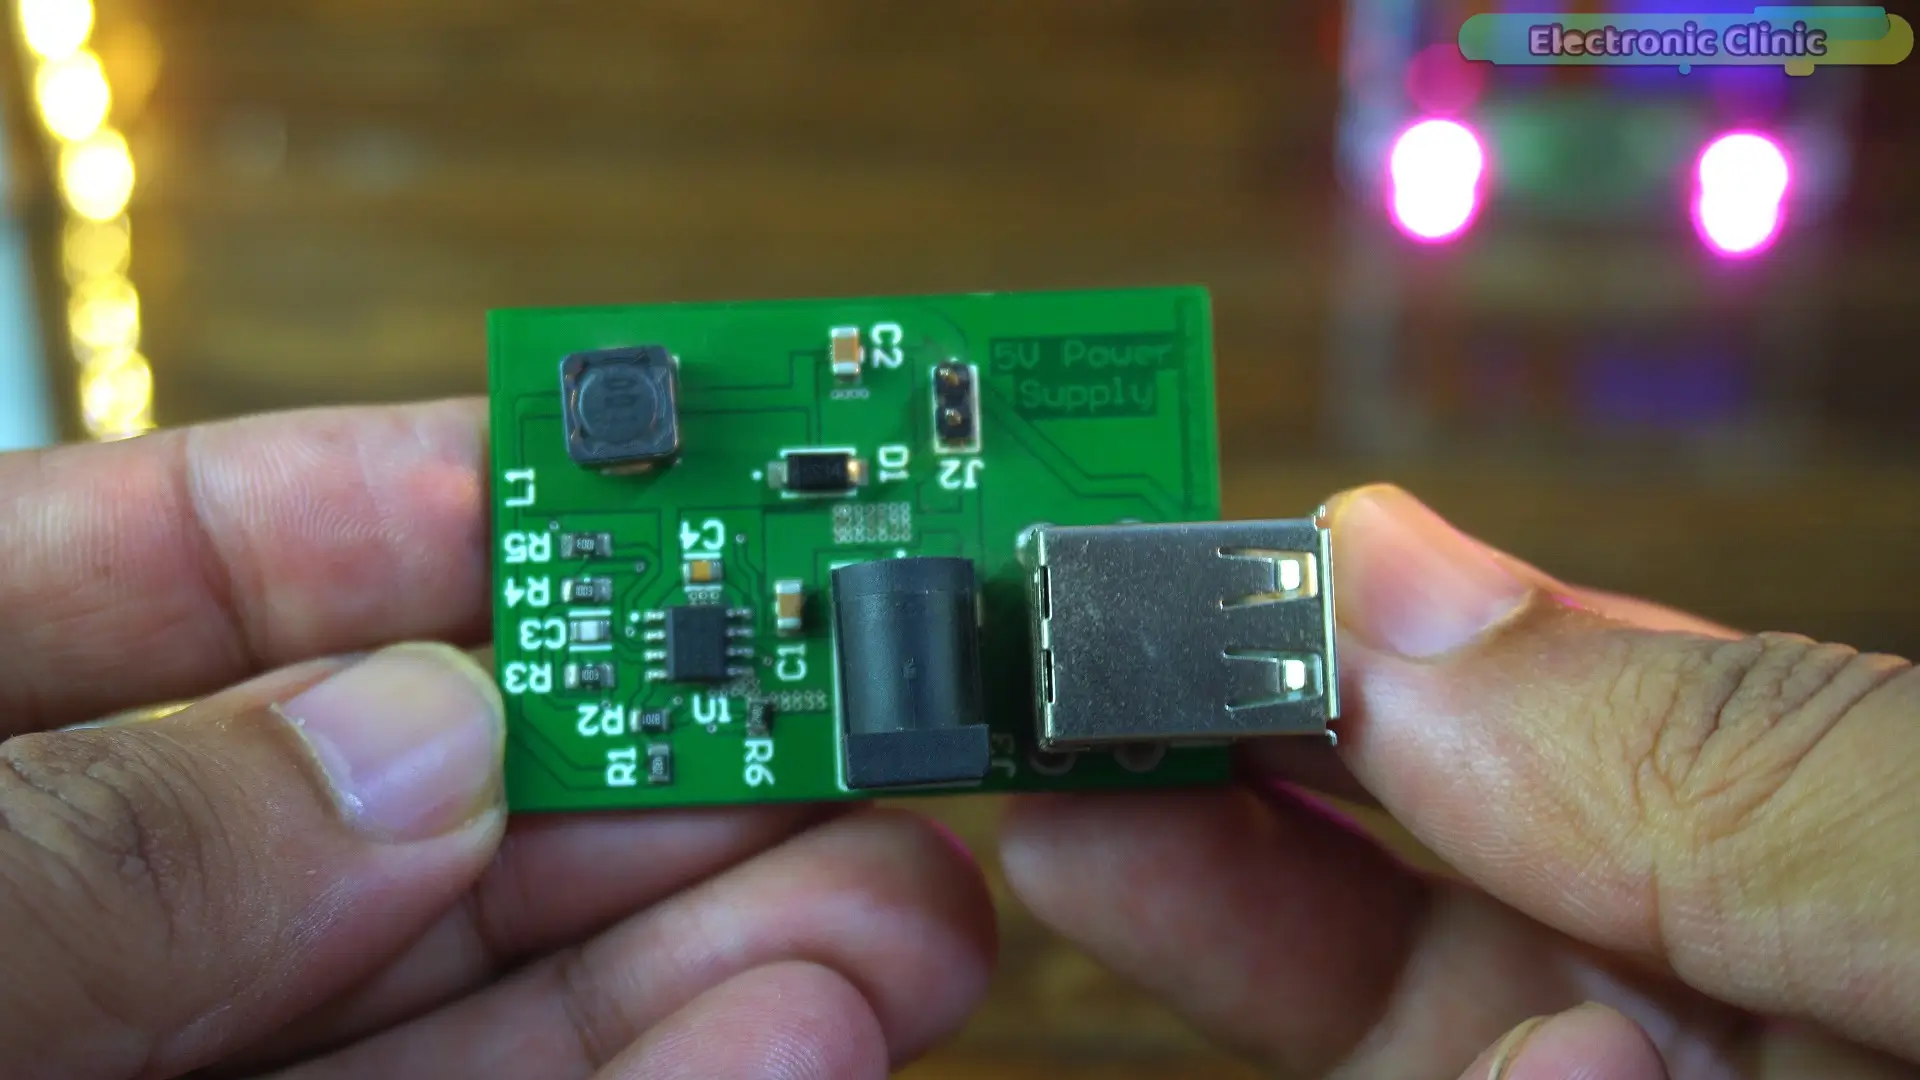
It can accept input voltages up to 28 voltsand provides a stable 5V output.
So it supports a wide input range from 9V to 28V.
This means, you can even power the system directly using a solar panel if you want.
But in my case, I prefer using this 4S lithium-ion battery pack,
because it makes the entire system portable.
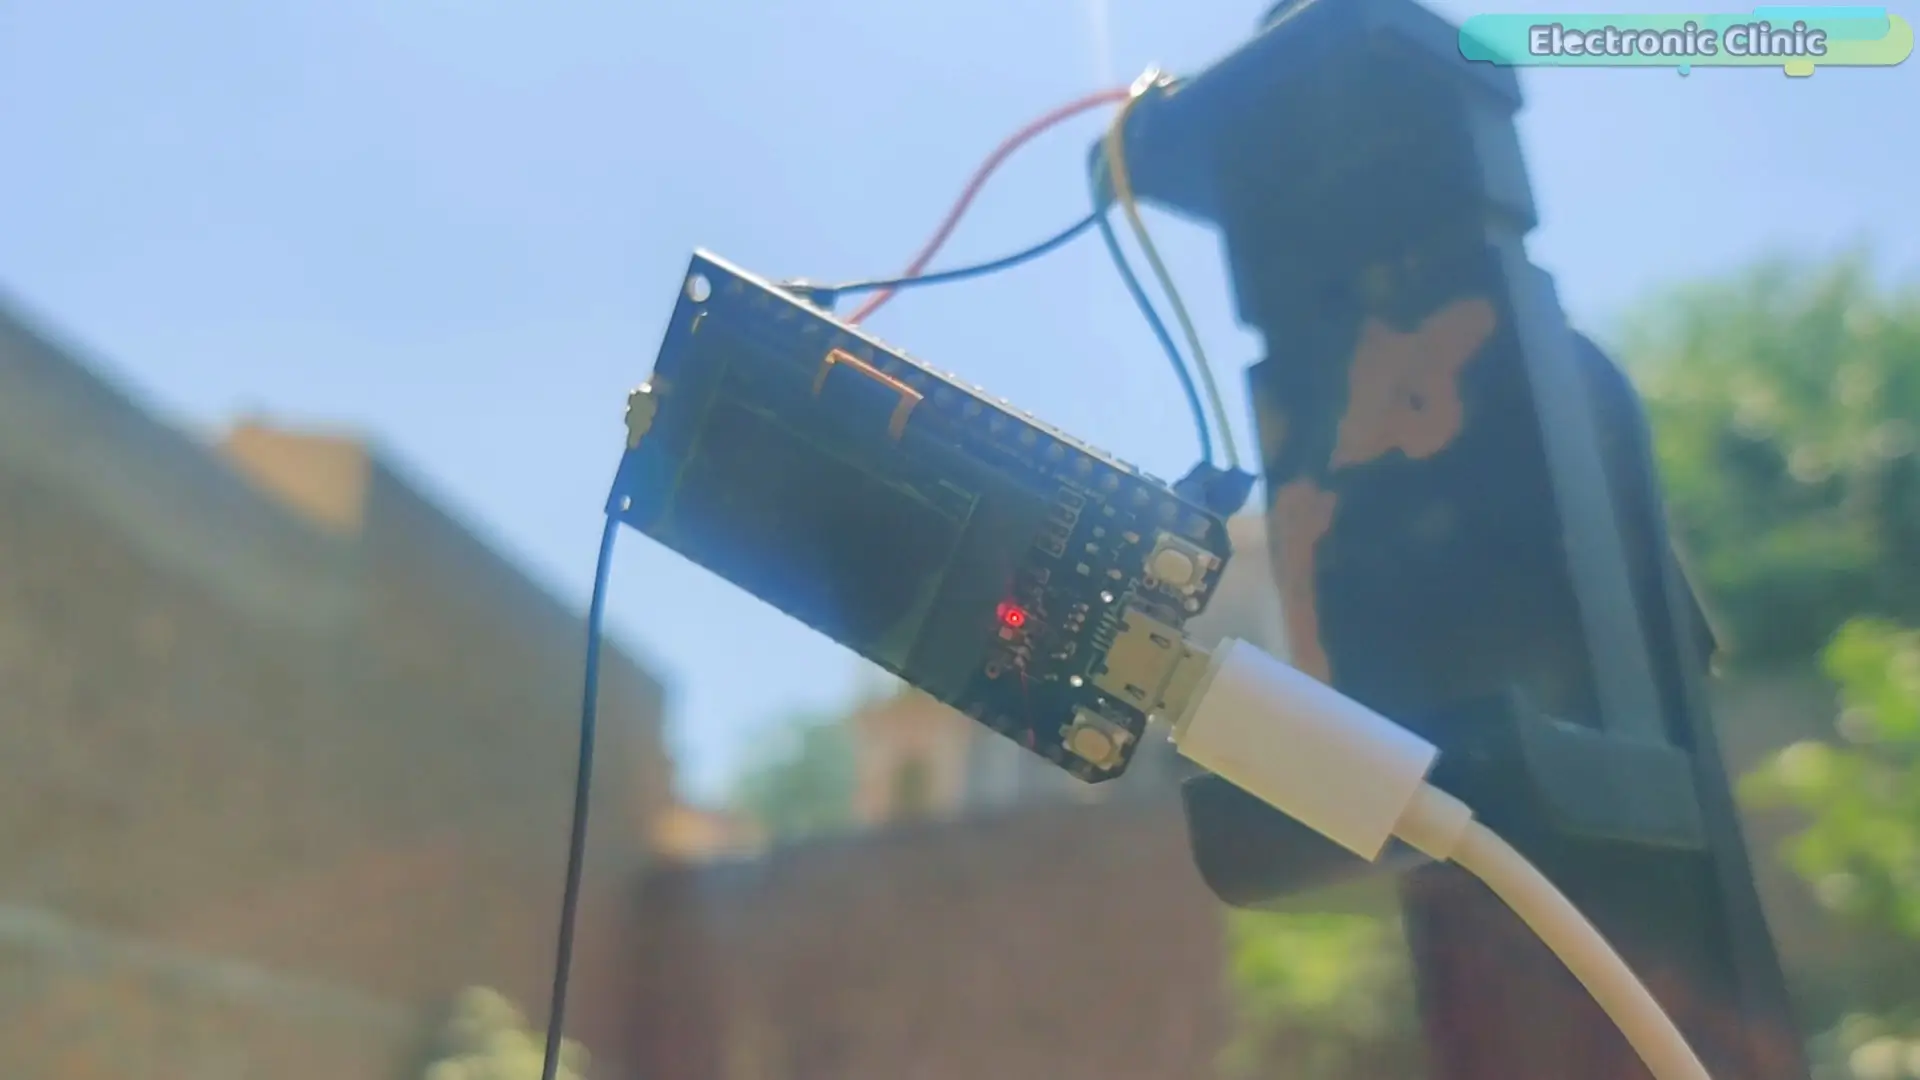
So now, it becomes a true“on-the-go” security system.
I can place it anywhere,
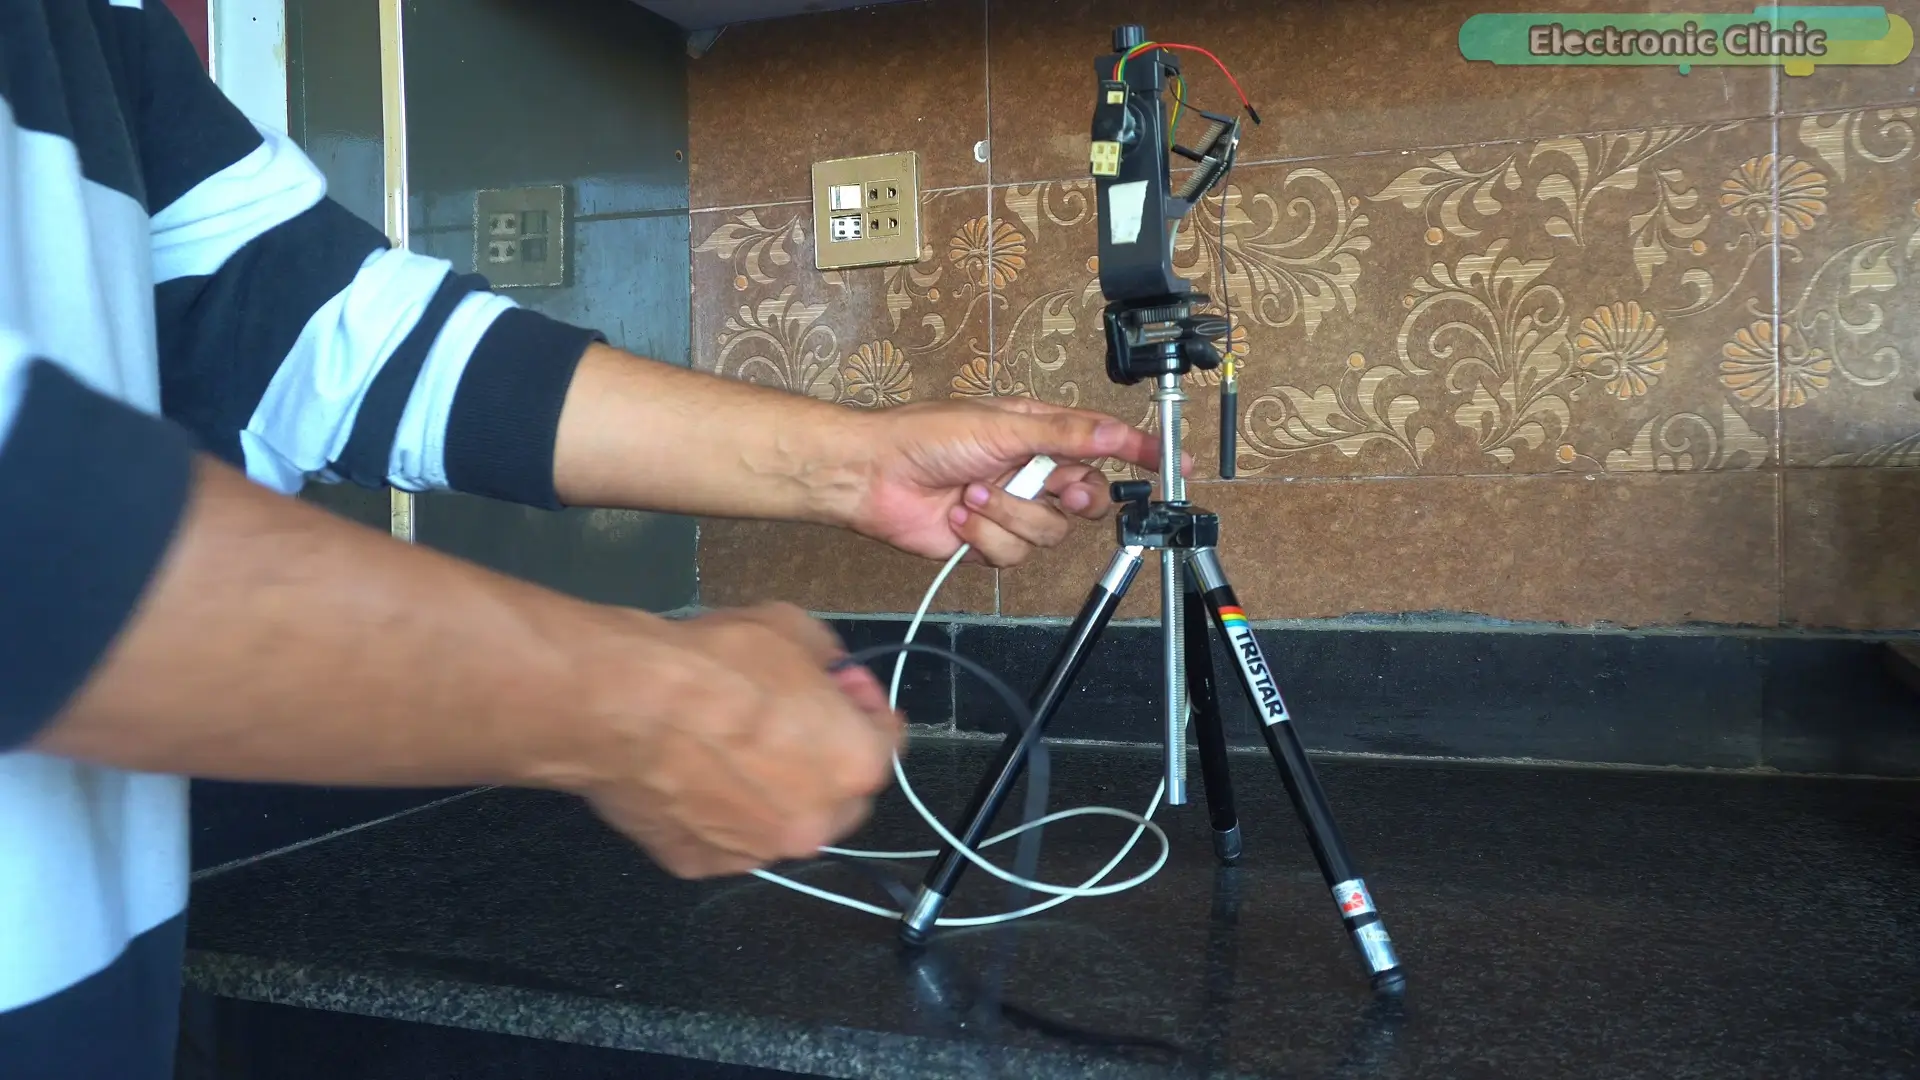
power it up,
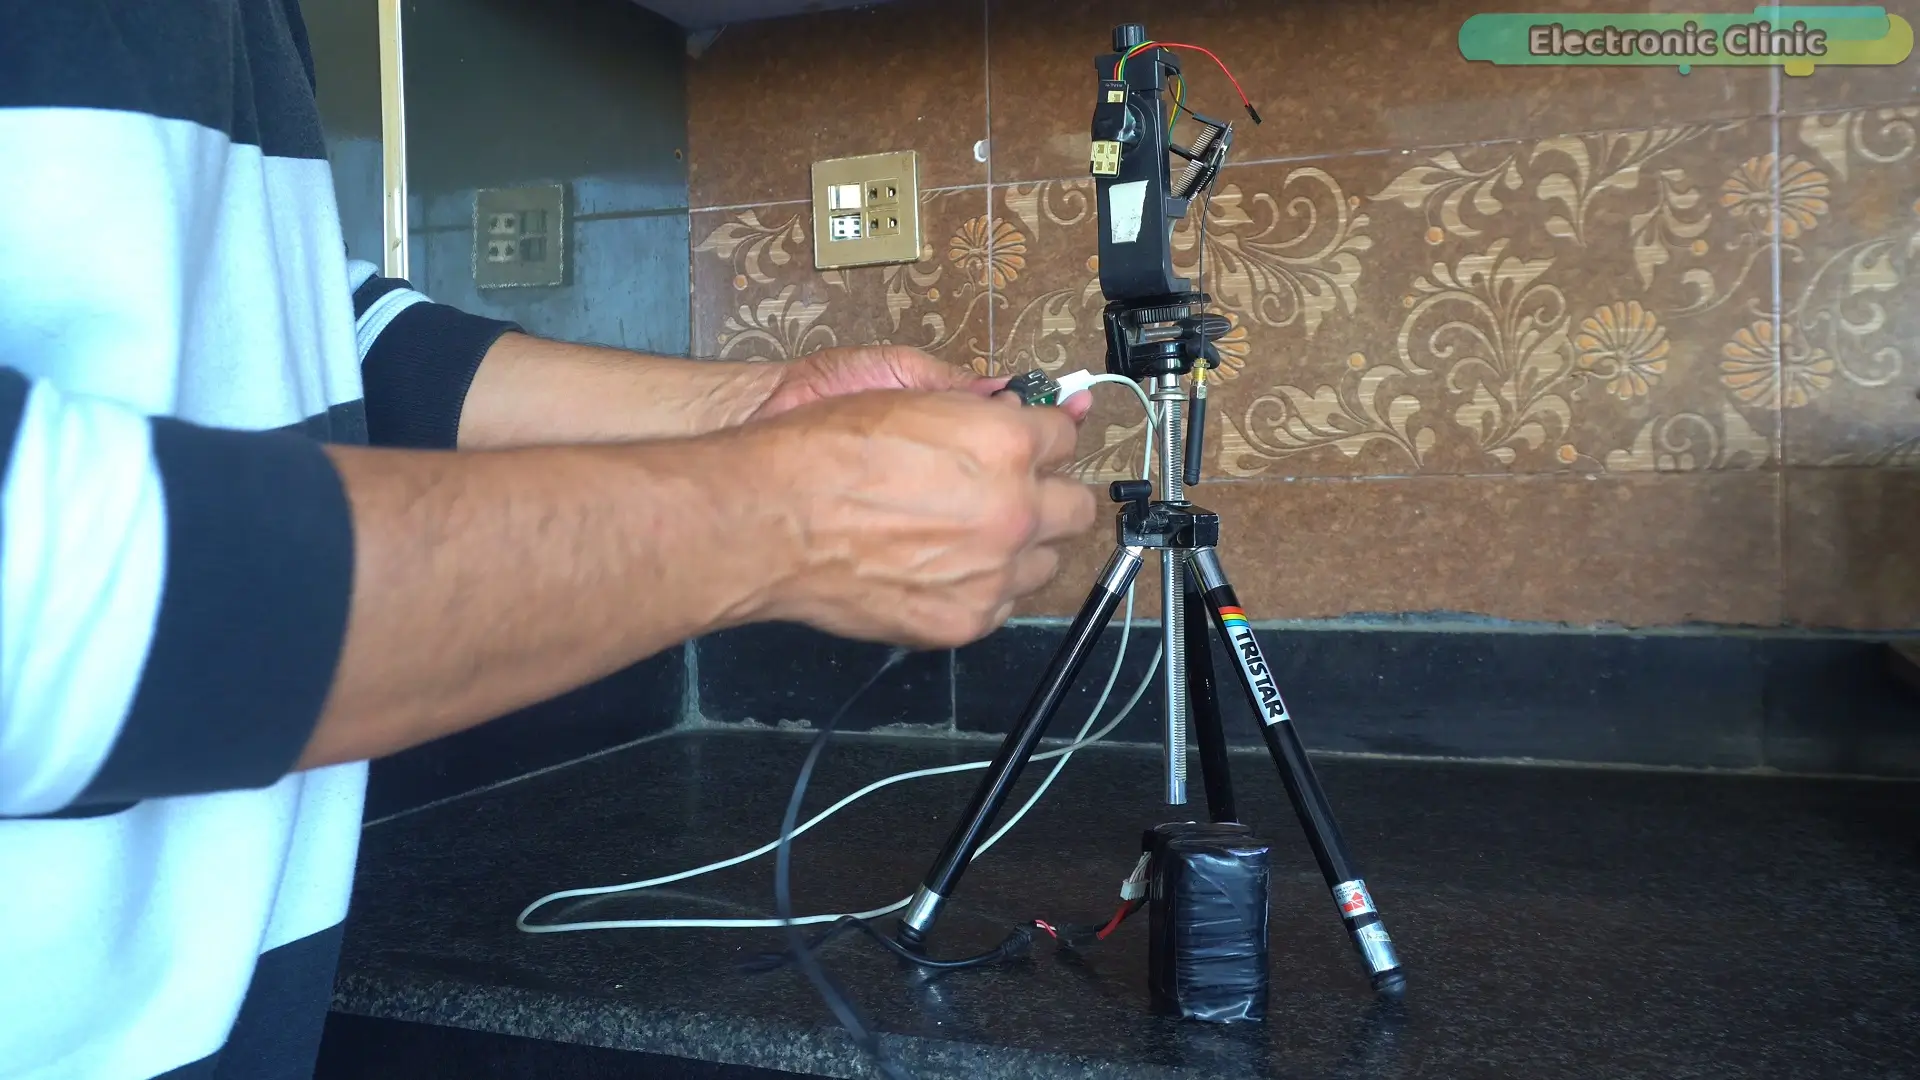
and start monitoring instantly.
For this project, I placed the transmitter outside the room,
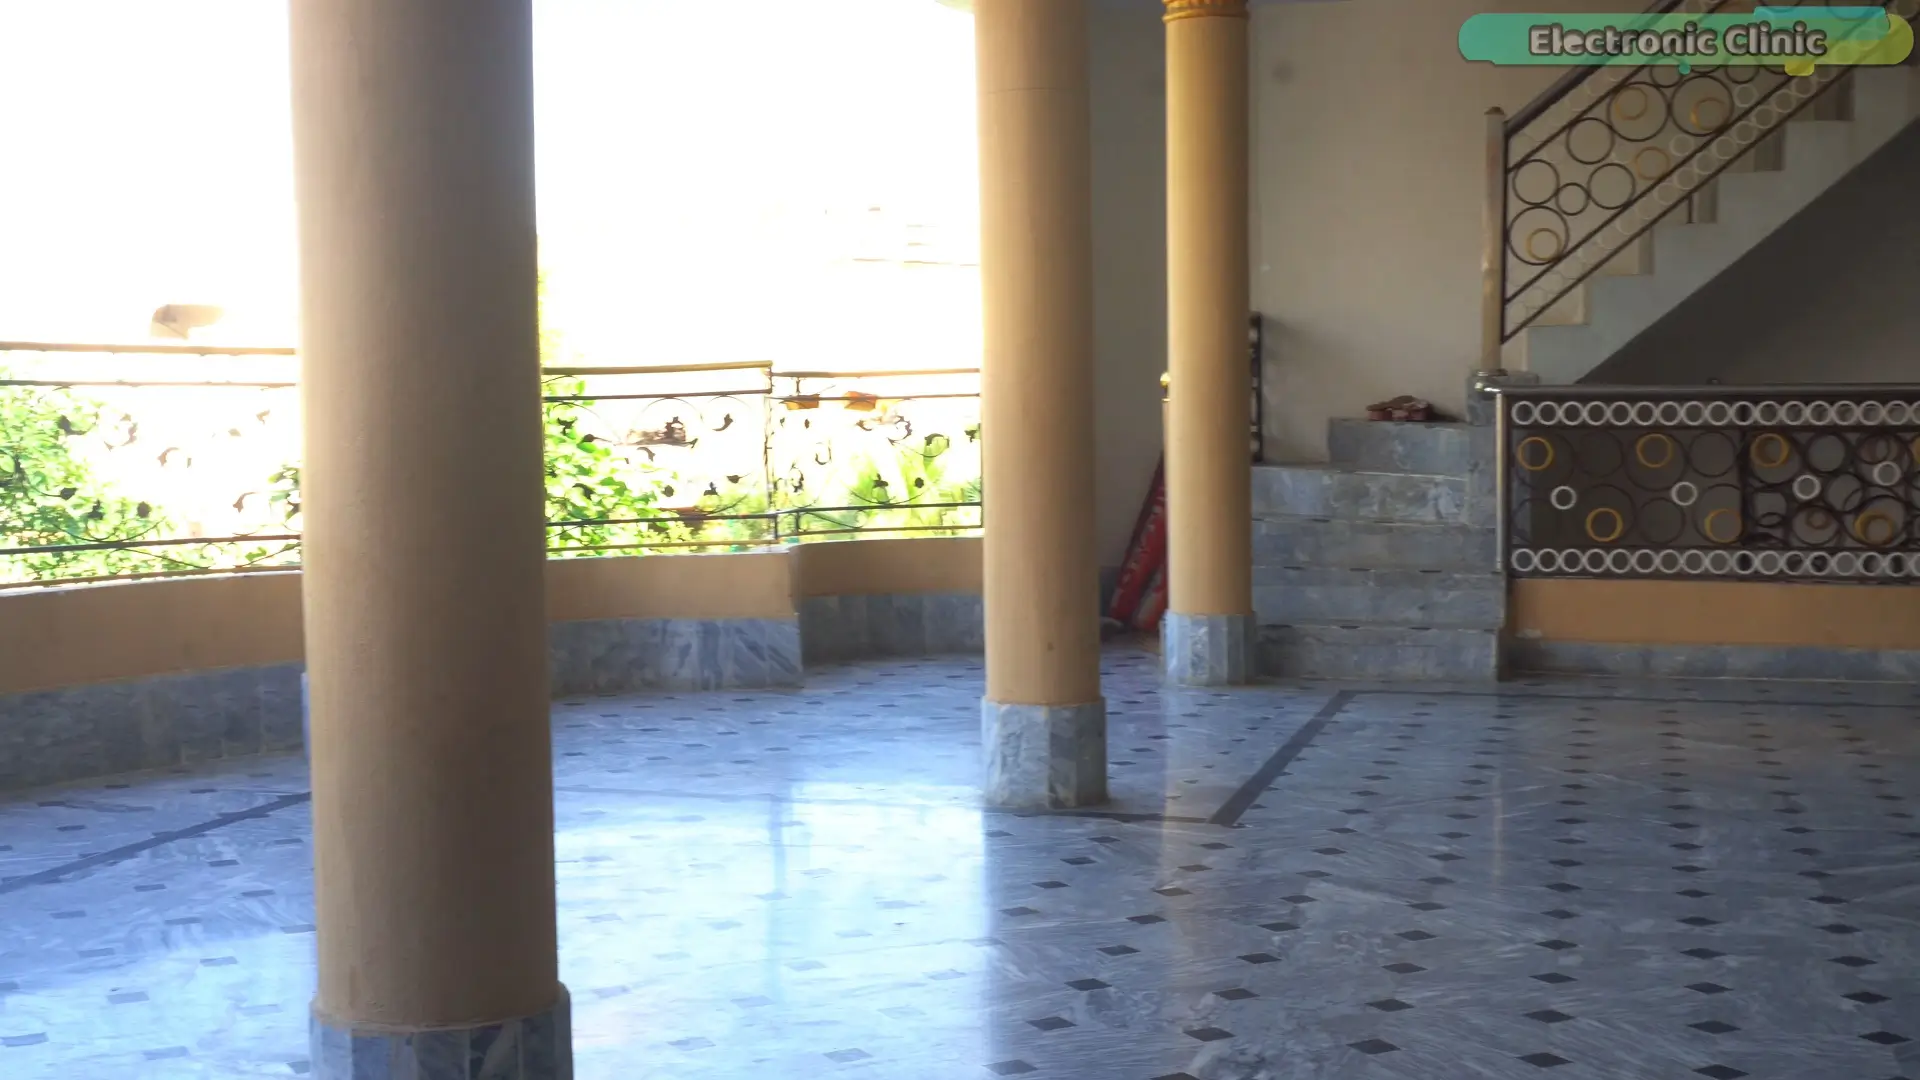
and we will monitor this area.
Now let’s power up the receiver side using a standard phone adapter.
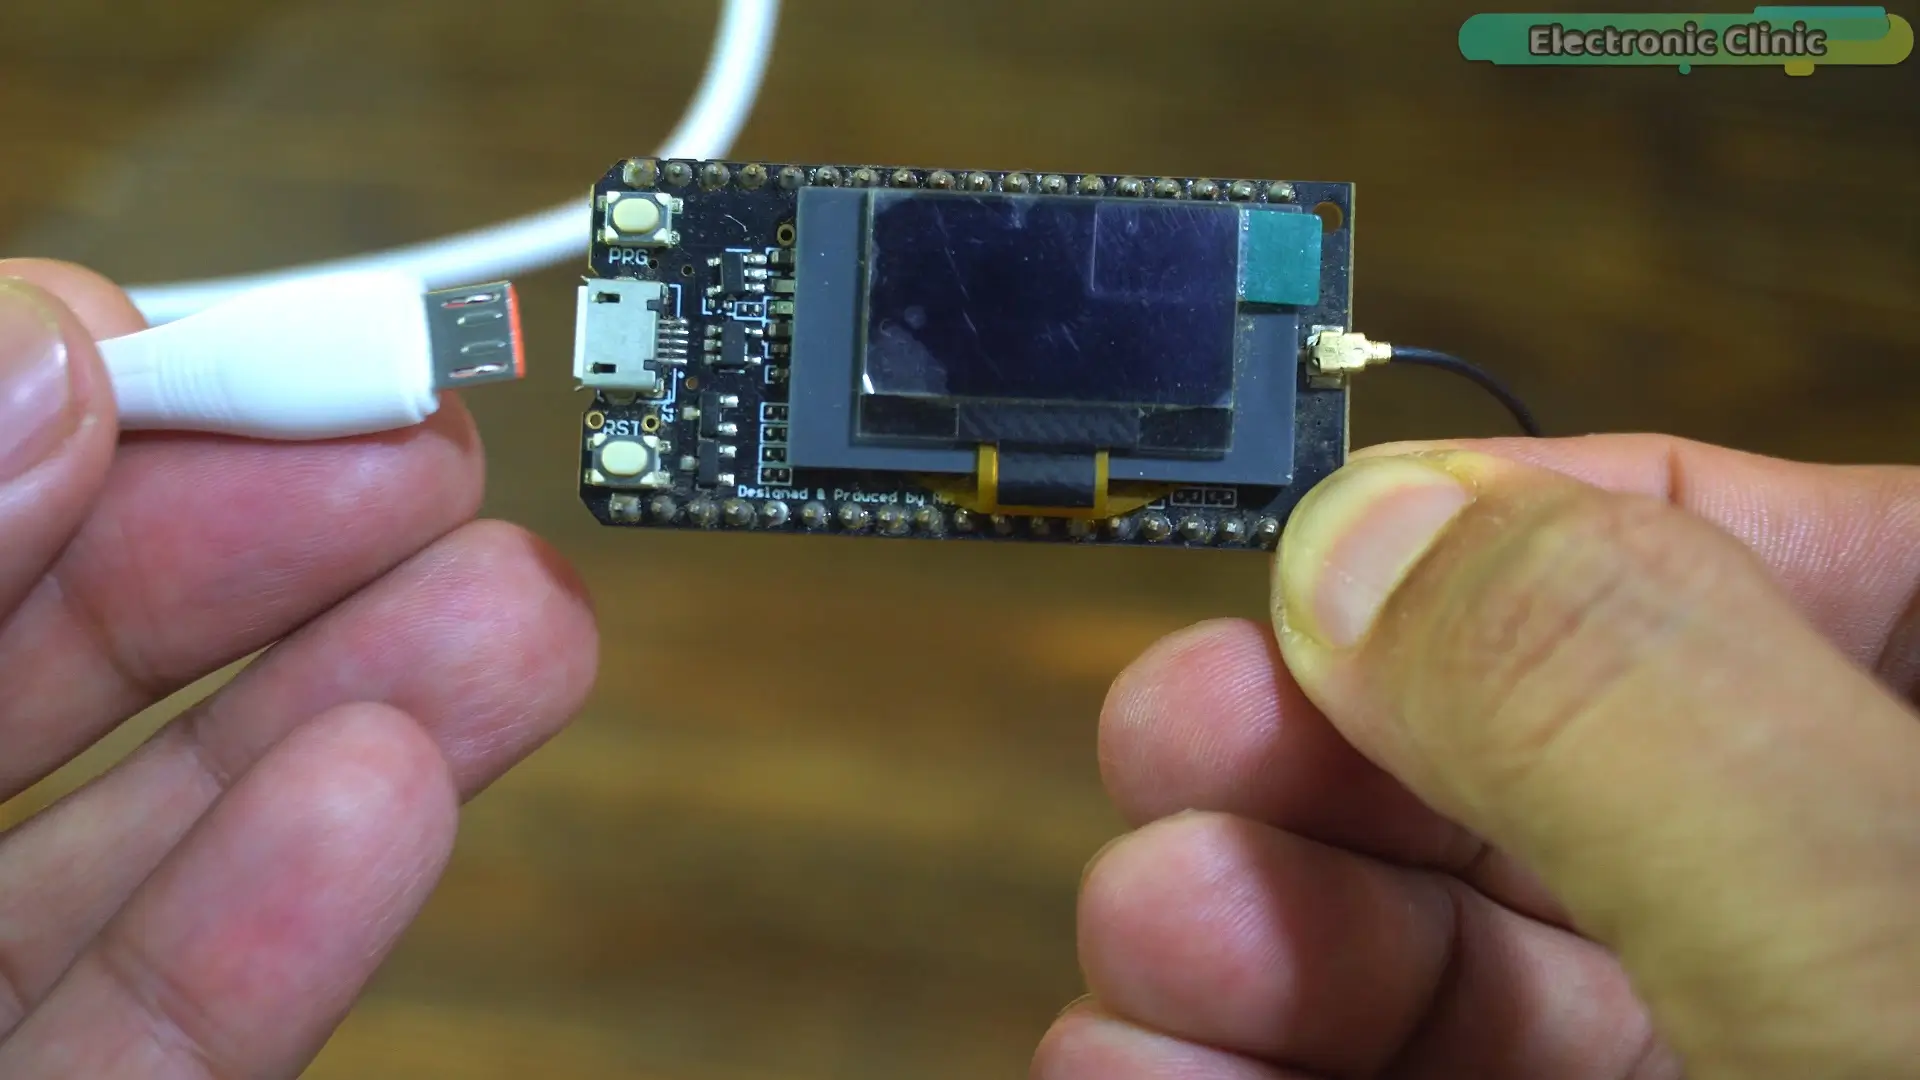
As soon as I powered it on, the data started coming in.
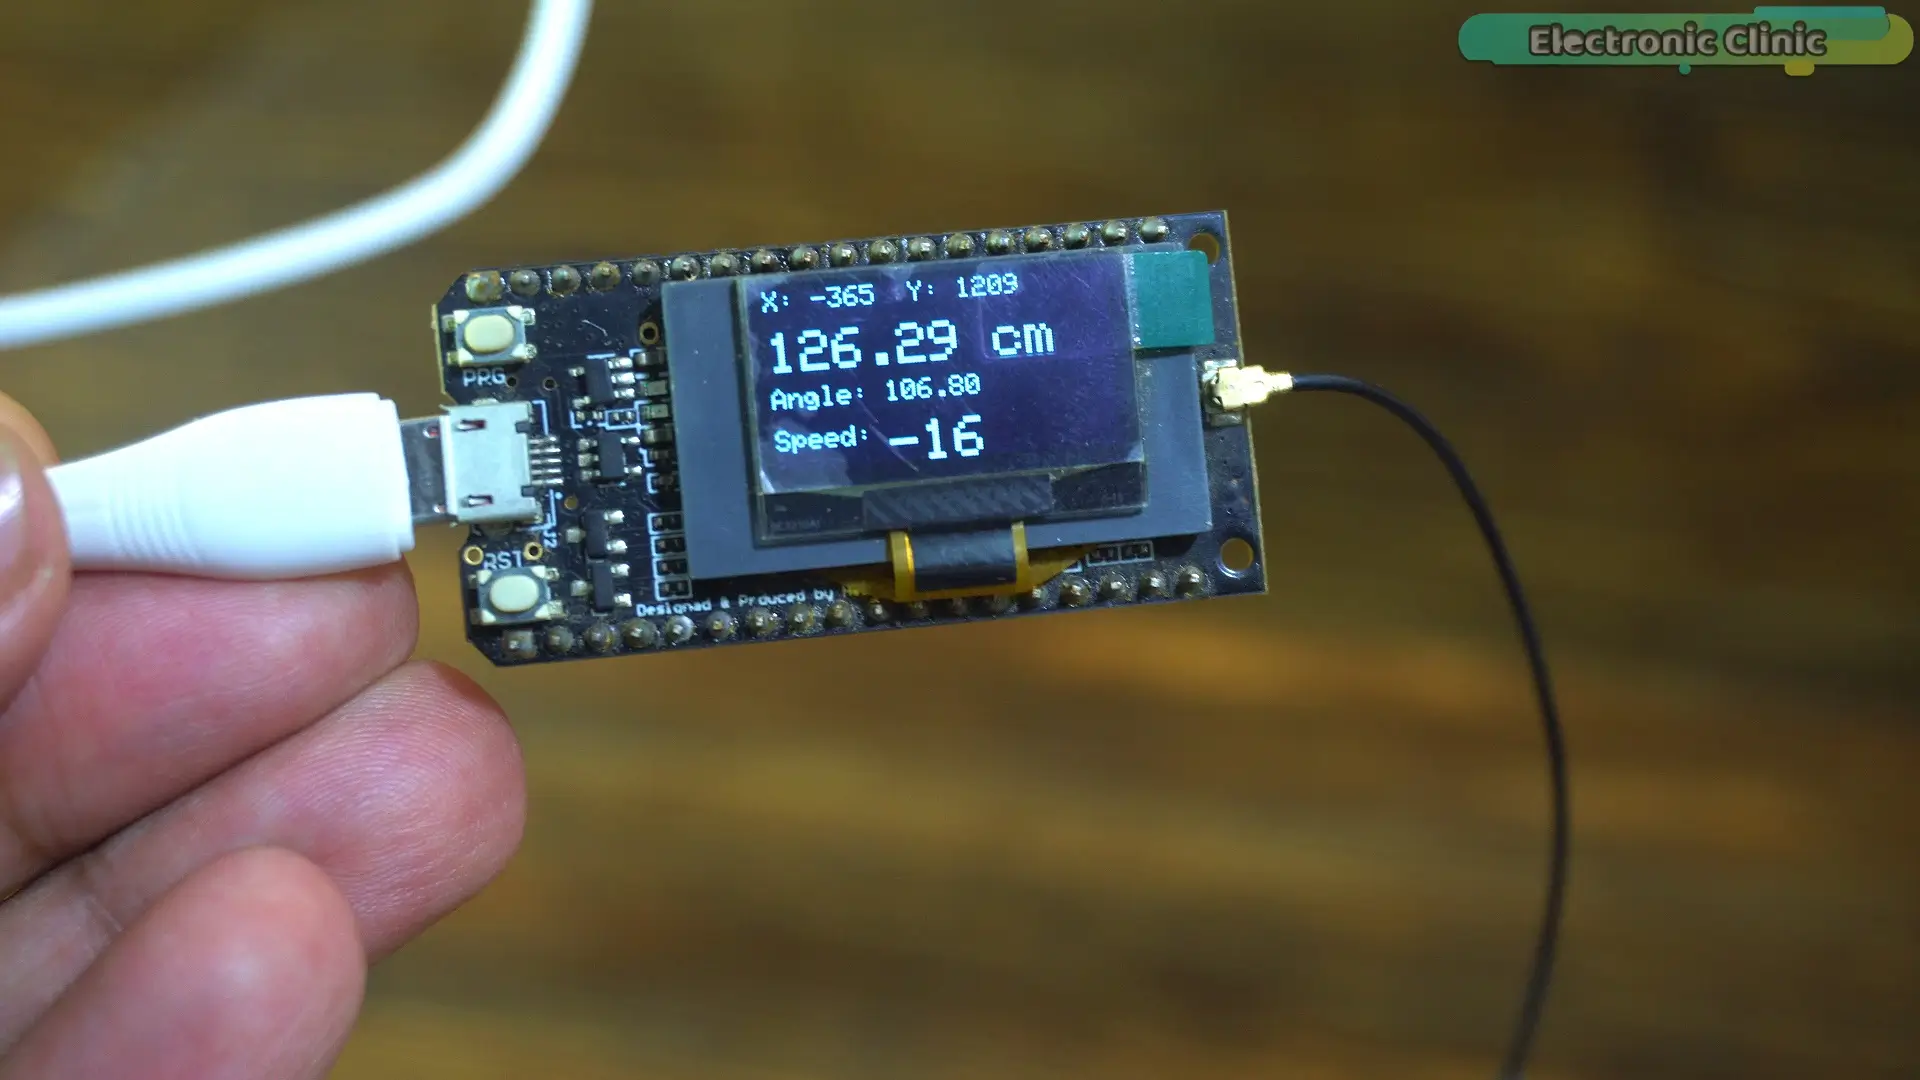
X and Y position,distance,angle, and speed, all updating in real time.
The RD-03D mmWave radar and the LoRa are working exactly as expected.
We can see all the data on the OLED display,
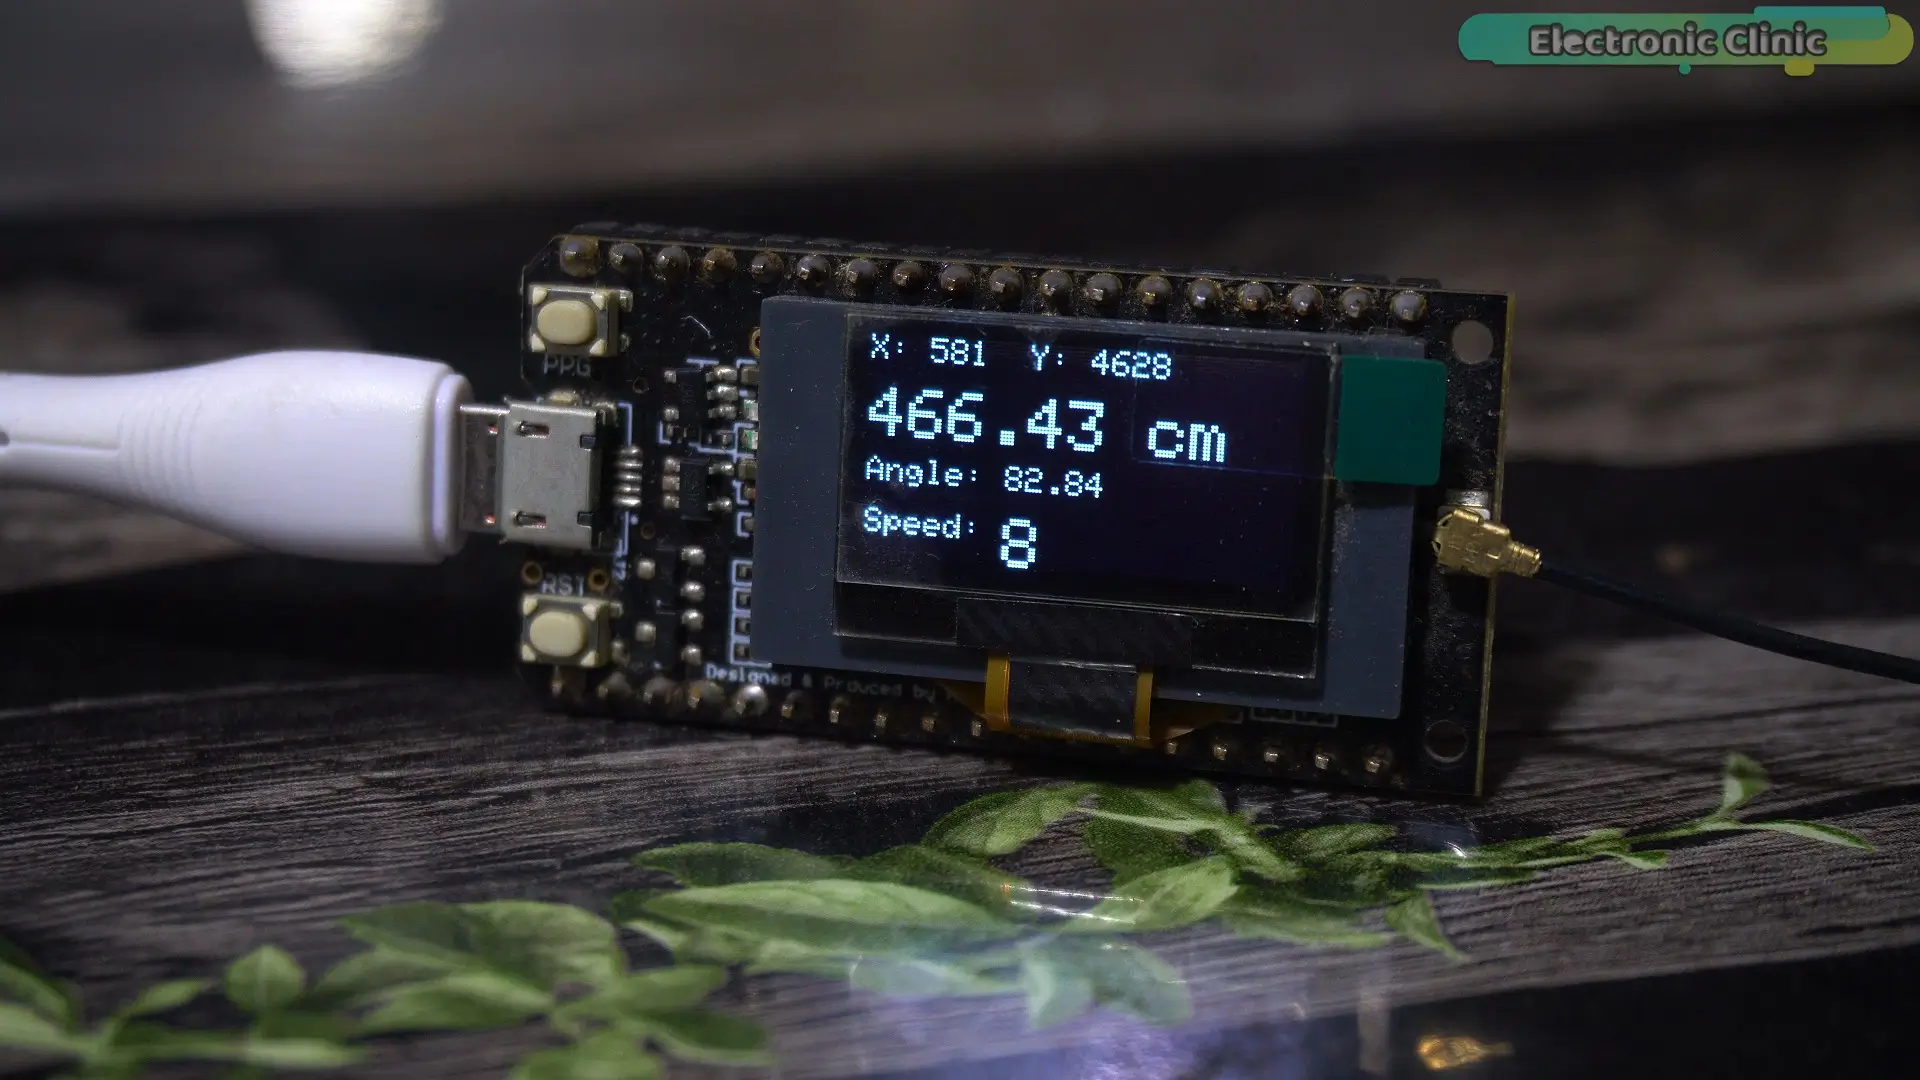
X, Y, distance, angle, and speed.
But there’s one problem.
It takes time to process all this in your head and figure out the actual position.
So to solve that, I designed a radar-style interface.
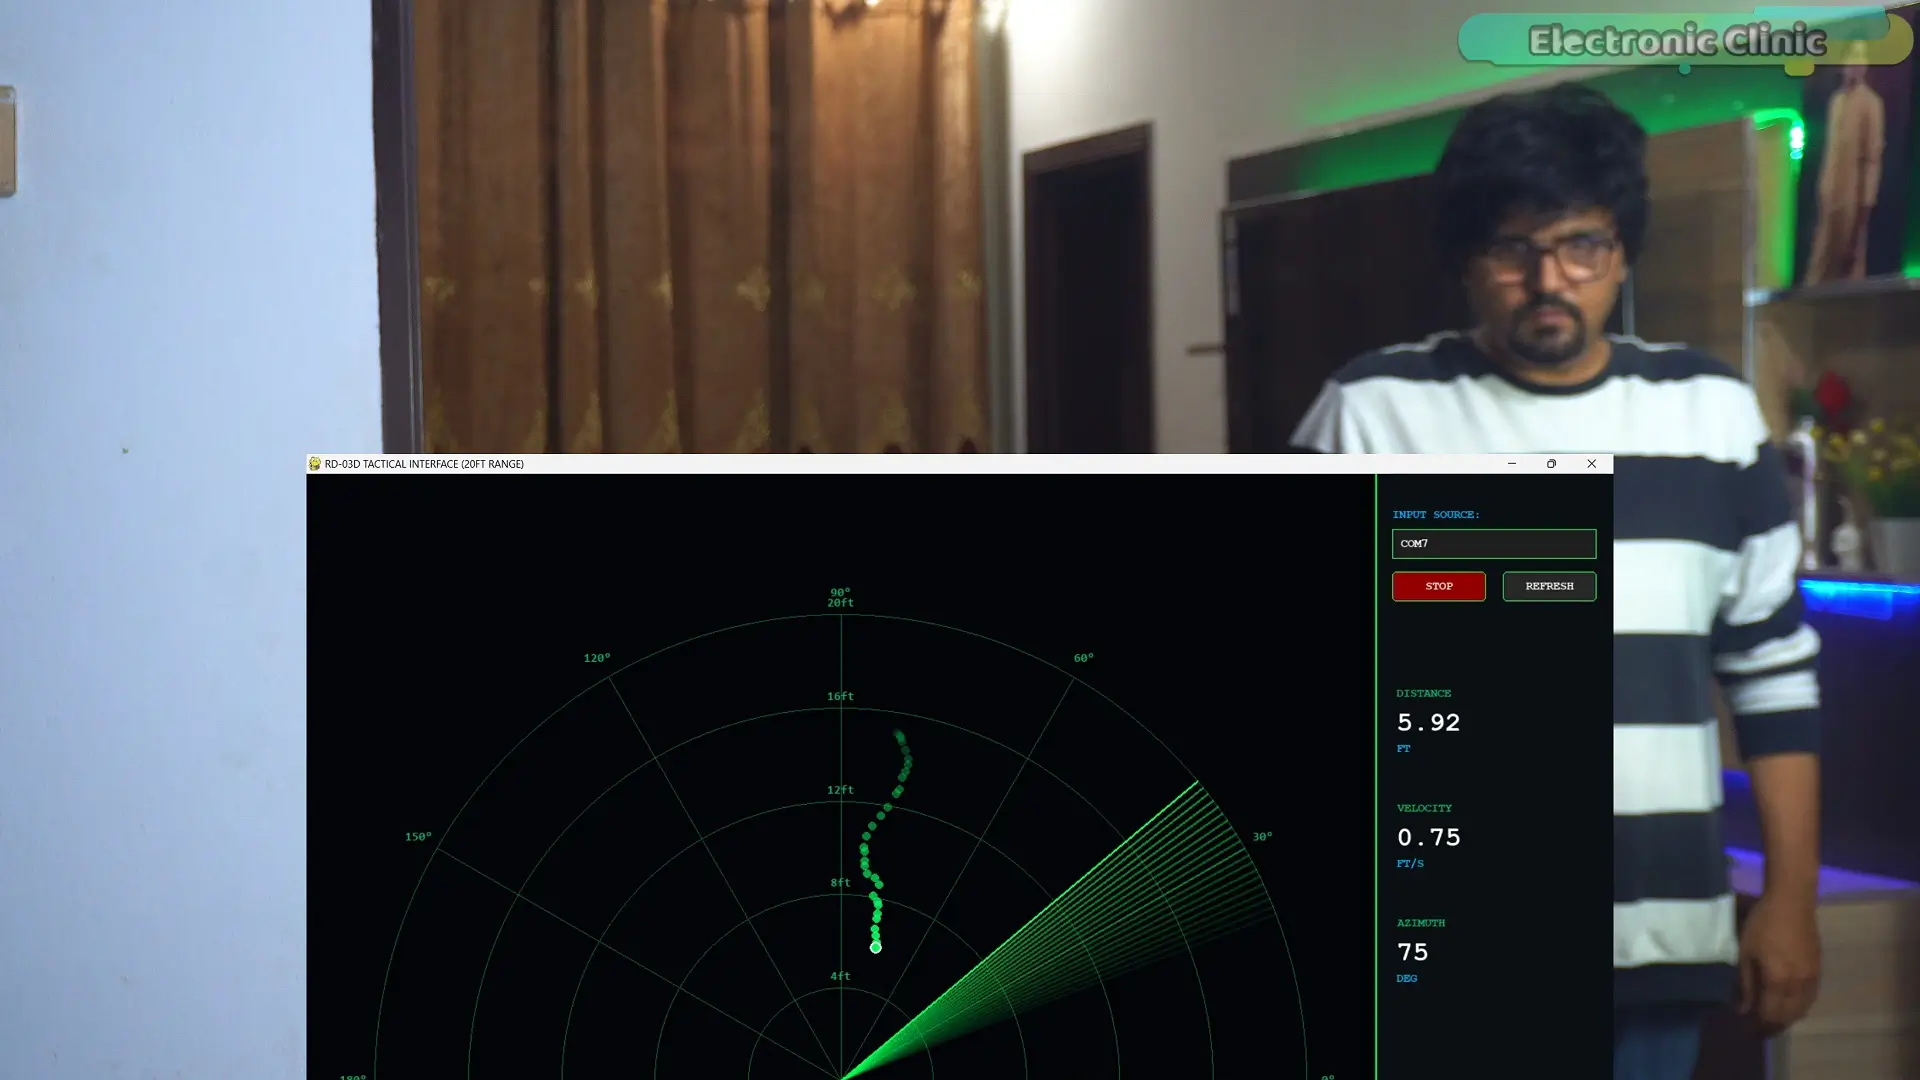
Now there’s no guessing.
You can directly see the exact location of a person, in real time.
At first, monitoring everything on a computer felt amazing.
It looked cool,
it felt powerful,
and honestly, I really liked it.
Seeing all the data live,
building that radar interface,
it was exciting.
But then I started thinking,
What if you are not sitting at your desk?
What if you are out in the real world?
Let’s say,
You are in a remote area,
maybe a forest,
or on some kind of field mission,
where you need to monitor a specific zone, and stay alert at all times.
In that kind of situation,
carrying a laptop,
setting it up, keeping it powered, is just not practical.
So I decided to take it a step further.
I built version 2.
Now, you can still monitor everything on your computer
if you want that full interface,
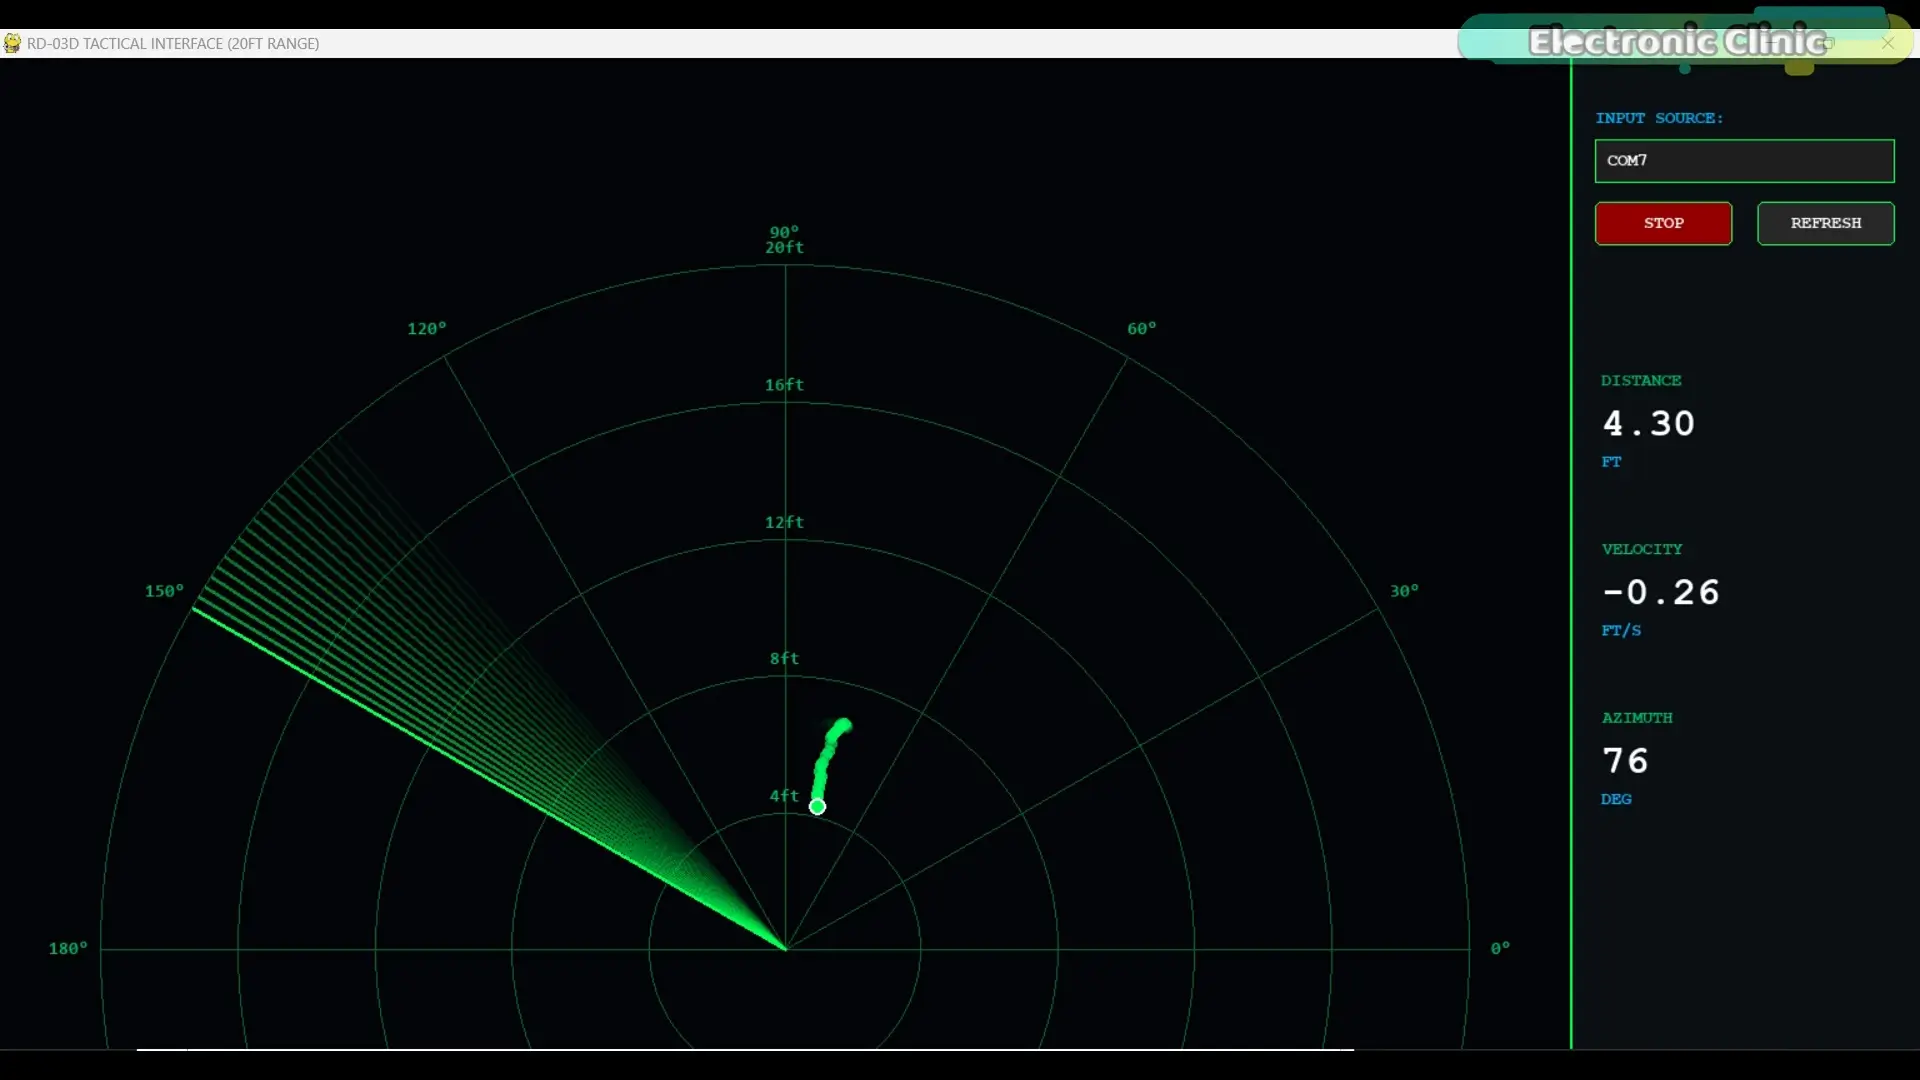
but at the same time,
you can also see the same radar-style view directly on the OLED display.
No laptop needed.
No setup required.
And the best part?
Now the whole system becomes completely portable.
You can carry it in your pocket,
take it anywhere,
and start monitoring instantly.
you can download both versions of the code —
Version 1
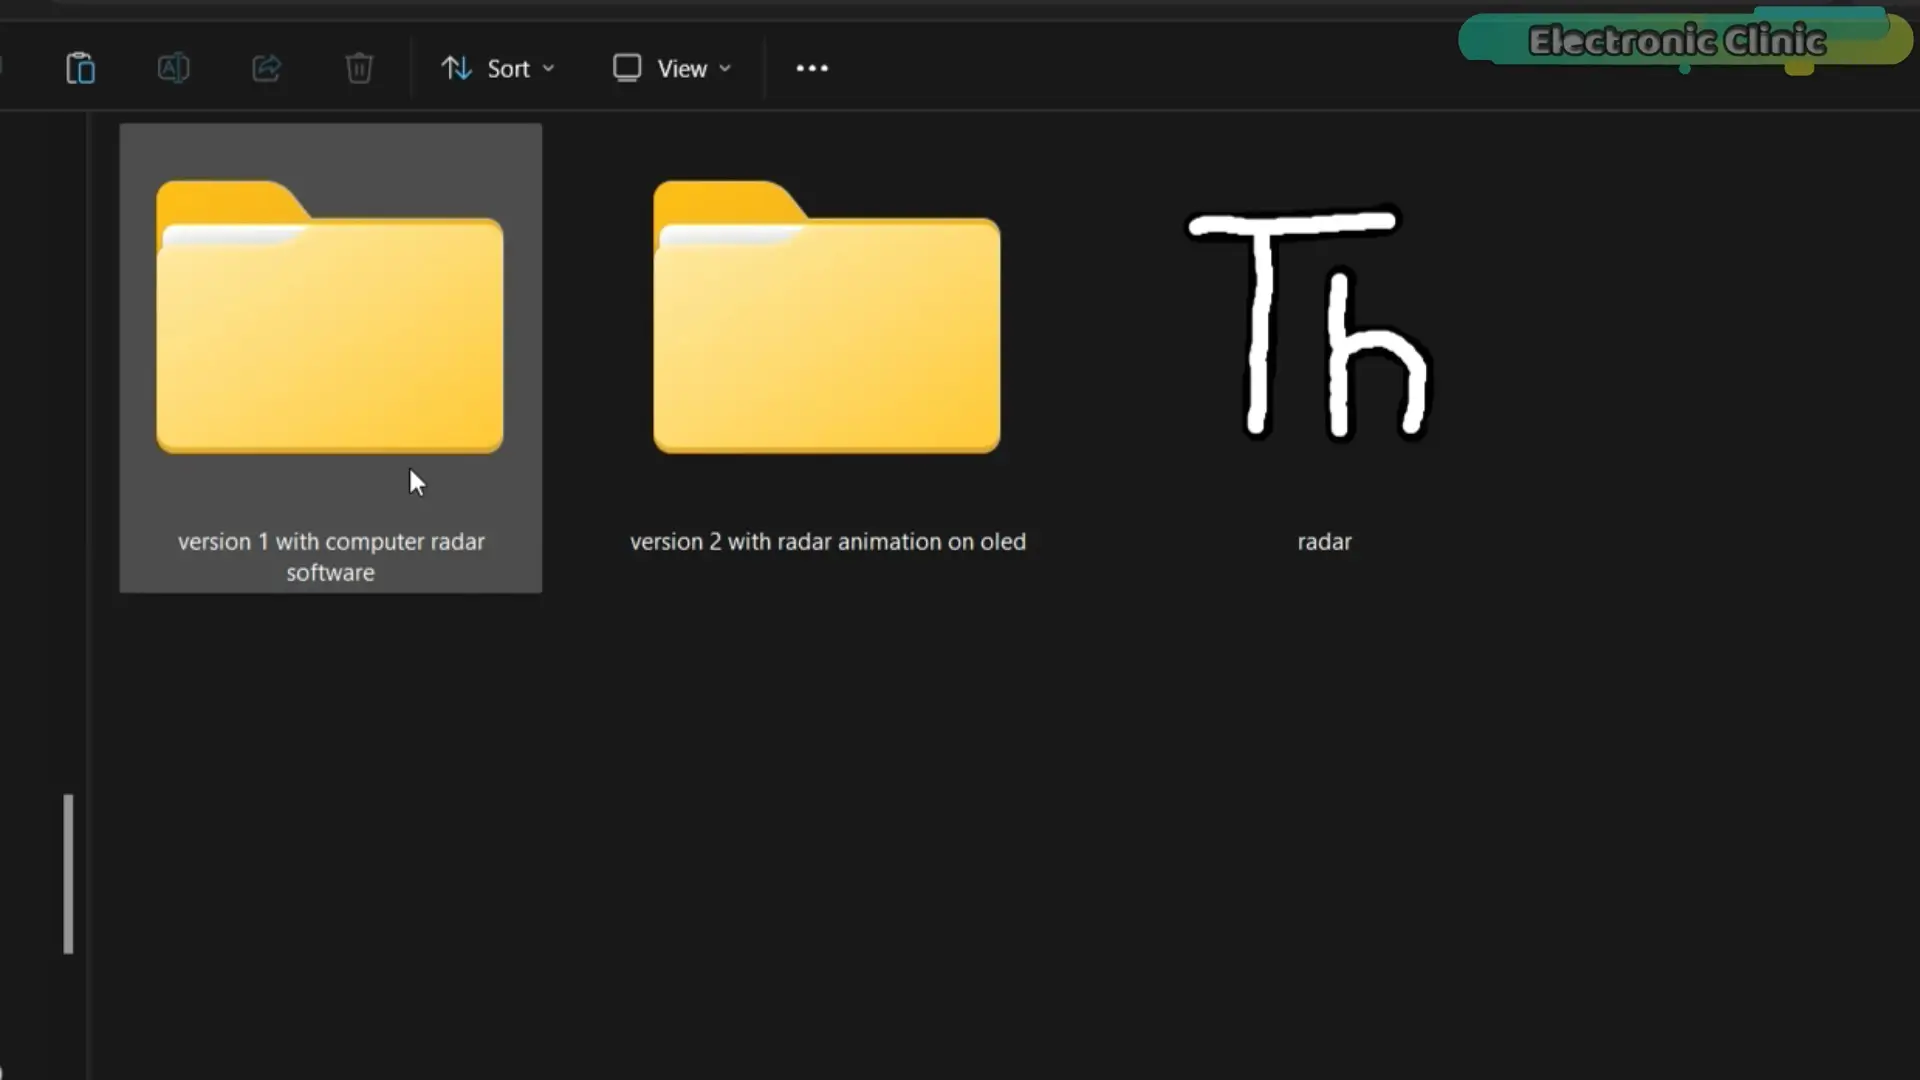
and Version 2,
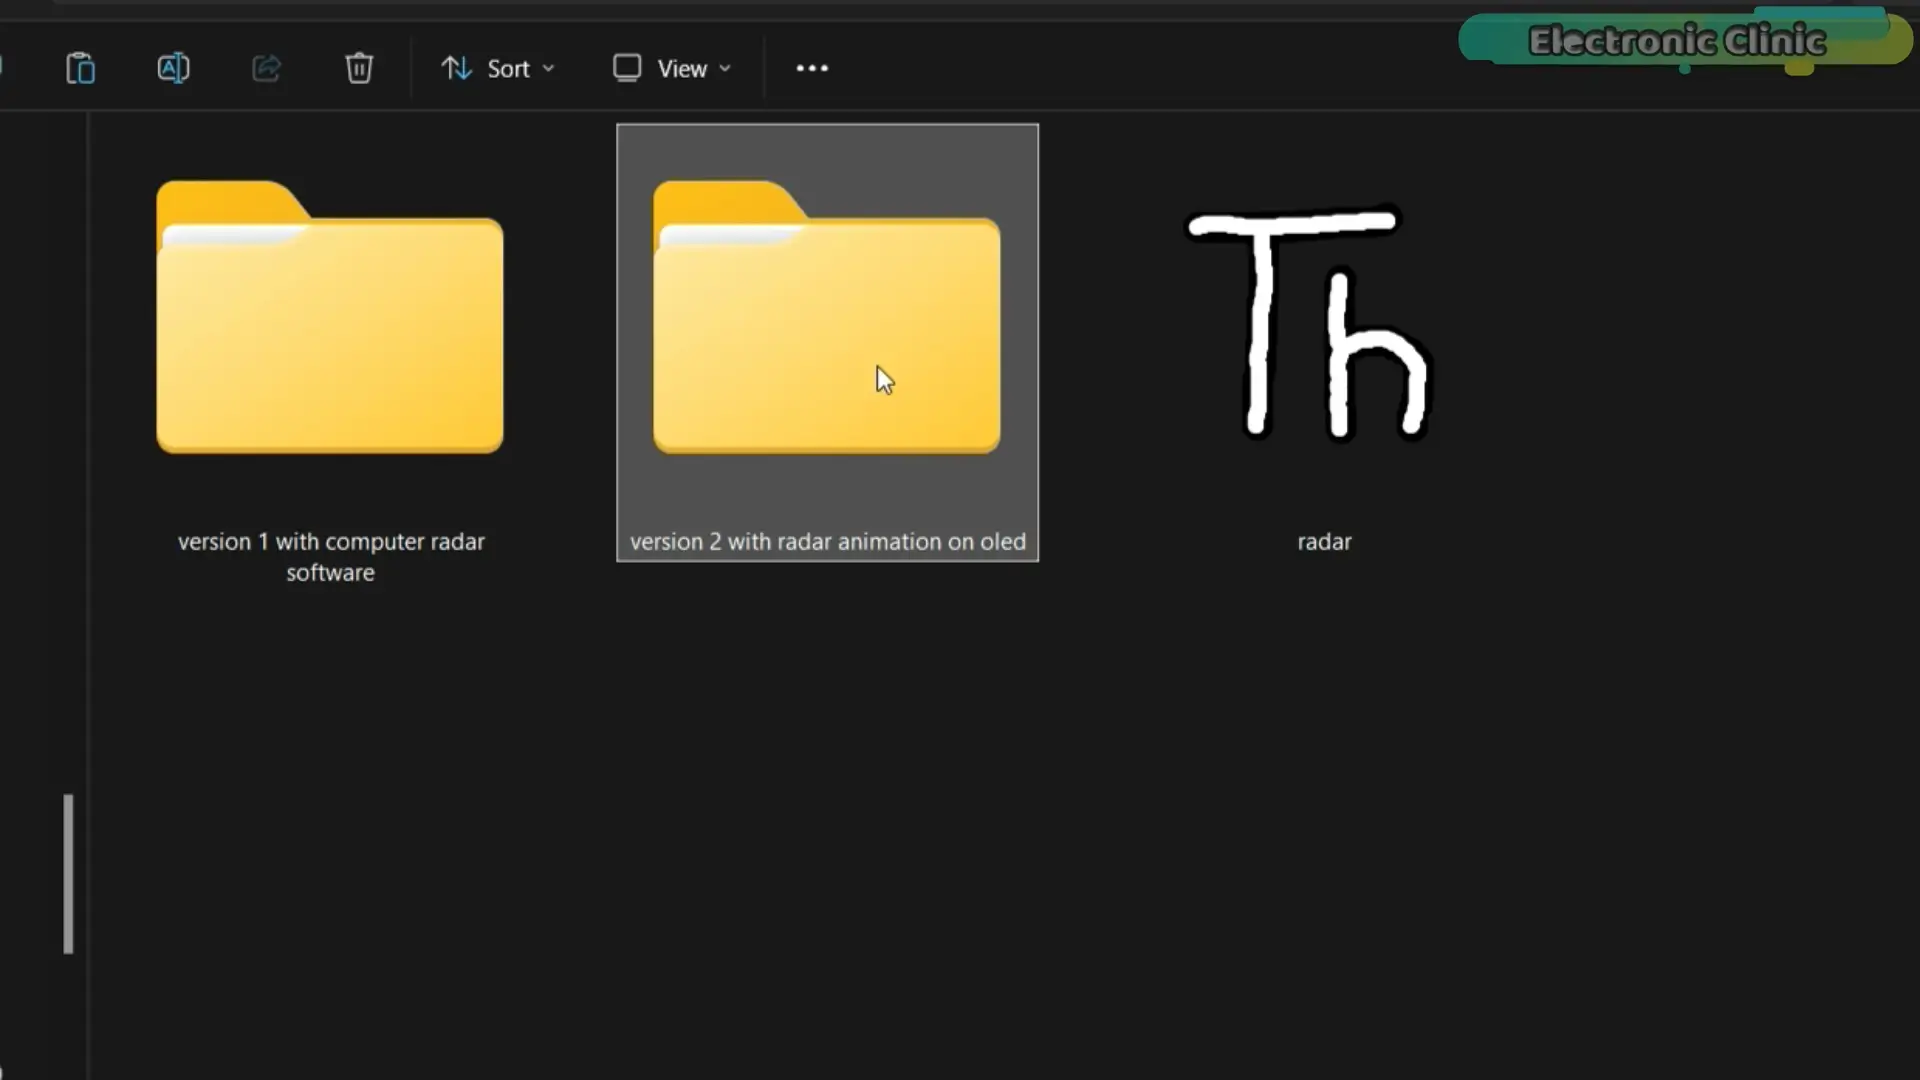
along with the computer application,
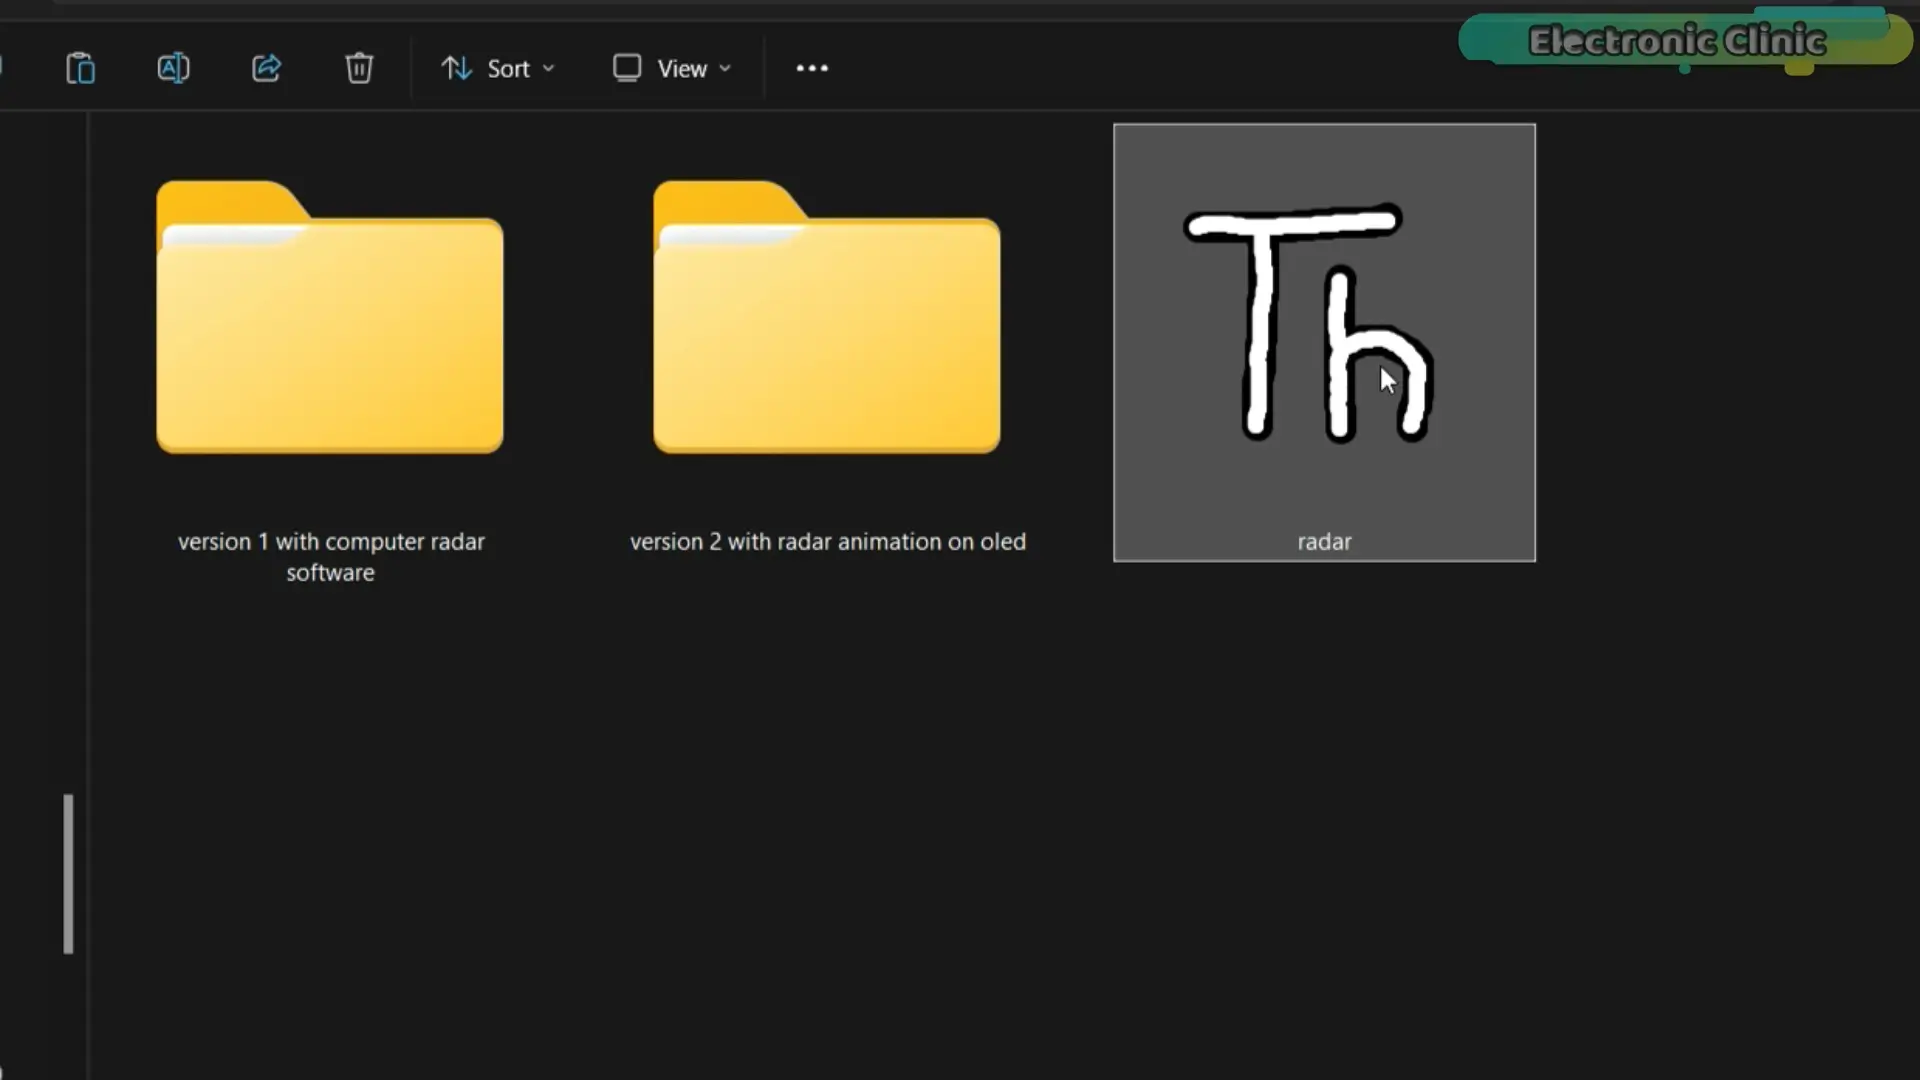
from my Patreon Post.
This project is a complete long-range monitoring solution.
It combines the accuracy of mmWave radar,
with the power of LoRa communication,
to detect, track, and transmit human movement
over kilometers,
even in places where traditional systems fail.
You can carry it anywhere,
set it up in seconds,
and start monitoring instantly.
So, that’s all for now.
Support me on Patreon:
If you enjoy my work and find these projects helpful, please consider supporting me on Patreon. With just $1, you can get access to all project source codes, schematics, and extra resources that I share with my supporters. Your support helps me continue creating new electronics tutorials, experiments, and open projects for the community. Thank you so much for being part of this journey and for supporting my work!
Watch Video Tutorial:

Discover more from Electronic Clinic
Subscribe to get the latest posts sent to your email.