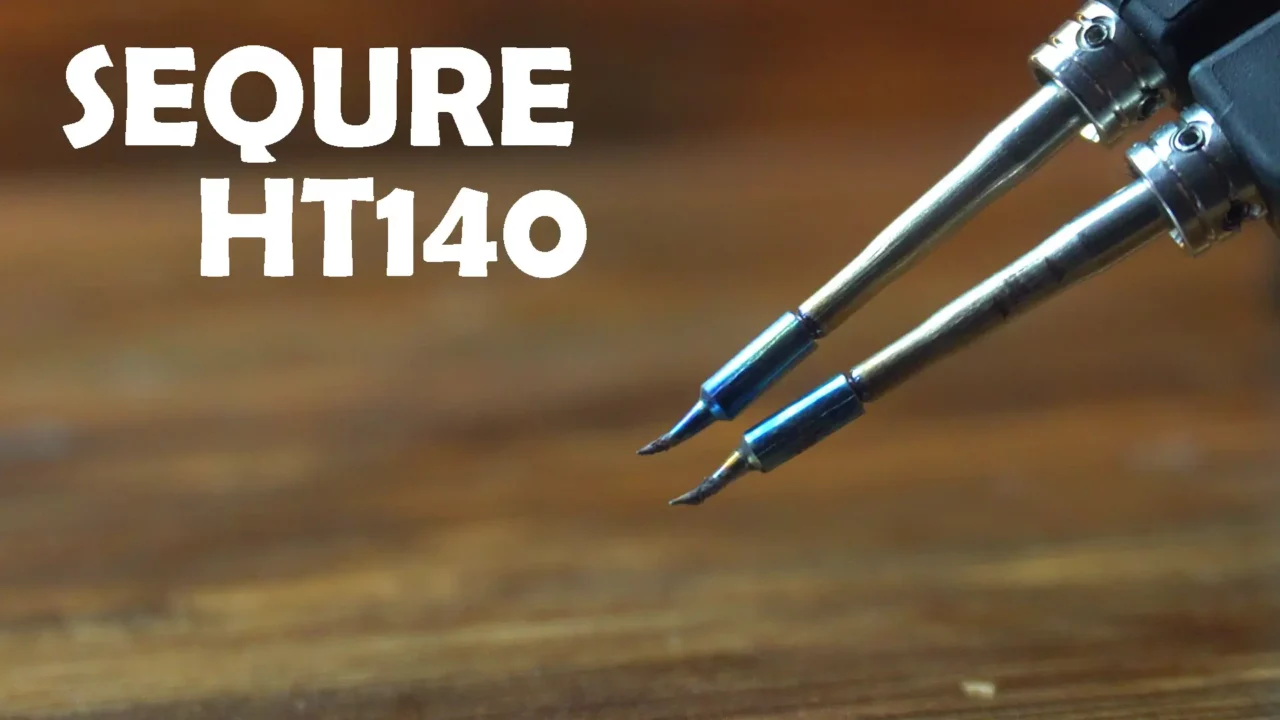
SEQURE HT140 2-in-1 Hot Tweezers Review & Testing | Soldering & Desoldering Test
Last Updated on February 16, 2025 by Engr. Shahzada Fahad
Table of Contents
Sequre HT140:
This box contains the 2-in-1 Soldering and Desoldering Hot Tweezers, the Sequre HT140.
We will not only test it with SMD components but also with through-hole components to determine its versatility and effectiveness, ultimately finding out if this is the ultimate soldering and repairing tool.
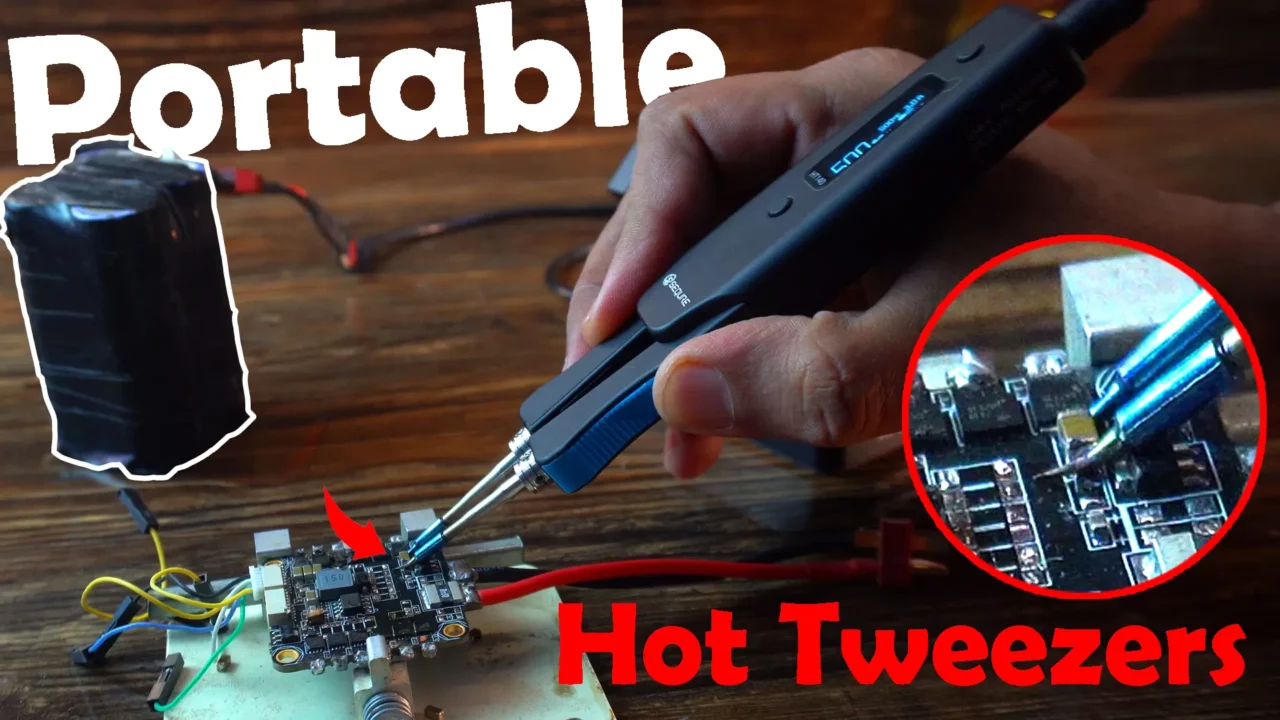
I will also test the HT140 with my 4S Lithium-Ion Battery Pack to see if it can function as a portable soldering and desoldering tool.
A 4S battery pack (14.8V nominal, 16.8V fully charged) might provide enough power, but I will check if it can deliver stable performance and maintain the required heating levels.
This test will help determine if the HT140 can be used for on-the-go repairs and fieldwork without relying on a wall adapter.
So, let’s start with the unboxing.
Amazon Links:
SEQURE HT140 2-IN-1 Portable Hot Tweezers
Other Tools and Components:
ESP32 WiFi + Bluetooth Module (Recommended)
Arduino Nano USB C type (Recommended)
*Please Note: These are affiliate links. I may make a commission if you buy the components through these links. I would appreciate your support in this way!
Sequre HT140 Unboxing:
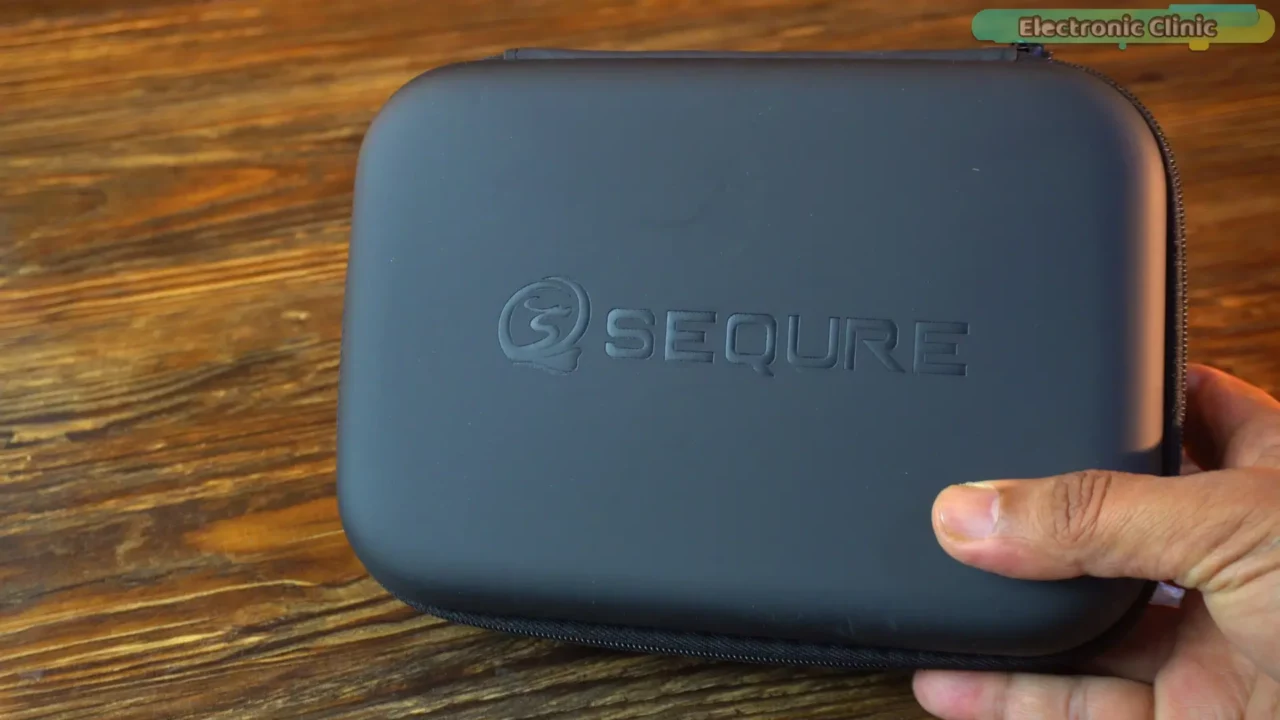
The SEQURE HT140 comes in a well-built protective carrying case, giving it a premium feel right from the start. The case is sturdy and compact, making it easy to store and carry.

SEQURE HT140, right out of the box, boasts the premium treatment that it deserves from a well designed protective carrying case which also serves as a travel bag, being sturdy and compact at the same time.
- Comes with a USB-C type C cable.
- Also comes with a user manual that contains a QR code providing easier access to additional features. Scanning the QR code leads straight to the official SEQURE website or documentation to access detailed instructions, firmware updates, and troubleshooting guides. This is excellently included for those who prefer digital manuals over printed ones.
- Accessory Package: Includes important pieces of equipment, such as a screwdriver and an Allen key, for changing and servicing the tips.
- HT Station: A strong metal holder for the HT140 that makes sure it is held securely when not in use.
- A 65W Power Adapter.
- The main device that serves as both hot tweezers and a soldering iron.
For additional information about the Sequre HT140, visiting the official product page is highly recommended.
If you want to know more about the Sequre HT140, I highly recommend visiting the official product page.
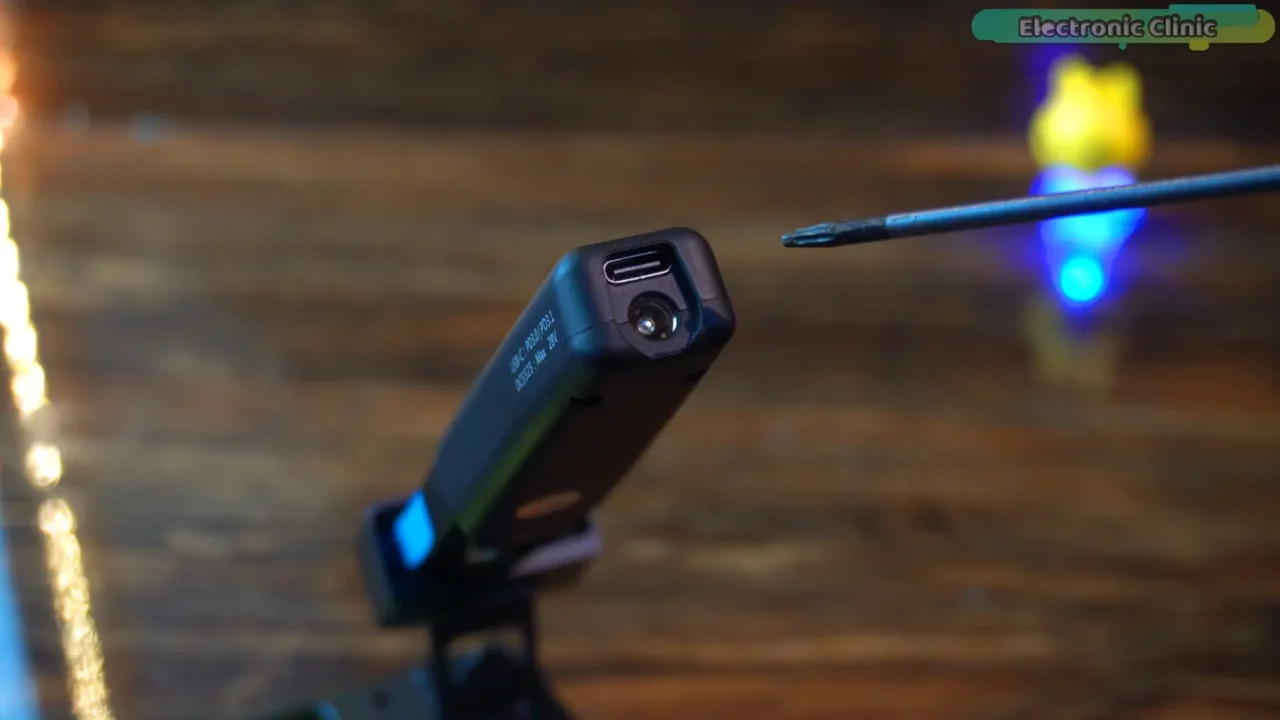
The fact that the SEQURE HT140 has two power input choices is very amazing. The tweezers can be powered with a conventional DC adapter thanks to the DC Barrel Jack and USB-C for contemporary rapid charging adapters.
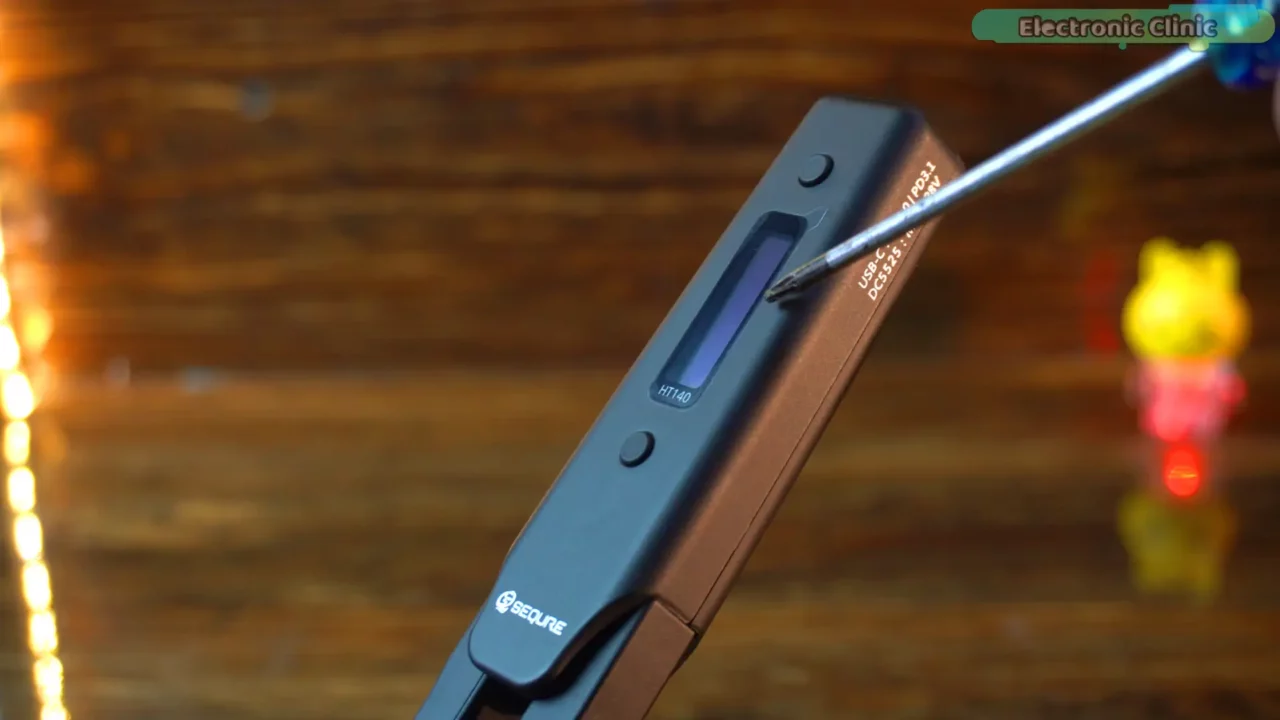
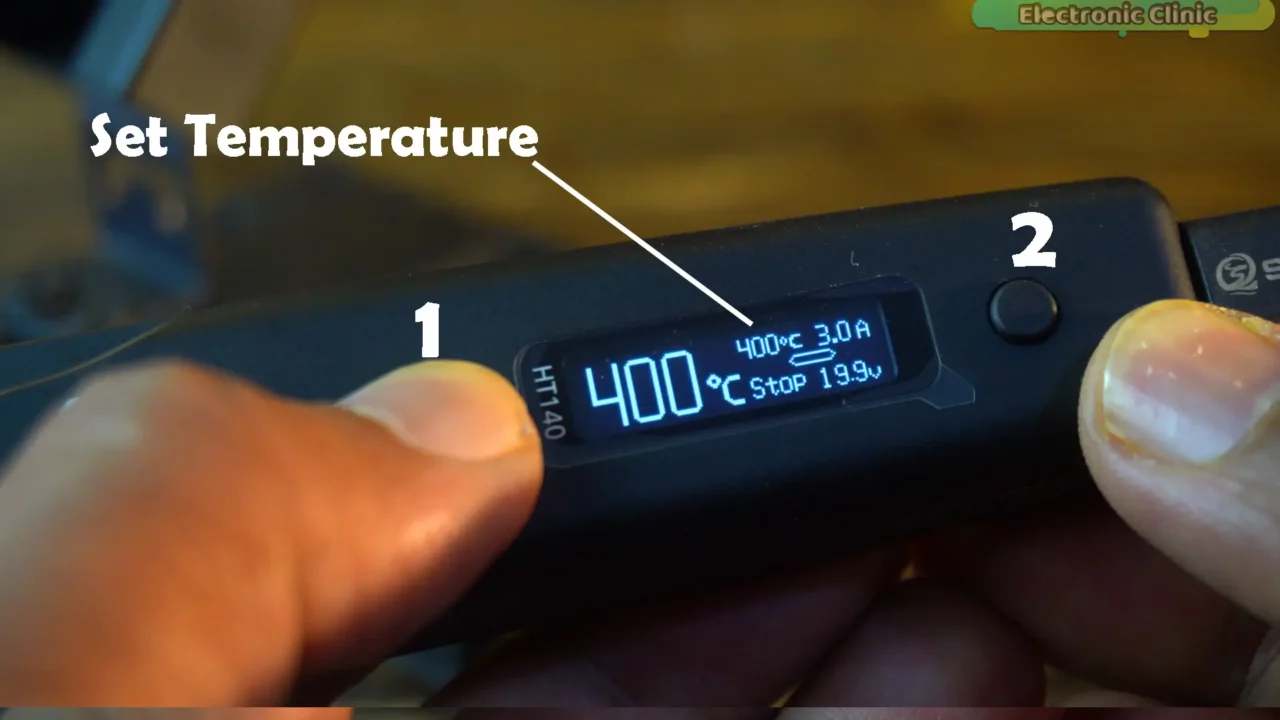
It has two buttons for easy adjustments and an OLED display for real-time temperature monitoring. These buttons have several uses. Before I demonstrate how to utilize these buttons practically, let me power up this beast.
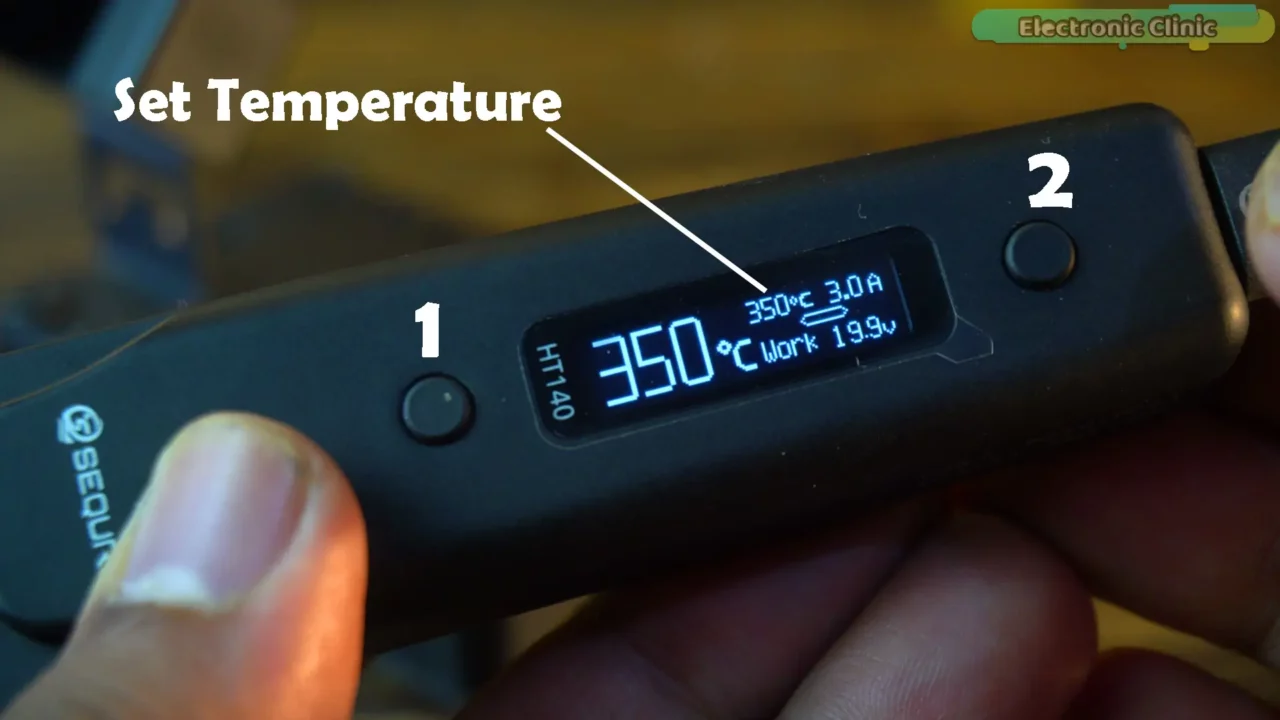
On the display, you can see the set temperature, which you can easily adjust using these buttons labeled as 1 and 2. “Watch the video tutorial given at the end of this article”.
- To increase the temperature, simply short-press button2. It is appropriate for high-temperature soldering applications because the temperature may be raised as high as 500°C.
- Short-press the other button to lower the temperature.. The temperature can be lowered down to 50°C, allowing for precise control when working with heat-sensitive components.
The HT140’s broad temperature range makes it ideal for a variety of soldering and desoldering tasks.
The HT140’s internal temperature controller responds quickly. It ensures accurate and reliable heating by quickly adjusting the bit’s temperature to the predetermined setting. This quick response helps minimize waiting time, making the soldering and desoldering process more efficient, especially when working with delicate SMD components.
Next to it you can see the current; it’s 3.0A.
WORK denotes active heating and temperature maintenance of the tweezers. This indicates that the heating components are operational and prepared for desoldering or soldering.
Simply long-press button 1 to end the heating function. The word “STOP” will appear on the screen to let you know that the heating has been switched off.
If you want to resume work, long-press the same button again, and the display will switch to “WORK”, meaning the tweezers are heating up.
Next to it, you can see the input voltage.
If you want to access additional settings, simply long press button2 to enter the menu and then short press the same button to scroll through the menu items.

Select the menu item and then long press the same button to open that item.
To exit a menu item or close the menu completely, long-press both buttons simultaneously.
I won’t go through all the menu options since they are easy to figure out once you start using the device. Instead of spending time on the menu details, it’s more valuable to focus on the actual usage and hands-on experience with the HT140.
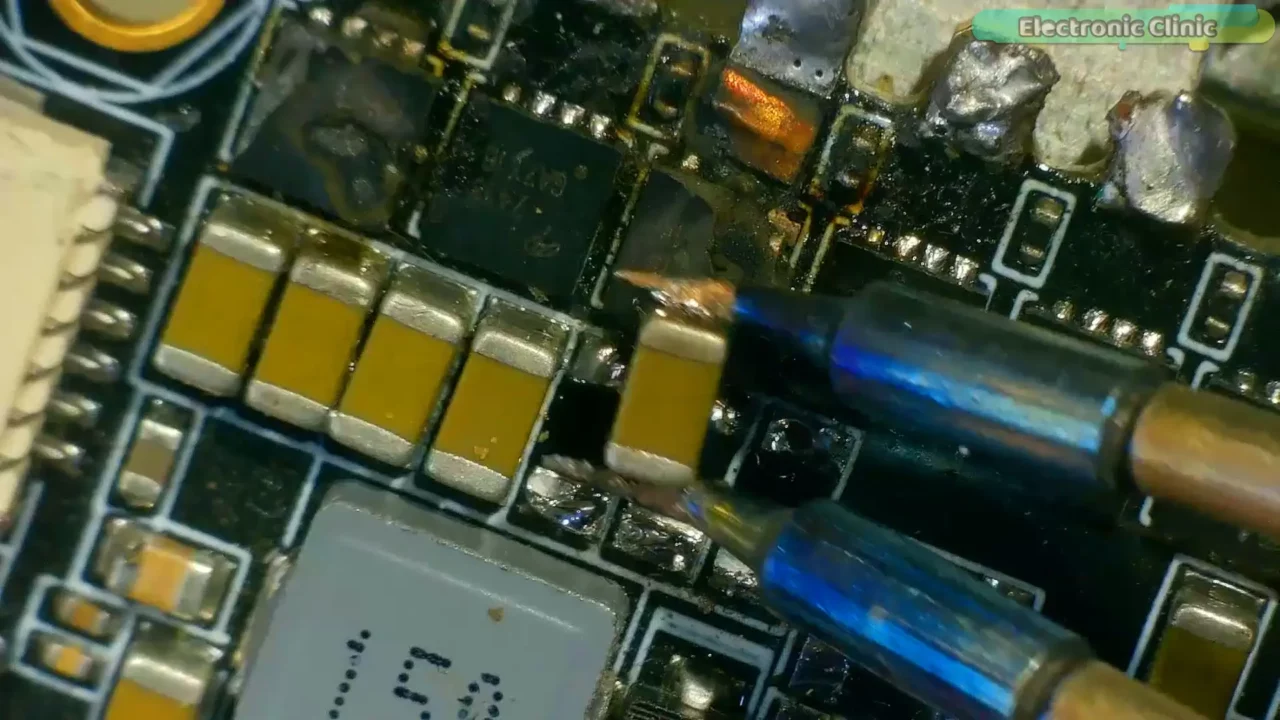
When compared to the often challenging process of desoldering SMD components with a standard soldering iron, the HT140 Hot Tweezers make the process exceedingly simple. I’ve found that even those who have never soldered or desoldered before can use this tool with ease.
The tips are very fine, allowing us to solder and desolder even the tiniest components with precision.
I also have an SMD rework station, but for small repair tasks, using it isn’t always feasible.
If you plan to solder with the HT140, you need to be mindful of the temperature settings. I have already made a detailed video on SMD soldering, which you can watch for guidance. The video is available on my YouTube Channel “Electronic Clinic”.
Anyway, Now, let’s try using it to desolder through-hole components.
Desoldering Through Hole Components:
With a regular soldering iron, you need to heat each pad separately.

You also have to use a solder sucker alongside the iron, making the process more tedious, time consuming, and difficult. Components can sometimes stick due to uneven heating, increasing the risk of damaging the PCB or nearby components.
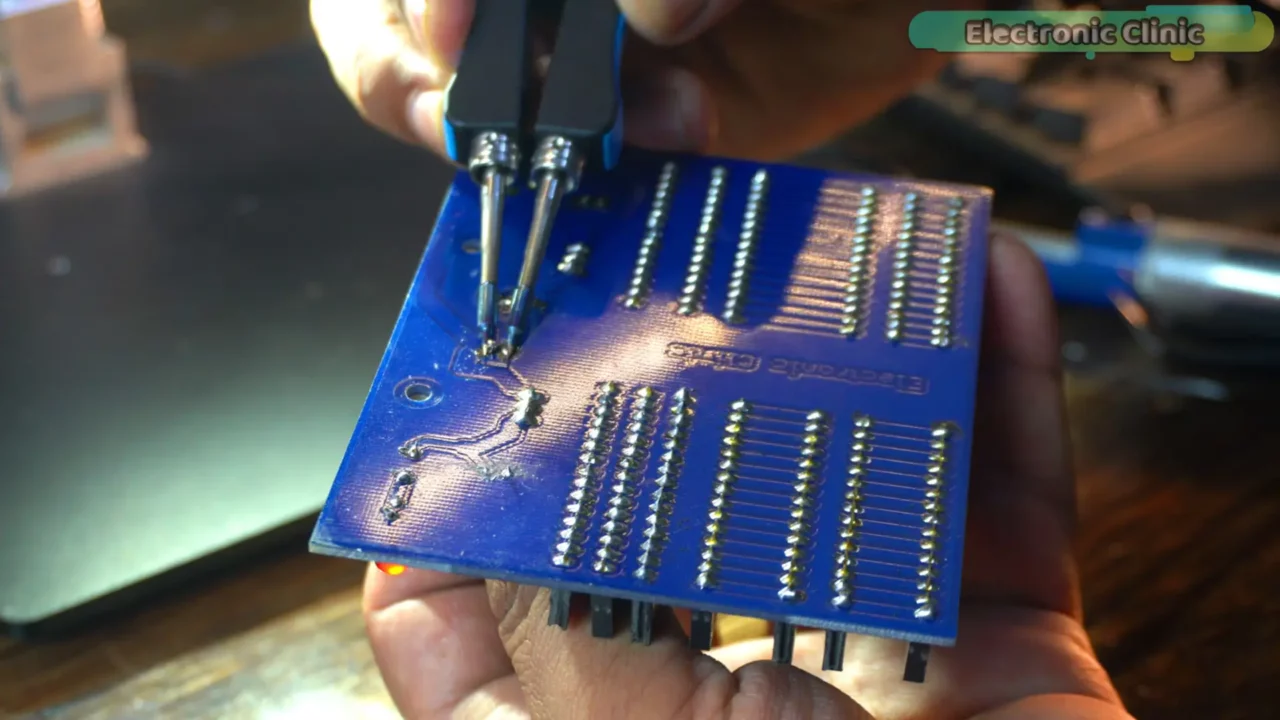
On the other hand, the HT140 Hot Tweezers heat both sides of a component simultaneously, allowing you to lift it off effortlessly.
This makes desoldering much faster, cleaner, and reduces the risk of damaging delicate pads.
The fine tips also make it possible to work on tiny components with precision, something that’s challenging with a traditional soldering iron.
For the soldering of through-hole components, a regular soldering iron might still be useful, but for Desoldering, the HT140 Hot Tweezers make the job significantly easier and more efficient.
Now, I am going to power up the HT140 Hot Tweezers using my 4S lithium-ion battery pack to test whether it can function as a portable soldering and desoldering tool.
As Portable Hot Tweezers:

Let me tell you, this device supports an input voltage of up to 28V, which means you can also try using 5S or even 6S lithium-ion battery packs.

This makes it a highly versatile tool, allowing for cordless operation, which can be incredibly useful for on-the-go repairs or fieldwork.
Overall, the SEQURE HT140 is a game-changer for electronics
- Enthusiasts
- Repair technicians, and
- Professionals
Working with SMD components.
Whether you need it for
- precision work
- quick repairs or
- portable soldering,
This tool delivers outstanding performance and ease of use.
So, that’s all for now.
Watch Video Tutorial:

Discover more from Electronic Clinic
Subscribe to get the latest posts sent to your email.