SMD Soldering Tutorial for beginners, Tips & Tricks, SMD Rework Station
Last Updated on September 21, 2024 by Engr. Shahzada Fahad
Table of Contents
SMD Soldering Tutorial:
SMD Soldering Tutorial for beginners, Tips & Tricks, SMD Rework Station- In just 4 hours, you can become a master of SMD soldering skill, but the condition is that you have the right tools and also some basic knowledge, such as knowing…
- Which soldering paste to use. I will explain both methods of applying soldering paste to the PCB with and without using an SMT stencil.
- You should know about the air flow speed and temperature of the SMD Rework Station.
- You should also know how to solder new SMD components and
- How to desolder and resolder old SMD components. Seriously, If you want to master the SMD soldering skill, you should also learn how to repair circuits with SMD components.
What is SMD Soldering?
SMD (Surface Mount Device) soldering is a technique used to solder small electronic components directly onto the surface of a printed circuit board (PCB). Unlike through-hole components, which require holes to be drilled in the PCB, SMD components have small metal pads that can be soldered directly onto the surface of the board.
SMD soldering requires some specialized tools and techniques compared to through-hole soldering. The components are much smaller and harder to handle, so precise tools and a steady hand are necessary to solder them correctly.
In this tutorial, we will cover the basic tools and techniques required for SMD soldering, including the use of a Heat Gun, soldering iron, solder wire, flux, Solder Paste, digital microscope, and solder wick. We will also discuss some common mistakes to avoid and tips for troubleshooting any issues that may arise like for example Solder bridges. By the end of this tutorial, you should have a good understanding of how to solder SMD components onto a PCB
So, in this video, I am going to explain a lot of things. So, without any further delay, let’s get started!
Amazon Links:
Desoldering wire or desoldering braid or wick
*Disclosure: These are affiliate links. As an Amazon Associate I earn from qualifying purchases.
Tools needed for SMD Soldering:
SMD Rework Station KADA 2018D+:
Your SMD soldering skills and the quality of your PCB depend on your tools. The most important tool is the SMD rework station. I’m not saying that you should buy an expensive SMD rework station or a very cheap one. However, you can at least purchase an entry-level SMD rework station like the KADA SMD Rework Station 2018D+.
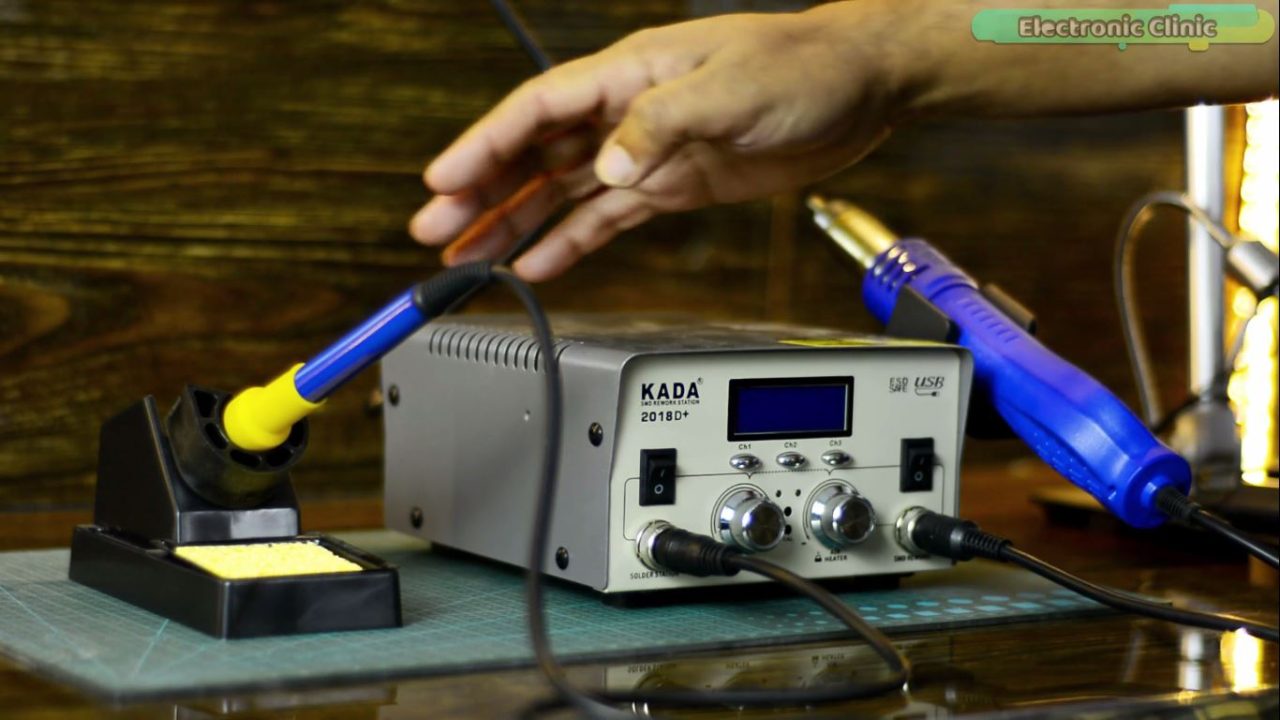
I am 100% satisfied with this SMD rework station, and you will see the results for yourself. Anyway, I use this SMD rework station myself, and I recommend it to you, I am speaking from my personal experience that this is the best entry level SMD rework station. It has got the buttons and knobs on both the sides to turn ON or OFF the Soldering station / Heat Gun and knobs are used to set the desired temperature.
On the right side is a heat gun, and it comes with 3 nozzles.
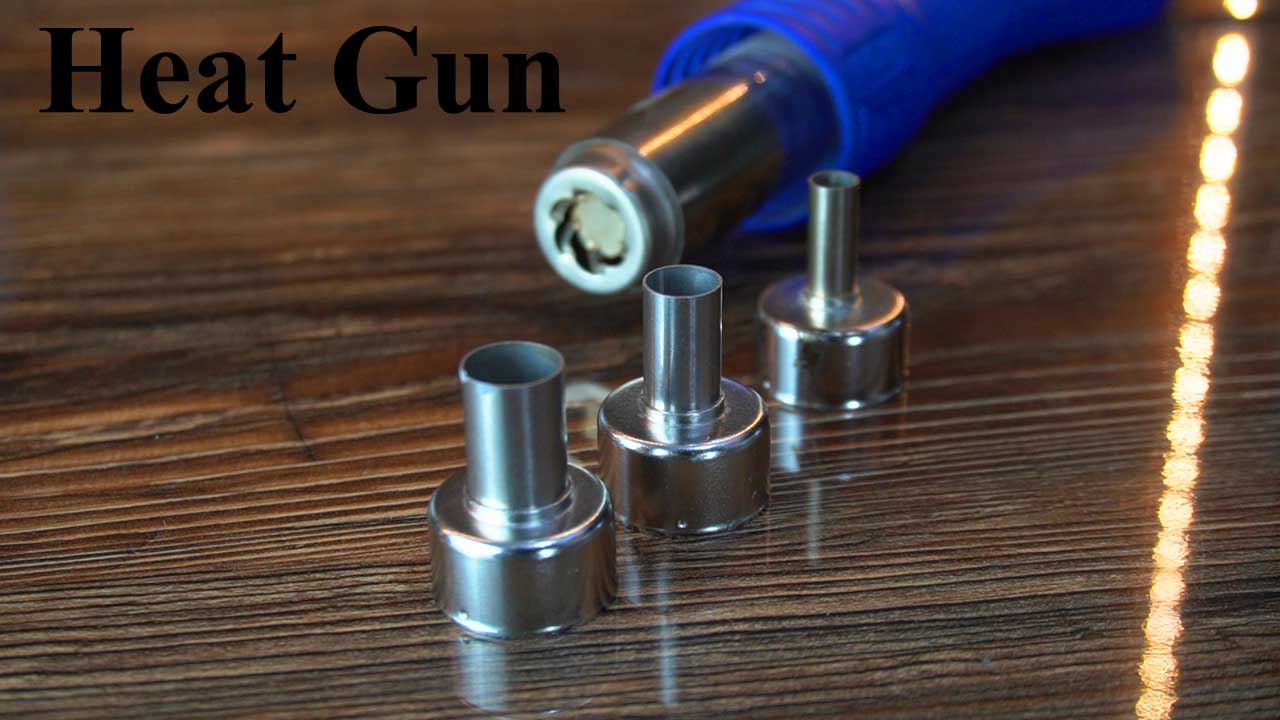
I will explain shortly which nozzle to use, when, and how to use it. You can turn ON or OFF the heat gun using the button on the right side. And using the knob, you can set the Air Flow speed and the temperature. Another interesting thing is that this heat gun is fully automatic. As soon as you pick it up, it will start, and as soon as you put it down; it will turn off by itself, but the fan inside the heat gun will keep running until the heat gun’s temperature drops. So during this time, you should not turn off the power supply; otherwise, the heat gun may melt.
So, just like a branded and high-quality SMD rework station, this SMD rework Station has almost all the features. So, I would recommend this SMD Rework Station.
Digital Microscope:
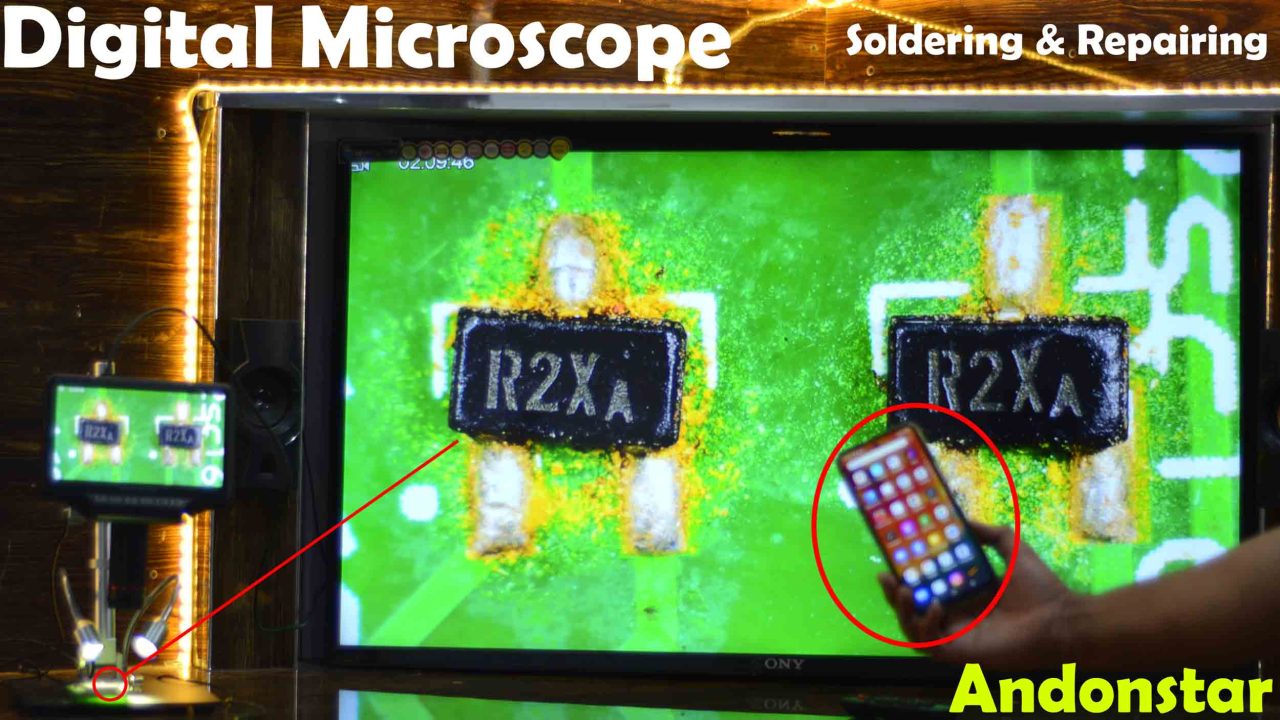
The second most important tool is the digital microscope. I use the Andonstar digital microscope myself, and I have already made a very detailed video on it. This is not an entry-level microscope; it is a bit expensive. But you can also use another entry-level microscope. I like this microscope because it comes with a remote controller that allows me to capture images and record high-quality HD videos.
ESD tweezers:
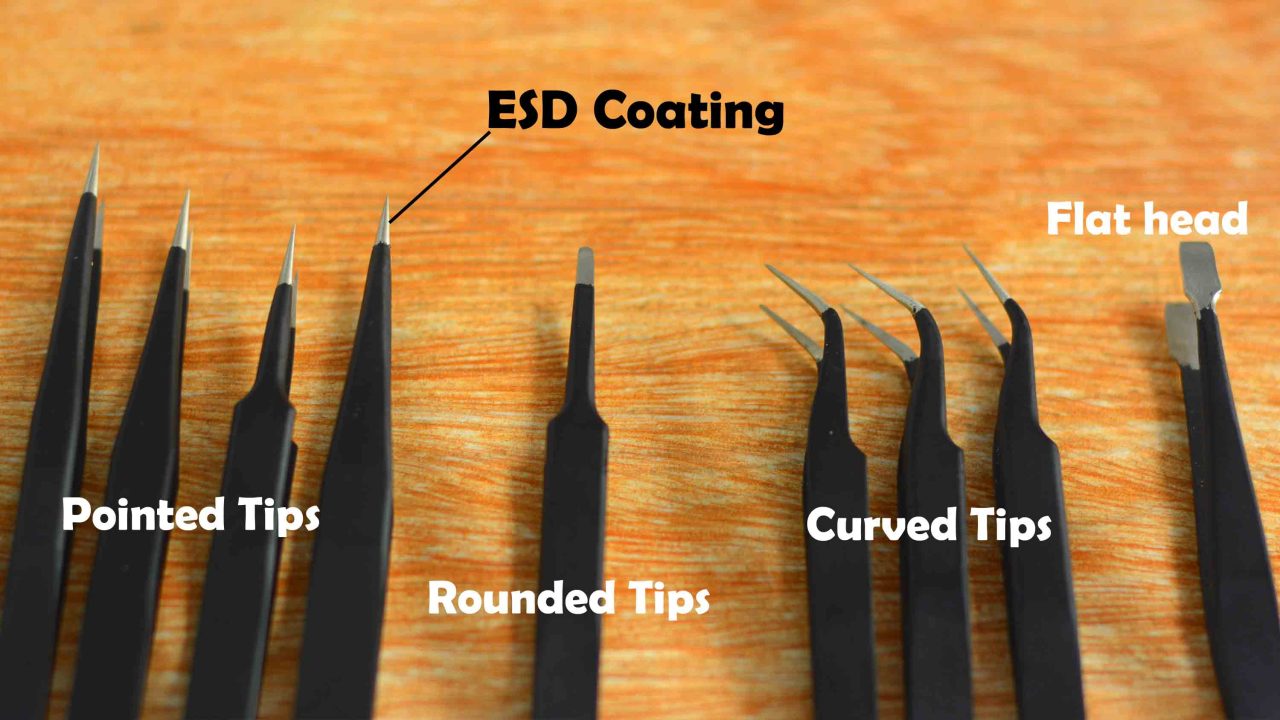
You should also have high-quality non-magnetic ESD tweezers. With these, you can easily place SMD components on the PCB. You can read my article on ESD Tweezers, if you want to know more about these Non-magnetic ESD tweezers.
Solder paste selection:
When purchasing a soldering paste, you should check carefully to make sure that it is not expired. The Mechanic soldering paste is one of the best brands, but the seller tricked me by giving me old soldering paste, which was completely dried up. This was one of the two reasons why my SMD soldering failed during the first attempt.
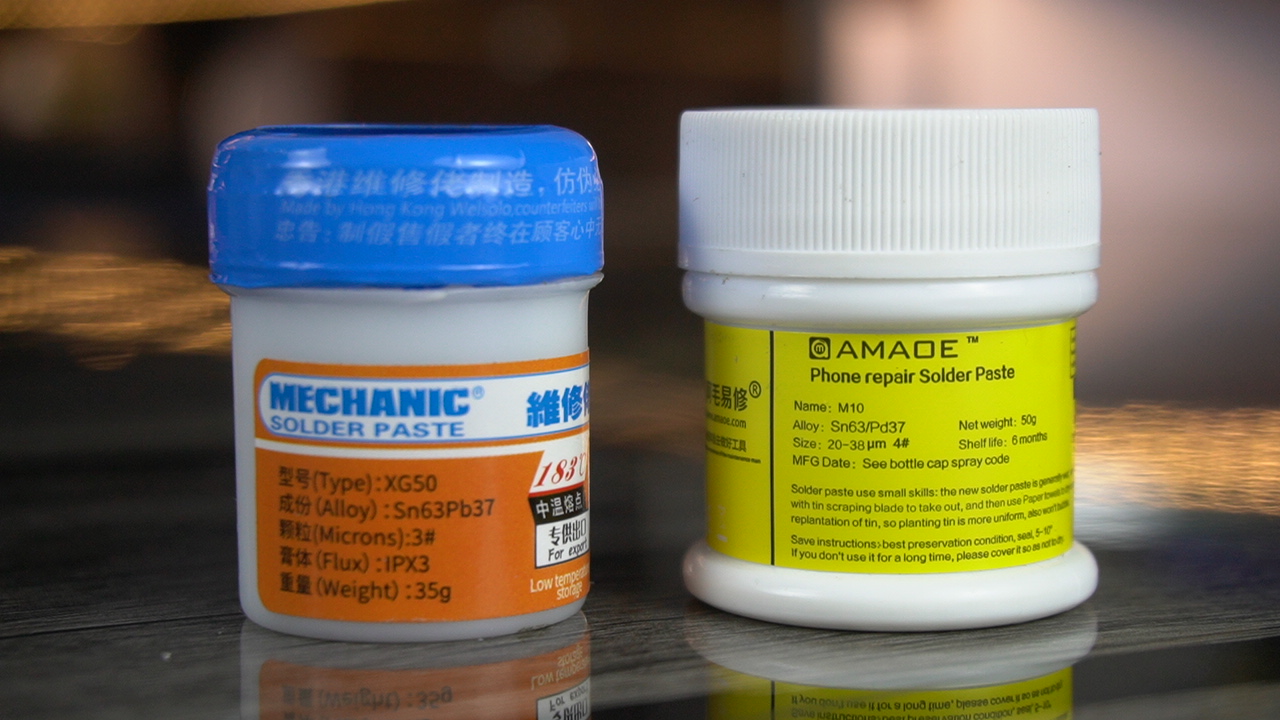
So, I bought these two soldering pastes, both of which are 183 degrees Celsius. The Mechanic soldering paste is also good, but the AMAOE solder paste is super awesome. So, I am going to use this soldering paste.
Desoldering Wire:

Desoldering wire or desoldering braid or wick is also one of the must-have tools. We use it to remove solder bridges and to clean the copper pads. I personally use the Mechanic desoldering wire. Later in this article, I will practically demonstrate how to use it.
Flux:
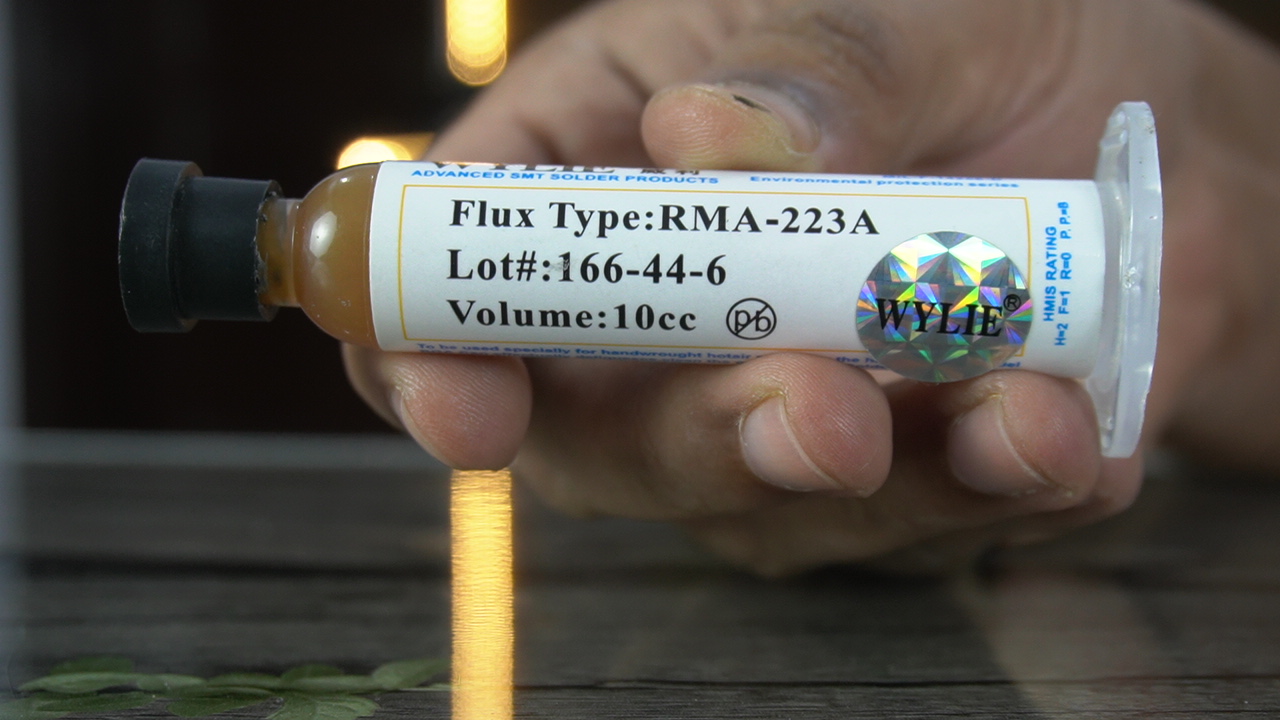
You should also have a good-quality flux. The one I am using is the RMA-223A.
PCB Holder:
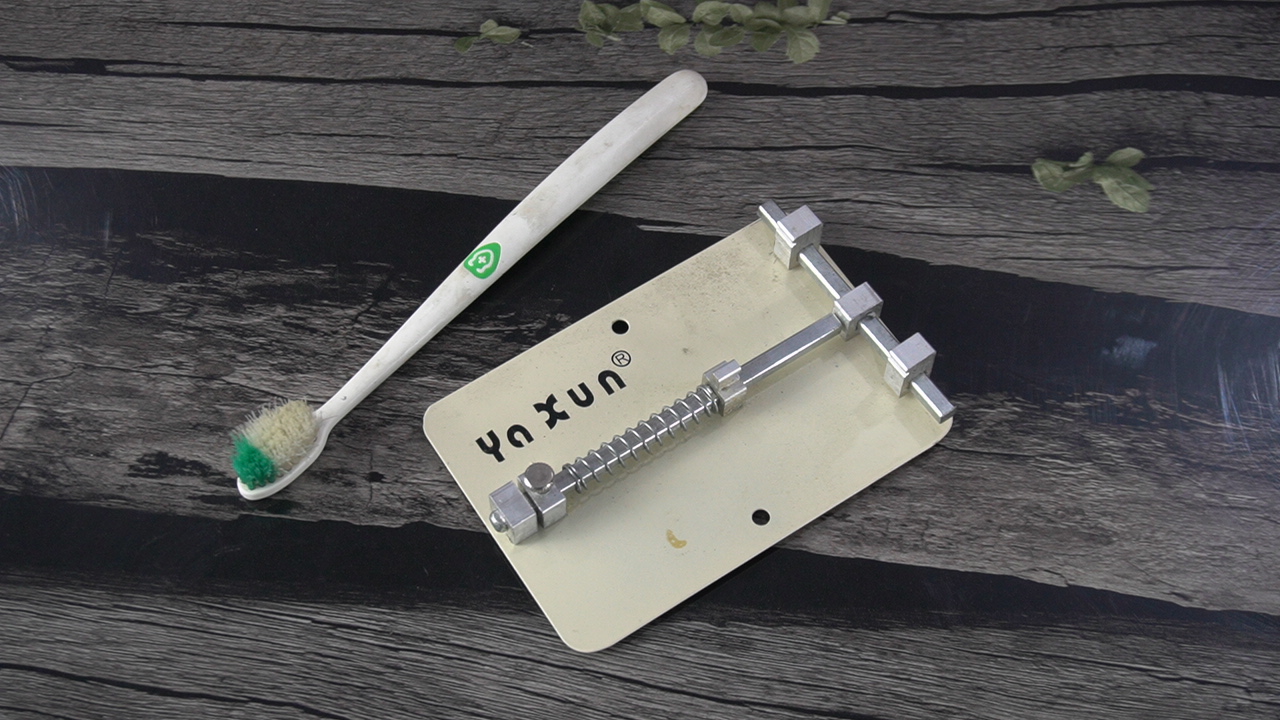
You should also have a PCB holder, a toothbrush for cleaning the PCB, and obviously PCB cleaning liquid.
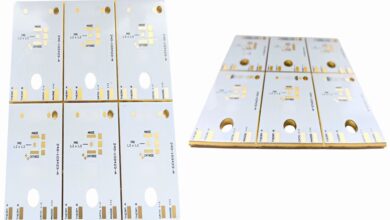
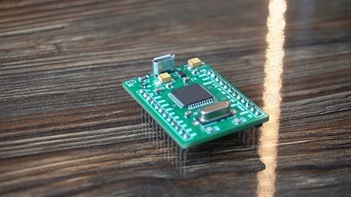
For beginners, I would recommend using a PCB that comes with an SMT Stencil.
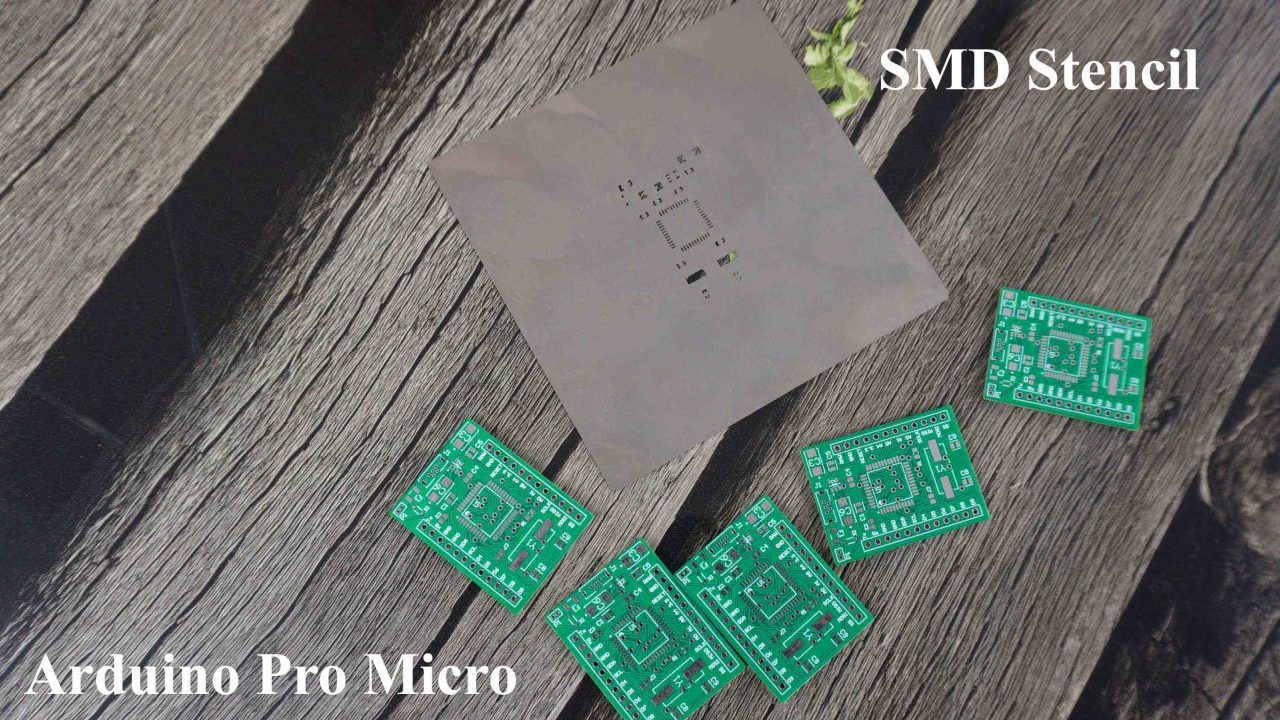
This is my designed Arduino Pro Micro and it comes with this SMT Stencil. I designed this PCB using Altium Designer.
Applying Solder Paste onto the PCB using Stencil:
Now, that I have all the required components and tools so let’s go ahead and apply solder paste on this PCB.
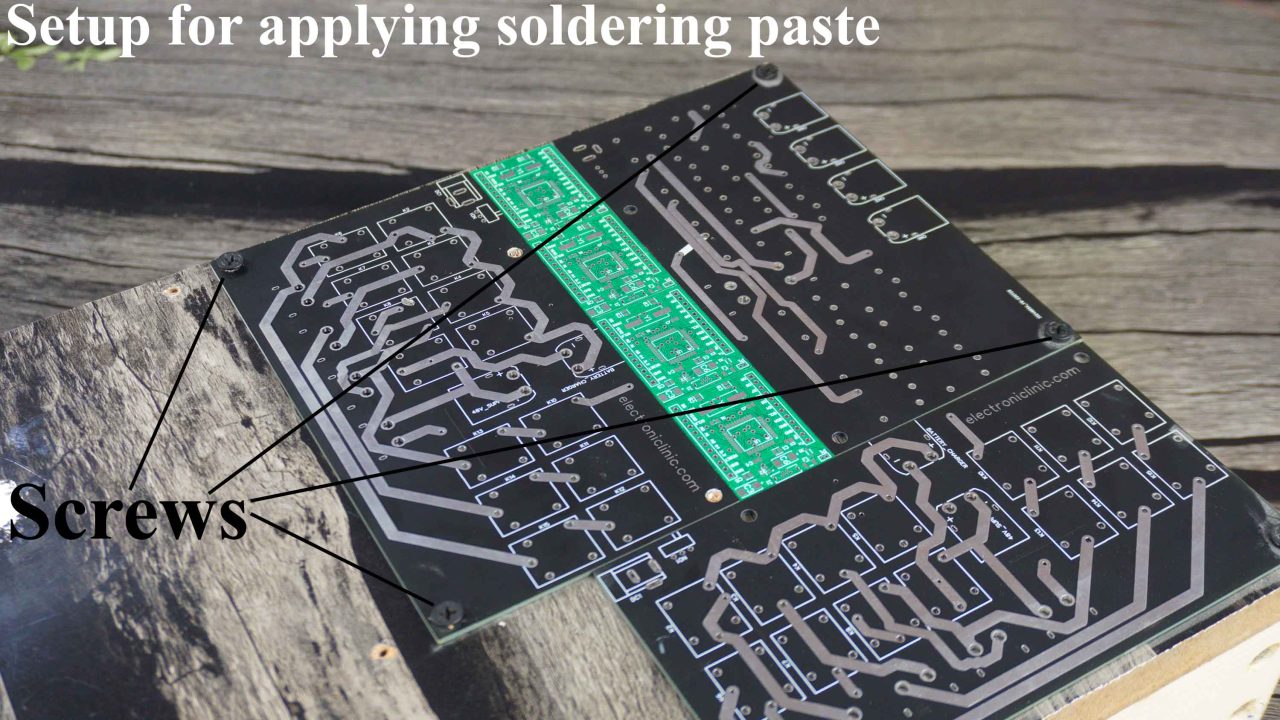
This is the most important step and you need to be very careful if you want clean and professional finishing. To be very frank this is my 2nd time doing the SMD soldering. Anyway, rather than using the electrical tape for securing the PCBs, I am using screws to tightly hold these PCBs in place, so that these PCBs doesn’t move when I apply the soldering paste.
Next, align your SMT Stencil with the PCB and secure it with tape so that it doesn’t move when you apply the Soldering paste.
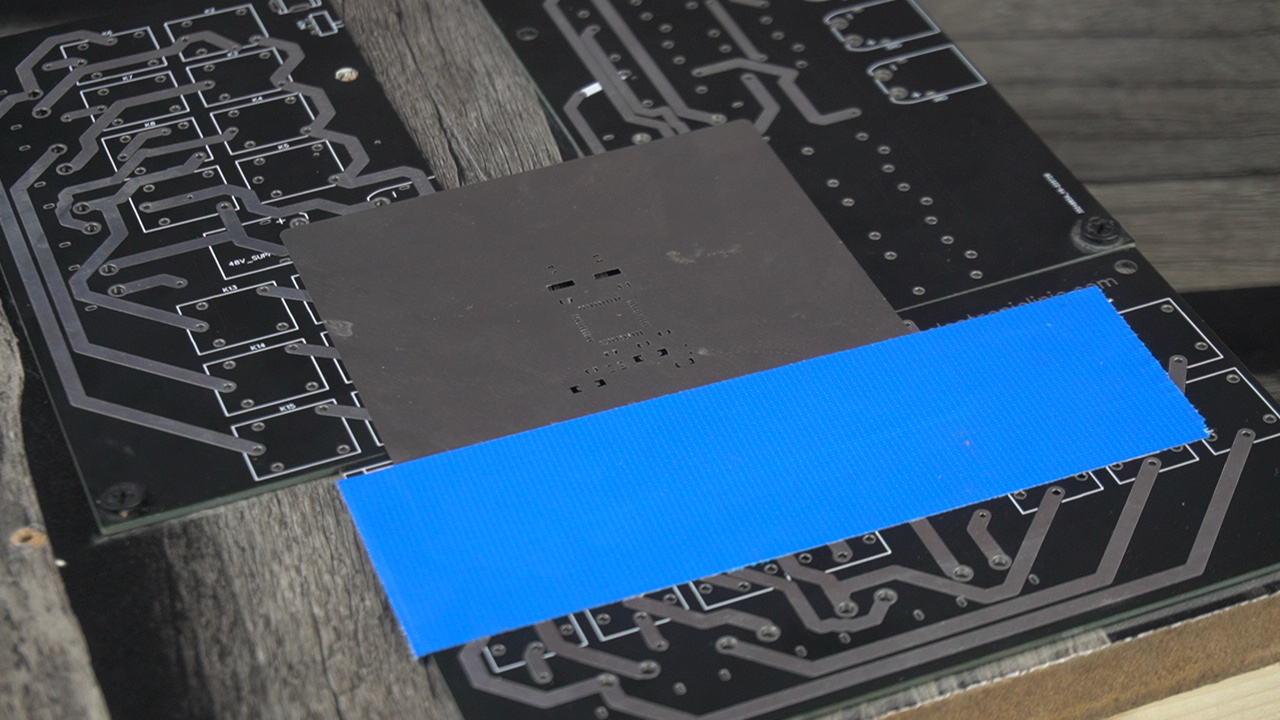
So, my setup is completed.
If you read my article on 5V and 3A power supply that’s when I did the SMD soldering for the first time and it really didn’t go well, because I made two mistakes.
- I was using a low-quality, cheap, and unbranded SMD Rework station. And
- My Soldering Paste was completely dried, and there was no temperature information printed on the container. And even if it was printed it wouldn’t have made any sense to me as this was my first time. So, my first SMD soldering badly failed at that time. And then I had to manually solder all the components.

The soldering paste has been applied and it looks good.
Next, I placed the tiny SMD components on the PCB using non-magnetic ESD tweezers. And for this job I used my Andonstar Digital Microscope.
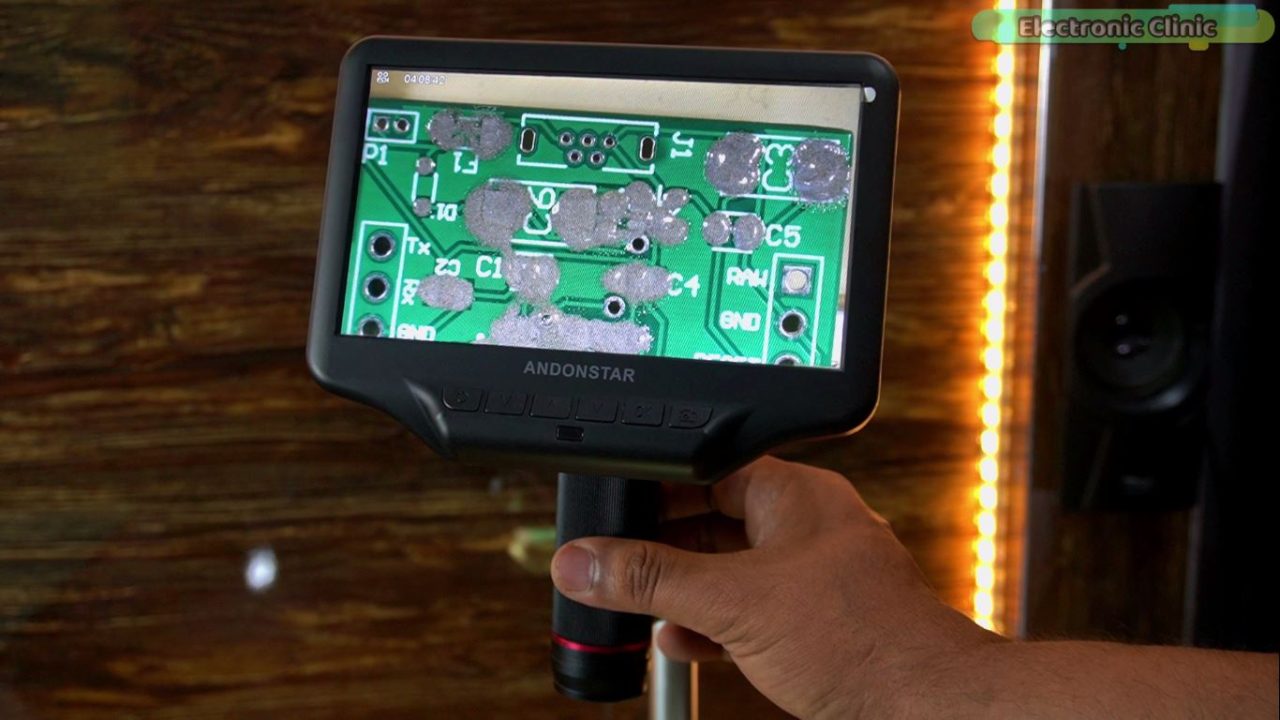
A digital microscope like the Andonstar is one of the must-have tools. Without a microscope, putting these tiny SMD components on the PCB would have been so difficult.

You can see all the SMD components have been placed and now we will start the soldering.
On my SMD rework Station, I am going to set the Air Flow speed to 1 as I don’t want my SMD components to fly away. And I am going to set the temperature between 300 and 350 degrees Celsius. For the practical demonstration watch video tutorial given at the end of this article.
The soldering is completed and it doesn’t look bad. Anyway, I used my digital multimeter to check for any short circuits and I also checked the continuity. I double-checked all the connections using my Andonstar Digital Microscope. Finally, I cleaned my circuit
With a PCB cleaning liquid. Now, I have been using this Arduino Pro Micro in different projects.
For the practical demonstration watch the video tutorial given at the end of this article.
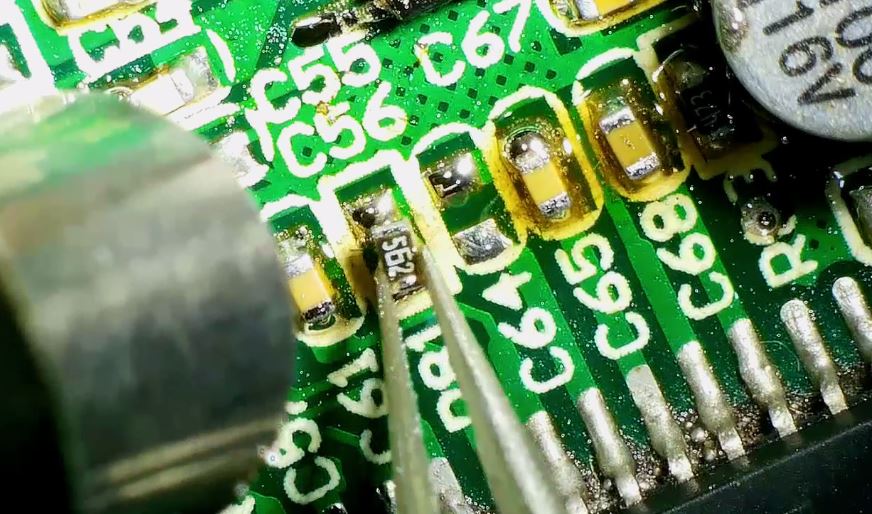
Next, I will explain how to desolder SMD components such as resistors, capacitors, and ICs, etc. If you don’t want your components to get damaged, you should apply a small amount of flux on the component before applying heat if you plan to reuse the component.
For small components such as resistors and capacitors, use a small-sized nozzle. Once you gain experience, you will know which nozzle to use.
After spreading the Flux onto the SMD components then you can start applying the heat. Let me remind you one more time. Just don’t concentrate the heat Gun at one spot, keep moving the heat gun and from time to time check the component if it’s desoldered.
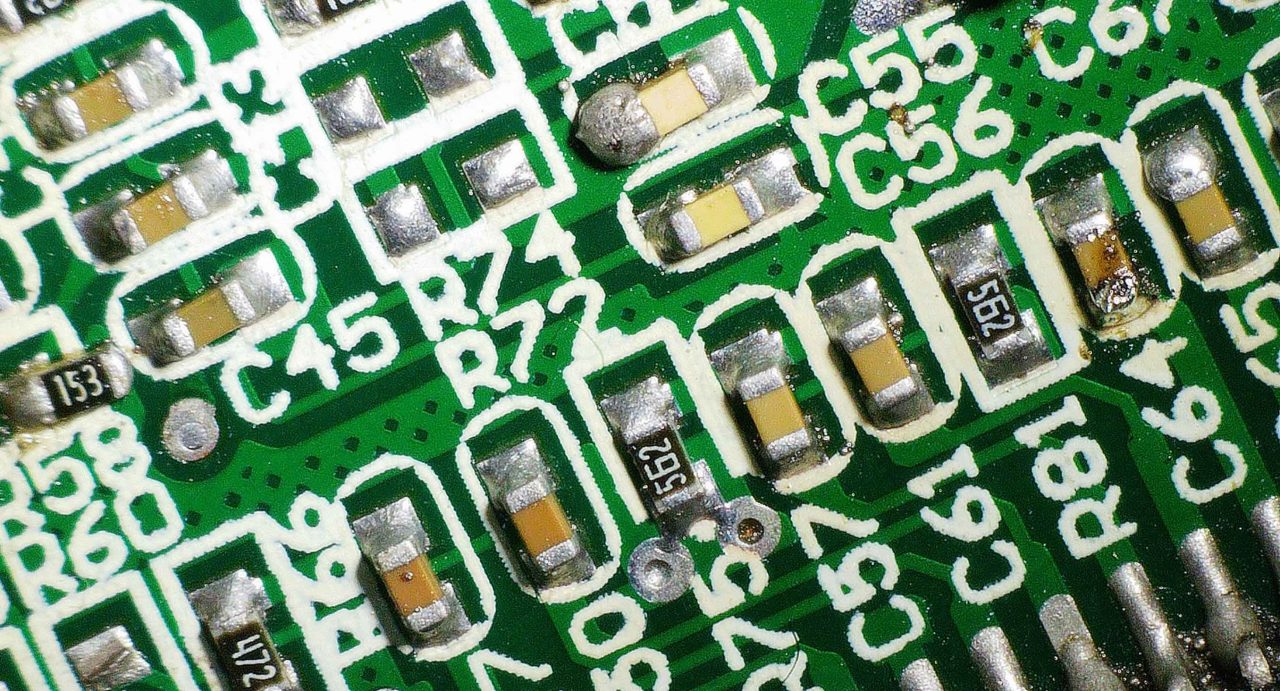
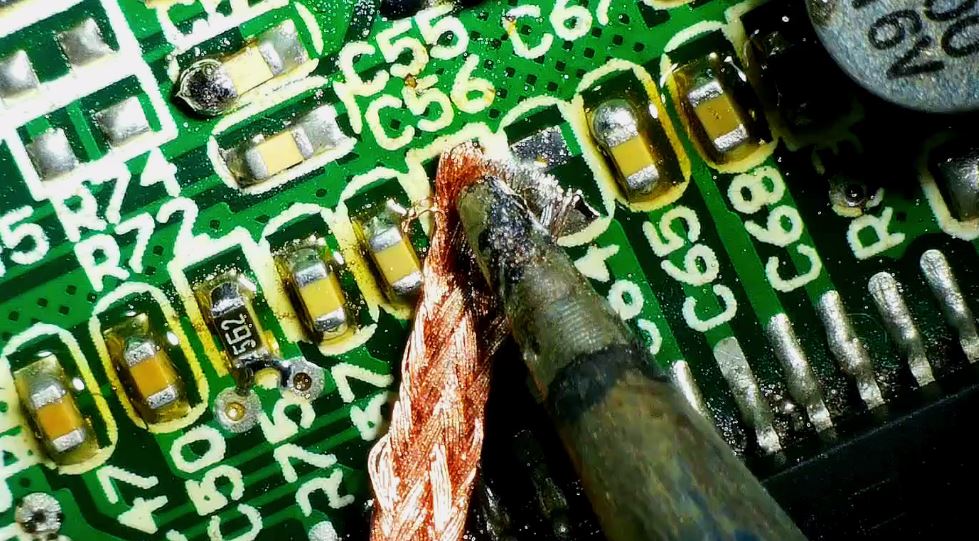
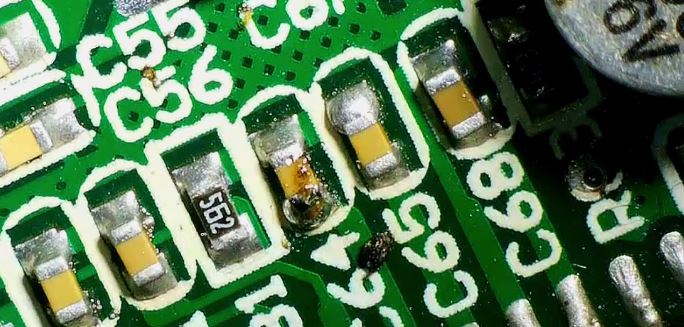
In the image above, you can see, I just removed a capacitor, and a resistor. To clean the pads, we will use desoldering wire.
After cleaning the pads. Apply rightful amount of soldering paste and place the SMD components, in my case, I placed a capacitor and a resistor.

And follow the same steps as before. Be careful not to concentrate the heat on one spot. Use a circular motion with the heat gun.
When the soldering is completed, use PCB cleaning liquid.
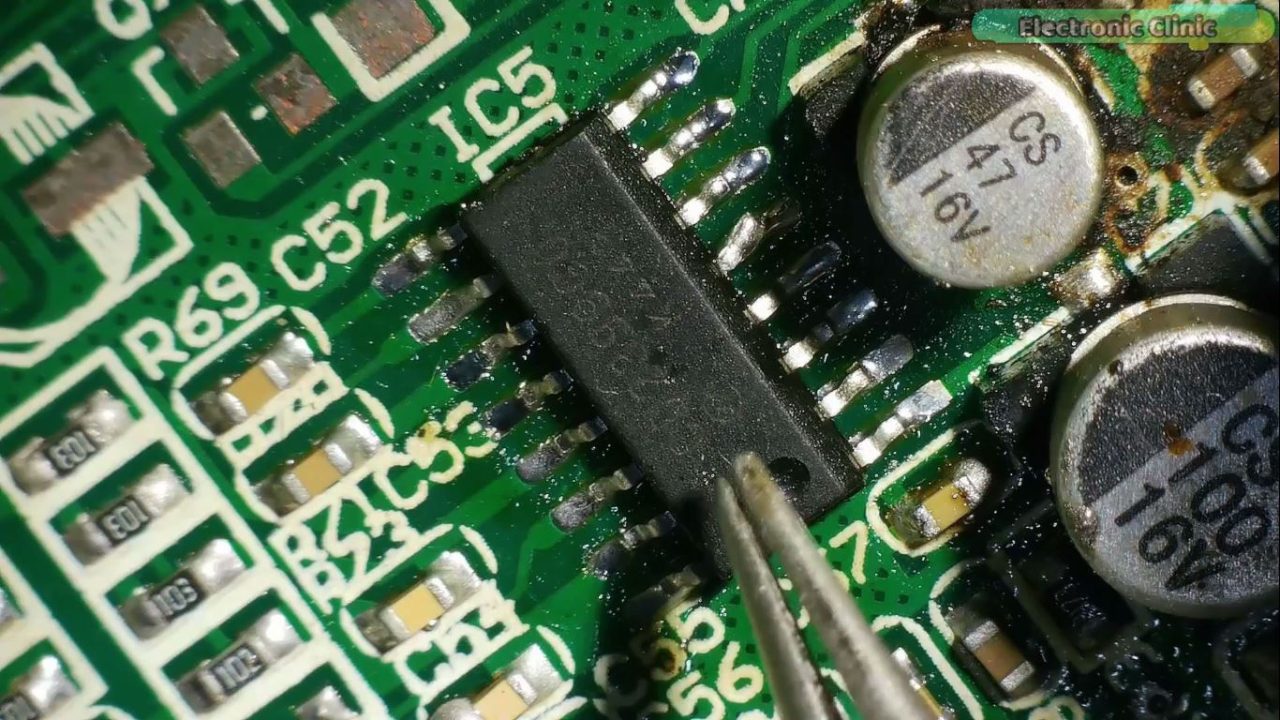
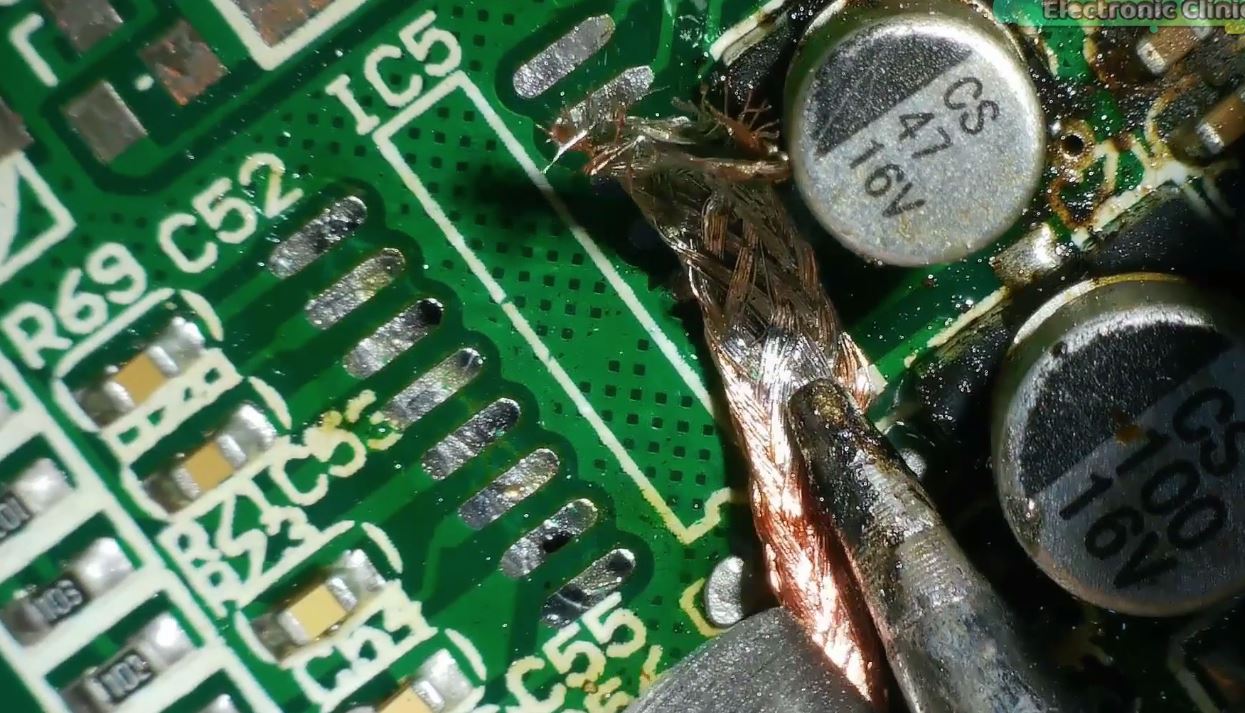
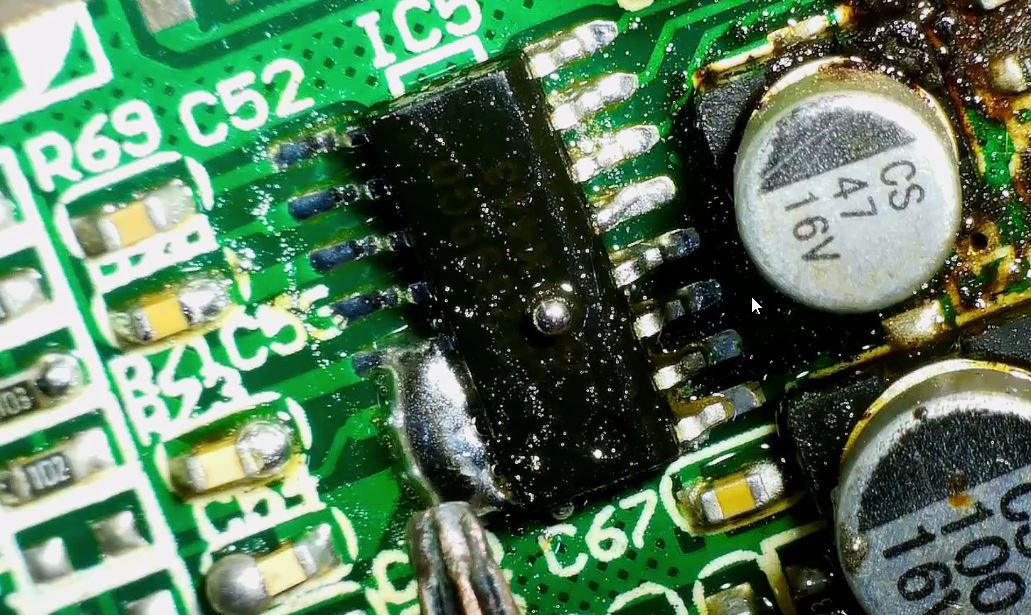
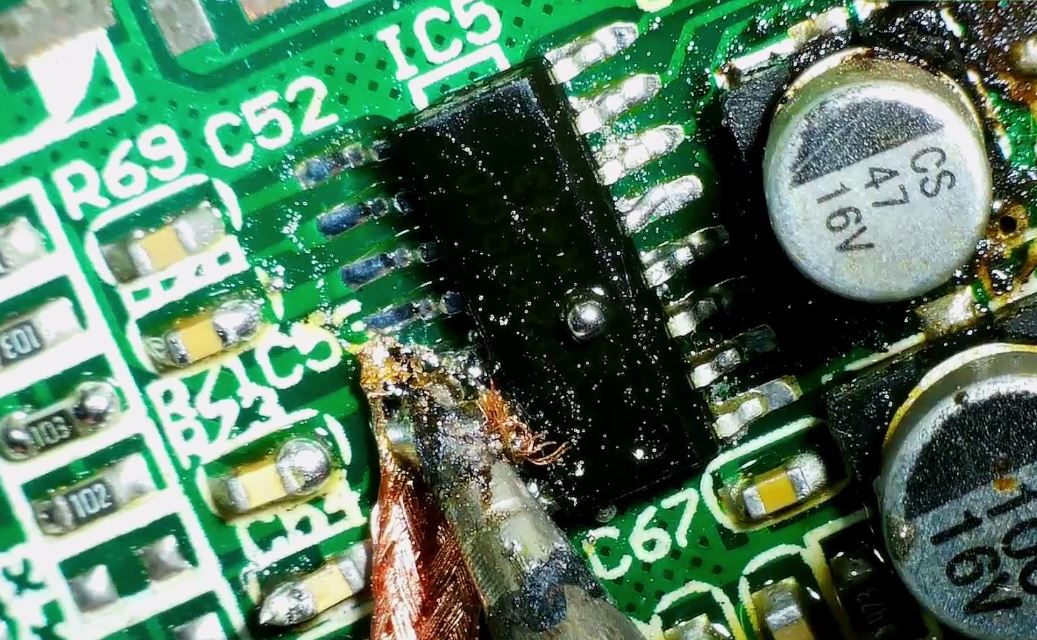
Next, I will desolder and then resolder this IC. As you can see, this IC is slightly larger, so I will use the larger nozzle. The same steps apply, first apply flux, and apply the heat. Don’t concentrate the heat on one spot, and from time to time, check the IC to see if it has been desoldered. Don’t use force, otherwise, the copper pads may get damaged.
After cleaning the pads, add soldering paste.
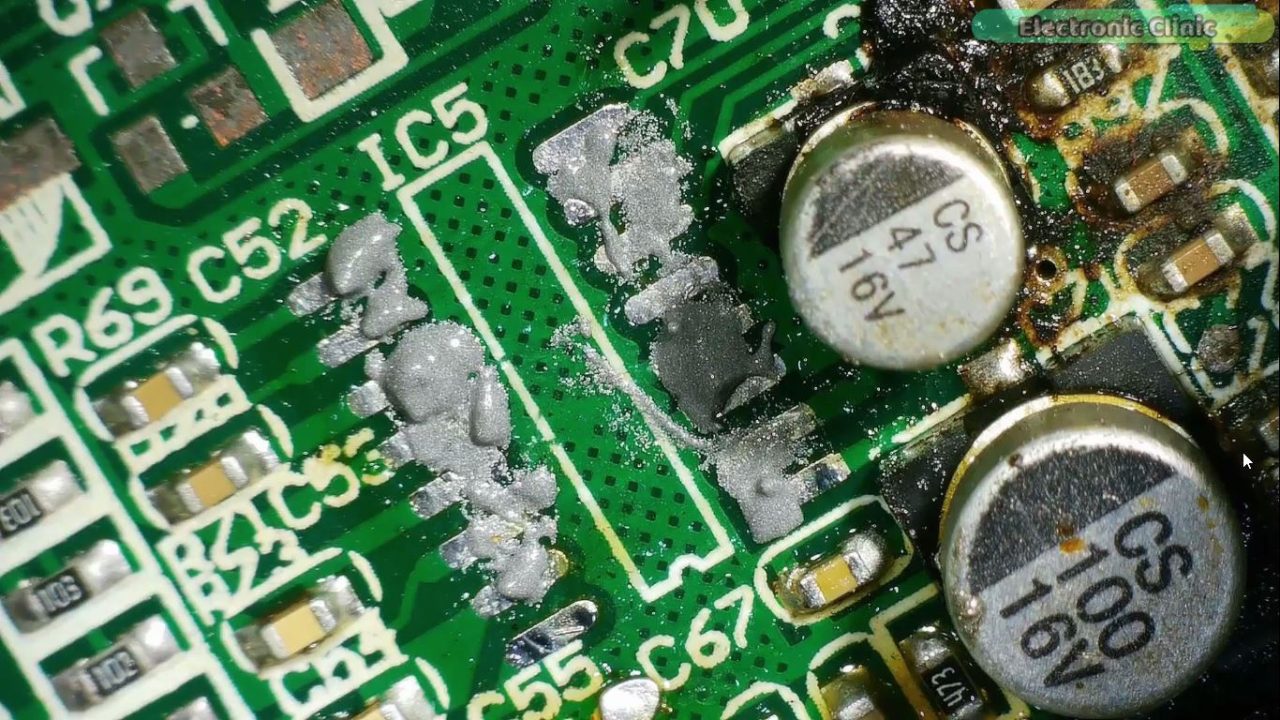
Try not adding too much solder paste, otherwise it will result in solder bridging.
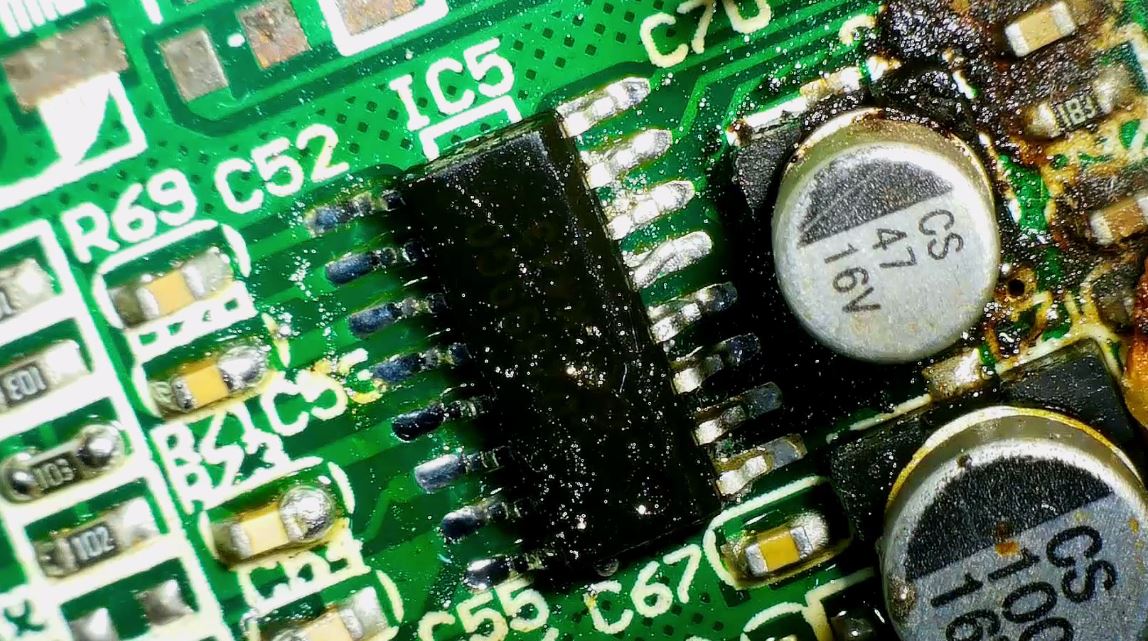
While placing the IC, make sure it nicely aligns with the pads. Finally, you can start applying the heat. Keep moving your heat gun in circles while applying the heat or otherwise you may get damage your IC.
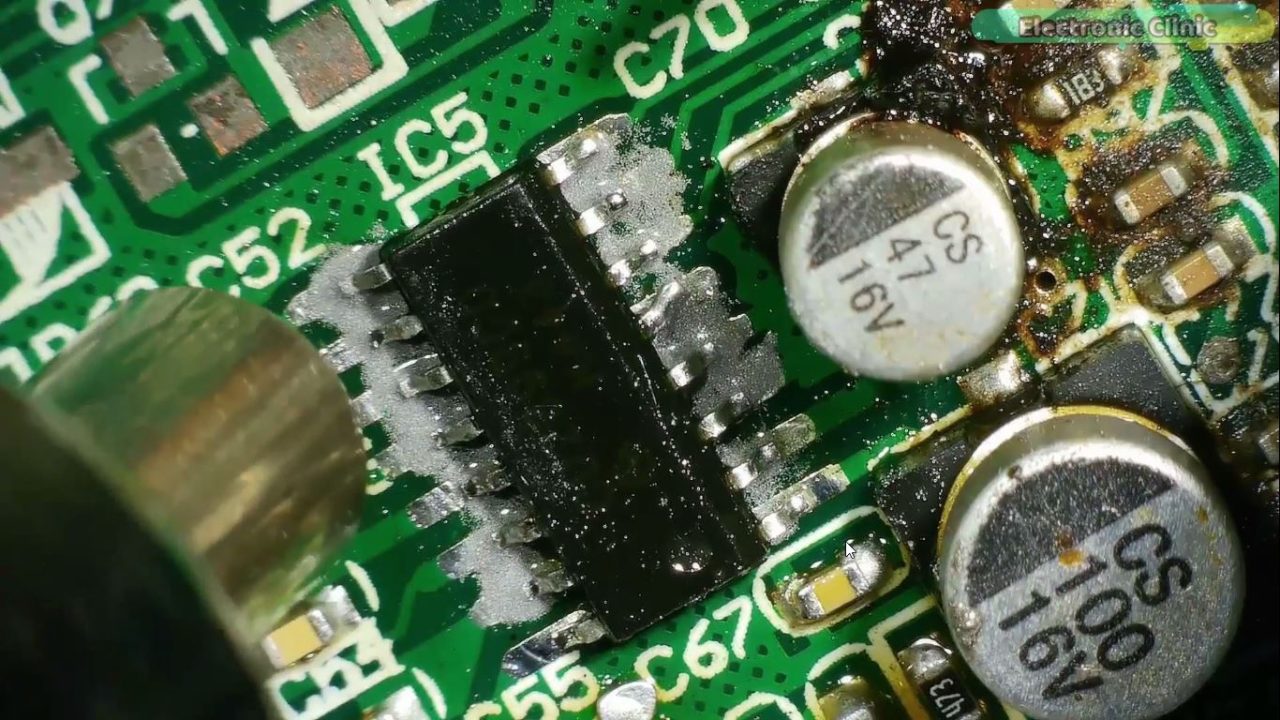
You can see the soldering is completed.
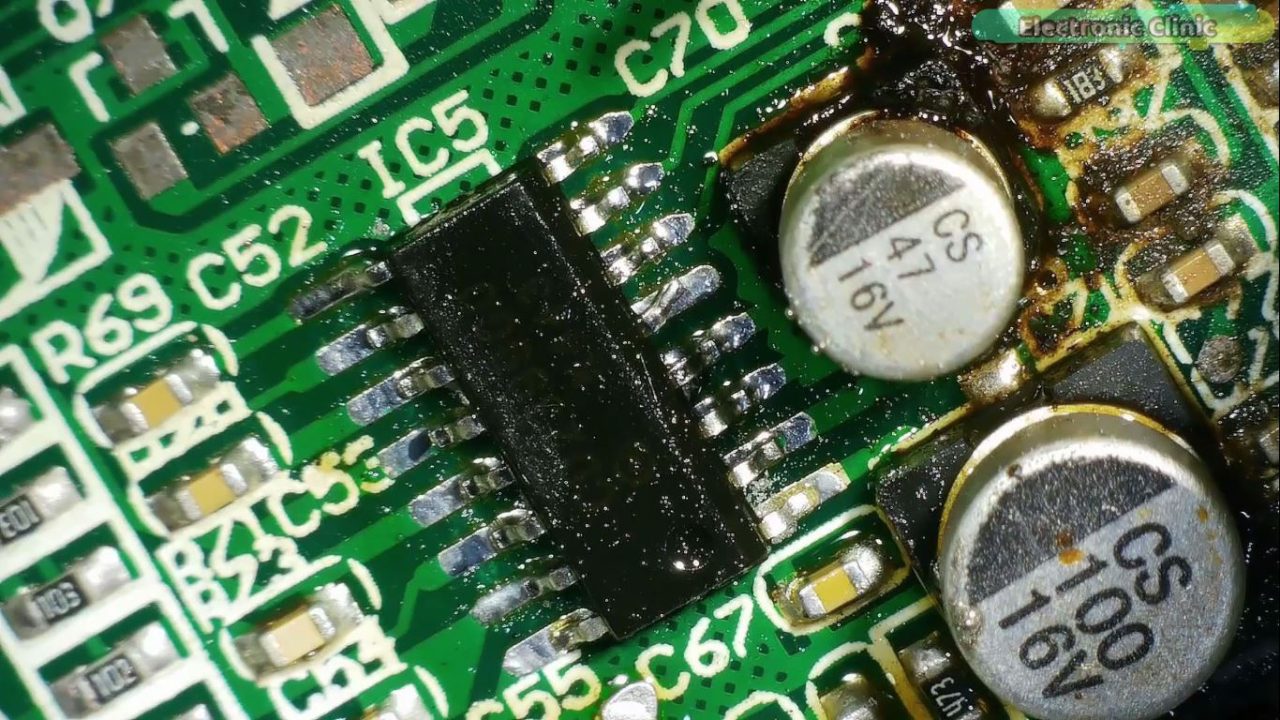
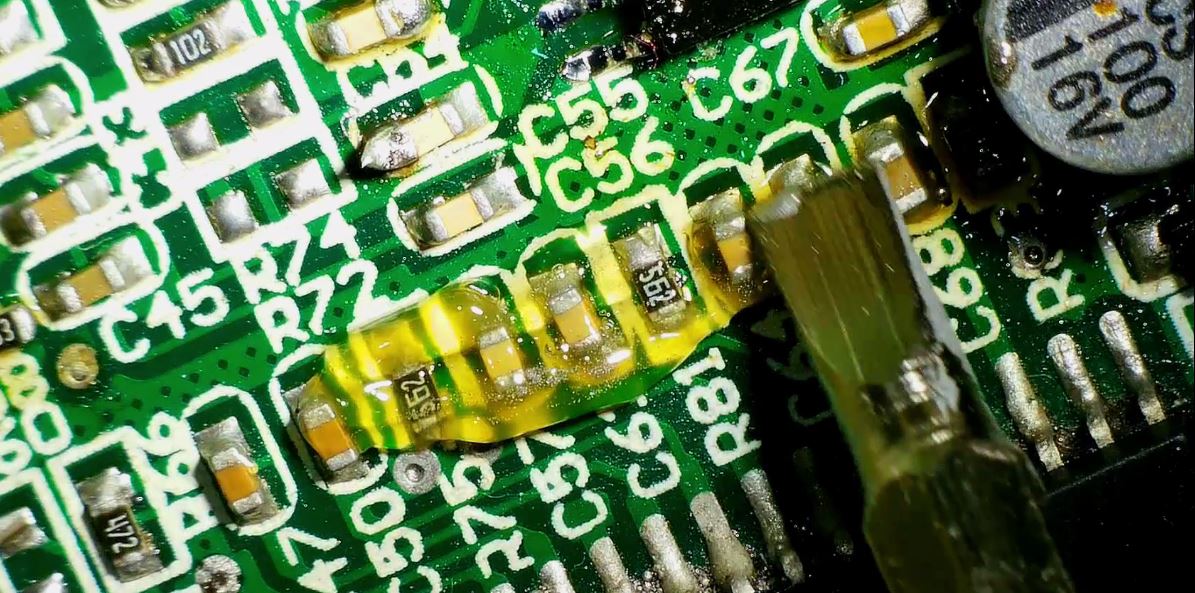
What happens if we apply too much soldering paste? Well, let’s find out. As you can see, excess solder paste causes solder bridges.
To remove these solder bridges, we will use desoldering wire.
You will need to practice on removing the solder bridges for at least 5 to 6 times.
As you can see, the solder bridges have been removed. Unfortunately, my PCB cleaning liquid was finished so that’s why I couldn’t clean the circuit. Anyway, to be on the safe side, make sure you check for short circuits using your digital multimeter. So, that’s all for now.
Watch Video Tutorial:
Discover more from Electronic Clinic
Subscribe to get the latest posts sent to your email.