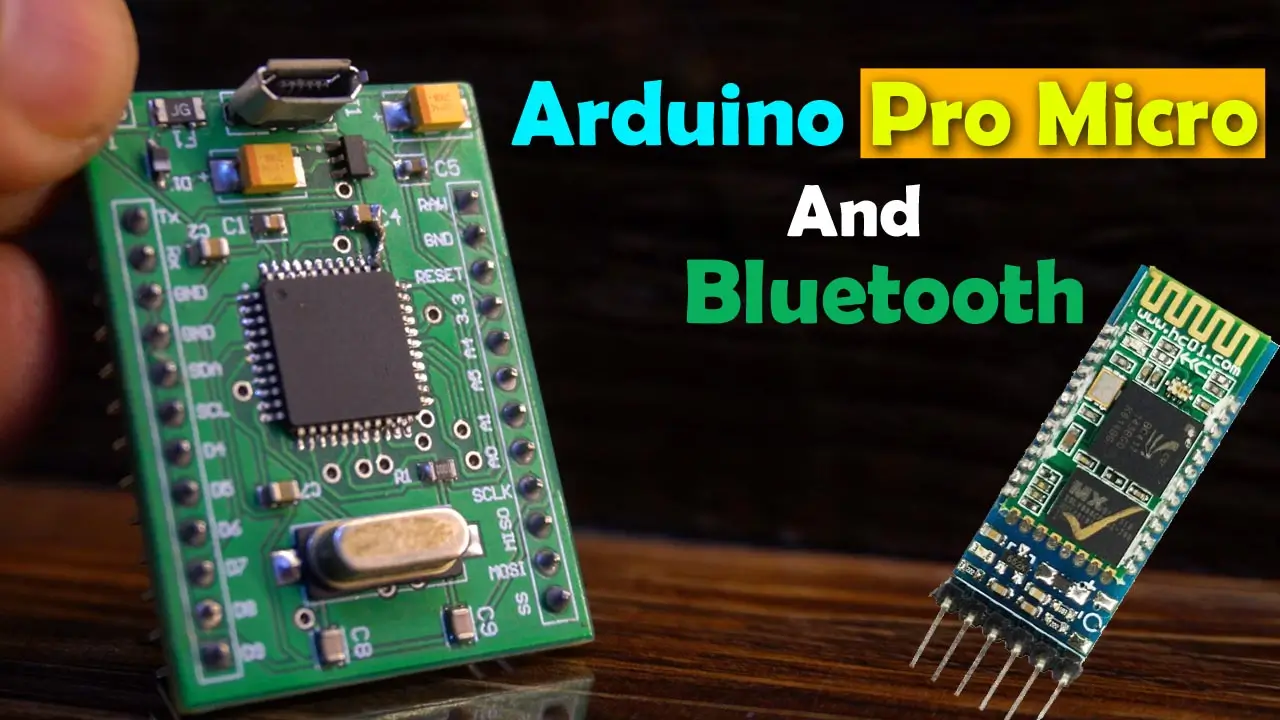
Arduino Pro Micro and Bluetooth based Home Automation
Last Updated on October 9, 2024 by Engr. Shahzada Fahad
Table of Contents
Arduino Pro Micro and Bluetooth:
Arduino Pro Micro and Bluetooth based Home Automation- It has been six months since I designed the Arduino Pro Micro, and during this time, I have extensively explored its capabilities by interfacing it with various sensors and breakout boards. I’ve had the pleasure of working with a range of modules, including the PN532 NFC RFID module, the MLX90614 non-contact infrared temperature sensor, and the R557 Capacitive Fingerprint module.
So far, this journey has been quite rewarding, and I am generally satisfied with the experiments and tests I’ve conducted. However, before considering the Arduino Pro Micro for integration into real-world products, I feel it’s essential to subject it to further testing with additional modules.
The Arduino Pro Micro has proven to be a versatile and reliable platform, but thorough testing with a variety of modules will help ensure its compatibility and performance in a wider range of applications. Stay tuned as we continue to explore and expand the possibilities of this remarkable microcontroller board. Your support and feedback are invaluable in shaping the future of our projects!
Next, in this series I am going to use HC05 or HC06 Bluetooth module with the Arduino Pro Micro for controlling 110/220Vac Loads using my custom designed Android Smartphone application designed in Android studio. You can read my article on the Android application designing if you want to make a similar android application. You can also watch my video on how to design yourself an Arduino pro micro using Altium Designer.
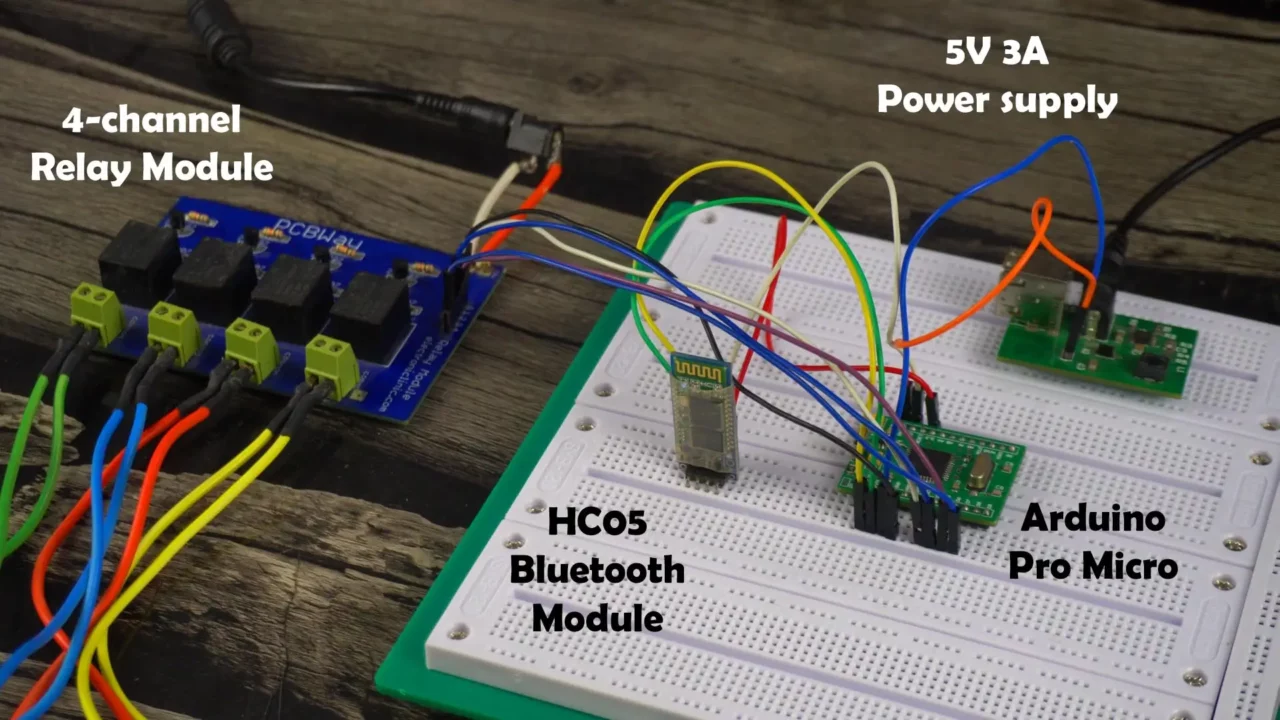
Anyway, you can see I have connected a 4-channel relay module, HC05 Bluetooth module, and for the demonstration purposes I have connected 220Vac bulbs. I am using my designed 5V and 3A power supply to power up the Arduino Pro Micro. Everything looks good and now let’s power up the project.
When the 110/220Vac supply is connected never touch the relay contacts as it can be dangerous. So, as far as possible, wear protective gloves and perform such high voltage experiments in the presence of a companion or someone having basic knowledge of the electrical systems.
Now, all you need is to take out your cell phone, pair your smartphone’s Bluetooth with the HC05 Bluetooth module.
Then open the Android application, search for the paired device. Click connect and start controlling anything you want. You can use any android application just send the commands that I have used in the programming.

As expected, Arduino Pro Micro also works exceptionally well with the Bluetooth. By adding the 5V and 3A power supply, Arduino Pro Micro, Bluetooth module, and 4 relays on a single PCB an amazing end-user product can be designed.
Now, let’s go ahead and take a look at the connections.
Amazon Links:
Arduino Nano USB C type (Recommended)
*Please Note: These are affiliate links. I may make a commission if you buy the components through these links. I would appreciate your support in this way!
HC05 or HC06 Bluetooth Module:
The HC-05 and HC-06 are two common Bluetooth modules used in various electronic projects for wireless communication. They both have similar form factors and capabilities, but there are some differences between them that you should consider when choosing one for your project. Here’s a comparison:
Bluetooth Versions:
HC-05: The HC-05 module is based on Bluetooth 2.0+EDR (Enhanced Data Rate), which provides faster data transfer rates compared to the older Bluetooth 1.0 standard.
HC-06: The HC-06 module is also based on Bluetooth 2.0+EDR, so it has similar Bluetooth capabilities as the HC-05.
Operating Modes:
HC-05: The HC-05 can operate in both Master and Slave modes. This means it can initiate connections with other Bluetooth devices (Master) or accept incoming connections (Slave).
HC-06: The HC-06 is primarily designed for Slave mode, which means it can only accept incoming connections from other Bluetooth devices. It cannot be used as a Master to initiate connections.
Configuration:
HC-05: The HC-05 is often considered more versatile because it can be configured to operate in both Master and Slave modes using AT commands. This makes it more suitable for various applications, including establishing point-to-point or point-to-multipoint connections.
HC-06: The HC-06 is typically set to Slave mode by default and cannot be easily reconfigured to act as a Master. This makes it more suitable for applications where you only need a simple wireless link, like connecting a microcontroller to a smartphone.
Pairing:
HC-05: The HC-05 can be paired with other Bluetooth devices, allowing secure communication with encryption. This is useful for applications that require data privacy and security.
HC-06: The HC-06 can also be paired, but it may not support advanced security features to the same extent as the HC-05.
Price:
HC-06 modules are often cheaper than HC-05 modules, which can be a factor to consider if you are working on a budget.
Use Cases:
HC-05: It is suitable for applications where you need more control over Bluetooth communication, such as creating a wireless serial link between devices, setting up a Bluetooth-controlled robot, or establishing a Bluetooth data link between two microcontrollers.
HC-06: It is suitable for simpler applications where you just need a basic wireless connection, such as interfacing with a smartphone app or connecting a microcontroller to Bluetooth headphones.
In summary, if you need a more versatile module that can operate in both Master and Slave modes and support advanced configuration options, the HC-05 may be the better choice. On the other hand, if you have a simple application that only requires a Slave module for basic wireless communication, the HC-06 may be more cost-effective. Your choice depends on the specific requirements of your project.
Arduino Nano or Arduino Pro Micro:
The choice between an Arduino Nano and an Arduino Pro Micro depends on the specific requirements of your project. Both boards are popular among makers and developers, but they have some differences in terms of form factor, features, and capabilities. Here’s a comparison to help you decide which one is more suitable for your needs:
Arduino Nano:
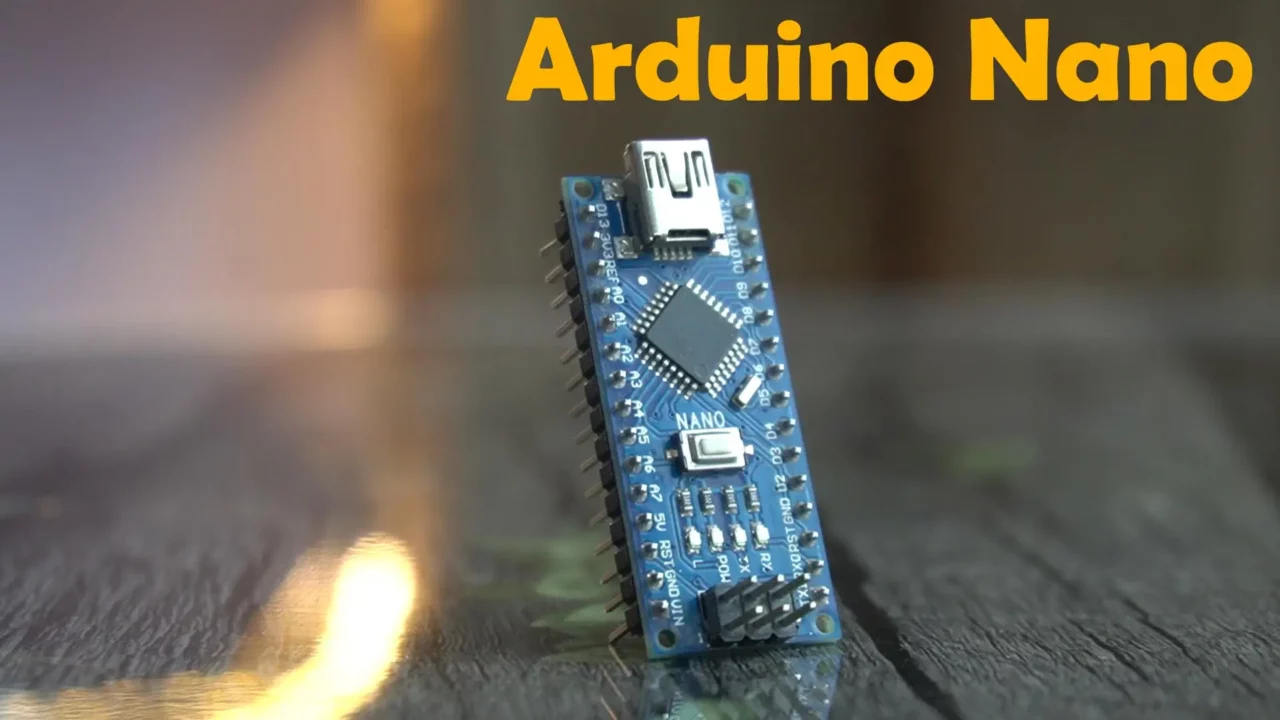
Form Factor: The Arduino Nano is relatively compact and has a similar form factor to the Arduino Uno. It is a small, breadboard-friendly board, making it easy to prototype and integrate into projects.
Microcontroller: The Arduino Nano typically uses an ATmega328P microcontroller, which is the same microcontroller used in the Arduino Uno. It has 32KB of Flash memory, 2KB of RAM, and 1KB of EEPROM.
Voltage Regulator: The Nano often includes a voltage regulator that allows it to be powered from a wide range of voltage sources (usually 7-12V), making it suitable for various power supply options.
I/O Pins: The Nano provides multiple digital and analog I/O pins for interfacing with sensors, displays, and other components.
USB Interface: It typically uses a micro-USB connector for programming and power, making it easy to connect to a computer.
Price: Arduino Nano boards are generally affordable and widely available.
Arduino Pro Micro:
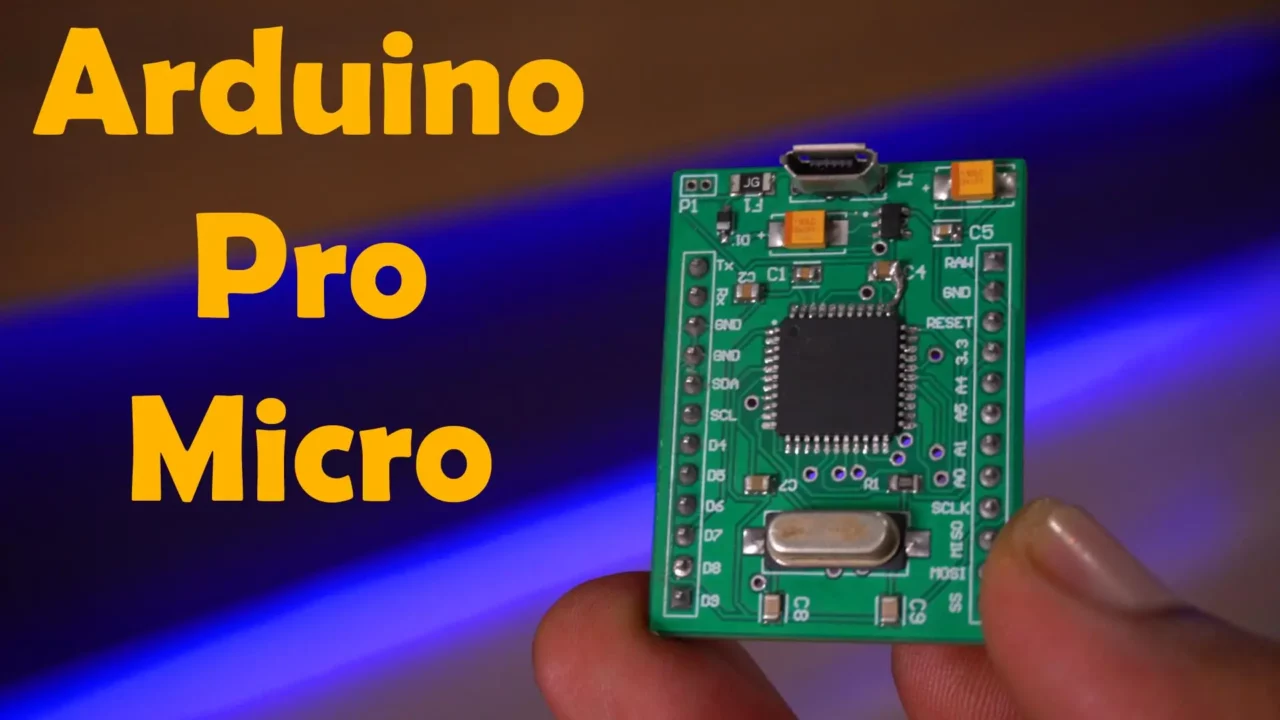
Form Factor: The Arduino Pro Micro is smaller and more compact compared to the Nano. It is often used in projects with limited space.
Microcontroller: The Pro Micro uses various microcontrollers, including the ATmega32U4. This microcontroller has 32KB of Flash memory, 2.5KB of RAM, and 1KB of EEPROM.
Voltage Regulator: The Pro Micro may not include a voltage regulator by default, which means it typically requires a stable 5V power supply. Some versions of the Pro Micro do have voltage regulators, so check the specific variant you’re using.
I/O Pins: The Pro Micro provides digital and analog I/O pins, but the number and arrangement of pins may vary depending on the version of the board.
USB Interface: It uses a micro-USB or mini-USB connector for programming and power, depending on the variant. Some versions also come with a built-in USB-to-Serial converter.
Price: Arduino Pro Micro boards are generally affordable, but prices may vary depending on the specific version and features.
Considerations:
If you need a small, compact board for space-constrained projects, the Arduino Pro Micro might be a better choice.
If you want the versatility of using a wide range of voltage sources and a more standard USB connection, the Arduino Nano is a good option.
Check the specific requirements of your project, including the required I/O pins, power supply, and microcontroller features, to determine which board is the most suitable.
Arduino Pro Micro & Bluetooth interfacing:
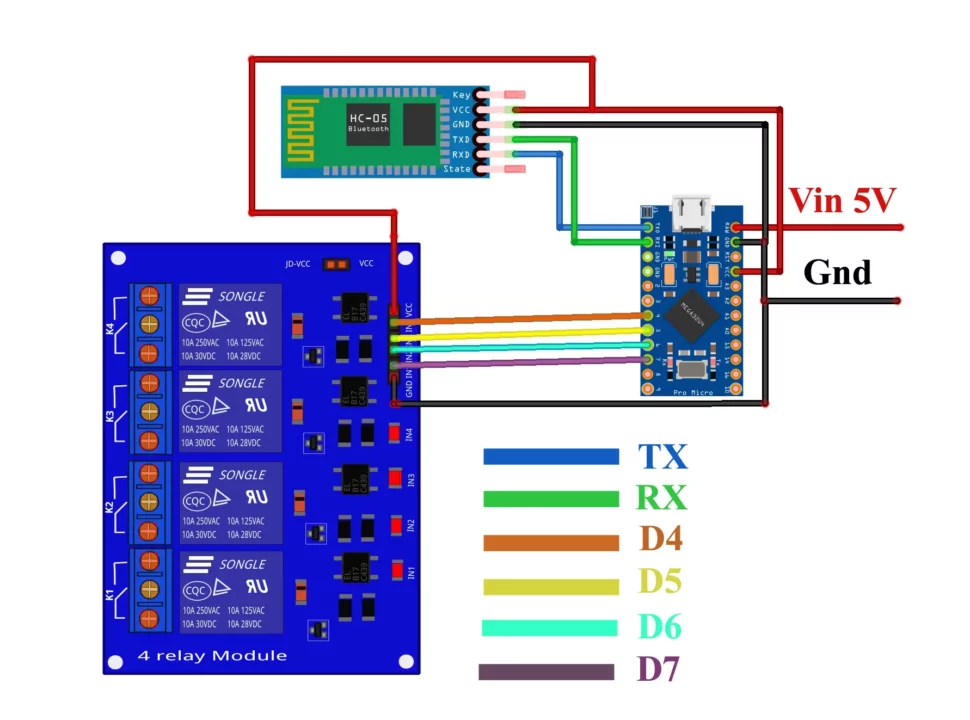
4 relays are connected to the Arduino Pro Micro digital pins 4, 5, 6, and 7. The VCC and GND pins of the HC05 Bluetooth module are connected to the 5V and GND of the power supply. Connect the TX and RX pins of the HC05 Bluetooth module to the Arduino Pro Micro RX and TX pins respectively.
5V and 3A power supply circuit diagram:

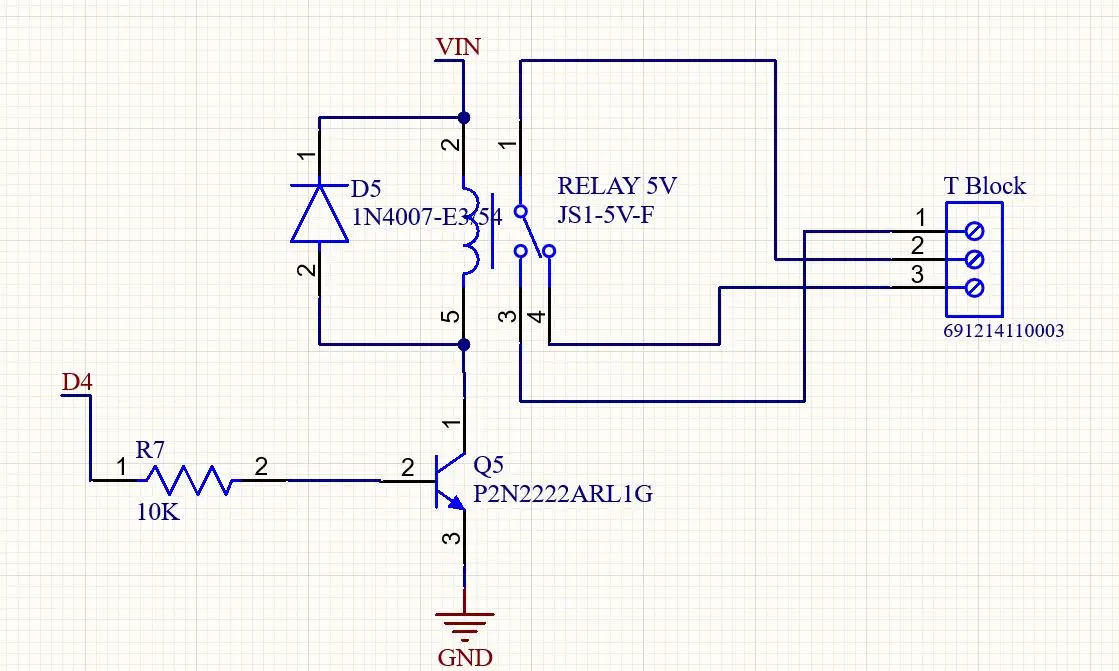
Relay circuit diagram:
Here is a circuit diagram of the one-channel relay module, if you want to make your own relay module.
Arduino Pro Micro & Bluetooth Programming:
|
1 2 3 4 5 6 7 8 9 10 11 12 13 14 15 16 17 18 19 20 21 22 23 24 25 26 27 28 29 30 31 32 33 34 35 36 37 38 39 40 41 42 43 44 45 46 47 48 49 50 51 52 53 54 55 56 57 58 59 60 61 62 63 64 65 66 67 68 69 70 71 72 73 74 75 76 77 78 79 80 81 82 83 84 85 86 87 88 89 90 |
#include "Arduino.h" // Pin Definitions int device1=4; int device2=5; int device3=6; int device4=7; // Global variables and defines // object initialization HardwareSerial& bthc05(Serial1); /* Setup the essentials for your circuit to work. It runs first every time your circuit is powered with electricity. */ void setup() { bthc05.begin(9600); bthc05.println("Bluetooth On...."); pinMode(device1,OUTPUT); pinMode(device2,OUTPUT); pinMode(device3,OUTPUT); pinMode(device4,OUTPUT); } /* Main logic of your circuit. It defines the interaction between the components you selected. After setup, it runs over and over again, in an eternal loop. */ void loop() { String bthc05Str = ""; //Receive String from bluetooth device if (bthc05.available()) { //Read a complete line from bluetooth terminal bthc05Str = bthc05.readStringUntil('\n'); int state = bthc05Str.toInt(); if(state==123) { digitalWrite(device1,HIGH); } else if(state==321) { digitalWrite(device1,LOW); } else if(state==456) { digitalWrite(device2,HIGH); } else if(state==654) { digitalWrite(device2,LOW); } else if(state==789) { digitalWrite(device3,HIGH); } else if(state==987) { digitalWrite(device3,LOW); } else if(state==786) { digitalWrite(device4,HIGH); } else if(state==687) { digitalWrite(device4,LOW); } } } |
I started off by adding the Arduino.h header file. Next, I defined pins for all the 4 relays which are connected to the Arduino Pro Micro pins 4, 5, 6, and 7.
Next, I defined a serial port for the HC05 Bluetooth module.
In the void setup() function, I activated the serial communication and set all the 4 loads as output. Now, let’s go to the loop() function that runs repeatedly.
Inside the loop() function, I defined a variable of the type string that I am going to use for storing the string which I am going to receive from the Bluetooth module.
|
1 |
if (bthc05.available()) |
This line means if data is available on the serial port. It’s the data that is sent from the android application. So, if data is available on the serial port then read the complete line and store it in the variable. From the android application I am only going to send the numbers and when these numbers are received by the Arduino, these are stored as a string.
|
1 |
int state = bthc05Str.toInt(); |
So, that’s why I am converting it back into integer.
|
1 2 3 4 5 6 7 8 9 10 11 12 13 14 15 16 17 18 19 20 21 22 23 24 25 26 27 28 29 30 31 32 33 34 35 36 37 38 39 40 41 42 43 44 45 46 47 48 49 50 51 52 53 54 55 56 57 58 59 60 61 62 63 |
if(state==123) { digitalWrite(device1,HIGH); } else if(state==321) { digitalWrite(device1,LOW); } else if(state==456) { digitalWrite(device2,HIGH); } else if(state==654) { digitalWrite(device2,LOW); } else if(state==789) { digitalWrite(device3,HIGH); } else if(state==987) { digitalWrite(device3,LOW); } else if(state==786) { digitalWrite(device4,HIGH); } else if(state==687) { digitalWrite(device4,LOW); } |
And then these are if conditions to check the numbers, each number is used to turn ON and turn OFF a specific load. So, that’s all for now.
Watch Video Tutorial:
Discover more from Electronic Clinic
Subscribe to get the latest posts sent to your email.


How to creat projects