Arduino Project into Raspberry Pi Pico Project without changing the Code
Last Updated on September 21, 2024 by Engr. Shahzada Fahad
Table of Contents
Arduino Project into Raspberry Pi Pico Project:
Arduino Project into Raspberry Pi Pico Project without changing the Code- A lot of boys and girls have been asking me if they can convert any Arduino based Project into a Raspberry Pi Pico based project without making any changes in the code. And some guys even asked about the Arduino Libraries; if they can use the same Arduino Libraries with the Raspberry Pi Pico. To find out this, first, I made two Arduino-based projects.
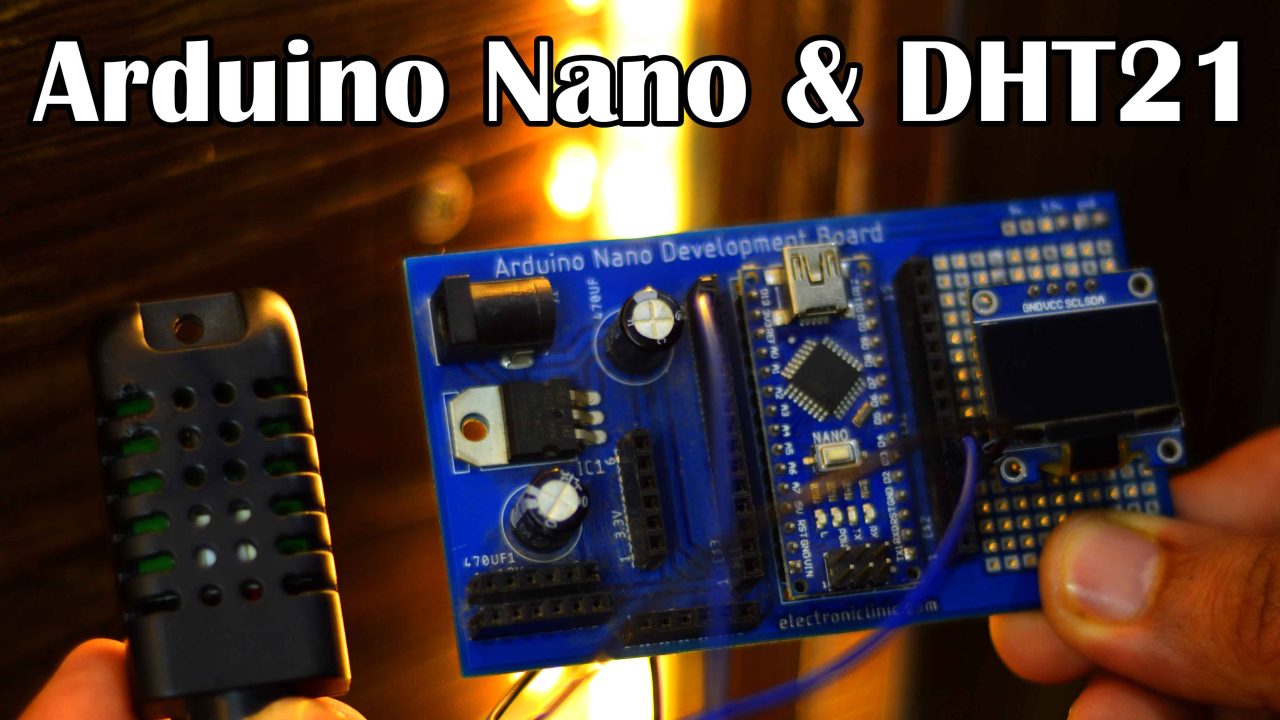
- Temperature and Humidity Monitoring System using Arduino, DHT21, and SSD1306 Oled display Module. And,
- Industrial Temperature Monitor using Arduino, K-type Thermocouple, Max6675 Amplifier board, and SSD1306 Oled display Module.
So, let’s go ahead and one by one convert these Arduino based projects into Raspberry Pi Pico based projects.
Getting Started Tutorials:
Max6675 and K type thermocouple
So, without any further delay, let’s get started.
Amazon Links:
Arduino Nano USB-C Type (Recommended)
DHT21 Temperature & Humidity Sensor
*Disclosure: These are affiliate links. As an Amazon Associate I earn from qualifying purchases.
If you are just getting started with Raspberry Pi Pico or Raspberry Pi Pico W then I highly recommend, first, read my getting started articles on the Raspberry Pi Pico and then you can resume from here. Because, in this article, I am not explaining how to install the Raspberry Pi Pico board in the Arduino IDE or its technical specs, and pinouts. I have already covered all these things.
Project 1:
Arduino-based Temp & Hum Circuit Diagram:

This is the circuit diagram of the Arduino and DHT21 Temperature and Humidity Sensor based temperature monitoring system.
The VCC and GND wires of the DHT21 Temperature and Humidity Sensor are connected with the Arduino Nano 3.3V and GND pins. While the DATA wire of the DHT21 Sensor is connected with the digital Pin D2 of the Arduino Nano.
Similarly, the VCC and GND pins of the I2C supported SSD1306 Oled display module are connected with the 3.3V and GND pins of the Arduino Nano. While the SDA and SCL pins of the Oled display module are connected with the Arduino Nano A4 and A5 pins. A4 is the SDA and A5 is the SCL.
ON the Left side, is the 5V regulated power supply based on the LM7805 voltage regulator. You will need this power supply if you want to externally power up your Arduino board, or otherwise you can use your computer or laptop to power up the Arduino board.
As usual, I am using my Arduino Nano development board. It doesn’t matter if you don’t have this development board, you can do all these connections on a breadboard. But still, if you want to make the same development board for testing your Arduino-based projects then you can download its Gerber files.
Now, let’s go ahead and take a look at the programming.
Arduino Temp & Hum Monitoring Code:
First, you will need to install all the required libraries, the installation method I have explained in the video tutorial given at the end of this article.
|
1 2 3 4 5 6 7 8 9 10 11 12 13 14 15 16 17 18 19 20 21 22 23 24 25 26 27 28 29 30 31 32 33 34 35 36 37 38 39 40 41 42 43 44 45 46 47 48 49 50 51 52 |
#include <Wire.h> #include <DHT.h> #include <U8x8lib.h> #define DHTPIN 2 #define DHTTYPE DHT21 DHT dht(DHTPIN, DHTTYPE); U8X8_SSD1306_128X64_NONAME_HW_I2C u8x8(/* reset=*/ U8X8_PIN_NONE); float temp; //to store the temperature value float hum; // to store the humidity value /**************************************** Main Functions ****************************************/ void setup() { Serial.begin(115200); u8x8.begin(); dht.begin(); //Begins to receive Temperature and humidity values. } void loop() { temp = dht.readTemperature(); hum = dht.readHumidity(); u8x8.setCursor(1,10);// position, line# ) u8x8.setFont(u8x8_font_px437wyse700b_2x2_r); u8x8.print(" ");// clear value u8x8.setCursor(1,10);// position, line# ) u8x8.print(temp);// Write to lcd u8x8.setCursor(12,2); u8x8.print("C"); u8x8.setCursor(1,30);// position, line# ) u8x8.print(" ");// clear value u8x8.setCursor(1,30);// position, line# ) u8x8.print(hum);// Write to lcd u8x8.setCursor(12,6); u8x8.print("%"); Serial.print("Temperature = "); Serial.print(temp); Serial.println(" *C"); delay(3000); } |
Practical Demonstration:

Initially, the temperature was 15 degrees Celsius and after I applied some heat then in a few seconds the temperature increased to 16.2 degrees Celsius. This is a bit slow and it takes a few seconds to update the value. For the practical demonstration watch video tutorial.
Now, let’s go ahead and convert this Arduino-based project into Raspberry Pi Pico based Project.
DHT21 and Oled display with Raspberry Pi Pico:

This is the circuit diagram of the Temperature and Humidity Monitoring System using Raspberry Pi Pico, DHT21, and SSD1306 Oled display Module. Don’t get confused if you see different pin numbers. This is because pins layout on both Arduino and Raspberry Pi Pico is different.
Anyway, the VCC and GND pins of the I2C supported SSD1306 Oled display Module and the DHT21 Sensor are connected with the 3.3V and GND pins of the Raspberry Pi Pico. The Data wire of the DHT21 is connected with the GP28. While the SDA and SCL pins of the SSD1306 Oled display Module are connected with the GP4 and GP5 on the Raspberry Pi Pico.

I have connected everything as per the circuit diagram and now let’s take a look at the programming.
Temp & Hum Raspberry Pi Pico Code:
You can see, I am using the same exact libraries and program… I have only changed the pin numbers. As you know Arduino and Raspberry Pi Pico have got different pinouts. Previously, I was using digital pin2 on the Arduino while this time I am using GPIO pin 28.
|
1 2 3 4 5 6 7 8 9 10 11 12 13 14 15 16 17 18 19 20 21 22 23 24 25 26 27 28 29 30 31 32 33 34 35 36 37 38 39 40 41 42 43 44 45 46 47 48 49 50 51 52 |
#include <Wire.h> #include <DHT.h> #include <U8x8lib.h> #define DHTPIN 28 #define DHTTYPE DHT21 DHT dht(DHTPIN, DHTTYPE); U8X8_SSD1306_128X64_NONAME_HW_I2C u8x8(/* reset=*/ U8X8_PIN_NONE); float temp; //to store the temperature value float hum; // to store the humidity value /**************************************** Main Functions ****************************************/ void setup() { Serial.begin(115200); u8x8.begin(); dht.begin(); //Begins to receive Temperature and humidity values. } void loop() { temp = dht.readTemperature(); hum = dht.readHumidity(); u8x8.setCursor(1,10);// position, line# ) u8x8.setFont(u8x8_font_px437wyse700b_2x2_r); u8x8.print(" ");// clear value u8x8.setCursor(1,10);// position, line# ) u8x8.print(temp);// Write to lcd u8x8.setCursor(12,2); u8x8.print("C"); u8x8.setCursor(1,30);// position, line# ) u8x8.print(" ");// clear value u8x8.setCursor(1,30);// position, line# ) u8x8.print(hum);// Write to lcd u8x8.setCursor(12,6); u8x8.print("%"); Serial.print("Temperature = "); Serial.print(temp); Serial.println(" *C"); delay(3000); } |
Practical Demonstration:

This is how easily we can convert any Arduino-based project into a Raspberry Pi Pico based project without making any changes in the code. Now, let’s go ahead and start with the next project.
Project 2:
Industrial Temperature Monitor using Arduino:

This is the Circuit diagram of the Industrial Temperature Monitor using Arduino, K-type Thermocouple, Max6675 Amplifier board, and SSD1306 Oled display Module.
The Red and Blue wires of the K type thermocouple are connected with the + and – contacts respectively.
The VCC and GND pins of the MAX6675 Amplifier board and the SSD1306 Oled display module are connected with the Arduino Nano 3.3V and GND pins.
The SCK, CS, and SO pins of the MAX6675 board are connected with the Arduino D6, D5, and D3 pins respectively.
The SDA and SCL pins of the Oled display Module are connected with the A4 and A5 pins of the Arduino Nano.

I have connected everything as per the circuit diagram and now let’s take a look at the programming.
K type thermocouple & Max6675 Arduino Code:
As you can see I am using the same library for the SSD1306 Oled display module and I have already explained how to install this library. Now, this time round, you will also need to install the max6675 library. For this simply copy the library name “max6677”…then go to the sketch menu then to include library, and click on the manage libraries… Past the library name in the search box…And install the max6675 library. I have explained this in the video tutorial given at the end of this article.
|
1 2 3 4 5 6 7 8 9 10 11 12 13 14 15 16 17 18 19 20 21 22 23 24 25 26 27 28 29 30 31 32 33 34 35 36 37 38 39 40 41 42 43 44 45 46 47 |
#include <Wire.h> #include <U8x8lib.h> // for SSD1306 Oled Display Module #include "max6675.h" ///Arduino pins int thermoDO = 3; int thermoCS = 5; int thermoCLK = 6; // Raspberry pi pico pins //int thermoDO = 15; //int thermoCS = 14; //int thermoCLK = 13; MAX6675 thermocouple(thermoCLK, thermoCS, thermoDO); U8X8_SSD1306_128X64_NONAME_HW_I2C u8x8(/* reset=*/ U8X8_PIN_NONE); /**************************************** Main Functions ****************************************/ void setup() { Serial.begin(115200); u8x8.begin(); } void loop() { float temperature = thermocouple.readCelsius(); u8x8.setCursor(1,10);// position, line# ) u8x8.setFont(u8x8_font_px437wyse700b_2x2_r); u8x8.print(" ");// clear value u8x8.setCursor(1,10);// position, line# ) u8x8.print(temperature);// Write to lcd u8x8.setCursor(12,2); u8x8.print("C"); Serial.print("Temperature = "); Serial.print(temperature); Serial.println(" *C"); delay(3000); } |
Practical Demonstration:

Initially, the temperature was around 18 degrees Celsius and after I started applying the heat the temperature increased to 60.50 degrees Celsius. If you want to know more about the max6675 and K type thermocouple?
Now, let’s go ahead and convert this Arduino based industrial temperature monitoring system into Raspberry Pi Pico based industrial temperature monitoring system. So, let’s go ahead and take a look at the circuit diagram.
Industrial Temperature Monitor using RPI PICO:

The K-type thermocouple connections with the MAX6675 Amplifier board remains exactly the same.
The VCC and GND pins of the MAX6675 Amplifier board and the SSD1306 Oled display module are connected with the Raspberry Pi Pico 3.3V and GND pins.
The SCK, CS, and SO pins of the MAX6675 board are connected with the Raspberry Pi Pico GPIO pins 13, 14, and 15 respectively. While the SDA and SCL pins of the Oled display module are connected with the I2C pins of the Raspberry Pi Pico.

I connected everything as per the circuit diagram and now let’s take a look at the programming.
Industrial Temp Monitor RPI PICO Code:
I am using the same exact libraries. Only the pin numbers are changed. On Arduino I was using these pins while on Raspberry Pi Pico I am using GPIO pins 15, 14, and 13. Rest of the code remains exactly the same.
|
1 2 3 4 5 6 7 8 9 10 11 12 13 14 15 16 17 18 19 20 21 22 23 24 25 26 27 28 29 30 31 32 33 34 35 36 37 38 39 40 41 42 43 44 45 46 47 |
#include <Wire.h> #include <U8x8lib.h> // for SSD1306 Oled Display Module #include "max6675.h" ///Arduino pins //int thermoDO = 3; //int thermoCS = 5; //int thermoCLK = 6; // Raspberry pi pico pins int thermoDO = 15; int thermoCS = 14; int thermoCLK = 13; MAX6675 thermocouple(thermoCLK, thermoCS, thermoDO); U8X8_SSD1306_128X64_NONAME_HW_I2C u8x8(/* reset=*/ U8X8_PIN_NONE); /**************************************** Main Functions ****************************************/ void setup() { Serial.begin(115200); u8x8.begin(); } void loop() { float temperature = thermocouple.readCelsius(); u8x8.setCursor(1,10);// position, line# ) u8x8.setFont(u8x8_font_px437wyse700b_2x2_r); u8x8.print(" ");// clear value u8x8.setCursor(1,10);// position, line# ) u8x8.print(temperature);// Write to lcd u8x8.setCursor(12,2); u8x8.print("C"); Serial.print("Temperature = "); Serial.print(temperature); Serial.println(" *C"); delay(3000); } |
Practical Demonstration:

This is how easily, you can convert any Arduino based project into a Raspberry Pi Pico based project. You can also convert these projects into IoT based projects; if you use Raspberry Pi Pico W.
Watch Video Tutorial:
https://youtu.be/78bNOszoTPE
Discover more from Electronic Clinic
Subscribe to get the latest posts sent to your email.


