LoRa Monitoring System Without WiFi – Mocreo H5 Pro Setup & Testing
Last Updated on September 7, 2026 by Engr. Shahzada Fahad
Table of Contents
Description:
Are you looking for a reliable way to monitor temperature, humidity, or other conditions without depending on WiFi? In this article, we explore a complete LoRa monitoring system without WiFi using the Mocreo H5 Pro Hub and LS3 sensor.
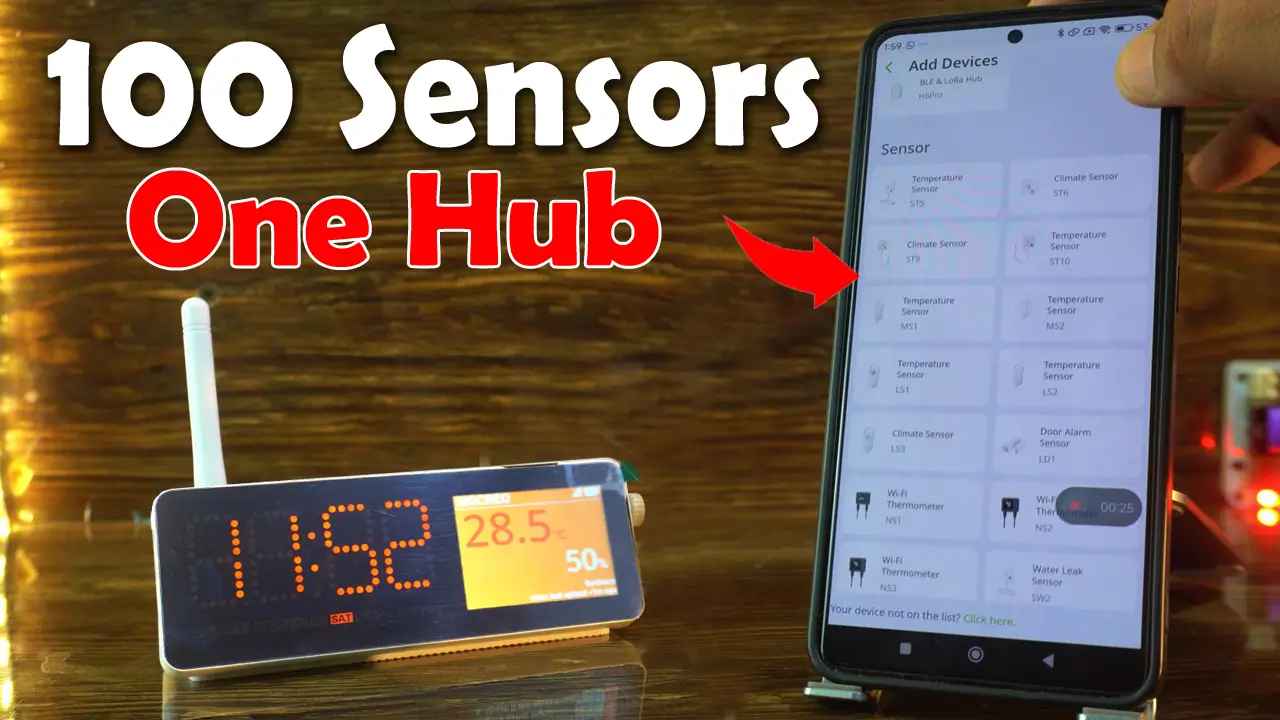
Unlike traditional systems, this setup uses long-range LoRa communication, allowing sensors to work over distances of up to 500 meters while consuming very low power. Whether you want to monitor your home, warehouse, greenhouse, or lab, this system provides a flexible and scalable solution.
In this guide, you will learn how the Mocreo system works, how to set it up step by step, and how it performs in real-world testing, including range and alert features.
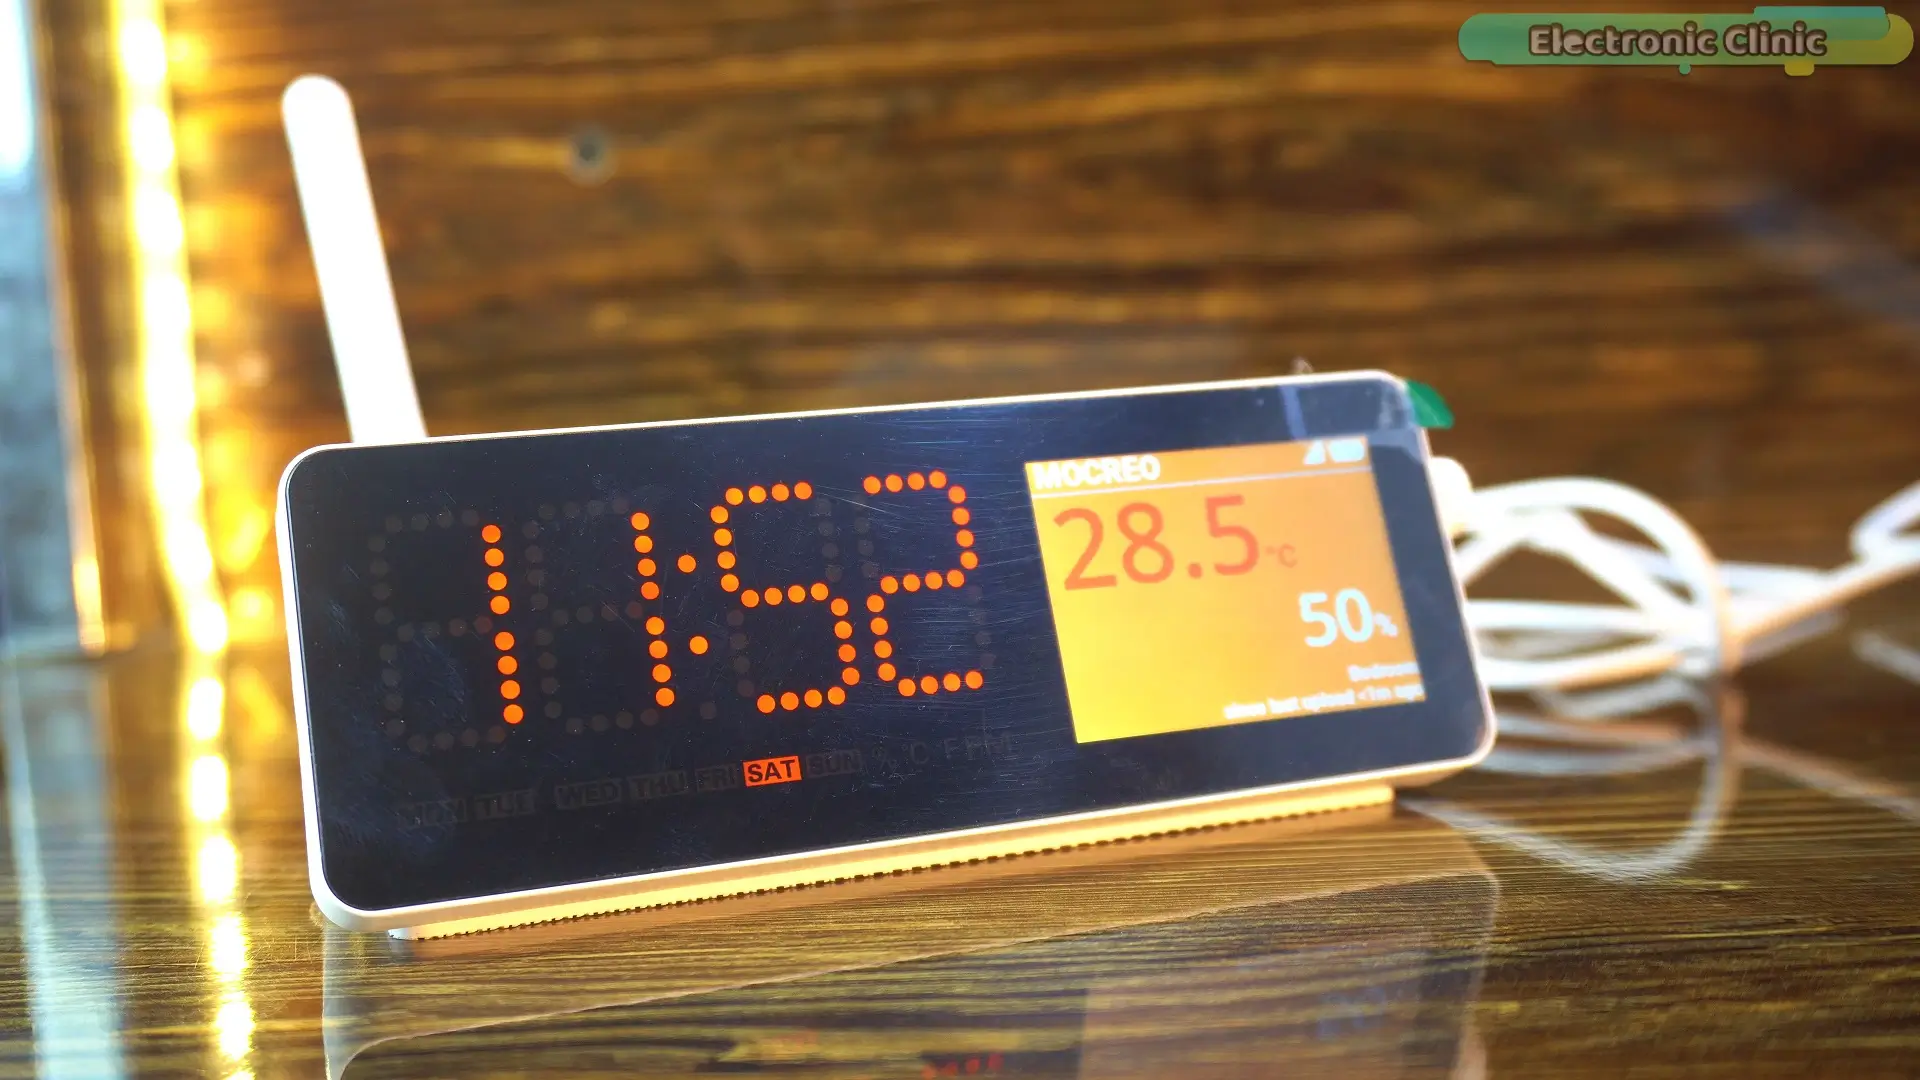
The Mocreo H5 Pro Hub is a central gateway device designed to manage and connect multiple wireless sensors in an environmental monitoring system.
It uses LoRa (Long Range) communication technology,
Which allows it to receive data from sensors over distances of up to about 500 meters in open space.
The hub then transmits this data to the cloud using Wi-Fi or Ethernet, enabling users to monitor conditions remotely through a mobile application.
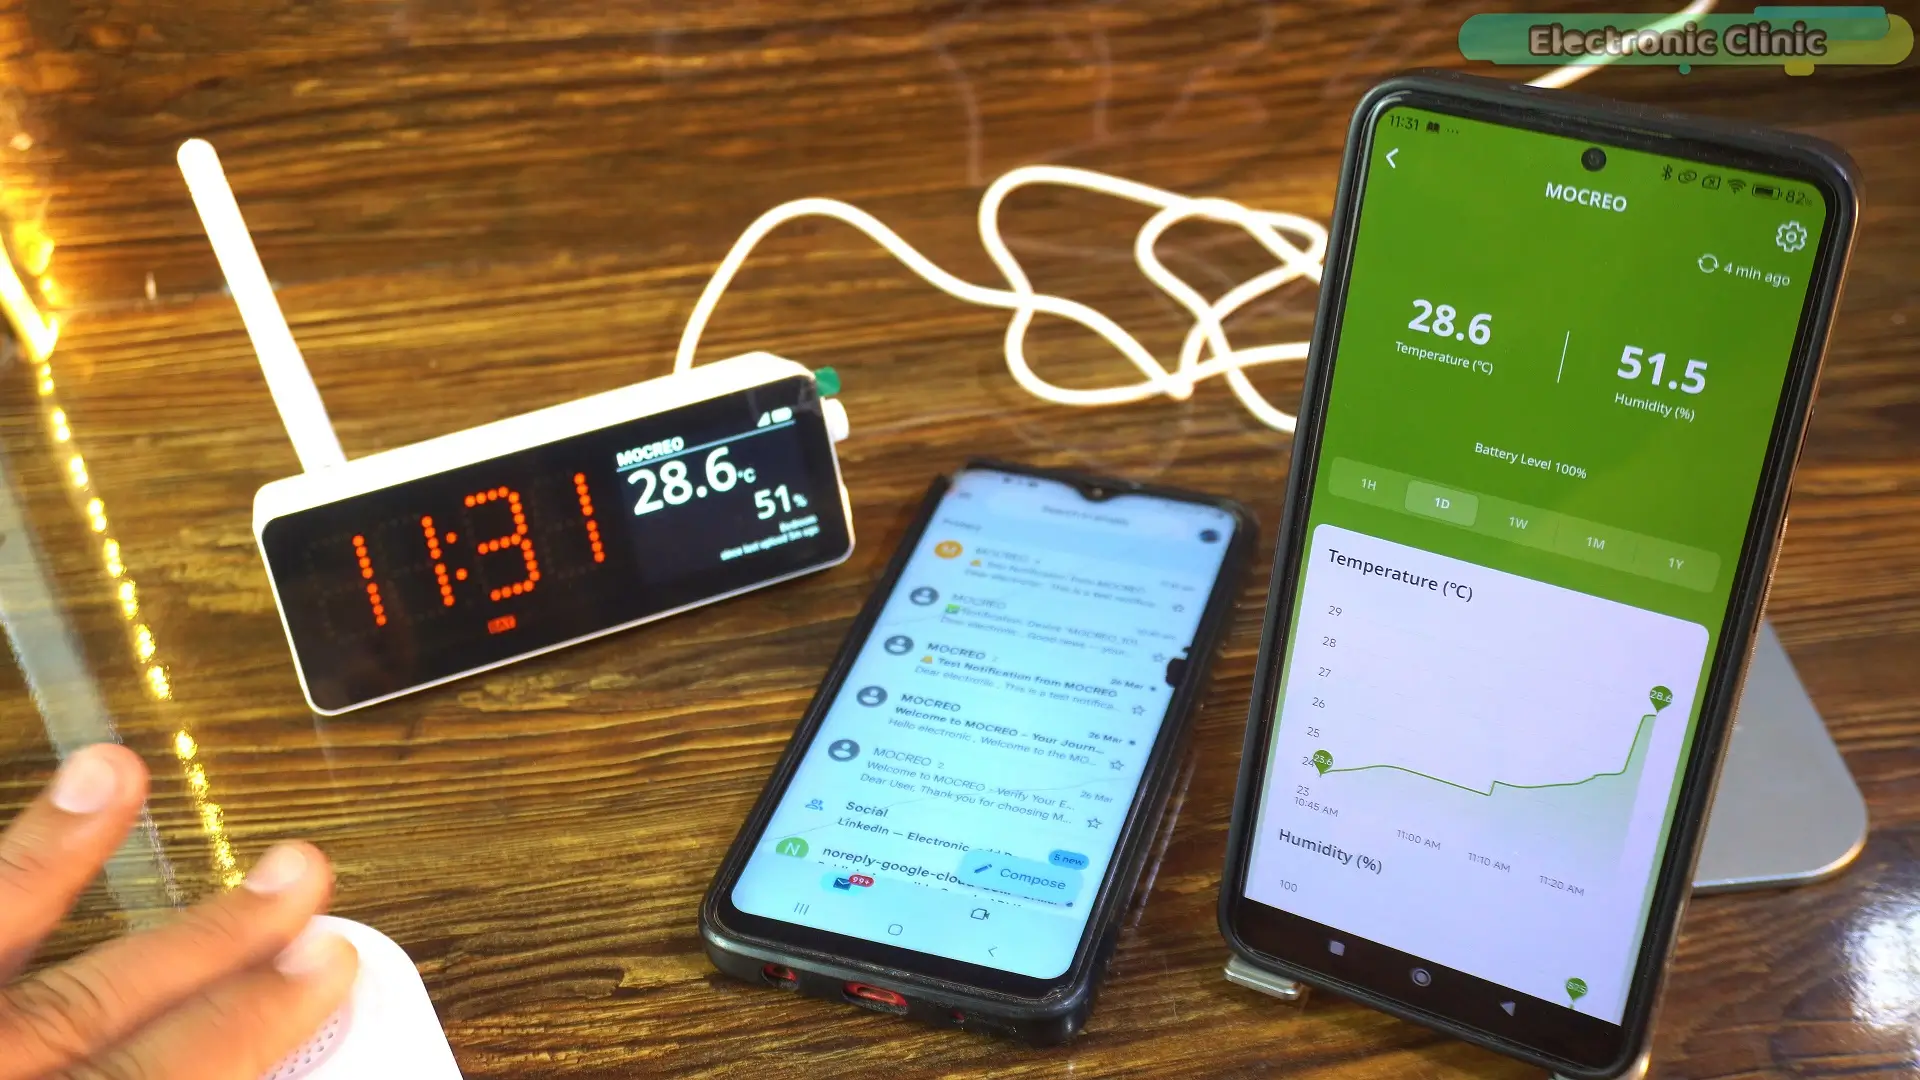
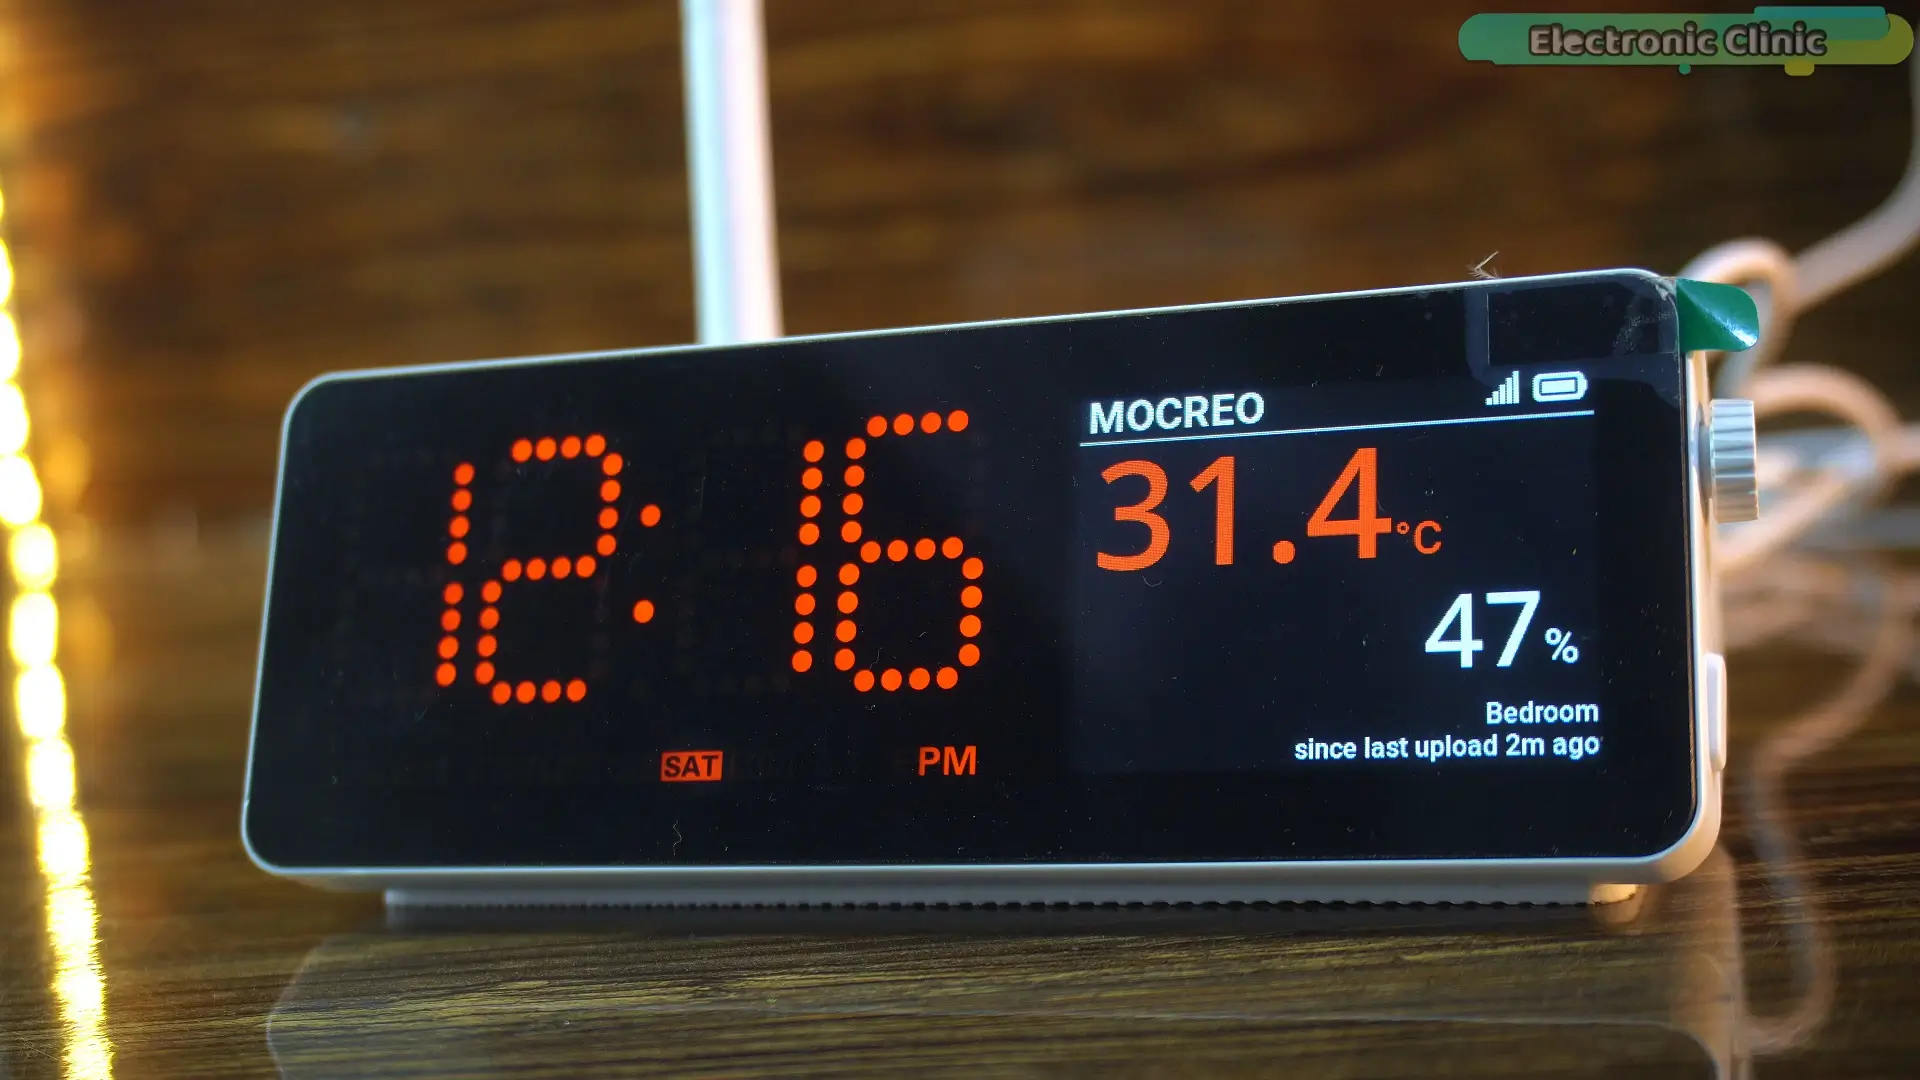
It also features a built-in LCD display that shows real-time information such as temperature readings, time, and sensor status. Additionally, the H5 Pro Hub provides multiple alert options, including mobile notifications, email alerts,
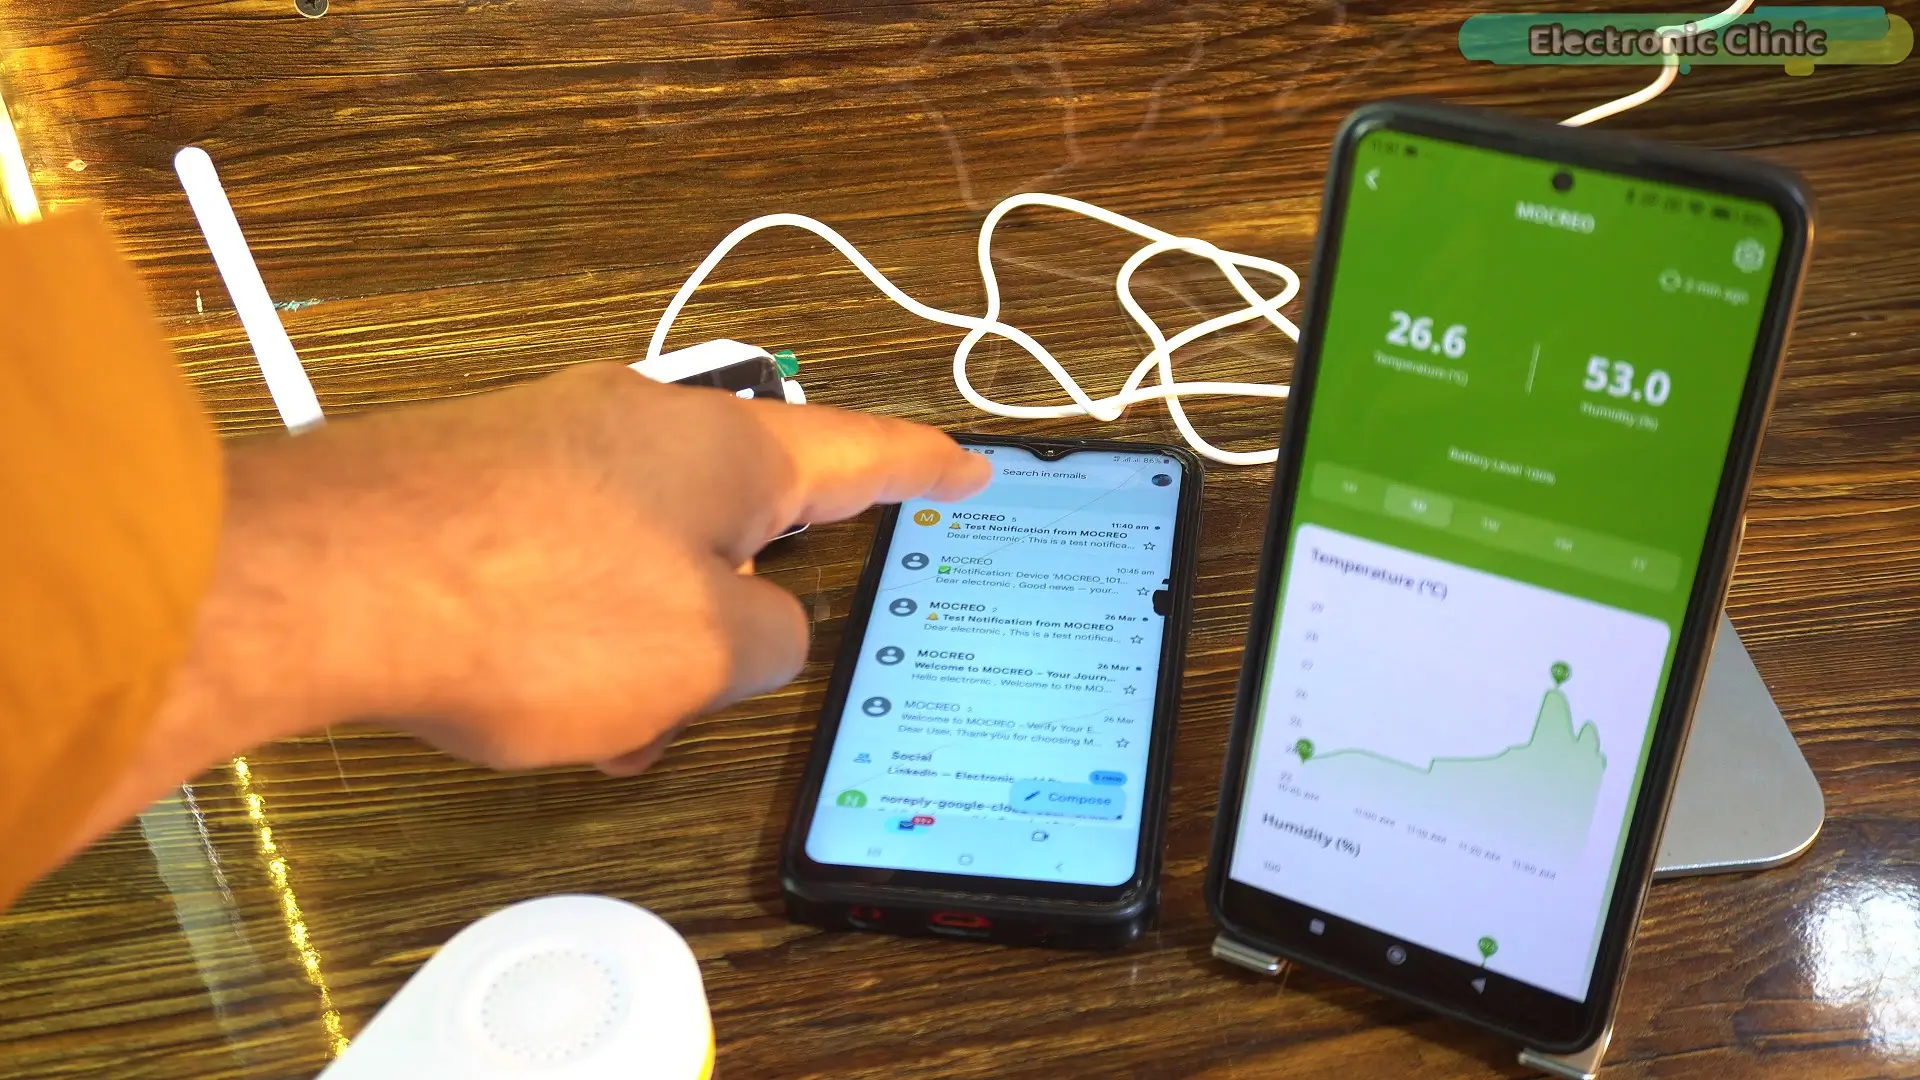
and an onboard buzzer alarm,
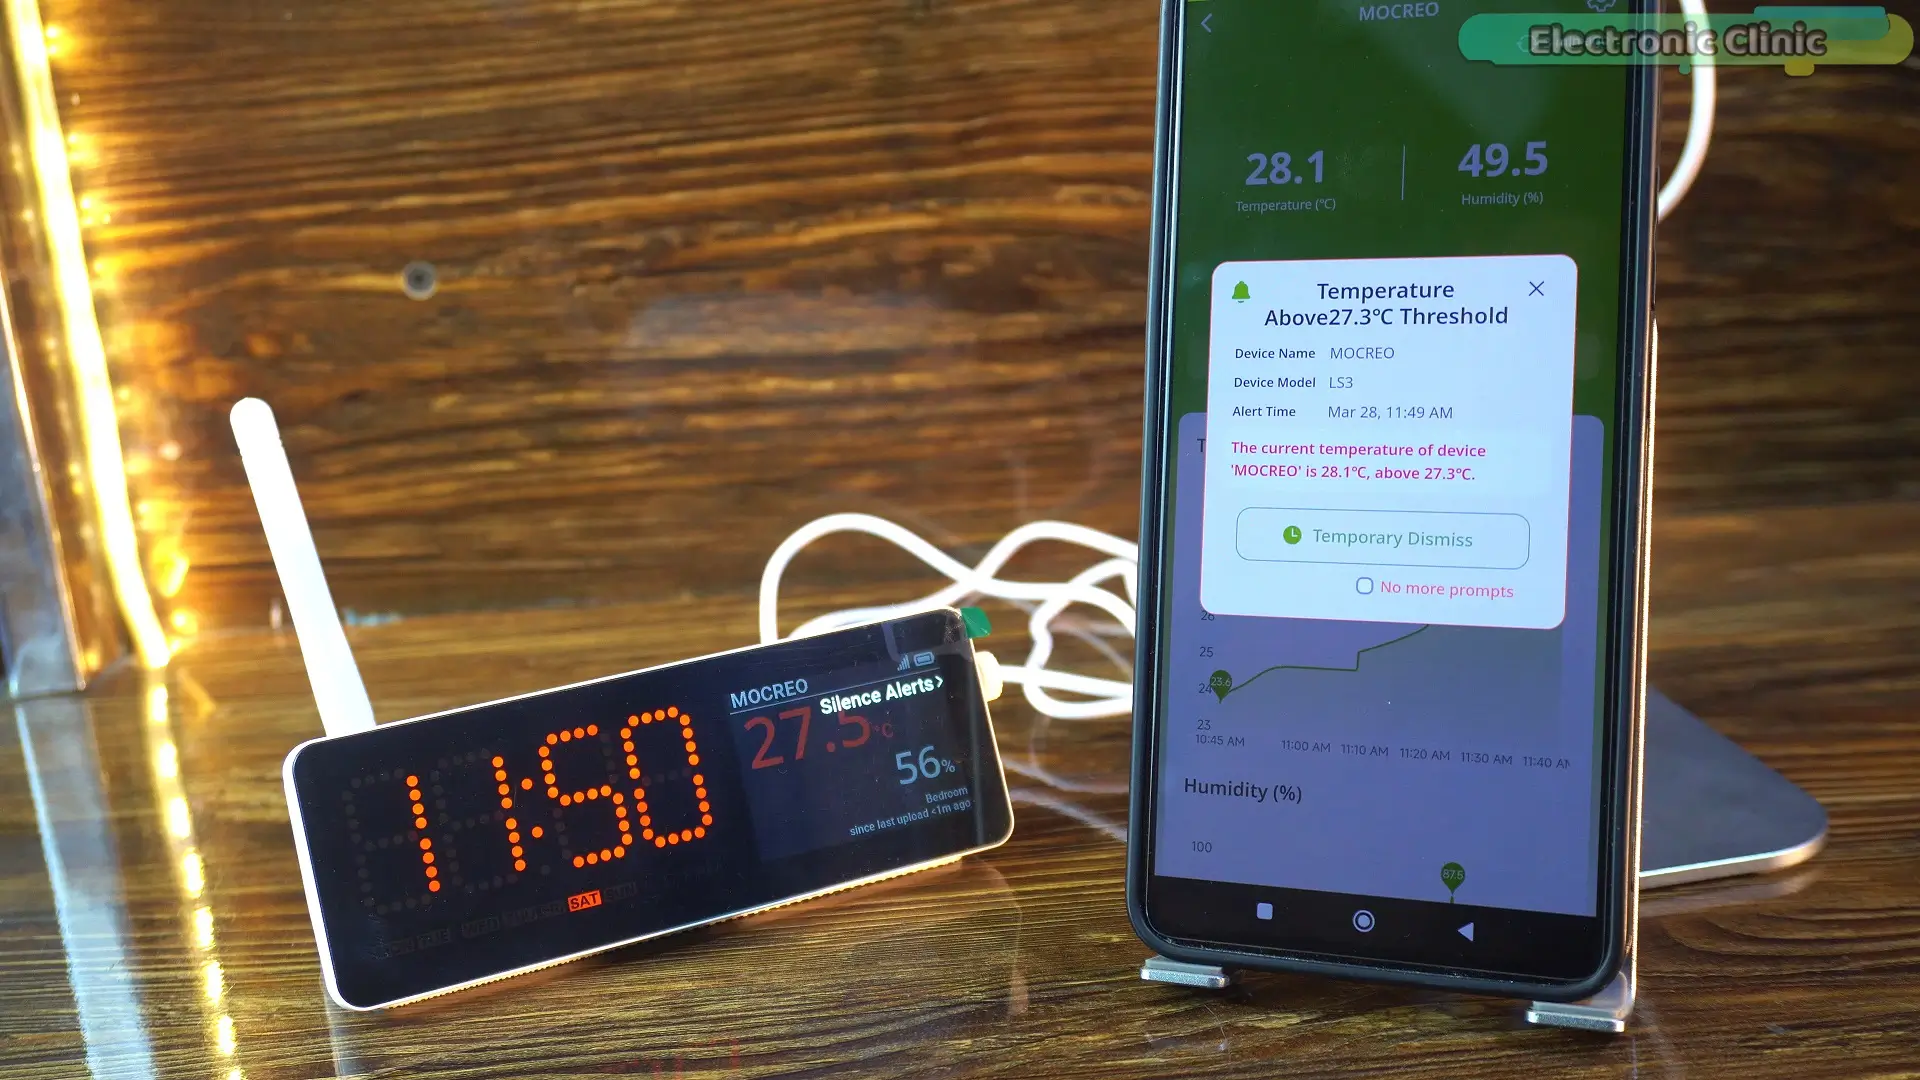
making it highly reliable for real-time monitoring in homes, warehouses, laboratories, and industrial environments.
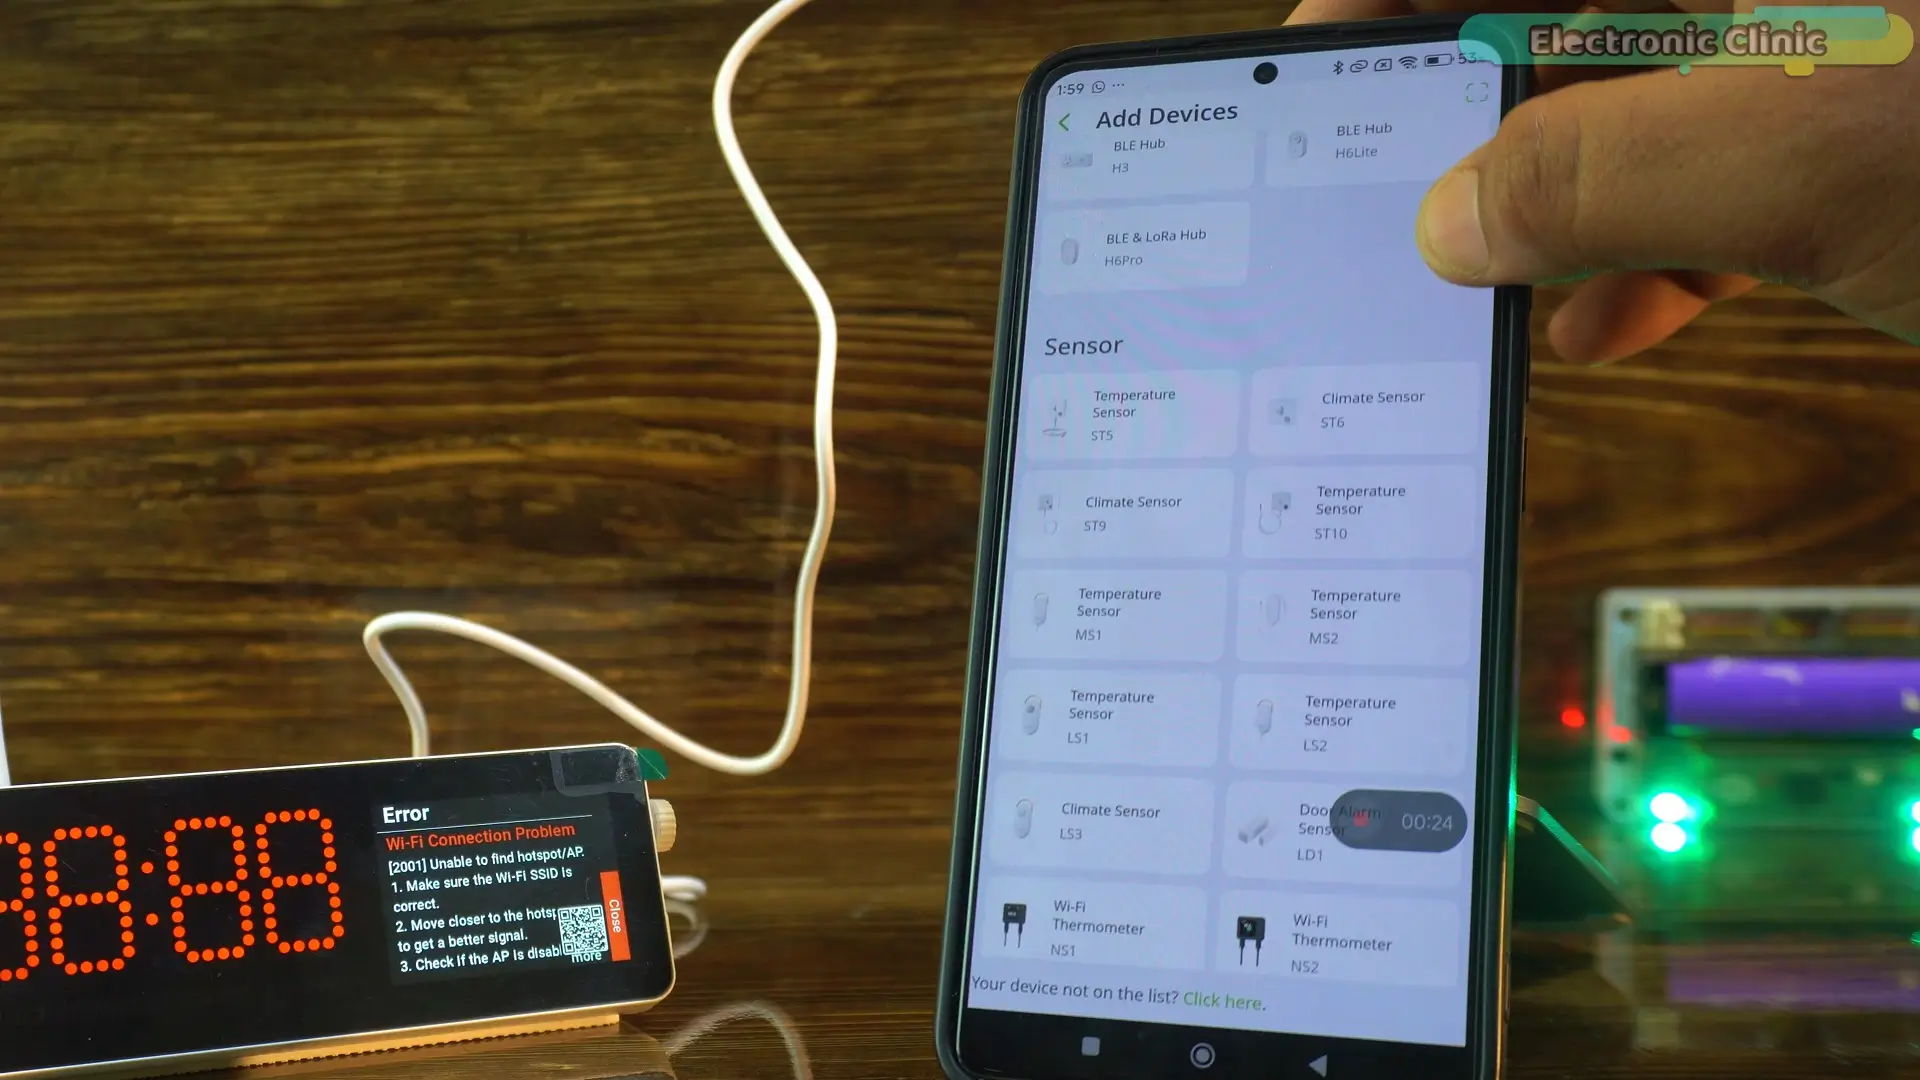
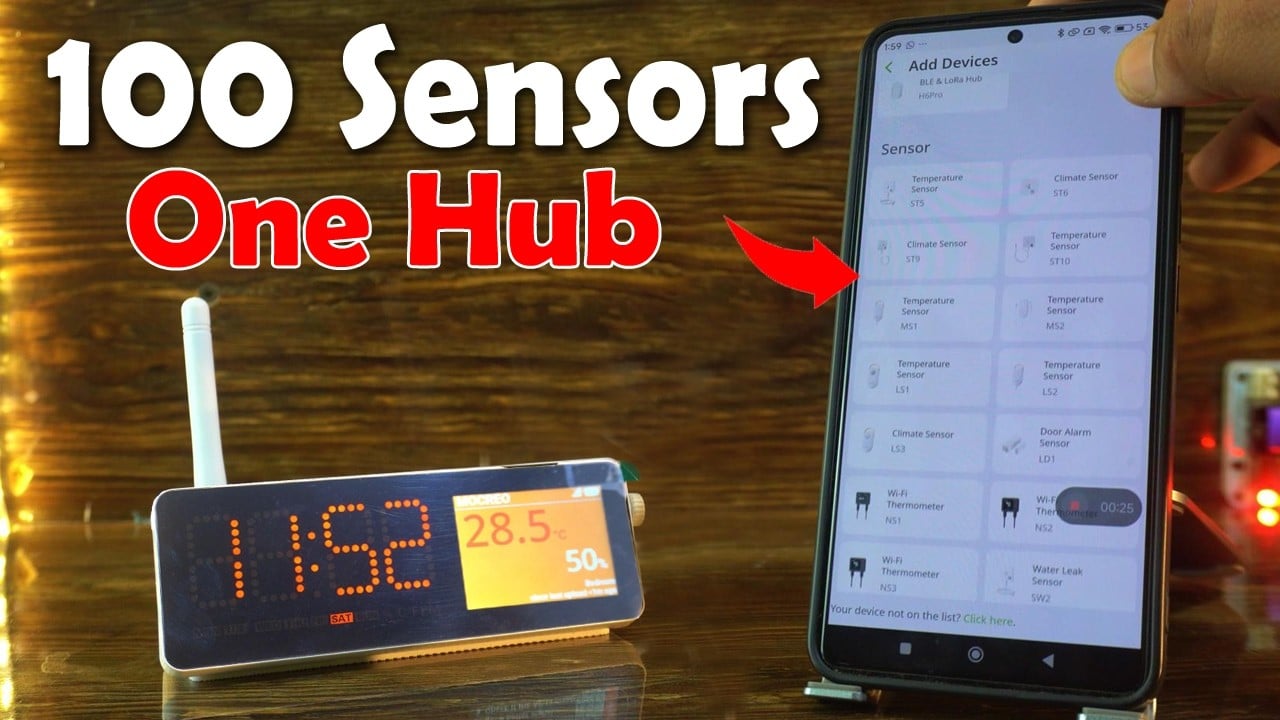
It supports both LoRa and BLE sensors… and you can manage up to 100 sensors at the same time.
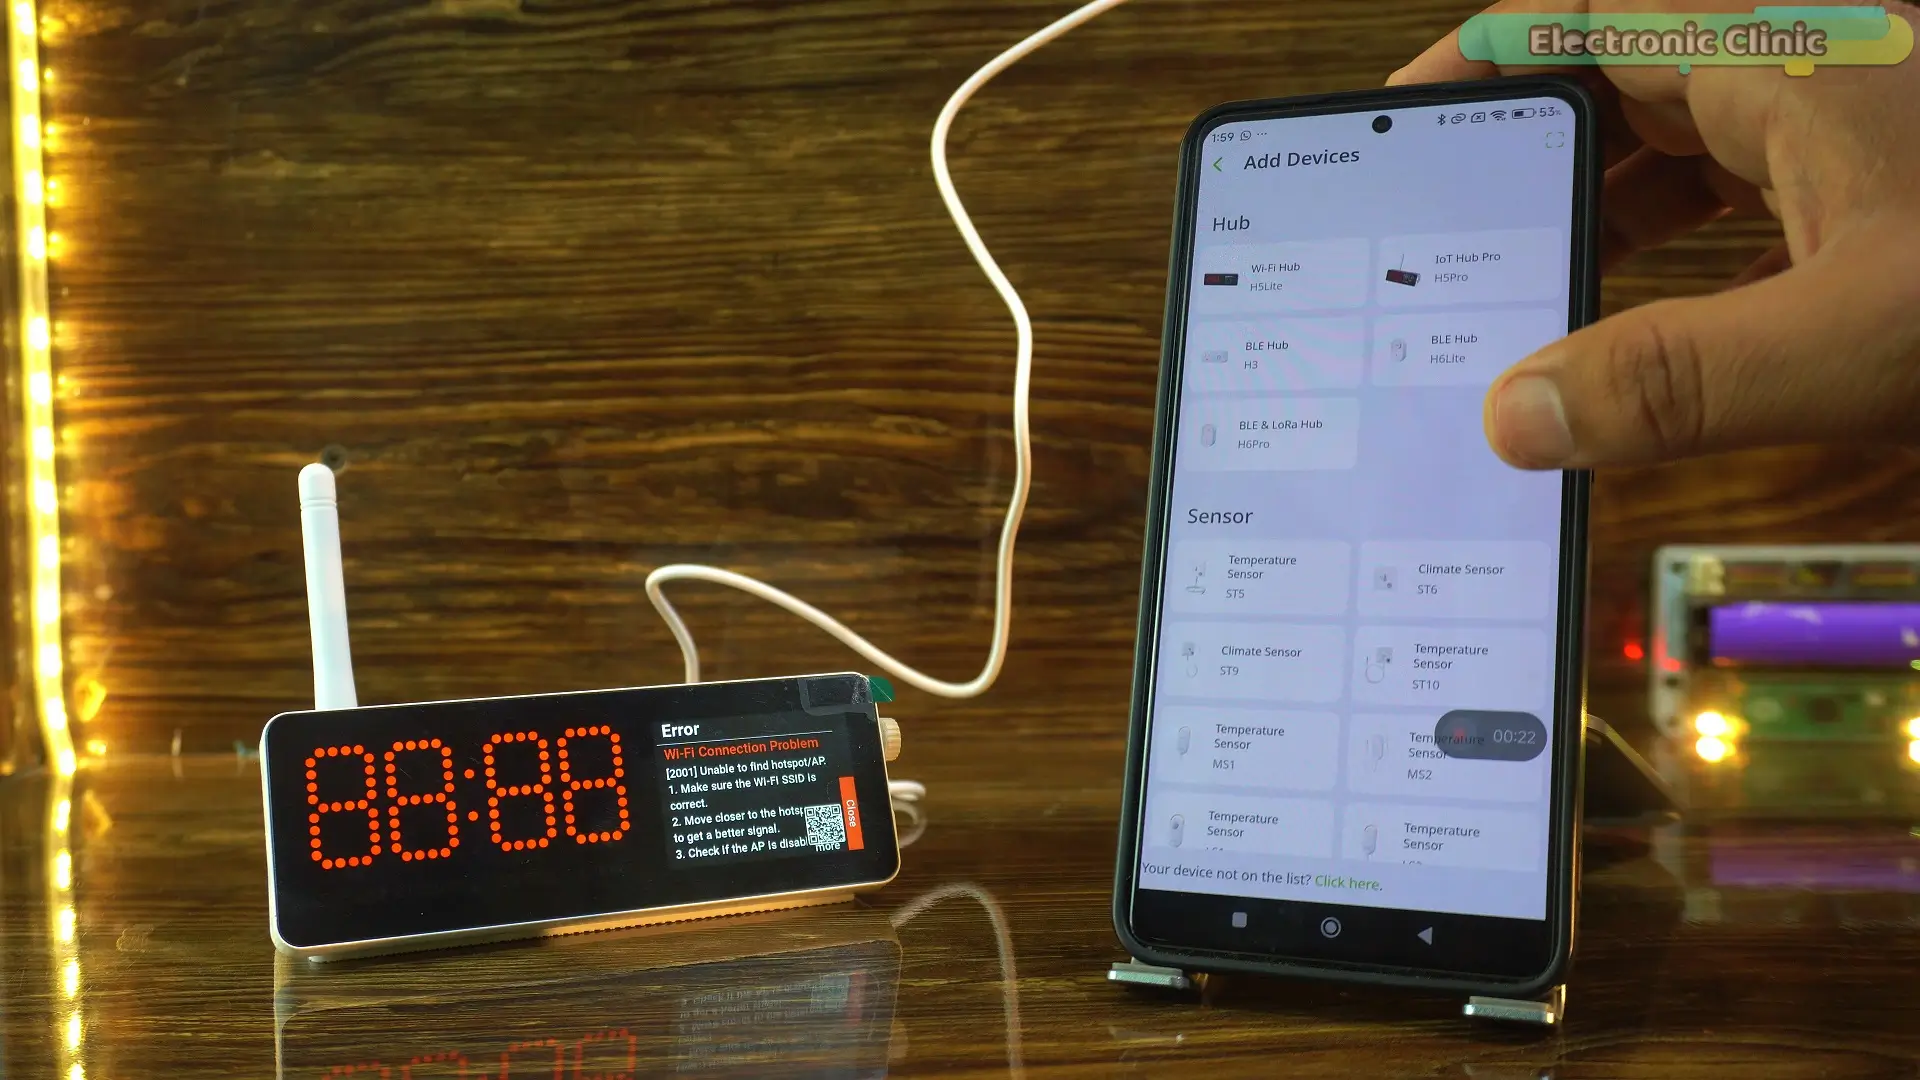
So, it’s not just about monitoring temperature and humidity…You can also monitor water leaks… door status… motion detection… and many other things.
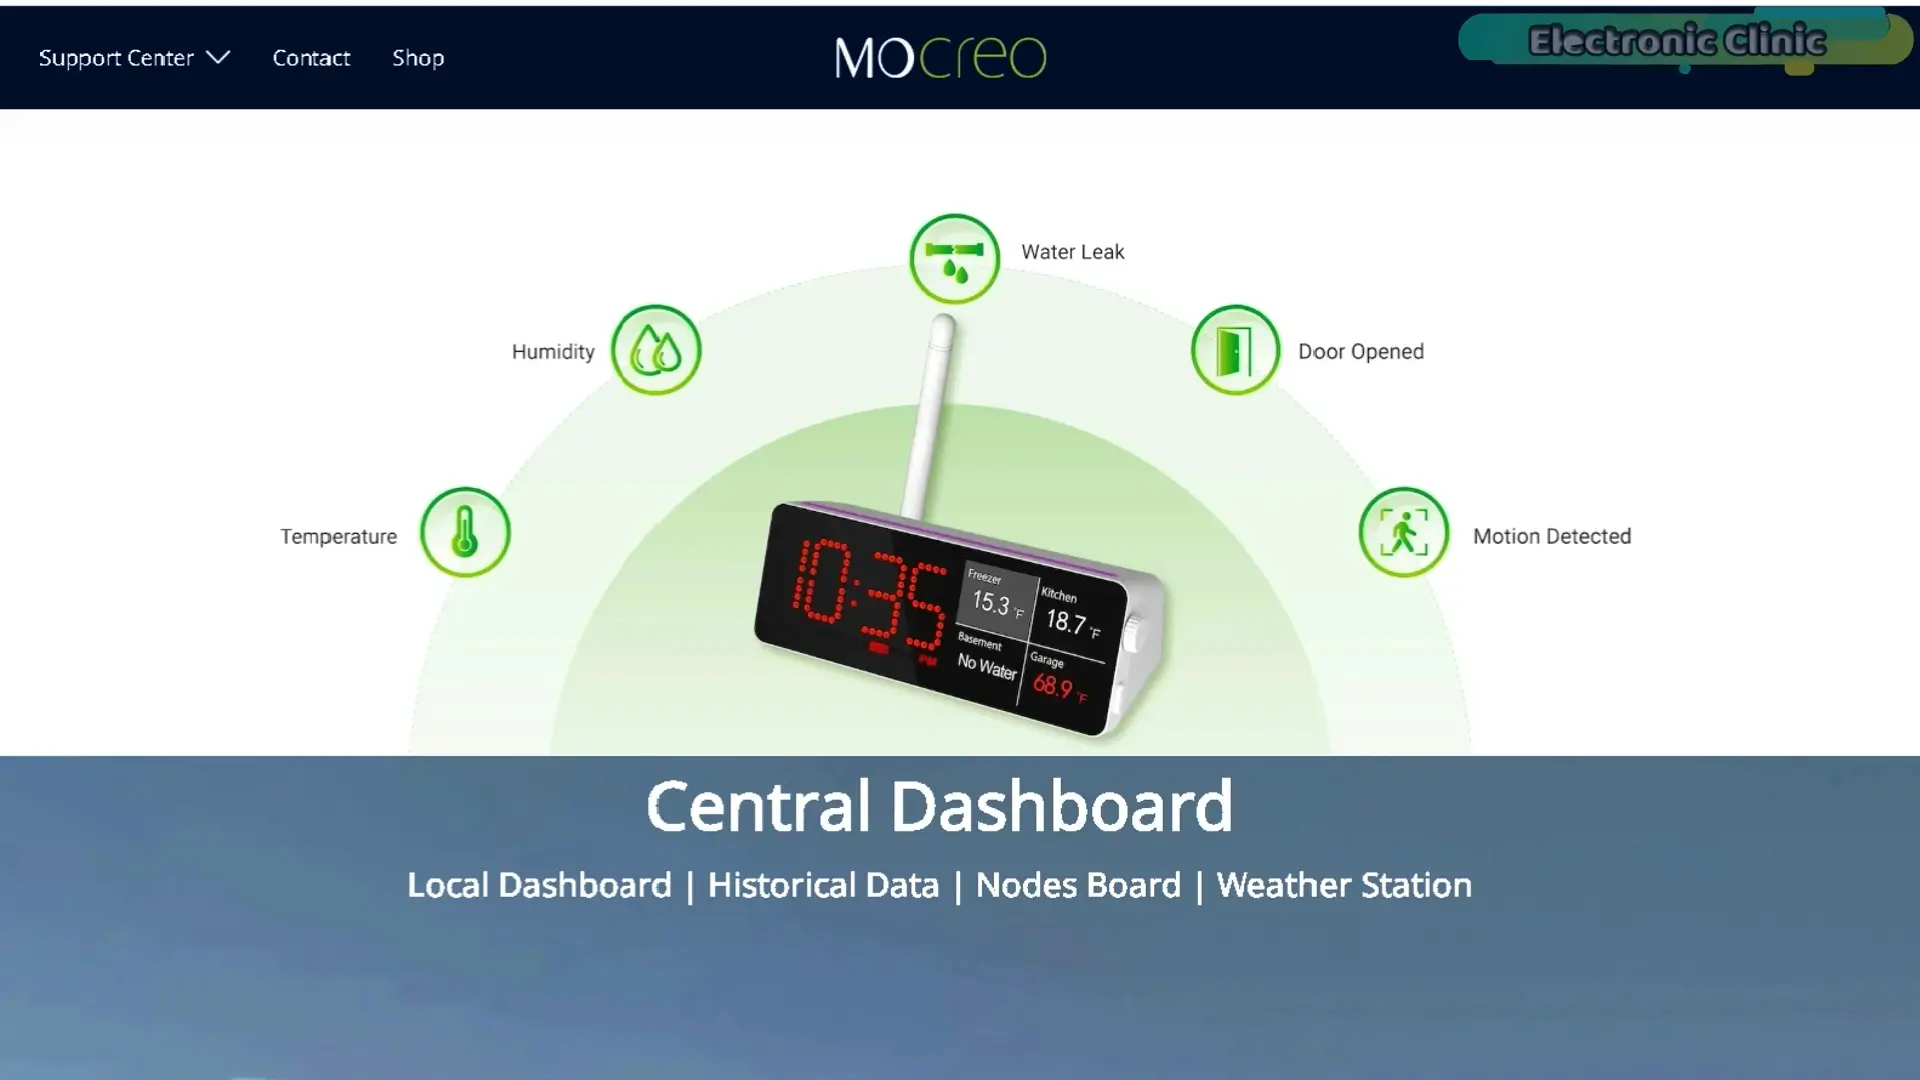
You just choose the sensors you need and build your own complete monitoring system.
But in this article, I will be using the Mocreo LS3 Temperature and Humidity Sensor.
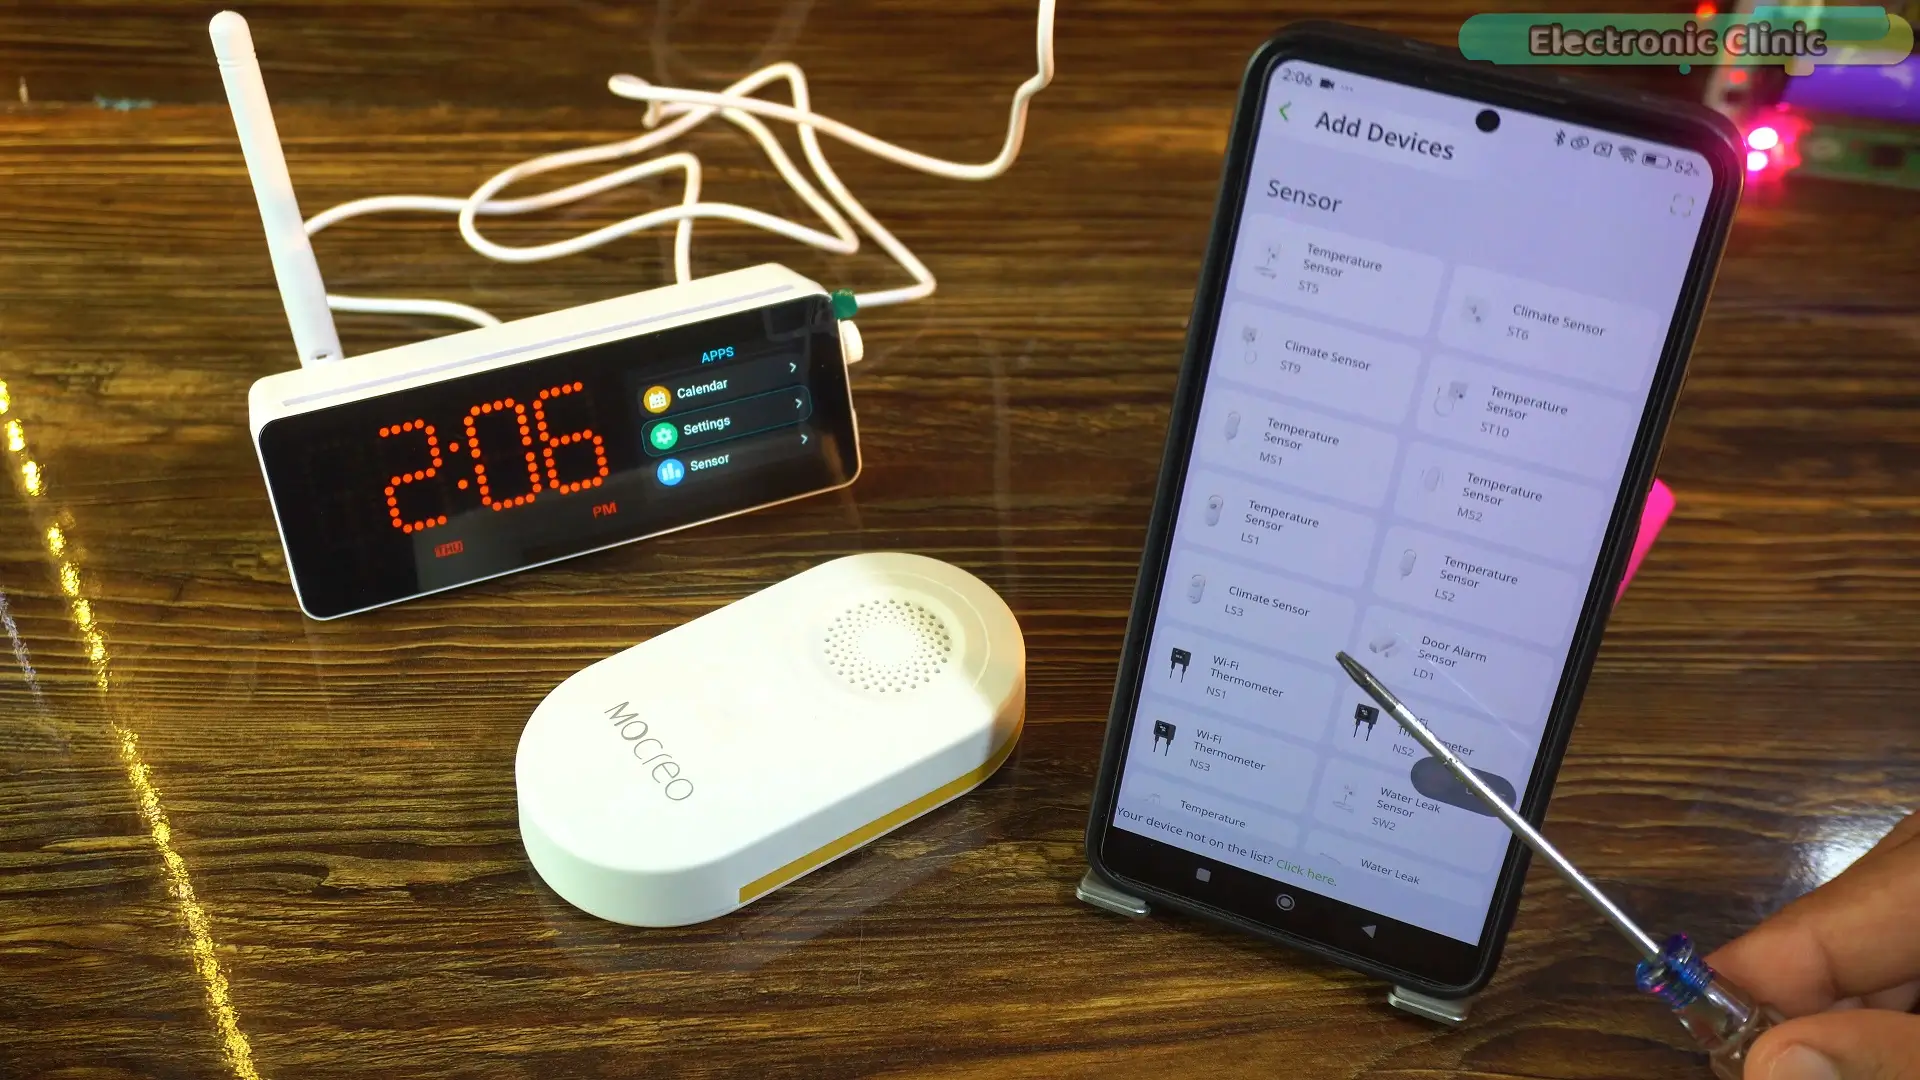
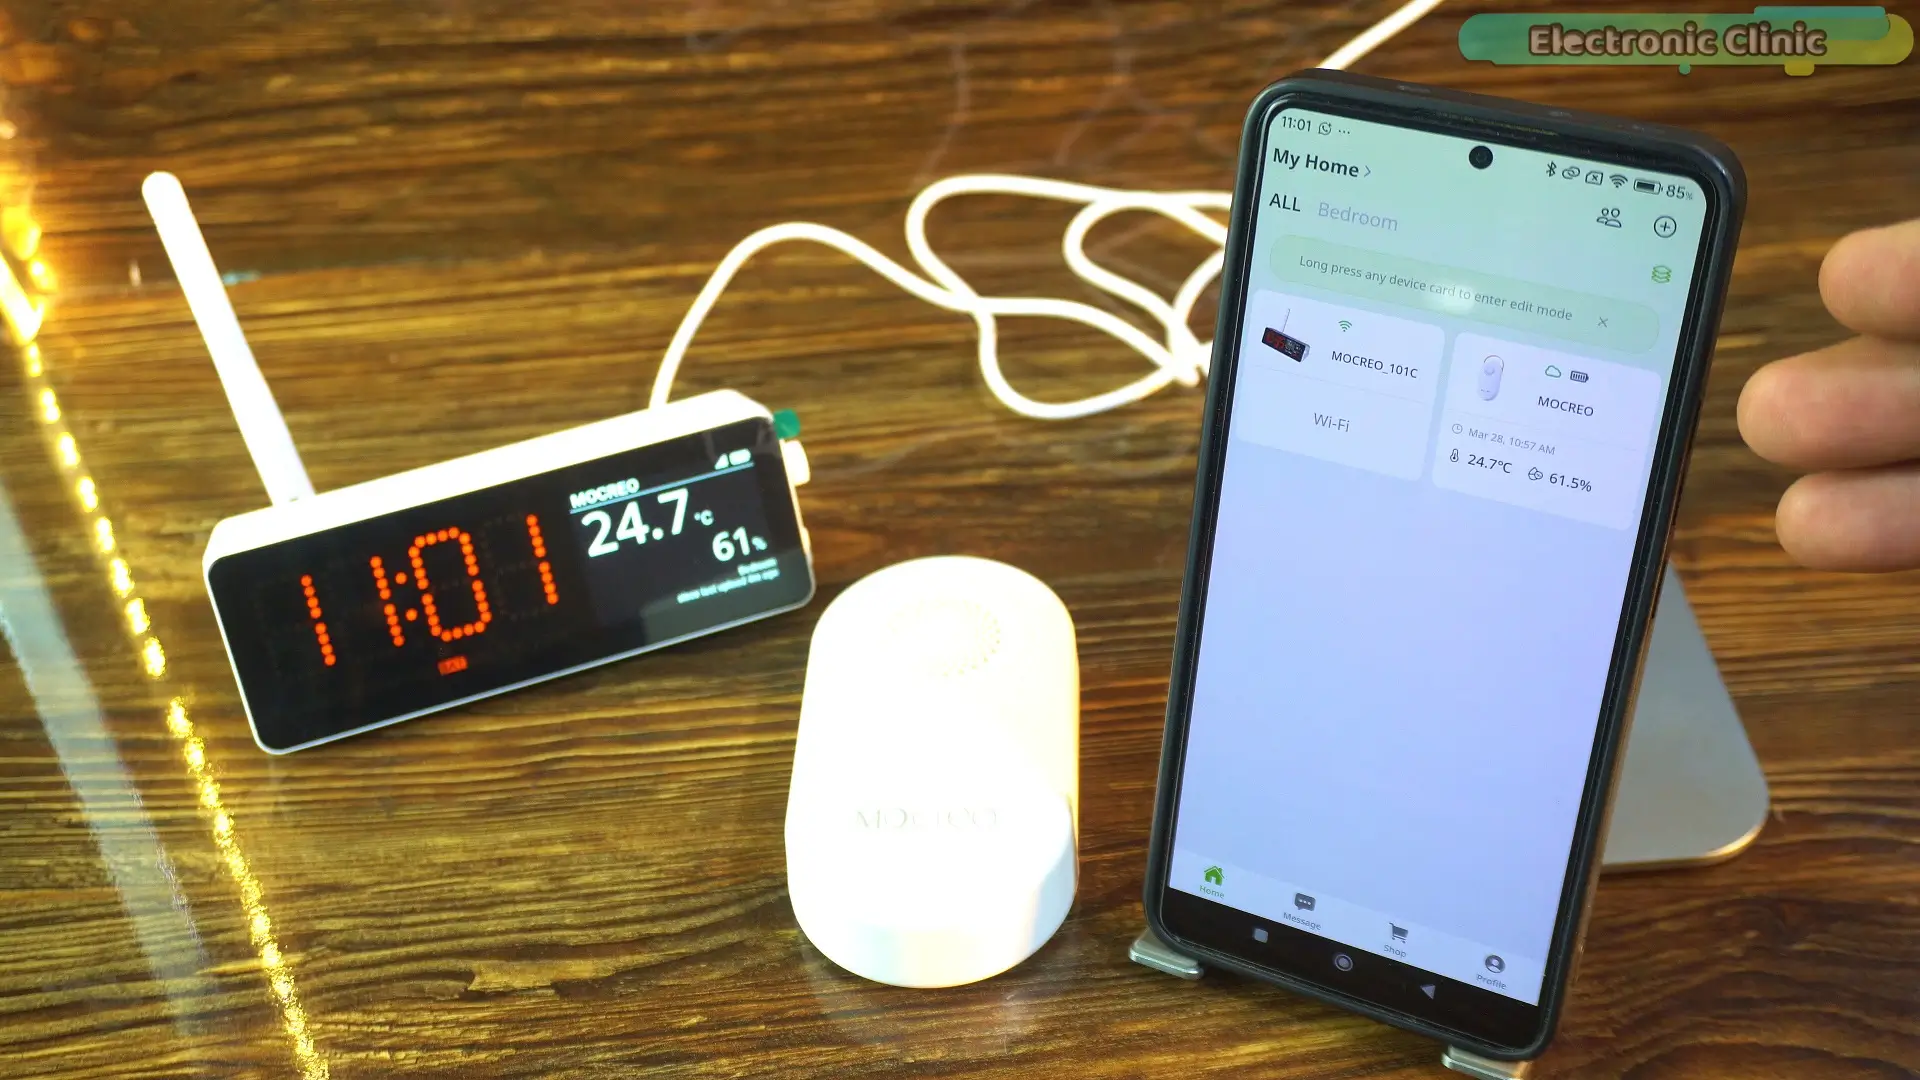
I will show you step by step… how to use this sensor… and how to set it up completely. The good thing is… the setup process is almost the same for all sensors. So make sure you don’t skip this part.
Amazon Links:
Other Tools and Components:
ESP32 WiFi + Bluetooth Module (Recommended)
Arduino Nano USB C type (Recommended)
*Please Note: These are affiliate links. I may make a commission if you buy the components through these links. I would appreciate your support in this way!
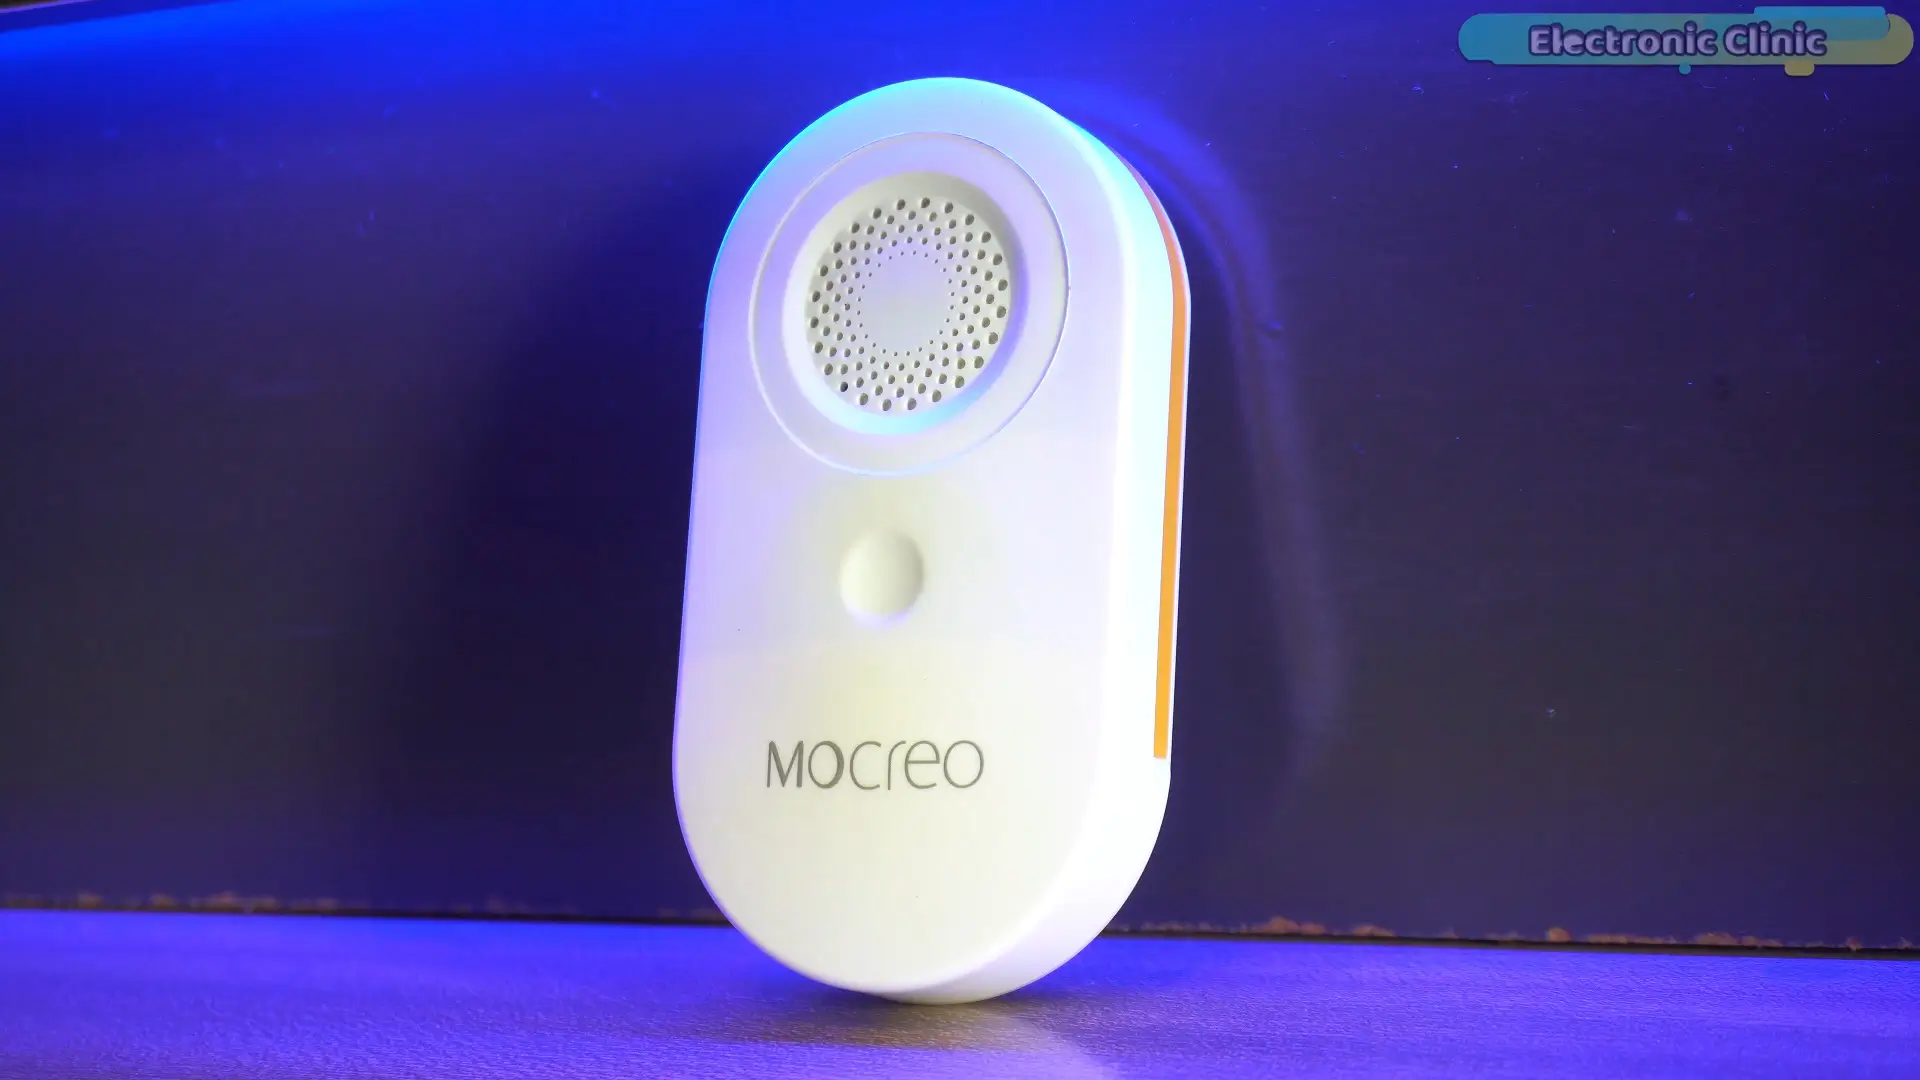
The Mocreo LS3 is a small wireless sensor that measures temperature and humidity around it.
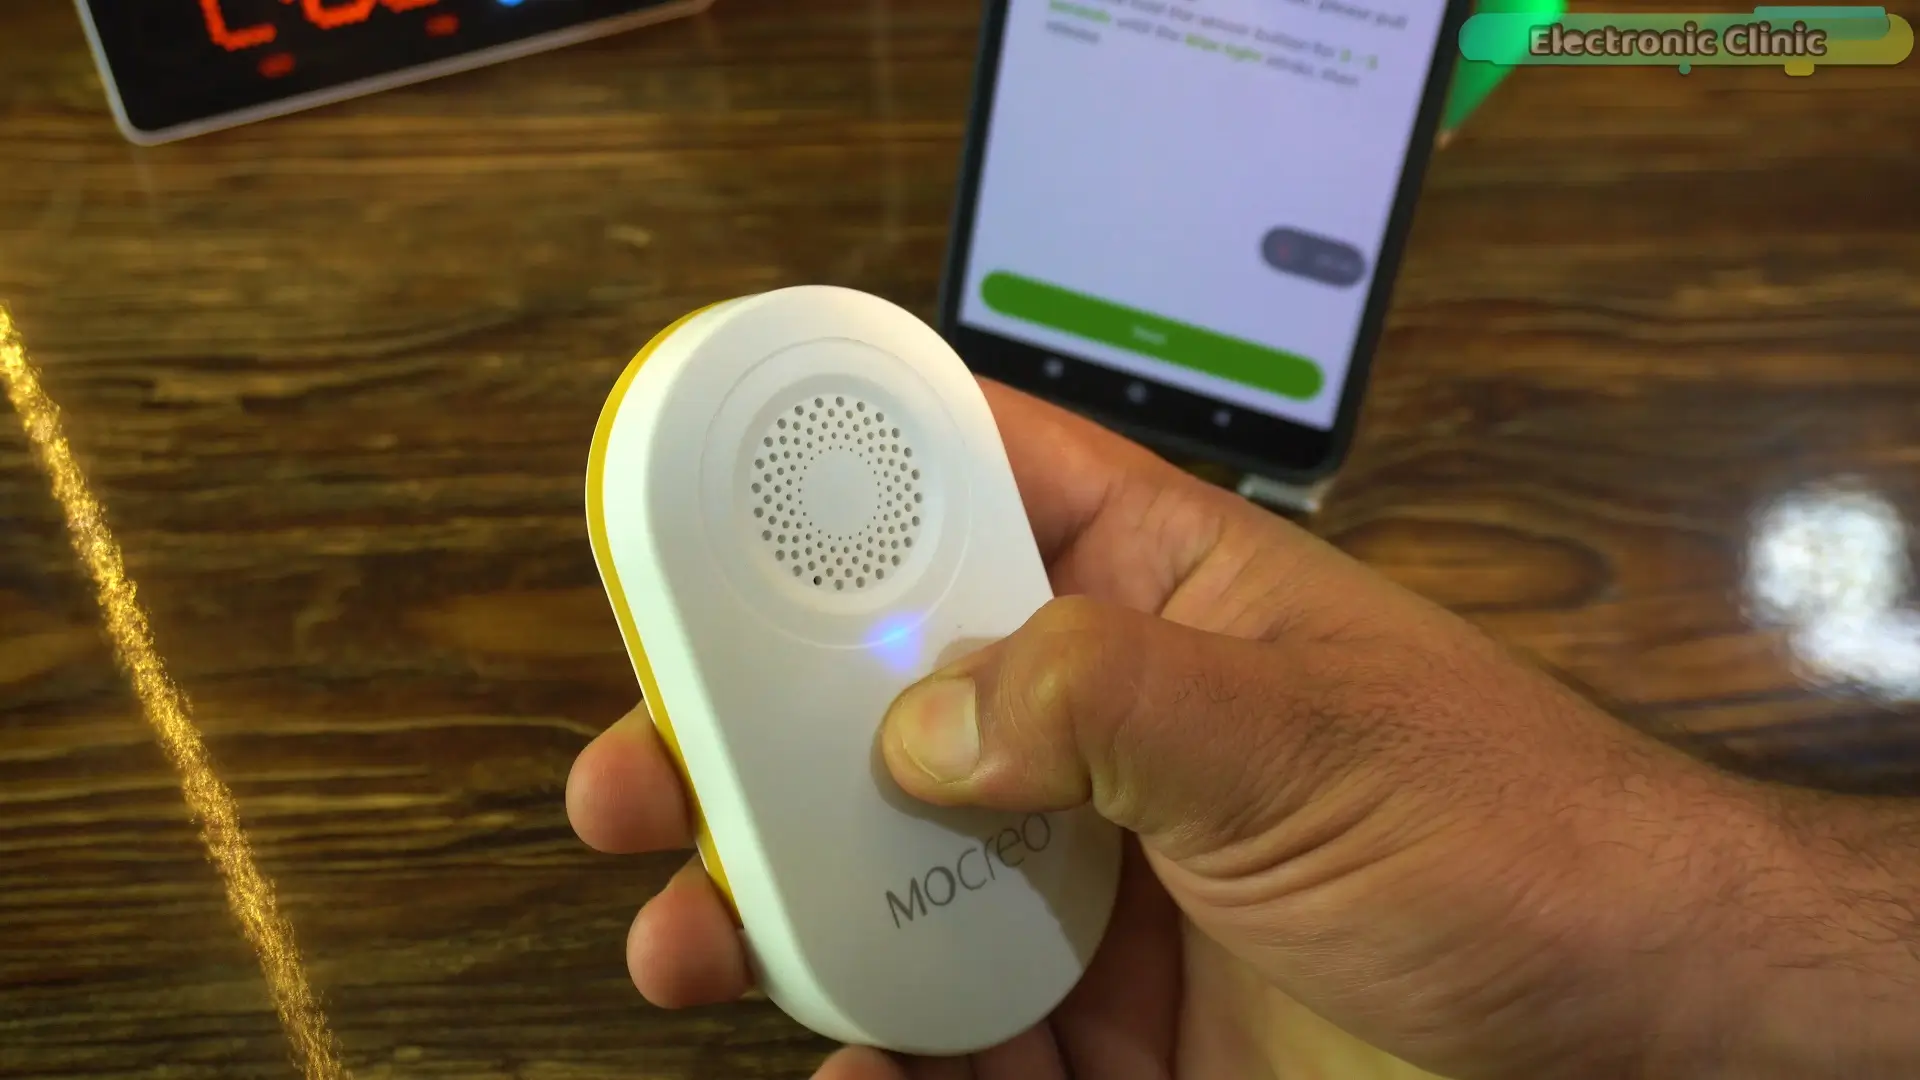
It connects to the H5 Pro Hub using LoRa technology… which means you get a stable connection over long distances… with very low power consumption.
Because of this… the sensor can run for up to 2 years using standard AAA batteries… which is really impressive.
It also provides accurate readings… with around ±0.3°C for temperature… and about ±3% for humidity.
The sensor keeps collecting data continuously… and sends it to the hub.
From there… you can see everything on your mobile app… in real time… and even check past data.
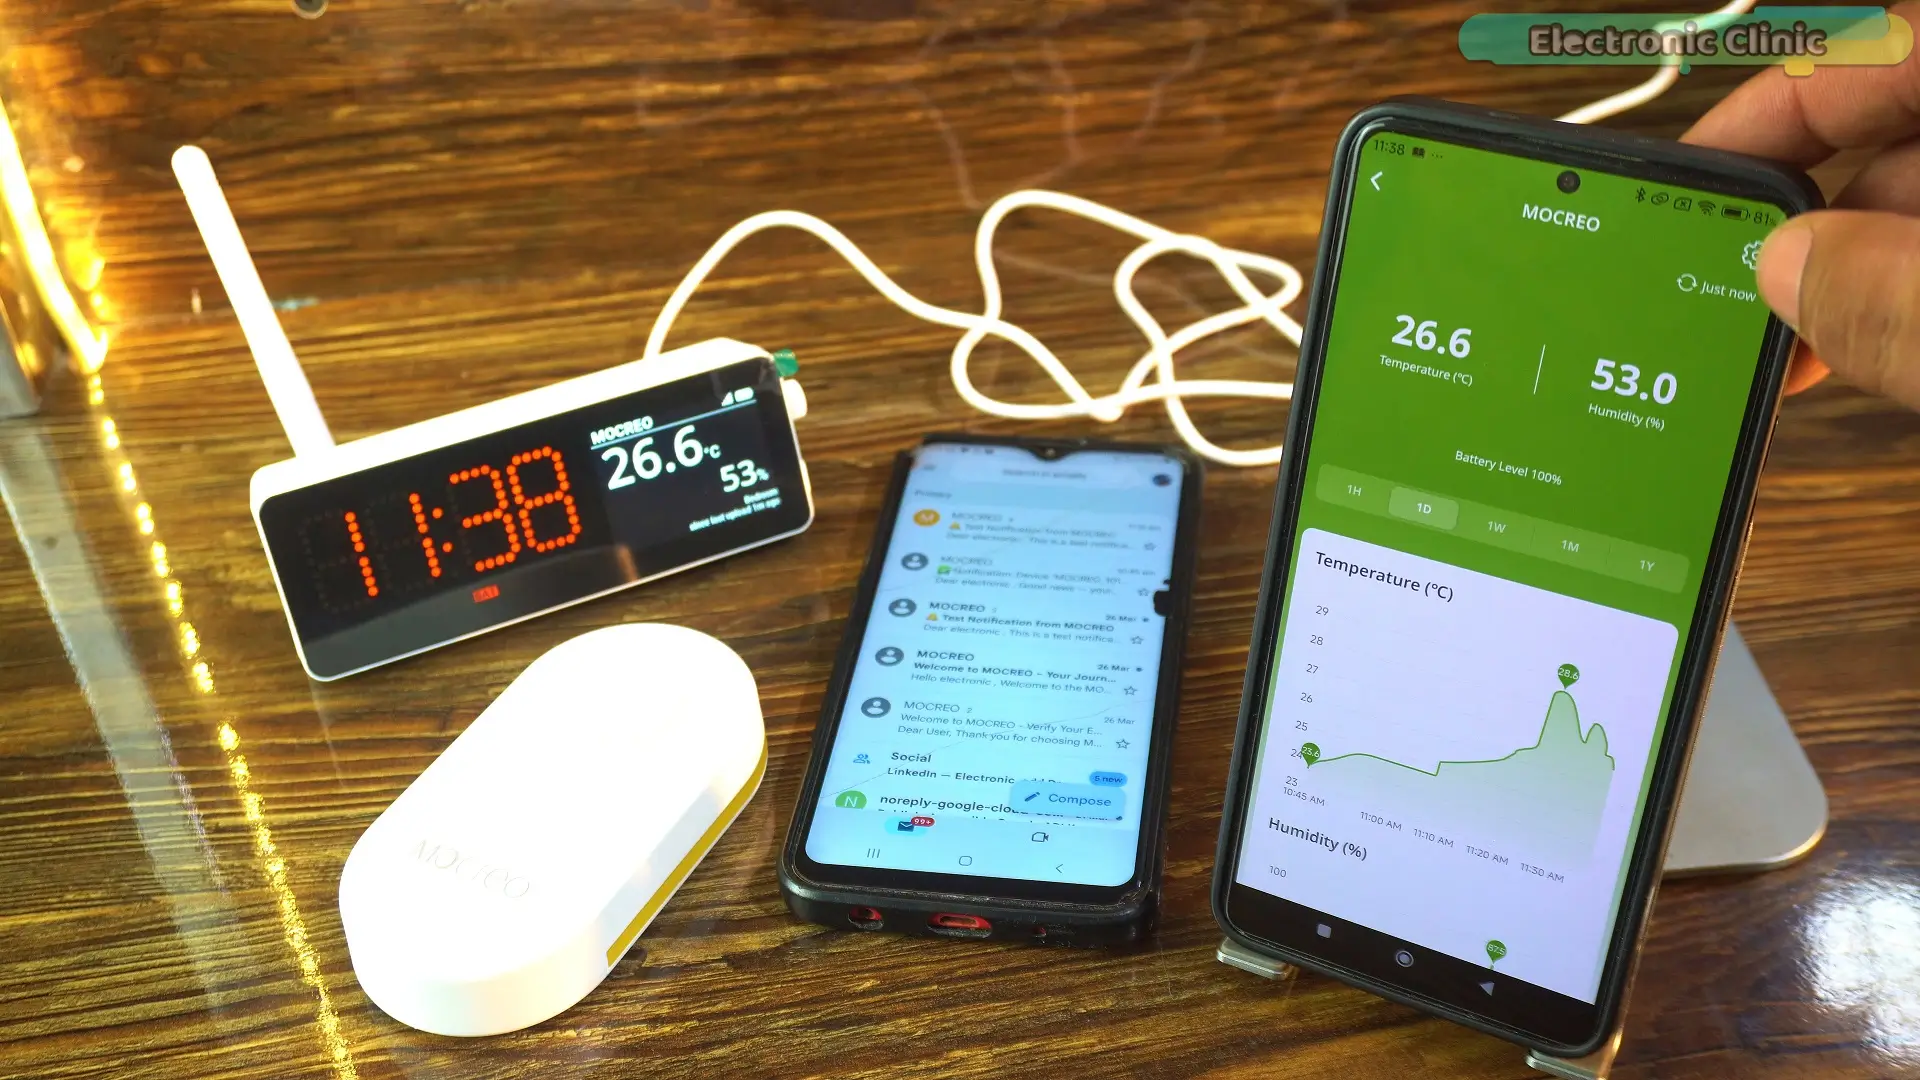
You can also set limits… so if temperature or humidity goes beyond your range… you get alerts instantly.
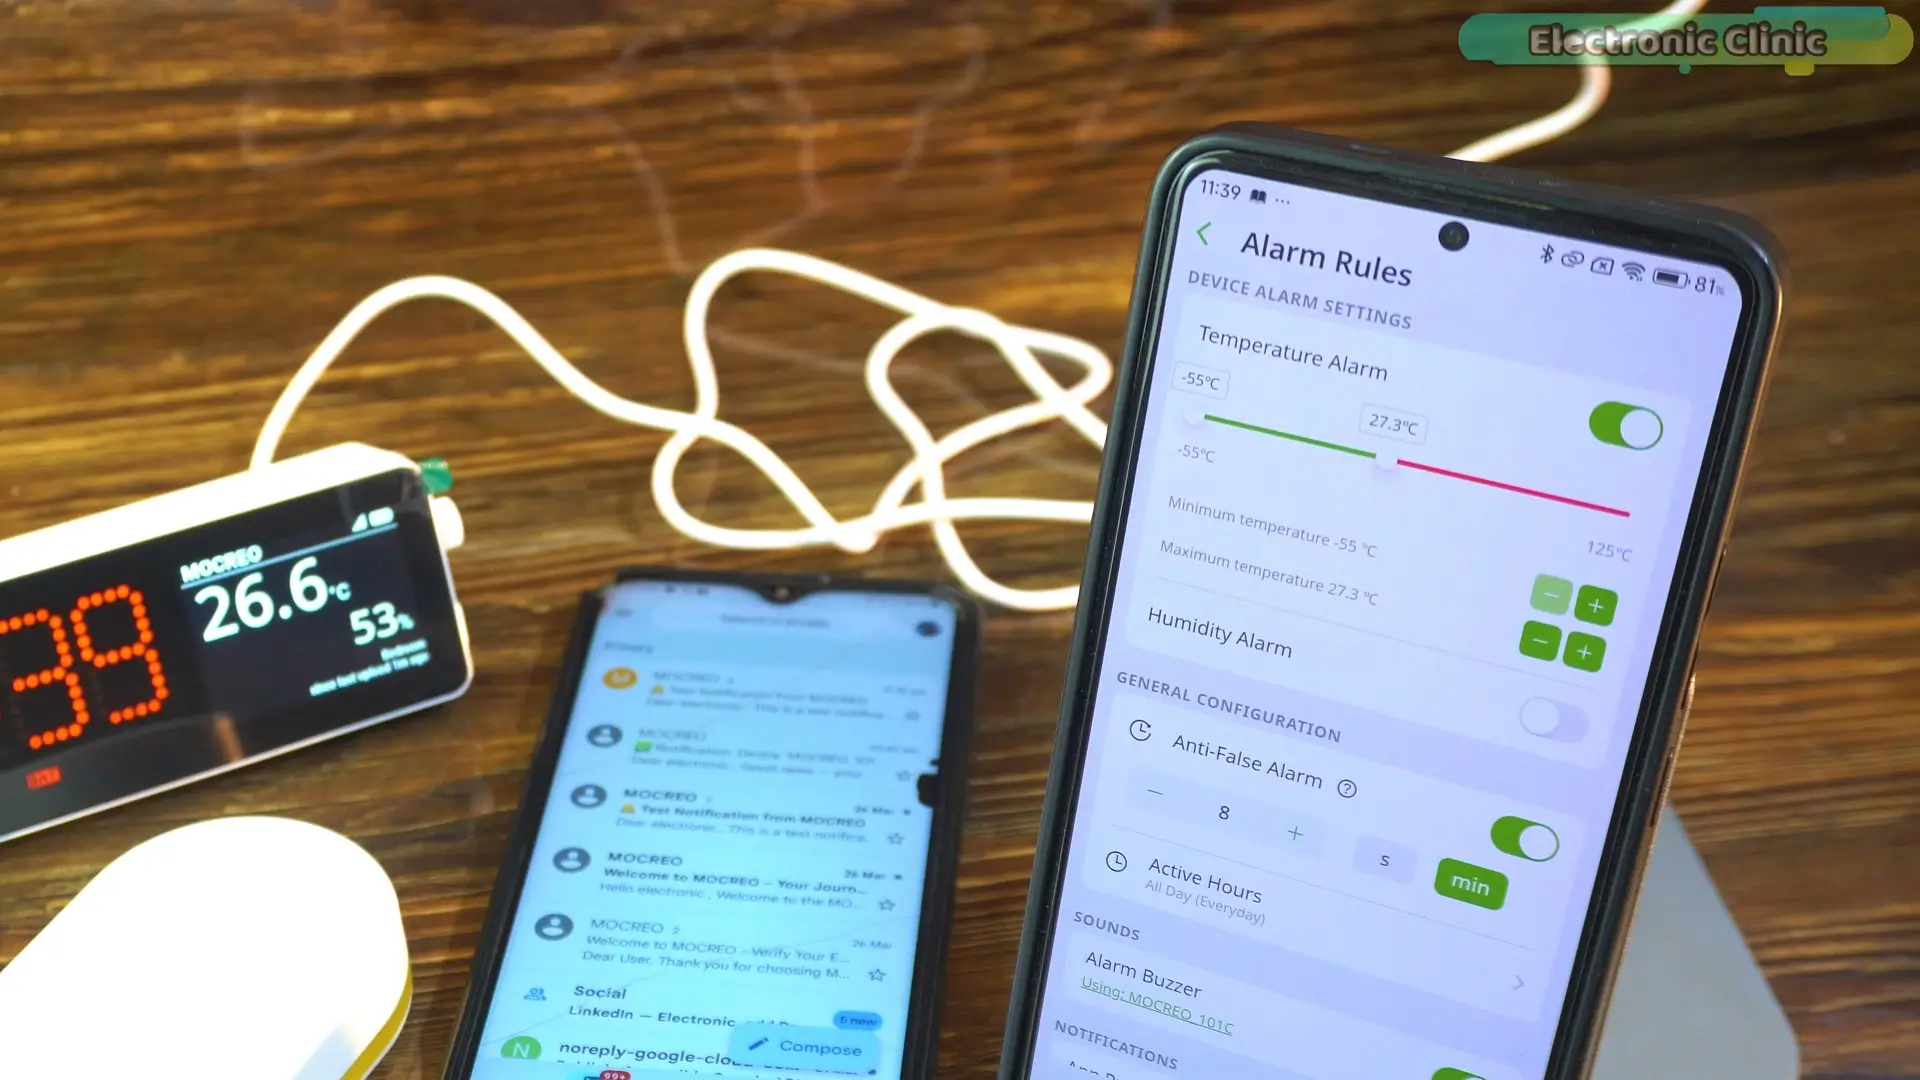
When you combine this sensor with the H5 Pro Hub… it becomes a complete smart monitoring system.
The sensor collects the data…
The hub sends it to the internet…
And you can monitor everything from anywhere.
One important thing to remember… this sensor cannot work alone… it needs the hub to send data.
But the good part is… one hub can handle multiple sensors at the same time… so you can easily expand your setup.
This makes it perfect for places like homes… greenhouses… storage areas… or even labs… where maintaining the right environment is very important.
Next, we are going to do the complete setup and after that, we will also perform some range tests.
Mocreo H5 Pro Hub Setup:
Instead of explaining the full setup here with multiple images, I highly recommend watching the video tutorial below. The setup process is much easier to understand when you see it step by step in real time.
In the video, I start from the very beginning; unboxing and powering up the hub. You will see how to connect the antenna, power the device using the included 5V adapter, and what to expect on the LCD display when you turn it on for the first time.
After that, I walk you through the complete mobile app setup using the MOCREO Smart app. This includes account registration, email verification, and connecting the hub to your WiFi network. I also show how to properly add the H5 Pro Hub inside the app and configure it for the first time.
Once the hub is ready, I demonstrate how to connect the Mocreo LS3 sensor. You will learn how to put the sensor into pairing mode, how the app detects it, and how quickly the setup is completed. The best part is; this same process applies to most Mocreo sensors, so once you learn it once, you can easily add more devices later.
In addition to setup, the video also covers:
How to monitor temperature and humidity in real time
How to view historical data using graphs
How to customize settings from the hub and mobile app
How to change units (Fahrenheit to Celsius)
How to check battery status
I also demonstrate the alert system, where you can set a threshold value. When the temperature crosses that limit, you’ll receive an email notification and can even trigger the built-in buzzer alarm.
For practical testing, I perform real-world experiments:
Increasing temperature manually to trigger alerts
Testing humidity response
And most importantly… range testing in different locations of the house
This gives you a clear idea of how reliable and responsive this LoRa monitoring system is in real conditions.
So if you want a complete, step-by-step understanding without confusion, make sure to watch the full video tutorial.
Test1:
I have placed the temperature and humidity sensor on the ground floor… in my brother’s room.
To quickly increase the temperature… I asked my brother to place a hot iron near the sensor… so it can cross the threshold value faster.
And as you can see… the temperature has increased…
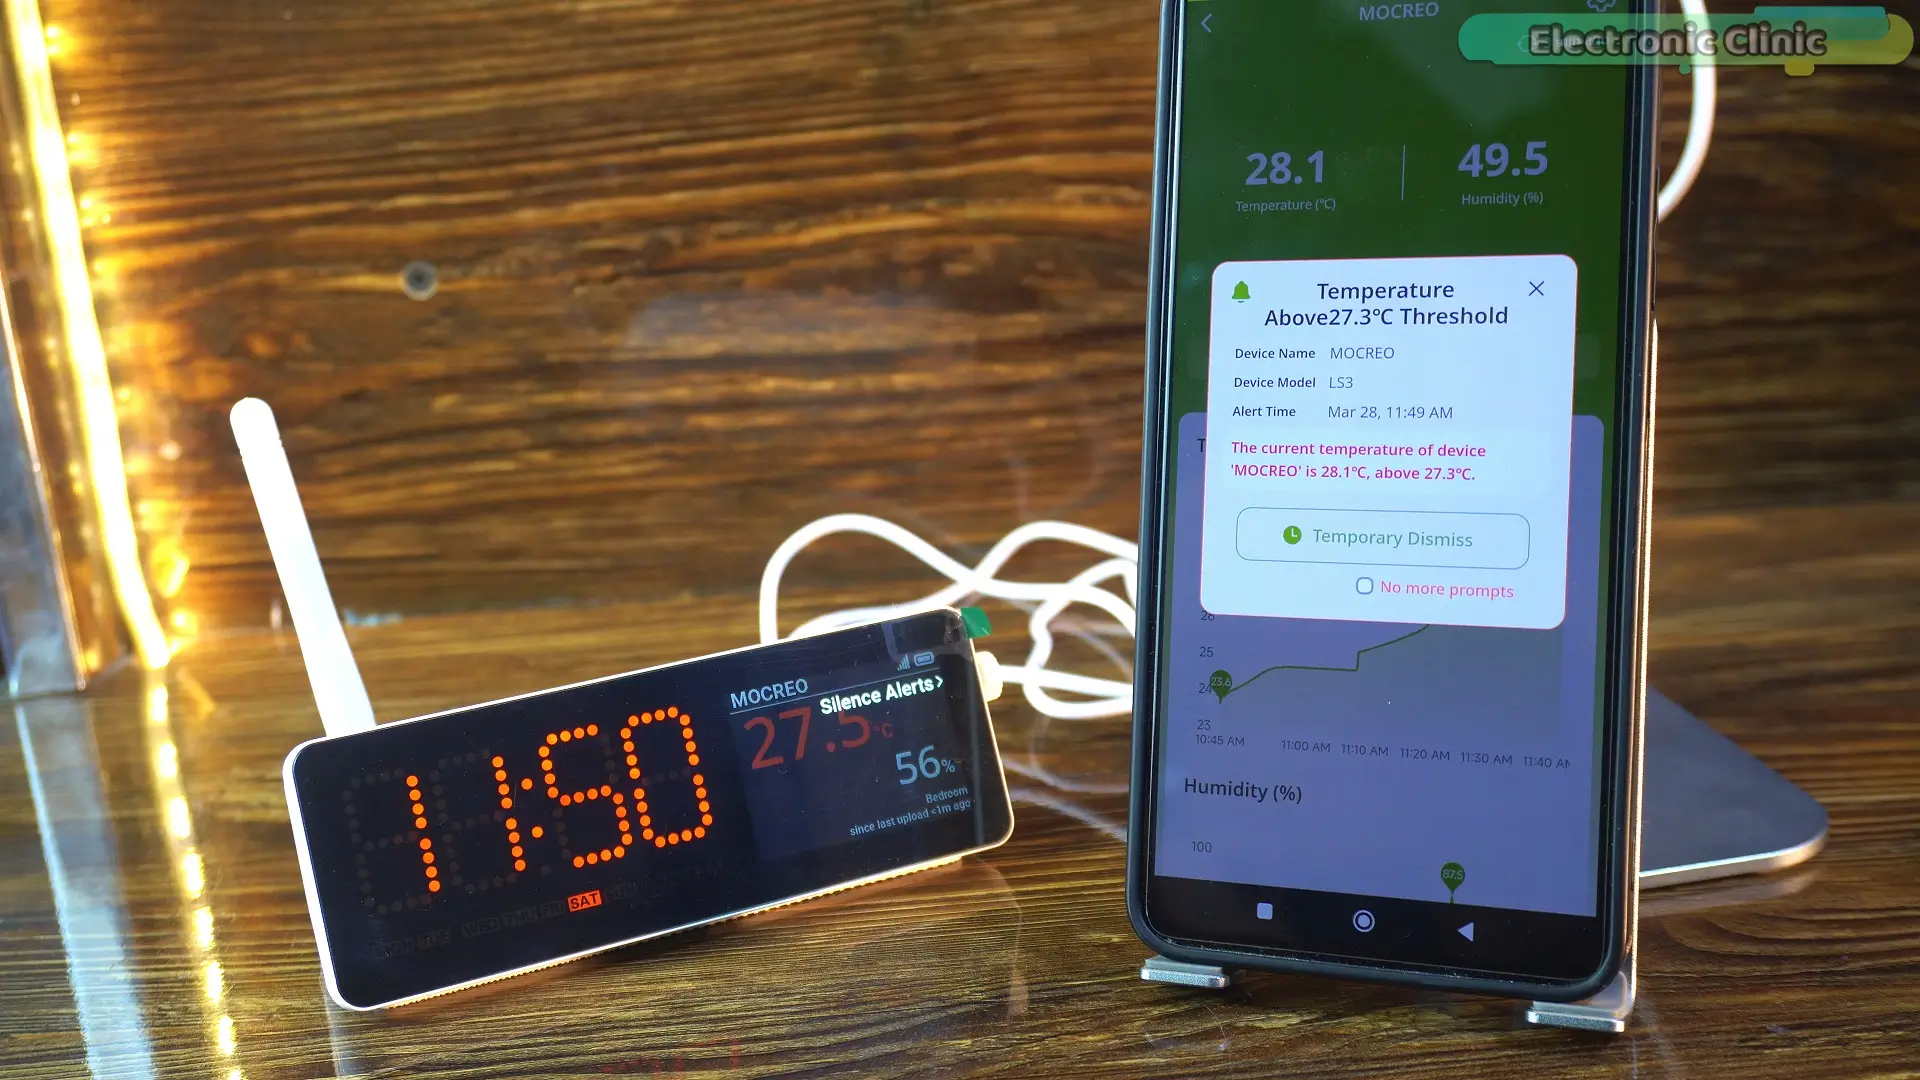
It has gone above the set value… and I have received the email alert as well.
Now… let’s move on to the long-range test.
Long Range Test 2:
My brother is at the far end of the house…
His distance from the hub is around 40 meters.
And remember… this system can work up to around 500 meters in open space.
Right now, the humidity is around 47%.
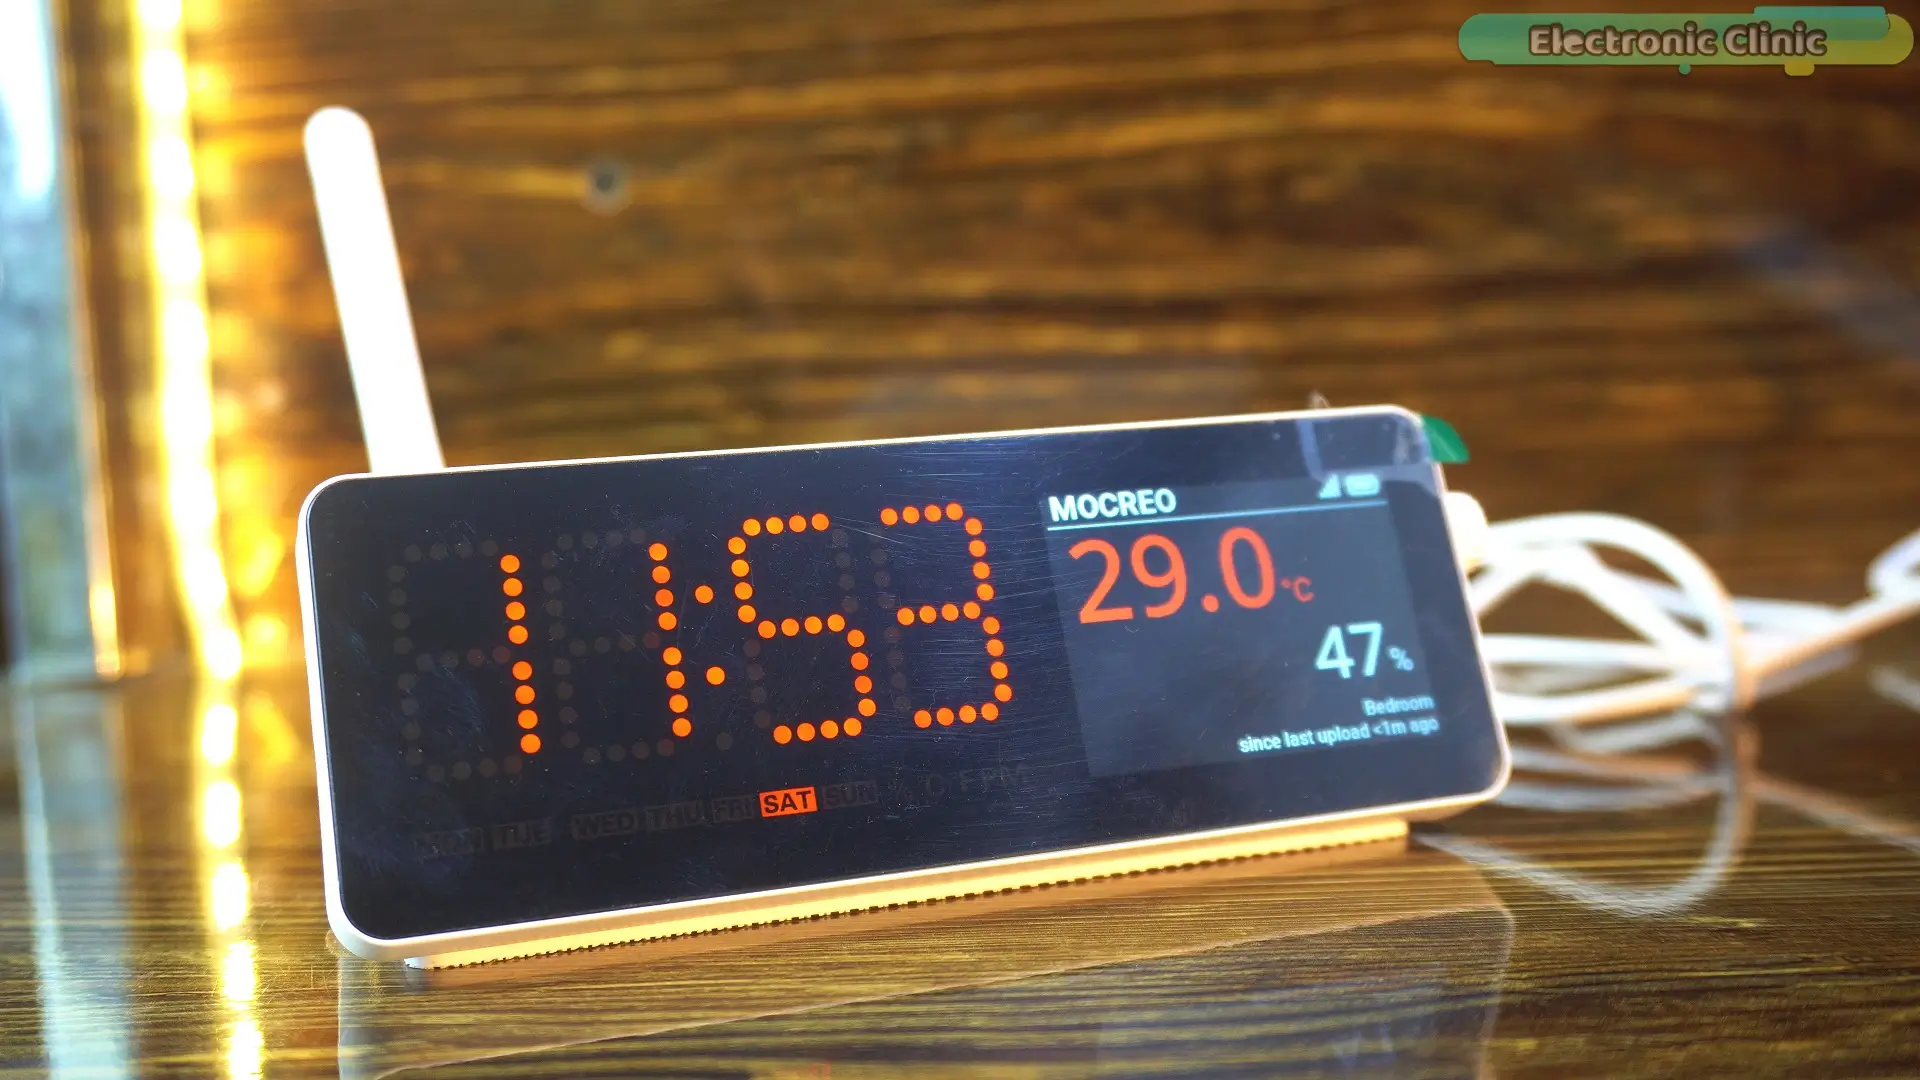
Now he’s going to blow air onto the sensor… and let’s see what happens.
It takes a few seconds to update… which is completely normal.
This delay actually helps avoid false alarms.
And there you go…
The humidity has increased to around 70%.
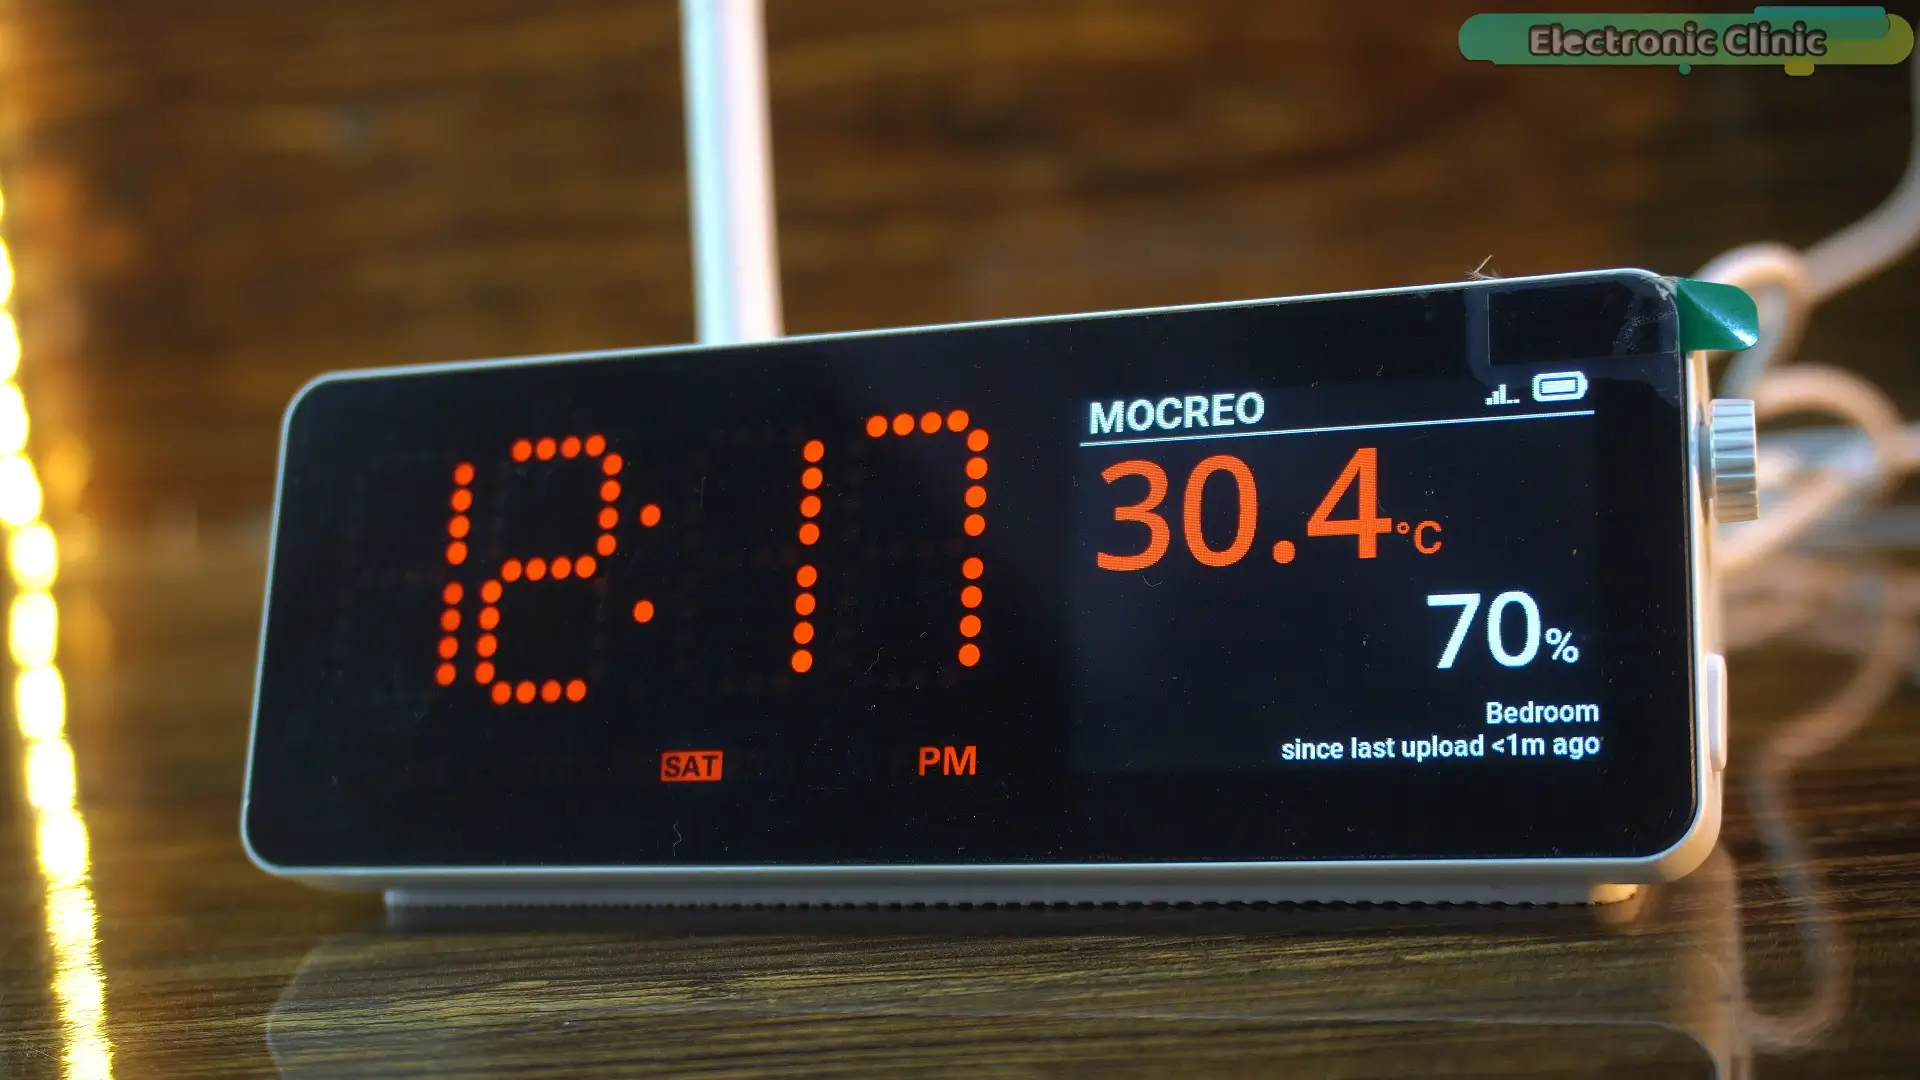
So yeah… as you can see, the system is working perfectly… even at a good distance.
If you are looking for a reliable way to monitor your environment…
Whether it’s temperature… humidity… motion… door status… or even water leaks…
This system is definitely worth checking out.
You can start with just one sensor…
And later expand it… based on your needs.
So, that’s all for now.
Support me on Patreon:
If you enjoy my work and find these projects helpful, please consider supporting me on Patreon. With just $1, you can get access to all project source codes, schematics, and extra resources that I share with my supporters. Your support helps me continue creating new electronics tutorials, experiments, and open projects for the community. Thank you so much for being part of this journey and for supporting my work!
Watch Video Tutorial:
Discover more from Electronic Clinic
Subscribe to get the latest posts sent to your email.