Portable Monitor with Full HD 1920×1080 Display, PS3 PS4 Xbox, Android Box
Last Updated on September 21, 2024 by Engr. Shahzada Fahad
Table of Contents
Portable Monitor:
Portable Monitor with Full HD 1920×1080 Display, PS3 PS4 Xbox, Android Box- Recently, I got this Portable IPS monitor from Elecrow.com, they have lots of different types of displays and accessories. They also offer PCBA, 3D printing, and Acrylic laser cutting services. And if you use my coupon elecrow10 you will get 10% off on Raspberry Pi Pico Kit. Anyway, let’s go ahead and start the Unboxing.
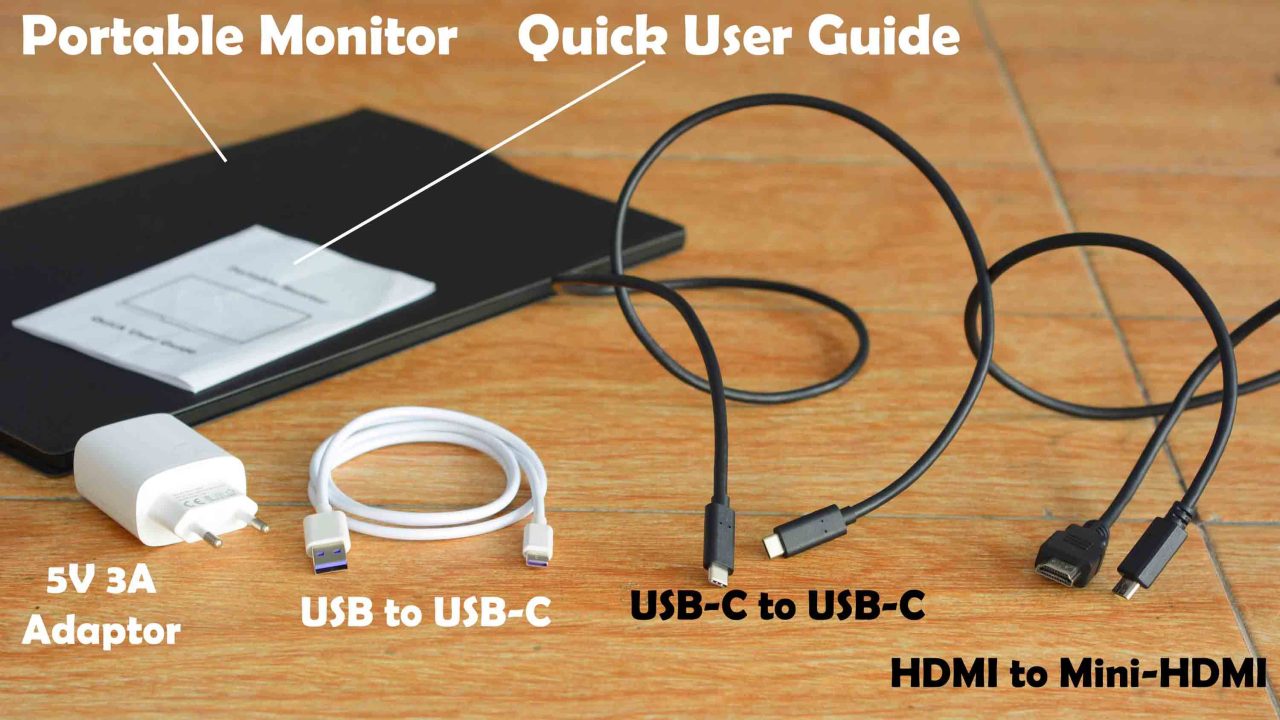
We have this portable Monitor Quick User Guide, it has all the information which will help you in understanding how to use different buttons, how to connect it with a Laptop, Cell phone, and lots of other devices.
The Portable Monitor.
USB to USB-C cable for powering up the Portable Monitor. It’s going to be used with this 5V and 3A adapter. This is pretty amazing, it means you can also power up the monitor using a power bank.
We have also got this UBS-C to USB-C type cable for connecting cell phones and other devices that support USB-C and video output.
And we have also got this HDMI to Mini HDMI cable. Now, let’s go ahead and start with the monitor.
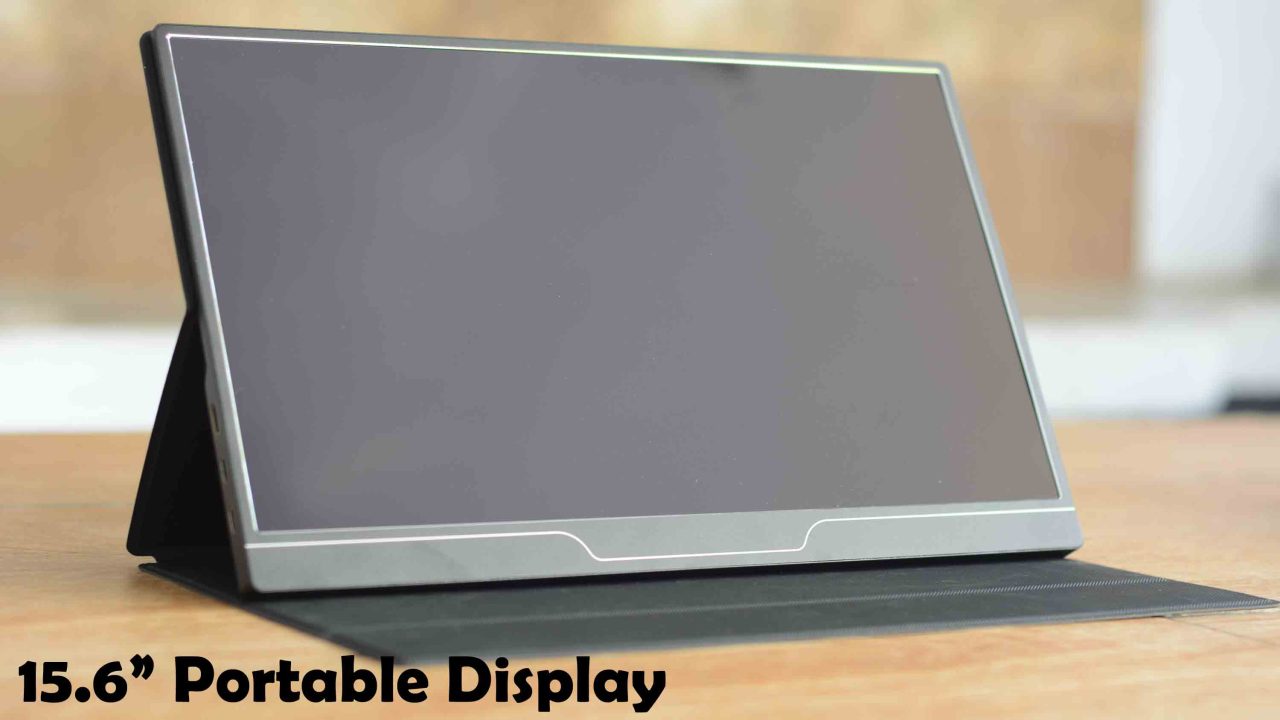
This is 15.6 inches Ultra-thin IPS Portable Monitor with a Full HD 1920 x 1080 Resolution display. It supports wide compatibility with laptops, PCs, Phones, PS3/PS4, XBOX, Android Box, etc.
Specifications:
- Model: MF156D
- Material: CNC Aluminum Alloy
- Screen Size: 345*194mm
- Appearance Size:356*220*10mm
- Panel type: IPS
- Aspect ratio: 16:9/ 4:3
- Resolution: 1920*1080
- Visual angle: 170°
- Brightness: 300cd/m²
- Color gamut: 45%
- Refresh rate: 60 Hz
- Input interface: Mini HDMI(Video signal), Type C*2 full function and 3.5 mm headphone hole
- Output Interface: 3.5 mm headphone interface
- Net Weight: 740g
- Package Weight: 1700g
Package List:
- Portable Display x1
- Mini HDMI to HDMI cable x1
- USB C to USB C cable x1
- USB C to USB A cable x1 (Power Supply)
- Smart Magnetic Case x1
- User Guide x1
I really liked it’s magnetic casing which not only protects the screen but also acts as a stand.
We have got buttons and ports on the right and left sides of the monitor.
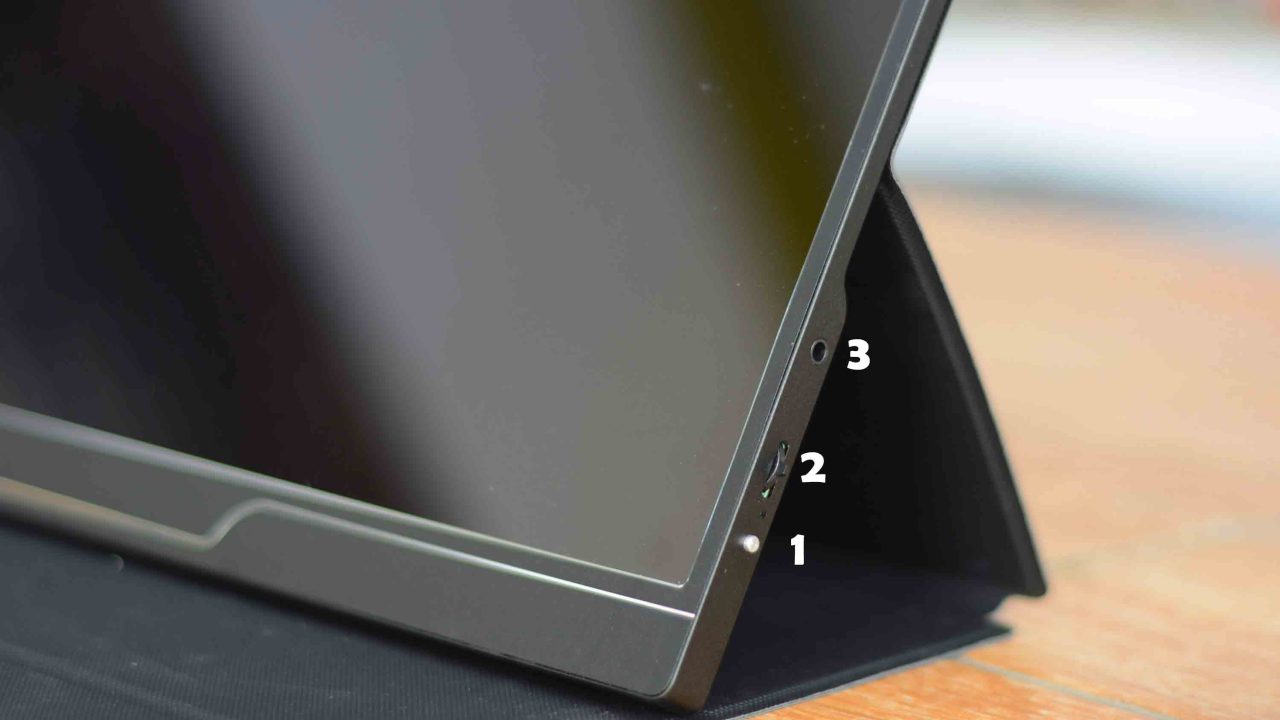
- This tiny button is the power or return button; long press this button to turn ON or turn OFF the display and short press to return.
- This Dial Wheel + Button is used to open the OSD menu, it controls the menu and confirms the selection.
- This is 3.5mm Audio Jack; you can connect a headphone or external speakers. By the way it has Dual Stereo Speaker.
On the left side.
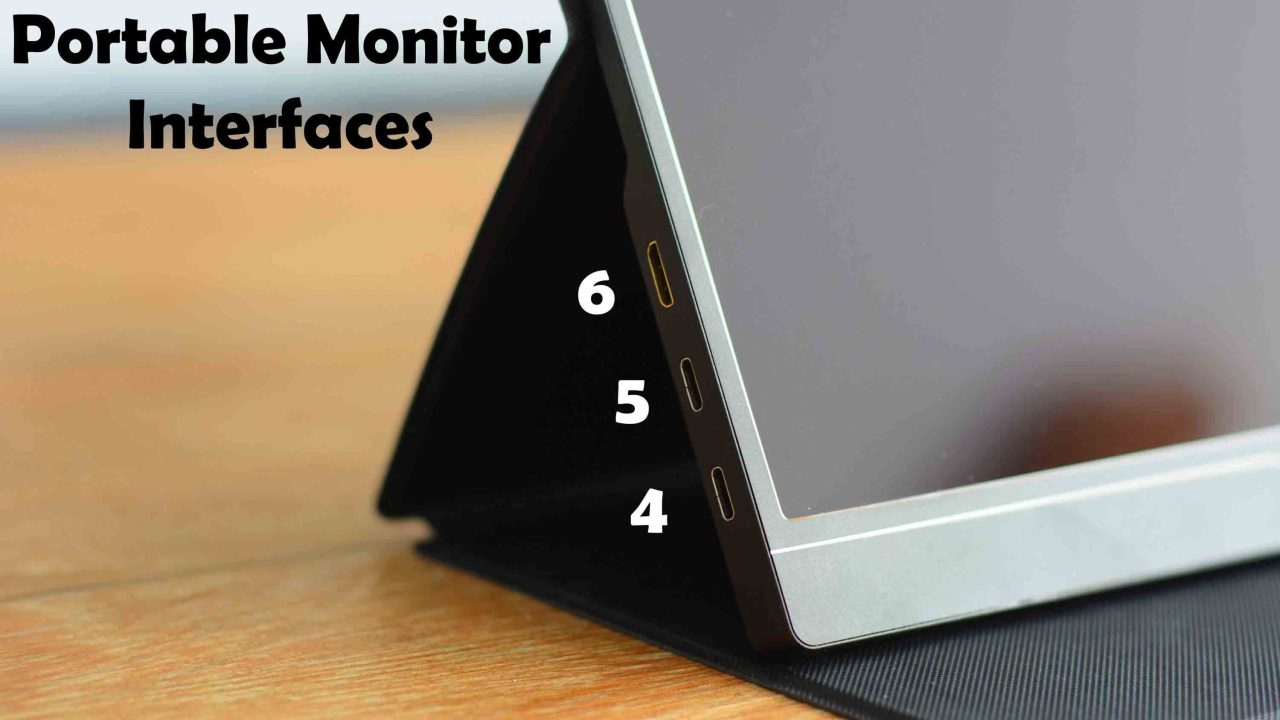
- This is the USB Type-C Power supply interface. It supports external power supply and reverses charging. It’s compatible with PD2.0 power supply protocol. It supports a wide range of input voltages from 5 volts to 20 volts.
- This is a Full-Featured USB Type-C interface; for power supply, Audio and Video signal transmission, touchscreen signal transmission, and reversible insertion capability.
- This is the Mini HDTV interface for audio and video signal transmission.
I think I have shared enough information with you guys, now it’s time to start the practical demonstration and use all the interfaces and functions. So, without any further delay, let’s get started!!!
Amazon Links:
IPS Portable Monitor from Elecrow
Disclosure: These are affiliate links. As an Amazon Associate I earn from qualifying purchases.
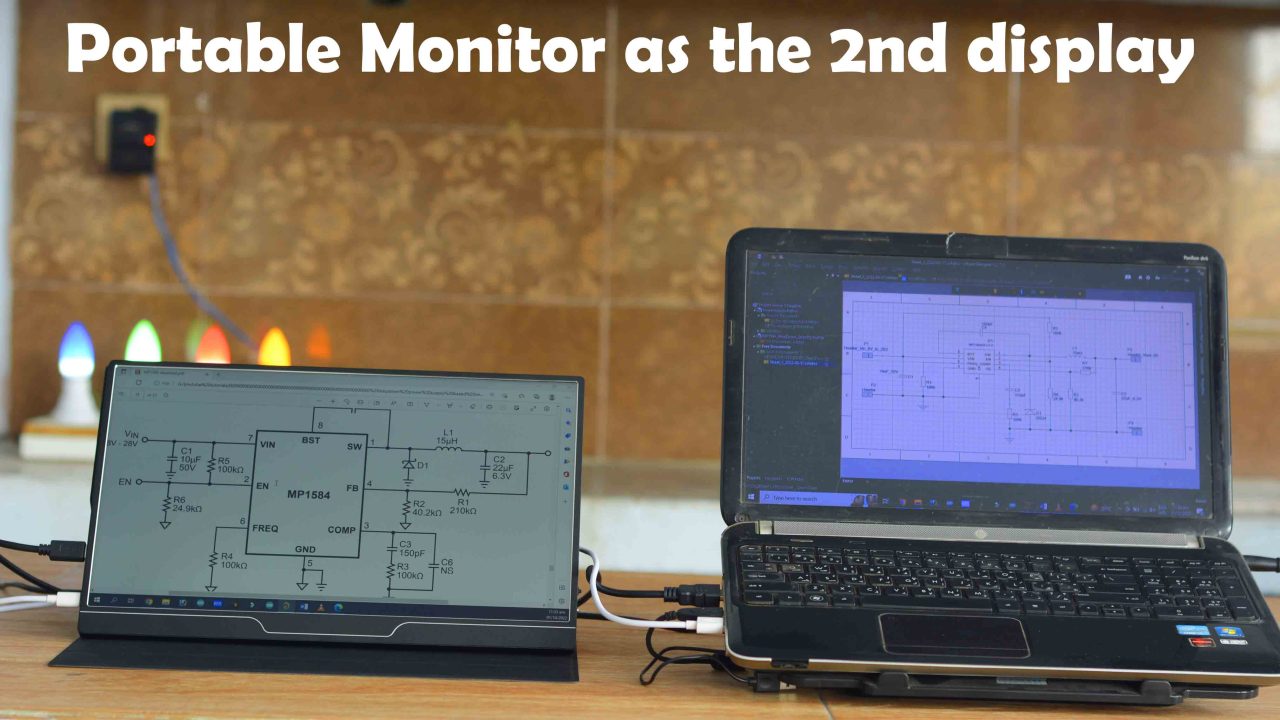
First, I am going to start by connecting this monitor with Laptop using HDMI Cable. If you are planning on using this Portable monitor with your PC or Laptop then there is no need for the external power supply. You can use your PC or Laptop to power up this portable monitor. After you have connect the monitor with your Laptop then long press the tiny button to turn ON the display.
Press F4 on the keyboard to select among Duplicate, Extend, or the Second screen only. Since, I will be using this monitoring as the 2nd display while designing 3D objects, PCBs, etc. So, I am going to select the Extend. This way I can open datasheets and designs on this portable display. Whereas on the main laptop screen I can open my designing software. I can also play a movie or Song, etc.
Short press the tiny button if you want to switch between the HDMI and USB-C type devices. Use the Dial wheel to scroll through different interfaces. To select a particular interface press the Dial wheel. In my case, I selected the HDMI.
If you directly press the Dial wheel it will open the OSD Menu and using the same Dial wheel you can scroll through the menu categories. Let’s say I want to adjust the brightness, so I will simply select the Brightness and press the Dial Wheel. Now, again I can scroll through all these items, anyway to adjust the brightness simply select the brightness and press the Dial wheel. Now, moving the Dial wheel in upward and downward directions I can increase and decrease the screen brightness.
Now to return to the main OSD menu simply short press the tinny button. Now, you can go to the IMAGE category to change the Aspect ratio using the Dial wheel. The same way you can scroll through all the categories.
Note: If you find it hard to understand, then you should watch my video given at the end of this article.
If you directly move the Dial wheel in the upward direction you can control the brightness and then short press the tiny button to return to the main display. And If you directly move the Dial Wheel in the downward direction then you can control the Volume. Anyway, you can use this Portable Full HD monitor with all those devices which are provided with HDMI ports.
Portable Monitor with a SmartPhone:
If you remember, in the beginning, I said you can also display your cell phone content on this Portable Monitor. You can do it in two different ways.
- If your cell phone supports video output over USB-C then using USB-C to USB-C type cable, you can directly connect your cell phone with this monitor, and you can play your favorite songs, games, you can use Facebook, you can watch videos on YouTube, and so on. Here is a list of all the devices which supports video output. My cell has USB-C type connecter but it doesn’t support video output. So, I just can’t display my cell phone content on this monitor. But, I am not worried, because the next technique which I am going to explain will work with any smartphone including mine and of course yours.
So, the 2nd technique is that what if I convert this Portable monitor into an android smart Portable monitor then I can do whatever I want.
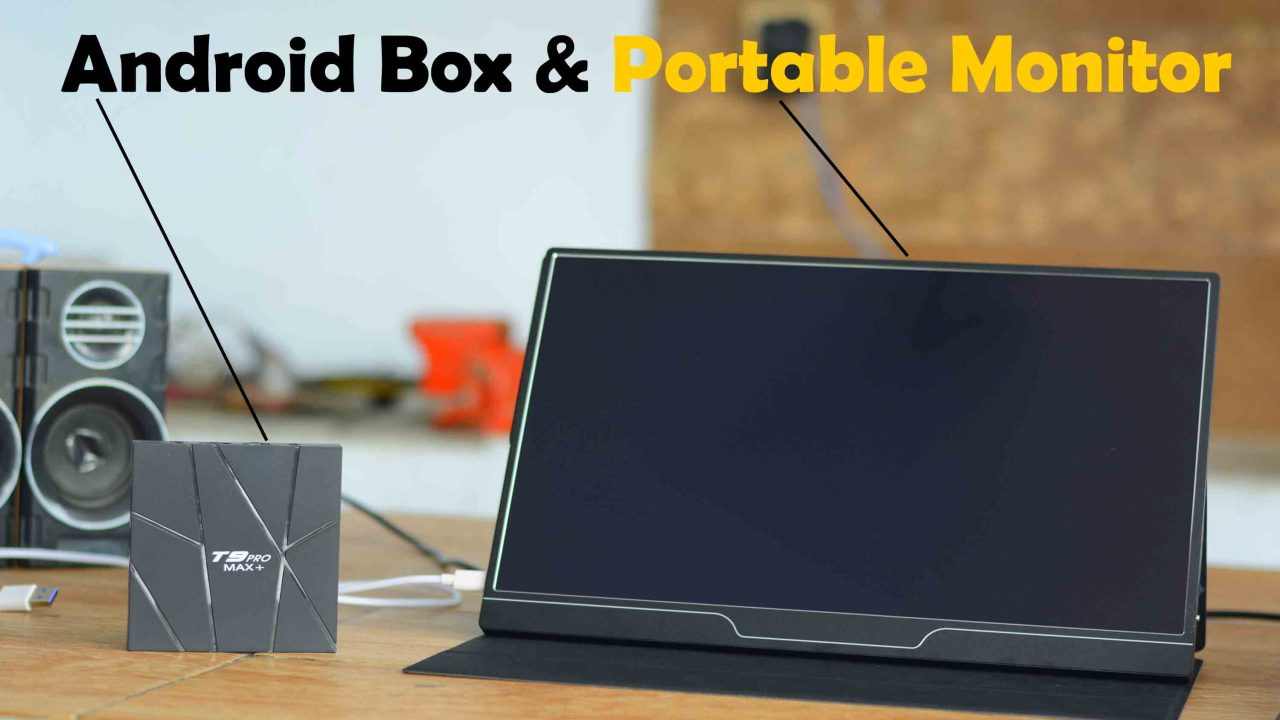
So, I purchased this Android box and using this android box, I can convert any monitor or display into an android smart display. Connect the android box with the Portable monitor using HDMI cable.
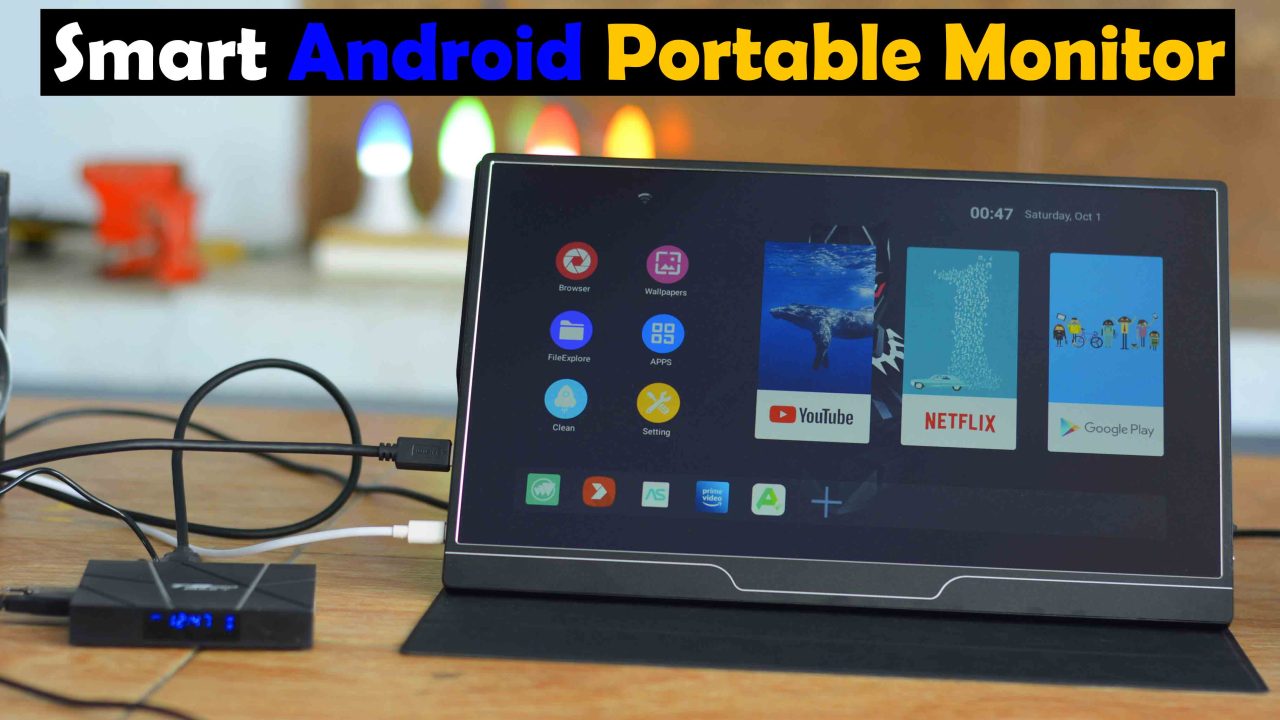
The Android Box has successfully connected with the Monitor. The android box is connected with my cell phone hotspot, so I can download different apps, I can play games, I can use facebook, I can send emails, now it works as a smart phone. The best thing is, I can also connect a mouse and a keyboard with the Android box, so this way I can do things faster than I could do on my cell phone. I also have a Netflix package, so I can watch my favorite movies, I can listen to my favorite songs, etc.
Now, if you go to the APPs in the Android Box, you can use Miracast WiFi Display to connect your cell phone. All you need is simply turn ON the Screen Cast on your cell phone and connect it.
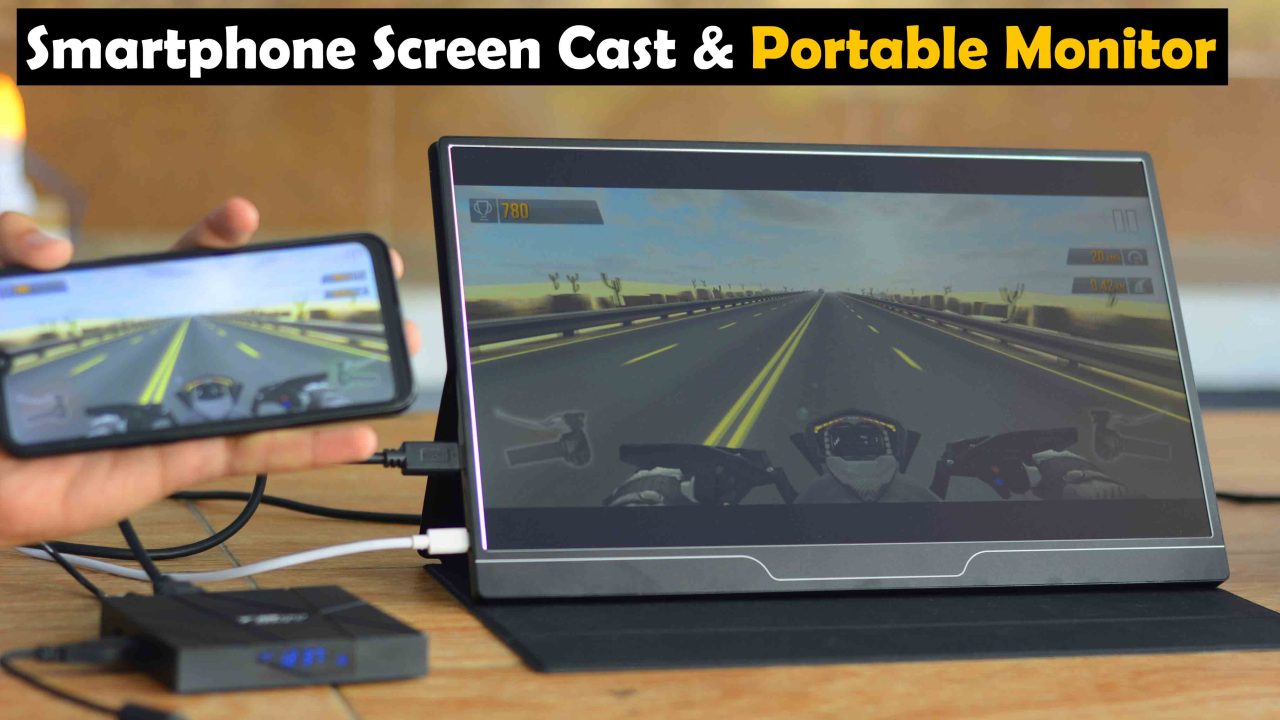
Now, you can see my cell phone content on the monitor. This is simply amazing. Besides this, you can also connect your USB Flash drive. The Android Box has got USB ports, so you can connect your USB flash drives, keyboard, mouse, etc. And of course, you can also use this Portable Monitor with PS3, PS4, and Xbox to play your favorite games.
Watch Video Tutorial

Discover more from Electronic Clinic
Subscribe to get the latest posts sent to your email.