Salvage Stepper Motors and other useful parts from LaserJet Printer
Description:
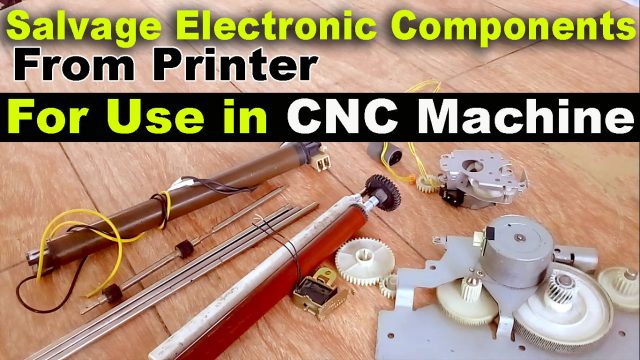
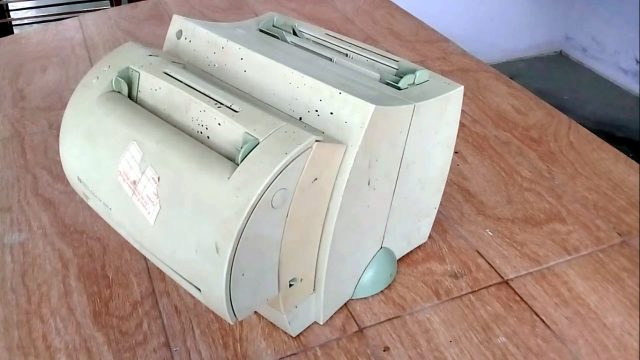
Salvage Stepper Motors and other useful parts from LaserJet Printer– This article is about how to salvage useful electronic components and parts from a LaserJet printer that can be used in small DIY CNC machines projects, Plastic bag sealers and so on. Stepper motors salvaged from the printer can be used in so many projects. If you are a beginner it can really help you understand the stepper motor basics. The stepper motors that I salvaged are bipolar stepper motors.
Without any further delay let’s get started!!!
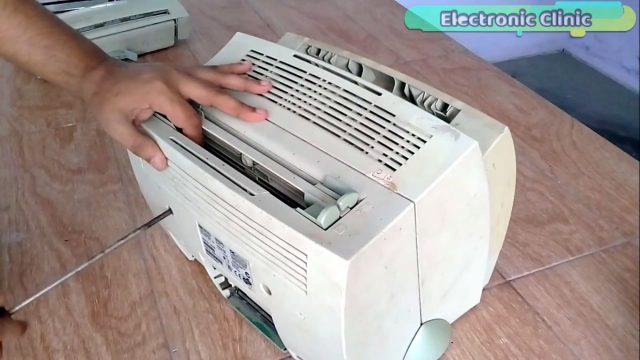
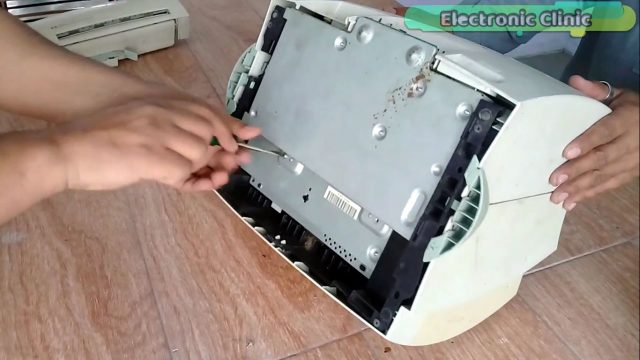
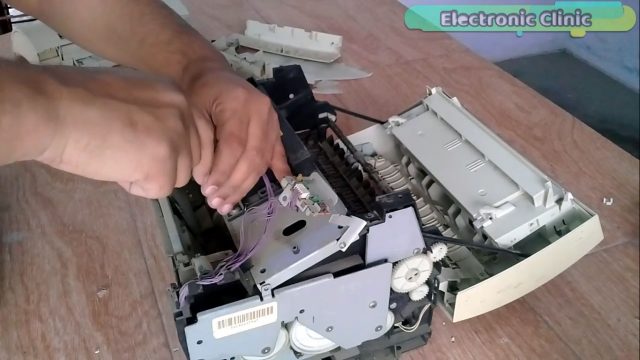
First of all, I started off by unscrewing the screws.
Then I removed the base metal plate.
Removed the Plastic Casing and finally, I got access to the inside electronics components.
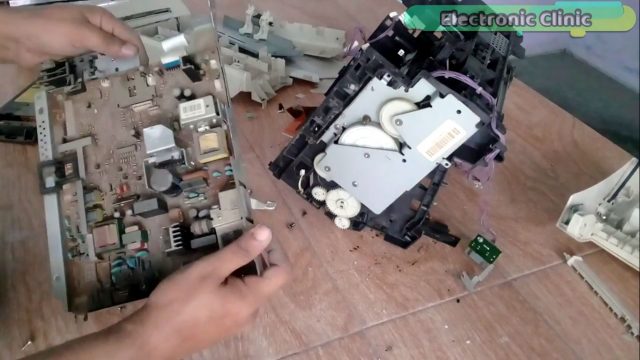
The following picture is of the main circuit board which consists of many electronic components, like resistors, capacitors, inductors, transformer, switches, plugs, etc. I can get many electronics components from this board which I can use some of my upcoming tutorials.
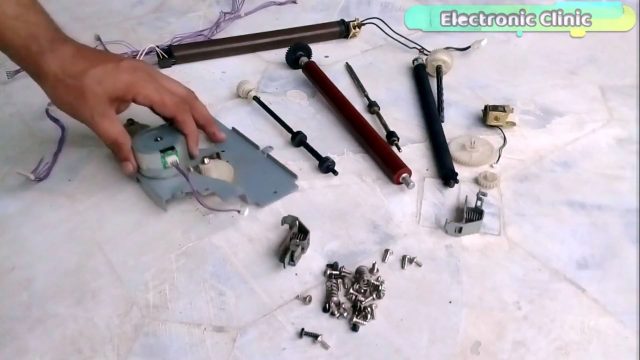
I salvaged the following things.
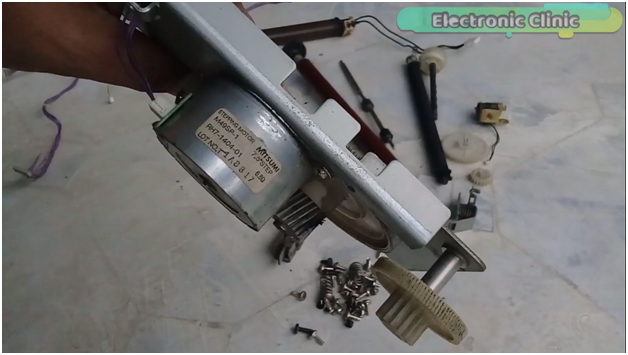
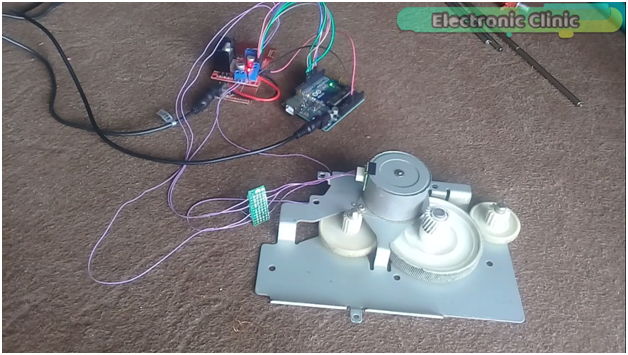
This is a 4 Wire Bipolar Stepper Motor, which I can use in so many projects. But I am planning to use this motor in a small CNC machine. In a minute I will connect this stepper motor with the Arduino and will practically see this stepper motor in action.
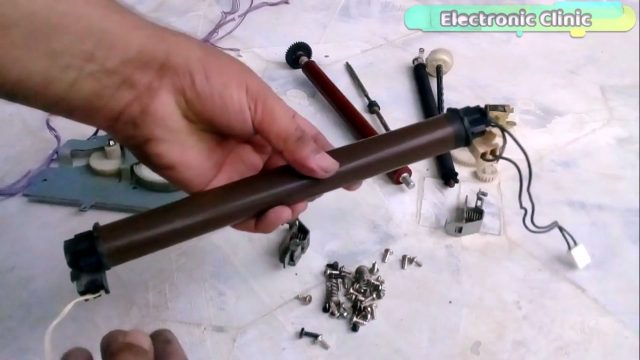
This is a 220v AC heating element which can be used in the plastic bag sealing project. This heating element can also be used in projects where we need to warm up something. This heating element can be used in thousands of projects. This heating element can be controlled automatically using a 12v relay. I will use this Heating element in some of my upcoming tutorials.
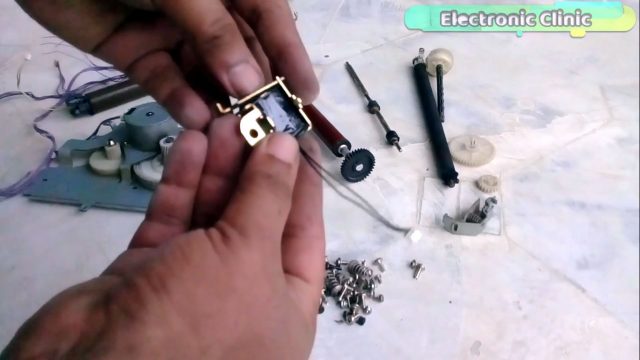
This is a 12v dc solenoid lock, which can be used in so many projects; I will practically check this in a minute. You can also watch a video given at the end.
The stepper motor connections with the Arduino are exactly the same as explained in my previous tutorial on BiPolar and UniPolar stepper motors position and speed control. So I highly recommend you should watch this tutorial, as I am using the same connections and the same program. Due to the gears used with the stepper motor, it’s really hard to stop this motor with bare hands.
For the stepper motor connections and programming watch the video tutorial.
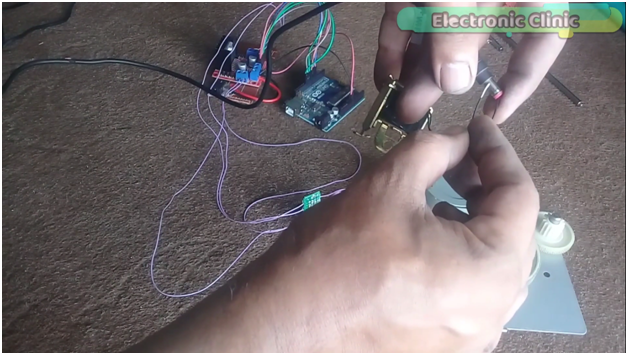
Now let’s check this 12v solenoid lock mechanism.
Connect one wire with the +12 volts and connect the other wire with the ground. It really doesn’t matter which wire you connect with the 12 volts and which wire you connect with the ground. in my upcoming tutorials, I will show you how you can control this solenoid lock using Arduino and 2n2222 NPN transistor. For the manual control simply connect the two wires of the solenoid lock with the 12v and ground wire of the DC supply.
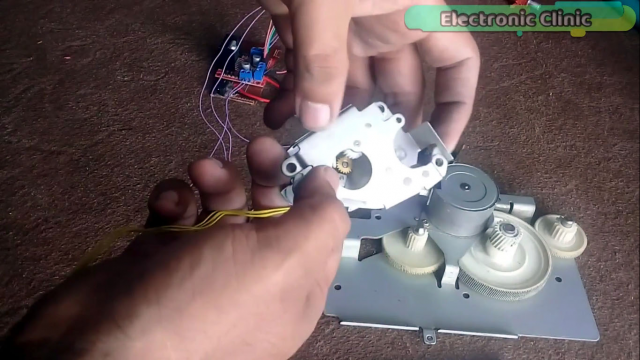
This is another 12v bipolar stepper motor with a specially designed gearbox and can be used in so many projects. As it’s a bipolar stepper motor so the same programs and connections can be used.

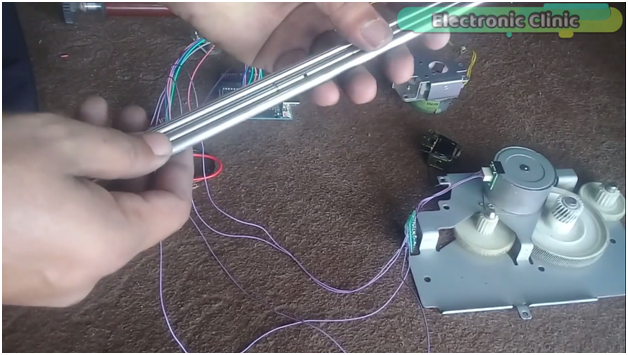
As you can see these rollers have steel rods.
These steel rods can be used in small CNC machines as the guided rods. I really needed these rods for a project based on the Automatic Drill Press machine. For more details watch video Tutorial given below.



Sir, i am shyam, i am working on mini project.To say precisely I need a stepper motor which rotates with accurate angle we needed,is there anything like that available ?,
Please let me know of it fahad ji