12V DC Heater Plate 80W, PTC Heater Plate, 12v solar heater
Table of Contents
12V DC Heater, Description:
12V DC Heater Plate 80W, PTC Heater Plate, 12v solar heater– The winter season has started and maximum of you guys might have started thinking about building an AC, Solar or battery operated Room Heater or water boiler, etc. You can make so many amazing things with this 12 volts PTC Heater Plate; you can also find the 220 volts version of the same PTC Heater Plate. I will share all its features, functions, and uses. We will also practically test this 12V DC Heater to practically demonstrate how quickly it raises the temperature.
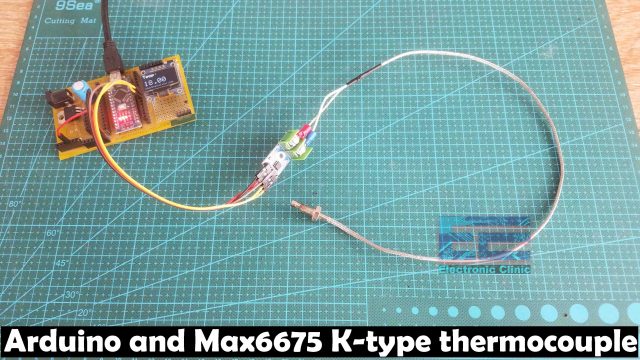
I will use this Arduino based temperature monitor. If you want to make the same temperature monitor which is capable of measuring the temperature up to 1000 Degrees Celsius then you can watch my tutorial on how to build temperature monitoring system using Arduino and Max6675 K-type thermocouple. Without any further delay, let’s get started!!!
Amazon Links:
Arduino Nano USB-C Type (Recommended)
Max6675 and k-type thermocouple
Other Tools and Components:
ESP32 WiFi + Bluetooth Module (Recommended)
Super Starter kit for Beginners
PCB small portable drill machines
*Please Note: These are affiliate links. I may make a commission if you buy the components through these links. I would appreciate your support in this way!
About the PTC 12V Heater Plate:
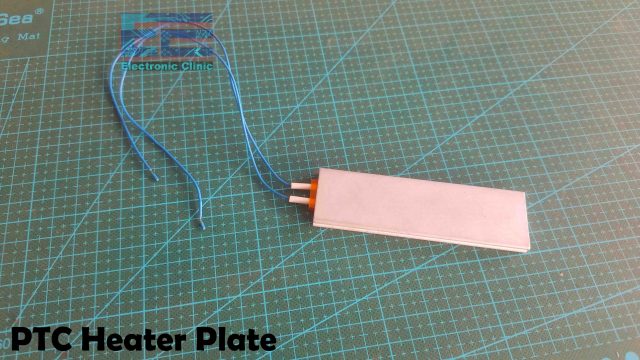
Here I have this 80W 12 volts 200 Degrees Constant Temperature PTC Heater Plate. This Aluminum shell PTC heating plate has many advantages, the structure is quite simple, gives constant temperature, Safe to use, it can be easily installed, and you can build so many amazing things with this small 12v DC Heater, like for example, an Egg boiler, Yogurt maker, Coffee Maker, Instant water heater, Hair Straightener, Tea maker, Solar or battery operated Egg Incubator or Egg Hatching Machine, Water boiler, chocolate extrusion, foot bath devices, Room Heater, and can also be used for Car and components preheating.
So this Aluminum Bar like 12V DC Heater is eco-friendly, provided with surface insulation, and can be dry heated for a long time. For the easy installation this 12V DC Heater is also provide with 15cm high temperature resistant lead wires.
The information which I just shared with you is straight from the manufacturer and some other guys. Anyways let’s go ahead and perform some tests and this way we can find out if this heater plate can really do all these things.
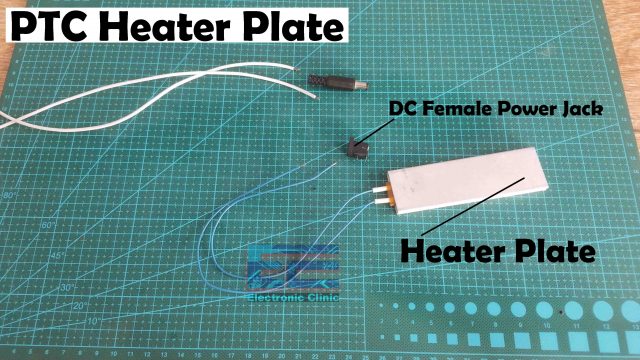
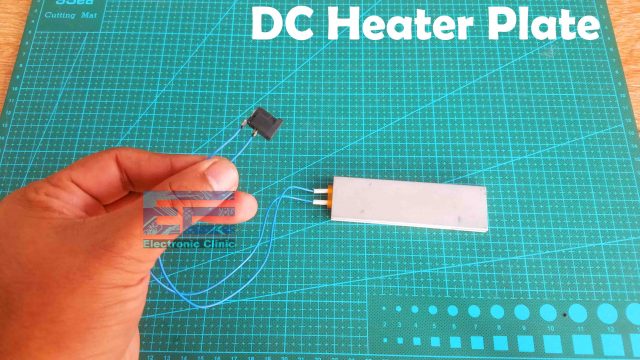
To easily perform my tests, first, I am going to solder this DC female socket with the two wires of the Aluminum Heater Plate and then this way I can easily connect it with the Battery, Adaptor, or AC voltage. So, I will be back after soldering the DC female socket.
I have soldered the DC Female Socket and now I can start my testing.
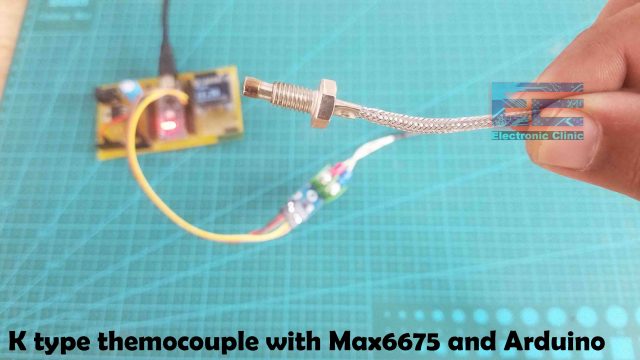
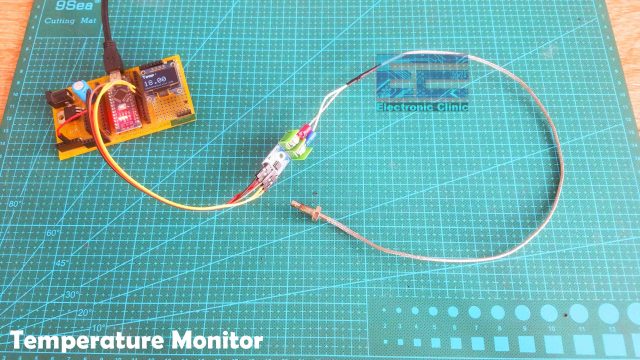
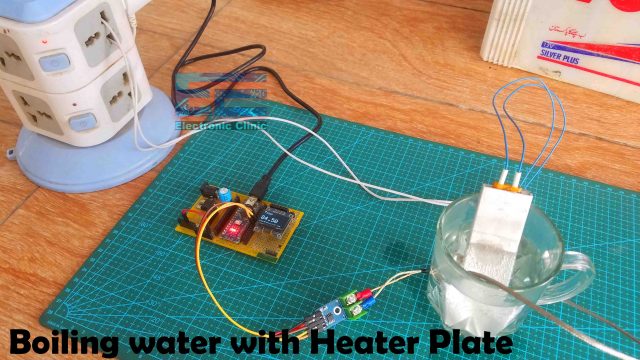
Here I have my temperature monitoring system based on the Arduino, Max6675, and K-type thermocouple. The reason I am using K-type thermocouple is because it can deal with high temperatures up to 1000 Degrees Celsius.
Initially, when I first turned ON the temperature monitoring system, the temperature was around 15 degrees Celsius and when I hold the K-type thermocouple in my hands, the temperature started to increase.
You can clearly see rise in the temperature, so the temperature monitoring system is working great.
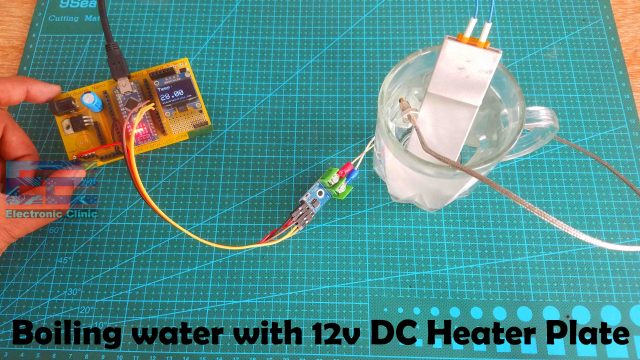
I started off by dipping the K-type thermocouple in the water and I recorded the initial temperature which was around 15 Degrees Celsius. Then I connected the PTC Heater Plate with my 12 volts and 4amp DC power supply. As I connected the power supply, I could slightly feel the little warmness, which was a signal that the Heater plate is working. With everything powered up, now it was time to dip the Heater plate in water. At this time I was really excited, as I had never tested this before.
So, I dipped the PTC Heater Plate in the water and after waiting for around 15 minutes the temperature of the water raised to 28 Degrees Celsius.
The rise in temperature is very slow and seriously I wasn’t expecting this. Right now I am testing it with 12 volts and 4amp adaptor. Next, to further ensure, I connected the Heater Plate with the 12V and 100Amp Battery but I didn’t make any big difference. The rise in temperature was still the same, it was increasing slowly. Obviously the heater plate is working but its slow, it’s going to take a lot of time to boil this cup of water. Now, you have a couple of options.
Number 1: You can throw away this heater plate and find another way of heating the things.
Number 2: You can go with the same Heater plate and wait for around 1 hour to make a cup of coffee or tea.
Number 3: you can increase the number of heater plates to quickly rise the temperature.
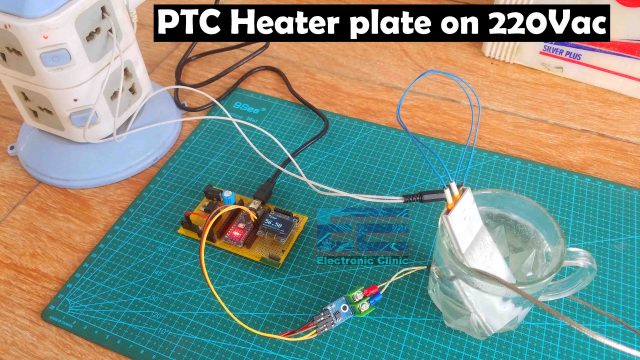
I am already disappointed, I had so many plans for this heater plate. But still it can be used in many situations. For me its useless, but before I throw it away, I am going to perform my last test, this time I am going to use it with 220Vac. So, let’s do it.
So, with 220Vac its working good as compared to 12 volts dc. The temperature is increasing quickly. What I just noticed is, in the beginning the temperature rises slowly and once it’s a little hot then it quickly raises the temperature. Anyways, let’s wait and see how much time it takes to boil this cup of water. I will be back.
I am back after 20 minutes and now you can see the temperature is around 84 degrees Celsius and you can see the water is boiling. For the best performance you can increase the number of these heater plates and this way you can make all those things which are claimed by the manufacturer. Let me know in a comment if you have liked or disliked this Heater plate.
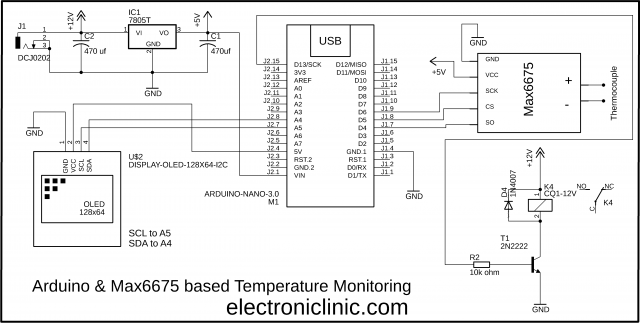
Circuit diagram of the Temperature Monitoring System:
In the circuit diagram, I have also connected a relay, you can use this relay to automatically turn off the heater plate when the temperature crosses a pre-defined value.
Temperature Monitoring Arduino Code:
|
1 2 3 4 5 6 7 8 9 10 11 12 13 14 15 16 17 18 19 20 21 22 23 24 25 26 27 28 29 30 31 32 33 34 35 36 37 38 39 40 41 42 43 44 45 46 47 48 49 50 51 52 53 54 55 56 57 58 59 60 61 62 63 64 65 66 67 68 69 70 71 72 73 74 75 76 77 78 79 80 81 82 83 84 |
//Arduino and MAX6675 based temperature monitoring //https://www.electroniclinic.com/ #include <Wire.h> #include <Adafruit_GFX.h> #include <Adafruit_SSD1306.h> #include "max6675.h" #include <SimpleTimer.h> #include <SPI.h> int thermoDO = 4; // SO int thermoCS = 5; // CS int thermoCLK = 6; // SCK float temp1 = 0; MAX6675 thermocouple(thermoCLK, thermoCS, thermoDO); SimpleTimer timer; // Oled display SSD1306 #define SCREEN_WIDTH 128 // OLED display width, in pixels #define SCREEN_HEIGHT 64 // OLED display height, in pixels // Declaration for an SSD1306 display connected to I2C (SDA, SCL pins) #define OLED_RESET -1 // Reset pin # (or -1 if sharing Arduino reset pin) Adafruit_SSD1306 display(SCREEN_WIDTH, SCREEN_HEIGHT, &Wire, OLED_RESET); int Relay = 13; int Rflag = 0; // relay flag void setup() { Serial.begin(9600); pinMode(Relay, OUTPUT); digitalWrite(Relay, LOW); timer.setInterval(500L, tempdata); display.begin(SSD1306_SWITCHCAPVCC, 0x3C); delay(2000); display.clearDisplay(); display.setTextColor(WHITE); } void loop() { timer.run(); Serial.println(temp1); } void tempdata() { temp1 = thermocouple.readCelsius(); if ( (temp1 < 32 ) && (Rflag == 0)) { digitalWrite(Relay, HIGH); // turn ON the heater Rflag = 1; } if ( (temp1 > 40 ) && (Rflag == 1)) { digitalWrite(Relay, LOW); // turn OFF the heater Rflag = 0; } display.clearDisplay(); display.setTextSize(2); display.setCursor(0,0); display.print("Temp:"); display.setTextSize(3); display.setCursor(0, 28); display.print(temp1); display.setTextSize(1); display.setCursor(0, 56); display.print("www.electroniclinic.com"); display.display(); } |
Watch Video Tutorial:
