Arduino Fingerprint Door Lock, Android biometric, Fingerprint app lock
Table of Contents
Arduino Fingerprint Door Lock:
Arduino Fingerprint Door Lock, Android biometric, Fingerprint app lock- Nowadays, smartphones or cell phones flooding the market are mostly equipped with the fingerprint module feature, which is often used for the unlocking of a cell phone. If you have a slightest of experience to design an android application, you can easily design an android biometric fingerprint application. You can design a student attendance system, you can control your car, and you can even keep your door lock under your control, and as such, you can plan a number of related projects.
As I am basically designing this project for beginners, I will attempt to explain every aspect in detail. Guys, you do not have any need to bother at all, in case you have not used the android studio. You can download the complete project source code of the fingerprint application from my Patreon page.
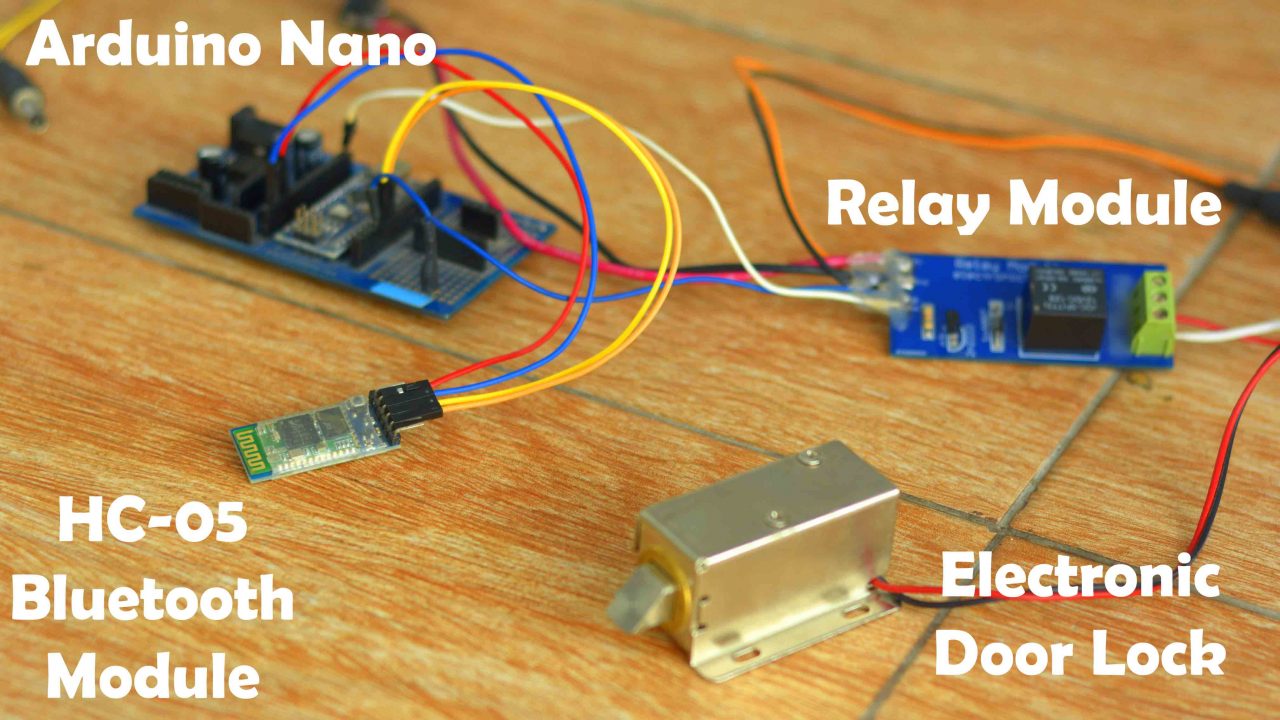
So, In today’s article, you will learn how to make the most highly secured Door Lock control system using Arduino Nano, 12V Electronic Door Lock, one-channel relay module, HC05 Bluetooth module, a smartphone with fingerprint module, and my designed Android Biometric fingerprint application.
I have connected everything as per the circuit diagram which I will explain in a minute. First, I am going to explain how this project works, and then I will start a practical demonstration. The cell phone connects with the Arduino through a Bluetooth connection. So, the door unlock command is sent wirelessly which eliminates the need for any physical wiring. Since we are not using a dedicated fingerprint module with the Arduino; so, it reduces the project cost, wiring, size, and most importantly the programming. So, let’s kick off our practical demonstration, and afterward, I will explain everything else.
Altium Designer + Altium 365 + Octopart:
Altium 365 lets you hold the fastest design reviews ever. Share your designs from anywhere and with anyone with a single click. it’s easy, leave a comment tagging your teammate and they’ll instantly receive an email with a link to the design. Anyone you invite can open the design using a web browser. Using the browser interface, you’re able to comment, markup, cross probe, inspect, and more. Comments are attached directly to the project, making them viewable within Altium designer as well as through the browser interface. Design, share, and manufacture, all in the same space with nothing extra to install or configure. Connect to the platform directly from Altium Designer without changing how you already design electronics. Altium 365 requires no additional licenses and comes included with your subscription plan.
Get real-time component insights as you design with Octopart built into Altium 365. Octopart is the fastest search engine for electronic parts and gives you the most up-to-date part data like specs, datasheets, cad models, and how much the part costs at different amounts etc. Right in the design environment so you can focus on your designs. Start with Altium Designer and Activate Altium 365. Search for electronic parts on Octopart.
Practical Demonstration:
I have powered up all the electronics. Now, I can open the Android biometric fingerprint application and start controlling the electronic door lock.
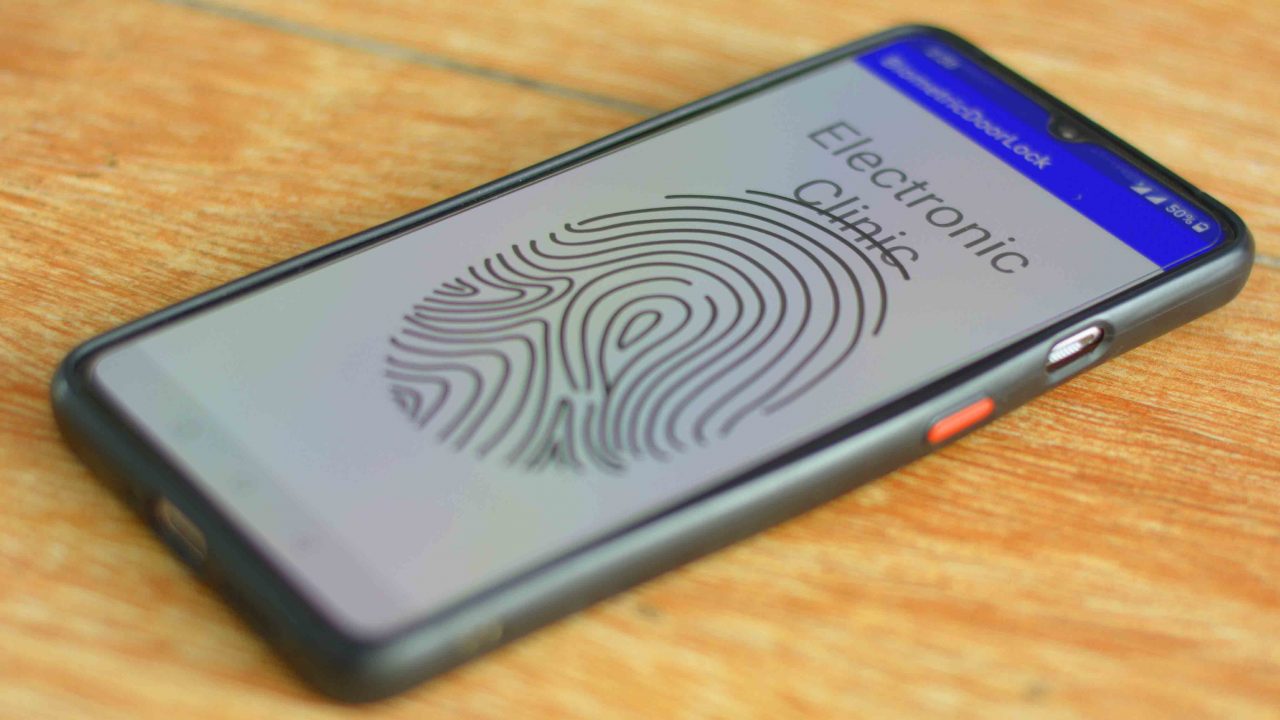
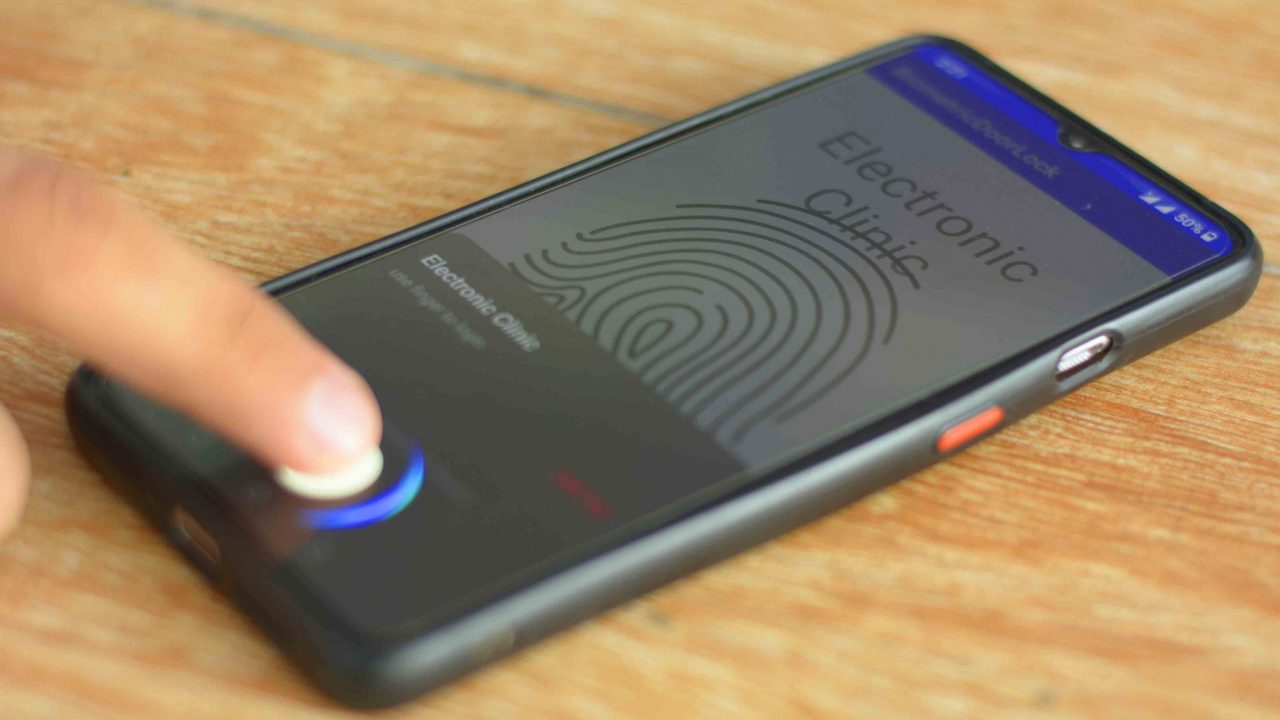
Once the Biometric fingerprint application is opened, simply click on the fingerprint image, and it will ask to put your finger.
Only the smartphone owner can open the Door Lock. The same application can be installed on multiple cell phones to control the same electronic door lock. For the step-by-step practical demonstration watch the video tutorial given at the end of this article. I am sure by now, you might have got an idea of how does this system work. So, without any further delay let’s get started!!!
Amazon Links:
Arduino Nano USB-C Type (Recommended)
12V electronic door lock, Elock
Smart phones with fingerprint feature
Other Tools and Components:
ESP32 WiFi + Bluetooth Module (Recommended)
Super Starter kit for Beginners
PCB small portable drill machines
*Please Note: These are affiliate links. I may make a commission if you buy the components through these links. I would appreciate your support in this way!
Arduino Fingerprint Door Lock Circuit:
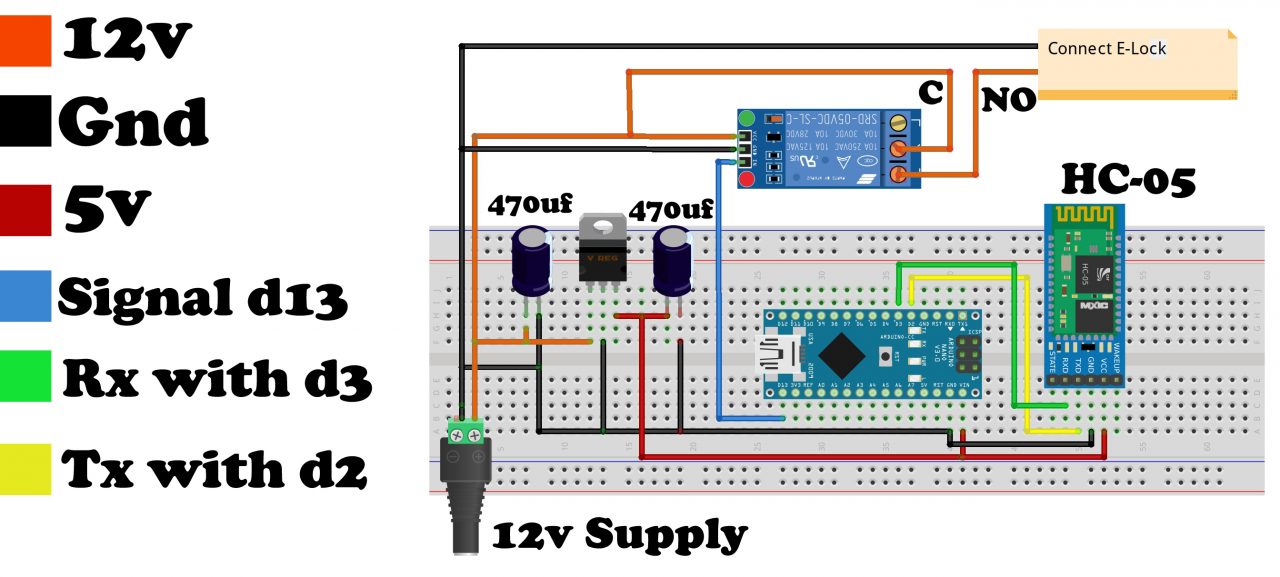
On the left side is the 5V regulated power supply based on the LM7805 Voltage regulator. Two 470uF decoupling capacitors are connected with the input and output legs of the voltage regulator. The 7805 voltage regulator accepts a wide range of input voltages between 7 and 28 volts, this means you can power up this entire project using a solar panel or 12V DC adaptor or a 12V battery etc.
You can clearly see, that 12 volts are connected with the input leg of the 7805 voltage regulator, VCC of the 12V relay module, and is also connected with the common contact of the relay module to supply 12 volts through the Normally Open contact to control a 12V electronic Door lock. So, the 12 volts are used to control the relay module and Electronic Door Lock while the regulated 5 volts are used to power up the Arduino Nano and HC05 Bluetooth module.
Digital pin 13 on the Arduino is used to control the Relay module. The TXD and RXD pins of the Bluetooth module are connected with the D2 and D3 pins of the Arduino.
Android biometric fingerprint application:
I already have a very detailed article on how to design your own Android cell phone application. This application is designed in the same exact manner, the only difference is the addition of the fingerprint programming. You can download the Fingerprint application source code from my Patreon page. Once you open the project code, you will get an idea how I made certain changes. Now, let’s go ahead and take a look at the programming.
Download the Android biometric fingerprint application project source code
Note: This APK file; I have generated for my android cell phone, If it doesn’t work on your cell phone then you can download the android biometric fingerprint application code and using android studio then you can generate a new APK file compatible with your cell phone.
Arduino Fingerprint Door Lock Programming:
|
1 2 3 4 5 6 7 8 9 10 11 12 13 14 15 16 17 18 19 20 21 22 23 24 25 26 27 28 29 30 31 32 33 34 35 36 37 38 39 40 41 42 43 44 45 46 47 48 49 |
<span style="font-family: georgia, palatino, serif;">#include <SoftwareSerial.h> SoftwareSerial Blue(2, 3); //tx connect with d2 and rx connect with d3 long int data; int relay1 = 13; // Relay long int password1 = 92;// to control door lock void setup() { pinMode(relay1, OUTPUT); digitalWrite(relay1, LOW); delay(500); Serial.begin(9600); Blue.begin(9600); } void loop() { while(Blue.available()==0) ; if(Blue.available()>0) { data = Blue.parseInt(); } delay(400); if (data == password1) { digitalWrite(relay1,HIGH); Serial.println("device1 on "); delay(5000); digitalWrite(relay1, LOW); } } </span> |
Code explanation:
I started off by adding the SoftwareSerial.h header file. Using SoftwareSerial library I can define multiple serial ports. I don’t want to connect my Bluetooth module with the Arduino’s default Serial port, so that’s why I decided to use SoftwareSerial to define another serial port on pins 2 and 3.
I also defined a variable data of the type long int for storing the incoming data. Relay module is connected with the digital pin 13.
For this project I selected 92 as the password. You can increase the number of digits. You can also define a string type variable and this way you will be able to use numbers, letters, and special characters to define the strongest password.
Inside the setup() function, I set the relay module as OUTPUT device. And I also activated the Serial ports.
Inside the loop() function, we have a few lines of code. If no data is received from the Android application then do nothing. And if data is received then simply read the serial port and store the data in variable data.
If the number stored in data matches with the password1 then the door is opened for 5 seconds. And if a wrong password is received nothing happens. So, that’s all about the programming.


