Best Solar charge controller wiring and Amazon Purchase link
Table of Contents
Description:
This is not a sponsored or promotional article. I have been using Solar panels for years for charging 12v Batteries. The charge controller that I am going to talk about is the most efficient one. I have been using this solar charge controller for months and it works perfectly. The battery is not overcharging or overheating. As I am quite satisfied with this charge controller so that’s why I decided to share this info with you.
Actually, I purchased this battery charge controller to check the efficiency of the commercial charger, and seriously I was not expecting that this charge controller will last for such a long time. Even I uploaded a video about this charge controller, which you can find at the end of this Article. Today I decided to write an article about this amazing battery charge controller.
What is a Solar Charge Controller?
Before I start the connections, first let me explain what is a solar charge controller and why we need it?
A charge controller or charge regulator is basically a voltage or current regulator to keep batteries from overcharging. It regulates the voltage and current from the solar panels going to the battery. Most 12 volt panels put out about 16 to 20 volts or even more, so if there is no regulation the batteries will be damaged from overcharging as most batteries need around 14 to 14.5 volts to get fully charged.
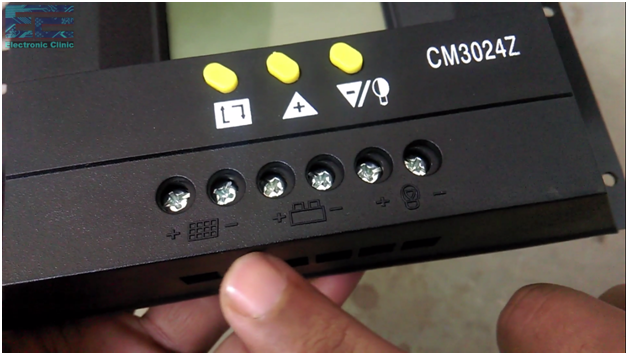
CM3024Z :
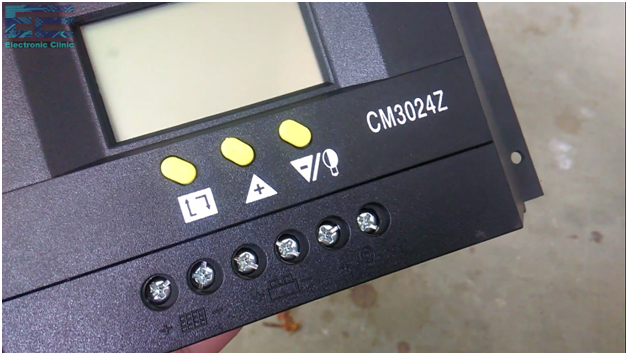
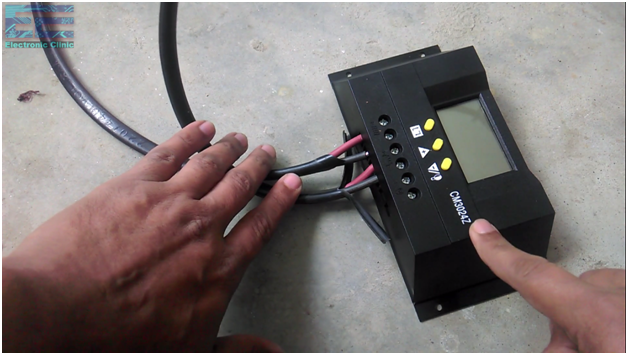
This is the CM3024Z solar charge controller from China. This is available on Amazon and can be purchased by clicking on the link below.
Amazon links:
Other Tools and Components:
Super Starter kit for Beginners
PCB small portable drill machines
DISCLAIMER:
Please Note: these are affiliate links. I may make a commission if you buy the components through these links. I would appreciate your support in this way!
Solar Panels:
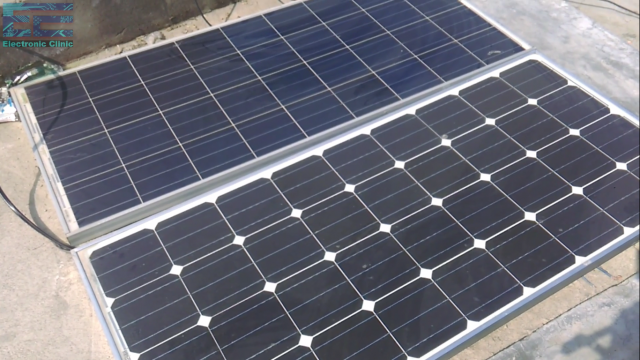
Each solar panel is 150 Watts, these panels are connected in parallel.
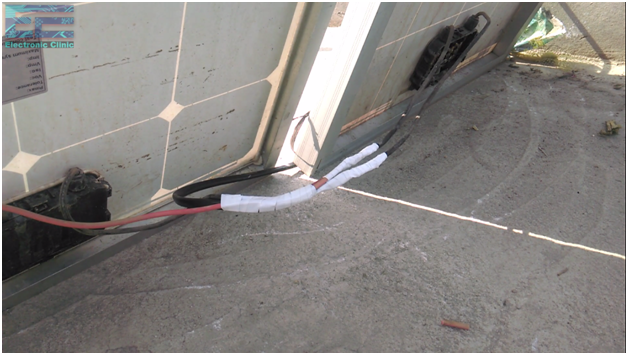
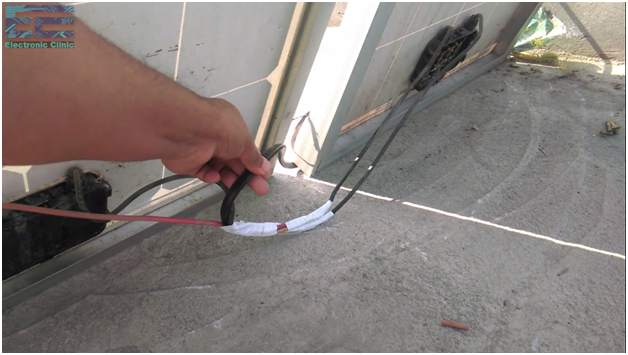
The +ve wire of one panel is connected with the +ve wire of the other panel and similarly, the ground wires of both the panels are connected together.
As you can see I have connected a cable with the +ve and ground wires, this cable will be connected with the solar charge controller.
Solar charge controller Contacts and Wiring:
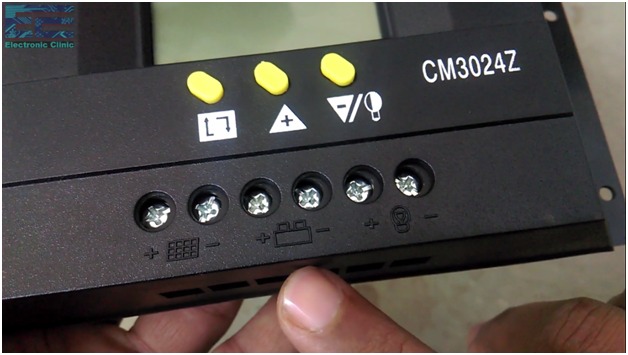
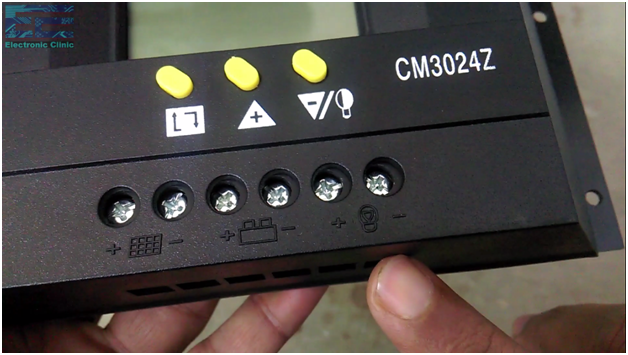
The solar charge controller contacts are clearly labeled, on the leftmost side you can see the Panel symbol and the contacts are labeled with + and – signs.
Over here we will connect the battery +v and ground.
and over here we can connect dc loads, like dc room coolers, dc lights, etc. now let’s start the wiring.
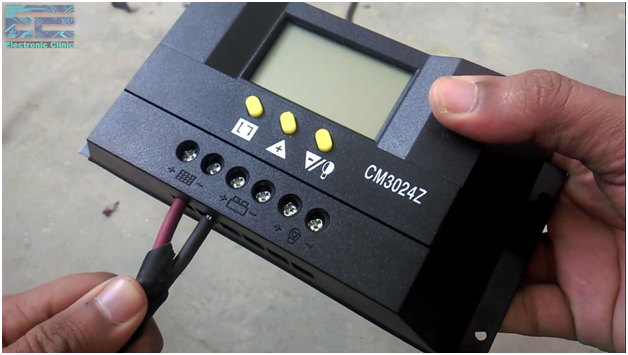
Connect the +v and Ground wires coming from the solar panel with the +v and ground contacts labeled with the solar panel sign.
as you can see the two wires from the solar panel are connected…now let’s connect two wires for the battery which later will be connected with the battery +v and ground.
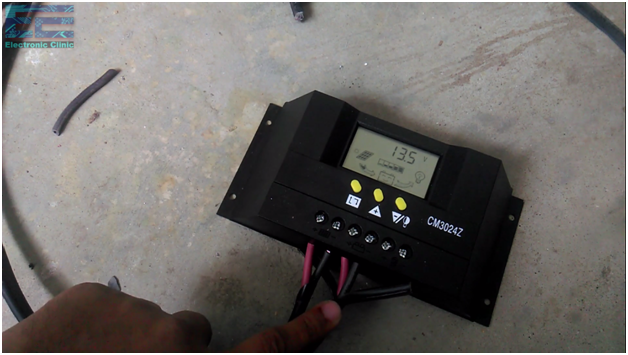
so as you can see solar panel wires are connected and also the wires for the battery are connected, now it’s time to connect the charge controller with the battery.
So now you can see these two wires are connected with the battery. You can see currently the voltage is 13.5volts. The connections of all the charge controllers are almost the same; the difference can only be in the extra features or the load capacity.
For the step by step explanation watch video given below. Don’t forget to subscribe to my channel. Support my YouTube channel by liking and sharing this video.
