Raspberry Pi DS18B20 Temperature Sensor & Text file
Last Updated on February 25, 2024 by Engr. Shahzada Fahad
Table of Contents
Description:
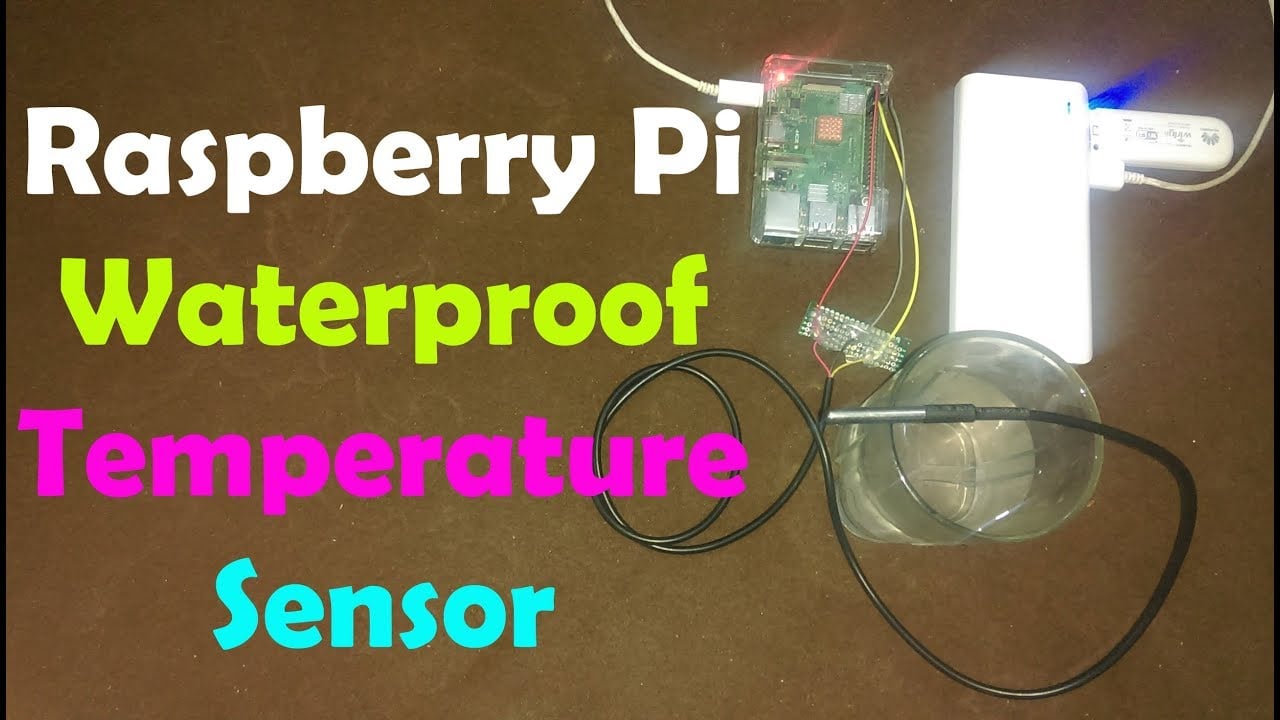
Raspberry Pi DS18B20 Temperature Sensor- In this tutorial, you will learn how to use Ds18b20 waterproof one wire digital Temperature sensor with raspberry pi 3 b+ and save the temperature in Celsius and Fahrenheit in a txt file along with the date and time information for later analysis.

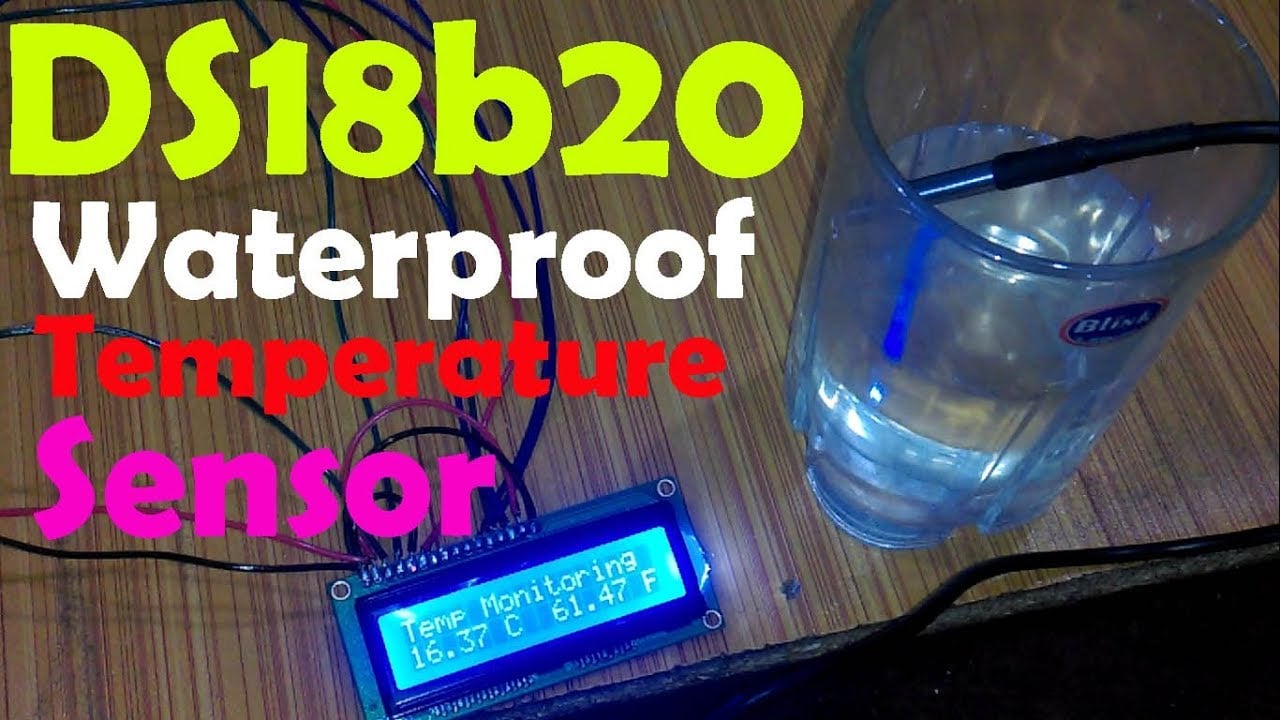
A few months back I used the same temperature sensor with the Arduino Uno and displayed the temperature on a 16×2 LCD.
So far I have covered different temperature sensors like
Dht11, which can monitor temperature and humidity
Bmp180 which can monitor temperature, pressure and altitude.

K type thermocouple which can measure temperature up to 1000 Centigrade.

In this tutorial, we will cover
- Ds18b20 waterproof digital temperature sensor introduction
- DS18b20 interfacing with Raspberry Pi
- Programming and finally
- Testing
Let’s get started!!!
Amazon Links:
DS18B20 one-wire digital temperature sensor:
Wireless Keyboard and Mouse for raspberry pi:
Night vision Camera for Raspberry Pi:
Oled HDMI touch display for raspberry pi:
Other Tools and Components:
Super Starter kit for Beginners
PCB small portable drill machines
About the DS18B20 Waterproof Temperature Sensor:

One-wire temperature sensors like the DS18B20 are devices that can measure temperature with a minimal amount of hardware and wiring. These sensors use a digital protocol to send accurate temperature readings directly to your development board without the need of an analog to digital converter or other extra hardware. You can get one-wire sensors in different form factors like waterproof and high-temperature probes–these are perfect for sensing temperature in many different projects and applications. And since these sensors use the one-wire protocol you can even have multiple of them connected to the same pin and read all their temperature values independently.
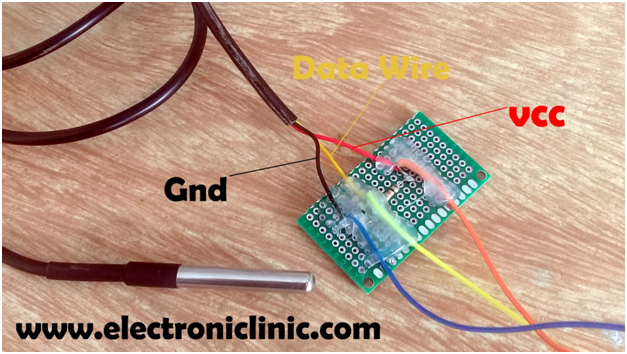
The DS18B20 Waterproof Temperature Sensor has three wires
- The red wire is the VCC wire: the operating voltage is 3 to 5 volts. In my case, I will use 3.3 volts.
- Yellow Wire is the Data wire: we usually connect a resistor between the data wire and VCC wire.
- The black wire is the Ground wire. This wire is connected with the Raspberry Pi ground Pin.
This temperature sensor is capable of measuring the temperature ranging from -55°C to 125°C
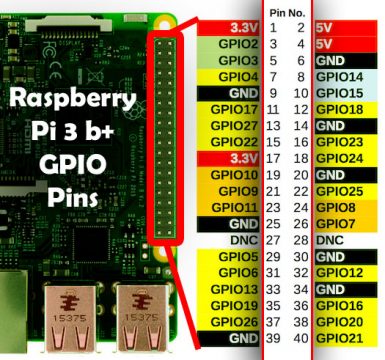
Raspberry Pi 3 B+ GPIO Pins:
DS18b20 Temperature Sensor with Raspberry Pi Circuit Diagram:

DS18B20 Interfacing with Raspberry Pi 3 b+:
Connect the red wire which is the VCC with 3.3v pin of the raspberry pi which is pin number1.

Connect the grey wire which is the ground with pin number 6 of the raspberry pi.
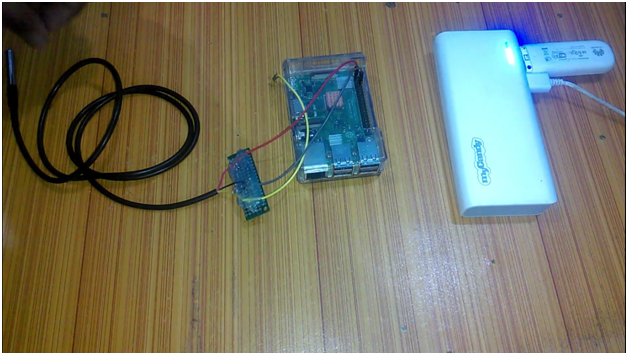
Finally, connect the data wire which is the yellow wire with pin number 7 of the raspberry pi.

We are done with the interfacing and now the Raspberry pi 3 B+ is ready for the programming.

The Raspberry Pi 3 b+ is powered up using the Power Bank, you can also use an Adaptor. As you can see no keyboard and mouse is connected and it has no physical connection with the laptop or an LCD. because as I explained in my previous tutorials, we will be using the SSH network using the putty software to write and execute programs. So I recommend you should watch my previous tutorial. The link is given below. Which completely explains, how to setup your SSH network using wifi.
How to setup the SSH network using wifi:

After you are done with the SSH network setup as explained in the video above. Now open the putty software.

Enter the IP address of your Raspberry Pi and click Open.

Enter pi as your login name and raspberry as your password and press enter on your keyboard.

As you can see I am logged In. use clear command to clear the screen.

Now the real work starts from here.
We’ll need to enable the One-Wire interface before the Pi can receive data from the sensor, to enable the One-Wire interface simply write
sudo nano /boot/config.txt and press enter key on the keyboard.

After you press the enter key on the keyboard a file will be opened.

dtoverlay=w1–gpio press control+o to save this file and press control x to exit.
Now, the next step is to reboot the raspberry Pi, for this simply type sudo reboot and press enter. After you restart raspberry pi login again using pi as your login name and raspberry as your password. Use the clear command if you want to clear the screen.
Now type the following commands one by one and press enter key on the keyboard.

Now change the directory by simply typing cd /sys/bus/w1/devices and press enter.
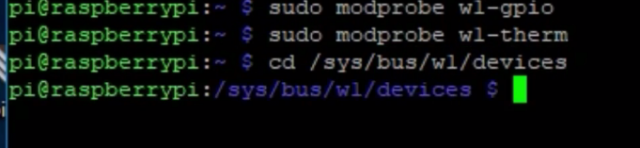
then use the ls command.

as you can see 28-02183302e5ff is my temperature sensor, while in your case it can be different.
so in my case I will type cd 28-02183302e5ff

now to display the raw temperature reading simply type
cat w1_slave

As you can see t=13937 is the raw temperature in Celsius without the decimal point. So now we are confident, our wiring is correct and our temperature sensor is working, now we are ready for the programming, now let’s write a very basic program to read this temperature sensor and save the values in Celsius and Fahrenheit in a text file.
Use the clear command to clear the screen and then type the ls command to display all the files and folders.

as you can see there is a youtube folder which I created for saving my program files. let’s open this folder by typing cd youtube and press enter and again use the ls command to check what’s inside this folder.

ldr.py is a file that I created in my last tutorial for detecting the day and night. Now lets make another file with a name temp and extension .py. simply type
sudo nano temp.py and press enter.

as you can see an editor is opened. This is where we write a program. The program is given below simply copy and paste it in this editor, save the program and that’s it.

DS18b20 Raspberry Pi Python Programming:
|
1 2 3 4 5 6 7 8 9 10 11 12 13 14 15 16 17 18 19 20 21 22 23 24 25 26 27 28 29 30 31 32 33 34 35 36 37 38 39 40 41 42 |
import os import glob import time import datetime os.system('modprobe w1-gpio') os.system('modprobe w1-therm') base_dir = '/sys/bus/w1/devices/' device_folder = glob.glob(base_dir + '28*')[0] device_file = device_folder + '/w1_slave' def read_temp_raw(): f = open(device_file, 'r') lines = f.readlines() f.close() return lines def read_temp(): lines = read_temp_raw() while lines[0].strip()[-3:] != 'YES': time.sleep(0.2) lines = read_temp_raw() equals_pos = lines[1].find('t=') if equals_pos != -1: temp_string = lines[1][equals_pos+2:] temp_c = float(temp_string) / 1000.0 temp_f = temp_c * 9.0 / 5.0 + 32.0 return temp_c, temp_f while True: GetDateTime = datetime.datetime.now() .strftime("%Y-%m-%d %H:%M:%S") tempdata = read_temp() tempdata = str(tempdata) #open a fle fo = open("/home/pi/test/foo.txt","a+") fo.write("\n") fo.write(GetDateTime) fo.write(tempdata) fo.write("\n") print(tempdata) time.sleep(1) fo.close() |
Program Explanation:
start by importing os, globe, time and datetime.
now we will use all those commands which we used in the terminal.
Then we make two user defined functions for reading the temperature, and converting it into the Celsius and Fahrenheit and then add the date and time with each reading and create a file with the name document.txt and save it in youtube folder. This file will consist of the temperature data with date and time information.
After the programming is completed press control o to save the file and press control x to exit the editor. Use ls command to display the files. As you can see a file with the name temp.py is created.
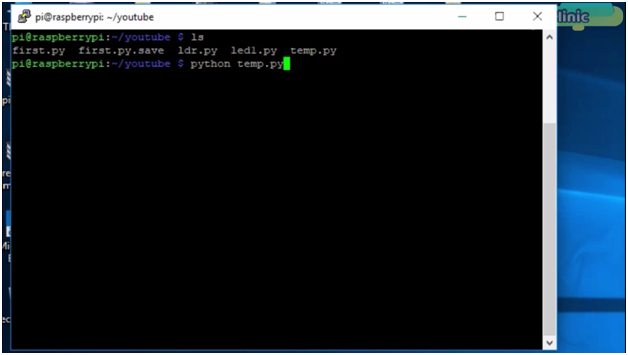
now let’s run this program by typing python temp.py and press enter.

we have an error let’s fix this error. open the file by typing
sudo nano temp.py and press enter

Equals_pos = lines[1].find[‘t=’) replace this line with
Equals_pos = lines[1].find(‘t=’)

Save the file and exit the editor. Now let’s again run this program by typing python temp.py.

Now you can see temperature on the screen. If I hold this sensor in my hand you will see an increase in the temperature. For the practical demonstration watch video tutorial given below.
Press control z to stop the program and let’s open the file document consisting of the temperature data along with the date and time information.

Watch Video Tutorial:
Discover more from Electronic Clinic
Subscribe to get the latest posts sent to your email.


I’ve built this and it works marvelously! Now, can I write the output to a serial port? I have a computer that will accept a serial temperature probe. and would like to send the temperature to there. Preferrably to one of the USB ports on board.