Top 10 Arduino Sensors and how to use them with detailed Tutorials
Table of Contents
Description:
Top 10 Arduino Sensors– A sensor is a device, Module, Machine, or subsystem whose purpose is to detect events or changes in its environment and send the information to other electronics. A sensor is always used with other electronic circuits or microcontroller boards. There are thousands of sensors used for different purposes. It’s not possible for me cover all the sensors in one article. But,
In this Article, I am going to share with you Top 10 Arduino sensors, which I believe you should learn how to use them. The Sensors I am about to share with you guys can be used in beginner’s level and advanced level projects.
Note: Watch video tutorial given at the end of this article. Don’t forget to subscribe my YouTube channel.
Without any further delay let’s get started!!!
Amazon Link:
Arduino Nano USB-C Type (Recommended)
Please Note: these are affiliate links. I may make a commission if you buy the components through these links. I would appreciate your support in this way!
Arduino MPU6050 Sensor:
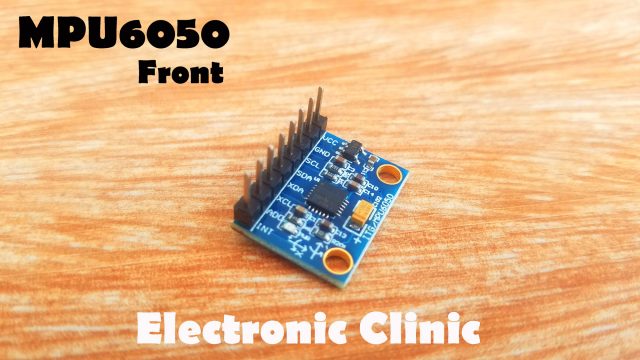
This is the GY-521 MPU6050 6DOF 3-Axis Gyroscope and Accelerometer Module. The MPU6050 communicates with the Arduino through the I2C protocol. The MPU6050 always acts as a slave to the Arduino with the SDA and SCL pins connected to the I2C bus. This module needs 3 to 5 volts. This Module can be used in a hand gesture controlled Robot, wheelchair, earthquake detection system, Self-balancing Robot, a self-balancing platform for a camera, Segway, Drivers drowsiness detection system, etc.
The MPU6050 sensor can be used in projects where you need to measure the angle or rotation of any object. A few days back I uploaded two videos.
In the first video, I covered the extreme basics, in which I explained the basic circuit diagram, Soldering and beginner’s level programming.
While in the second video I used the MPU6050 Sensor in the Drivers accident protection system.
In this episode, you will learn how to reduce distracted driving accidents using only Arduino, MPU6050 and a buzzer. If a driver writes a message and looks down for more than 2 seconds the buzzer is activated… So, if the driver looks down or looks up for more than 2 seconds a buzzer is activated which alerts the driver… This project can also be used as the driver drowsiness detection system… This is just a prototype model which can be further improved by designing a PCB.
pH Sensor:
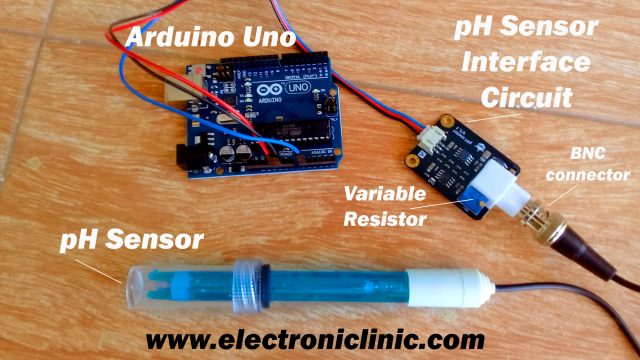
This is the Analog pH Sensor which is most commonly used for measuring the water quality. I have already uploaded two videos on the Analog pH Sensor
In the first video, you will learn how to use the pH sensor with Arduino and find the pH value of different liquids and display the pH value on the serial monitor. In this video, I have tried to cover the extreme basics like for example,
- How a pH sensor work
- Application of pH meter
- pH sensor Calibration
- pH sensor interfacing with Arduino
- Basic programming to find the pH value of different liquids and finally
- Testing
While in the 2nd video, you will learn how to make an IoT based water quality monitoring system using Arduino, pH Sensor, Nodemcu esp8266 wifi module and Blynk Application. As this is an IoT “Internet of Things” based project, the water quality can be monitored from anywhere around the world. In this episode, I have practically explained how to measure the pH value of the Well water, and I have also explained whether the water under test is good or bad for health. In this tutorial, you will also learn how to use the 16×2 LCD widget in the Blynk application.
Magnetic Hall Effect Sensor:
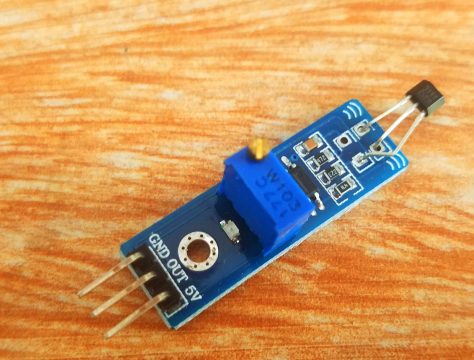
This is the Magnetic Hall effect Sensor, which can be used in projects where you need to detect the presence of a permanent Magnetic or Electromagnet. The Magnetic Hall Effect sensor can be used in measuring the speed; it can be used in contactless control systems. This Sensor is usually used in locations where you don’t need to make any contact.
Recently, I have uploaded a video in which you will learn how to make an electronic glove based on the magnetic Hall Effect sensor, Arduino, and 433 MHz Radio Frequency Modules; to protect workers from coming into contact with the moving parts or getting caught in the machinery. For the demonstration purposes, I am using two indicator lamps. When the worker gets too close to the moving part the machine turns off and an alarm is activated which is represented by the yellow indicator lamp.
This is just a prototype model which can be further improved by designing some very small size Magnetic Hall Effect sensors, we can also include some pressure sensors and the wires can be made hidden inside the gloves. Using such gloves we can perform ordinary tasks without any problem as these gloves are completely Wireless.
I have also used the Magnetic Hall Effect Sensor in the Tongue controlled wheelchair. In this project, the Wheelchair movement is wirelessly controlled with the help of the tongue movement.
DS18B20 Waterproof One Wire Digital Temperature Sensor:
This is the DS18B20 Waterproof one-wire digital temperature sensor. This is one of my favorite temperature sensors. I have used this Sensor with the Arduino in two video tutorials.
In the first video, you will learn how to use the Ds18b20 waterproof one wire digital temperature sensor with Arduino and display the temperature in Celsius and Fahrenheit on a 16×2 LCD. So far I have covered different temperature sensors like
Dht11, which can monitor temperature and humidity
Bmp180 which can monitor temperature, pressure, and altitude, and a
K type thermocouple, which can measure temperature up to 1000 Centigrade. I will provide links in the description if in case you want to watch these tutorials.
In the 2nd video, I used the DS18B20 temperature sensor in a patient monitoring system. In this video tutorial, you will learn how to make an IoT based Patient monitoring system using Nodemcu ESP8266 Wifi module, Arduino, DS18B20 temperature Sensor, Pulse sensor, HC-05 Bluetooth Module, and Cell phone Applications. This is an advanced level project and is entirely different from all the existing Patient monitoring systems available on YouTube.
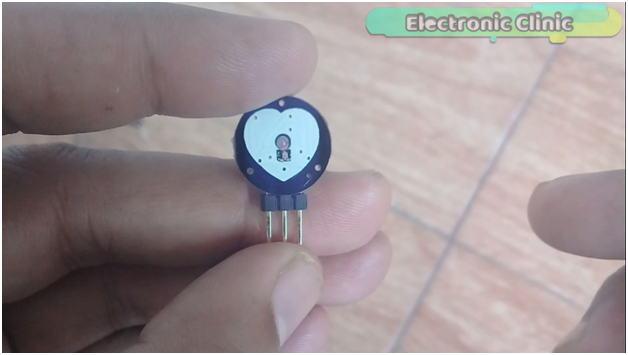
Pulse Sensor:
This is the Pulse sensor, which is used in patient monitoring based projects. I have uploaded basic and advanced level projects using the pulse Sensor.
The first video tutorial explains how to monitor the Heartbeat rate or Heartbeats per minute using the Pulse Sensor, Arduino, and a 16×2 LCD. In this video I have also explained how to get stable BPM values. This video explains the basic circuit diagram and programming.
In the 2nd video tutorial, you will learn how to wirelessly monitor the Heartbeat rate or Heartbeats per minute using the Pulse Sensor, Arduino, a 16×2 LCD and HC 05 or HC 06 Bluetooth Module.
While, in the third video, I used the Pulse Sensor with the DS18B20 temperature sensor and designed an IoT based patient monitoring using Arduino, Nodemcu ESP8266 Wifi module, HC-05 Bluetooth module, and Blynk Application. In this project two cell phone applications were used, one application was designed for the Bluetooth short range monitoring and another application was designed for the worldwide monitoring system using Blynk.
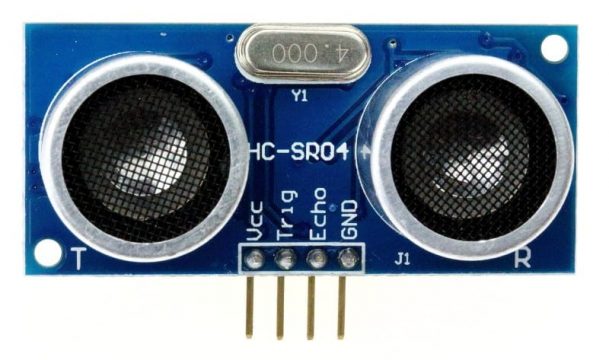
Ultrasonic Sensor HC-SR04:
This is the HC-SR04 Ultrasonic Sensor Module most commonly used in robotics for obstacle detection and distance measurement. So far I have uploaded 4 videos on the HC-SR04 Ultrasonic Sensor.
In the first video, you will learn the extreme basics like for example, the basic circuit diagram and how to measure the distance.
In the 2nd video, you will learn how to make Water level monitoring system using Arduino, ultrasonic sensor and some leds. The LEDs are used to show the percentage of water available in the Water tank. This is a beginner’s level project explaining the basics.
While, in the 3rd video, you will learn how to make an IoT based water level monitoring system using HC-SR04 ultrasonic sensor, Nodemcu esp8266 wifi module, and Blynk application. This project is based on two-way communication, you can monitor the Water level in real-time and you can also control the water pump. The lamp indicator represents the water pump.
In the 4th video, you will learn how to make an automatic safe distance maintaining control system for a car to avoid accidents. With the help of such a control system, the car speed is automatically adjusted depending on the distance… This control system is entirely based on the Arduino, Ultrasonic Sensor and L298N motor driver. In this episode, I have also explained what is the safe distance, and how the safe distance maintaining technology can be used in real cars. In this project, I have shared two techniques that can be used in real cars, which can help you stay safe.
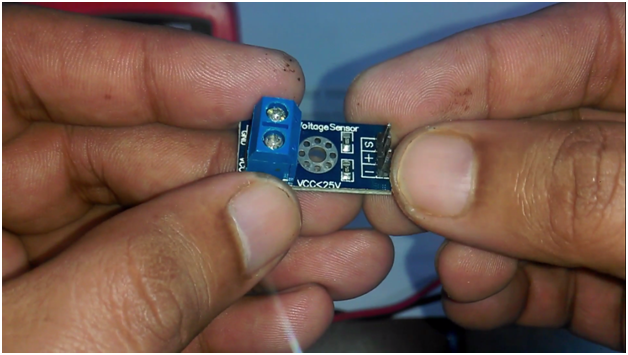
0-25v Voltage Sensor:
This is the 0-25v voltage sensors, which can measure voltages from 0.02445 to 25 volts DC. This voltage Sensor can be used in Power related projects where you need to monitor the AC or DC voltage. I have used this Sensor in 4 video tutorials.
In the first video tutorial, you will learn the basics, like for example the calculations, Proteus simulations, Interfacing and basic Arduino programming.
In the 2nd video tutorial, you will learn, how to modify this Sensor for measuring voltages greater than 200 volts.
In the 3rd video tutorial, you will learn how to monitor the battery voltage wirelessly using a Bluetooth module HC-05 or HC-06, Arduino Uno or Mega and an android cell phone. This project can also be used to monitor solar panels, infact you can monitor anything so far the voltage that is to be monitored is less than or equal to 25volts.
In the 4th video tutorial, you will learn how to monitor the efficiency of a 12v Battery using Arduino, 0 to 25v voltage sensor, HC-05 Bluetooth Module, RTC DS3231 Real Time Clock and an Android cell Phone. The Battery voltage information is stored in the Arduino at regular intervals which can be defined in the Programming. Then using the Android Cell Phone the stored information can be requested wirelessly by sending a command to the Arduino. The received information is stored in the Cell Phone database along with the Date and Time information. The information stored in the database can be used for the post analysis.
ACS712 Current Sensor:
This is the ACS712 Current Sensor used for the current measurement. This Sensor is most commonly used in power related projects where the electrical load is to be monitored.
In the 1st video, you will learn, how to make an over load monitoring system using ACS712 current sensor.
In the 2nd video; I designed an application in vb.net and used this application to monitor all the three phases of the 3 phase transformer prototype model. The transformer wiring, soldering, the ACS712 current sensors connections, soldering, and interfacing are explained in very detail.
In the 3rd video, I used the blynk application for monitoring all the three phases in real time from anywhere around the world using a cell phone, Arduino, ACS712, and Nodemcu esp8266 wifi module.
Load cell Sensor:
In this video tutorial, you will learn how to use a 5kg load cell Sensor with HX711 and Arduino or mega. In this tutorial, you will also learn how to calibrate your load cell Sensor or strain gauge Sensor, Circuit diagram, Soldering, Programming, and practical implementation.
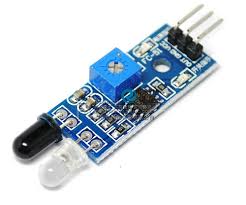
IR Sensor:
This is the IR Sensor, which is used for the short range detection. This sensor is used in robots for obstacle detection, this is also used in line follower robots, and this sensor can also be used in touchless control system. So far I have used this Sensor in two video tutorials,
In the first video, you will learn how to make an automatic water tap control system using Arduino, IR Sensor, and a solenoid valve.
While in the 2nd video tutorial, you will learn how to make a low-cost automatic water tap control system without using the Arduino. In this project, only the IR Sensor, Relay module, and a solenoid valve are used.
