Raspberry Pi 16×2 LCD I2C Interfacing and Python Programming
how to connect 16x2 I2C lcd with Raspberry pi
Table of Contents
Description:
Raspberry Pi 16×2 LCD I2C Interfacing and Python Programming– I have been using 16×2 LCD for quite a long time in different Arduino and IoT related projects. You know we have two types of the 16×2 LCD, the normal one used more wires and the other one is based on the I2C interface which needs only two wires.
Amazon Purchase Links:
Wireless Keyboard and Mouse for raspberry pi:
Night vision Camera for Raspberry Pi:
Oled HDMI touch display for raspberry pi:
Other Tools and Components:
Super Starter kit for Beginners
PCB small portable drill machines
*Please Note: These are affiliate links. I may make a commission if you buy the components through these links. I would appreciate your support in this way!
This article will demonstrate how to use the I2C two-line LCD 16×2 display with the Raspberry Pi.
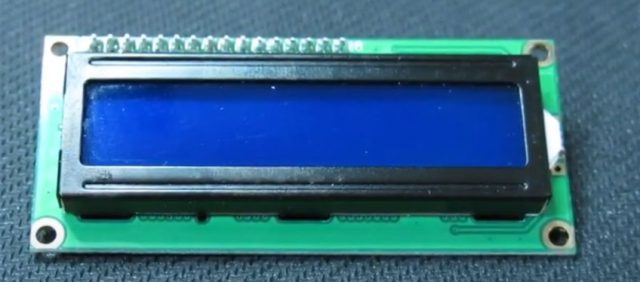
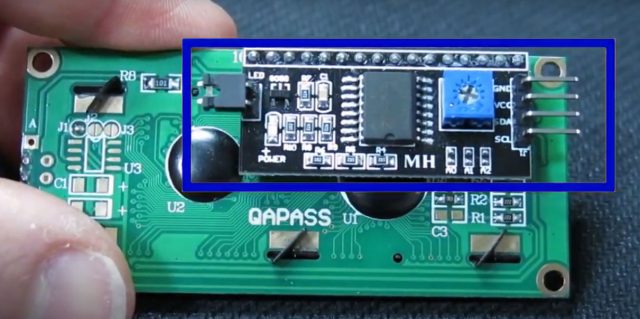
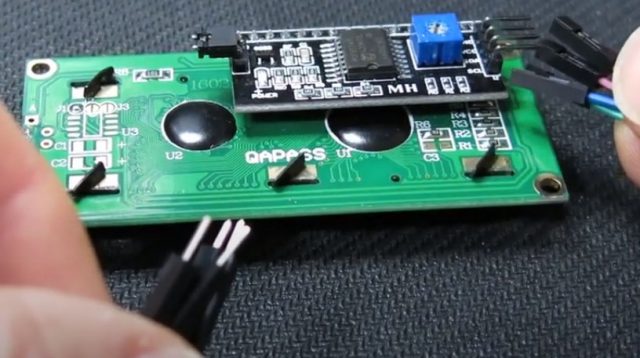
Specifically, I will be looking at the model that has the I2C backpack attached.
If you have the plain version of this display then this tutorial is not for you. The plain version is not practical anyway it would use a lot of GPIO Pins and it has a complicated programming requirement.
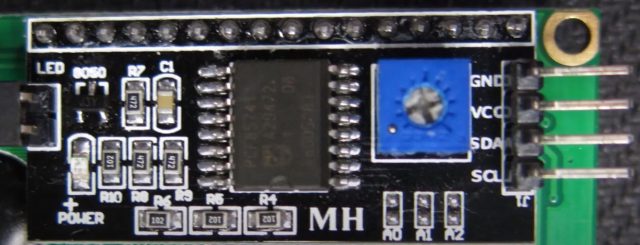
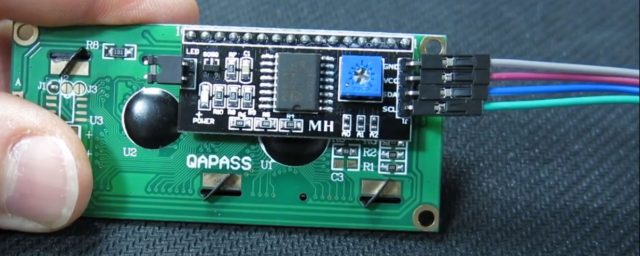
With this version you need only four pins and the programming model is very simple. Other than the display you will need some wires. This is what I will be using.
The right-hand side matches the backpack pins, while the left hand-side will go to a breadboard. You also need a small Phillips screwdriver to adjust the contrast.
The backpack module uses the I-squred-C (or I2C) protocol to communicate with the Raspberry Pi, which uses only two wires: SDA and SCL (data and clock). Please note that the display is a 5 volt device, and it is powered by 5 volts, but due to design of the I2C protocol, and the fact that the Raspberry Pi is the controlling device, it is safe to connect such display to the Raspberry Pi directly.
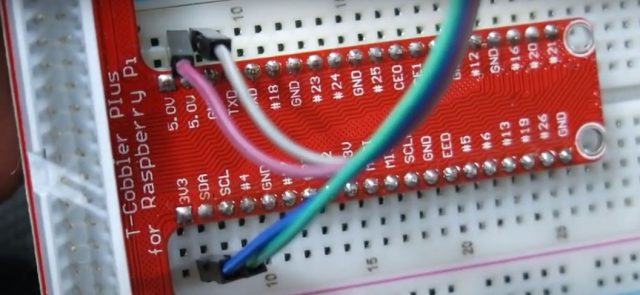
I suggest using wires of different colors to connect the LCD display. This minimizes the risk of damage due to incorrect connections. For example, I’m using
Gray for GND,
Red for 5 volt,
Blue for SDA and
Green for SCL.
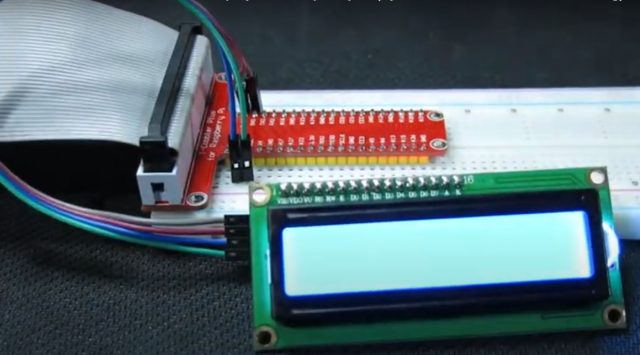
I use the cobbler connector with a breadboard, but the display can be connected to the GPIO headers directly, you’ll just need to use different wires. 5 volts and ground connections are close to each other here, while the SDA and SCL line are connected on the opposite side.
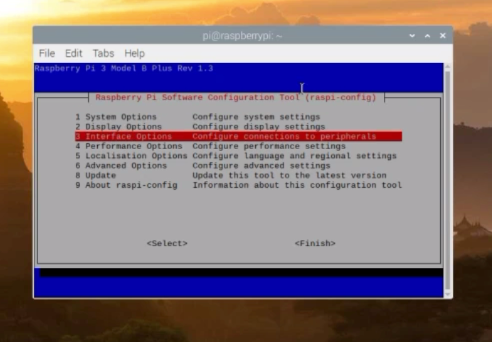
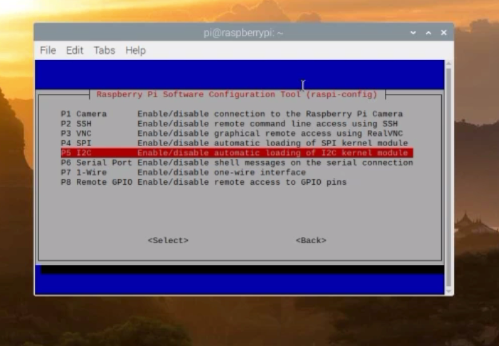
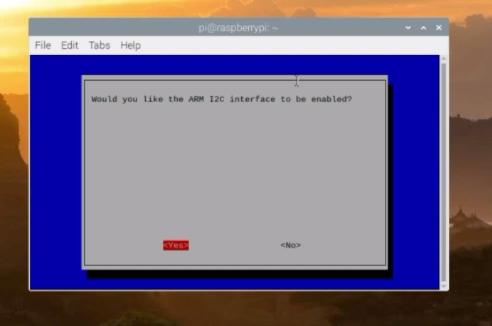
Before you start using the I2C 16×2 LCD display with Python, you need to make sure that the I2C protocol is enabled on your Raspberry Pi. You can use the sudo raspi-config utility to take care of that. This program is navigated using keyboard arrows, tab and the Enter key. Look for I2C in the interfacing options and enable it. Enabling I2C requires a reboot.
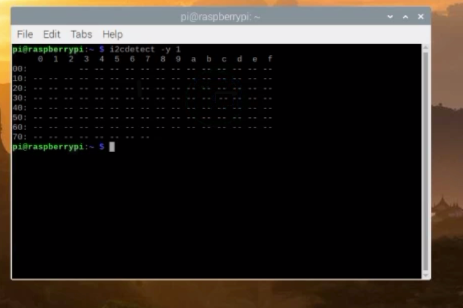
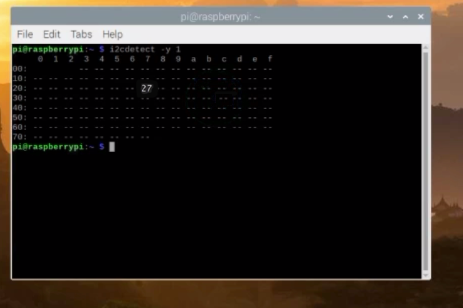
Once the system is back you can check whether the I2C bus is active, I2C protocol supports multiple devices connected to the same bus, and it identifies each device by their hardware address. The i2cdetect command can be used to see what is connected and what the addresses are.
It’s time to connect the display and see whether it is recognized. Double-check your wires before making the connection!
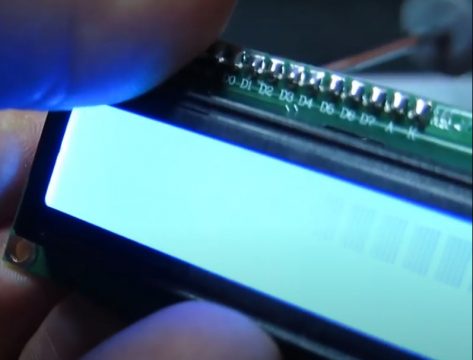
The display is backlit
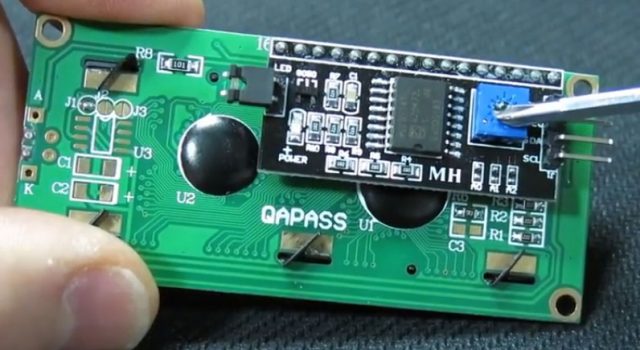
And you can also adjust the contrast using a small Phillips screwdriver. Set it somewhere in the middle. Be careful not to short anything with the screwdriver while you make the adjustment. Looks like my display is ready to go.
The 27 hexadecimal addresses happen to be the most common, but your display’s address may be different. For example, it could be 3f. This will depend on the chip version of the backpack module. As long as the i2cdetect command shows the display is connected, you are good to go.
The easiest way to program this 16×2 I2C LCD display in Python is by using a dedicated library. There are many to choose from. I like things simple, so the library I recommend is rpi_lcd.
Install the library using this command
sudo pip3 install rpi_lcd
This library has the default 27 address hard-coded. If your display has a different address you will need to change it. You need to find the library on your system and the following command should do that for you.
sudo find /usr/local –name rpi_lcd 2> /dev/null
And press enter
This command will find the location of the library in my case my system location is
/usr/local/lib/python3.7/dist-packages/rpi_lcd
And you could go there and edit the library if needed.
Using the cd command
cd /usr/local/lib/python3.7/dist-packages/rpi_lcd
You can use any text editor, for example nano, but make sure to run it as root using sudo. This is the spot where the change needs to be made.
Lcd16x2 i2c display with raspberry pi code:
Time to write a test program!
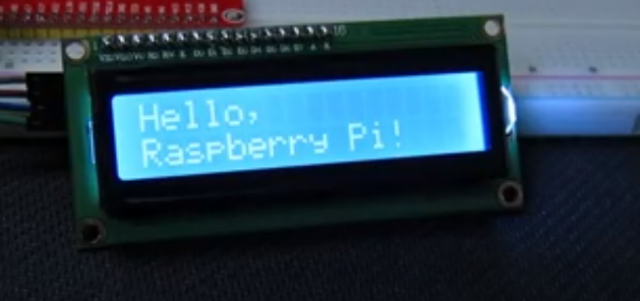
With the rpi_lcd library the programming of the display is very easy just a couple of lines of code.
|
1 2 3 4 5 6 7 8 9 10 11 12 13 14 15 |
from signal import signal, SIGTERM, SIGHUP, pause from rpi_lcd import LCD lcd = LCD() def safe_exit(signum, frame): exit(1) try: signal(SIGTERM, safe_exit) signal(SIGHUP, safe_exit) lcd.text("Hello,", 1) lcd.text("Raspberry Pi!", 2) pause() except KeyboardInterrupt: pass finally: lcd.clear() |
Program Explanation:
You need an import and an LCD object instance.
from rpi_lcd import LCD
lcd = LCD()
I will use two functions of this class:
lcd.text(“Hello,”, 1)
lcd.text(“Raspberry Pi!”, 2)
the text function to write to the display, and clear function to erase it.
lcd.clear()
I use the clear function at the end of the program, otherwise the message will stay on the display after the program ends. The two numbers (1 and 2) at the end of the text function indicate which line of the display to use.
lcd.text(“Hello,”, 1)
lcd.text(“Raspberry Pi!”, 2)
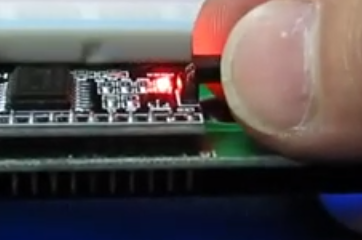
This is an opportunity to adjust the contrast, especially if the display does not show anything, if you don’t see the “Hello, Raspberry Pi!” message. The adjustment only affects the letters, not the backlight. The backlight in this model is not adjustable, it’s always on, but you can turn it off by removing the jumper on the backpack.
Testing:
Related Article:




Instead of adjusting the init.py, the LCD object can be created with the address as parameter:
lcd = LCD(address=0x3f)
Thank you for this info, it is really useful when you want to connect multiple lcds, so you have to change adresses
The backlight isn’t adjustable but can be turned ON/OFF by software(python of course).
See __init__.py file in library.
Line def __init__(self, address=0x27, bus=1, width=20, rows=4, backlight=False)
The “backlight” is responsible for LCD backlight, in this case it’s turned off (backlight=False).