Reduce Water Bill & Electric Bill at Home, DIY project for Home
Table of Contents
Description:
Reduce Water Bill & Electric Bill at Home- In this tutorial you will learn the simplest method how to reduce the water usage, to reduce the Water Bill and Electric Bill at Home. In this project only a few components are used which can be easily arranged by anyone. I have tried my level best to keep the designing as simple as possible that even an inexperienced person can build this project at home.
Water usage and the Electric Bill has a direct connection, the more water you use the more electricity Bills you will have to pay. So the main objective of this project is to reduce the water usage to reduce the electric bill. I have practically implemented this idea, which you can watch in a video given at the end of this Article.
Without any further delay, let’s get started!!!
Amazon Link:
Other Tools and Components:
Super Starter kit for Beginners
PCB small portable drill machines
DISCLAIMER:
Please Note: these are affiliate links. I may make a commission if you buy the components through these links. I would appreciate your support in this way!
How to reduce water usage at Home?
Do you have any Idea how much water we waste in a day?
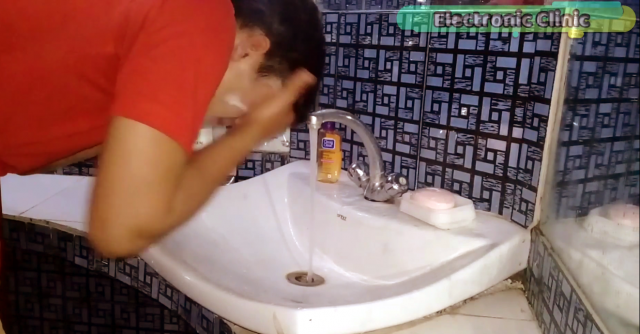
Many of us are wasting water on a daily basis without even realizing it. Not turning off the Tap when brushing your teeth, washing your hands and face are some of the ways we are wasting water on a daily basis. This not includes the water which is wasted in kitchens while washing the utensils, vegetables, etc.
It’s simple math, the more water you use the more water you will need and of course, it results in high water bills or electricity bills. Water pump for house use is usually in the range of .5hp to 1 hp which depends on the usage, location, actually, there are many factors. The main point over here which I want to explain is that, if you waste a lot of water in bathrooms, washrooms, and kitchens, the water tanks empty very quickly and as a result, you will have to turn on the Water Pump again. So the water usage and the water pump has a direct relation.
To Combat rising Water costs, you simply have to use less water. Turn off your water tap while brushing your teeth, washing your hands and face is certainly one way to cut back on your water usage and reduce your electricity bill. You can do it in two ways
- Manually open and close the water tap
- Or you can do it automatically.
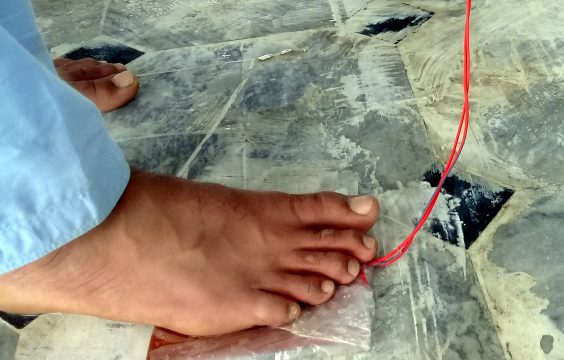
The first method is really annoying and it is not possible to, again and again, open and close the water tap. While the 2nd one is feasible as it is an automatic system. Or you designed it in such a way that the water tap can be controlled using a foot. If we do it automatically then, of course, we will need a sensor and a relay module which increases the cost. But my aim is to keep the price low so that everyone can build this at home.
This tutorial is about how to make a low-cost foot-operated Water tap control system without using any microcontroller and sensor. So far this is my third tutorial on the water tap control system. For the practical demonstration how this foot-operated water tap system works watch the video tutorial given at the.
If you have more budgets and you can arrange the sensors then I have two more versions of the same project in which a sensor is used and in another one sensor and Arduino is used.
In my first tutorial, I used an infrared sensor and Arduino to control the Water tap.
https://www.electroniclinic.com/arduino-automatic-water-tap-using-solenoid-valve/
In my 2nd Tutorial on the automatic water tap control system, I used only the infrared sensor.
https://www.electroniclinic.com/automatic-water-tap-without-using-arduino/
But this tutorial mainly focuses on how to make the cheapest water tap control system that anyone can afford, and can be used in bathrooms, washrooms, and kitchens, etc. If you find anything confusing or difficult watch the video tutorial given at the end.
Circuit Diagram of the Reduce Water Bill & Electric Bill Project:
As you can see the circuit diagram is really simple. The Ground of the 12v power supply is connected directly with the Solenoid Valve. While the 12 Volts from the power supply are connected with the Solenoid valve through the Copper plates. So when you step on the copper plates, Due to the force applied the copper plate’s touch each other and this way the 12 volts from the power supply are connected with the solenoid valve. Using only foot one can control the solenoid valve.
For the soldering and step by step explanation watch video tutorial given below.
Watch Video Tutorial:
